This post may contain affiliate links.
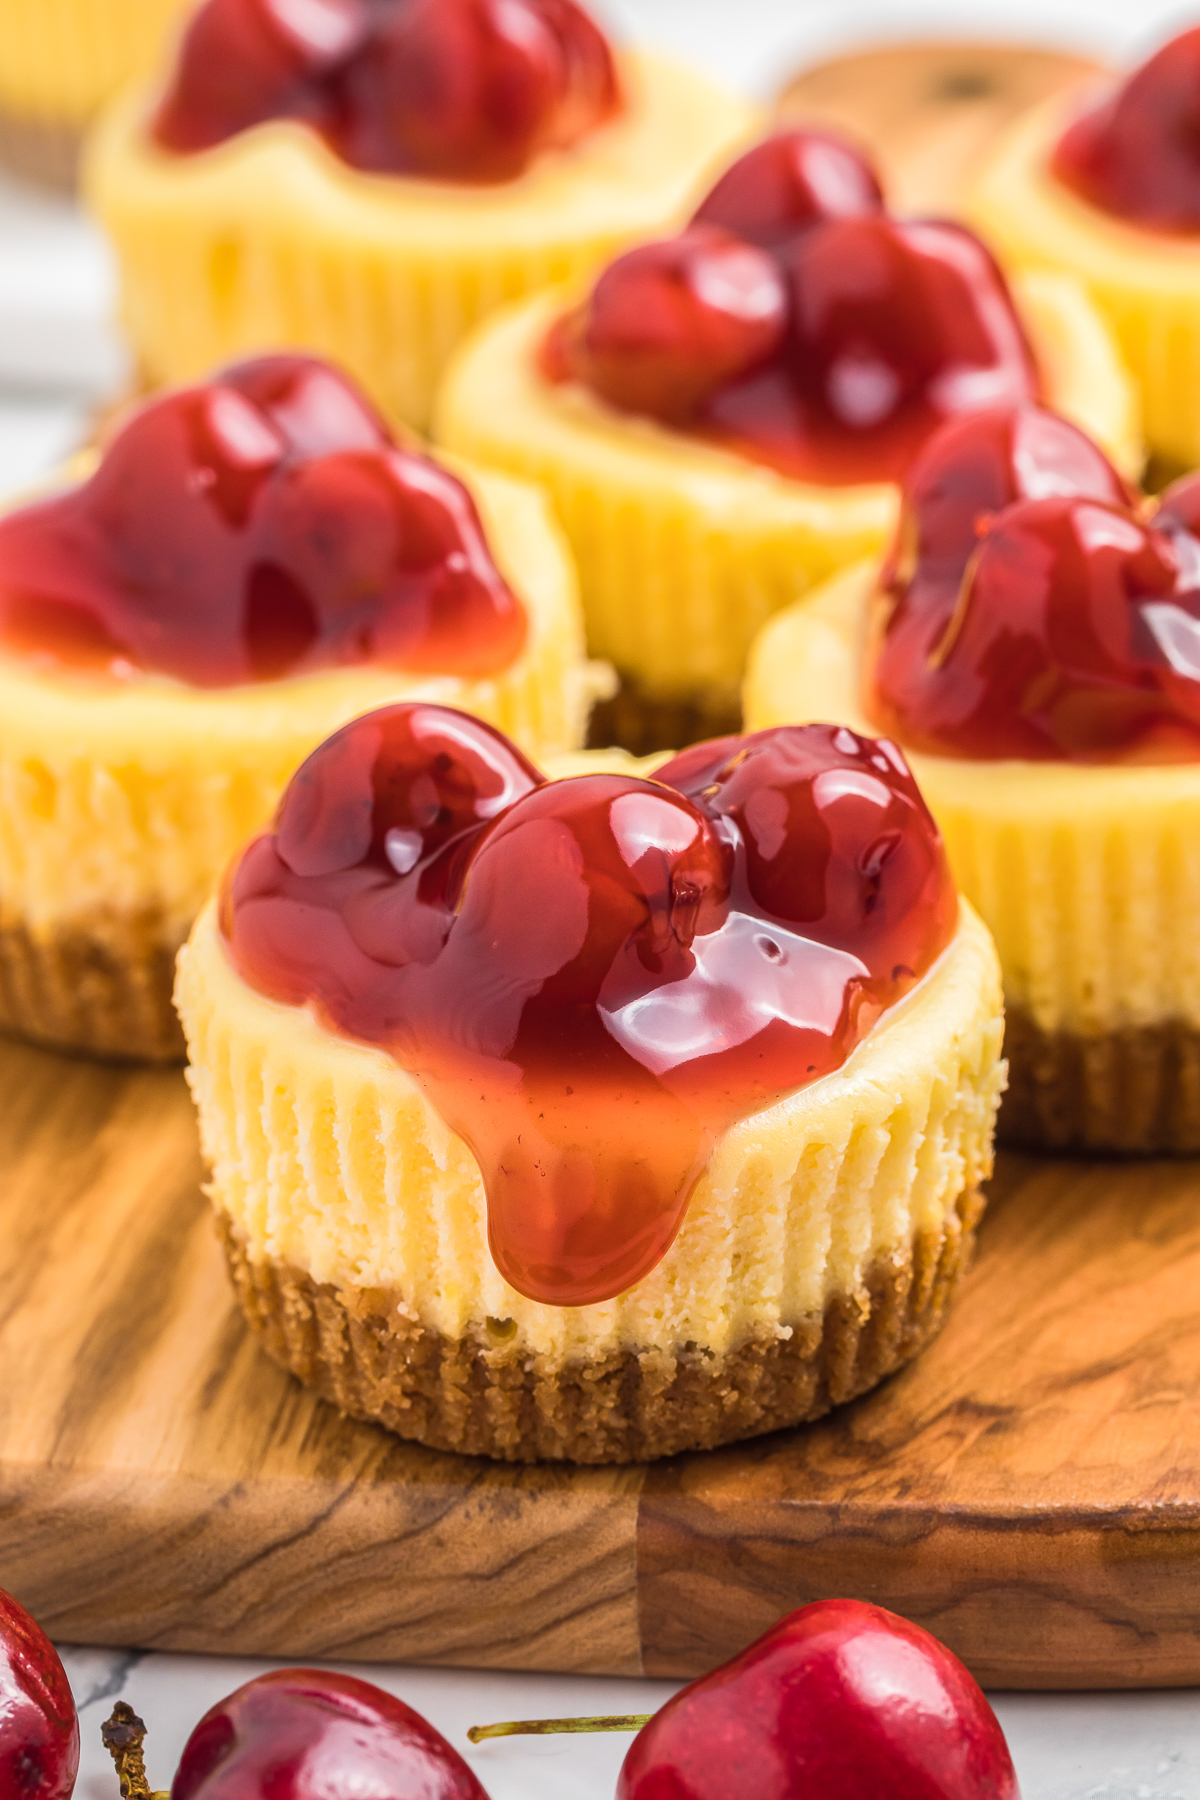
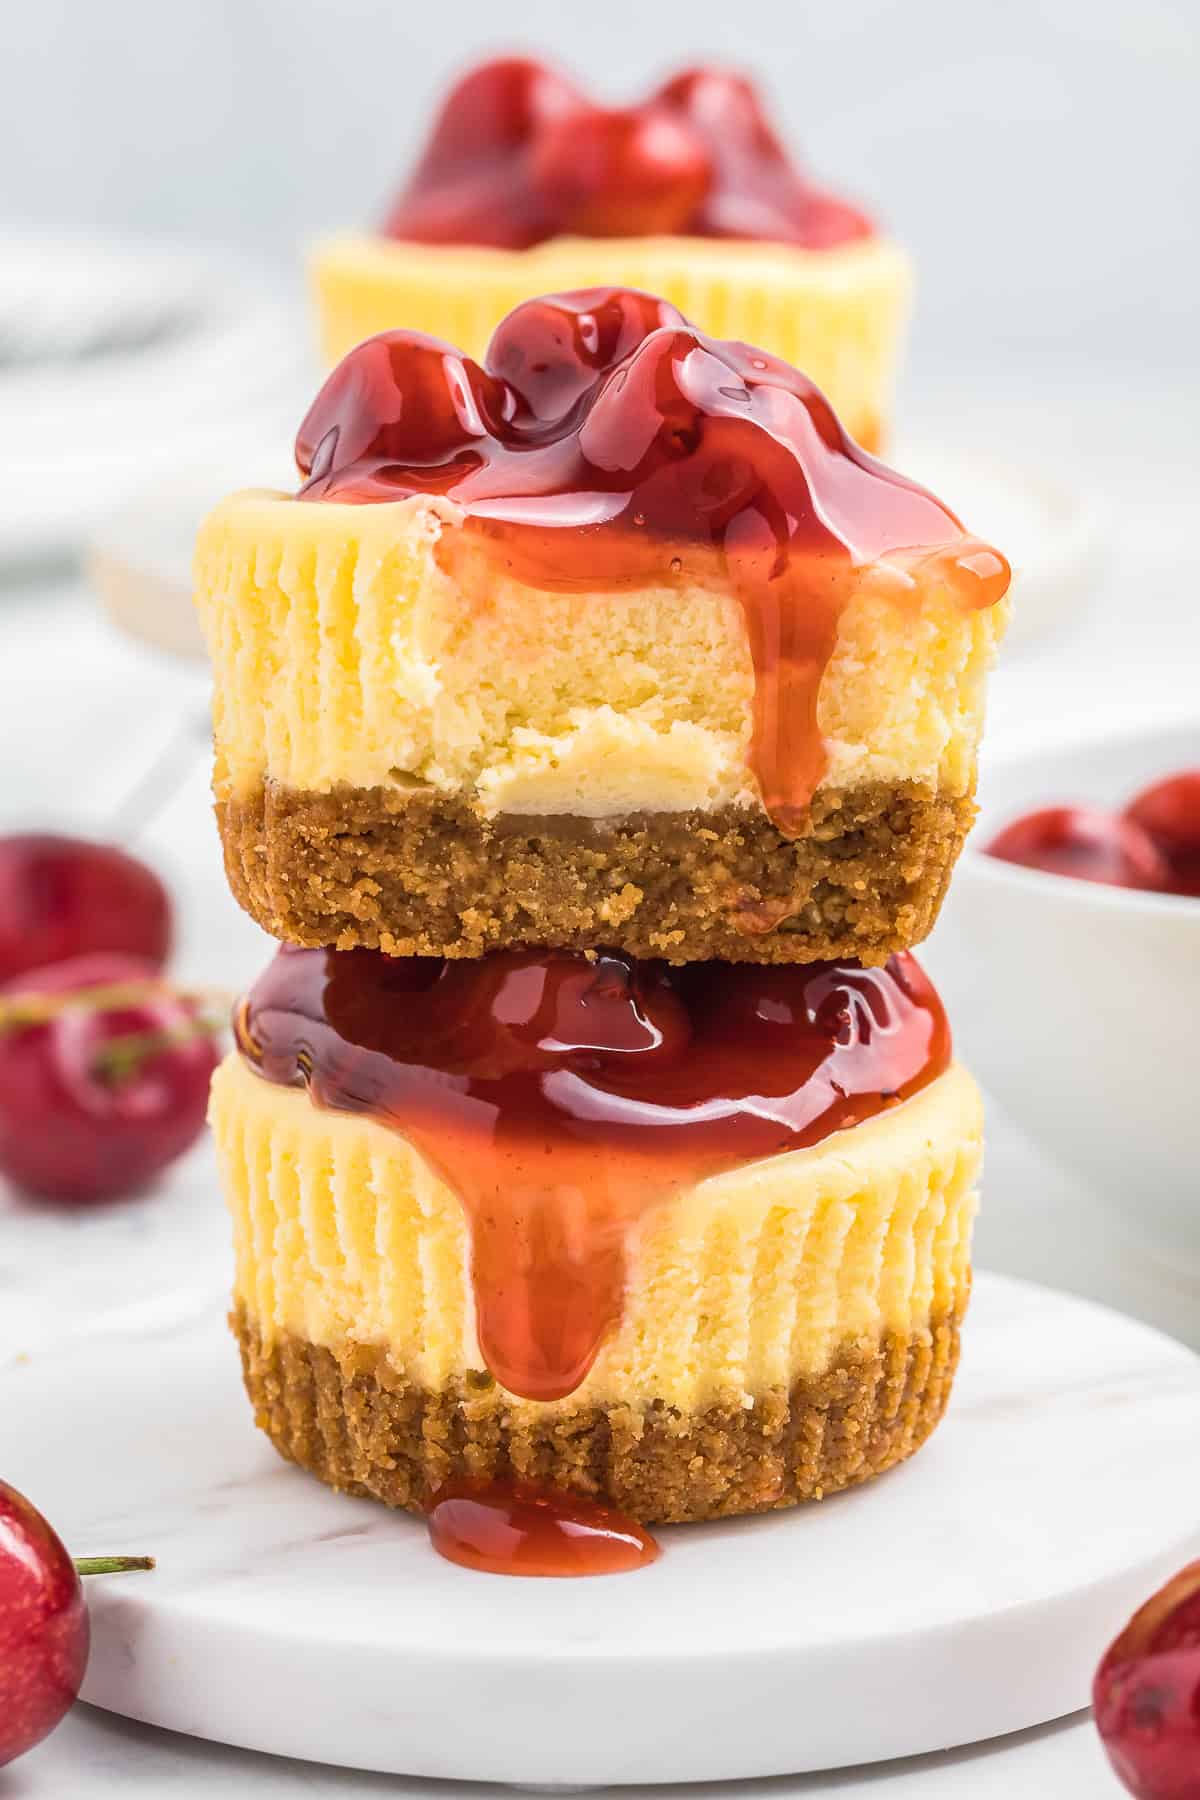
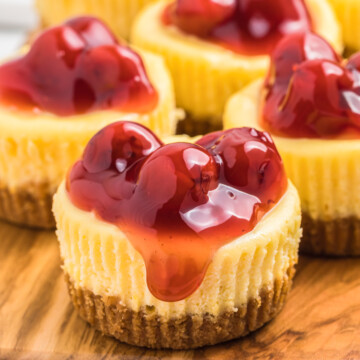
Mini Cheesecakes are everything you love about a classic cheesecake shrunk down into perfect, personal-sized portions with a buttery graham crust and glossy cherry topping. I made a tray last weekend for Lizzie’s class party, and they were so much easier than slicing a big cheesecake that I may never go back.
Baked right in a muffin tin with paper liners, these little cheesecakes are foolproof, make-ahead friendly, and endlessly customizable with any topping you love.
Mini Cheesecakes Quick Look
- 🕒 Prep Time: 20 minutes
- 🌡️ Cook Time: 20 minutes
- ⏳ Total Time: About 5 hours (includes chilling)
- 🍽️ Serving: 12 cheesecakes
- ⚡ Calories: 322kcal
- 🌶️ Flavor Profile: Creamy and sweet with a buttery graham crust and cherry topping
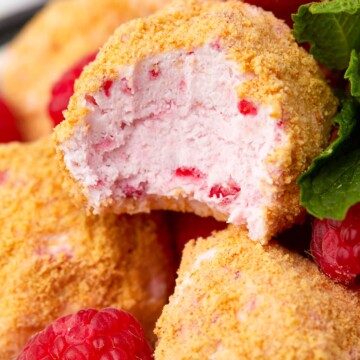
- ✋ Difficulty: Easy, a fun make-ahead dessert like our no bake raspberry cheesecake bites
Quick Answer
Mix graham cracker crumbs with butter and sugar, press into lined muffin cups, and pre-bake briefly. Beat softened cream cheese with sugar until smooth, then add eggs and vanilla. Divide the filling over the crusts and bake at 350 degrees for 12 to 15 minutes until just set. Cool, top with cherry pie filling, and chill at least four hours before serving.
Jump to:
- Mini Cheesecakes Quick Look
- Quick Answer
- Why This Recipe Works
- Why You’ll Love This Recipe
- Key Ingredients
- Variations and Substitutions
- How to Make Mini Cheesecakes
- Recipe Tips & Tricks
- Serving Ideas and Suggestions
- Mini Cheesecakes FAQs
- Other Recommended Easy Cheesecake Recipes
- Easy Mini Cheesecakes Recipe (Cherry Topped)
Why This Recipe Works
Click to see the technique science
- A muffin tin makes them foolproof. Paper liners give every mini cheesecake the same shape and make them easy to lift out, with no springform pan or water bath needed.
- Pre-baking the crust keeps it crisp. Ten minutes in the oven sets the buttery graham base so it stays firm under the creamy filling.
- Room temperature cream cheese blends lump-free. Soft cream cheese whips up perfectly smooth, which is the secret to a silky, dense filling.
- Mixing eggs in gently prevents cracks. Beating just until combined keeps too much air out, so the cheesecakes bake up smooth instead of puffing and sinking.
- Chilling sets the texture. A few hours in the fridge firms the cheesecakes into that perfect sliceable, creamy bite and lets the flavors settle.
Why You’ll Love This Recipe
- They are perfectly portioned, so there is no slicing and no fighting over the biggest piece.
- They are completely make-ahead, which makes them ideal for parties, potlucks, and holidays.
- They are endlessly customizable and look gorgeous next to our strawberry cheesecake bundt cake on a dessert table.
Key Ingredients
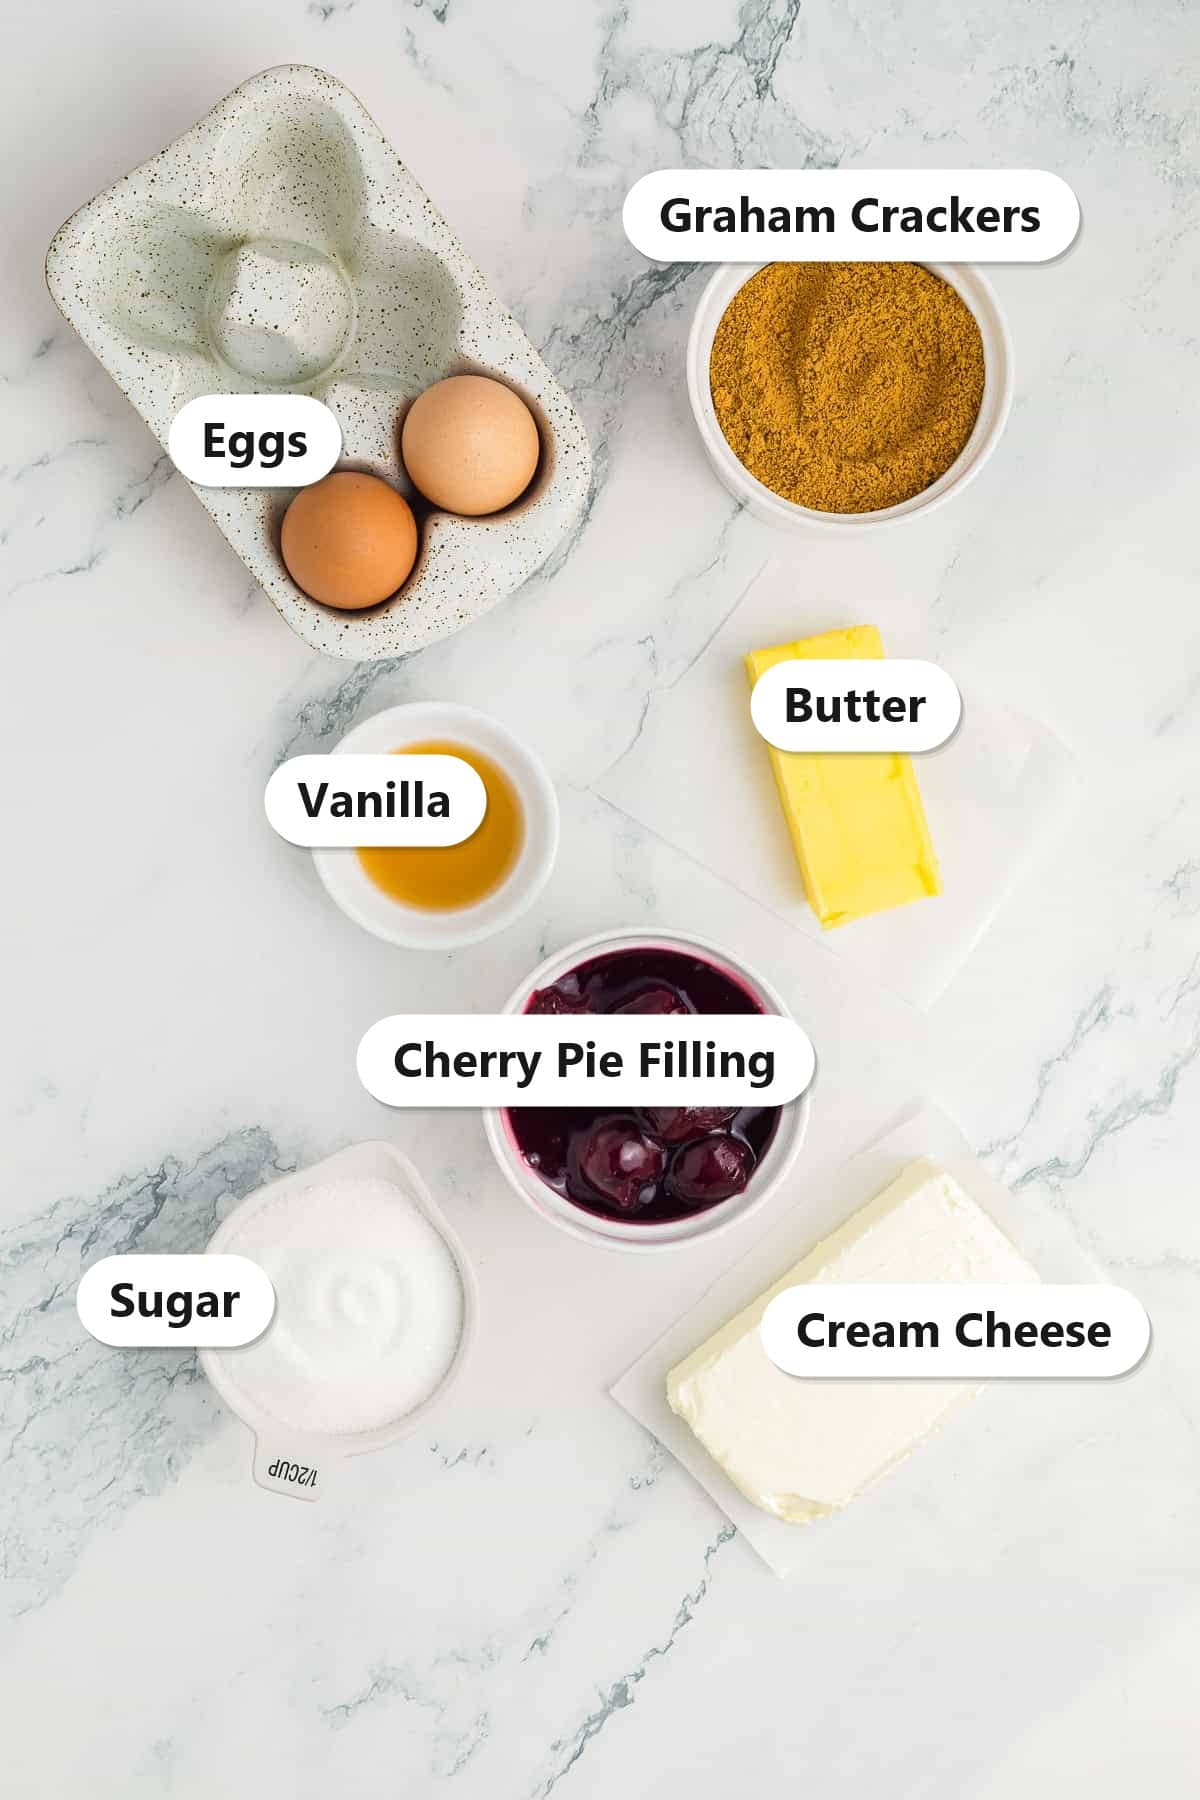
A short list of simple ingredients makes a dozen perfect little cheesecakes.
- Cream cheese: Full-fat and softened is the way to go for that rich, dense, classic cheesecake texture.
- Graham crackers: Crushed and mixed with butter and sugar for a buttery, sturdy crust in every cup.
- Eggs: Room temperature eggs blend in smoothly and give the filling its silky, set structure.
- Vanilla extract: A teaspoon of real vanilla rounds out and warms up the tangy cream cheese.
- Cherry pie filling: The glossy, fruity topping that makes these look bakery-beautiful. Swap for any flavor you love.
See recipe card for exact quantities.
Variations and Substitutions
Switch up the topping and flavor to make these your own.
- Topping swap: Use blueberry, strawberry, or apple pie filling, fresh berries, lemon curd, or a drizzle of caramel.
- Crust twist: Try crushed Oreos, vanilla wafers, or Biscoff cookies in place of graham crackers.
- Chocolate cheesecakes: Add a couple tablespoons of cocoa to the filling for mini chocolate cheesecakes.
- No-bake option: Love no-bake? Try our no bake raspberry cheesecake bites instead.
- Pumpkin spice: Stir pumpkin and spice into the filling for a fall version.
How to Make Mini Cheesecakes
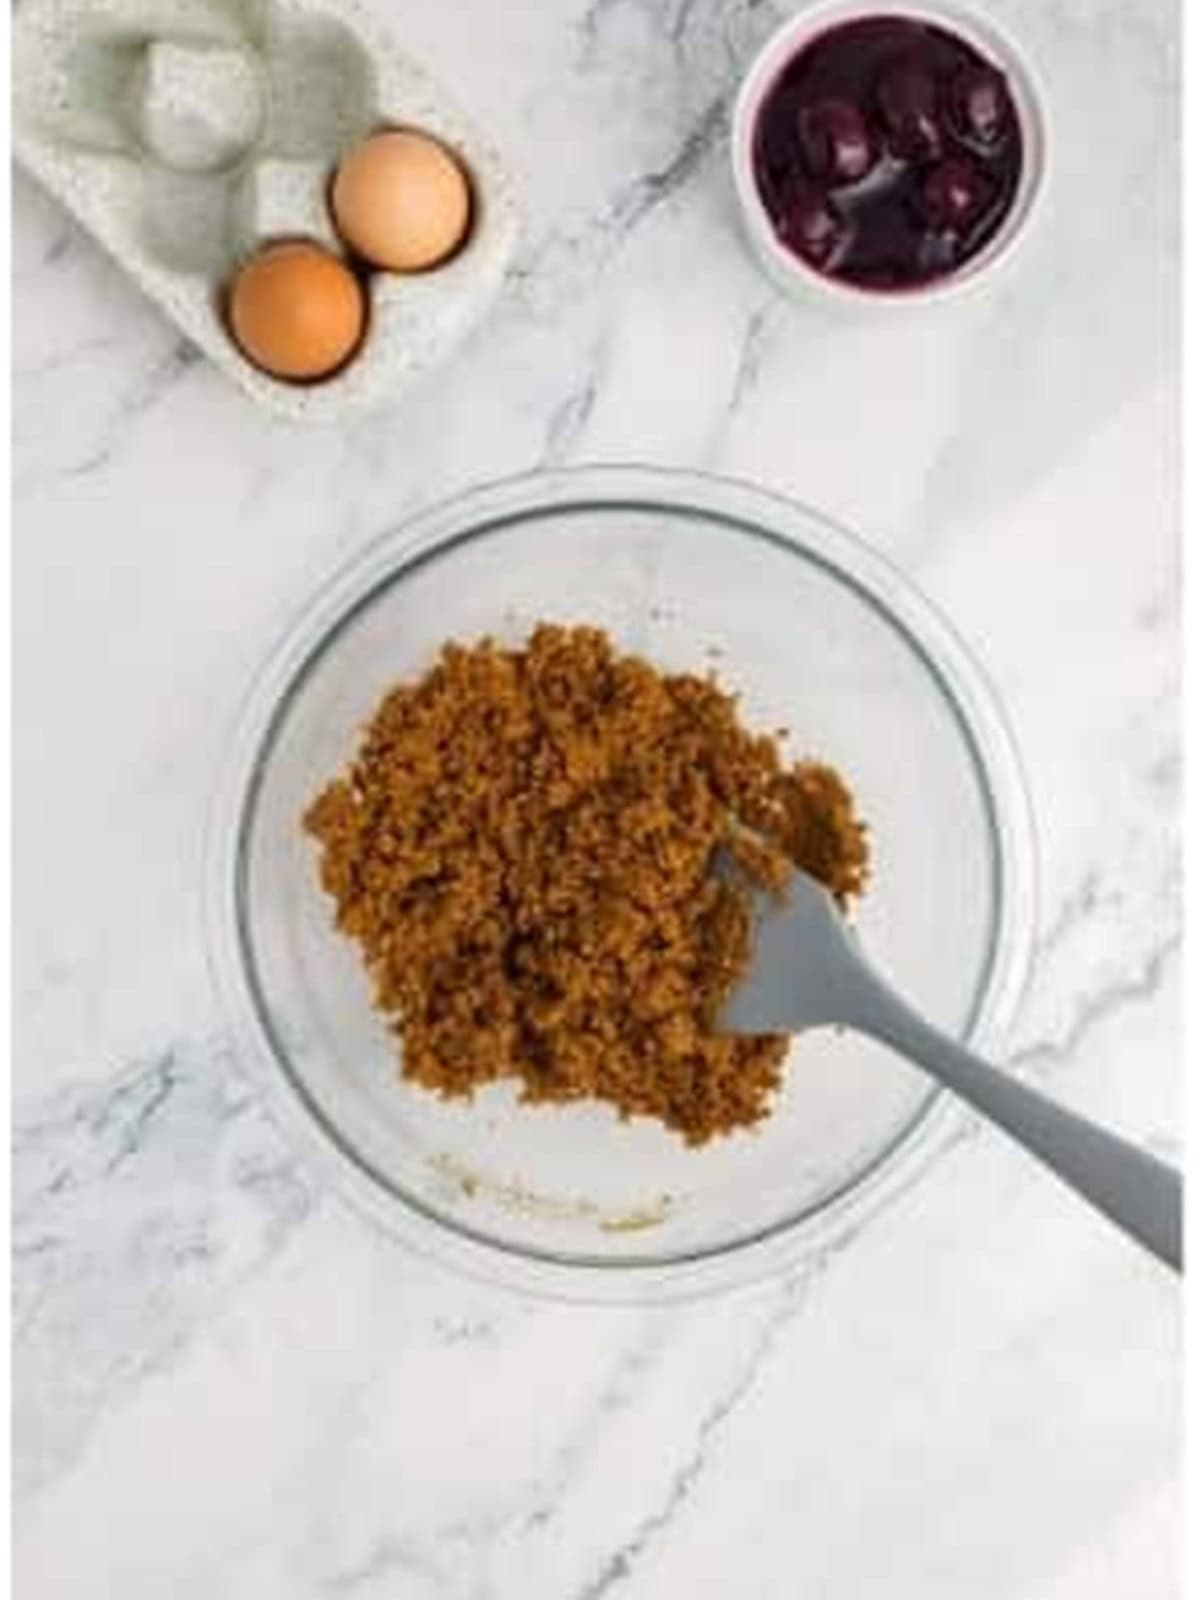
- Mix the graham cracker crumbs, melted butter, and sugar in a bowl until the mixture looks like wet sand.
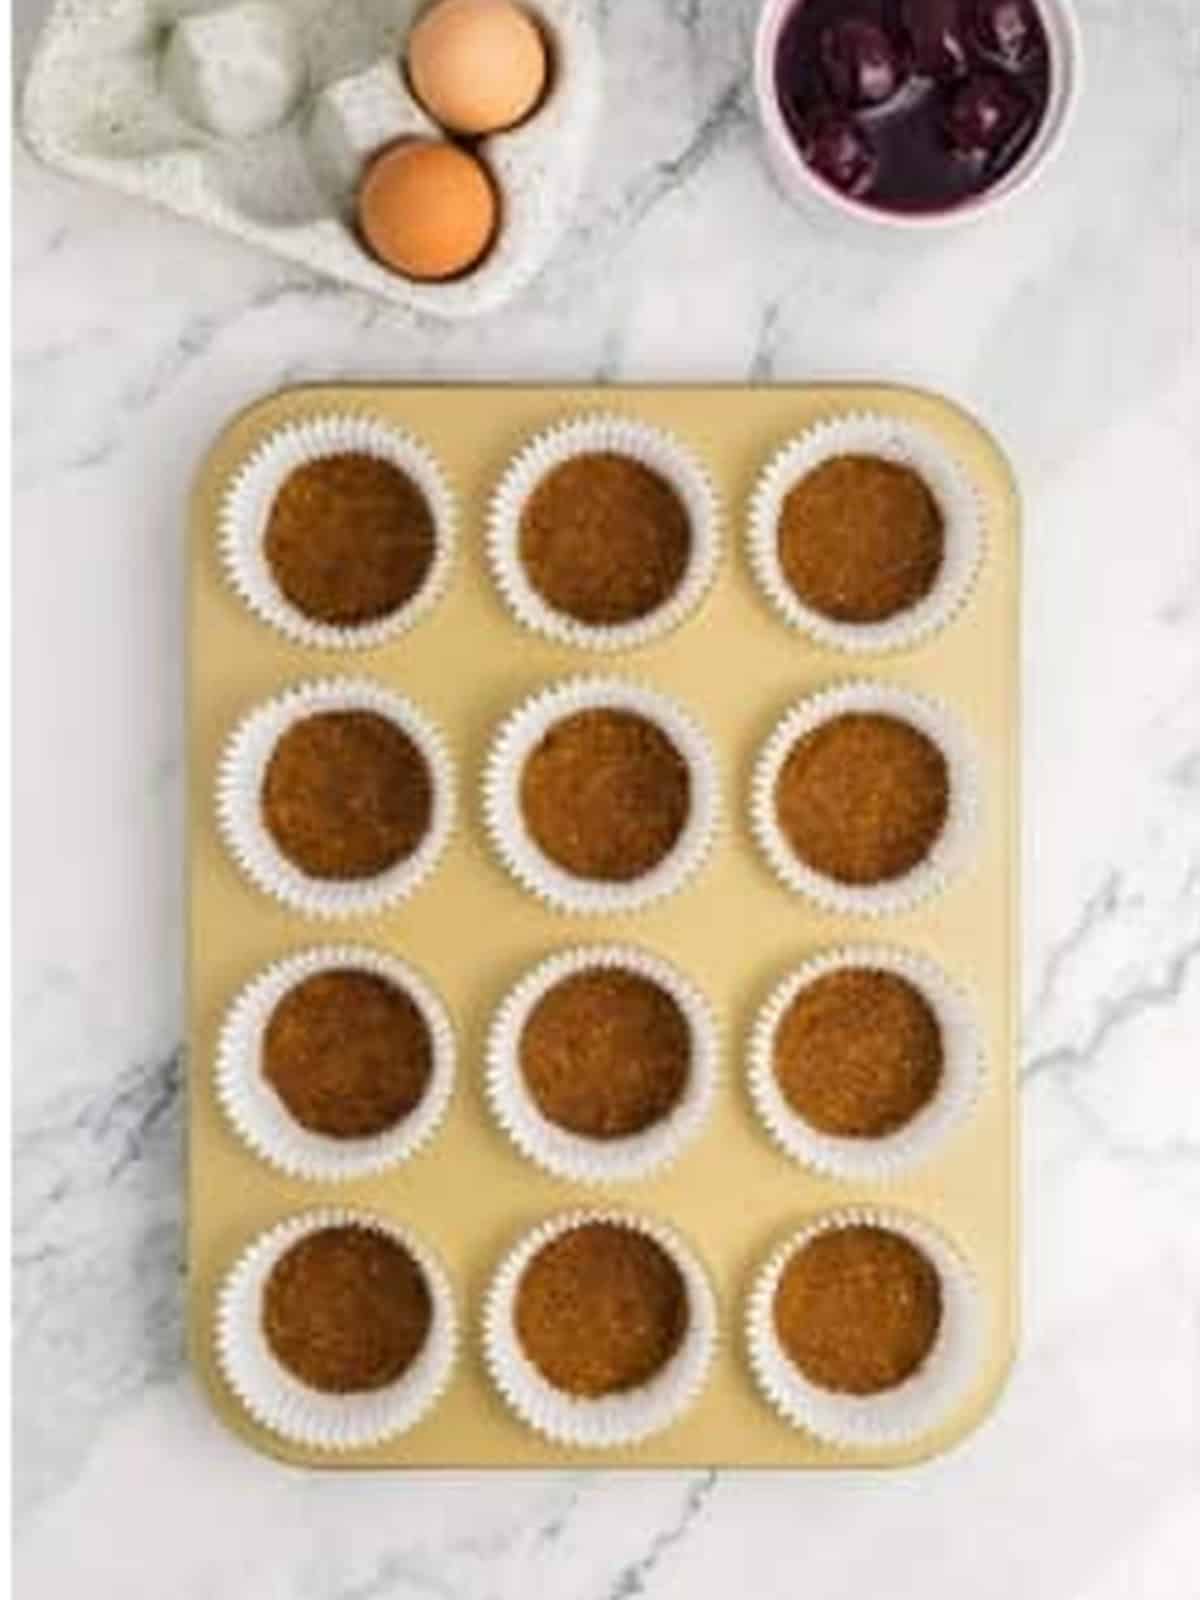
- Line a 12 hole muffin tin with paper liners, divide the crust between them, press firmly, and bake at 350 degrees for 10 minutes. Cool slightly.
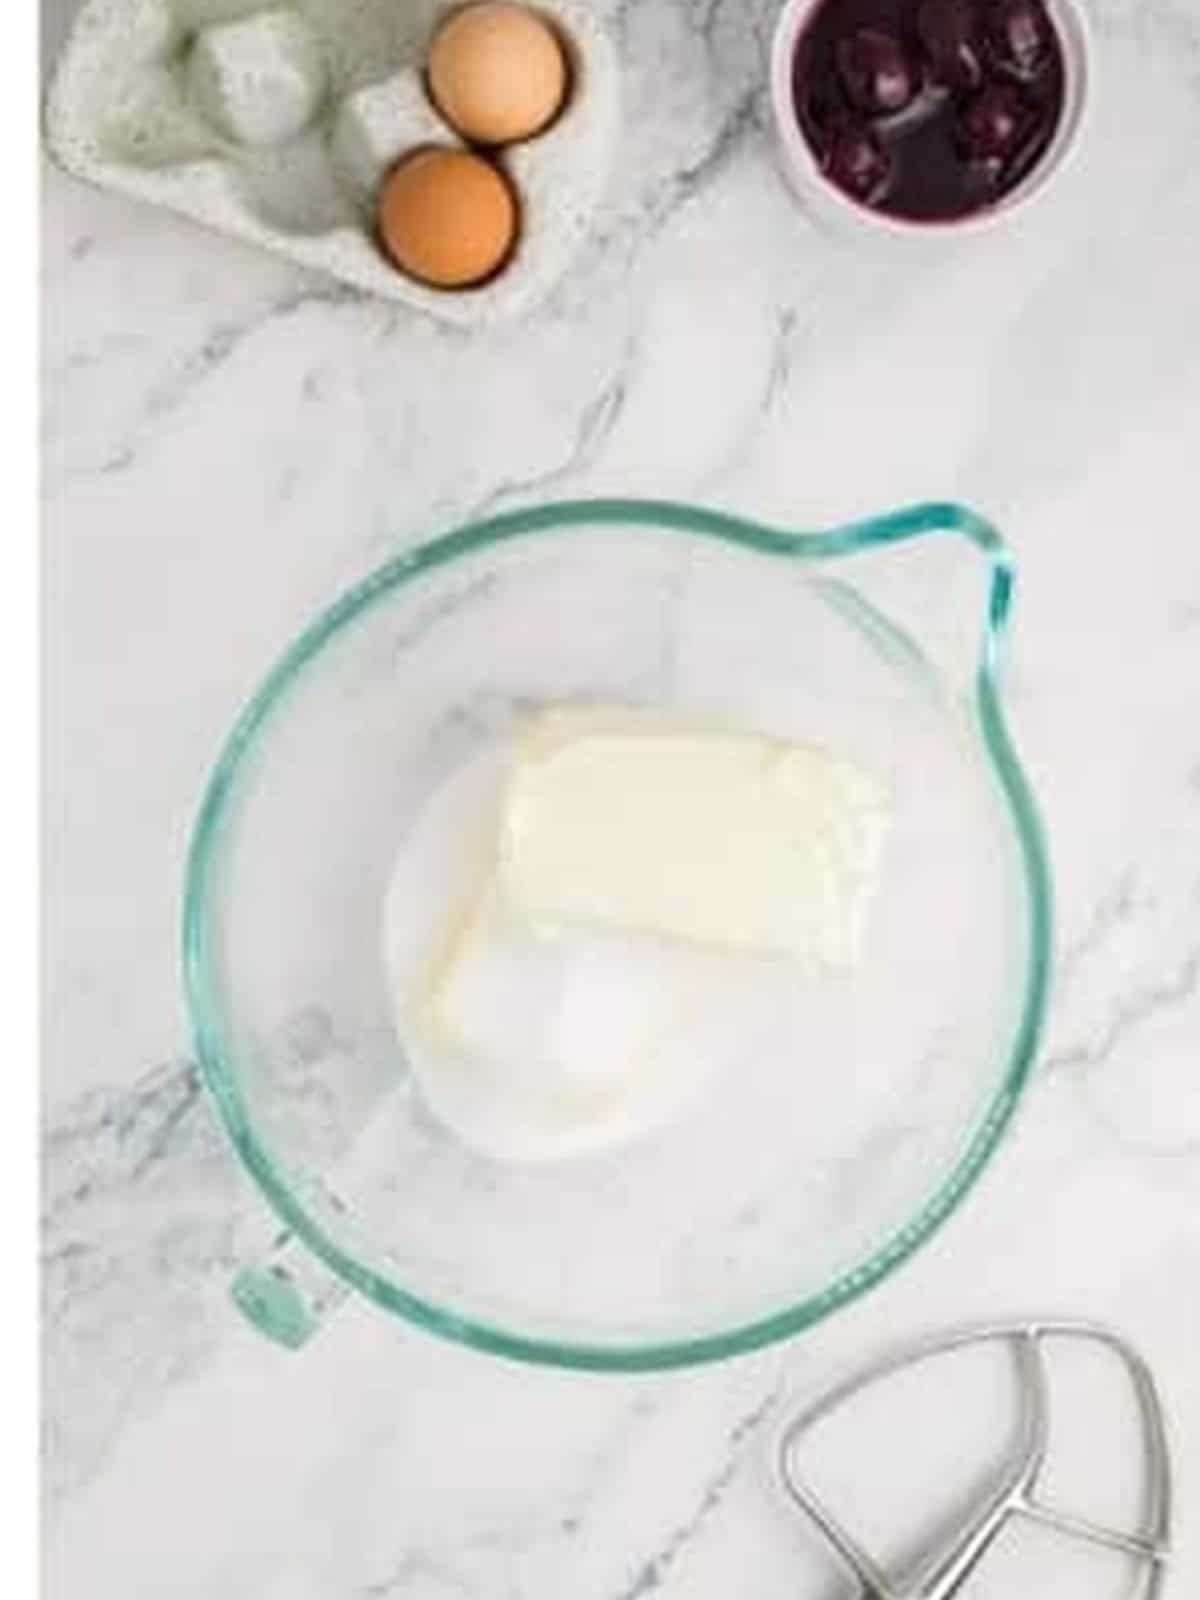
- Beat the softened cream cheese and sugar in a stand mixer until smooth and creamy.
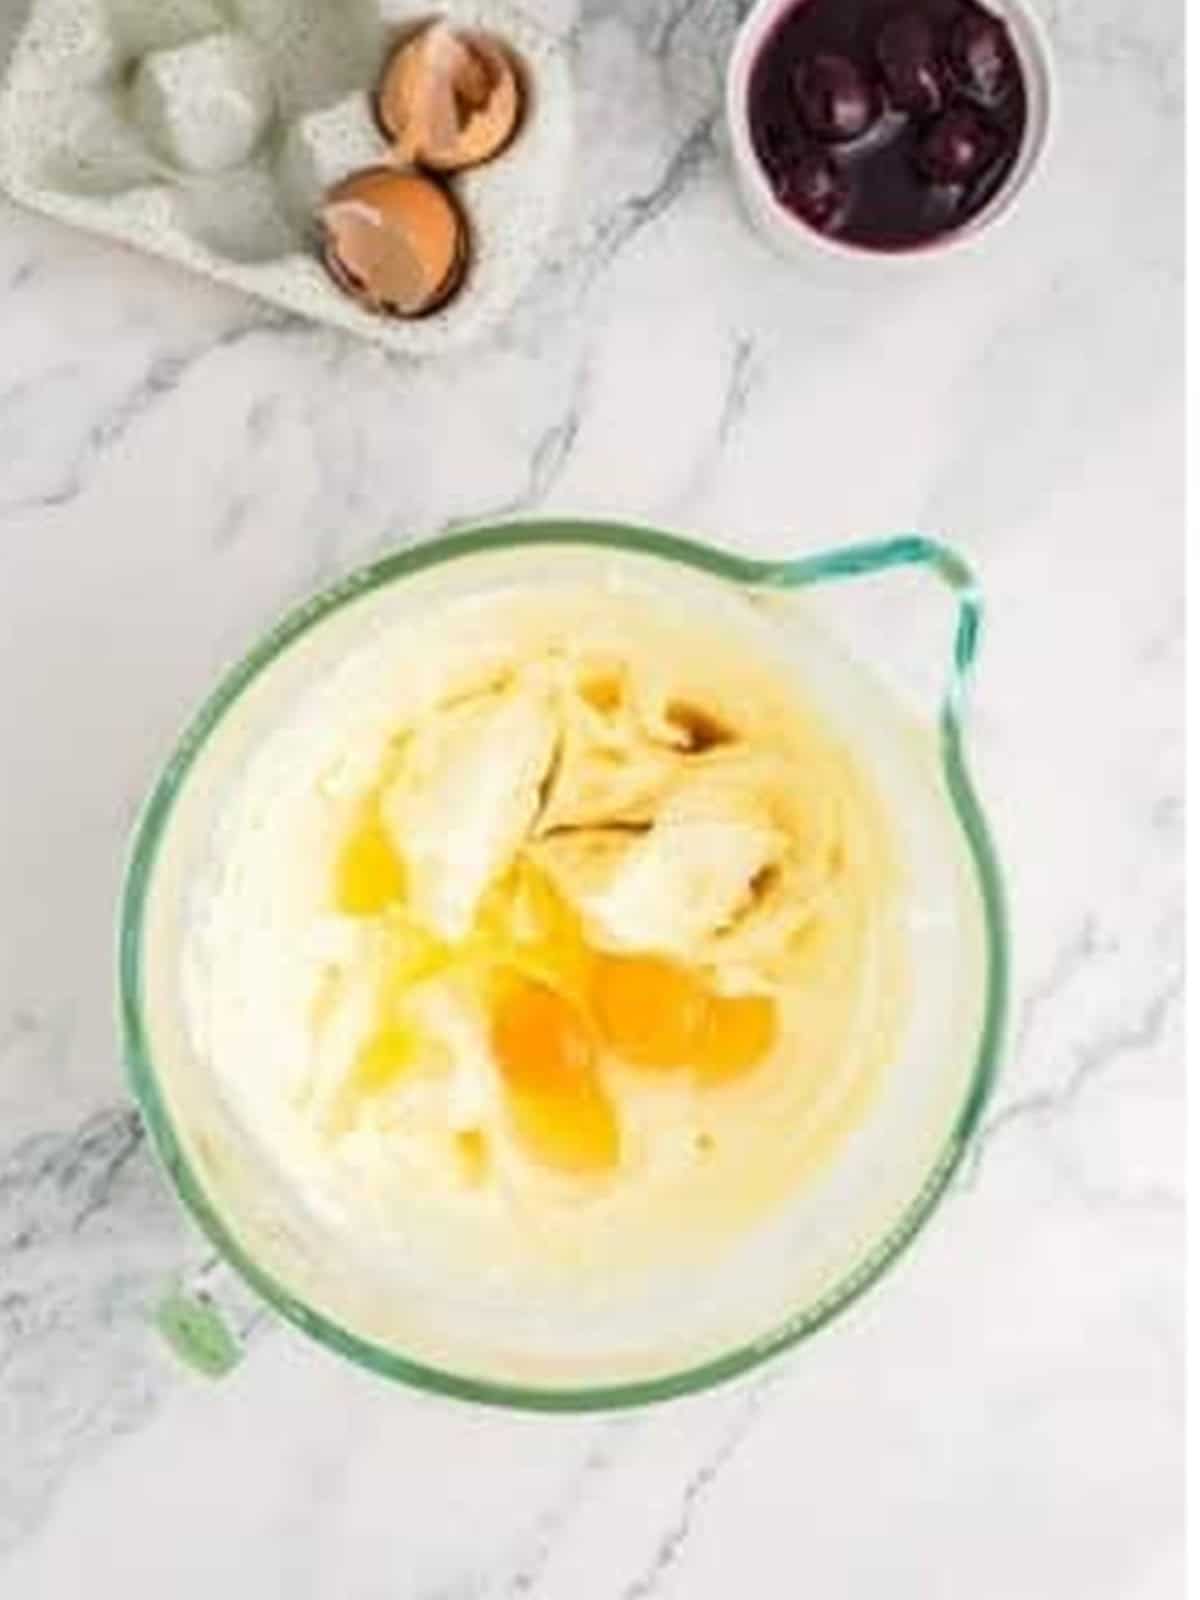
- Add the eggs and vanilla and beat on medium just until combined, scraping the bowl as needed.
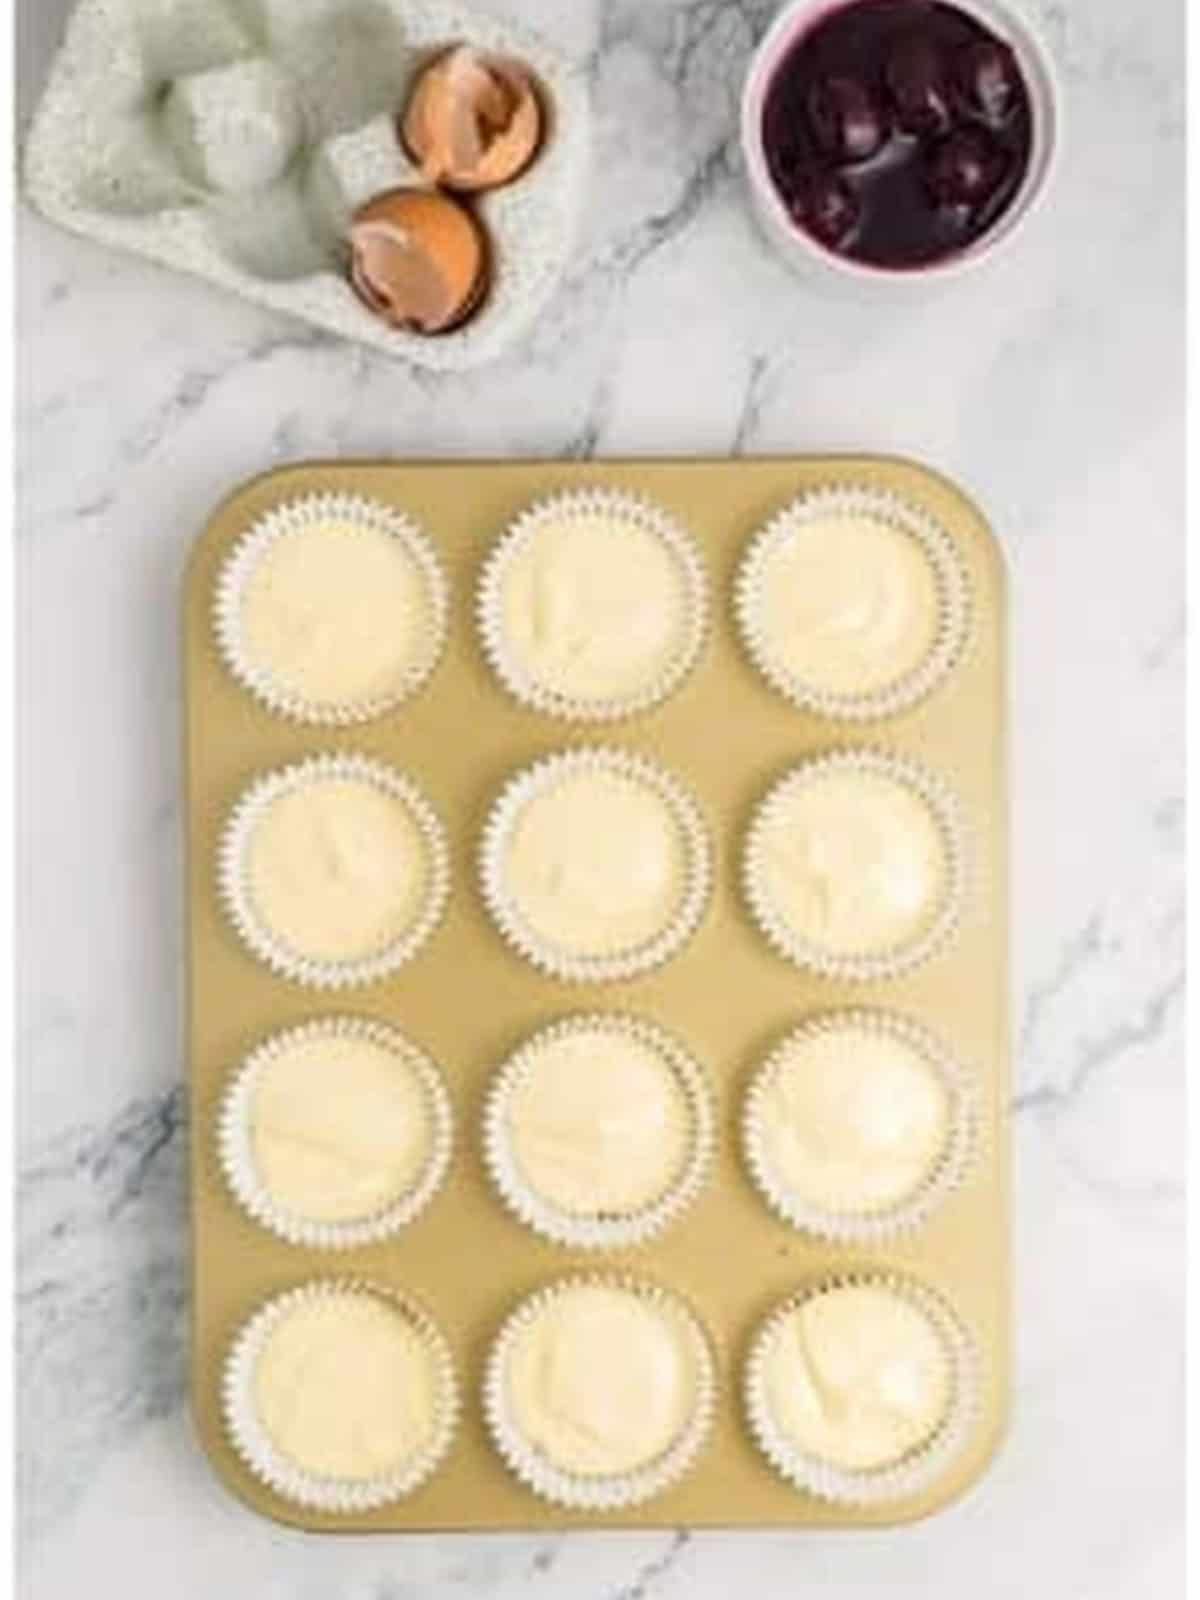
- Divide the filling between the liners over the cooled crusts.
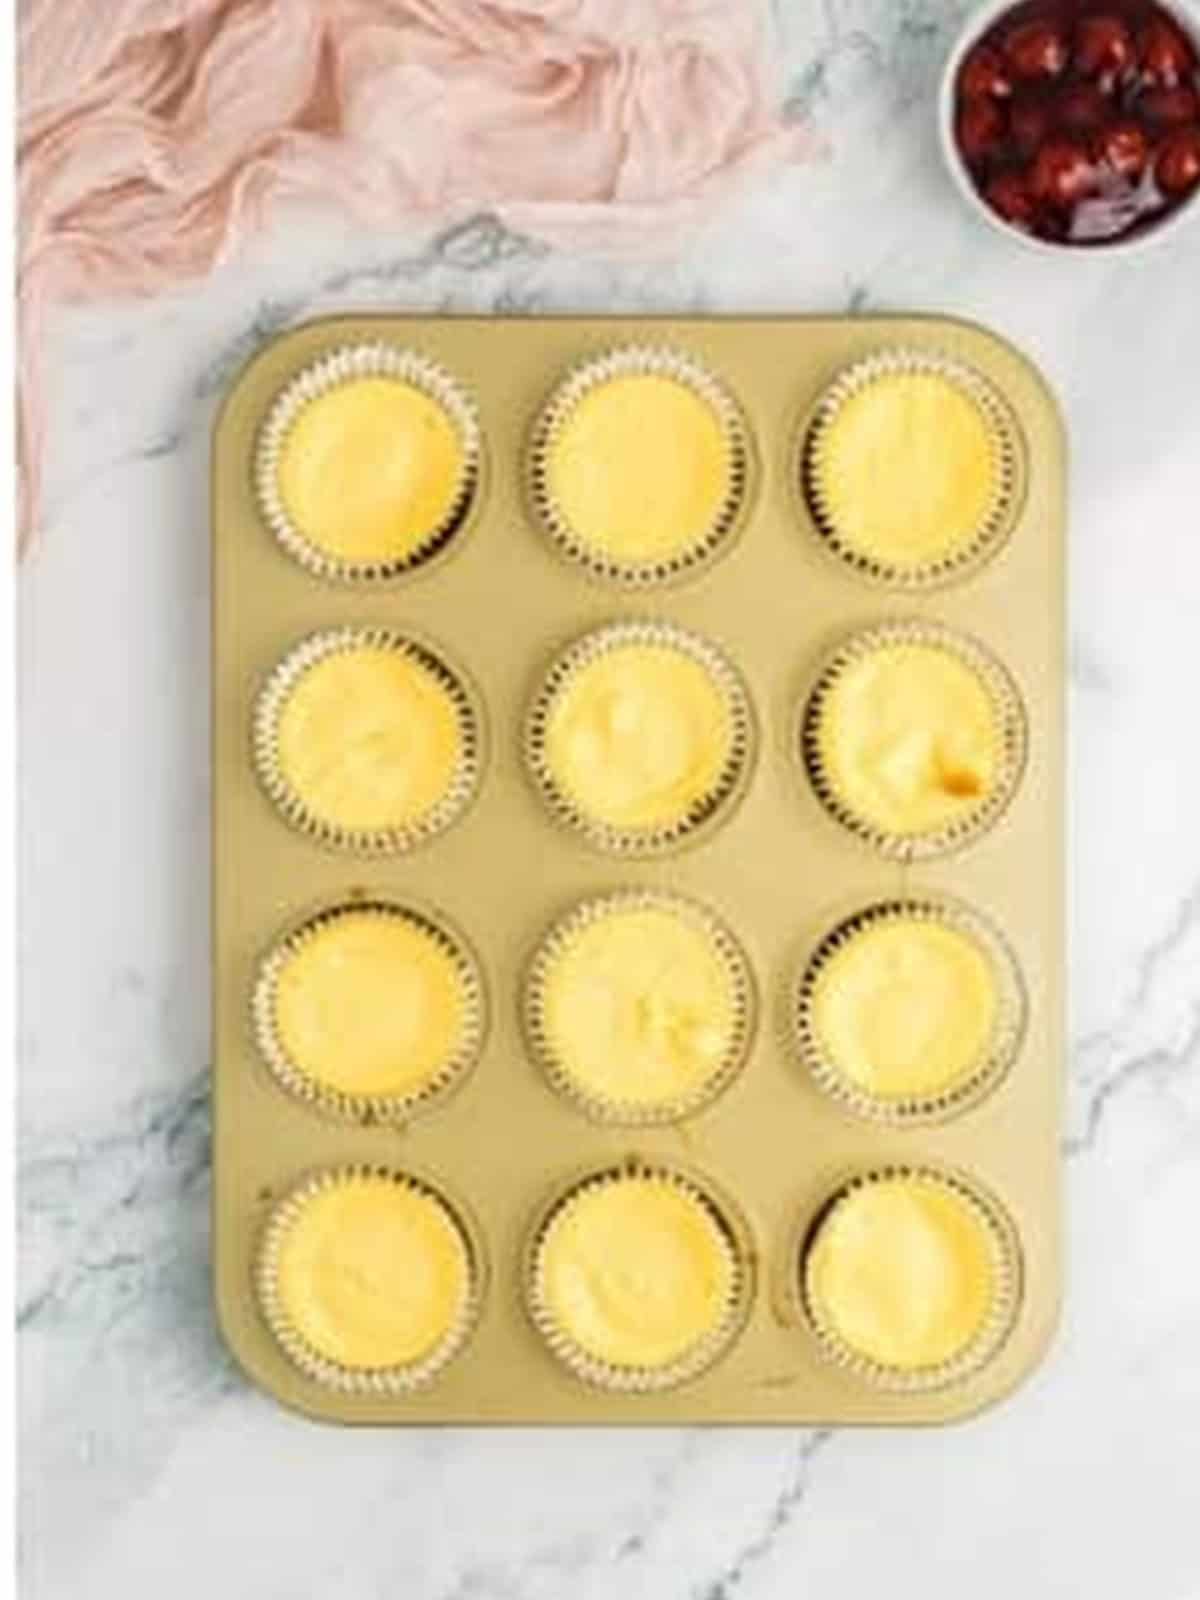
- Bake for 12 to 15 minutes until the centers are just set. Cool completely.
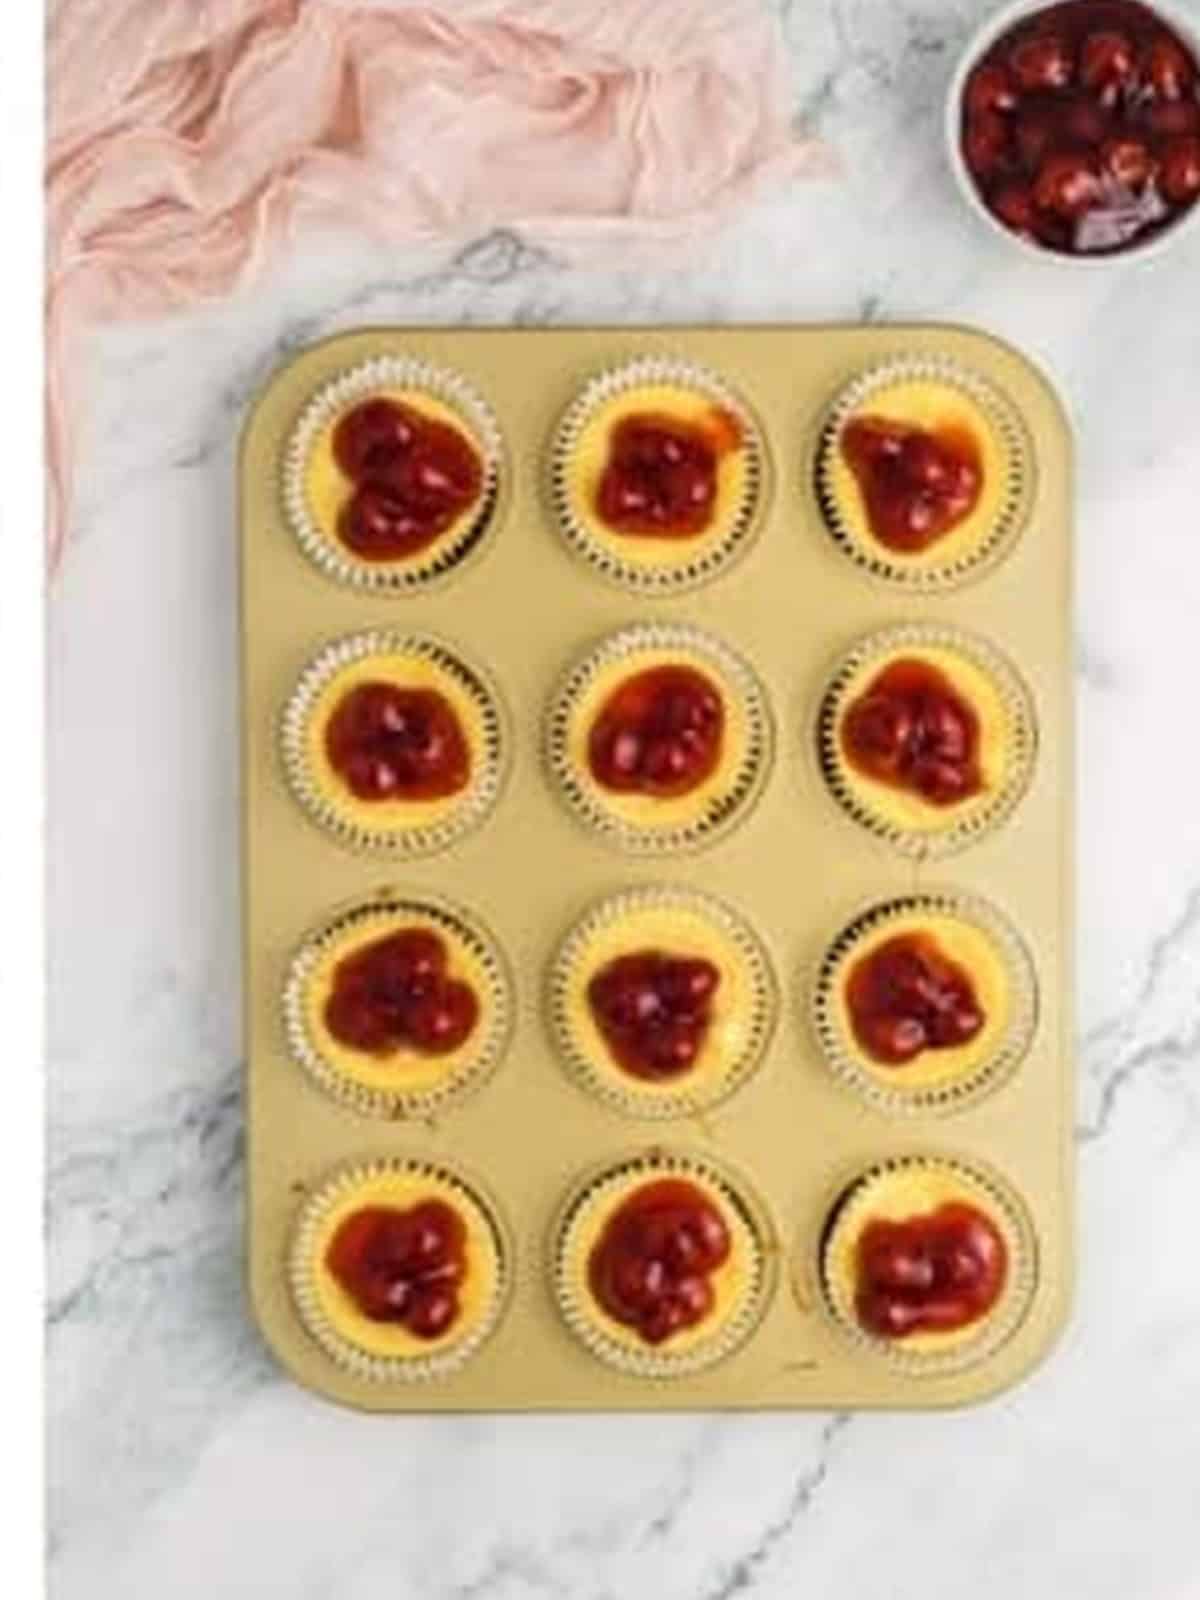
- Top each cheesecake with cherry pie filling and chill in the fridge for at least 4 hours before serving.
Recipe Tips & Tricks
- Soften the cream cheese fully at room temperature so the filling beats up smooth with no lumps.
- Do not overbeat once the eggs go in to avoid too much air, which causes cracks and sinking.
- Bake just until the centers are set with a slight jiggle, since they firm up as they cool.
- Cool gradually, then chill at least 4 hours (or overnight) for the best texture.
- Add the topping after chilling so it stays glossy and the cheesecakes set cleanly.
- Make ahead: These keep beautifully for several days, so they are perfect to make the day before a party.
Serving Ideas and Suggestions
These mini cheesecakes are made for sharing. I love arranging them on a tiered stand or platter with a few fresh cherries scattered around so everyone can grab their own perfect portion.
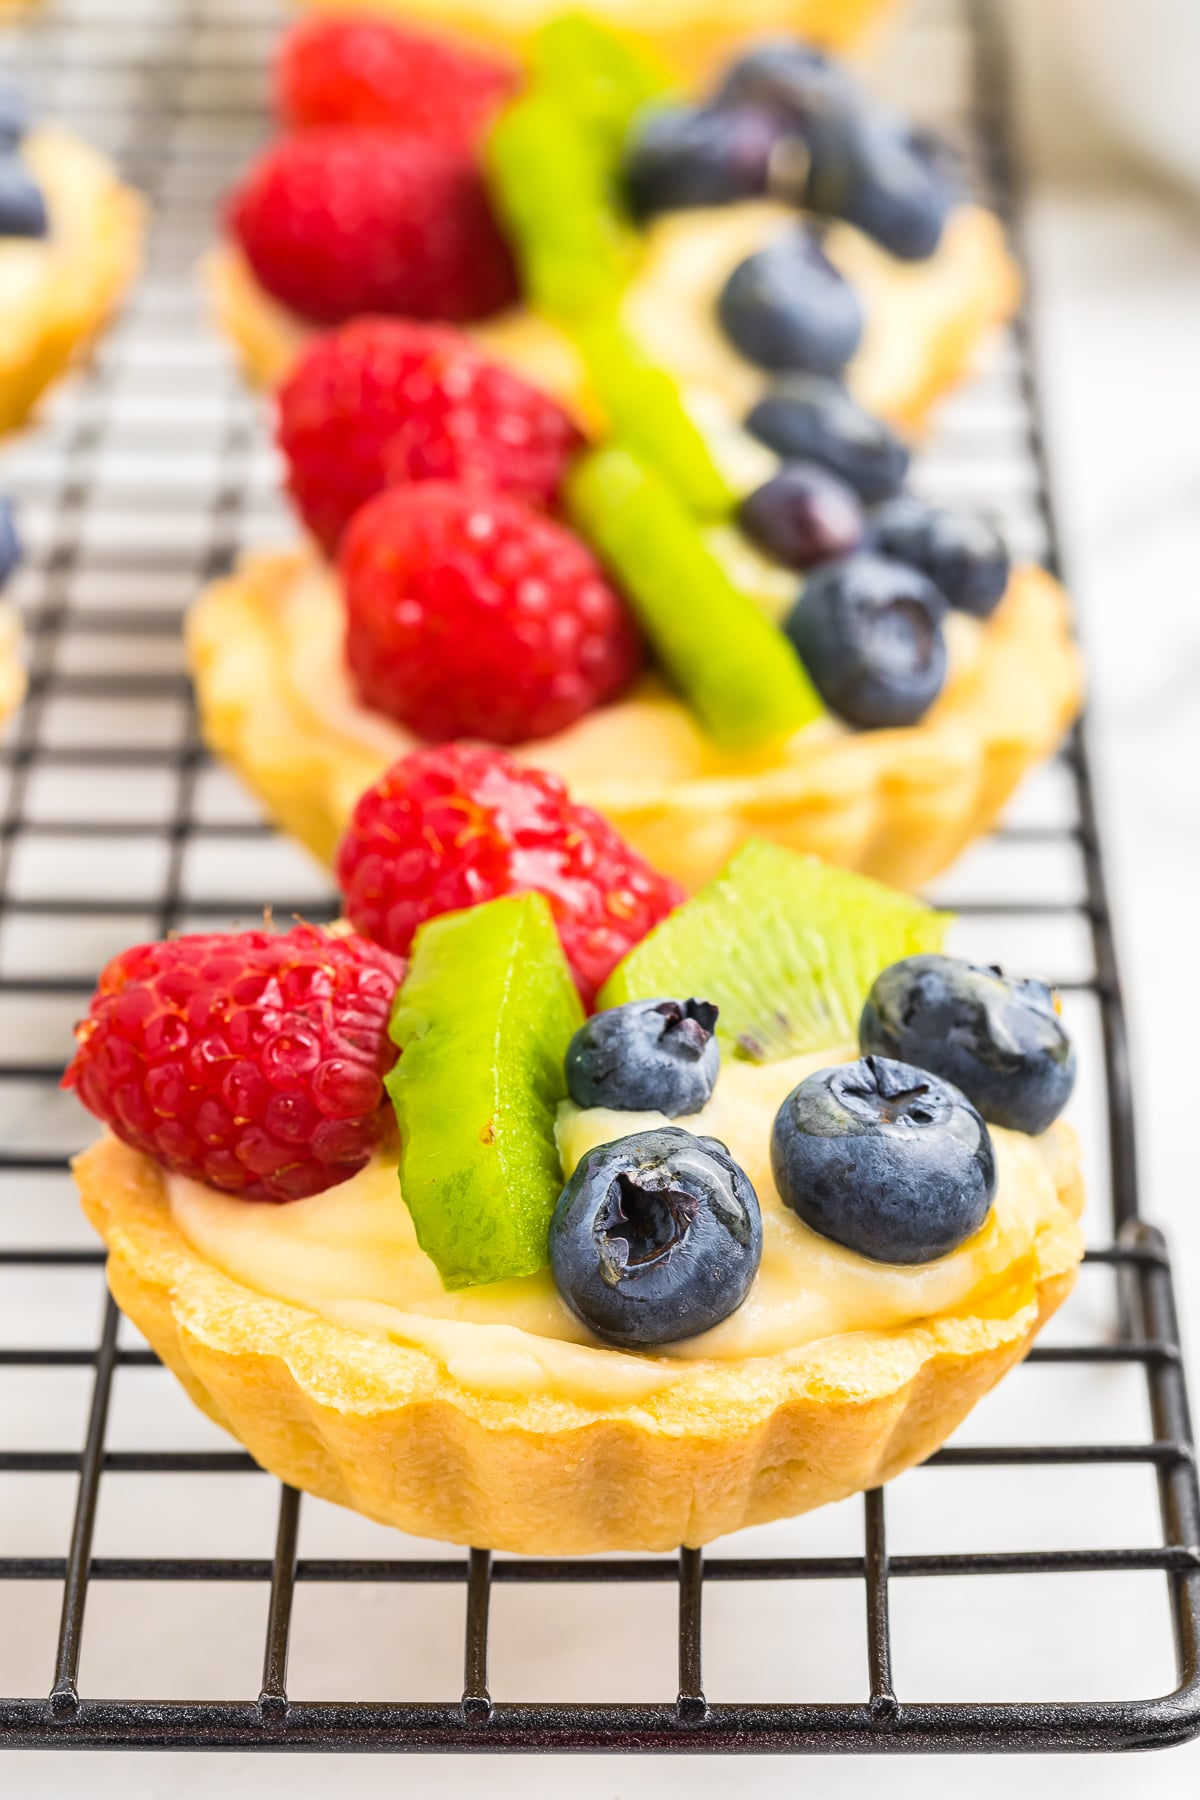
For a show-stopping dessert table, set them next to our strawberry cheesecake bundt cake and a plate of mini fruit tartlets for a spread of creamy, fruity bites.
They are also a lovely make-ahead finish to a dinner party. Pair them with our layered lemon blueberry trifle for a dessert duo nobody can resist.
Mini Cheesecakes FAQs
Yes, they are a perfect make-ahead dessert. Bake and chill them up to two days in advance, storing them covered in the refrigerator. Add the cherry topping the day you serve for the freshest, glossiest look.
Cracks usually come from overbeating the filling after the eggs go in or overbaking. Beat just until combined, and pull them from the oven when the centers are set with a slight jiggle, since they firm up as they cool.
Store them in an airtight container in the refrigerator for up to five days. Keep the topping on or add it fresh before serving. They are best served chilled straight from the fridge.
Absolutely. Freeze the cooled, un-topped cheesecakes in a single layer, then transfer to a freezer bag for up to two months. Thaw overnight in the fridge and add the topping before serving.
No water bath needed. Baking them in a lined muffin tin at a moderate temperature and not overbaking keeps them creamy and smooth without the fuss of a water bath.
Cherry pie filling is classic, but blueberry or strawberry filling, fresh berries, lemon curd, caramel, or chocolate ganache are all delicious. Set out a few options so everyone can customize their own.
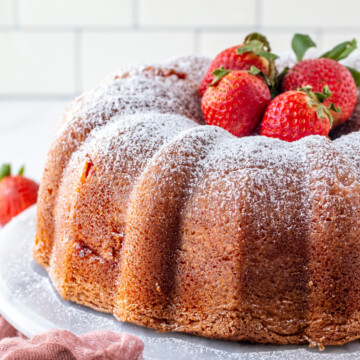
Love cheesecake desserts? Try our strawberry cheesecake bundt cake next.
Top these with a dollop of our homemade pastry cream.
Round out a bite-sized dessert table with our fairy cakes.
For a bigger dessert, make our no bake pumpkin cheesecake.
More bite-sized desserts await, like our angel food cupcakes with whipped citrus frosting.
For more bite sized desserts, our spice cupcakes are always a hit.
Round out a dessert table with a stunning puff pastry braid.
Round out a dessert table with our no bake cookie butter dip.
Round out a dessert table with these mini cheesecakes and a slice of our sweet potato pie.
These mini cheesecakes and a slice of pumpkin bread make a perfect fall dessert board.
Add this thick and creamy Chick Fil A milkshake to your dessert list.
Add these playful dirt cups to your party dessert lineup.
These chocolate covered Oreos make a sweet, simple addition to any dessert table.
Round out your dessert spread with a batch of these spice cookies.
Round out your dessert table with a slice of this snickerdoodle cake.
Round out your dessert table with our cherry dump cake, an easy dump-and-bake favorite.
Craving an easy bakery treat? Our cream cheese danish looks fancy but is simple.
For another easy make-ahead treat, bake our creamy key lime pie.
Peanut butter fans should also make our no bake peanut butter pie.
Love a creamy bake? This swirled pumpkin cheesecake is the showstopping fall dessert your holiday table needs.
Bake up some celebration with our soft, glazed king cake, a cinnamon-swirled Fat Tuesday classic.
creamy mint chocolate chip ice cream
Love an easy cheesecake? Our no bake Oreo cheesecake is a cookies and cream twist on these mini cheesecakes.
For another crowd-pleasing make-ahead treat, bake our banana cream pie.
When you want something rich and chocolatey, our chocolate bundt cake delivers every time.
Round out your dessert table with a batch of our Oreo cupcakes.
Add a slice of our gorgeous raspberry tart to your dessert table.
For another fuss-free mini dessert, make our no bake cheesecake bites in crisp phyllo cups.
Add a few glasses of our white chocolate mousse to your dessert table.
These mini cheesecakes are even better with a spoonful of our cinnamon buttermilk caramel sauce on top.
For a bigger dessert spread, add our chocolate chip bundt cake to the table.
For a bite-sized treat the crowd will love, make our deep fried Twinkies.
Add our colorful monster cookie bars to your next dessert board.
Add our playful pop tart sugar cookies to your next party dessert table.
For another bite sized treat, bake a batch of pumpkin bundt cakes.
For your next brunch, bake this sour cream coffee cake with its double layer of crumble.
Craving a cool, minty treat? This no bake mint chocolate cheesecake has an Oreo crust and creamy mint filling.
Golden Oreo and white chocolate fans need these golden Oreo cheesecake bars.
Creamy, sweet, and packed with mix-ins, our smores ice cream tastes like summer.

Easy Mini Cheesecakes Recipe (Cherry Topped)
Ingredients
- Graham cracker crust:
- 1 cup Graham crackers
- 1/3 cup melted butter
- 2 tablespoons granulated sugar
- Cheesecake filling:
- 16 oz. cream cheese softened
- 3/4 cup granulated sugar
- 2 eggs at room temperature
- 1 teaspoon vanilla extract
- 2 cups cherry pie filling
Instructions
- Preheat the oven to 350°F/180°c. Line a 12 hole muffin tin with paper muffin liners and set aside.
- Add to a large mixing bowl the Graham cracker crumbs, melted butter and granulated sugar. Mix until well combined.1 cup Graham crackers, 1/3 cup melted butter, 2 tablespoons granulated sugar, Graham cracker crust:
- Divide the crust mixture between the paper muffin liners and press down firmly. Bake for 10 minutes, then set aside to cool slightly.
- To make the cheesecake filling, add the softened cream cheese and granulated sugar to the bowl of a stand mixer. Mix using a flat beater attachment on a high speed for 1 minute or until smooth.Cheesecake filling:, 16 oz. cream cheese, 3/4 cup granulated sugar
- Add the eggs and vanilla extract to the cream cheese mixture and beat on a medium speed until combined.2 eggs, 1 teaspoon vanilla extract
- Divide the filling mixture between the paper muffin liners over the cooled crusts. Bake for 12-15 minutes or until the cheesecake filing has set. Set aside to cool completely.
- Once cooled, top the cheesecakes with the cherry pie filling, and transfer to the fridge to chill for at least 4 hours before serving.2 cups cherry pie filling
Notes
- Pulse crust in a food processor until fine crumbs. Helps it press firmly.
- Use an ice‑cream scoop for equal portions of crust and filling.
- Tap the pan gently on the counter to settle the cheesecake batter.
- Bake mini cheesecakes until the centers jiggle slightly; carry‑over heat finishes setting.
- Cool gradually: first in the pan, then on the wire rack, then the fridge. Avoids cracking.
- Store adorable mini cheesecakes without toppings; add fruit sauce or whipped cream just before serving for a neat look.
Nutrition
Love This Recipe?
Follow @ThisSillyGirlsKitchen on Instagram and @danadevolk on Pinterest for more!


These look and taste amazing – Thanks for the recipe!