This post may contain affiliate links.
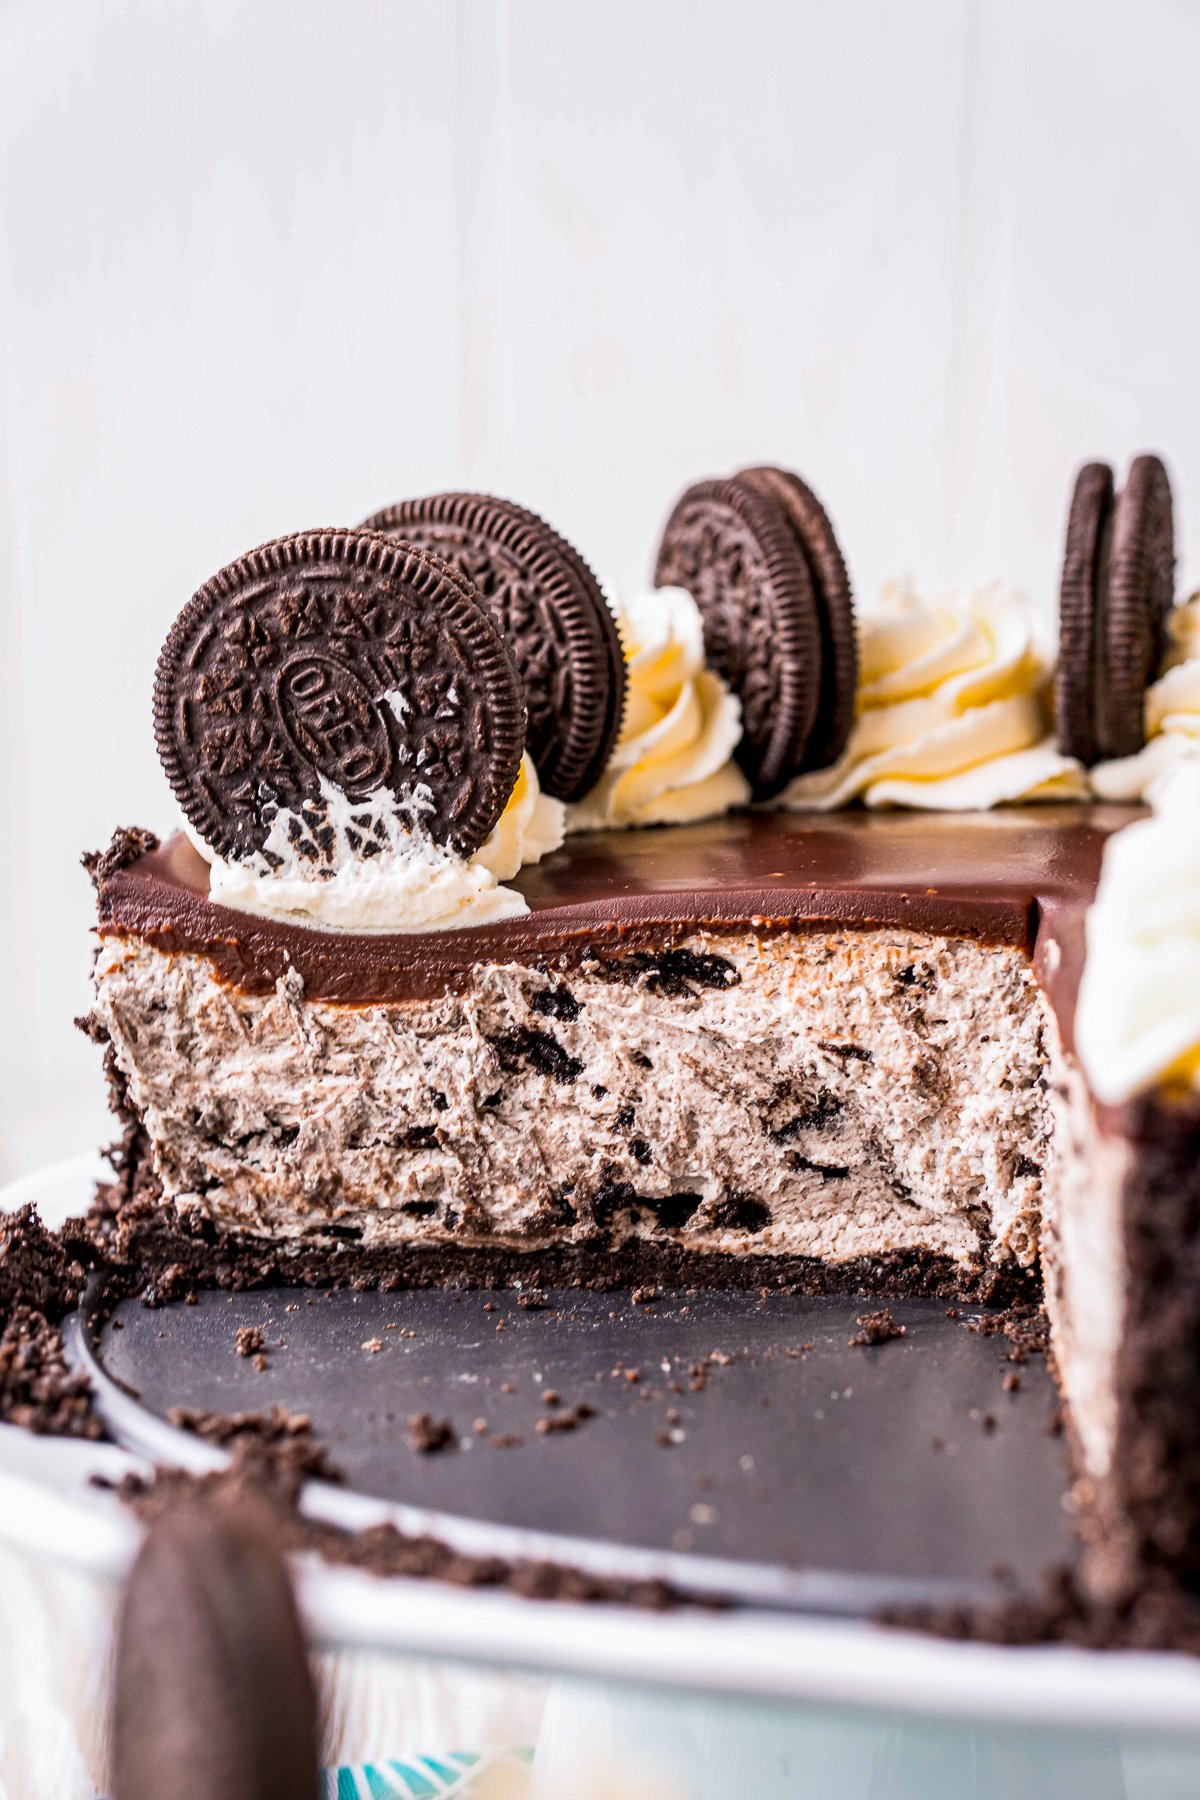
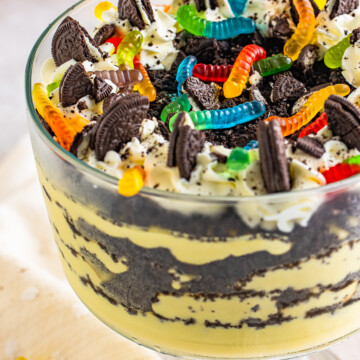
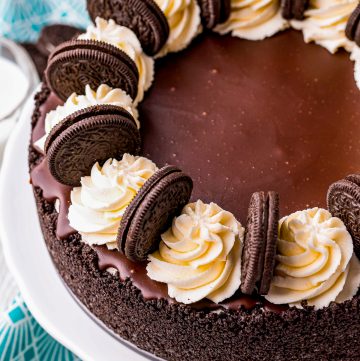
No Bake Oreo Cheesecake is a cookies-and-cream lover’s dream, with a buttery Oreo crust, an ultra creamy cheesecake filling loaded with crushed Oreos, and a glossy chocolate ganache on top. No oven required, which means it is my summer go-to when I refuse to turn on the heat. If you love easy Oreo treats, our Oreo dirt cake is another winner.

With a no bake filling and an optional ganache topping, this easy Oreo cheesecake sets up in the fridge and slices beautifully.
No Bake Oreo Cheesecake Quick Look
- 🕒 Prep Time: 30 minutes
- 🌡️ Cook Time: 0 minutes
- ⏳ Total Time: 6 hours 30 minutes
- 🍽️ Serving: 12 servings
- ⚡ Calories: 569kcal
- 🌶️ Flavor Profile: Rich, creamy cookies and cream with a chocolate ganache topping
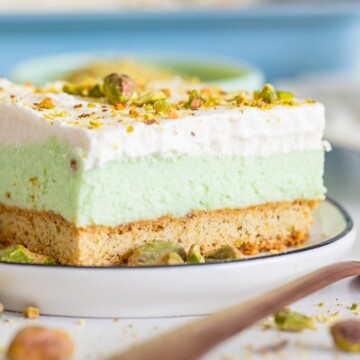
- ✋ Difficulty: Easy, a simple no bake dessert like our pistachio lush
Quick Answer
To make a no bake Oreo cheesecake, pulse Oreos into crumbs, mix with melted butter, and press into a springform pan. Cream together full fat cream cheese, powdered sugar, vanilla, and salt, then fold in Cool Whip and crushed Oreos. Spread the filling into the crust, top with a cooled chocolate ganache, and refrigerate for at least 6 hours before slicing and serving.
Jump to:
- No Bake Oreo Cheesecake Quick Look
- Quick Answer
- Why This Recipe Works
- Why You’ll Love This Recipe
- Key Ingredients
- Variations and Substitutions
- How to Make No Bake Oreo Cheesecake
- Recipe Tips & Tricks
- Serving Ideas and Suggestions
- No Bake Oreo Cheesecake FAQs
- Other Recommended No Bake Desserts
- The BEST No Bake Oreo Cheesecake Recipe
Why This Recipe Works
Click to see the technique science
- No oven means no cracks. Skipping the oven gives you a foolproof, ultra creamy cheesecake with none of the cracking or water baths a baked cheesecake requires.
- Full fat cream cheese sets firm. Using full fat, softened cream cheese is the key to a rich filling that holds a clean slice without baking.
- Cool Whip lightens and stabilizes. Folding in Cool Whip makes the filling airy and helps it set up firm in the fridge.
- Crushed Oreos are in every layer. Oreos in the crust and folded through the filling pack cookies and cream flavor into every single bite.
- Ganache adds a decadent finish. A simple chocolate ganache poured over the top sets into a glossy layer that makes the cheesecake feel extra special.
- The fridge does the work. A long chill is all it takes for the filling and ganache to firm up, so it is an easy make ahead dessert.
Why You’ll Love This Recipe
- It is a rich, creamy cookies and cream cheesecake with no oven and no fuss required.
- It is an easy make ahead dessert that looks bakery worthy, perfect for parties alongside our Oreo dirt cake.
- The buttery Oreo crust, cookie-packed filling, and chocolate ganache are a guaranteed crowd pleaser.
- It is the kind of no fuss win that pairs beautifully with our mini lemon cheesecakes on a busy week.
- It earns a spot in the rotation right next to our Oreo buttercream frosting.
- It is the kind of no fuss win that pairs beautifully with our no bake oreo pie on a busy week.
Key Ingredients
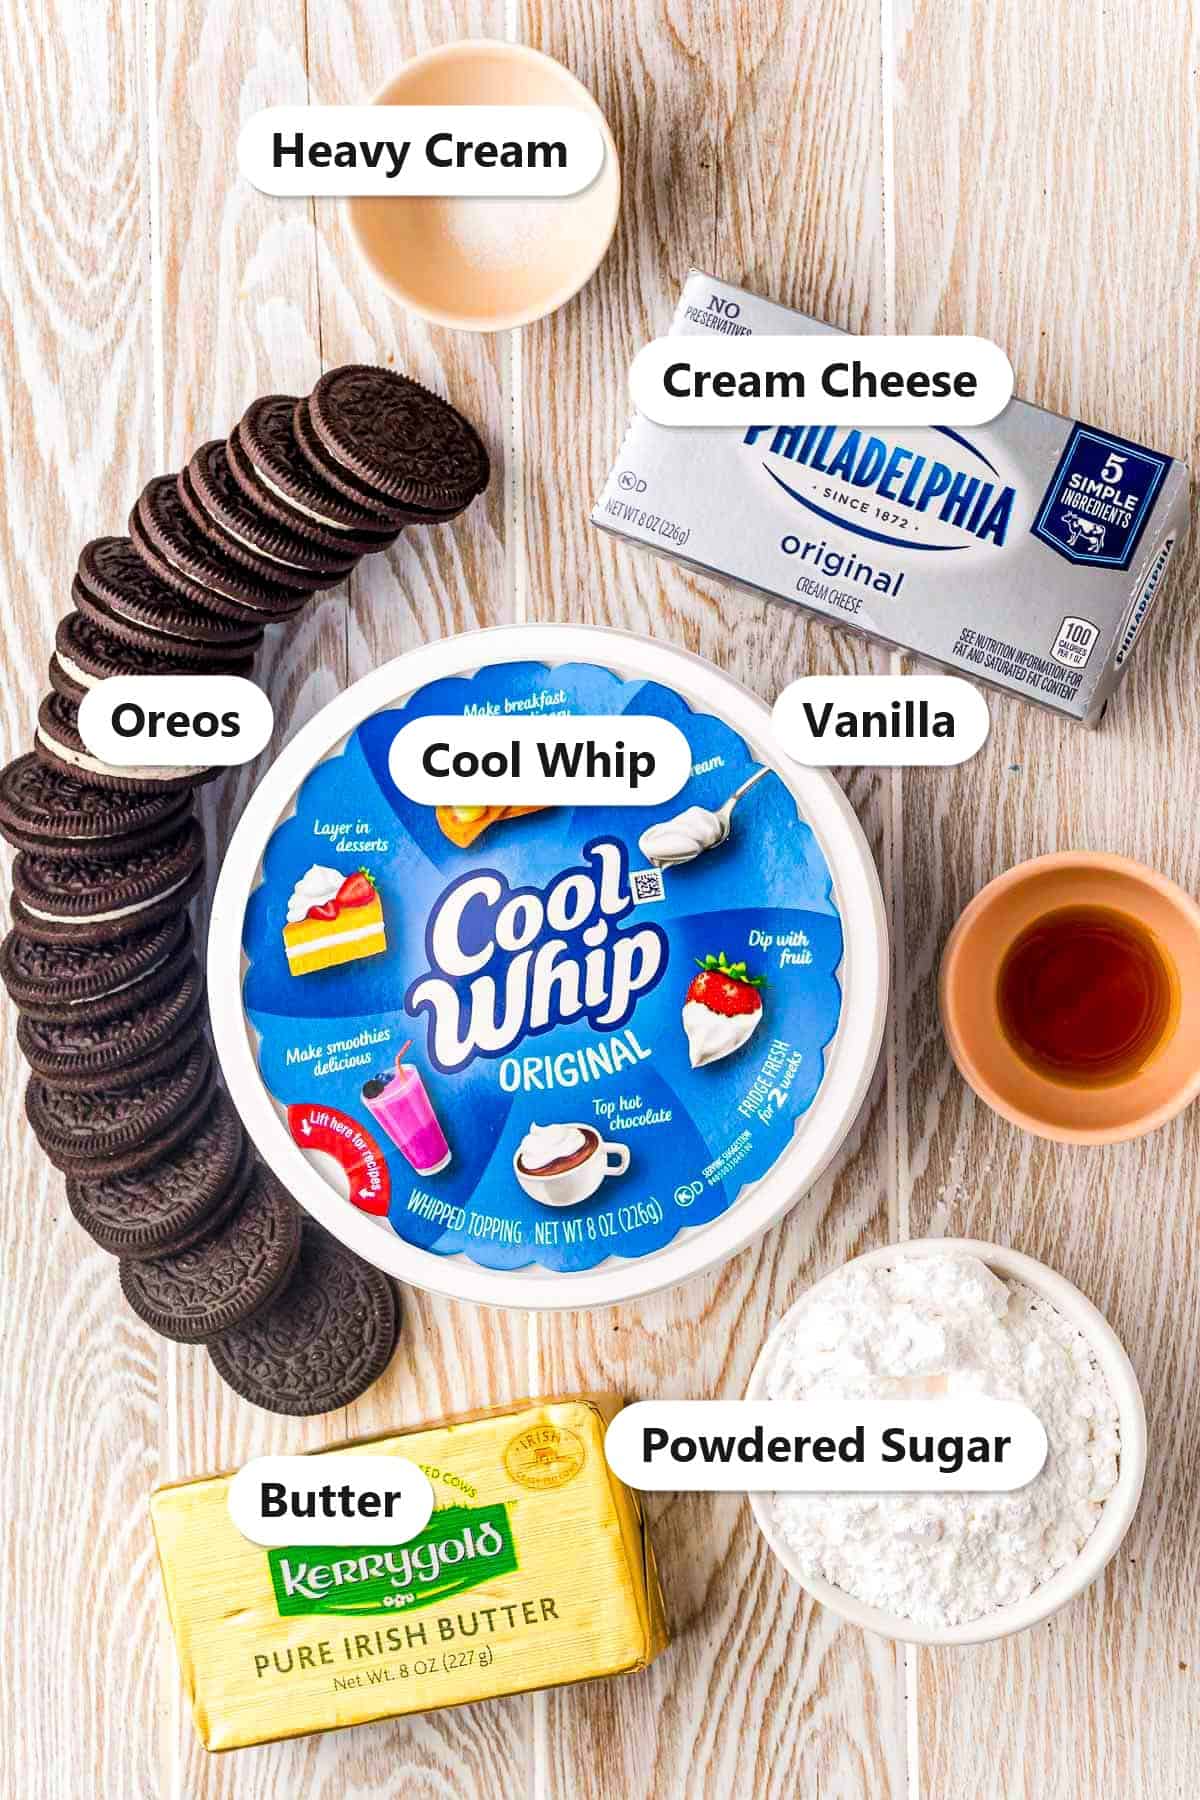
A short list of simple ingredients make this creamy cheesecake. Here are the ones that matter most.
- Oreos: Crushed into a buttery crust and folded into the filling, they give the cheesecake its signature cookies and cream flavor.
- Cream cheese: Use full fat, softened cream cheese for the richest, smoothest, most stable no bake filling.
- Cool Whip: Folded in to lighten the filling and help it set up firm without baking.
- Powdered sugar: Sweetens the filling and dissolves smoothly without any graininess.
- Chocolate chips and heavy cream: Melted into an optional ganache that pours over the top for an extra decadent finish.
See recipe card for exact quantities.
Variations and Substitutions
This no bake Oreo cheesecake is easy to make your own:
- Skip the ganache: The cheesecake is delicious on its own, so leave off the ganache and just top with whipped cream and Oreos.
- Change the cookie: Use Golden Oreos, mint Oreos, or peanut butter Oreos for a fun flavor twist.
- Make it mini: Press the crust and filling into a muffin tin for individual cheesecakes like our mini cheesecakes.
- Add mix-ins: Fold in mini chocolate chips or a swirl of fudge along with the crushed Oreos.
- For another spin on this idea, try our no bake cherry cheesecake next time.
- In the mood for something different? Our butterscotch sauce scratches a similar itch.
- For another spin on this idea, try our no bake pumpkin cheesecake next time.
How to Make No Bake Oreo Cheesecake
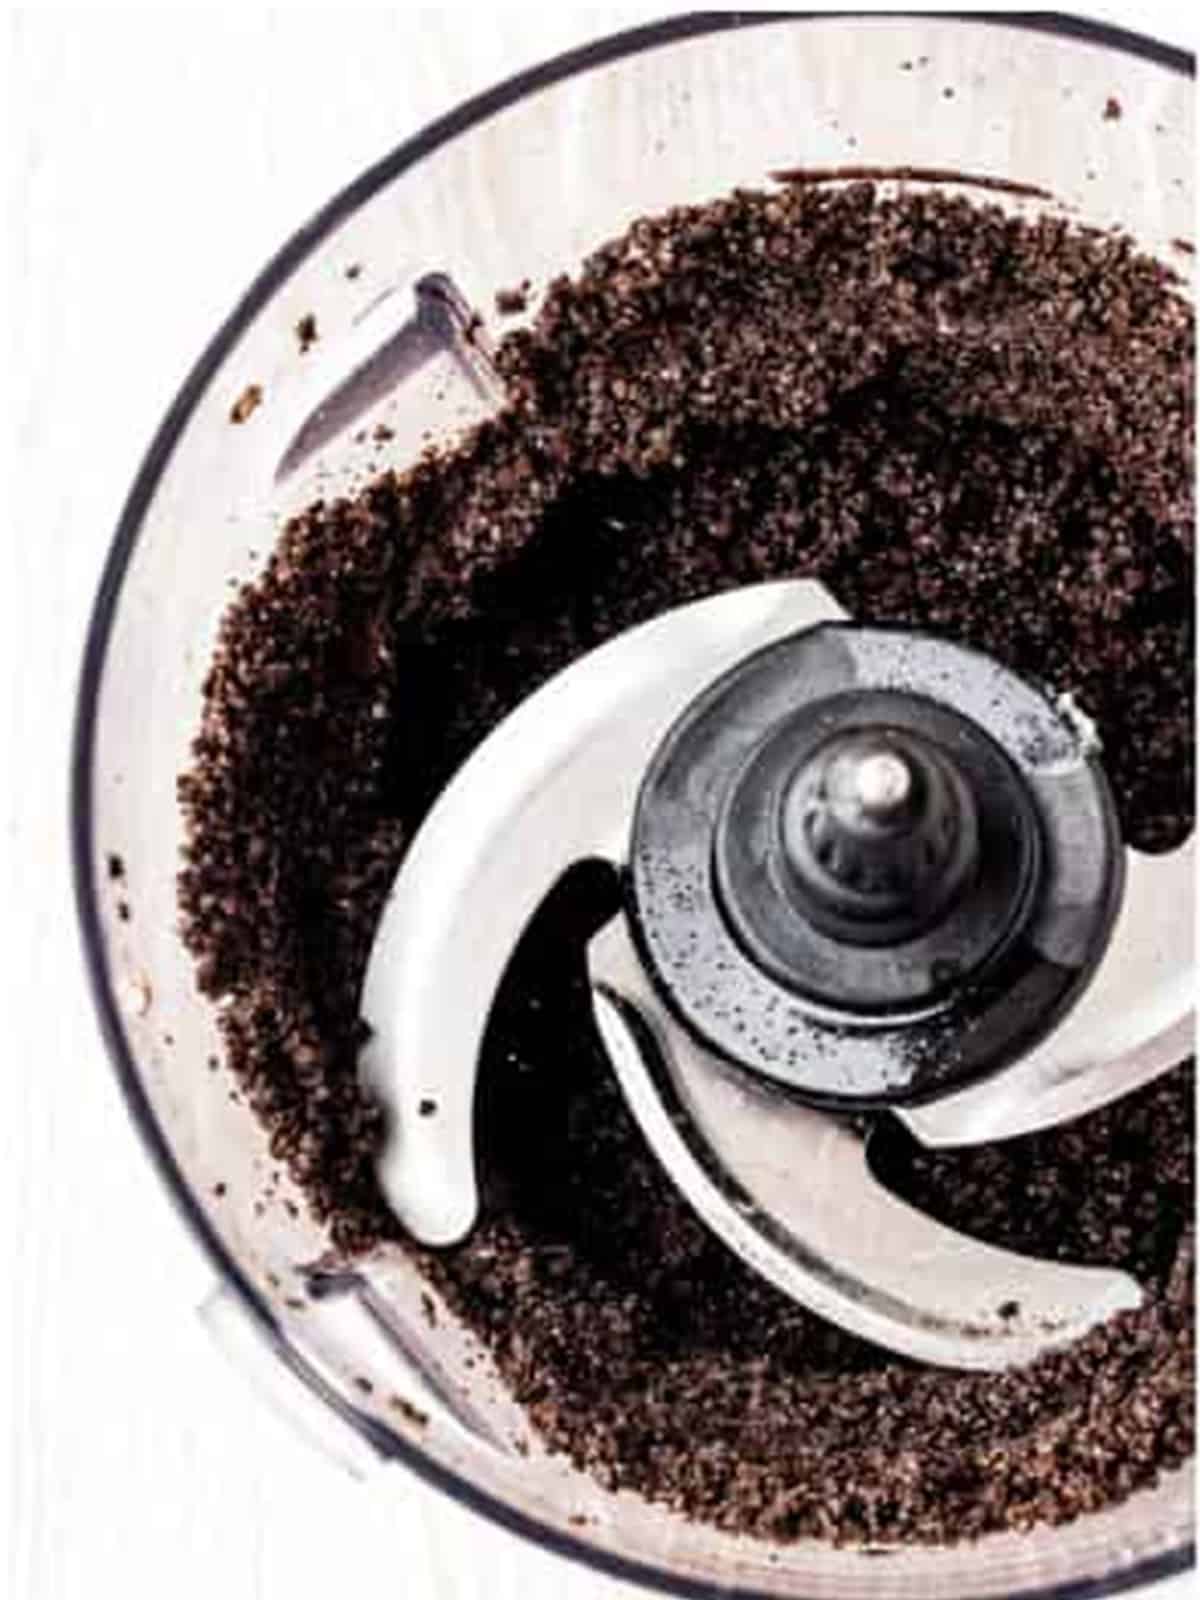
- Pulse the 28 Oreos in a food processor until fine crumbs form, then pulse in the melted butter and salt until combined.
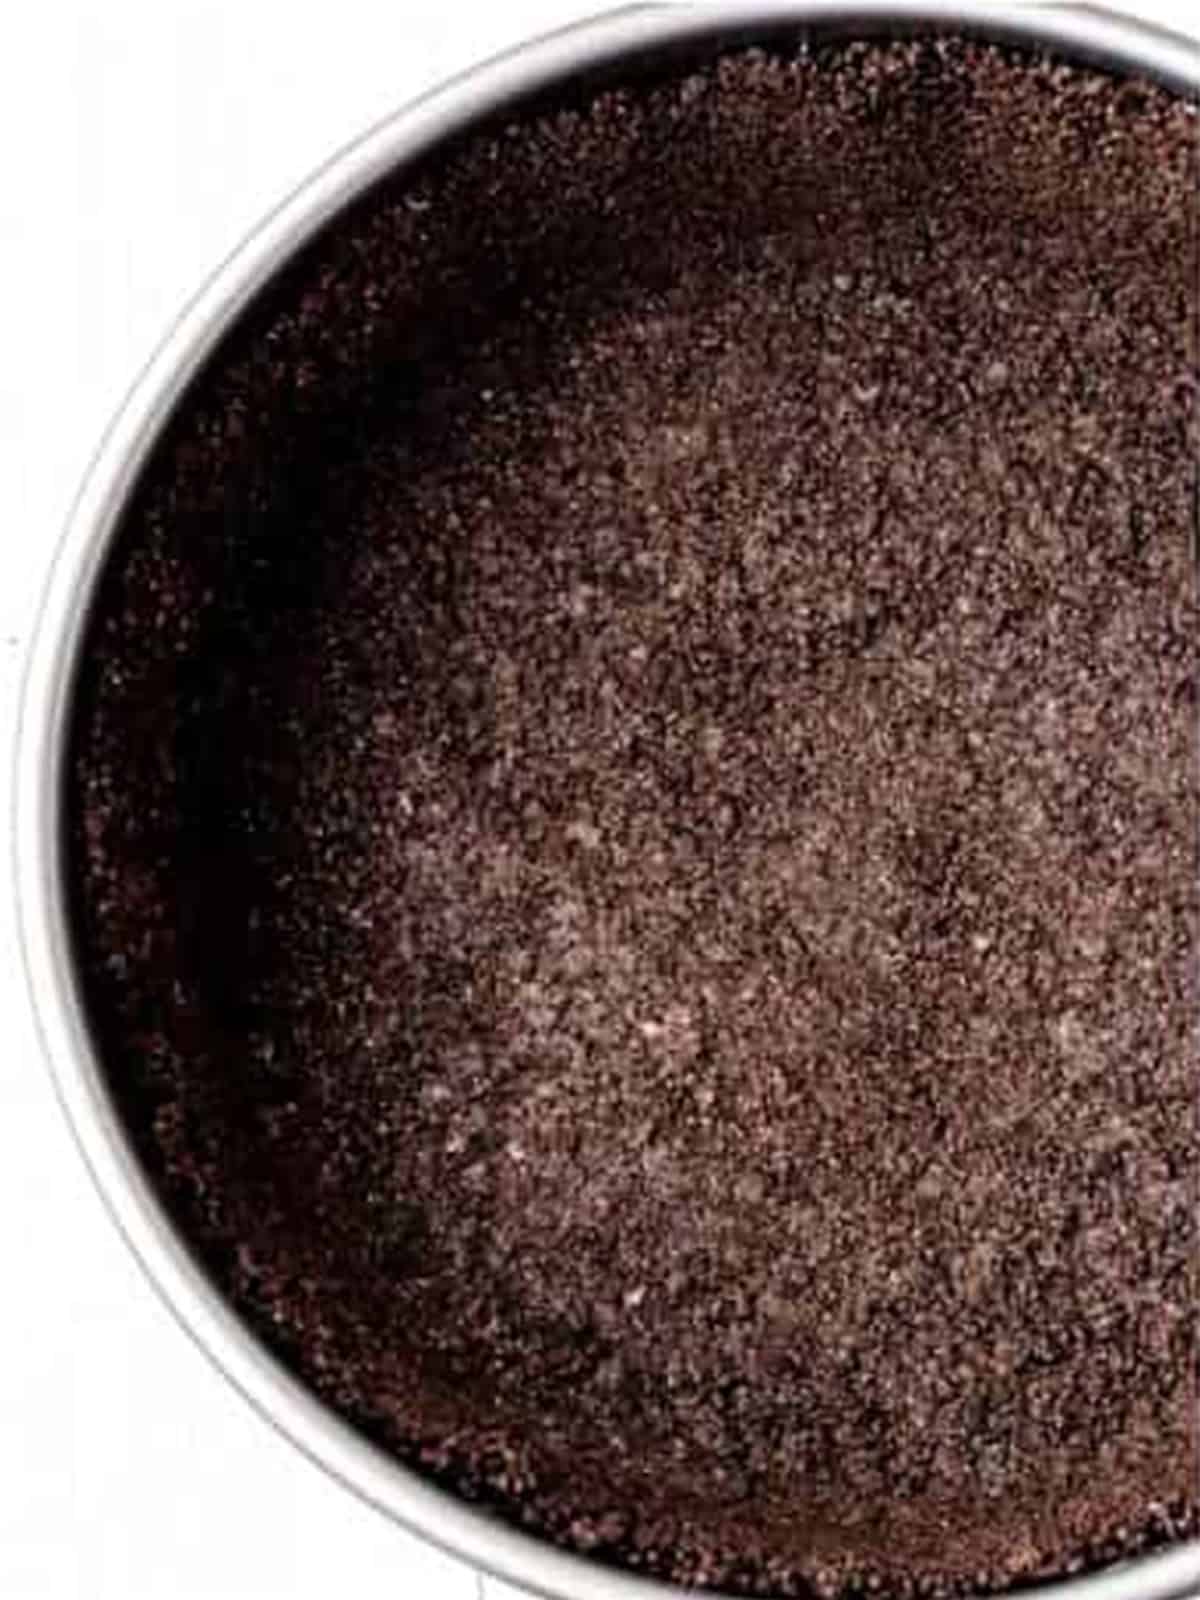
- Press the crumb mixture evenly into the bottom and up the sides of a 10-inch springform pan, using a flat bottomed glass to help.
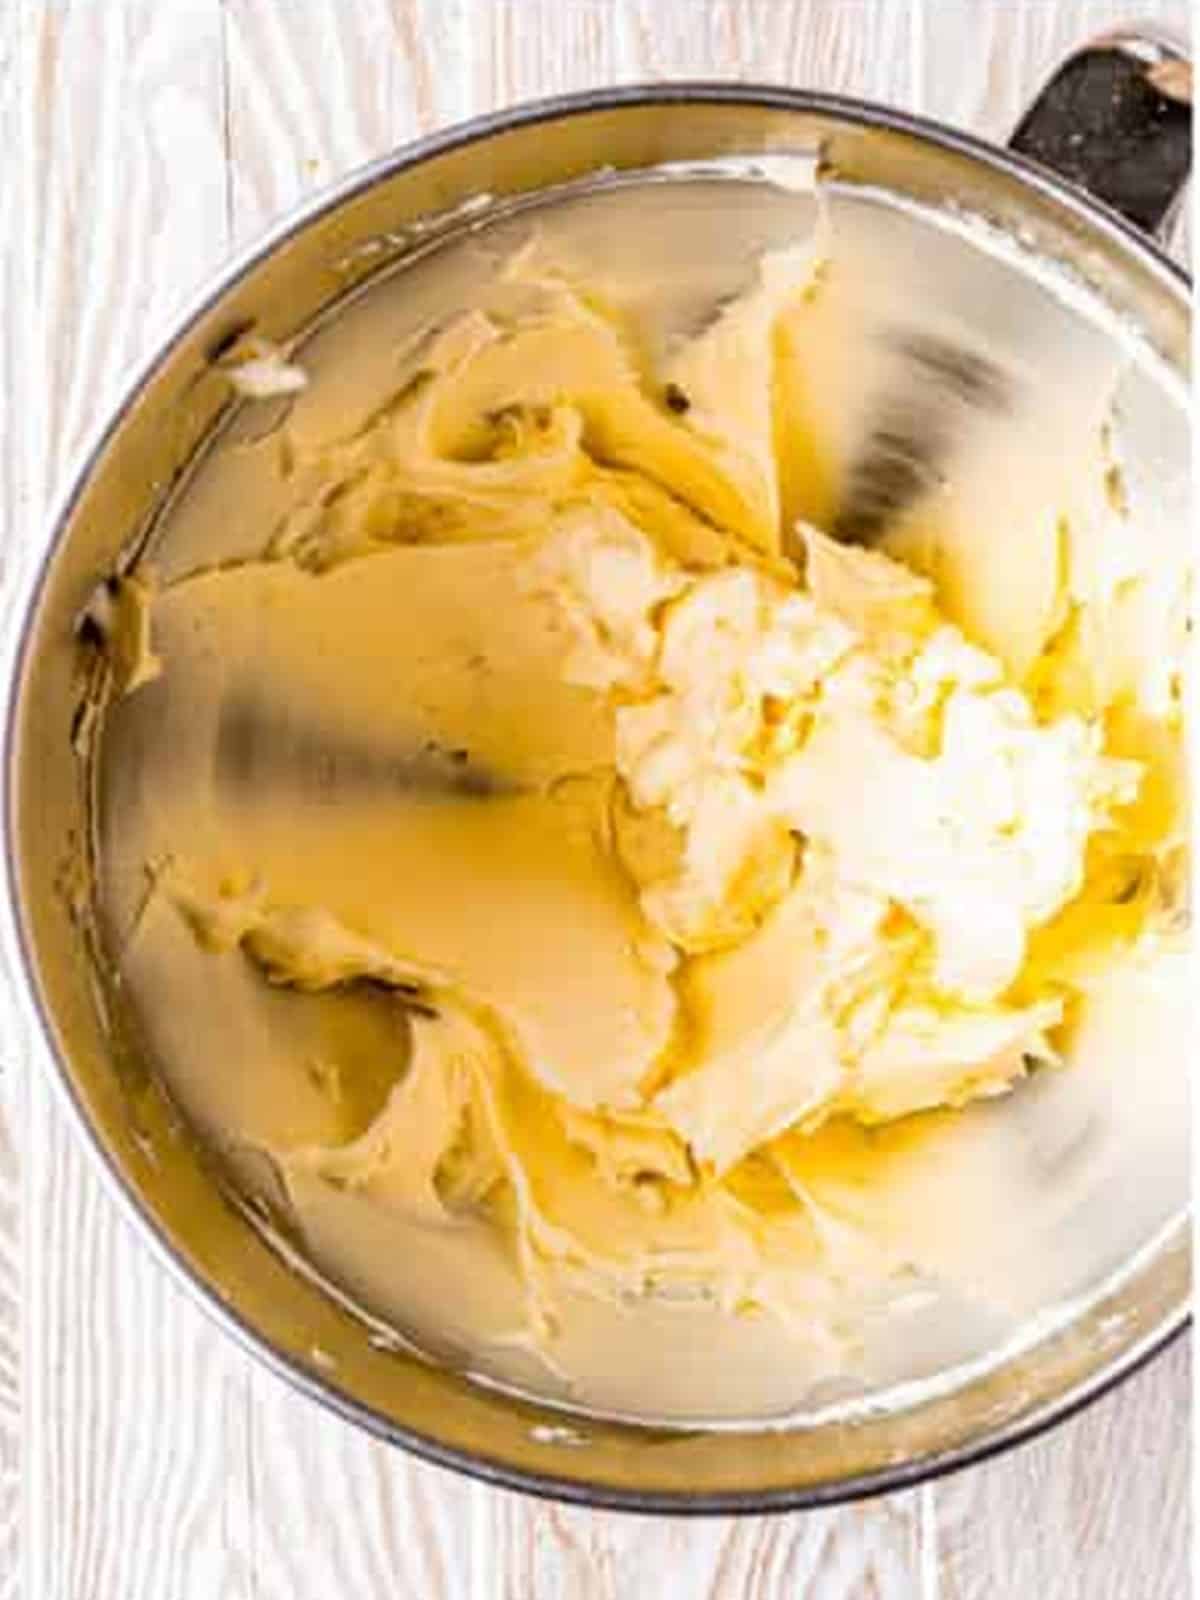
- Cream the cream cheese, powdered sugar, vanilla, and salt together until light and fluffy.
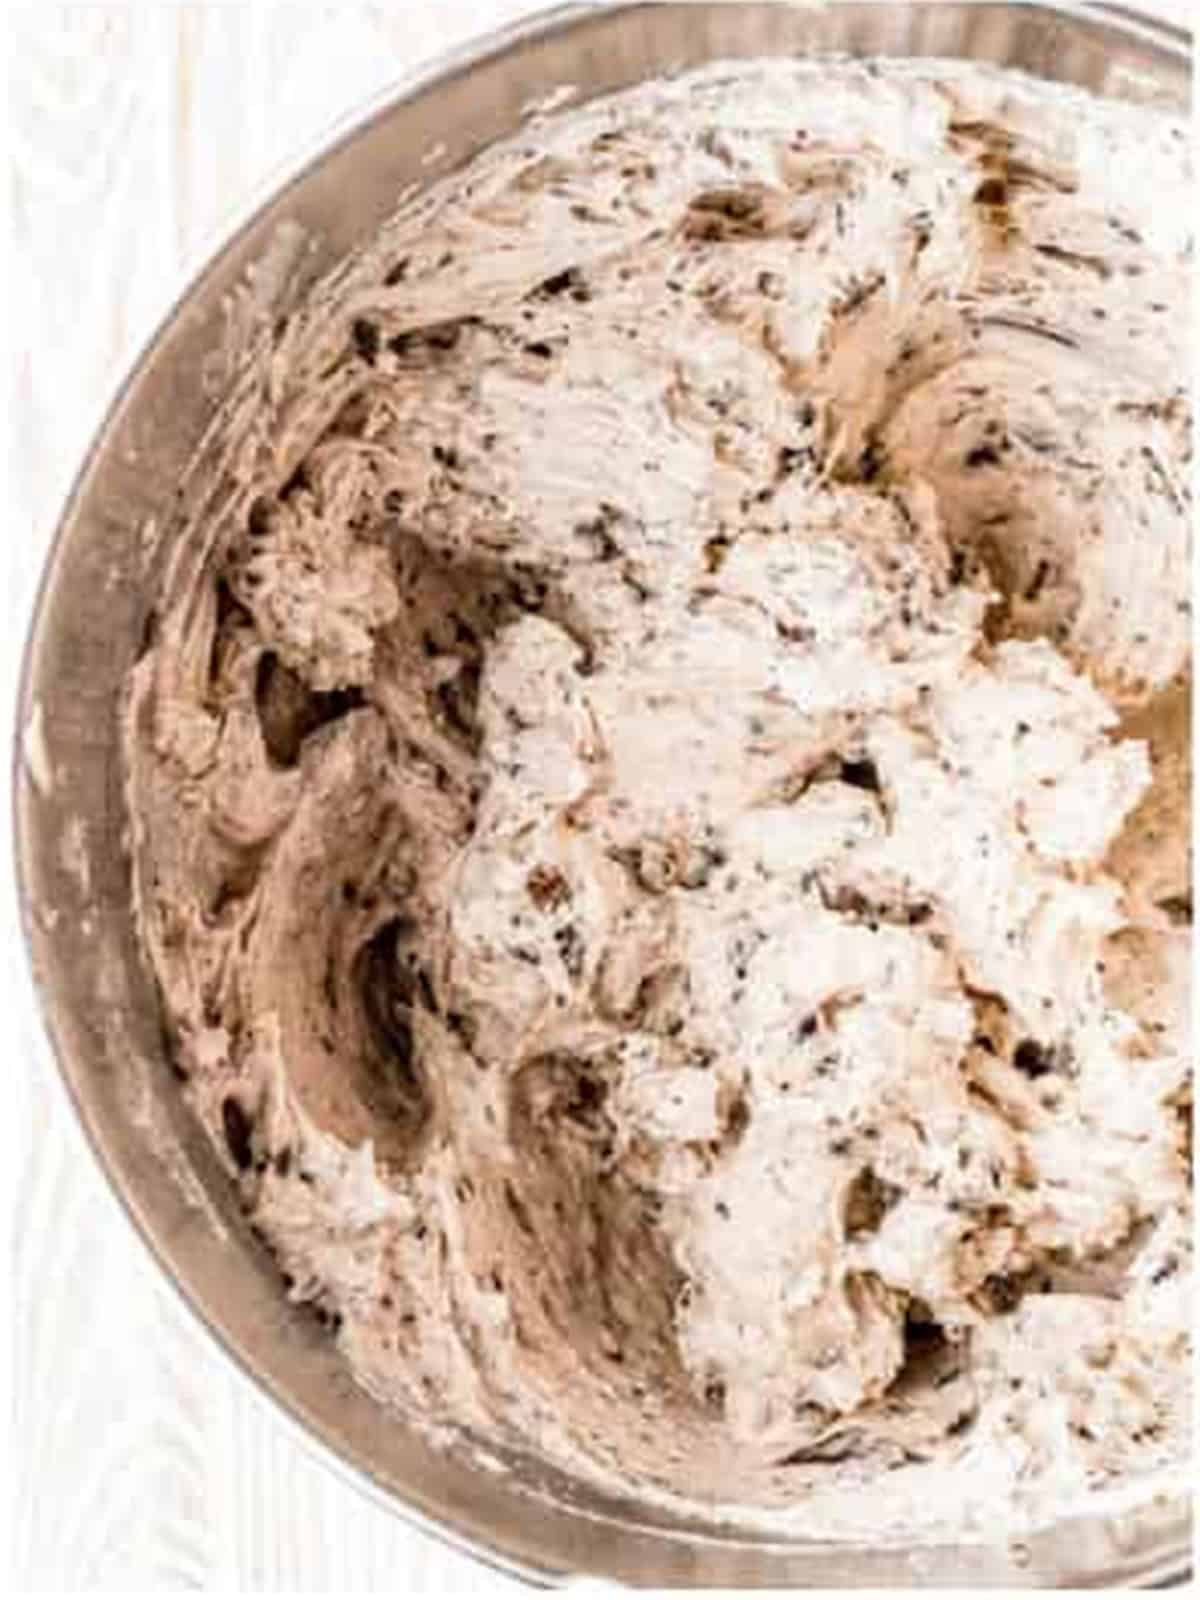
- Fold in the Cool Whip, then the crushed Oreos, mixing gently until hardly any white streaks remain.
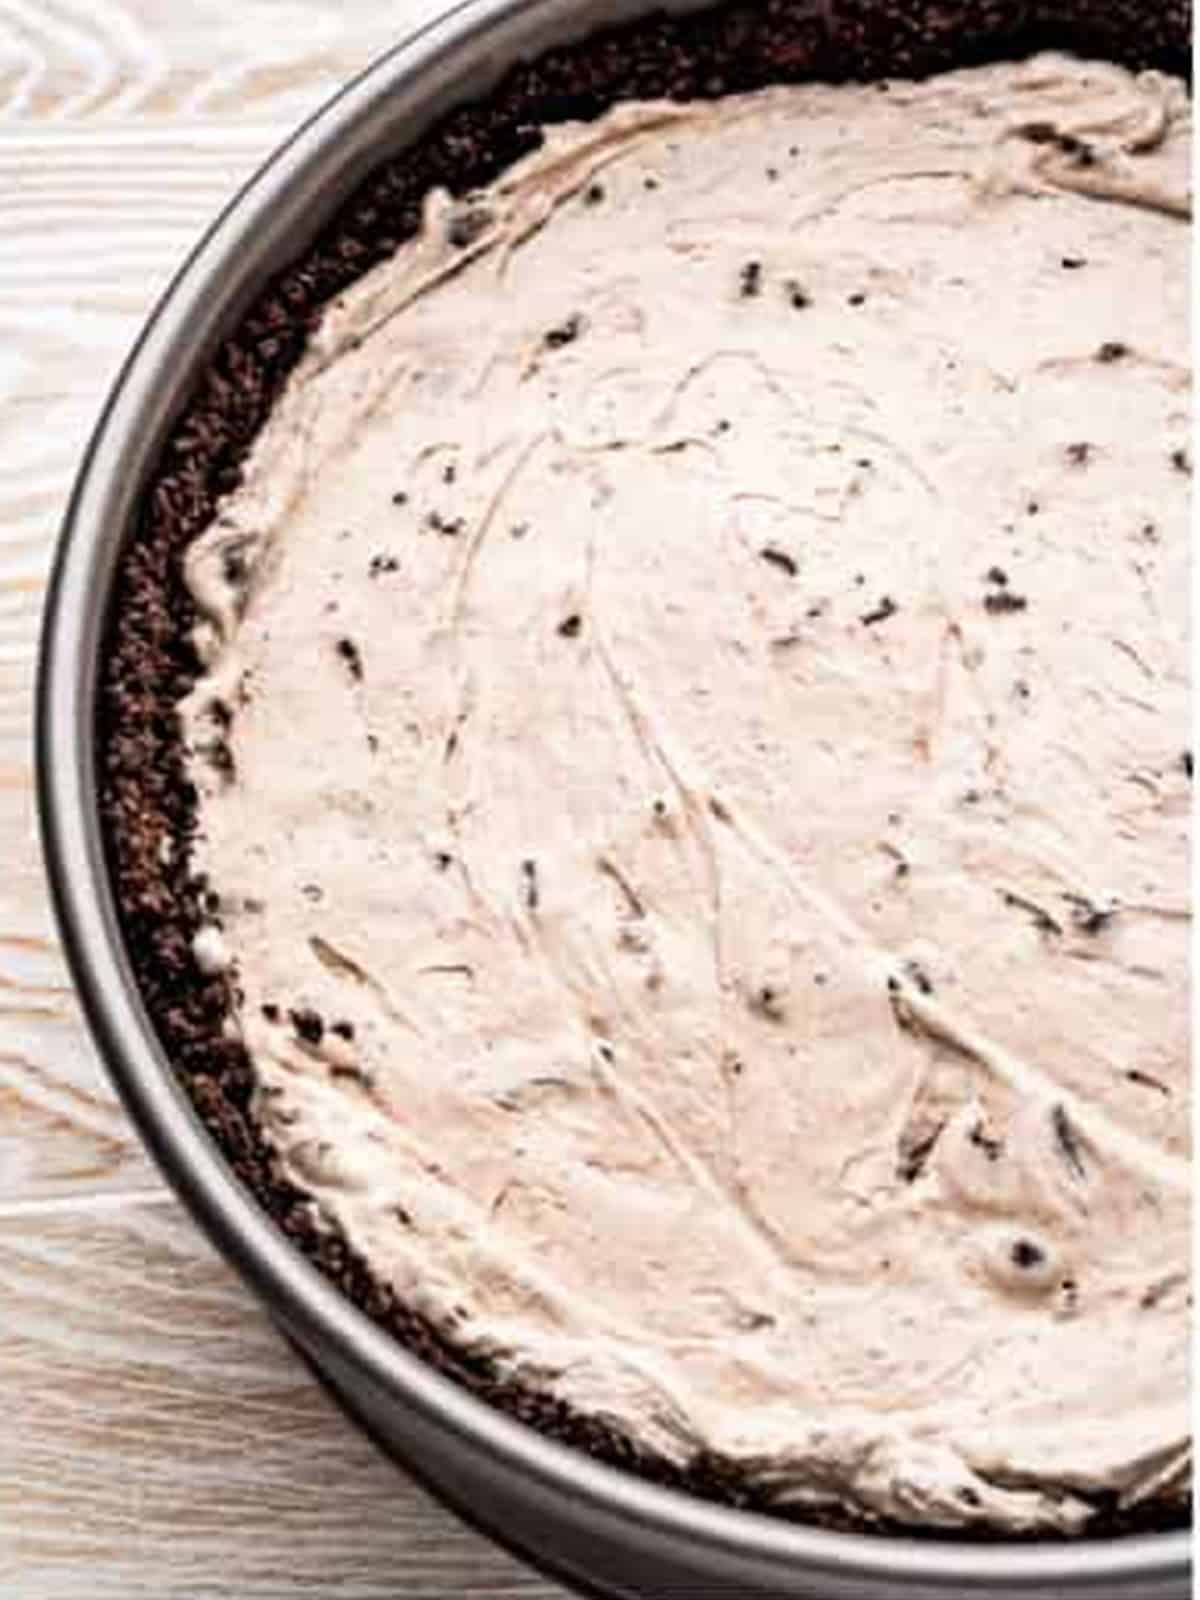
- Transfer the filling to the crust and spread it out evenly and gently.
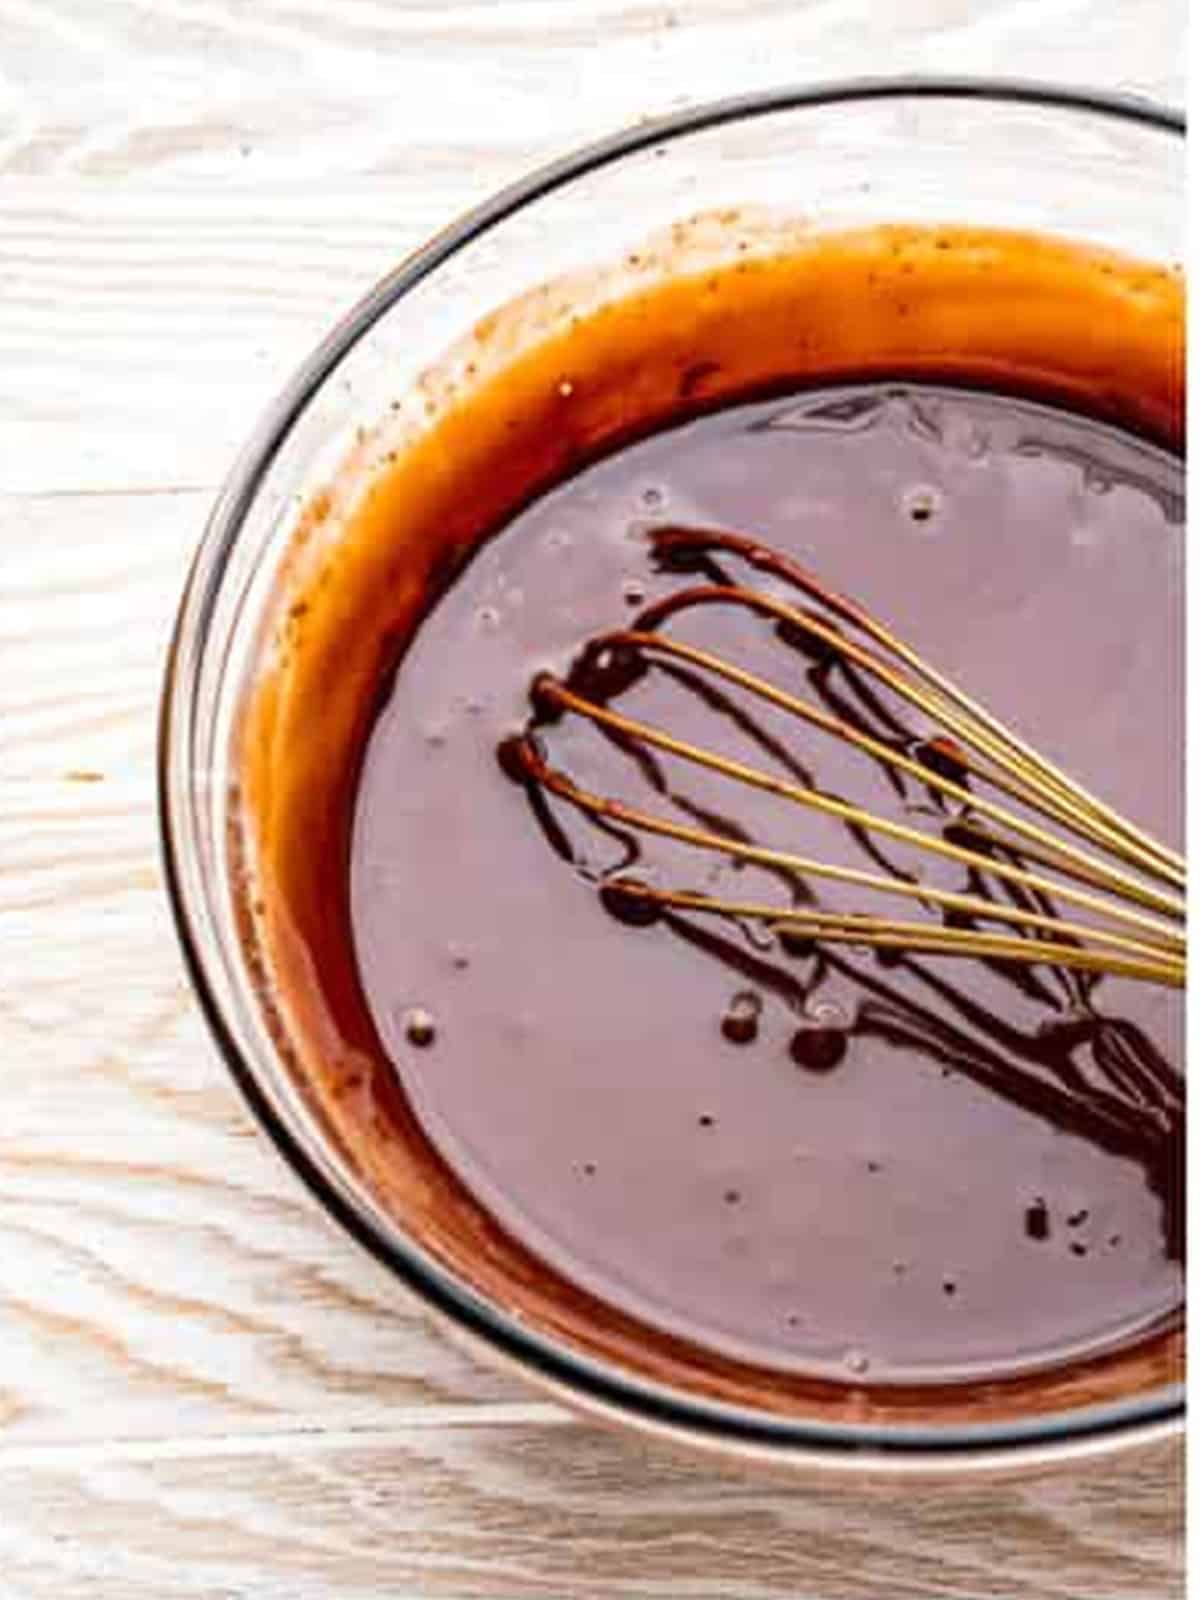
- Microwave the chocolate chips and heavy cream and whisk into a smooth ganache, let it cool 15 minutes, then pour over the filling. Refrigerate at least 6 hours before slicing, then garnish with whipped cream and Oreos.
Recipe Tips & Tricks
- Use full fat cream cheese, low fat or whipped versions will not set up firm enough for clean slices.
- Soften the cream cheese to room temperature so the filling whips up smooth and lump free.
- Pack the crust firmly, pressing it tightly with a flat glass helps it hold together when sliced.
- Let the ganache cool for 15 minutes before pouring so it does not melt the filling underneath.
- Chill at least 6 hours, or overnight, so the cheesecake is fully set before you slice it.
- Run a warm knife around the edge before releasing the springform pan for a clean release.
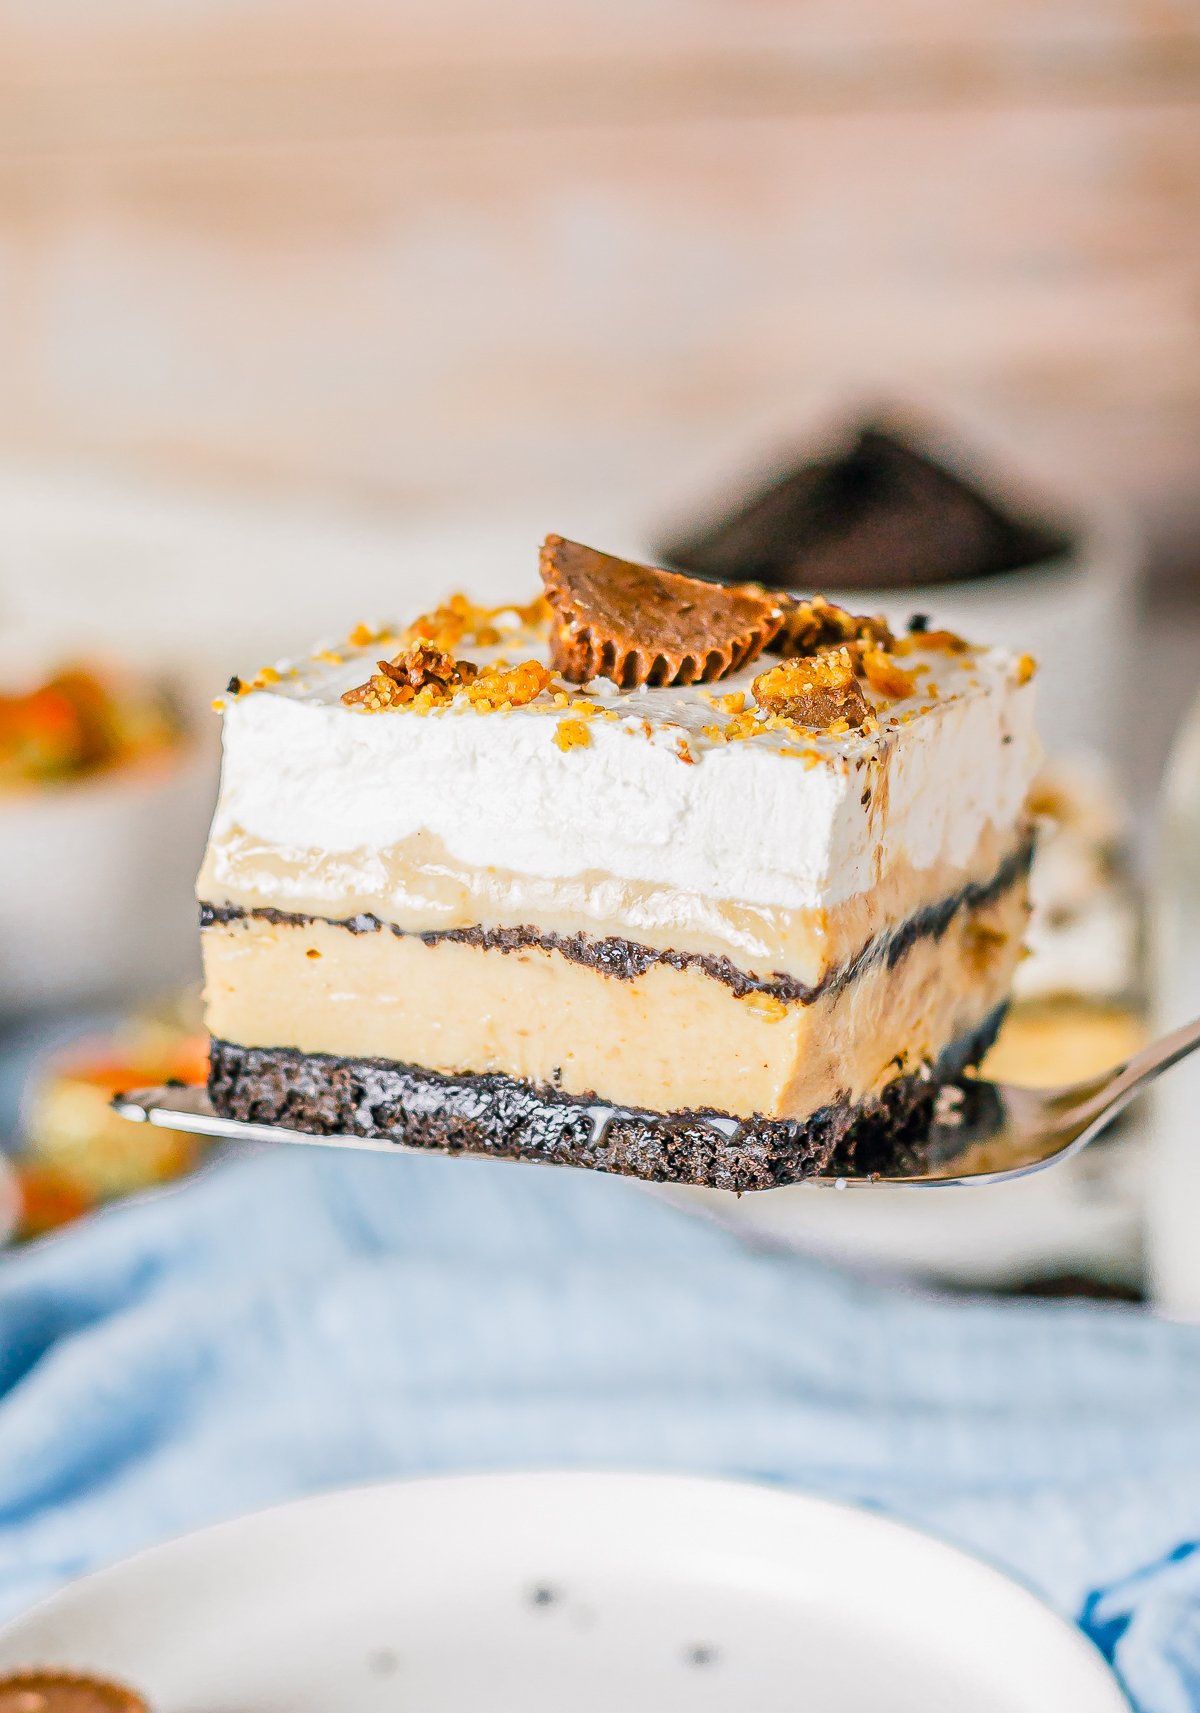
- Double up for gatherings. Serve it alongside our no bake butterfinger cheesecake and watch both disappear.
- Make it a full spread. Our chocotorta rounds out the table.
Serving Ideas and Suggestions
This no bake Oreo cheesecake is rich, so slice it into thin wedges. Serve each slice chilled, topped with a swirl of whipped cream and a whole or halved Oreo for that classic cookies and cream look.
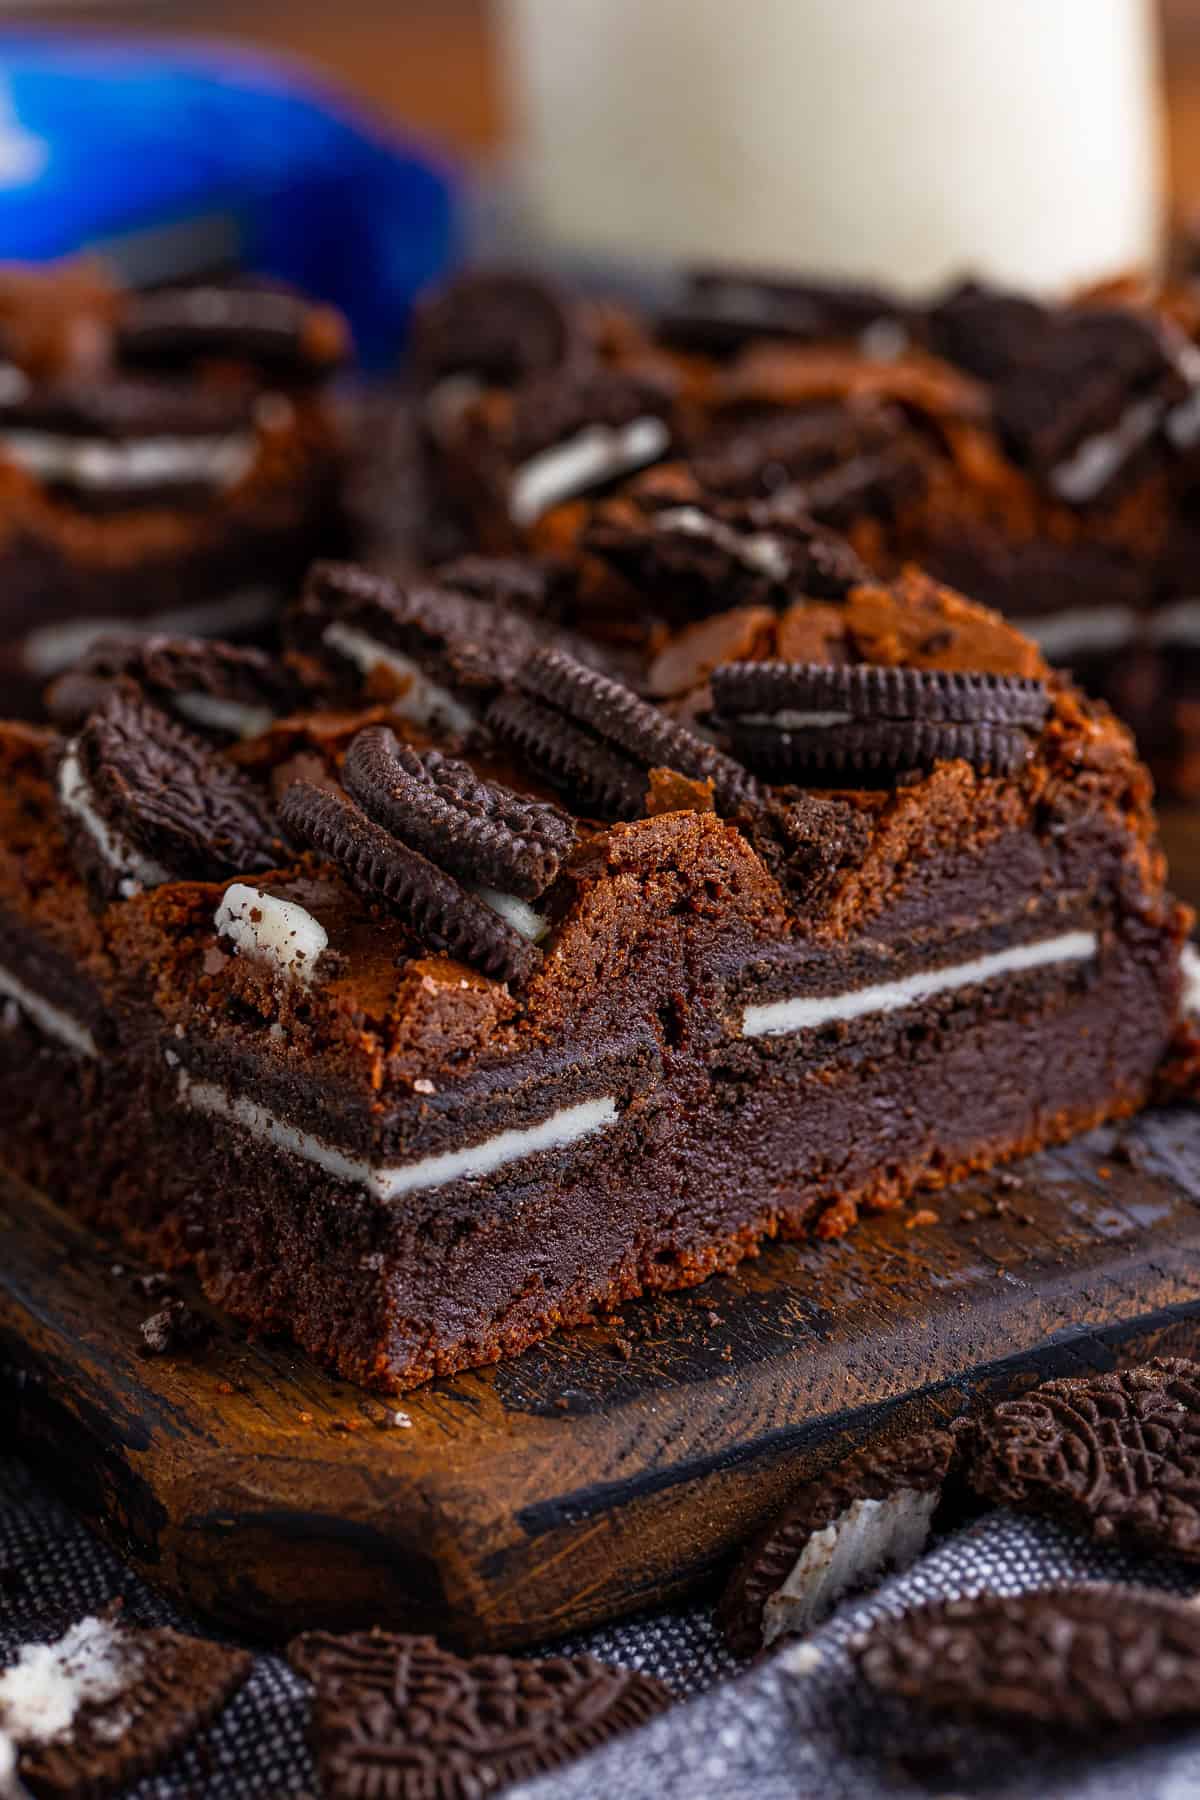
It is a showstopping dessert for any gathering, right alongside other crowd pleasers like our chocolate lasagna, Oreo brownies, and peanut butter buckeyes.
Store leftovers covered in the refrigerator and serve cold. The cheesecake keeps its texture beautifully for several days, so it is a great dessert to make a day or two ahead for a party.
No Bake Oreo Cheesecake FAQs
A no bake Oreo cheesecake needs at least 6 hours in the refrigerator to set, though overnight is even better. The long chill lets the cream cheese and Cool Whip filling firm up and the ganache topping set so the cheesecake slices into clean, beautiful pieces. Do not rush it, or the filling may be too soft to slice.
Yes, no bake Oreo cheesecake is an ideal make ahead dessert. Since it needs at least 6 hours to chill, you can easily make it a full day in advance. Keep it covered in the refrigerator, and add the whipped cream and Oreo garnish just before serving so they look fresh and pretty.
If your no bake Oreo cheesecake is not setting, the most common reasons are using low fat or whipped cream cheese, not chilling it long enough, or over softening the Cool Whip. Always use full fat block cream cheese, fold the Cool Whip in gently, and give the cheesecake a full 6 hours or more in the refrigerator to firm up.
No, the chocolate ganache is optional. The no bake Oreo cheesecake is delicious on its own, simply topped with whipped cream and Oreos. The ganache adds a glossy, decadent chocolate layer that many people love, but you can leave it off for a lighter cookies and cream cheesecake.
Store no bake Oreo cheesecake covered in the refrigerator for up to four days. Because of the cream cheese and dairy, it should always be kept cold. You can also freeze the cheesecake, well wrapped, for up to a month, then thaw it in the refrigerator before serving for the best creamy texture.
A 10-inch springform pan is best for no bake Oreo cheesecake because the removable sides make it easy to release the cheesecake for clean slices. If you only have a 9-inch springform pan, the cheesecake will simply be a little taller. You can also make it in a pie plate, though it will not unmold as neatly.
Still filling out the menu? Readers love pairing this one with our chocolate chip cake, no bake Oreo cheesecake, and oatmeal cream pie ice cream bars.

The BEST No Bake Oreo Cheesecake Recipe
Ingredients
Crust:
- 28 Oreos
- 6 tablespoons salted butter melted
- ½ teaspoon salt optional
Filling
- 16 ounces cream cheese full fat only
- 1 cup powdered sugar
- 1 teaspoon vanilla extract
- ½ teaspoon salt
- 16 ounces cool whip thawed
- 15 Oreos crushed
Ganache (optional)
- ⅔ cup semi-sweet chocolate chips
- ½ cup heavy cream
Topping
Instructions
- Add the 28 Oreos for the crust to a food processor and pulse until fine crumbs form. Add in the melted butter and salt and pulse until combined.
- Transfer the crust mixture to a 10-inch springform pan and press evenly into the bottom and up the sides of the pan. I find that a flat bottomed and sided drinking glass helps with this.
- In a large bowl or stand mixer fitted with a paddle attachment, cream together the cream cheese, sugar, vanilla, and salt until light and fluffy.
- Scrape down the sides of the bowl and fold in the cool whip followed by the crushed Oreos and mix until combined and hardly any white streaks remain. The mixture will have a grayish tint to it.
- Transfer the filling to the crust and spread out evenly and gently.
- Add the chocolate chips and heavy cream to a medium microwave-safe bowl and microwave for 45 seconds, whisk together the ganache, microwaving for an additional 15 seconds, if needed for the chocolate to fully melt. Let sit at room temperature for 15 minutes.
- Pour the cooled ganache over the top of the cheesecake filling then refrigerate for at least 6 hours before slicing and serving.
- Top with whipped cream and Oreos for garnish, if desired.
Notes
- Nutritional value does not include the toppings.
- This does have to chill for about 6 hours for the filling to set up.
- You can make this in a pie plate instead of a springform pan, see my tips above.
- Increase or decrease your Oreos in the filling to your flavor preference.
- The ganache is optional but highly recommended.
- Switch up your Oreos for a different color or flavor.
- Achieve fine Oreo crumbs with a food processor for a smooth crust.
- Ensure the cream cheese is at room temperature for that perfectly creamy filling.
- Fold in the Cool Whip gently with a rubber spatula to keep the mixture light and fluffy.
- For easy removal, a springform pan is your best friend. That’s probably the hardest part of this whole thing, haha!
- A bit of hot water on your knife will help you slice through the cheesecake cleanly.
- Get creative with toppings – this is your chance to make the cheesecake uniquely yours.
Nutrition
Love This Recipe?
Follow @ThisSillyGirlsKitchen on Instagram and @danadevolk on Pinterest for more!


