This post may contain affiliate links.
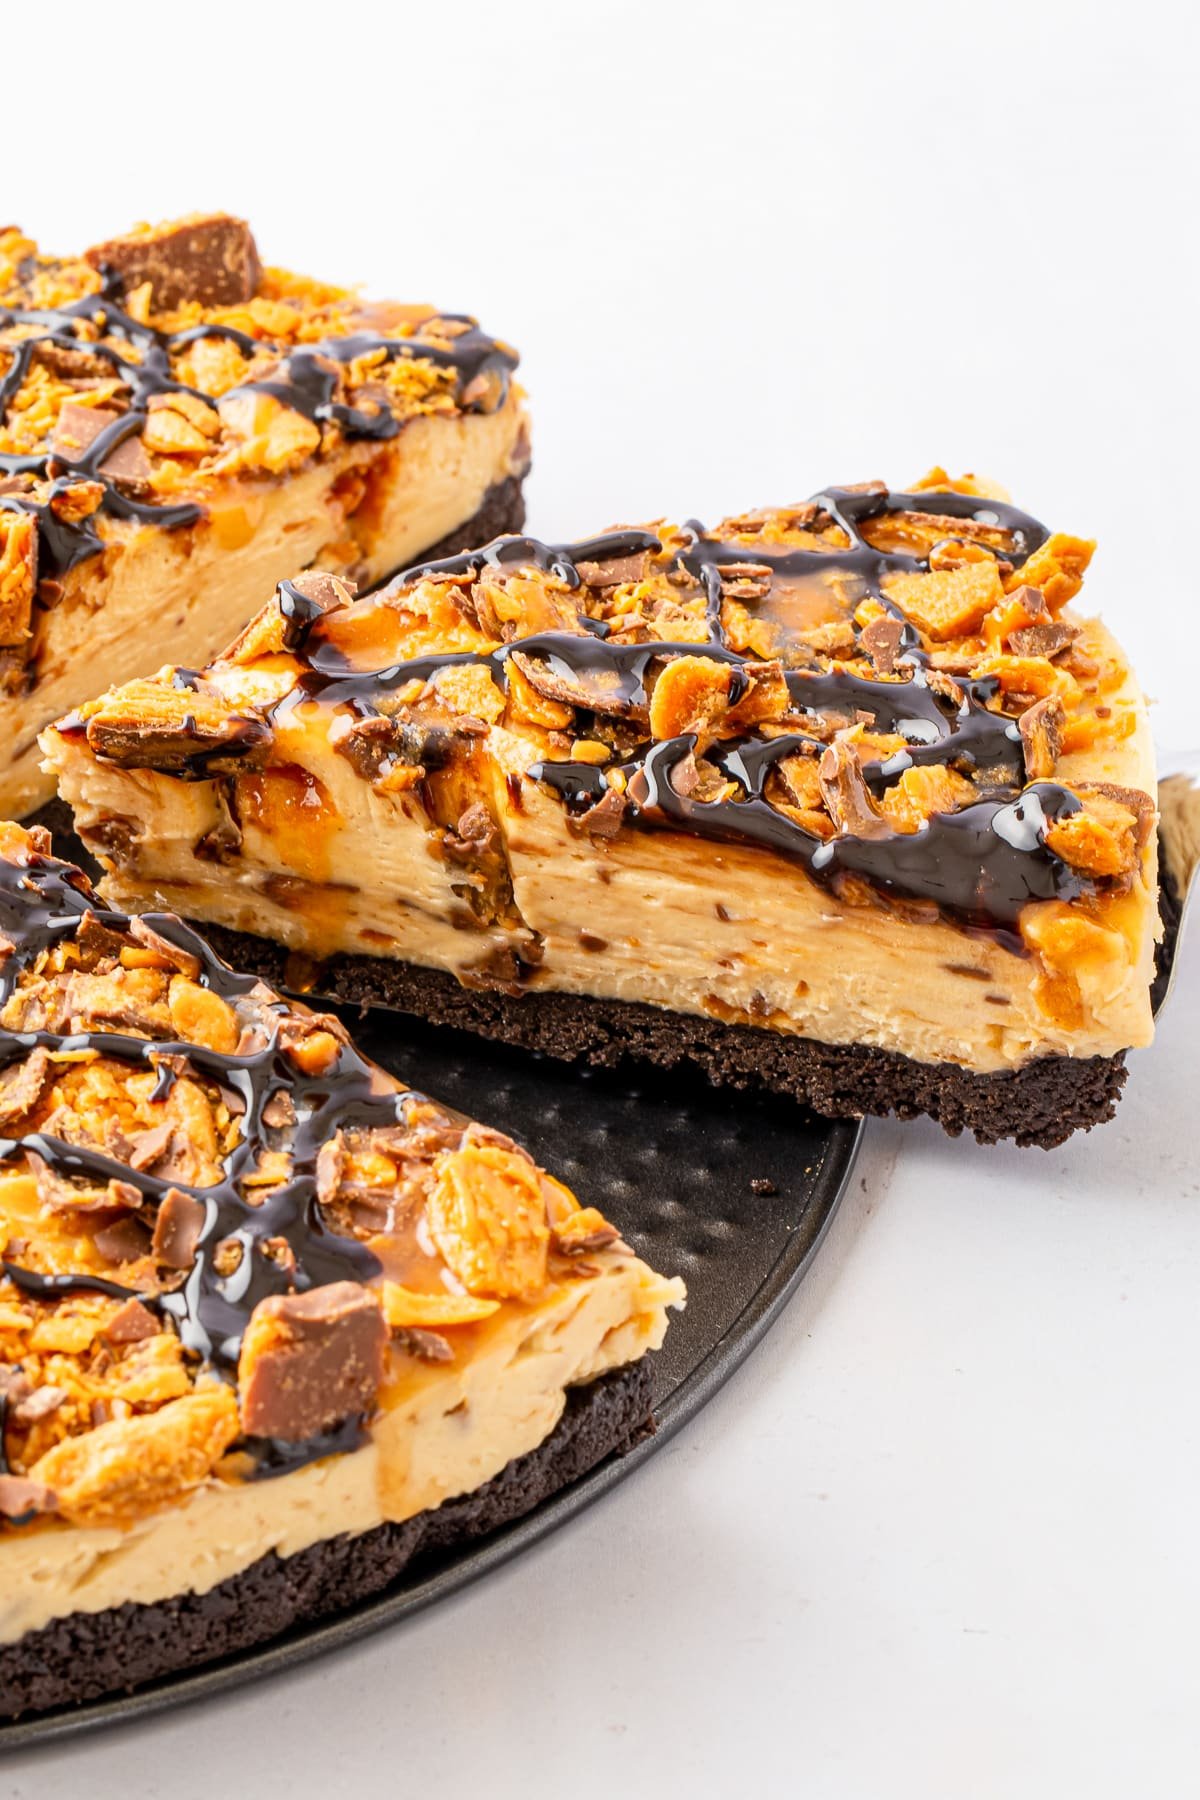
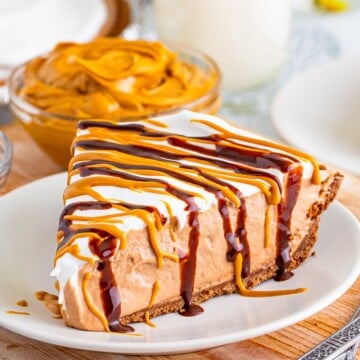
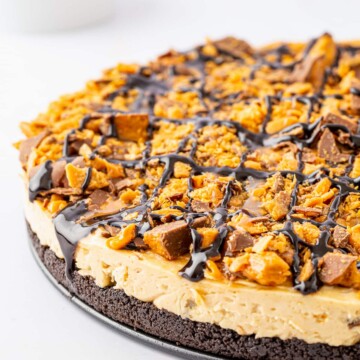
Butterfinger Cheesecake is the ultimate no bake candy bar dessert, a creamy peanut butter cheesecake loaded with crunchy Butterfinger pieces on a chocolate Oreo crust, all drizzled with chocolate and caramel. I made the first one for a Halloween party to use up leftover candy, and it disappeared so fast Lizzie barely got a slice. If you love an easy no bake treat like our chocolate peanut butter pie, this Butterfinger cheesecake is pure candy bar heaven.
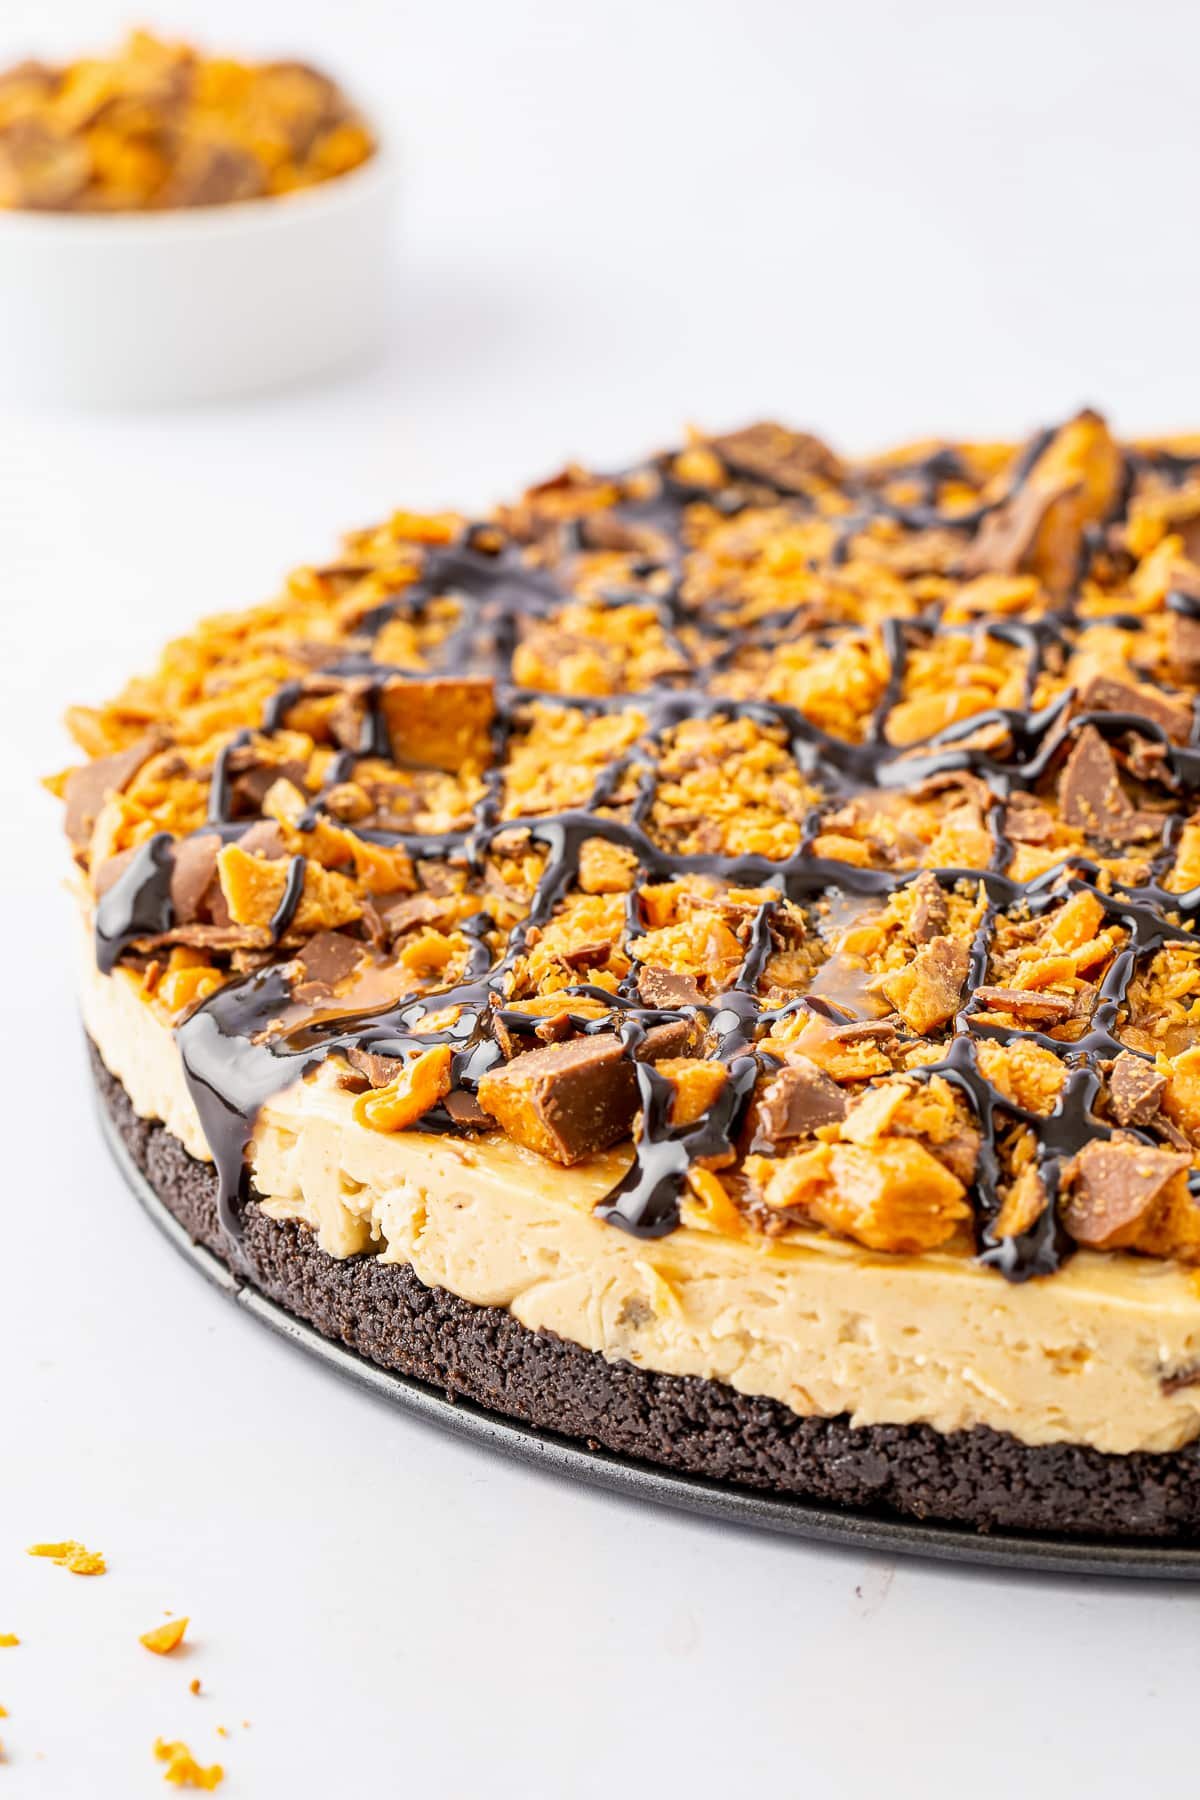
With no oven required and a filling packed with peanut butter and crushed Butterfingers, this no bake Butterfinger cheesecake is the easiest showstopper you will ever make.
Butterfinger Cheesecake Quick Look
- 🕒 Prep Time: 15 minutes
- 🌡️ Cook Time: 0 minutes (no bake)
- ⏳ Total Time: 6 hours 15 minutes
- 🍽️ Serving: 12 servings
- ⚡ Calories: 712kcal
- 🌶️ Flavor Profile: Rich peanut butter and chocolate with crunchy candy (decadent)
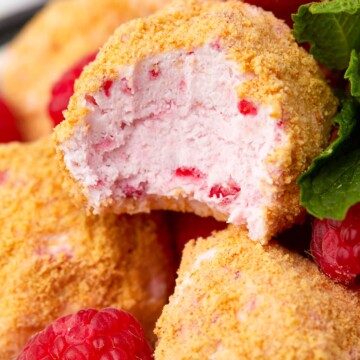
- ✋ Difficulty: Easy, no oven needed, on par with our raspberry cheesecake bites
Quick Answer
Crush Oreos and mix with melted butter to form a crust, then press it into a springform pan and chill. Beat cream cheese, peanut butter, and powdered sugar until smooth, fold in whipped topping and chopped Butterfingers, and spread the filling over the crust. Chill at least 4 to 6 hours, then top with more Butterfinger and a drizzle of chocolate and caramel before slicing.
Jump to:
- Butterfinger Cheesecake Quick Look
- Quick Answer
- Why This Recipe Works
- Why You’ll Love This Recipe
- Key Ingredients
- Variations and Substitutions
- How to Make Butterfinger Cheesecake
- Recipe Tips & Tricks
- Serving Ideas and Suggestions
- Butterfinger Cheesecake FAQs
- Other Recommended No Bake Dessert Recipes
- Butterfinger Cheesecake
Why This Recipe Works
Click to see the technique science
- An Oreo crust adds chocolate crunch. Crushed Oreos and butter make a no bake crust that plays off the rich peanut butter filling perfectly.
- Peanut butter and Butterfinger are a match. Butterfinger is peanut butter and chocolate at heart, so it folds right into a peanut butter cheesecake.
- No baking means no cracks or water baths. The filling sets in the fridge, so you skip all the fuss of a traditional baked cheesecake.
- Cream cheese keeps it sliceable. Beating the cream cheese with powdered sugar gives the filling enough body to cut into clean slices.
- Folding keeps the candy crunchy. Adding the Butterfinger at the end keeps the pieces crisp instead of dissolving into the filling.
- Chilling brings it all together. A few hours in the fridge firms everything up so the cheesecake holds its shape beautifully.
Why You’ll Love This Recipe
- It is completely no bake, so there is no oven, no water bath, and no stress.
- It is a candy lovers dream, packed with Butterfinger, a lot like our Butterfinger brownies.
- It feeds a crowd, the perfect make ahead dessert for parties and holidays.
Key Ingredients
Here is what makes this Butterfinger cheesecake so rich and crunchy. Just a few simple ingredients do the work.
- Cream cheese: Softened to room temperature for a smooth, lump free filling that slices cleanly.
- Creamy peanut butter: Adds richness and ties into the Butterfinger flavor throughout the filling.
- Butterfinger candy bars: Chopped and folded in plus piled on top for crunchy, peanut buttery candy in every bite.
- Oreo cookies: Crushed with butter for a no bake chocolate crust that holds it all together.
- Whipped topping: Folded in to keep the filling light and easy to spread, much like our chocolate peanut butter pie.
See recipe card for exact quantities.
Variations and Substitutions
This Butterfinger cheesecake is easy to make your own. Here are a few ideas our readers love.
- Swap the Butterfinger for Reeses, Snickers, or your favorite candy bar.
- Use a graham cracker crust instead of Oreo for a milder base.
- Add a layer of chocolate ganache between the crust and filling.
- Make it in a 9 by 13 pan and cut into bars for easy serving.
- Skip the caramel drizzle and double up on chocolate if you prefer.
How to Make Butterfinger Cheesecake

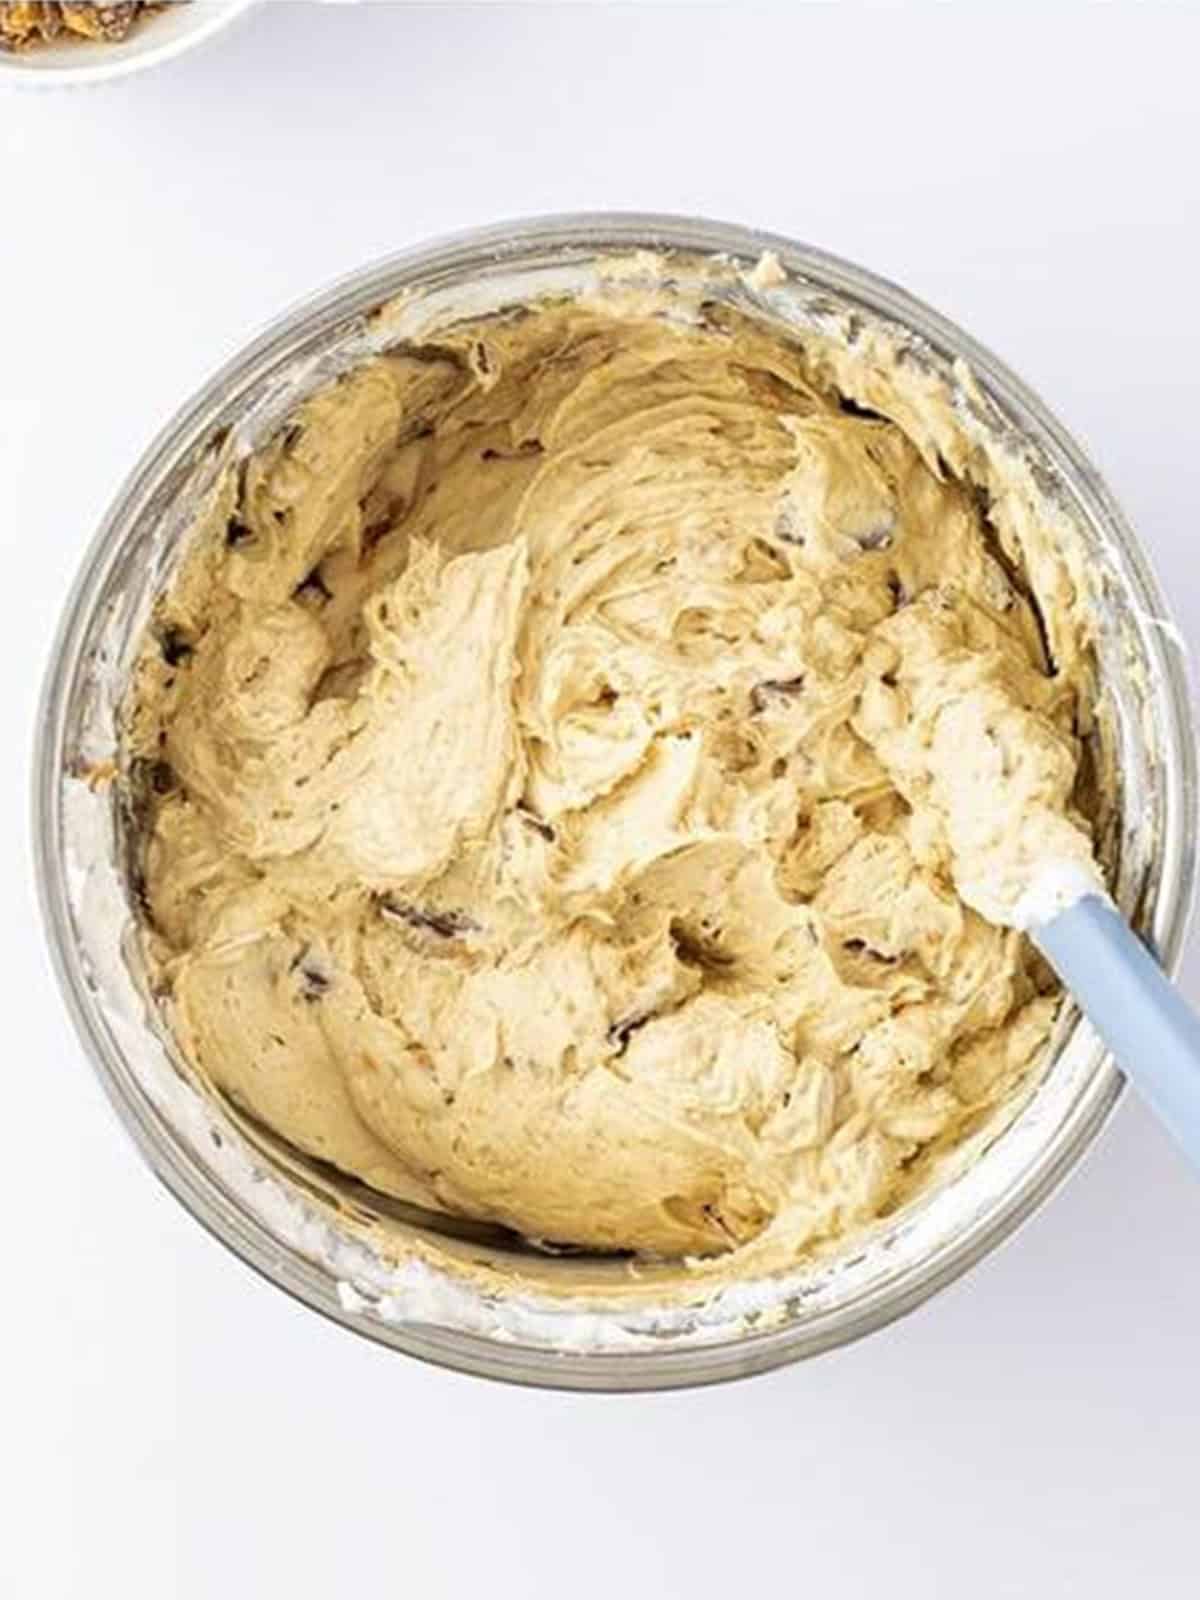
- Beat the softened cream cheese, peanut butter, and powdered sugar together.
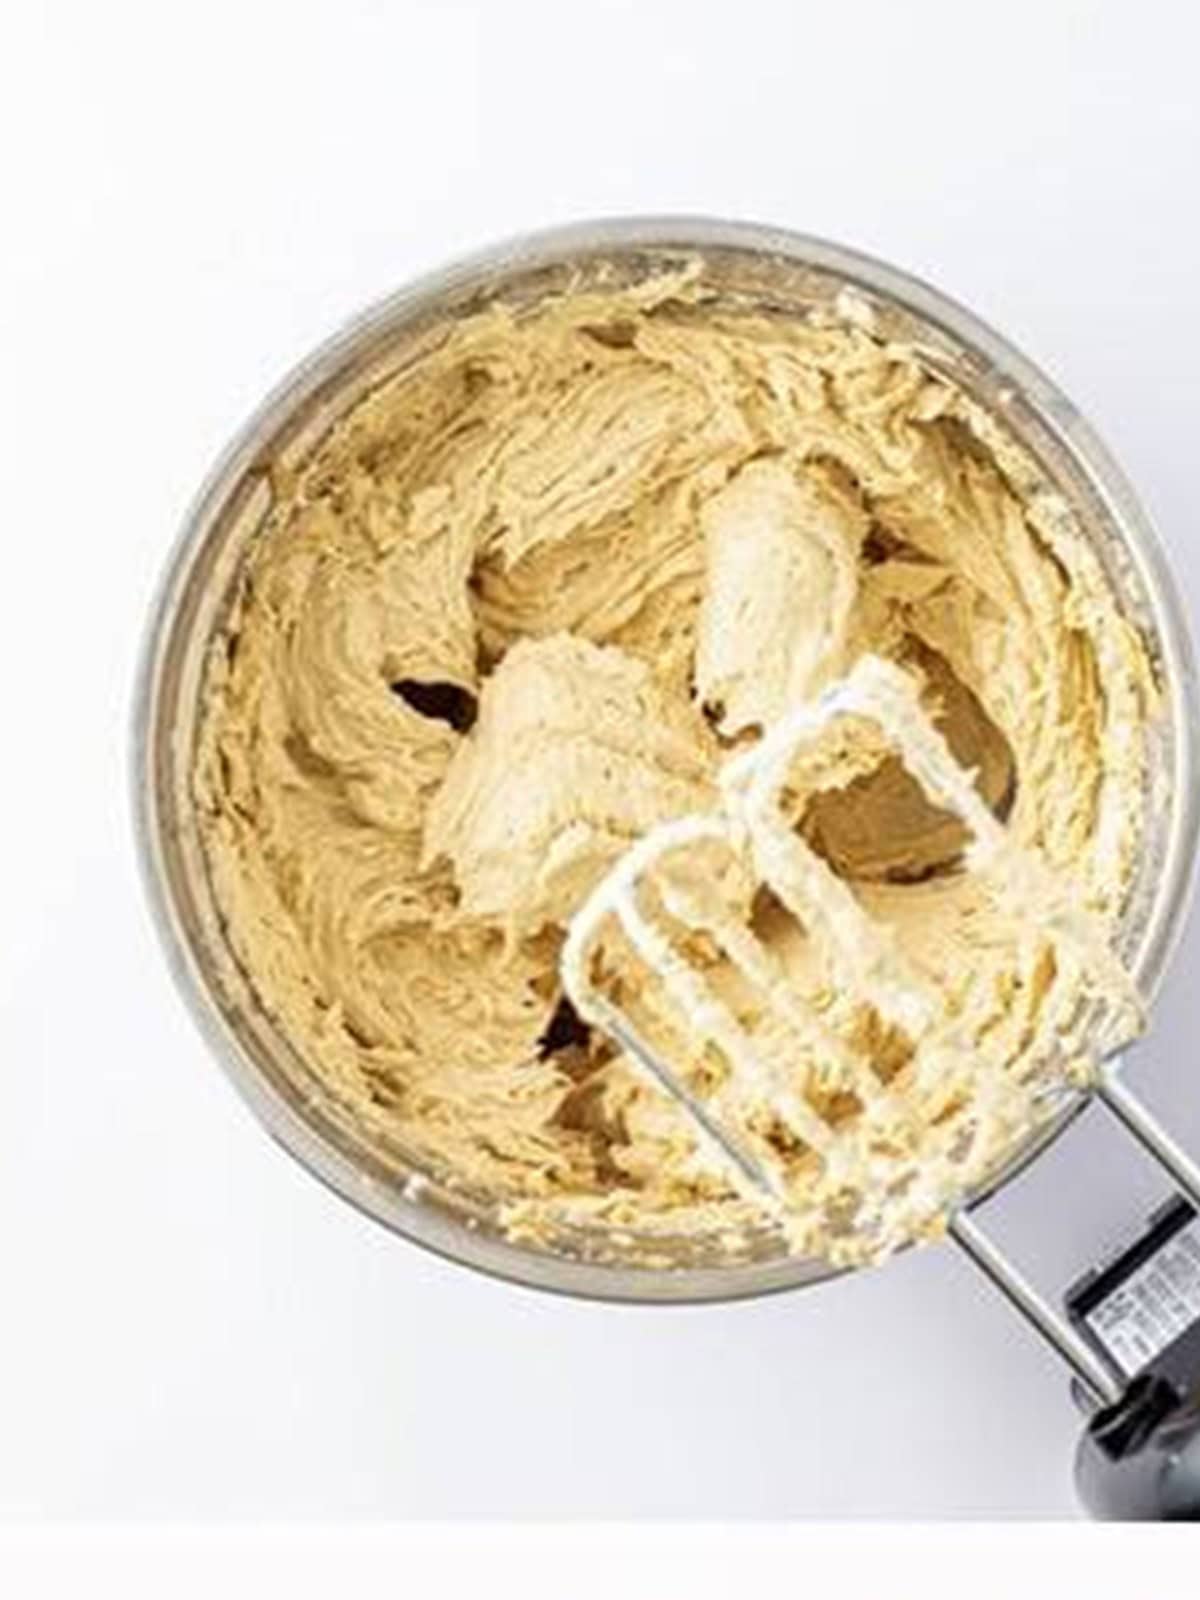
- Beat until light, smooth, and creamy.
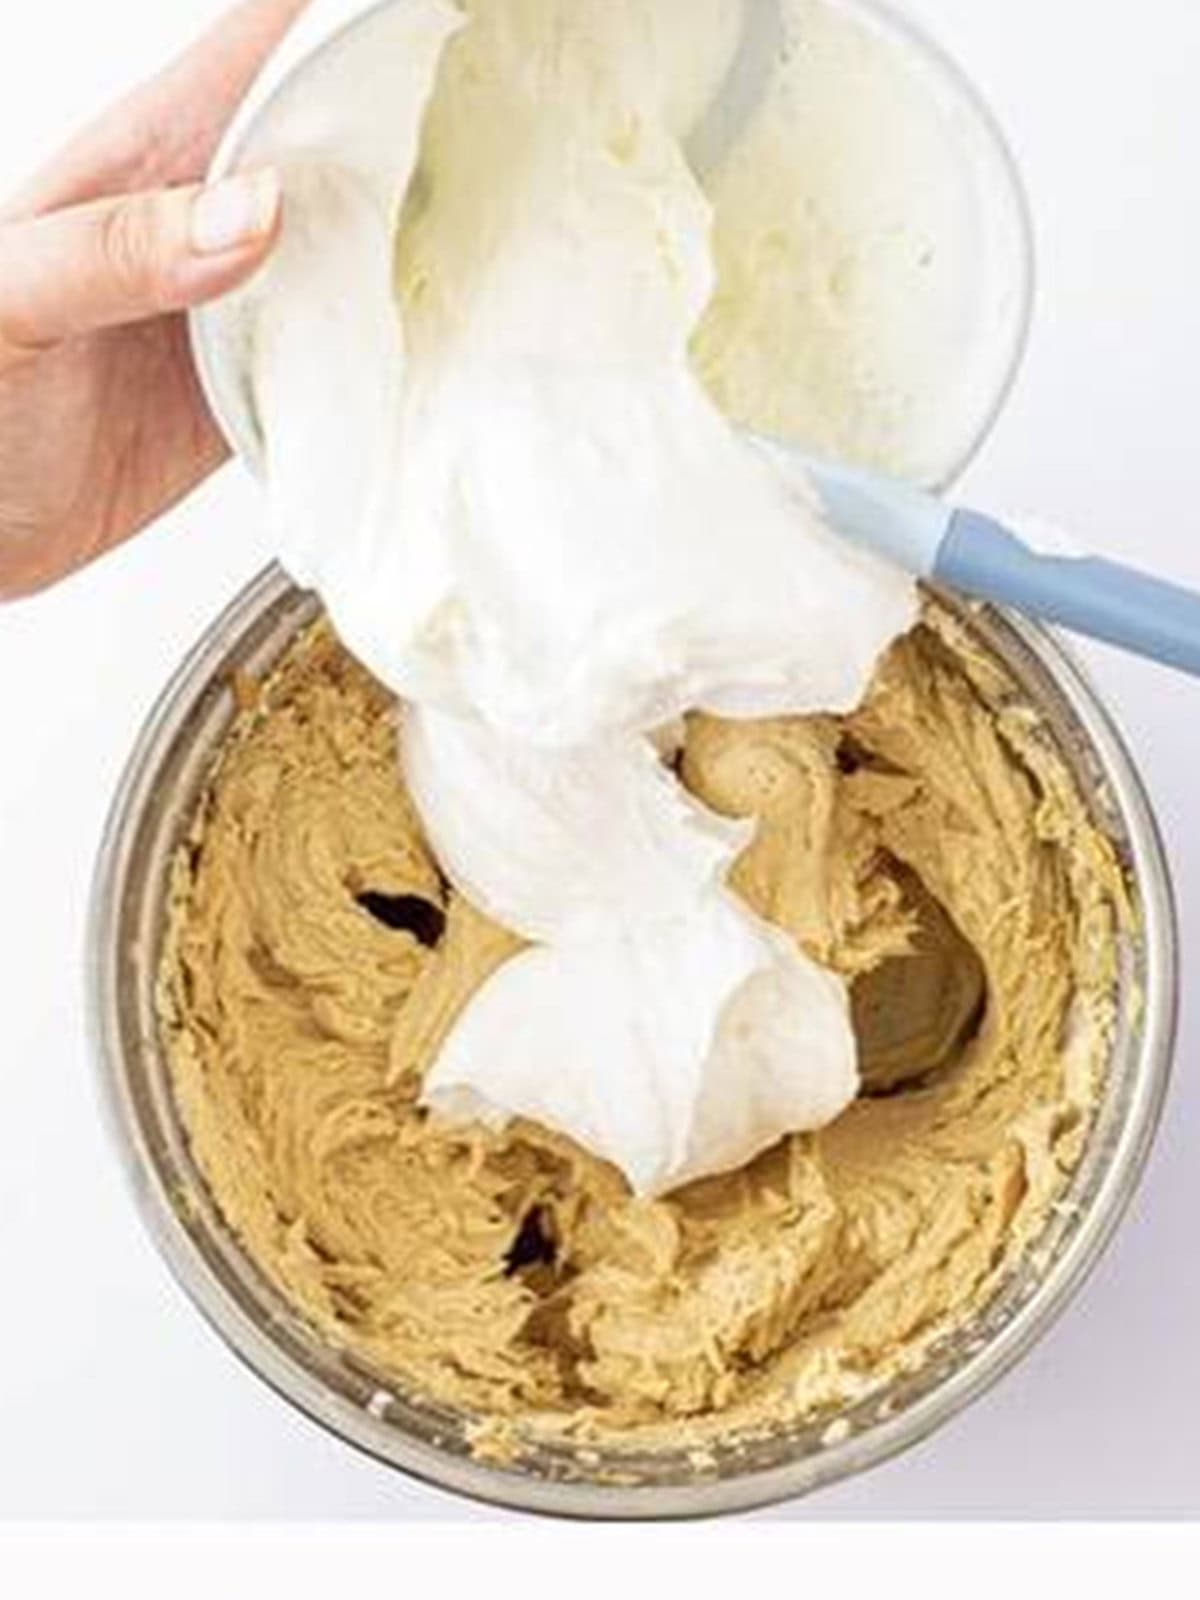
- Fold in the whipped topping with a spatula.
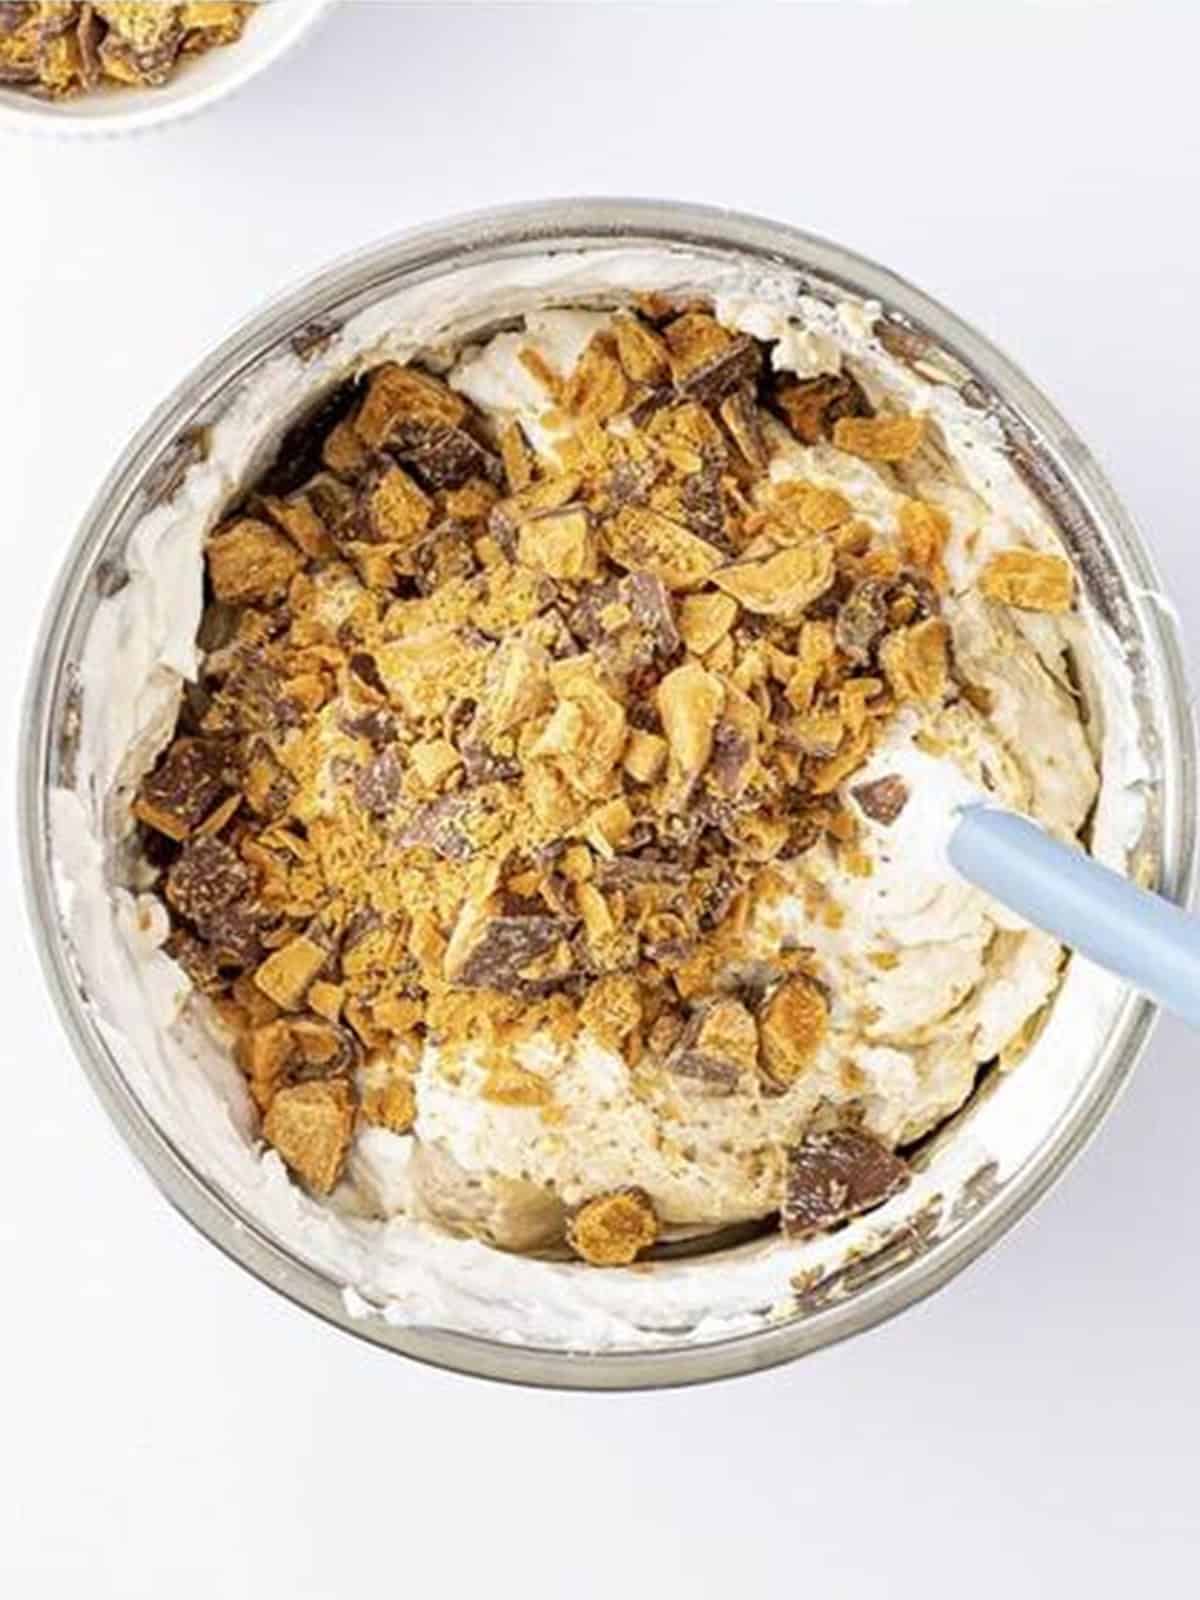
- Fold in the chopped Butterfingers.
- Spread over the chilled Oreo crust, refrigerate until set, then top with more Butterfinger and a chocolate drizzle.
Recipe Tips & Tricks
- Soften the cream cheese fully so the filling beats up smooth with no lumps.
- Chill the crust before adding the filling so it stays firm.
- Fold the Butterfinger in last so the pieces stay crunchy.
- Use a 10 inch springform pan for clean release and easy slicing.
- Chill overnight for the firmest filling and the cleanest cuts.
- Add the toppings right before serving, the same way we finish our raspberry cheesecake bites.
Serving Ideas and Suggestions
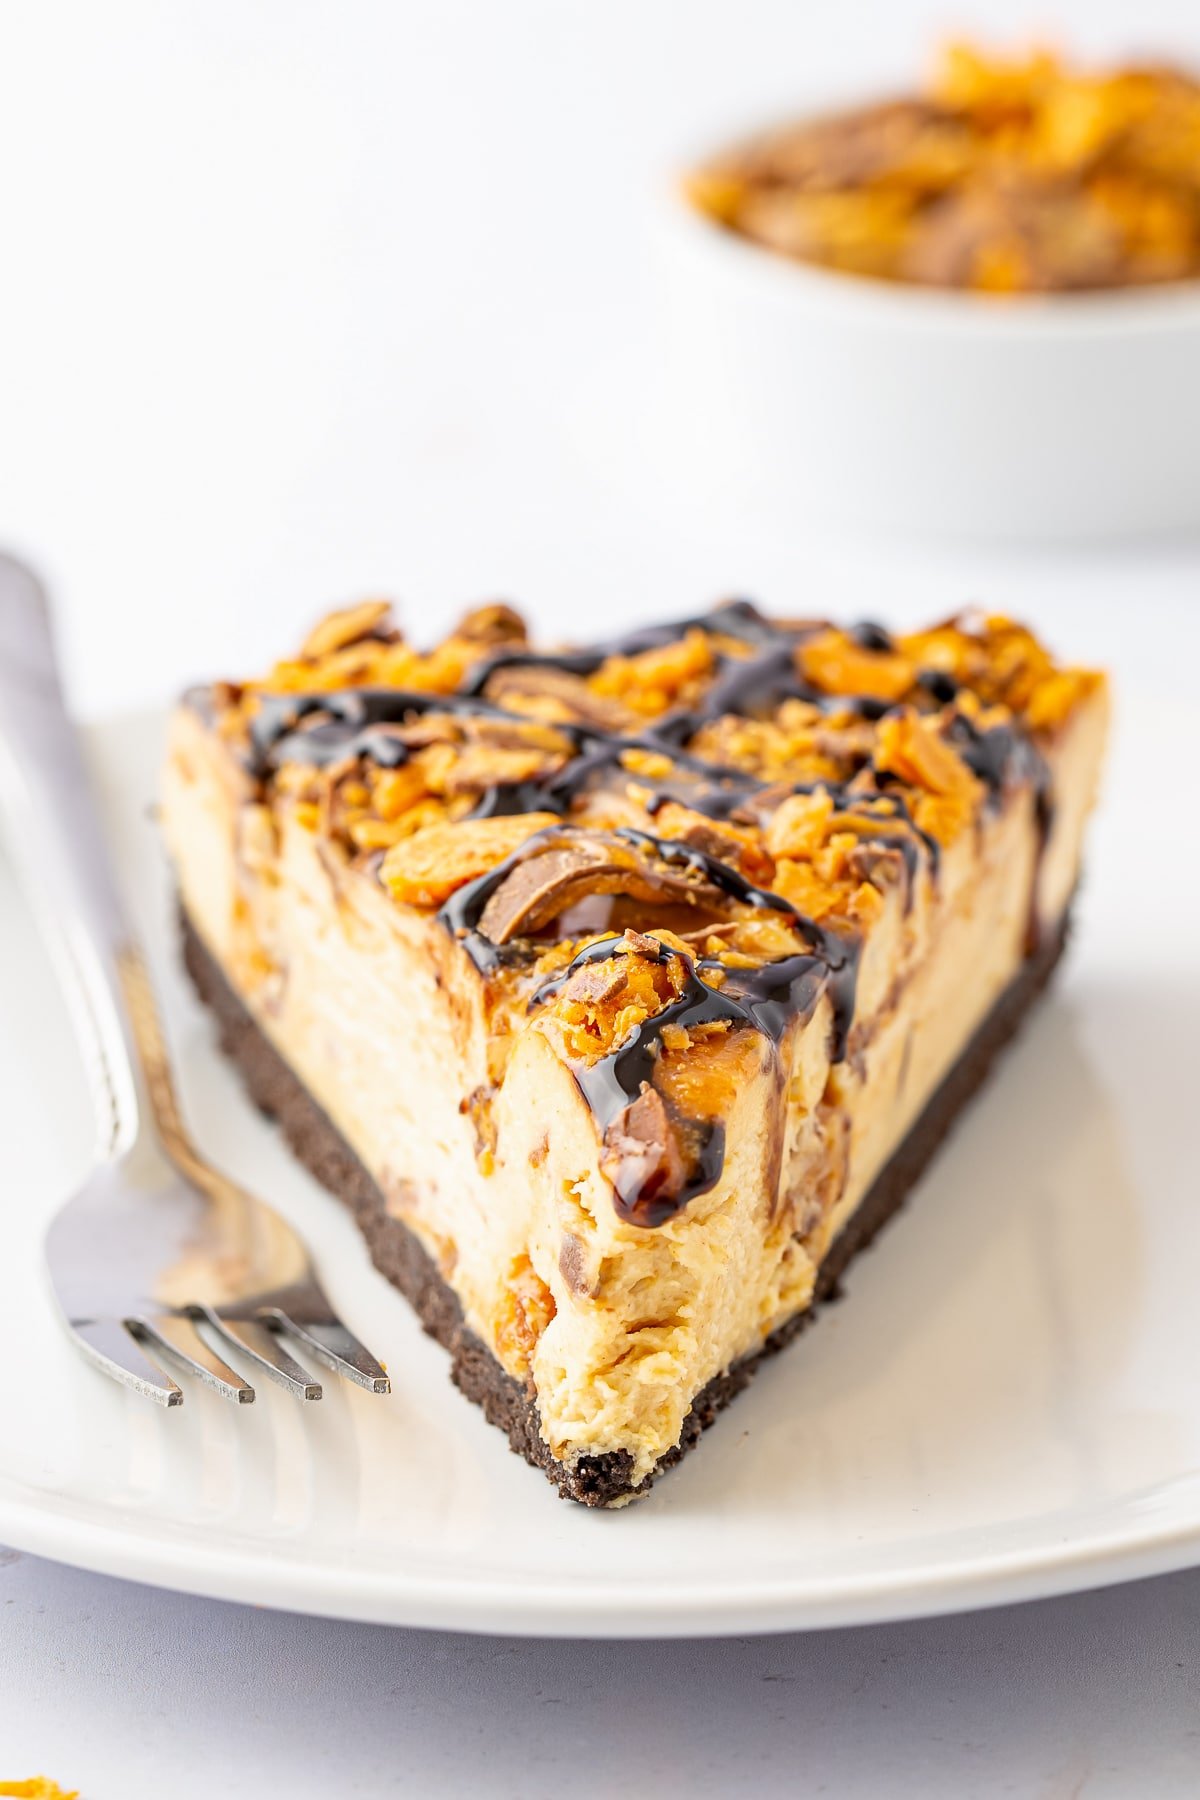
This no bake Butterfinger cheesecake is rich and decadent, so thin slices go a long way. Serve it cold from the fridge with an extra drizzle of chocolate and caramel and a generous scatter of chopped Butterfinger for that candy bar wow factor.
Round out a dessert table by pairing it with our Butterfinger brownies, our chocolate peanut butter pie, or a batch of chocolate peanut butter pretzels for the candy fans.
For an easy no bake spread, add our raspberry cheesecake bites and a pan of no churn cookie dough ice cream so there is something for every sweet tooth.
Because it needs several hours to chill, this cheesecake is a perfect make ahead dessert. Assemble it the night before your party, let it set in the fridge, and just add the candy and drizzle right before serving.
Butterfinger Cheesecake FAQs
Yes, this Butterfinger Cheesecake is completely no bake. The Oreo crust is pressed and chilled, and the peanut butter filling sets in the refrigerator, so you never turn on the oven.
Butterfinger Cheesecake is loaded with chopped Butterfinger candy bars, both folded into the filling and sprinkled on top. You can swap in another candy bar if you like.
Plan on at least 4 to 6 hours, and overnight is best. The longer the Butterfinger Cheesecake chills, the firmer it sets and the cleaner each slice cuts.
Yes. Butterfinger Cheesecake is a great make ahead dessert. Assemble it a day in advance and add the candy topping and drizzle just before serving so they stay fresh and crunchy.
Keep Butterfinger Cheesecake covered in the refrigerator for up to 4 days. For longer storage, freeze slices wrapped well for up to 2 months and thaw in the fridge.
Yes. While an Oreo crust is classic for Butterfinger Cheesecake, a graham cracker or chocolate cookie crust works well too. Just press it firmly and chill it before filling.
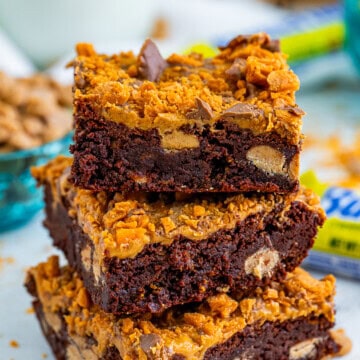

Craving more candy bar treats? Try our chewy Butterfinger brownies next.
Vintage dessert fans should not miss the original Woolworth icebox cheesecake recipe.
For a lighter cheesecake fix, try our 5 minute cheesecake dip.
When the chocolate craving hits, make our Nutella Mug Cake in one mug.
For an easy make ahead dessert, our Mini Pumpkin Cheesecakes freeze beautifully.
For a cool summer dessert, make our creamy Coconut Icebox Cake.
For the Halloween dessert table, our easy Halloween cupcakes are always the first to disappear.

Butterfinger Cheesecake
Ingredients
For the crust:
- 36 Oreo cookies
- 6 tablespoons unsalted butter melted
For the filling:
- 24 ounces cream cheese softened
- 1 cup creamy peanut butter
- 1 cup powdered sugar
- 8 ounces whipped topping
- 4 ounces Butterfinger candy bar chopped
Topping:
- 4 ounces Butterfinger candy bar chopped
- Dark chocolate syrup or chocolate syrup of your choice
- Caramel syrup
Instructions
- In a food processor or blender, pulse the Oreo cookies until they become fine crumbs.36 Oreo cookies
- Add the melted butter and mix until well combined.6 tablespoons unsalted butter
- Line a 10-inch springform pan with parchment paper and grease the sides.
- Add the Oreo crumb mixture to the pan and press down firmly with a flat measuring cup or glass to form an even crust. Place in the refrigerator while you make the filling so it can firm up and set.
- In a large bowl, combine the softened cream cheese, peanut butter, and sugar. Mix with an electric handheld or stand mixer until smooth.24 ounces cream cheese, 1 cup creamy peanut butter, 1 cup powdered sugar
- Add the whipped topping and fold with a rubber spatula until combined.8 ounces whipped topping
- Then, add the chopped Butterfingers and fold again until combined.4 ounces Butterfinger candy bar
- Pour the cheesecake filling on top of the chocolate cookie crust and spread out into an even layer.
- Refrigerate for 4-6 hours, or best overnight, until firm. Add the rest of the Butterfinger topping and drizzle with chocolate and caramel syrup over the whole thing.4 ounces Butterfinger candy bar, Dark chocolate syrup, Caramel syrup
- Remove from pan, cut into slices, and serve.
Notes
- Crust Perfection: Use the back of a spoon or a flat measuring cup to press down the Oreo crust to ensure it’s even and firm.
- Smooth Batter: Ensure your cream cheese is at room temperature for a smoother cheesecake batter.
- Less is More: When mixing, try not to incorporate too much air. Overmixing can change the texture.
- Freezing: Remember, a brief stay in the freezer makes it easier to slice, especially if you prefer a firmer texture.
- Chill Time: The longer this cheesecake gets to set in the fridge, the better the flavors meld.
- Topping Tip: Drizzle the chocolate and caramel syrup just before serving for the best presentation.
Nutrition
Love This Recipe?
Follow @ThisSillyGirlsKitchen on Instagram and @danadevolk on Pinterest for more!


