This post may contain affiliate links.
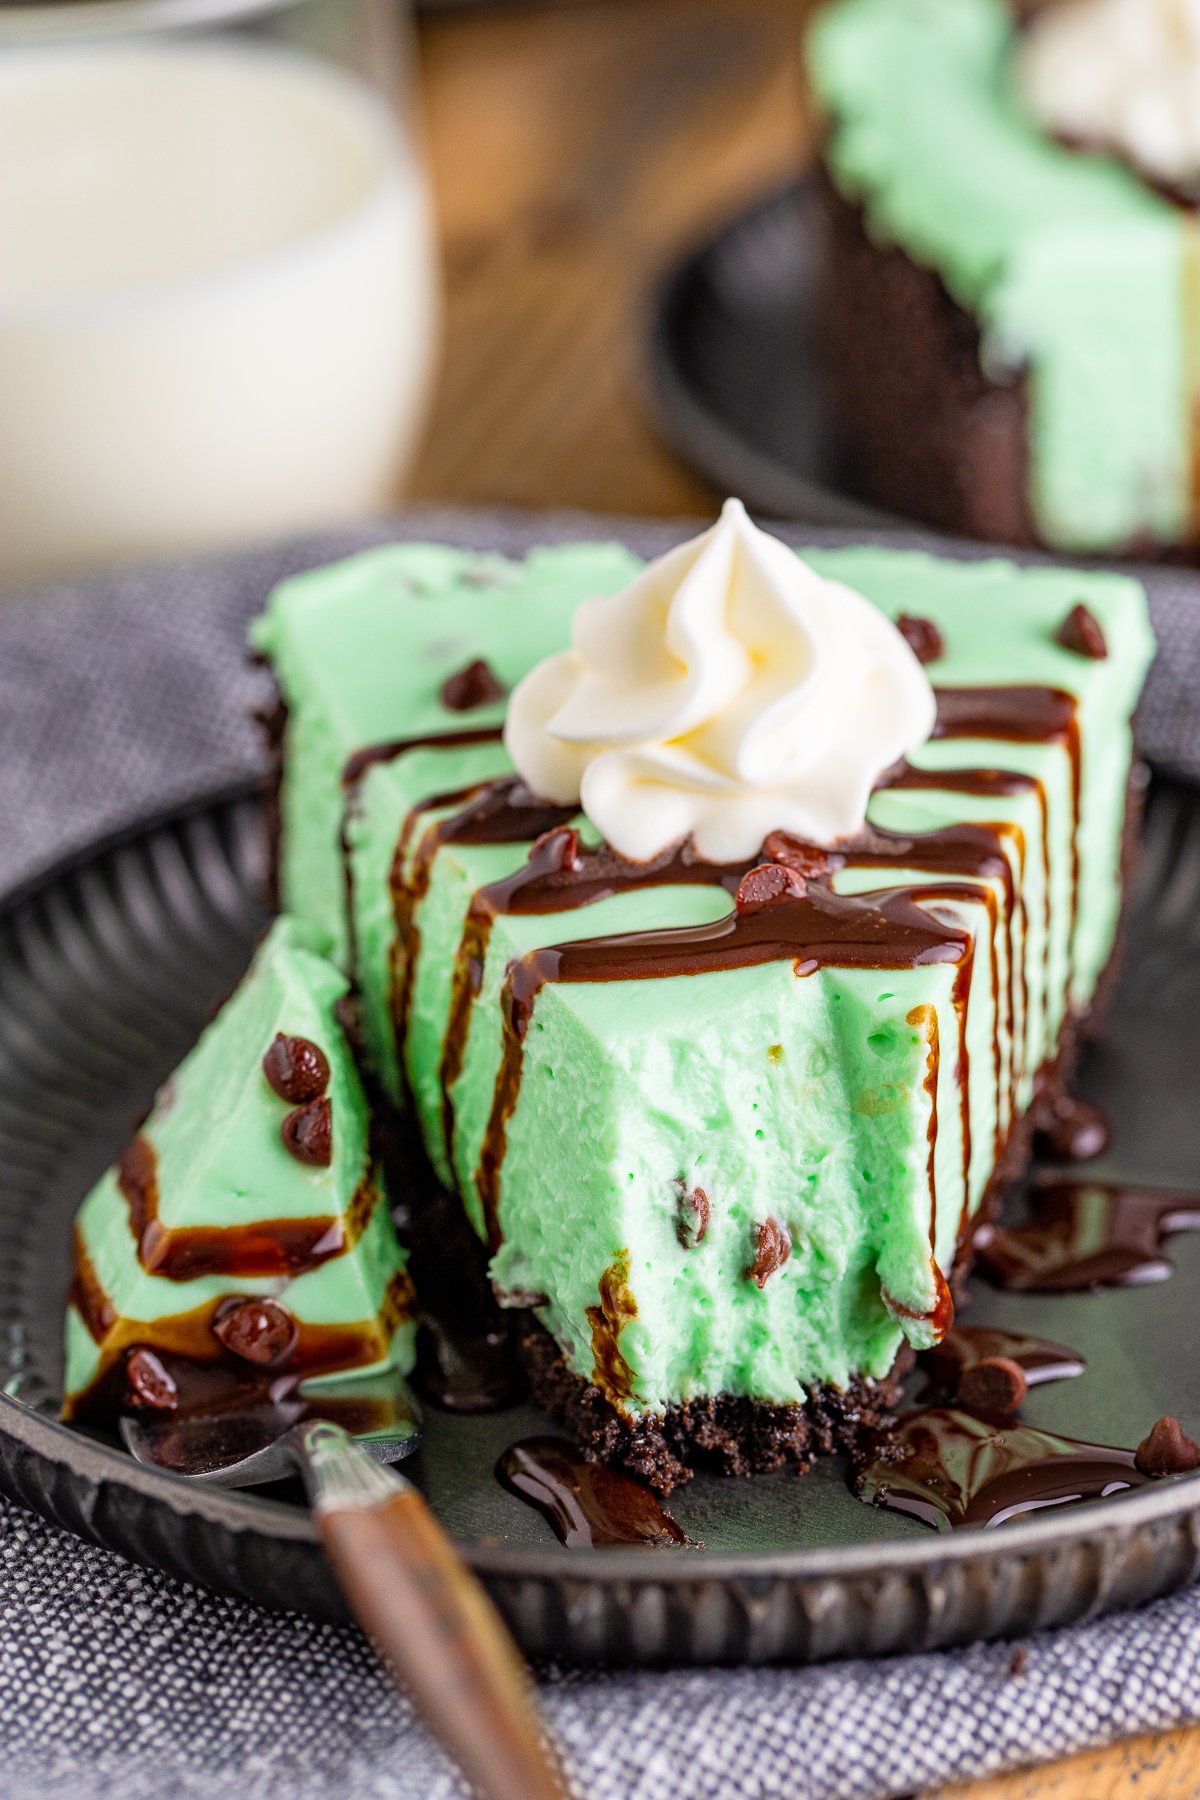
Mint Chocolate Cheesecake is the cool, creamy, no bake dessert dreams are made of, a crisp Oreo crust topped with a fluffy mint filling that is loaded with mini chocolate chips, and it is the showstopper my family begs for every St. Patrick’s Day. I first made it for a spring birthday party and the whole springform pan was gone in one afternoon. If you love our mini cheesecakes, this minty version is just as easy and even more impressive.
With no oven required and a make ahead chill time, it is the perfect stress free dessert for parties and holidays.
Mint Chocolate Cheesecake Quick Look
- 🕒 Prep Time: 20 minutes
- 🌡️ Cook Time: 0 minutes
- ⏳ Total Time: 8 hours 20 minutes
- 🍽️ Serving: 12 servings
- ⚡ Calories: 579kcal
- 🌶️ Flavor Profile: Cool, creamy mint cheesecake with crunchy Oreo crust and chocolate chips
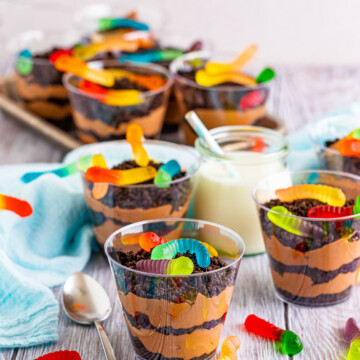
- ✋ Difficulty: Easy, a true no bake dessert like our dirt cake cups
Quick Answer
Process Oreos into crumbs, stir in melted butter, and press into a springform pan, then freeze. Whip cream cheese with granulated and powdered sugar, vanilla, and peppermint extract. Separately whip heavy cream to stiff peaks and fold it in, then tint green and fold in mini chocolate chips. Spread the filling over the crust and chill for at least 8 hours before slicing.
Jump to:
- Mint Chocolate Cheesecake Quick Look
- Quick Answer
- Why This Recipe Works
- Why You’ll Love This Recipe
- Key Ingredients
- Variations and Substitutions
- How to Make Mint Chocolate Cheesecake
- Recipe Tips & Tricks
- Serving Ideas and Suggestions
- Mint Chocolate Cheesecake FAQs
- Other Recommended No Bake Desserts
- No Bake Mint Chocolate Cheesecake
Why This Recipe Works
Click to see the technique science
- An Oreo crust needs no baking. Crushed Oreos and melted butter press into a sturdy, crunchy crust that sets firm in the freezer, no oven required.
- Whipping makes it light. Whipping the cream cheese and folding in separately whipped cream gives the filling a light, airy, mousse like texture.
- Peppermint extract controls the mint. A measured amount of peppermint extract delivers a fresh, cool mint flavor without going overboard, and you can taste and adjust.
- Mini chips add chocolate in every bite. Folding mini chocolate chips throughout means you get little pockets of chocolate in every creamy, minty forkful.
- A long chill sets it perfectly. Chilling for at least 8 hours lets the no bake filling firm up into clean, sliceable pieces that hold their shape.
Why You’ll Love This Recipe
- It is a completely no bake dessert, perfect for warm days when you do not want to turn on the oven.
- The cool mint filling and crunchy Oreo crust are a dreamy chocolate mint combination.
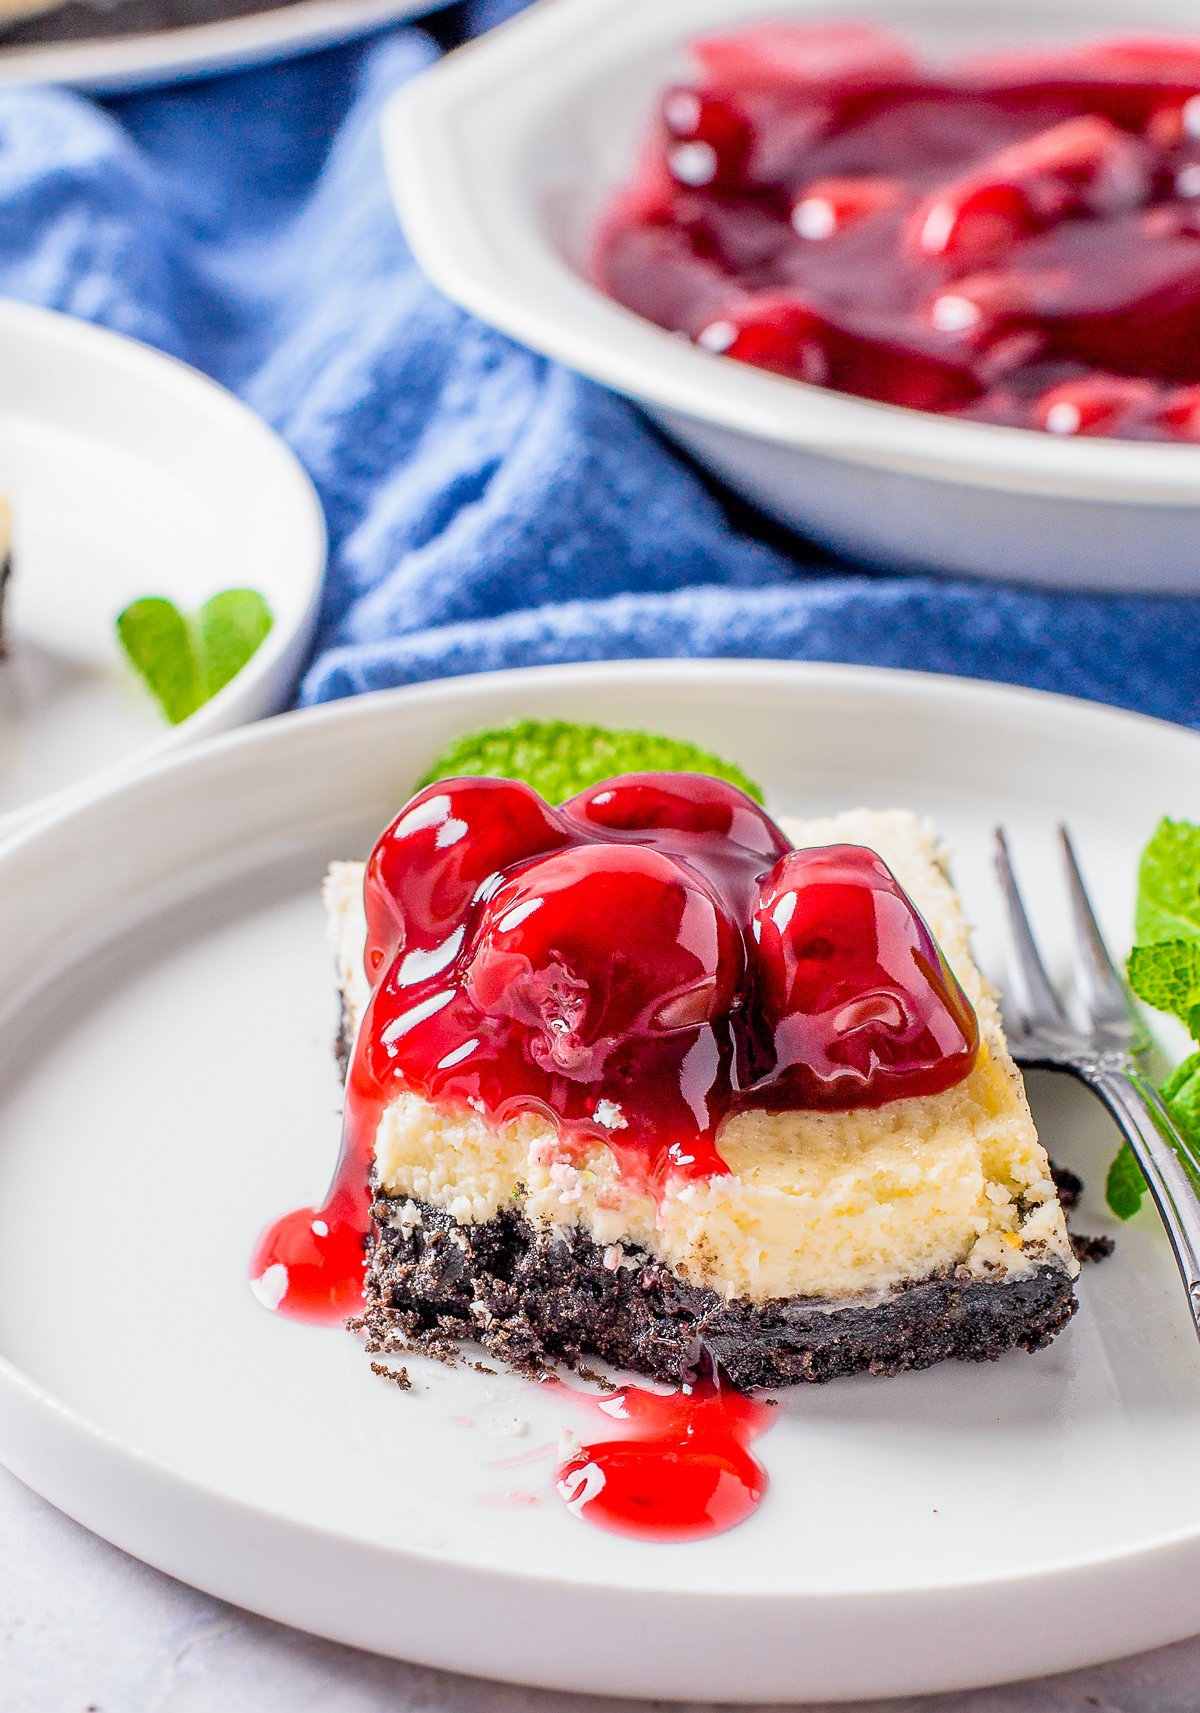
- It is a make ahead showstopper, just as crowd pleasing as our cherry cheesecake bars.
Key Ingredients
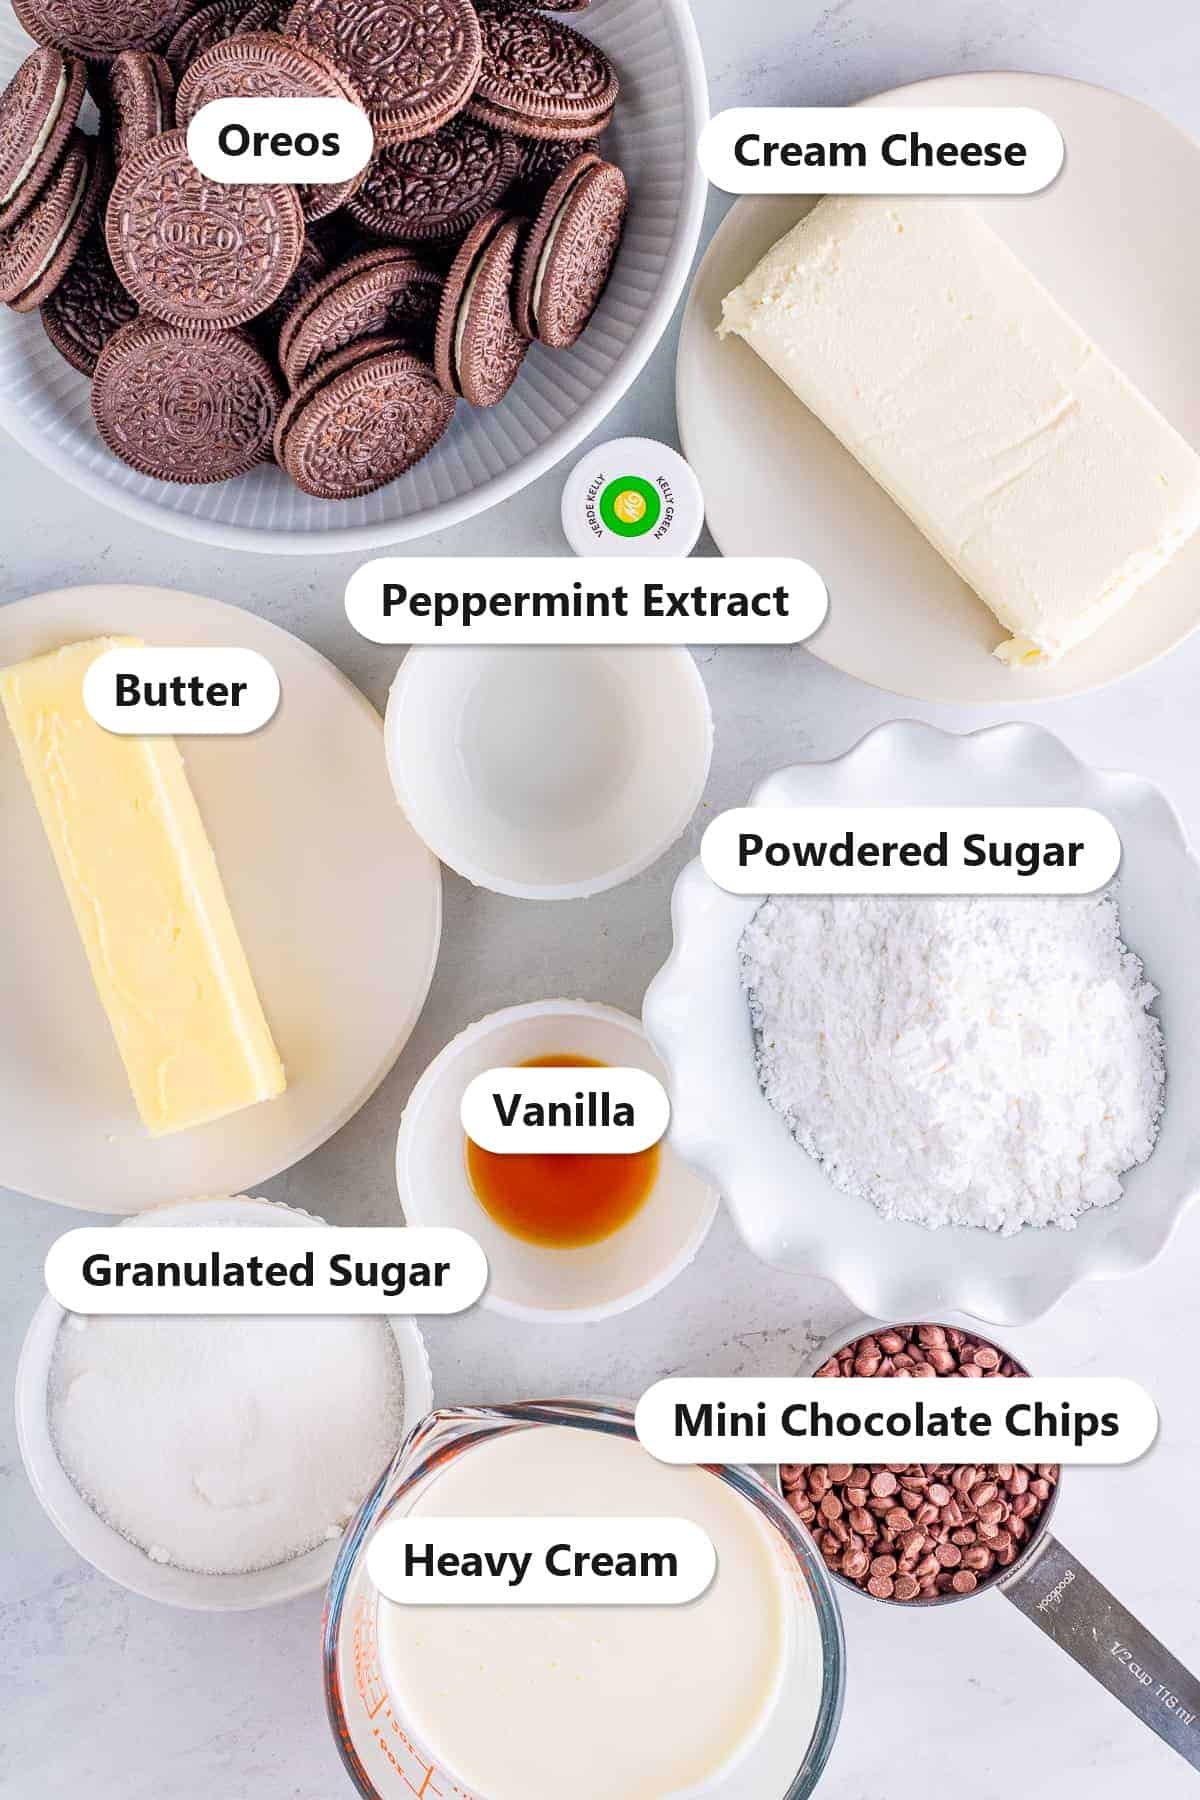
A handful of simple ingredients make this dreamy no bake mint cheesecake.
- Oreos: Crushed and mixed with butter to form the crunchy, chocolatey no bake crust.
- Cream cheese: Softened and whipped into the rich, tangy base of the filling.
- Heavy whipping cream: Whipped to stiff peaks and folded in to make the filling light and fluffy.
- Peppermint extract: The key to that cool, fresh mint flavor, added a little at a time to taste.
- Mini chocolate chips and green gel coloring: Fold in the chips for chocolate in every bite and tint the filling that classic mint green.
See recipe card for exact quantities.
Variations and Substitutions
Make this minty cheesecake your own with a few easy swaps.
- Use mint chocolate chip cookies or Thin Mints in place of some of the Oreos in the crust.
- Drizzle the top with melted chocolate or hot fudge for an extra chocolatey finish.
- Skip the green food coloring for a naturally pale, just as delicious mint cheesecake.
- Spoon the filling into cups for individual no bake desserts, like our dirt cake cups.
How to Make Mint Chocolate Cheesecake
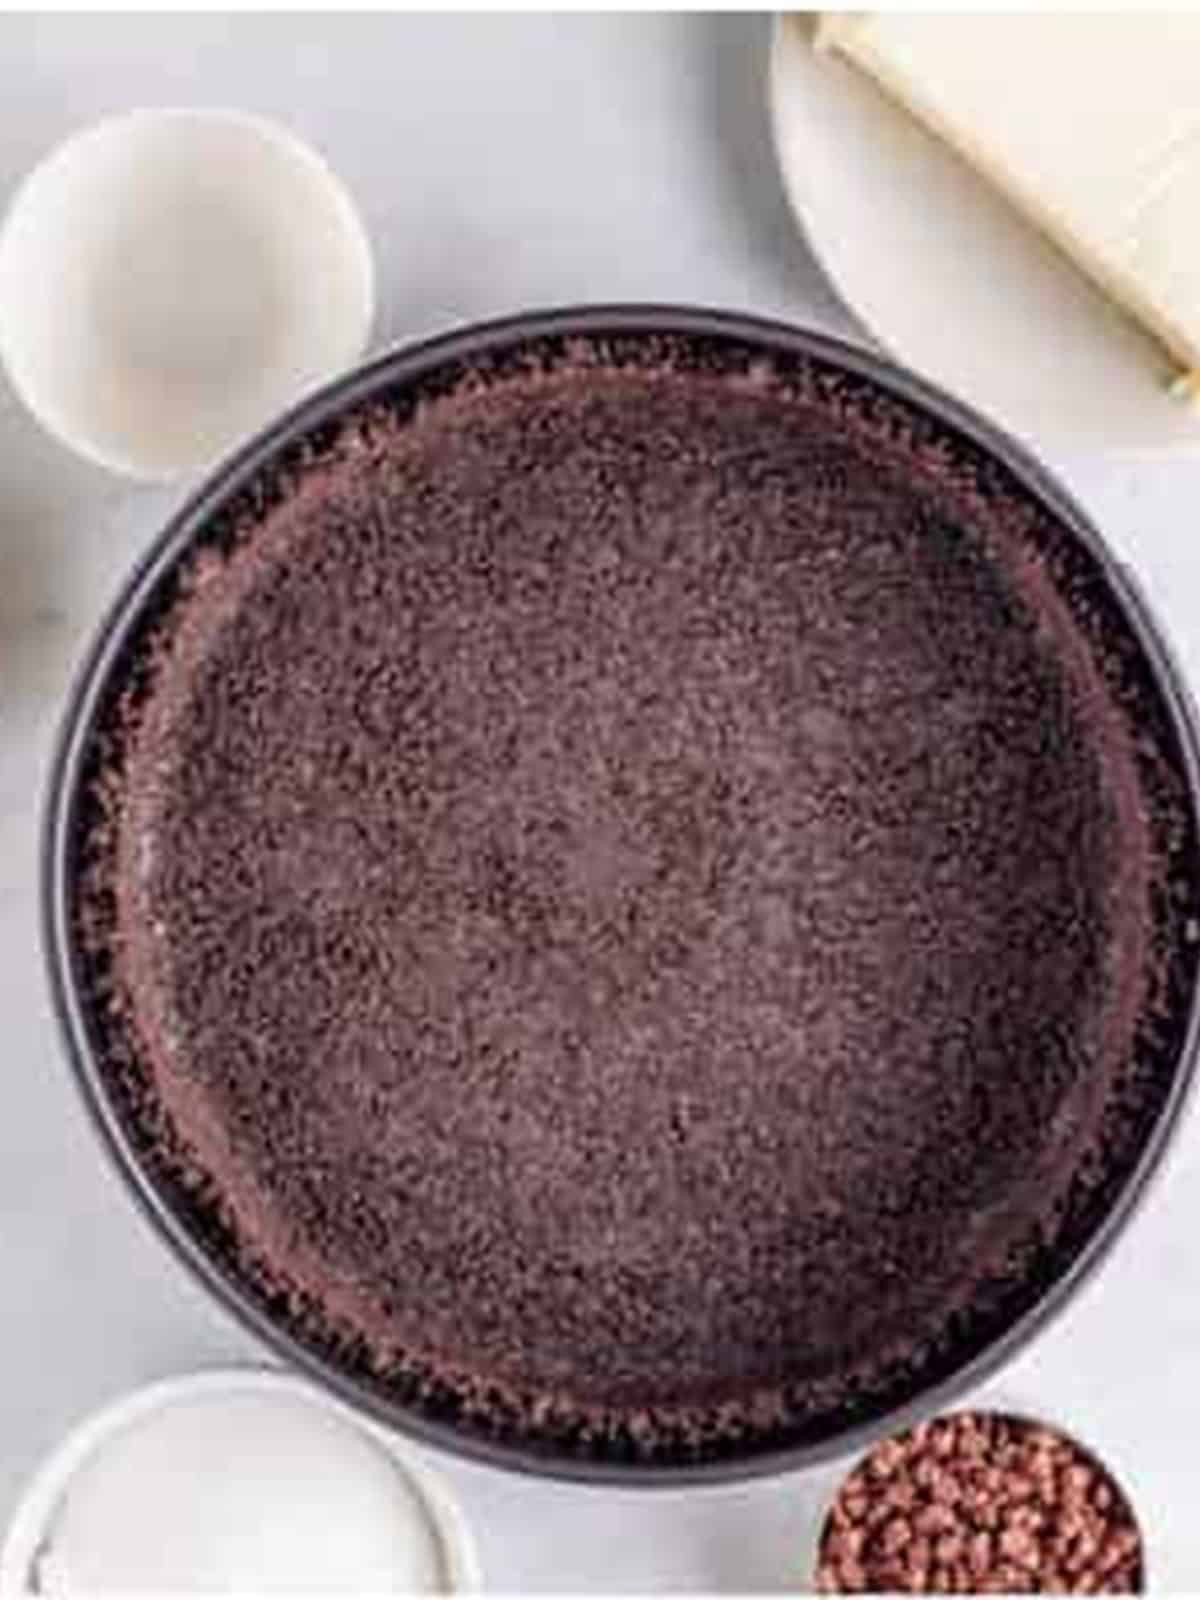
- Process the Oreos into fine crumbs, stir in the melted butter, and press into the bottom and up the sides of a 9 inch springform pan. Freeze while you make the filling.
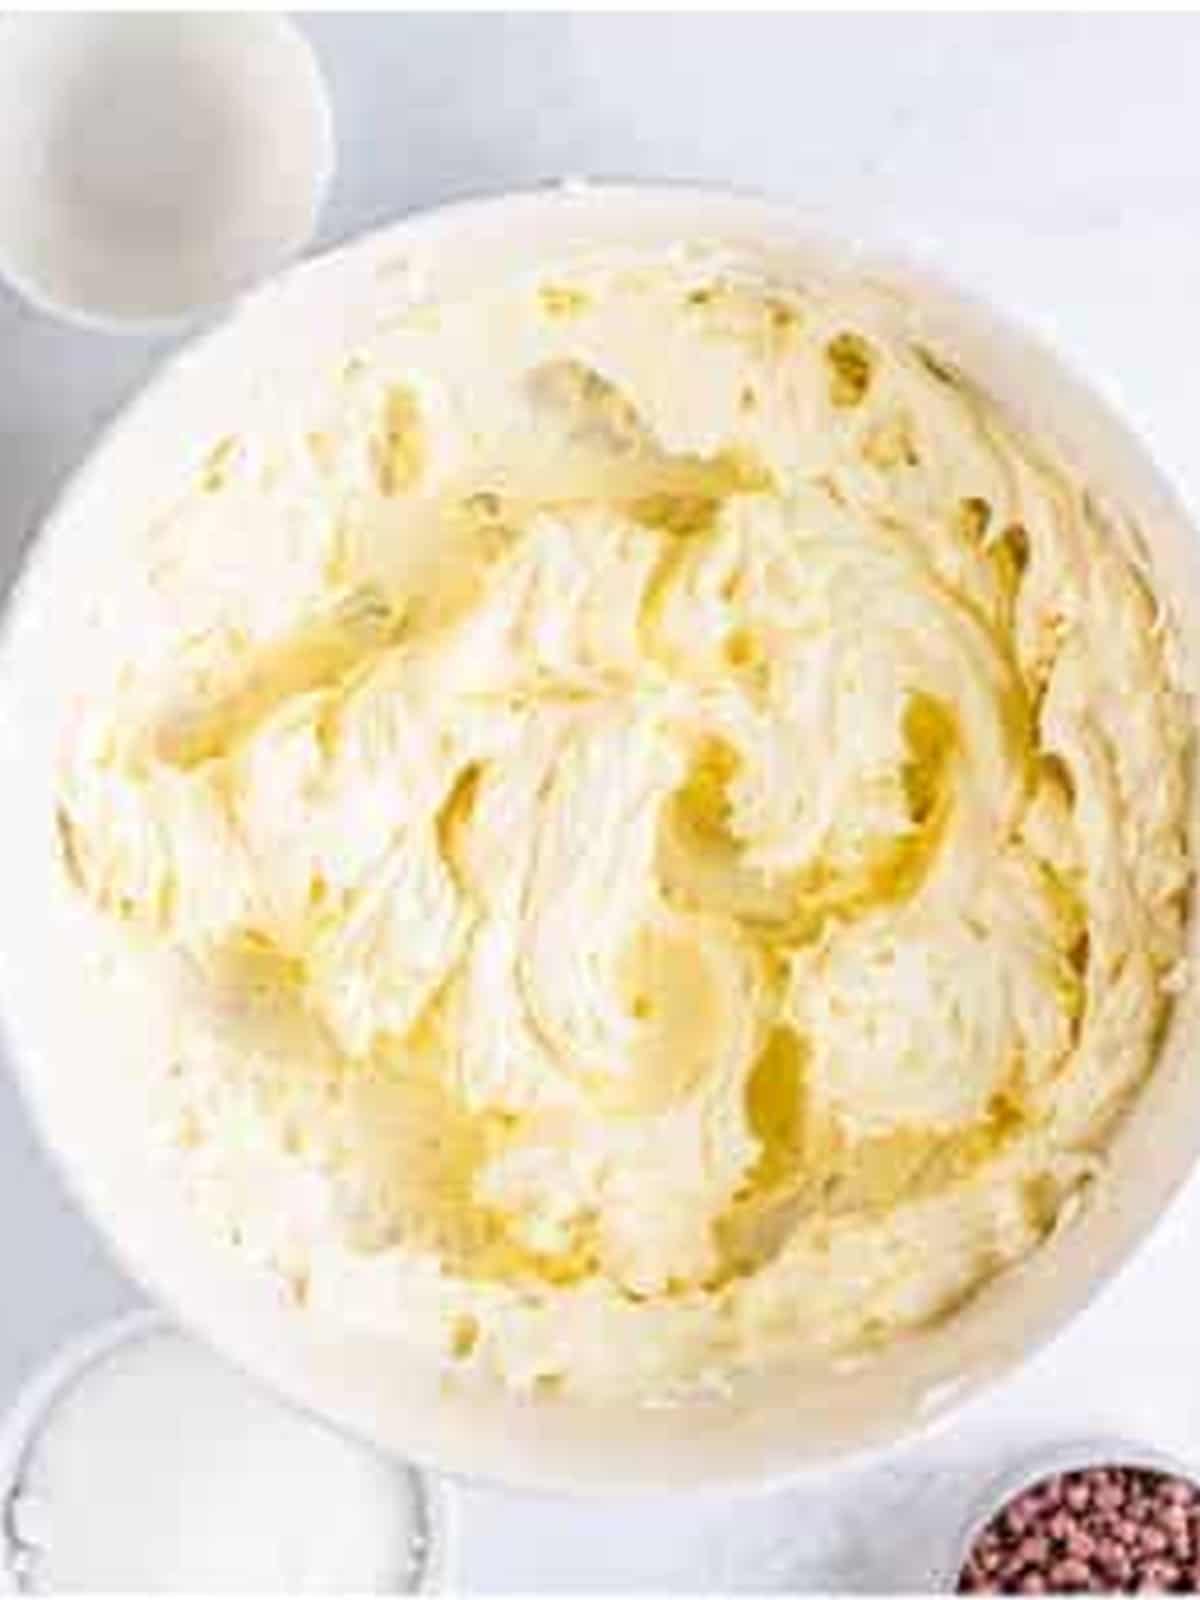
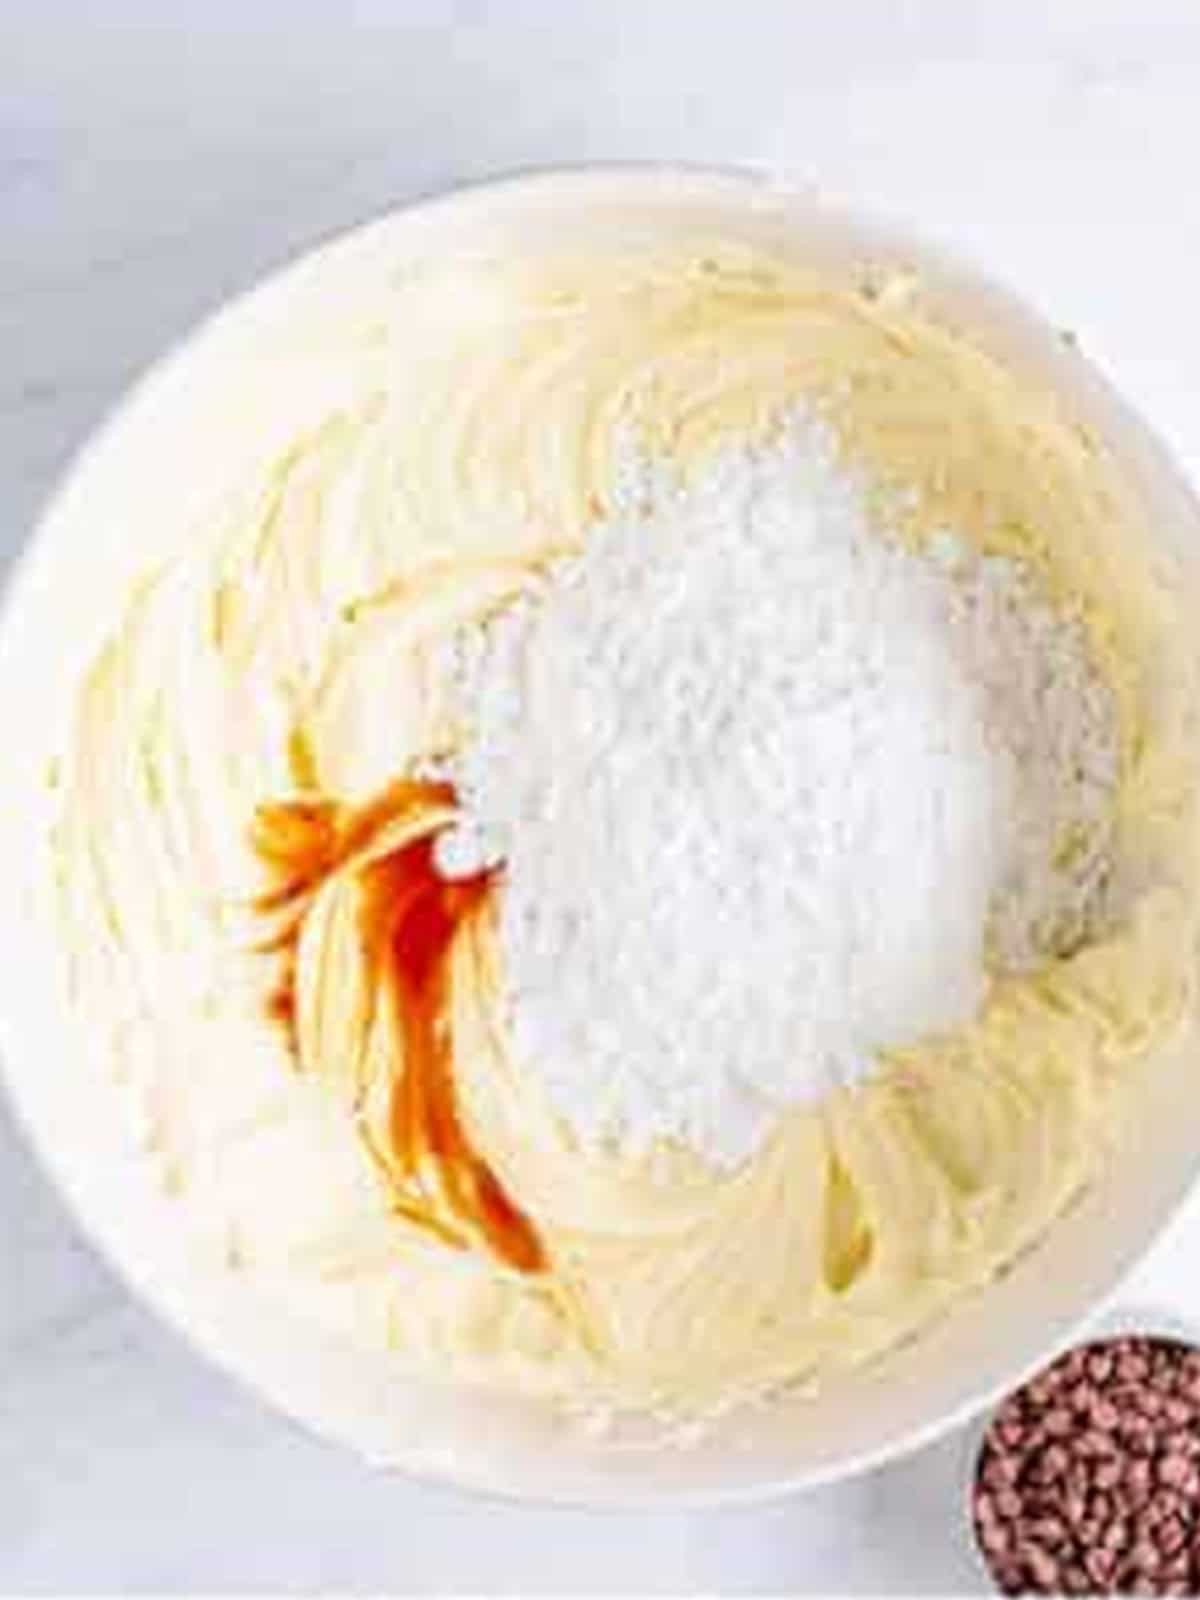
- Whip the cream cheese until smooth, then beat in the granulated sugar, powdered sugar, vanilla, and peppermint extract.
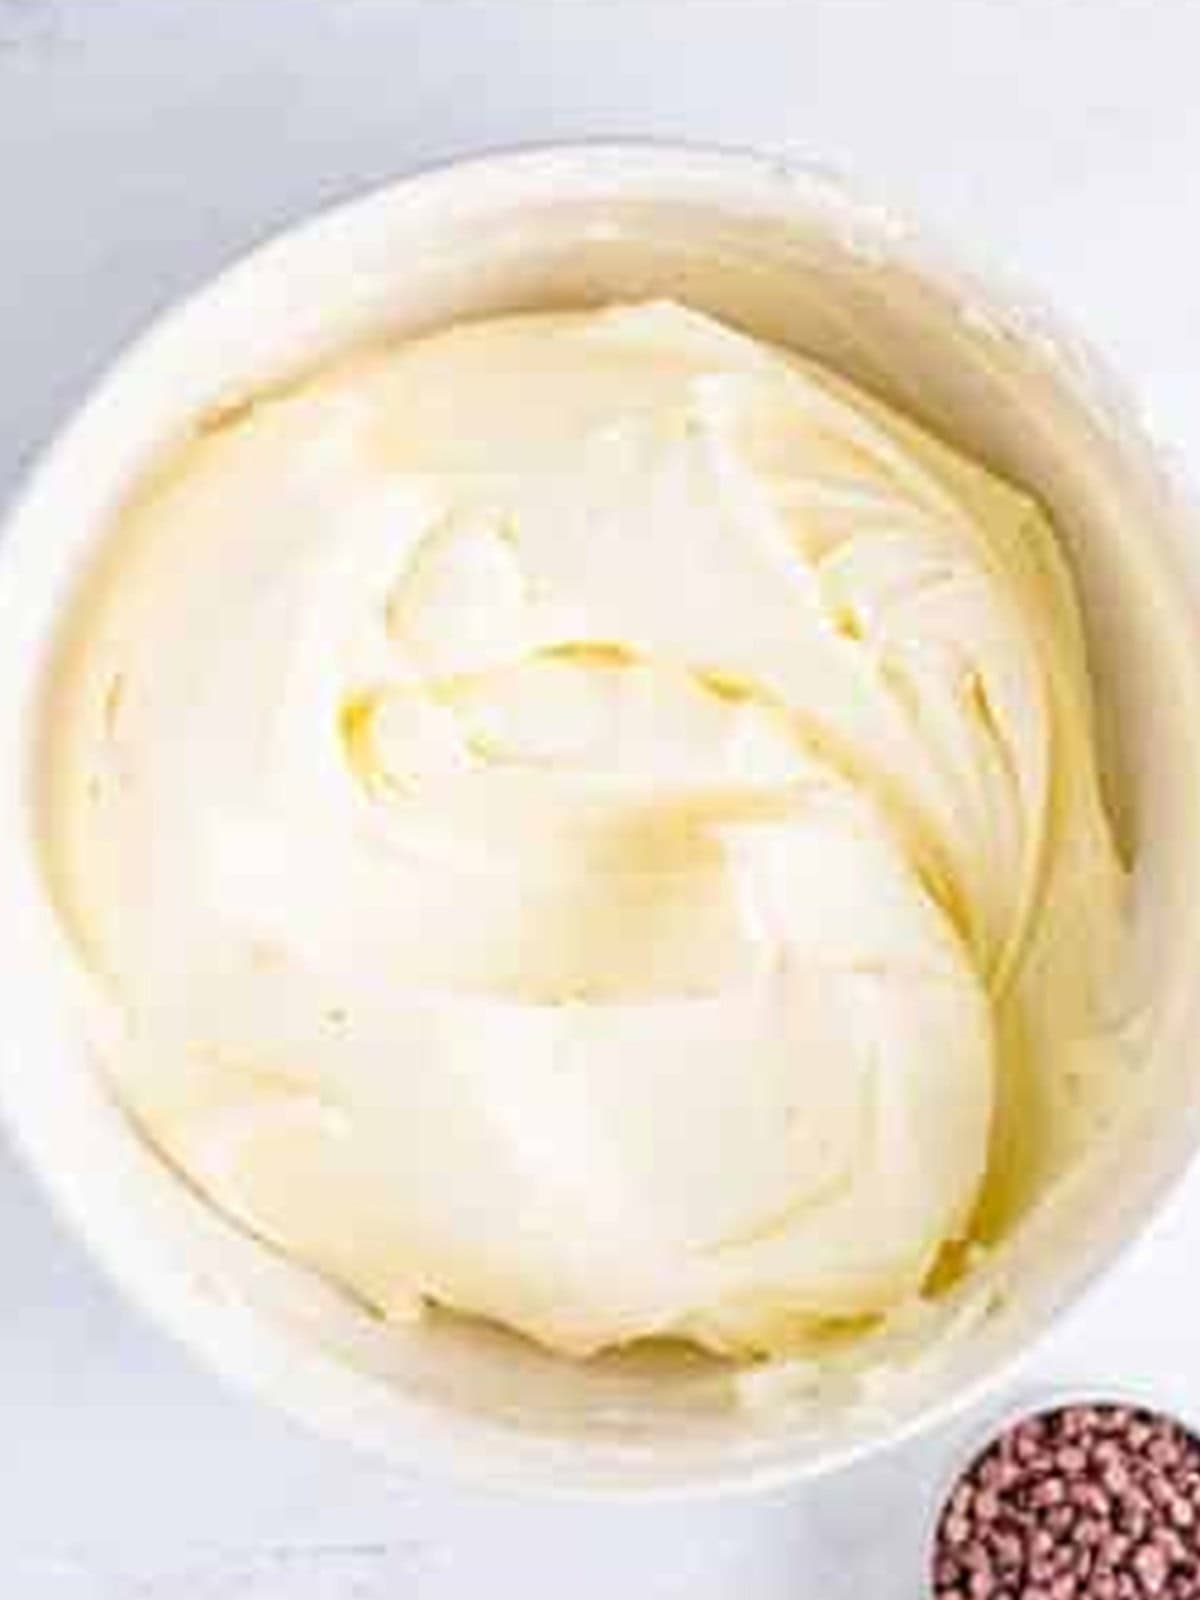
- In a separate bowl, whip the heavy cream to stiff peaks, being careful not to over whip.
- Fold the whipped cream into the cream cheese mixture until no streaks remain, then tint it green with gel food coloring to your liking.
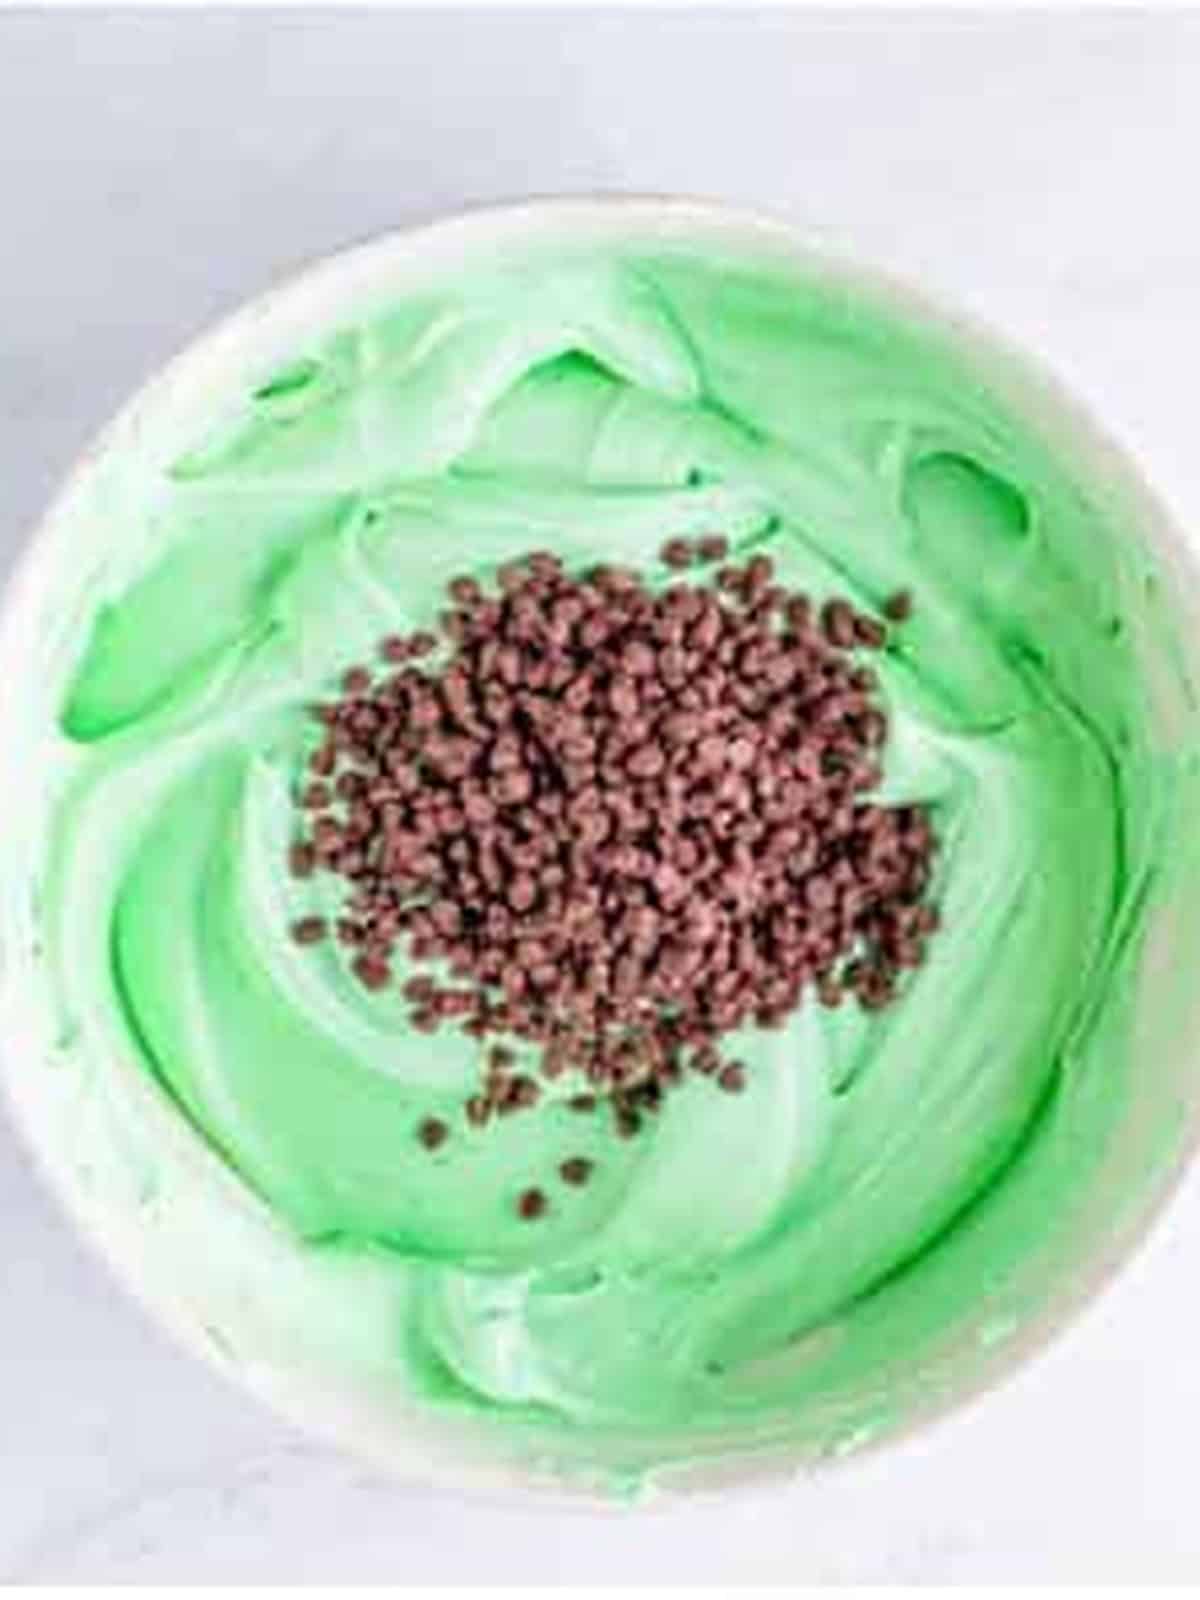
- Gently fold in the mini chocolate chips, then spread the filling over the chilled crust and smooth the top.
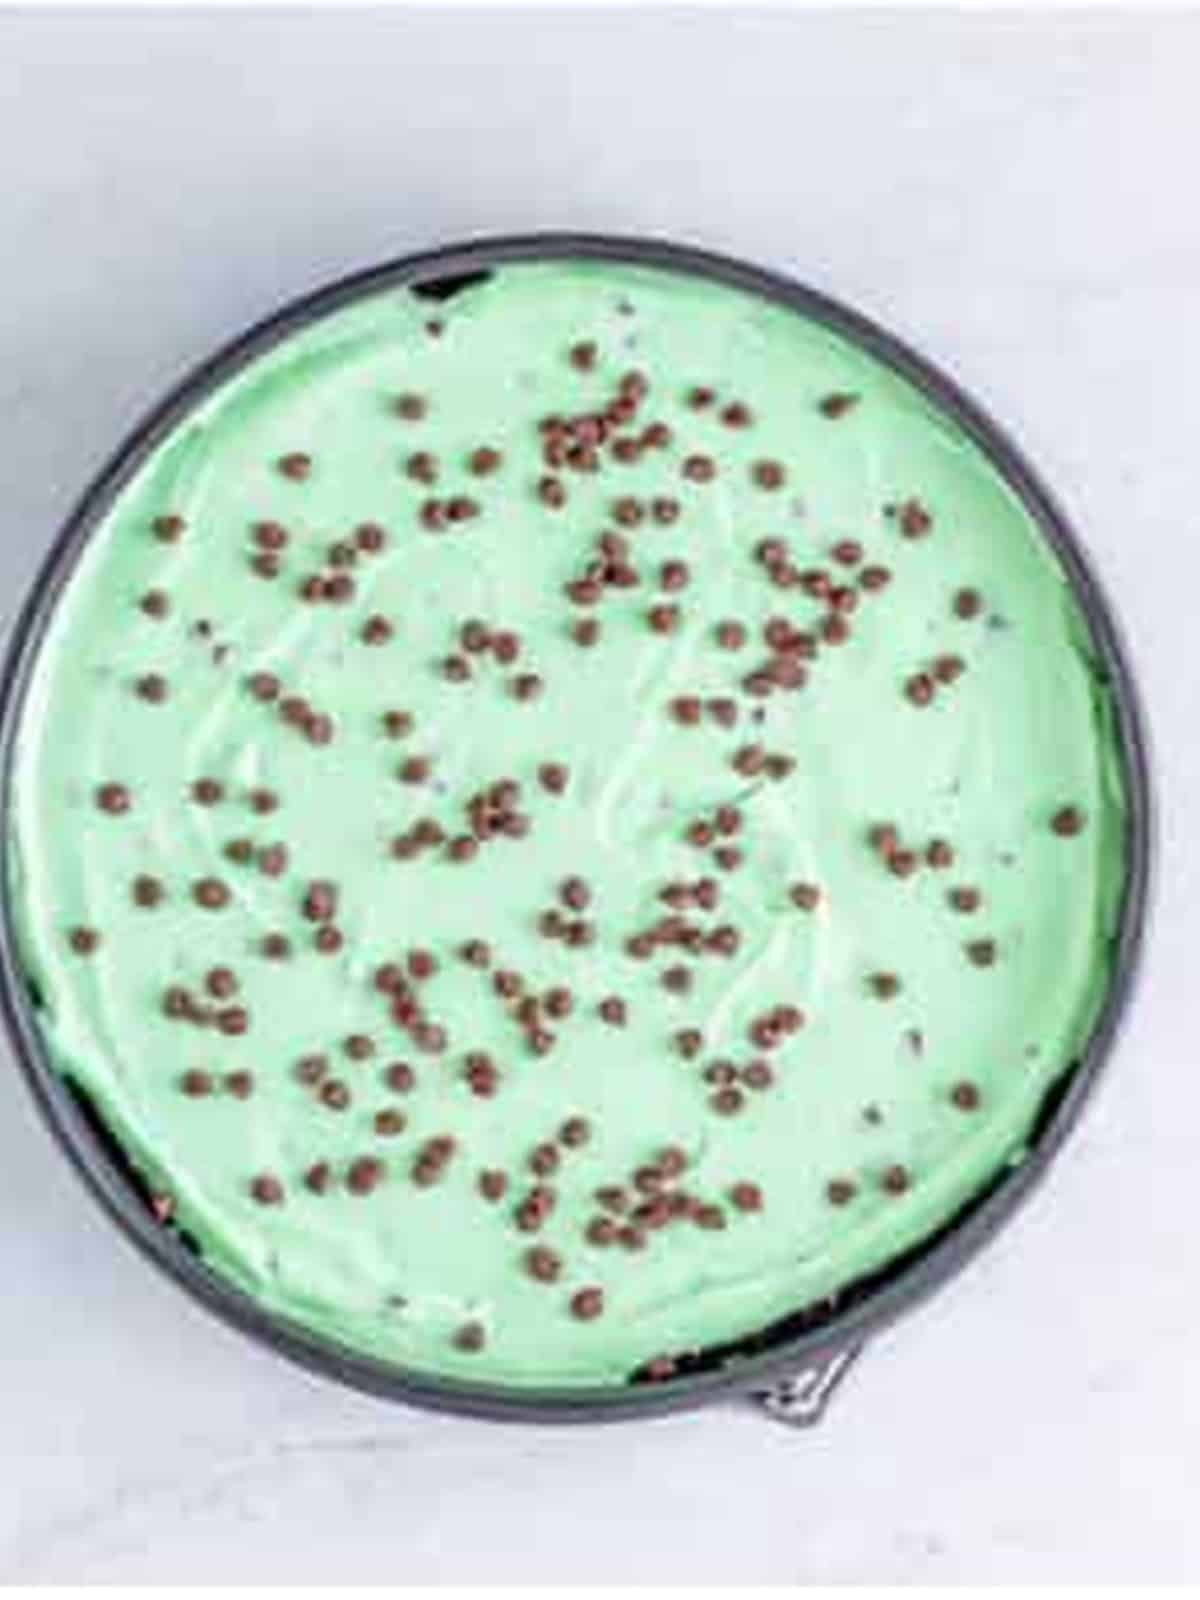
- Cover and refrigerate for at least 8 hours or overnight. Release the springform, slice, and serve with extra toppings if desired.
Recipe Tips & Tricks
- Freeze the crust while you make the filling so it sets firm and holds together when sliced.
- Do not over whip the cream, stop at stiff peaks so it folds in smoothly without turning grainy.
- Add peppermint extract gradually and taste as you go, since a little goes a long way.
- Use gel food coloring, not liquid, for that mint green color without thinning the filling.
- Chill at least 8 hours, or overnight, so the no bake filling firms up enough to slice cleanly.
- Run a knife under hot water and wipe it between cuts for the neatest slices.
Serving Ideas and Suggestions
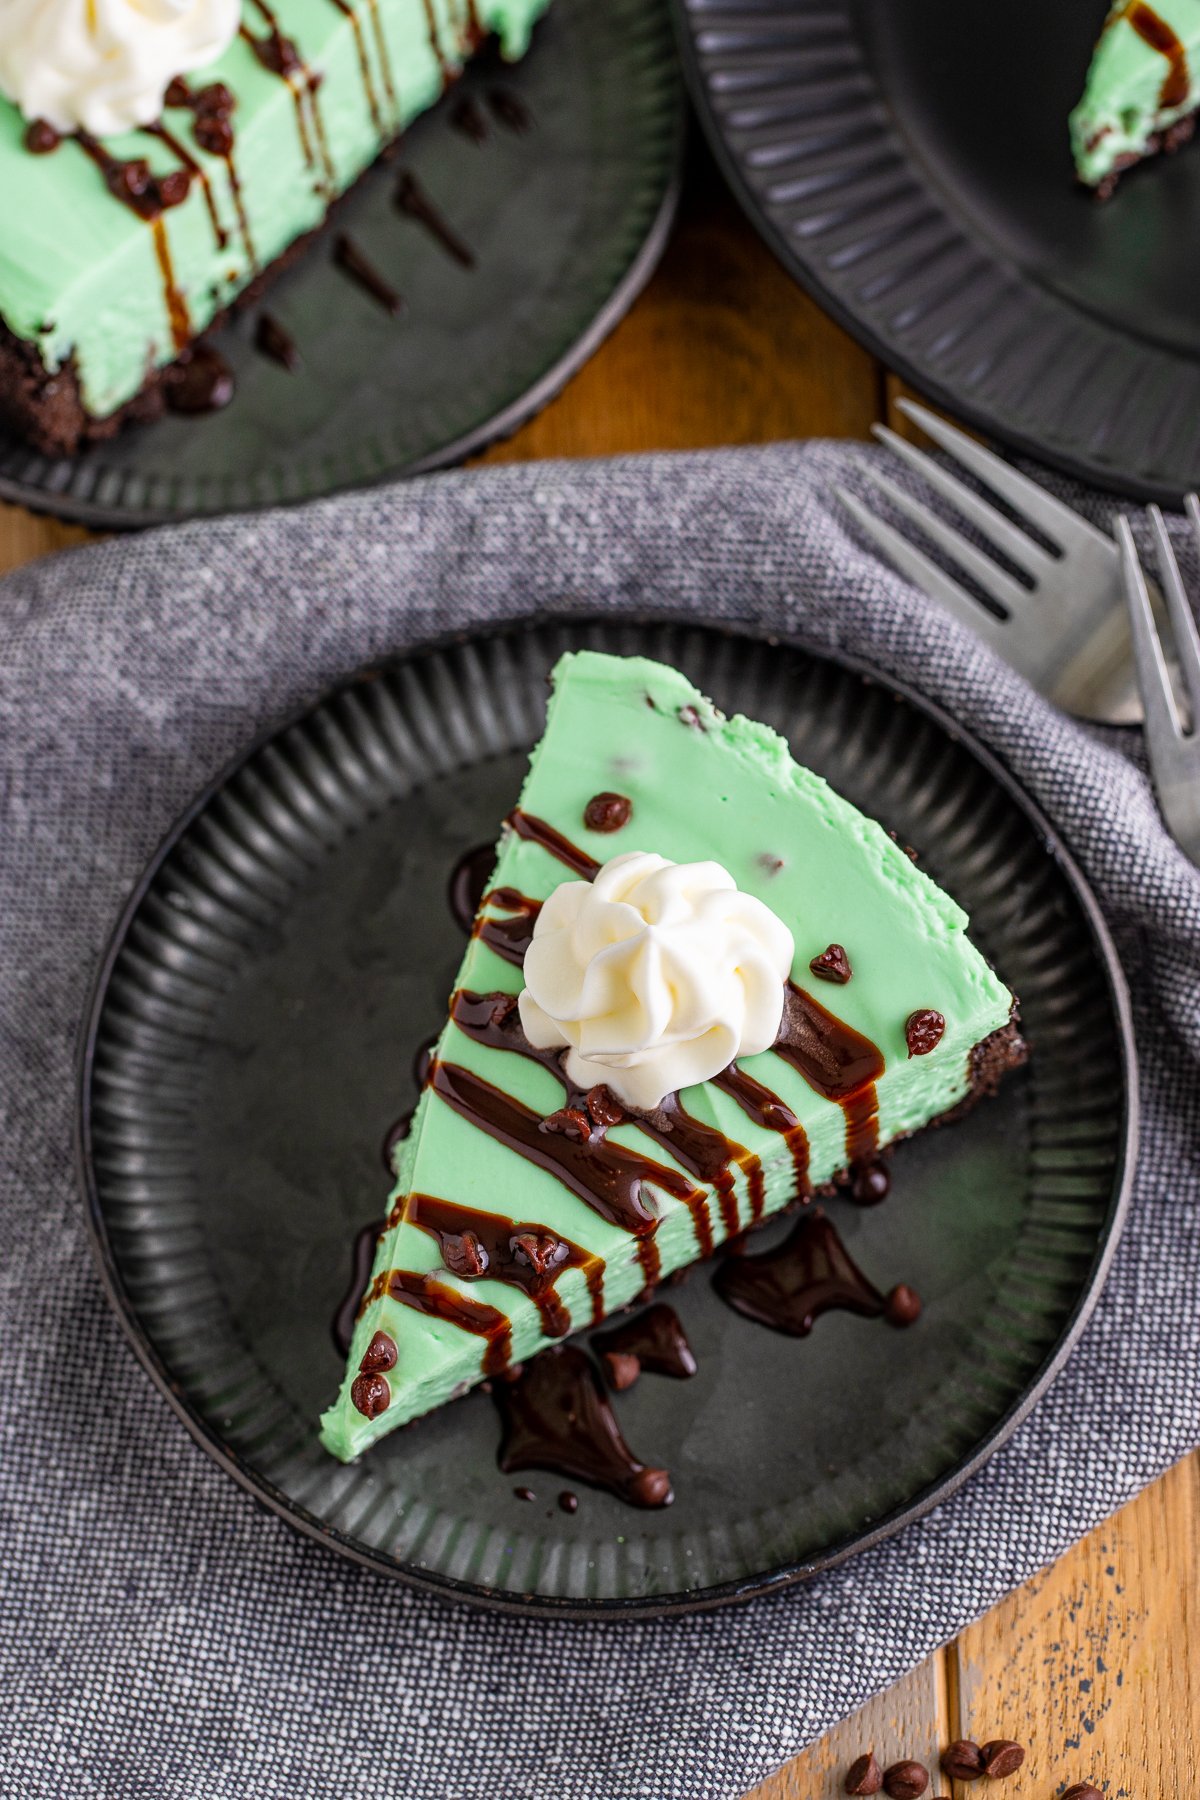
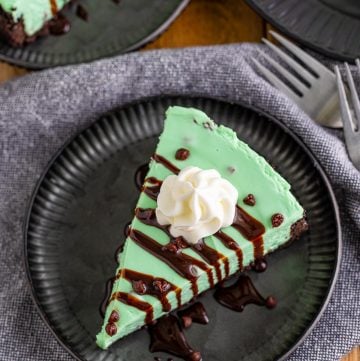
This no bake mint chocolate cheesecake is a guaranteed showstopper. Slice it into wedges and serve with a dollop of whipped cream, a chocolate drizzle, and a few extra mini chips.
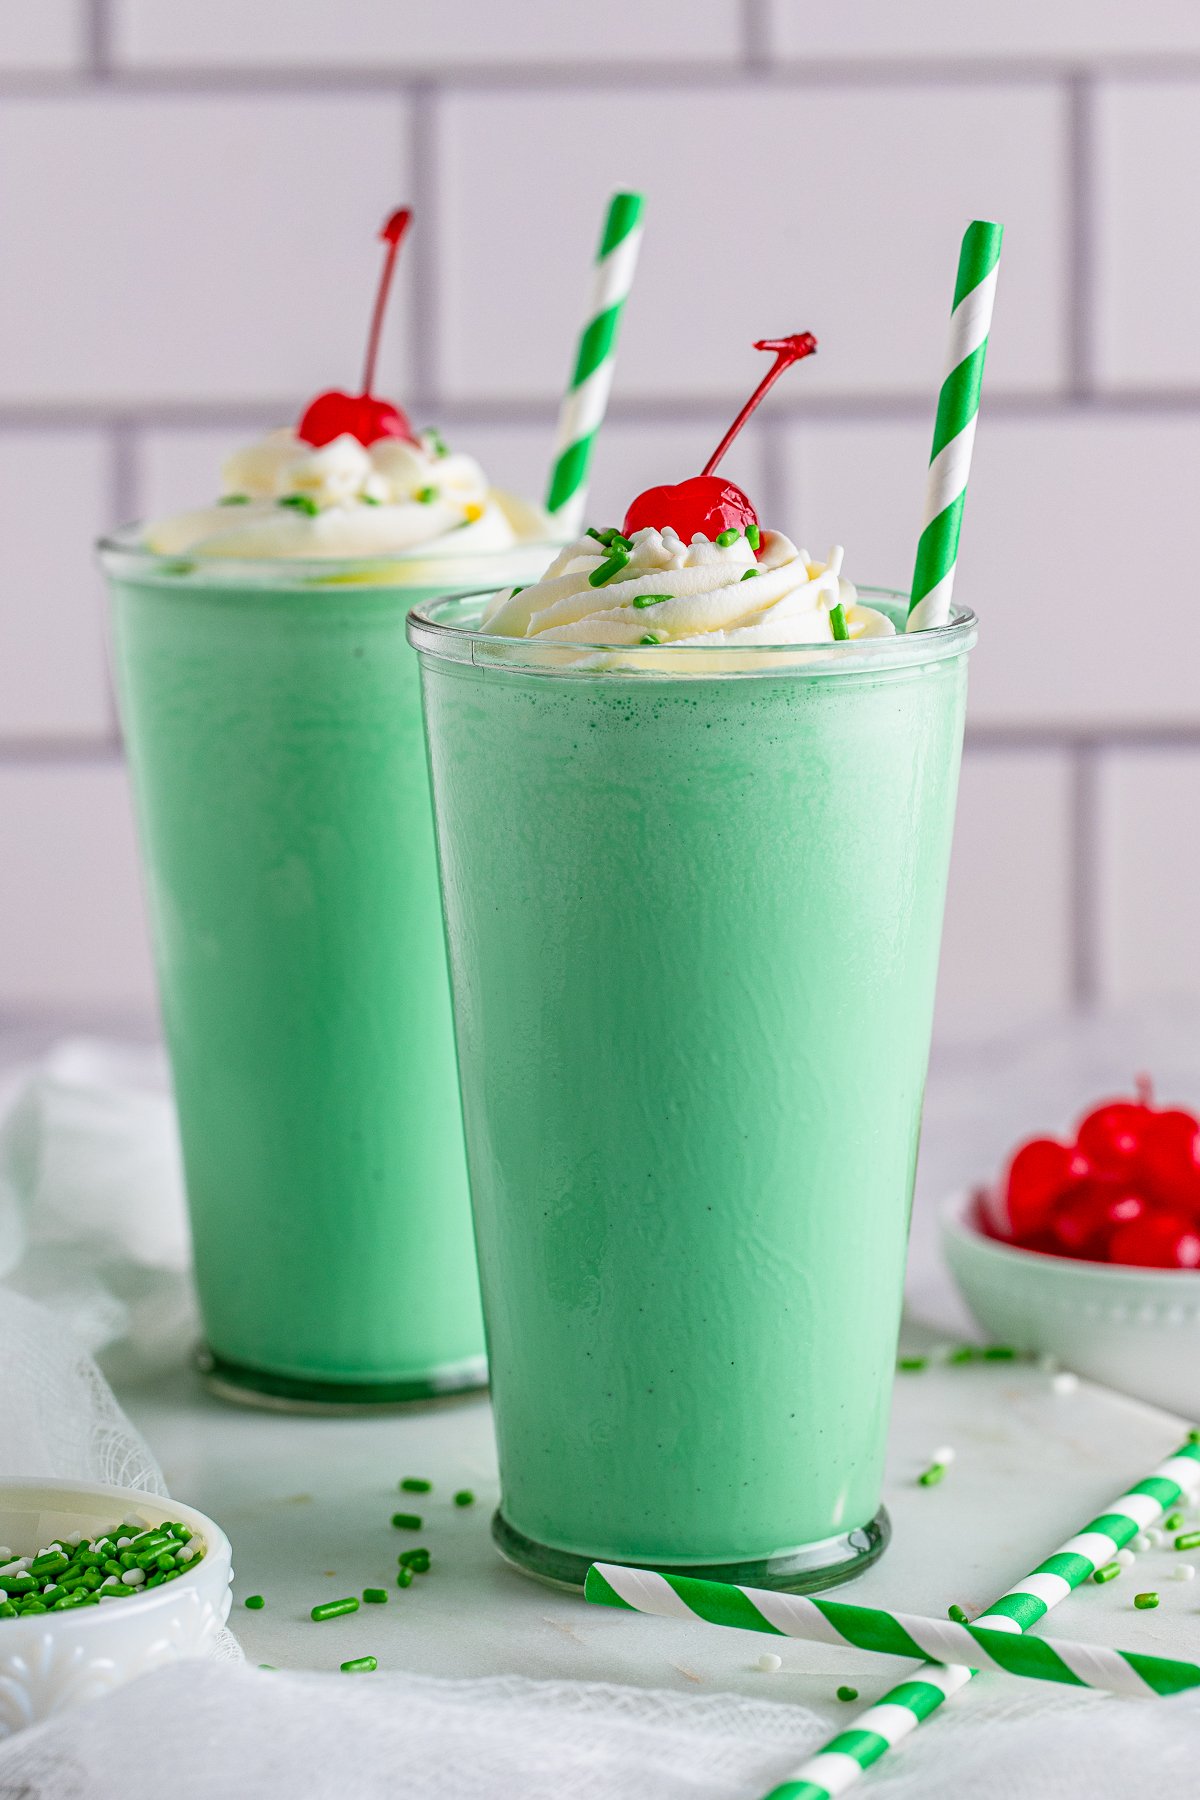
It is perfect for St. Patrick’s Day, spring parties, and holidays. Set it out next to a pitcher of our shamrock shakes for a full mint themed dessert table.
Because it needs hours to chill, this cheesecake is ideal to make a day ahead. Keep it covered in the fridge and add toppings just before serving.
Mint Chocolate Cheesecake FAQs
Yes, and you should. This no bake cheesecake needs at least 8 hours to chill and set, so it is perfect to make a day ahead. Add toppings just before serving.
The most common causes are under whipped cream or not chilling long enough. Whip the cream to stiff peaks, fold gently, and chill for a full 8 hours or overnight.
A springform pan makes it easy to release the cheesecake with clean sides. You can also make it in a pie dish or individual cups, though slices will be less tidy.
Start with a quarter teaspoon, fold it in, then taste and add more a little at a time. Peppermint extract is strong, so it is easy to add more but impossible to take out.
Yes. This no bake cheesecake freezes well. Wrap it tightly and freeze for up to 2 months, then thaw in the fridge before slicing and serving.
Stored covered in the refrigerator, it keeps well for up to 4 days. The Oreo crust softens slightly over time but the flavor stays delicious.

Made this no bake mint chocolate cheesecake? I would love to hear how it turned out, leave a comment and a star rating below and tell me how you topped it!
For an easy make ahead dessert, bake a batch of these golden Oreo cheesecake bars.

No Bake Mint Chocolate Cheesecake
Ingredients
For the crust:
- 30 Oreos
- 7 tablespoons unsalted butter melted
For the filling:
- 24 ounces cream cheese softened
- ½ cup granulated sugar
- ¾ cup powdered sugar
- 1 teaspoon vanilla extract
- ¼ teaspoon peppermint extract
- 1 ¼ cup heavy whipping cream
- green gel food coloring
- ½ cup mini chocolate chips
Instructions
- Place the Oreos in a food processor, process them until they are small crumbs. Drizzle in the melted butter. Give it a stir with a spoon to make sure the crumbs are coated in the butter. Press the crumbs into a 9-inch springform pan on the bottom and up the sides. I like to use the bottom of a flat glass or measuring cup to pack the crumbs in place. Place in the freezer while you assemble the filling.
- In a large bowl, whip the cream cheese with an electric hand mixer, you can also do this with a stand mixer with the paddle attachment. Add the granulated sugar and mix it in. Add the powdered sugar, vanilla, and peppermint extract, mix to combine, set aside.
- In a medium bowl, whip the heavy cream to stiff peaks, do not over whip, you can use an electric hand mixer for this.
- Fold the whipped cream into the cream cheese mixture until there are no streaks left. Taste and add more peppermint extract if you want more of a mint flavor. Color with green gel food coloring to your desired color, or leave it out, a little bit of food coloring goes a long way. Fold it in gently. Fold in the chocolate chips.
- Add the filling to the crust and smooth out the top. Add more chocolate chips on top if desired. Cover and place in the fridge for at least 8 hours or overnight if you can.
- Take off the outer attachment of the pan, slice, and serve with toppings or as is.
Notes
- You can use a 9″ or 10″ springform pan, depending on how thick you want this.
- Gel food coloring is preferred but you can use regular food coloring.
- Make sure to use mini chocolate chips, any of your favorite flavors will do, we use semi-sweet.
- This can be frozen, see my tips above.
- Top with your favorite toppings, see my tips above for some ideas.
- Make sure that you do chill this for 8 hours for optimum consistency.
Nutrition
Love This Recipe?
Follow @ThisSillyGirlsKitchen on Instagram and @danadevolk on Pinterest for more!


You are welcome and thank you for visting our site we are blessed to have you.
Thank you for sharing this recipe
no you leave it
do you remove the icing from inside the oreos before processing them?
How many chocolate graham crackers are needed if not using oreos?
Yes you can!
Can I substitute cool whip for whipped cream?
1 9-inch springform pan
Can I use 1 or 2 9 inch pie dishes since it’s not being baked ?