This post may contain affiliate links.
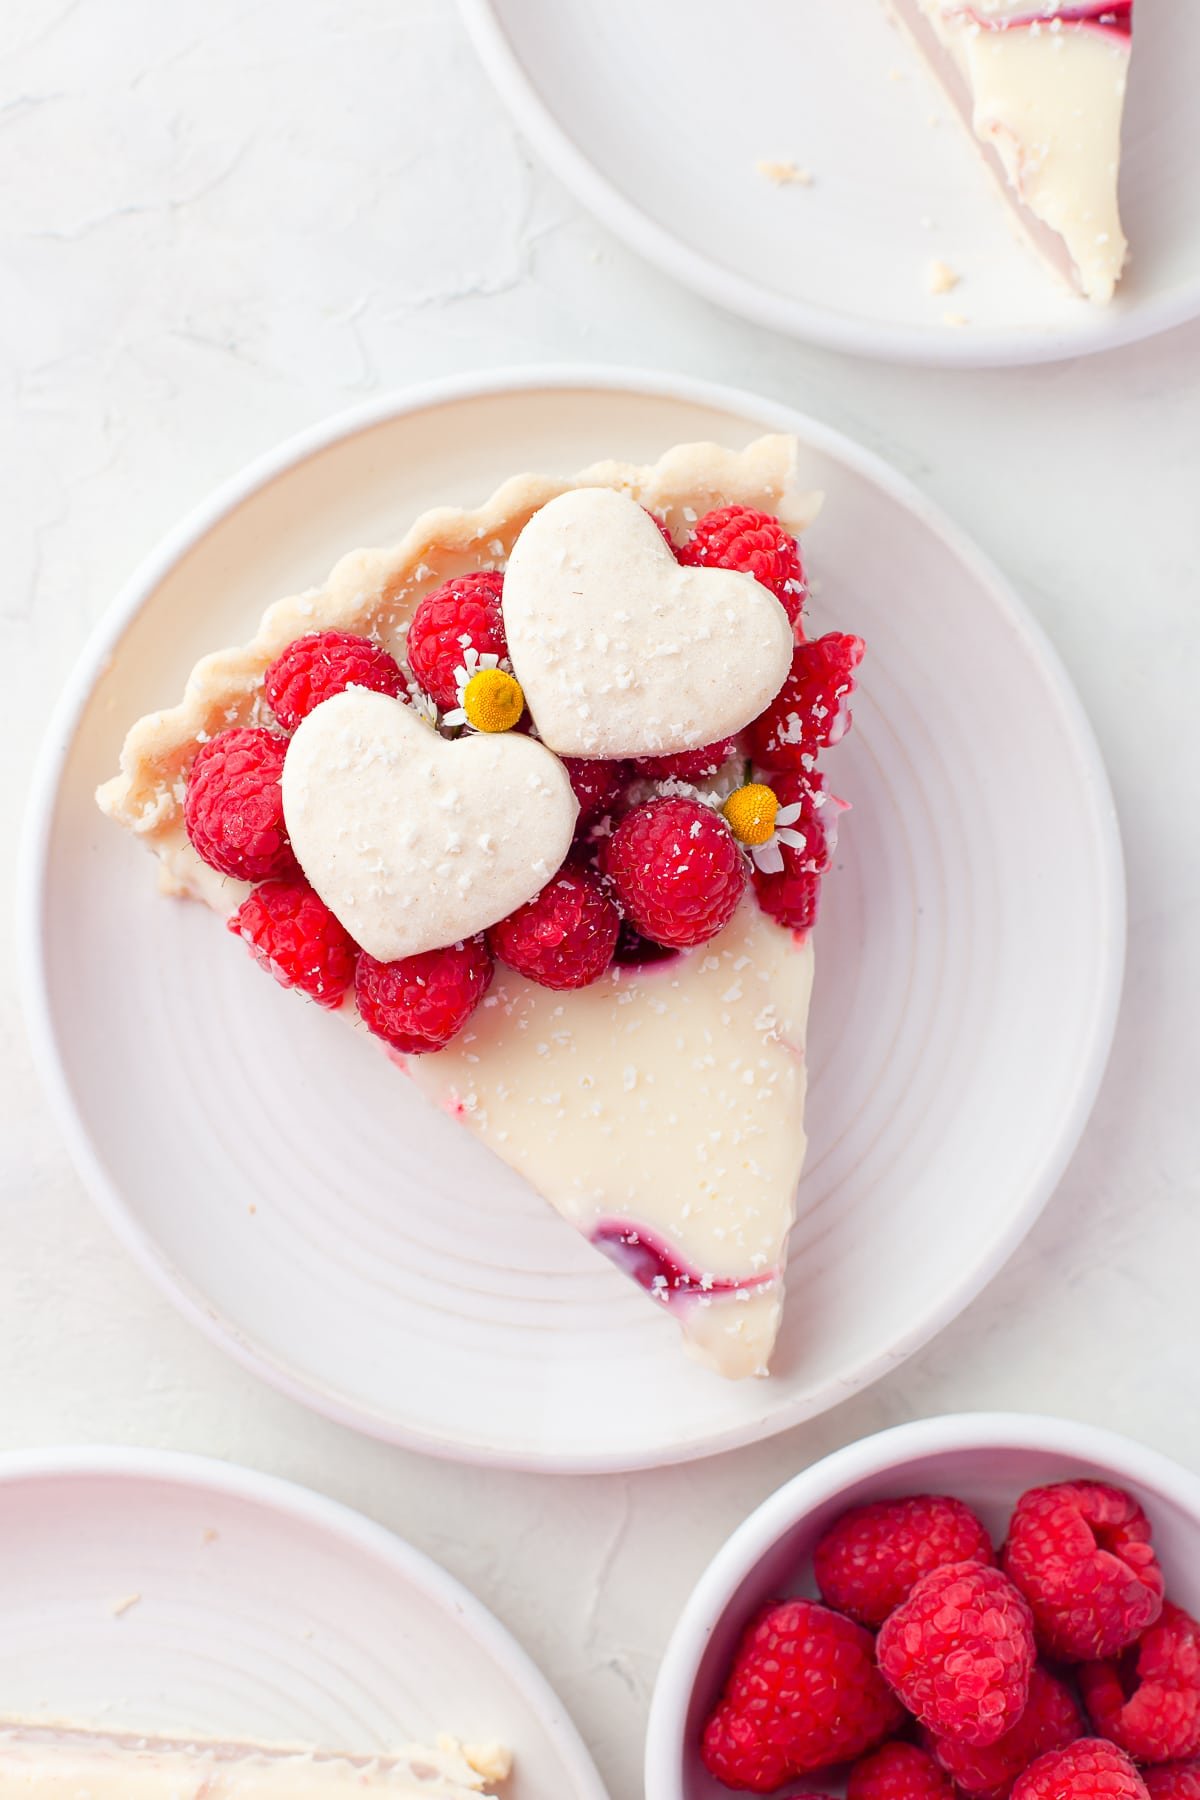
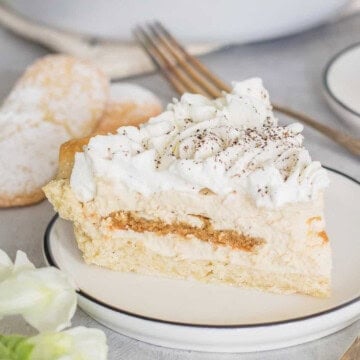
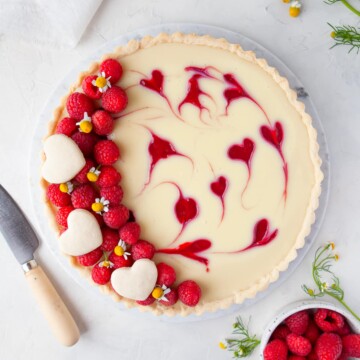
Raspberry Tart is an elegant, bakery-worthy dessert with a buttery shortbread crust, a layer of tart raspberry, and a creamy white chocolate topping swirled with ruby-red hearts. I made this for a *Valentine’s dinner* and Jason said it was the prettiest thing to ever come out of our kitchen. If you love our tiramisu pie, this white chocolate raspberry tart is your next showstopper.
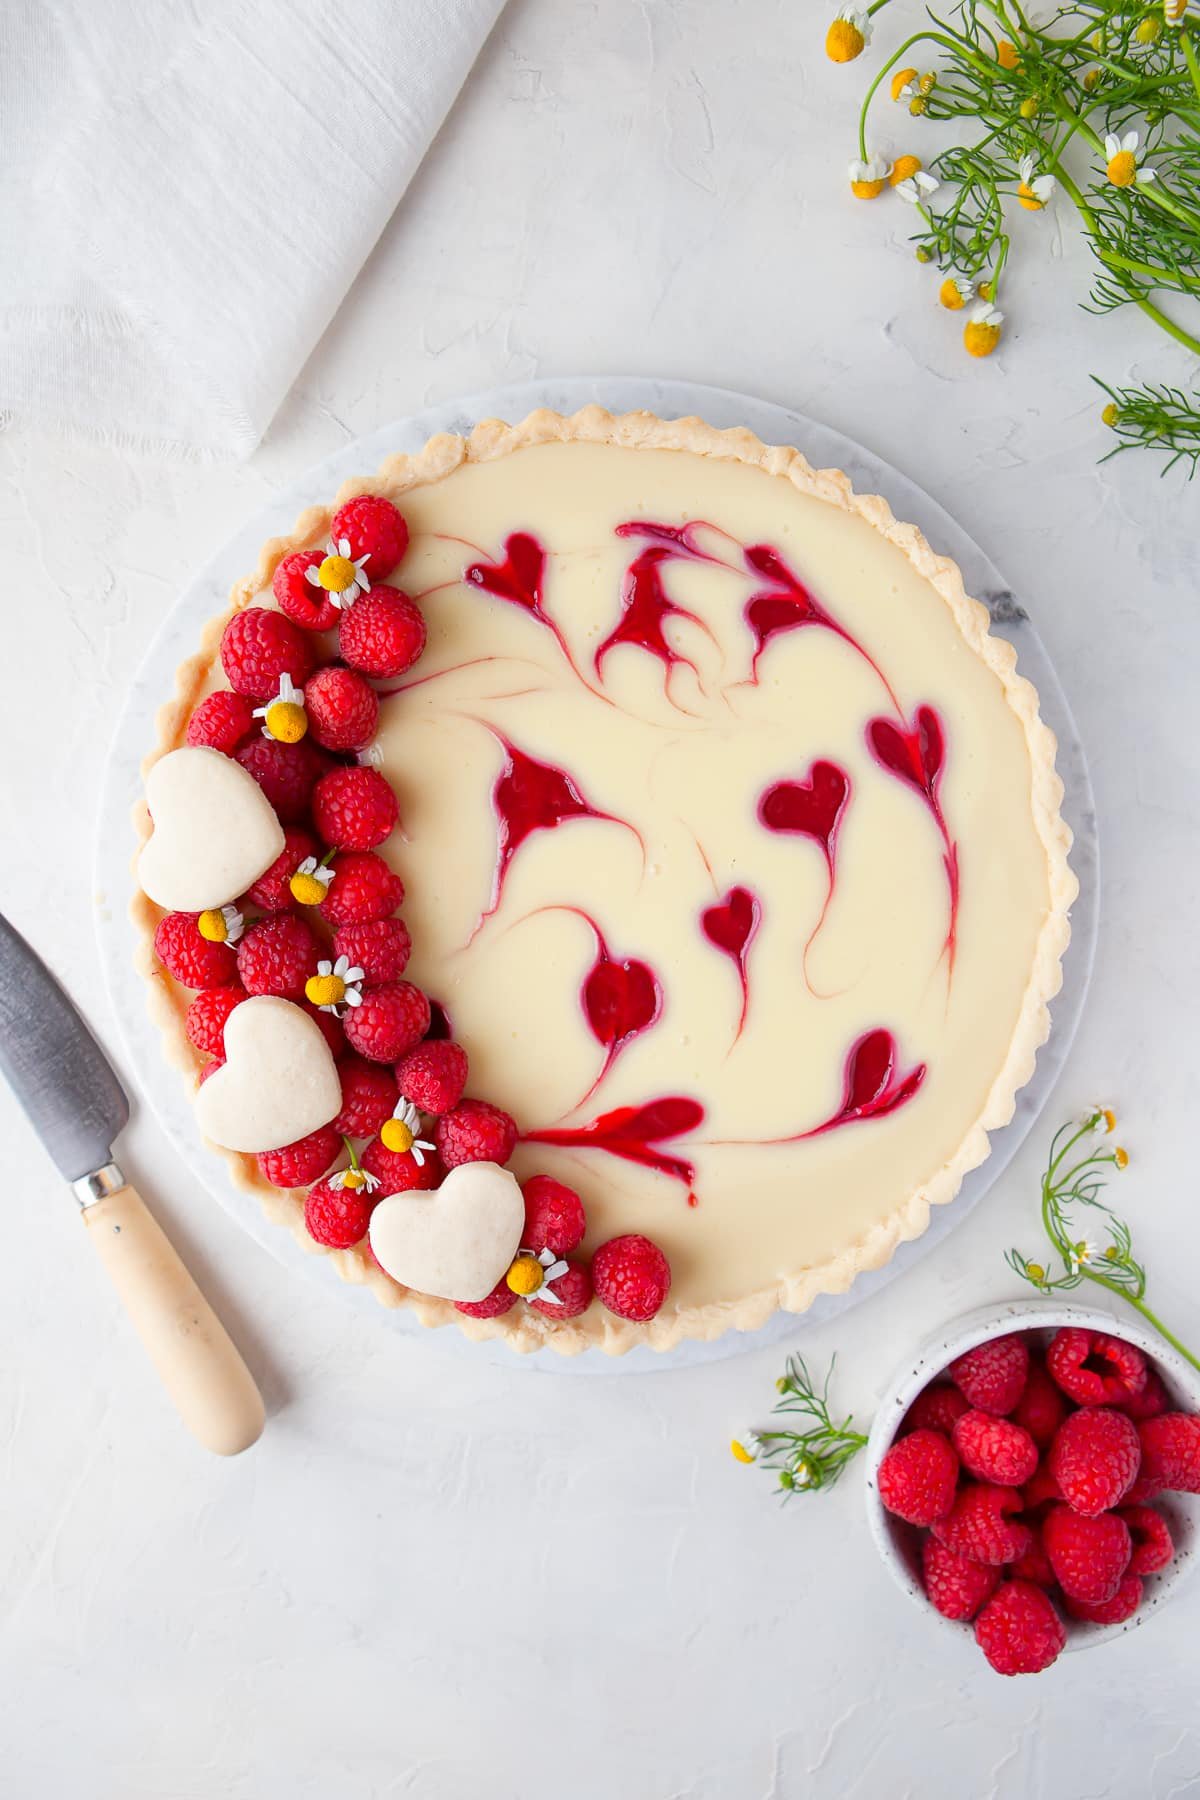
This white chocolate raspberry tart layers a fresh raspberry filling with a silky white chocolate topping for the perfect balance of tart and sweet.
Raspberry Tart Quick Look
- 🕒 Prep Time: 1 hour
- 🌡️ Cook Time: 25 minutes
- ⏳ Total Time: 4 hours 30 minutes
- 🍽️ Serving: 8 slices
- ⚡ Calories: 756kcal
- 🌶️ Flavor Profile: Buttery crust with tart raspberry and creamy white chocolate
- ✋ Difficulty: A bit involved but worth it, like our tiramisu pie
Quick Answer
To make a raspberry tart, press a buttery shortbread dough into a tart pan and pre-bake it until golden. Cook fresh raspberries into a sauce, strain out the seeds, and stir the puree into melted white chocolate and cream to make the raspberry filling. Pour it into the crust, top with a second white chocolate cream layer, swirl in reserved raspberry sauce, and chill for at least 3 hours until set.
Jump to:
Why This Recipe Works
Click to see the technique science
- Pre-baking keeps the crust crisp. Baking the tart shell before filling it ensures a crisp, golden crust that holds up under the creamy layers.
- Straining gives a silky filling. Blending and straining the cooked raspberries removes the seeds for a smooth, elegant filling.
- White chocolate balances the tart fruit. Sweet, mellow white chocolate is the perfect partner for the bright, tangy raspberries.
- Two layers add contrast. A raspberry layer beneath a white chocolate layer gives every slice a beautiful two-toned look and a balance of flavors.
- Warm cream melts chocolate smoothly. Pouring warm cream over white chocolate melts it into a glossy, pourable ganache without scorching.
- Chilling sets it for clean slices. A few hours in the fridge lets both layers firm up so the tart slices neatly and holds its shape.
Why You’ll Love This Recipe
- It is an elegant, bakery-worthy tart with a buttery crust, tart raspberry, and creamy white chocolate.
- It looks impressive but uses simple ingredients and steps, perfect for holidays and special occasions like our key lime eclair cake.
- It can be made ahead and chilled, so it is a stress-free showstopper for entertaining.
- It is the kind of no fuss win that pairs beautifully with our berry tarts with crescent dough on a busy week.
- It earns a spot in the rotation right next to our mini onion tarts recipe.
- It is the kind of no fuss win that pairs beautifully with our no bake raspberry ice box cake on a busy week.
Key Ingredients
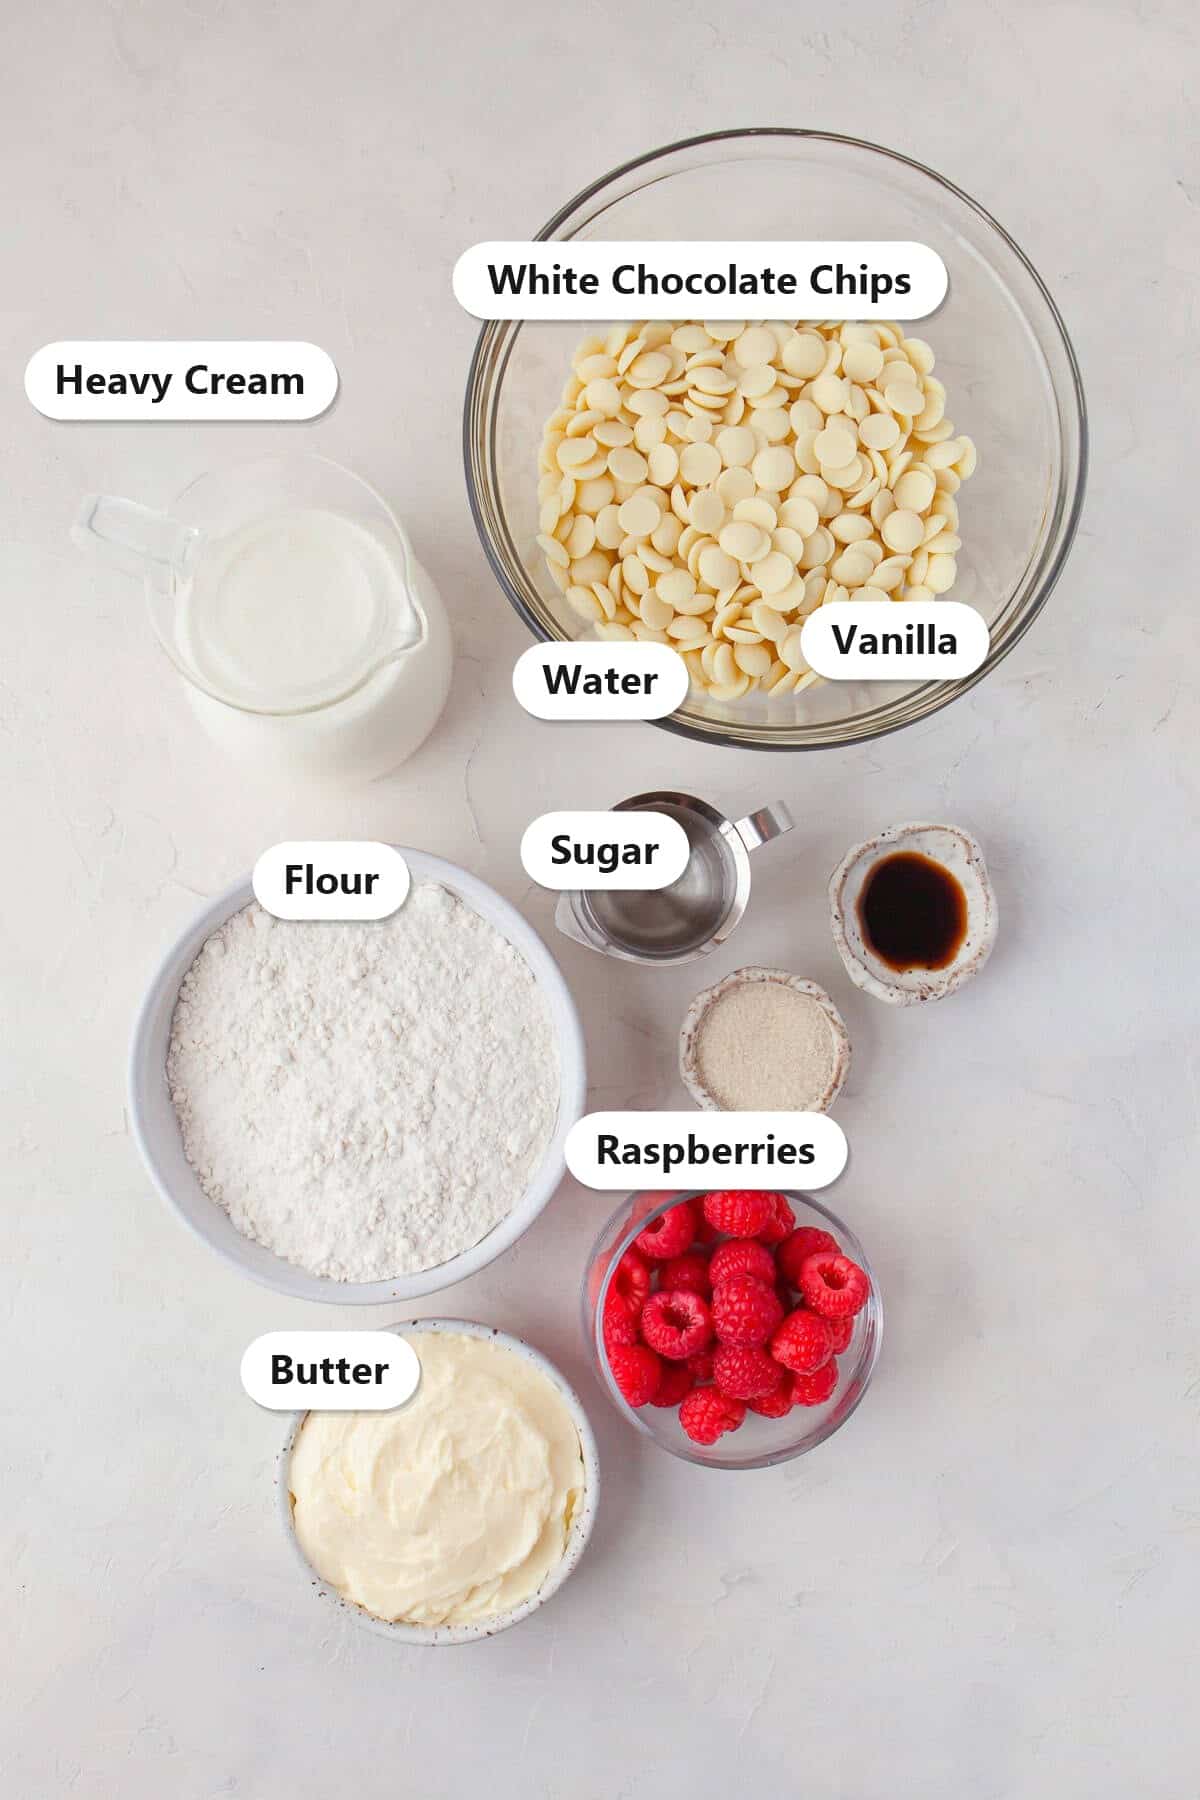
A handful of simple ingredients layer into an elegant tart. Here are the ones that matter most.
- Fresh raspberries: Cooked down into a bright, tart sauce, they give the tart its gorgeous color and fruity flavor. Frozen raspberries work too.
- White chocolate chips: White chocolate makes both the creamy filling and the silky top layer, balancing the tart raspberries with sweet, mellow flavor.
- Heavy cream: Warm cream melts the white chocolate into a smooth, pourable ganache for both layers.
- Butter: Softened butter makes the rich, shortbread-style tart crust that holds everything together.
- Flour: All-purpose flour forms the tender, buttery crust that bakes up golden and crisp.
See recipe card for exact quantities.
Variations and Substitutions
This raspberry tart is easy to make your own:
- Switch the berries: Use strawberries, blackberries, or a mix for a different fruit tart with the same creamy white chocolate base.
- Go dark: Swap the white chocolate for dark or milk chocolate ganache for a richer, less sweet tart.
- Add a garnish: Top with fresh raspberries, white chocolate curls, or a dusting of powdered sugar, like the chips in our white chocolate chip cookies.
- Make mini tarts: Divide the dough and filling among small tartlet pans for individual desserts, reducing the bake and chill times.
- For another spin on this idea, try our lemonade tart recipe next time.
- In the mood for something different? Our fresh raspberry frosting scratches a similar itch.
- For another spin on this idea, try our blueberry pop tart sugar cookies next time.
How to Make Raspberry Tart
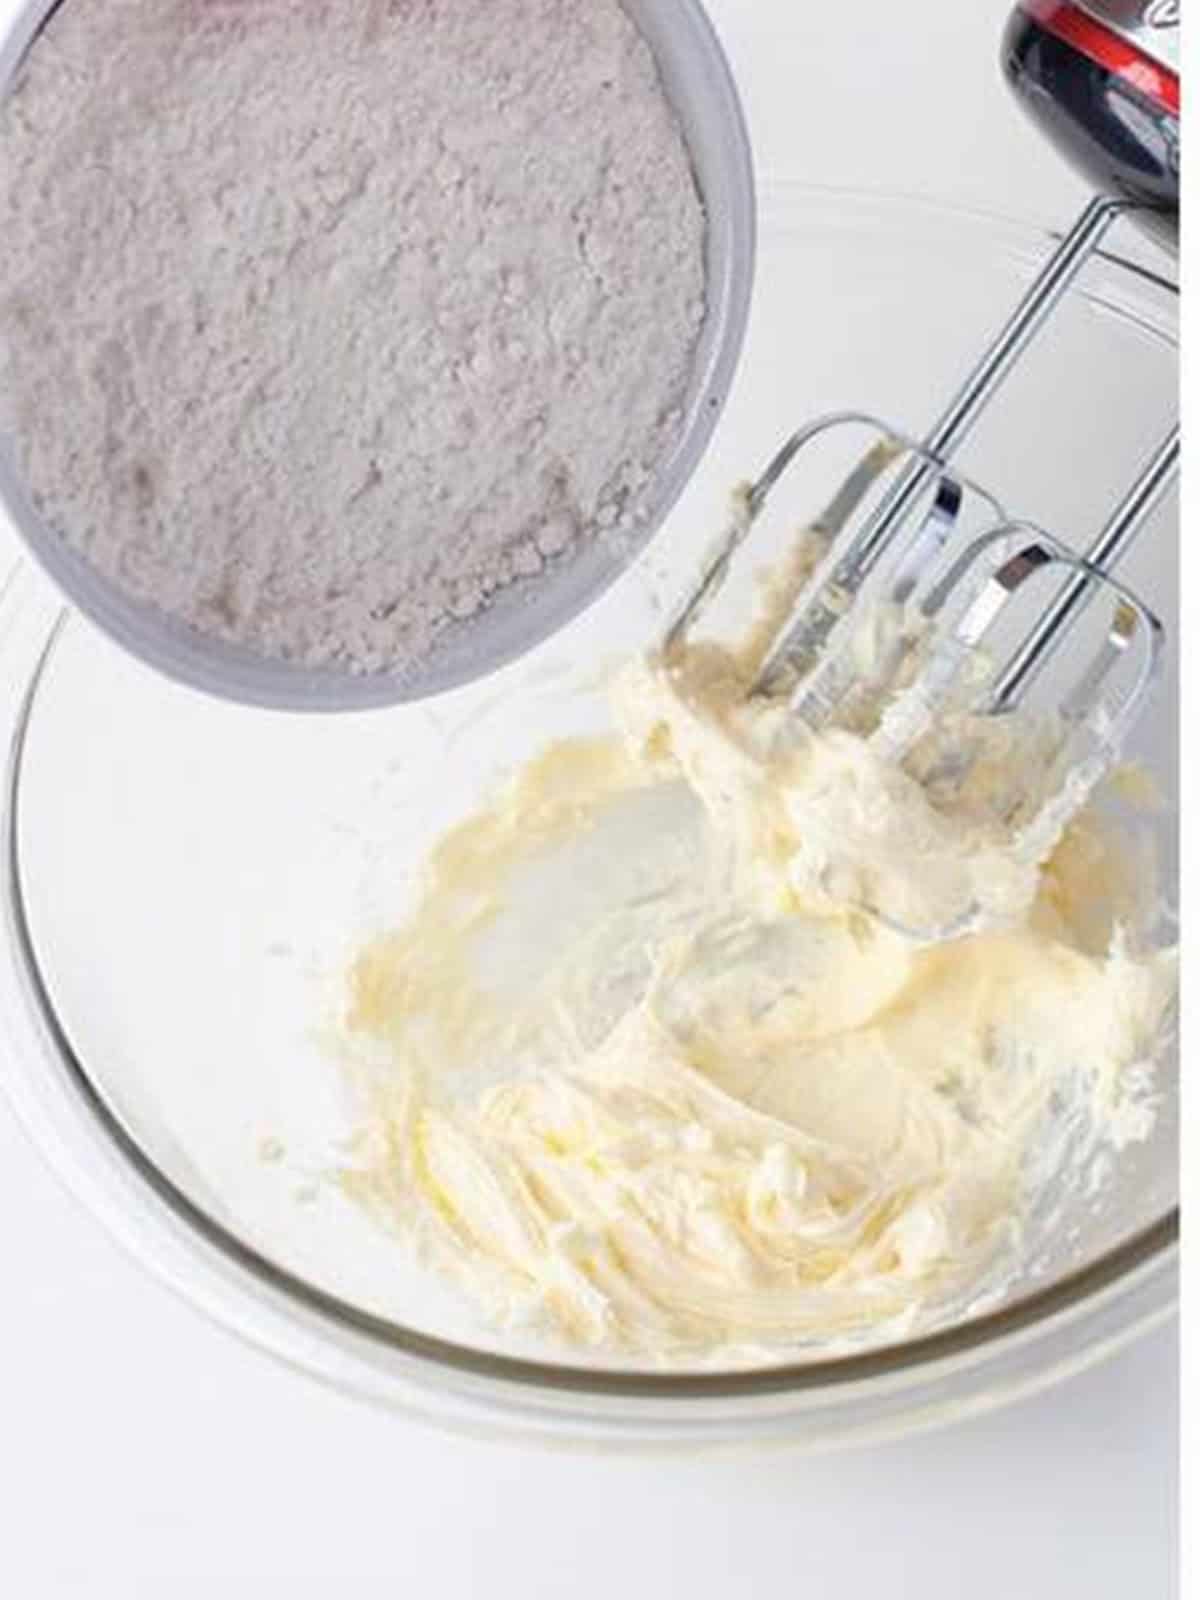
- Make the tart dough by beating the butter until fluffy, then mixing in the flour, sugar, and ice water until it just comes together. Chill for 30 minutes.

- Roll out the dough, press it into a tart pan, dock the bottom with a fork, and bake until golden, then let it cool completely.
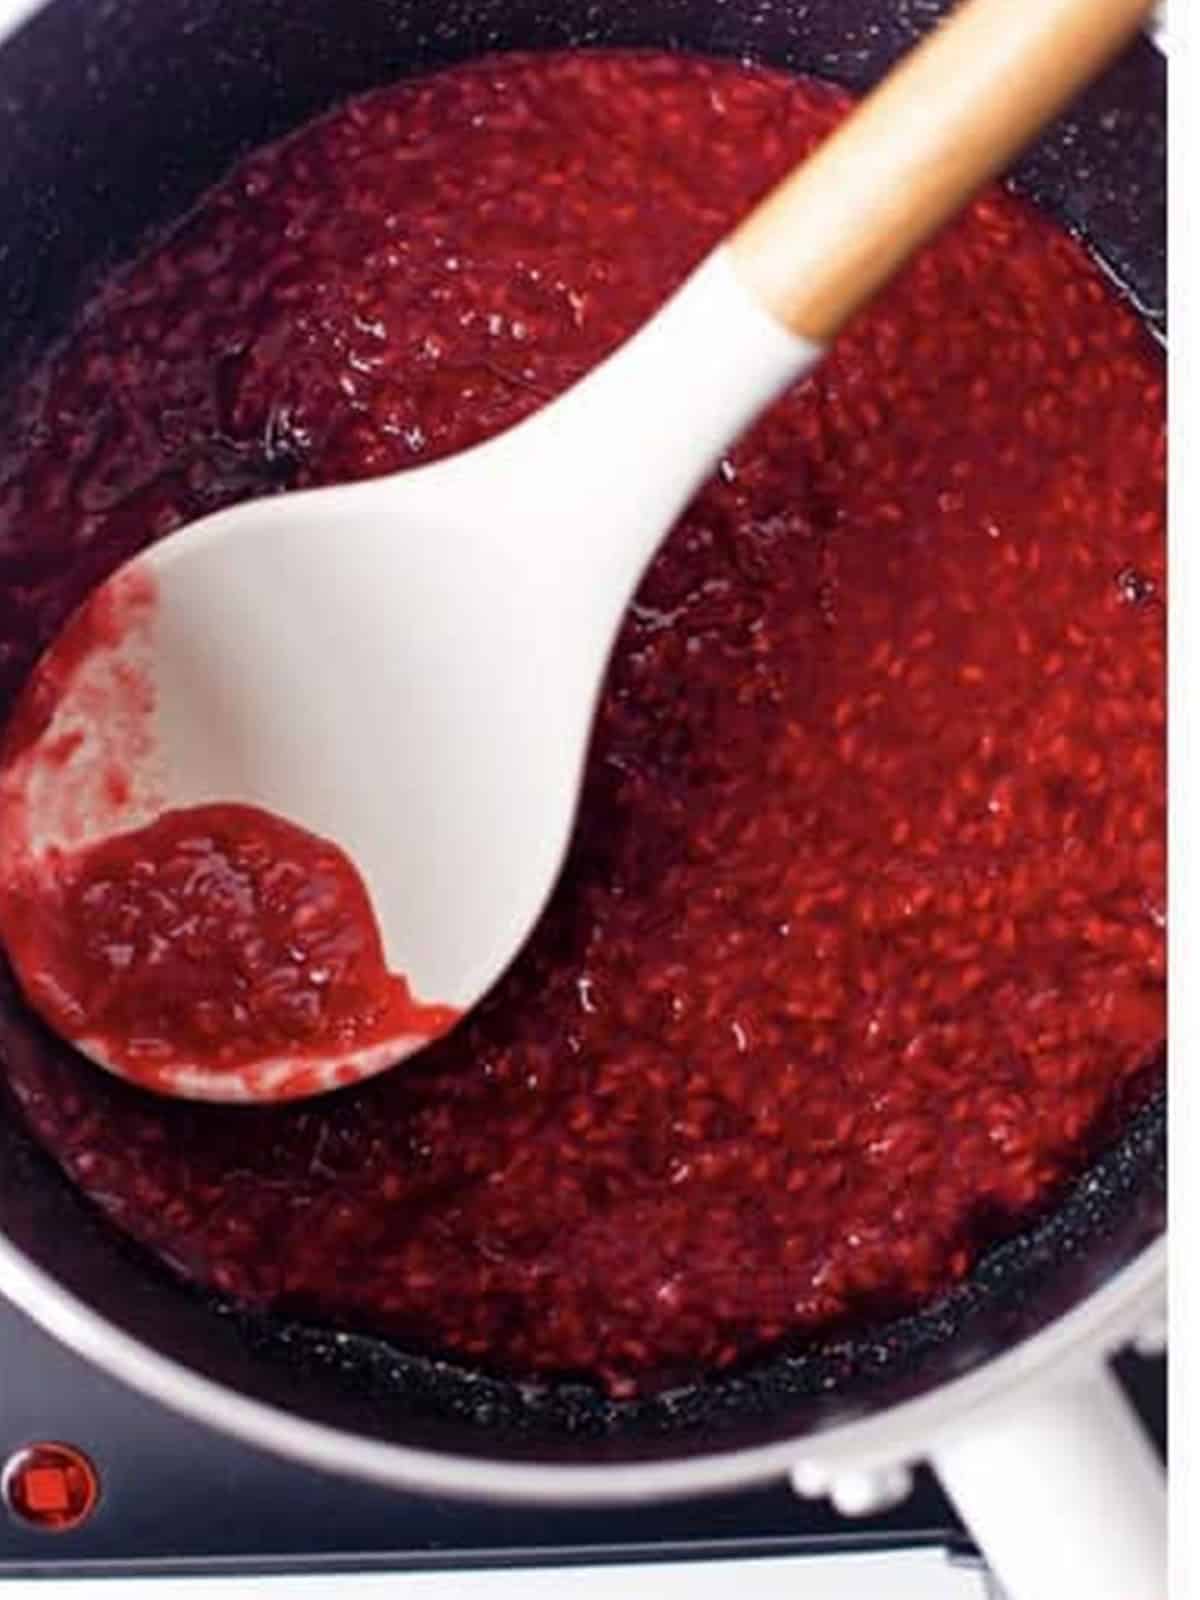
- Cook the raspberries with a little water and sugar until softened, then blend and strain out the seeds, reserving some sauce for the top.
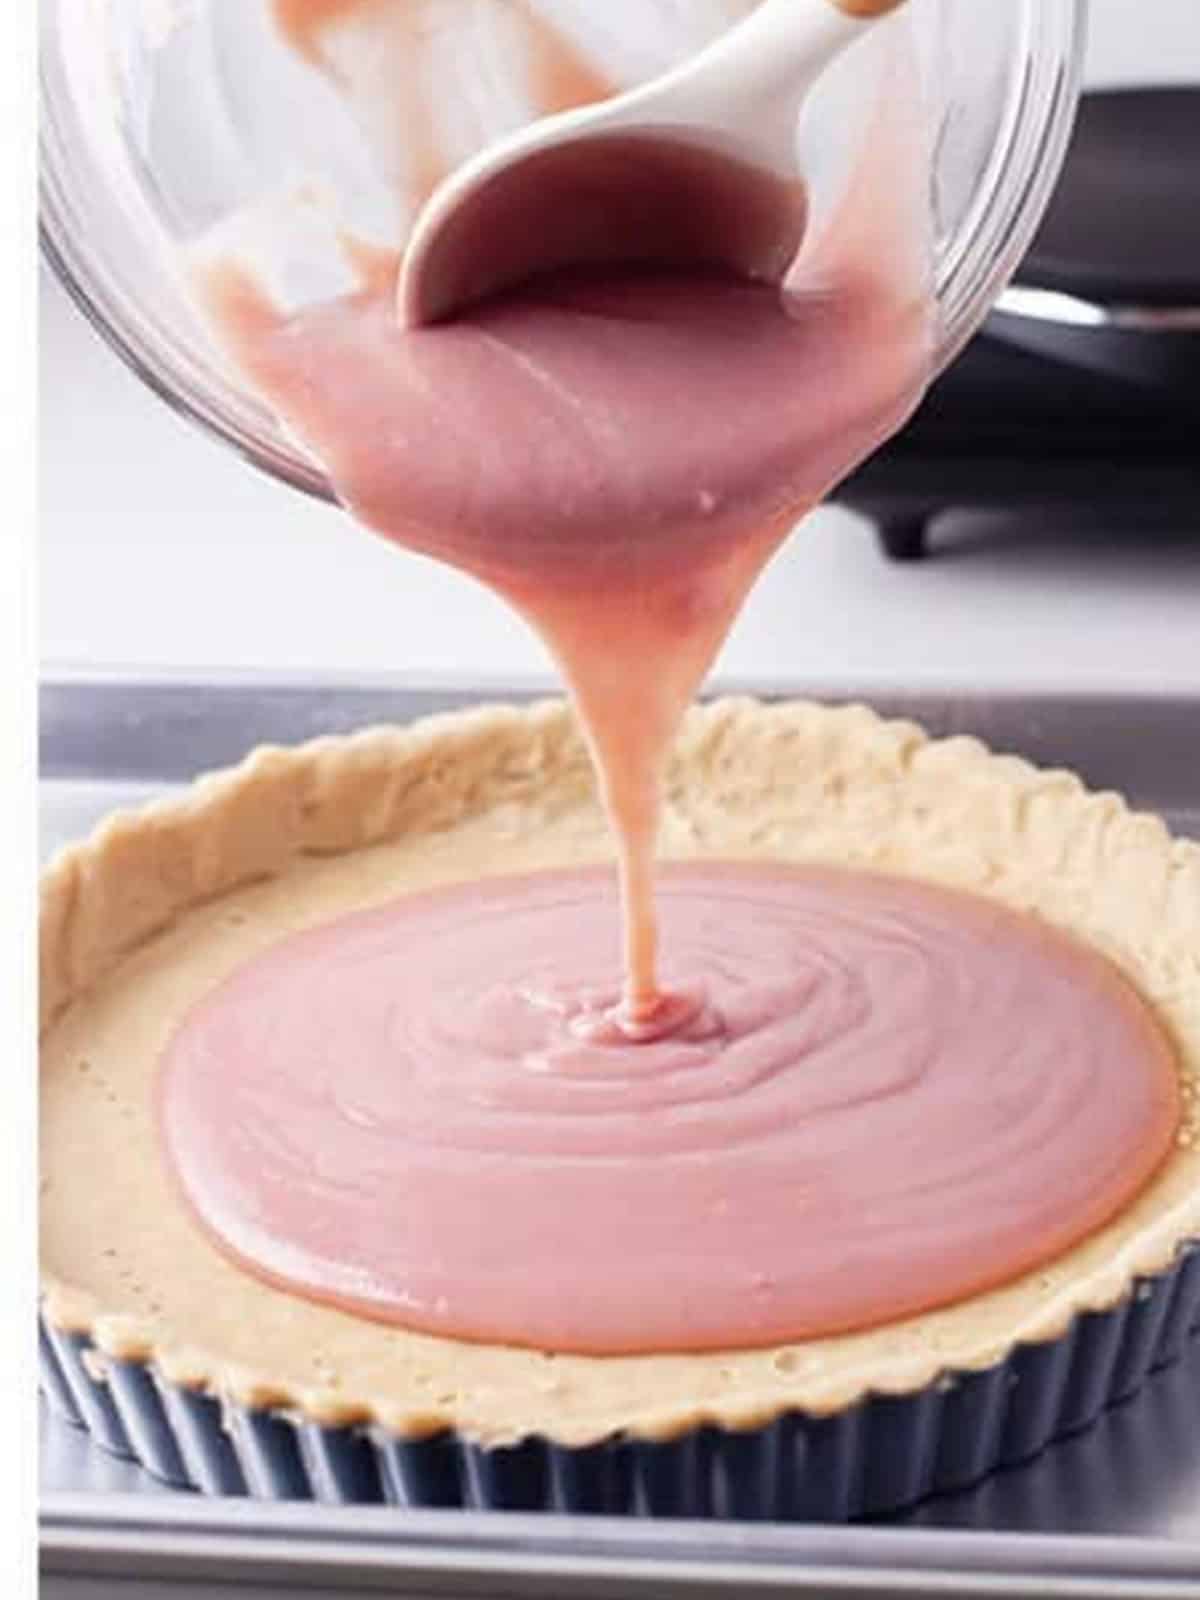
- Stir the raspberry puree into warm cream and white chocolate until smooth, then pour the pink filling into the cooled crust and chill briefly.
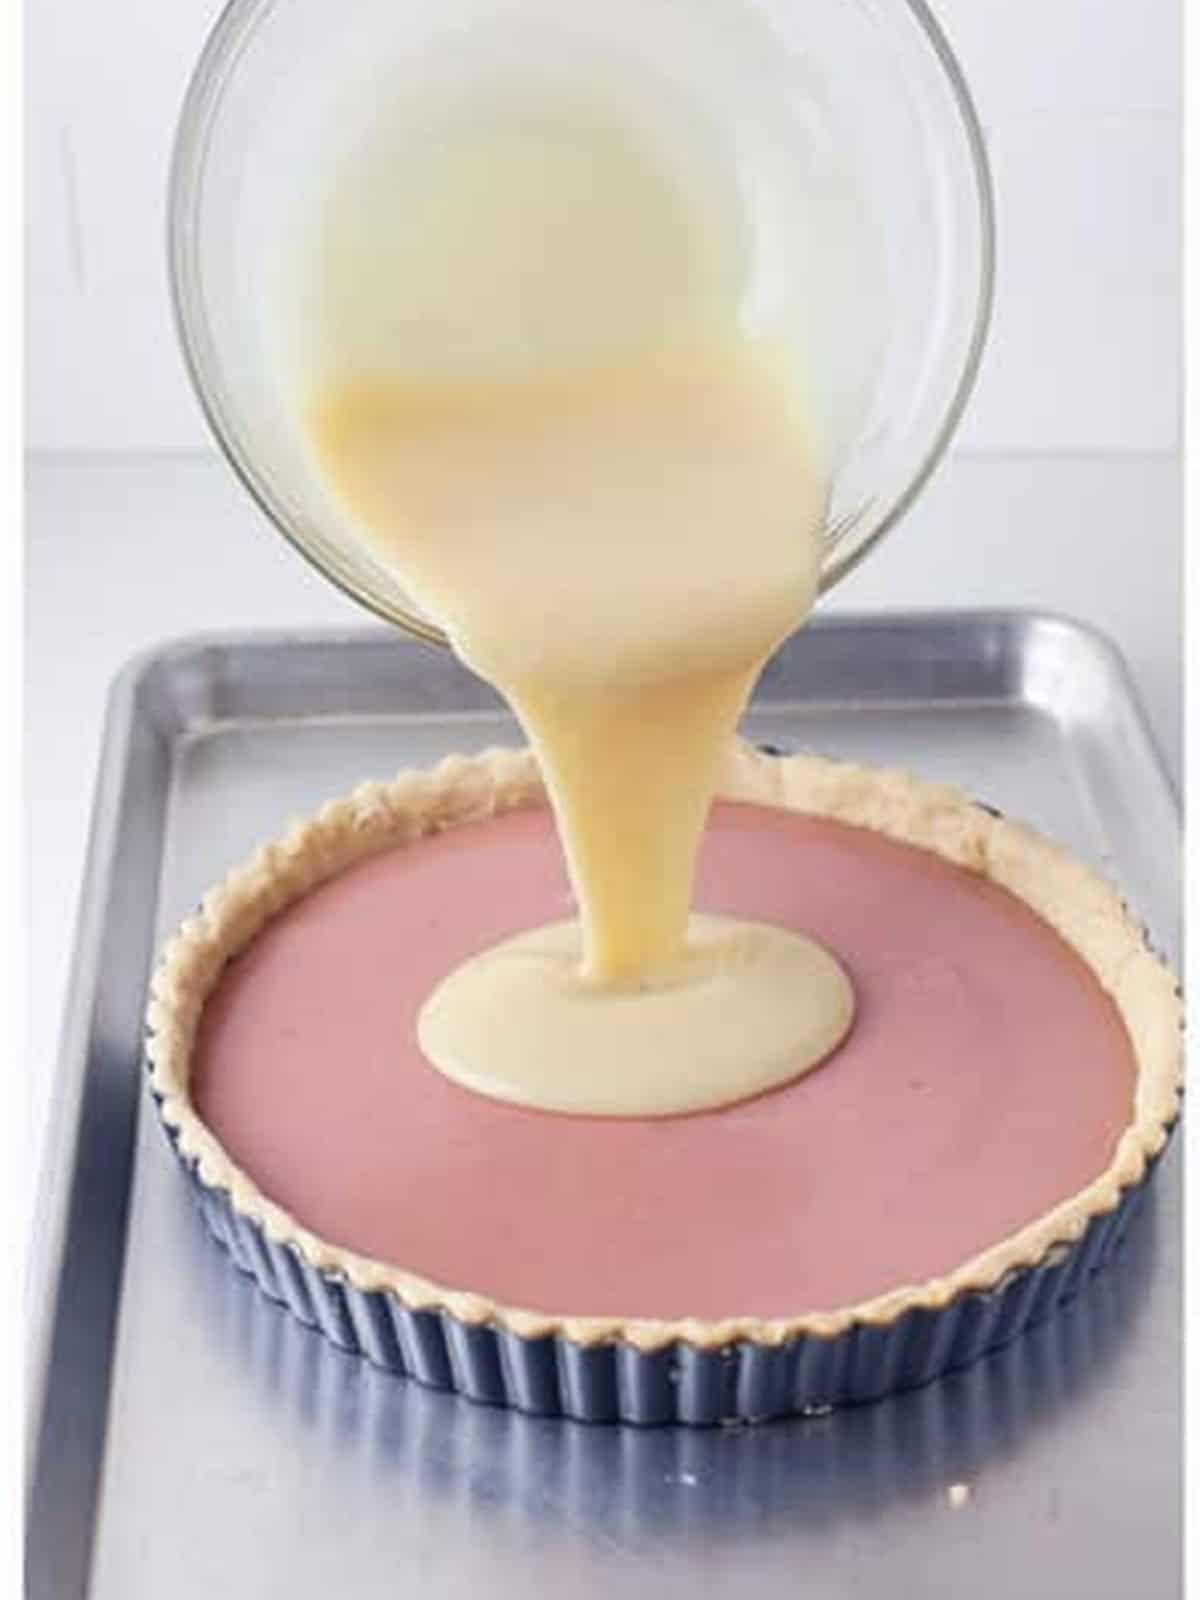
- Make the white chocolate topping by melting more white chocolate into warm cream, then gently pour it over the set raspberry layer.
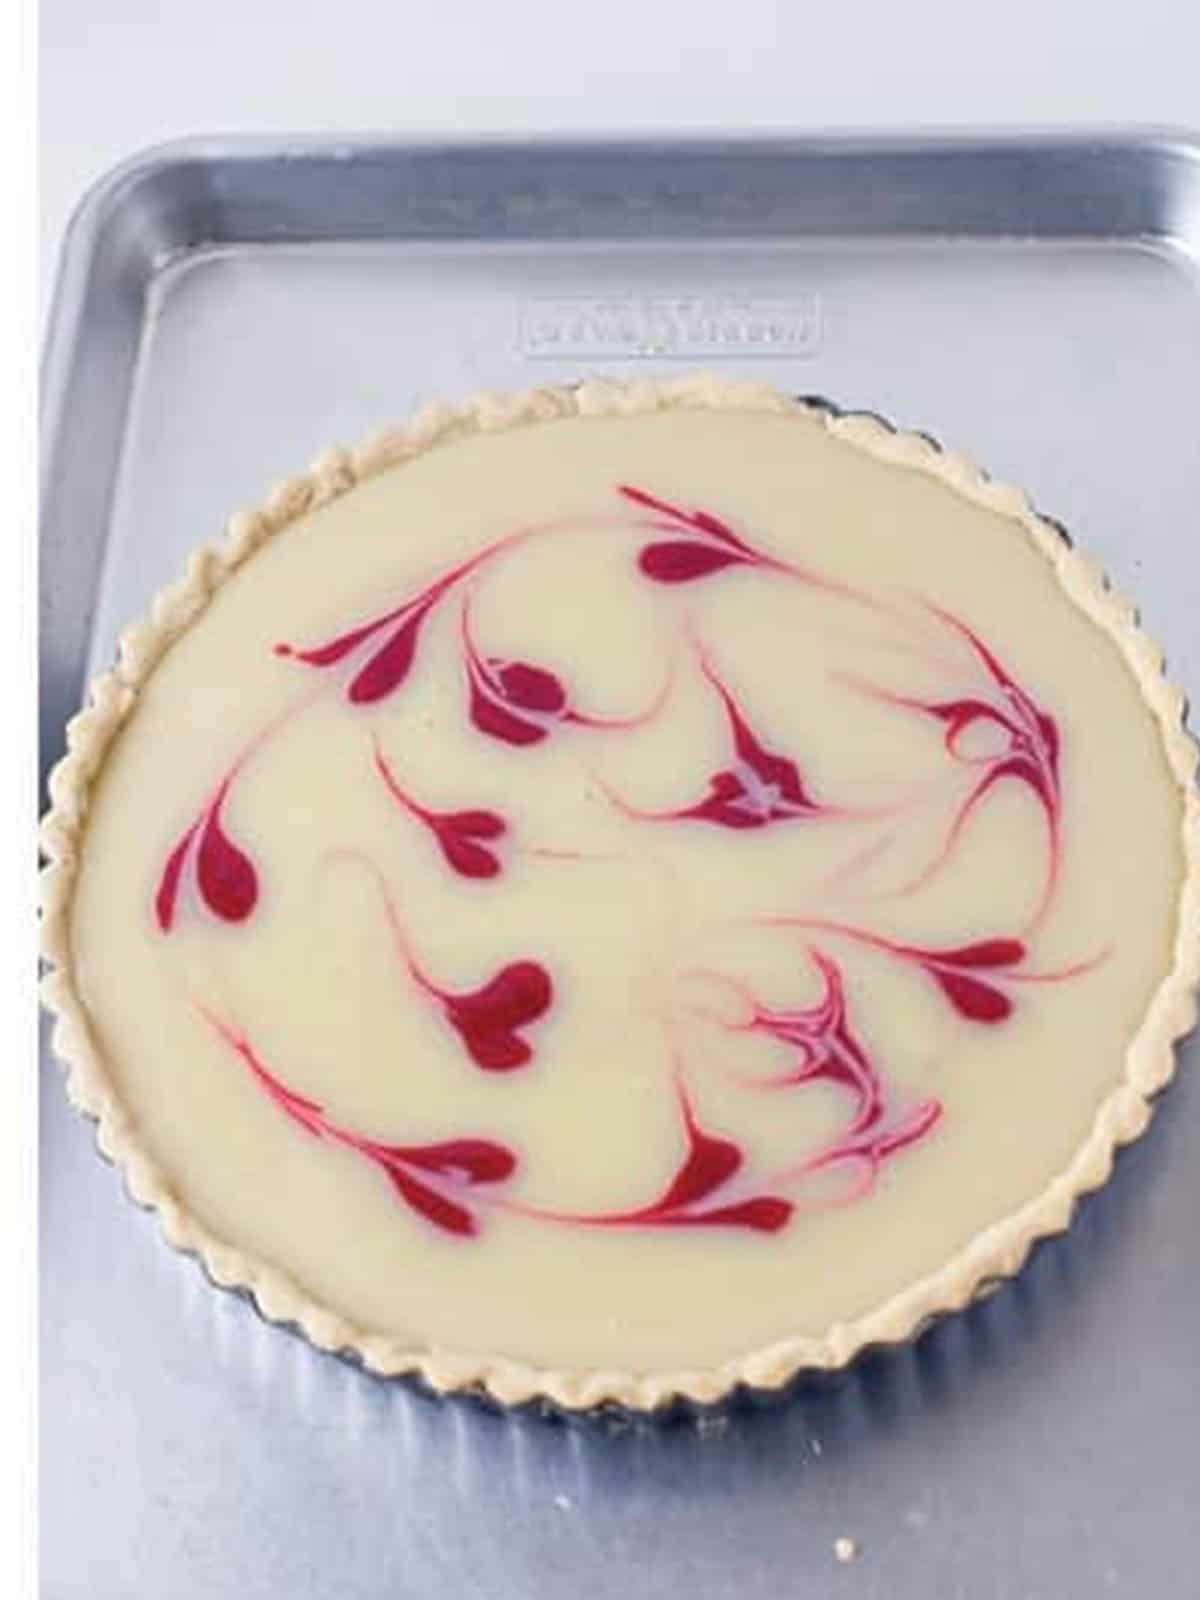
- Drop the reserved raspberry sauce on top and swirl it with a skewer, then chill for at least 3 hours until set before slicing.
Recipe Tips & Tricks
- Dock the crust well with a fork before baking so it does not puff up in the middle.
- Strain the raspberry puree for a silky-smooth filling without any seeds.
- Let each layer set before adding the next, chilling the raspberry layer briefly keeps the white chocolate from sinking in.
- Use warm, not hot, cream to melt the white chocolate so it stays smooth and does not seize.
- Swirl gently with a skewer for those pretty raspberry hearts on top, dragging through just the surface.
- Chill at least 3 hours, or overnight, so the tart sets firm enough to slice cleanly.
- Double up for gatherings. Serve it alongside our raspberry mojito and watch both disappear.
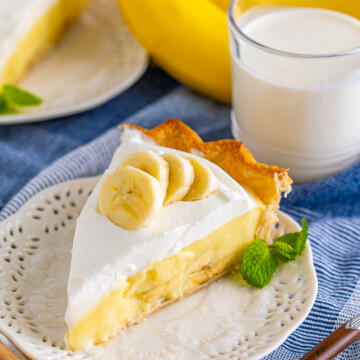
- Make it a full spread. Our banana cream pie rounds out the table.
Serving Ideas and Suggestions
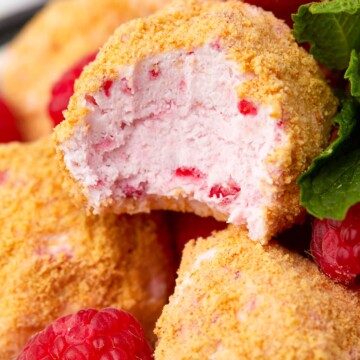
Still filling out the menu? Readers love pairing this one with our almond cupcakes with raspberry buttercream and our no-bake raspberry cheesecake bites.
Store the tart covered in the refrigerator for up to three days. The flavors actually deepen overnight, making it a perfect make-ahead dessert. Add any fresh berry garnish just before serving so it stays bright and pretty.
Raspberry Tart FAQs
Yes, frozen raspberries work beautifully in this raspberry tart since they are cooked down into a sauce anyway. There is no need to thaw them first, just add a couple of extra minutes of cooking time to account for the extra moisture. Frozen berries are a great budget-friendly option and let you make this tart any time of year.
A raspberry tart is an excellent make-ahead dessert. You can make it up to two days in advance and keep it covered in the refrigerator, where the flavors deepen and the layers stay perfectly set. Add any fresh raspberry garnish just before serving. This makes it ideal for holidays and dinner parties when you want to prep ahead.
If the filling is not setting, the white chocolate to cream ratio may have been off or the tart has not chilled long enough. White chocolate needs the right amount to firm up, so measure carefully, and be sure to chill the tart for at least 3 hours or overnight. Using good-quality white chocolate that contains cocoa butter also helps the layers set properly.
A fluted tart pan with a removable bottom is best for a raspberry tart because it gives those pretty scalloped edges and makes it easy to release the tart cleanly. A 9-inch round pan is standard. If you do not have a tart pan, a pie dish will work, though the slices will be a bit thicker and the edges less decorative.
Yes, you can swap the white chocolate for dark or milk chocolate to make a richer, less sweet tart. Keep the same method of melting the chocolate into warm cream for each layer. Dark chocolate pairs especially well with the tart raspberries for a more grown-up dessert, while milk chocolate keeps it sweet and kid-friendly.
Store the raspberry tart covered in the refrigerator for up to three days. Because of the cream and white chocolate layers, it should always be kept chilled until ready to serve. The tart can also be frozen, well wrapped, for up to a month, then thawed in the fridge overnight. Add fresh berry garnishes after thawing for the freshest look.
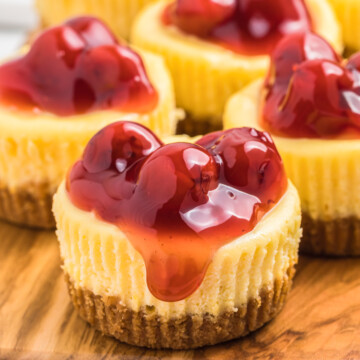
Craving more elegant desserts? Try our tiramisu pie and mini cheesecakes next.
My jammy raspberry curd makes the easiest tart filling in the fridge.

White Chocolate Raspberry Tart Recipe
Ingredients
For the crust
- 5 ounces salted butter softened
- 1 & 1/2 cups all-purpose flour
- 1 tablespoon granulated sugar
- 1/4 cup ice cold water
For the raspberry layer
- 11 ounces fresh raspberries
- water
- 3 tablespoons granulated sugar
- 3/4 cup heavy cream
- 1/2 teaspoon vanilla extract
- 1 cup white chocolate chips
- 1/2 tablespoon salted butter
For the topping
- 1 cup heavy cream
- 1/2 teaspoon vanilla extract
- 1 & 1/2 cups white chocolate chips
- 1 tablespoon salted butter
Instructions
For the crust
- In a large bowl, mix the butter until soft and fluffy with an electric hand mixer.
- Add in the flour and sugar and mix until crumbly. Little by little, add in the water to moisten the mixture, and continue kneading the dough by hand until it’s combined.
- Cover the ball of dough with plastic wrap and place it in the refrigerator for 30 minutes to rest.
- Take out the dough and place it on a lightly floured, clean work surface. Roll the dough into a circle, then transfer it to a 9-inch tart mold. Press it into the pan, then dock the bottom and trim the edge. Freeze for 30 minutes.
- Preheat your oven to 375*F. Place a piece of parchment paper on top of the crust and fill the mold with dried beans, uncooked rice, or baking weights so it doesn’t puff up in the middle.
- Bake for 15 minutes. Take out of the oven and remove the pie weights/parchment paper. Bake for an additional 10 minutes, until golden brown and it appears dry and set. Let cool completely on the counter.
For the raspberry filling
- Begin with your raspberry filling. Place a medium-sized saucepan over medium heat. Add the berries, water until they are just covered, and the sugar. Make sure the water barely covers the berries.
- As the berries begin to soften slightly over the heat, stir occasionally. Once the mixture comes to a simmer, use a potato masher or fork to break up the berries.
- Transfer the berries into a blender and blend until the mixture is smooth and puréed. Strain the raspberries to remove any remaining seeds. Save 2 Tablespoons of the mixture for the top decoration.
- Add the heavy cream, remaining raspberry sauce, and vanilla in a small sauce pot over medium-low heat. Mix until combined. Bring to a simmer and take off the heat.
- Add the chocolate chips, butter, and hot heavy cream mixture in a heatproof bowl. Let it sit for 5 minutes, and then stir until the chocolate is completely melted and you have the raspberry filling.
- Transfer this mixture onto your pre-baked tart shell and spread it out evenly. Place in the refrigerator for a few minutes while you make the mixture for the top layer.
For the topping
- Add the heavy cream and vanilla to a small sauce pot over medium-low heat. Mix until combined. Bring to a simmer and take off the heat.
- Add the chocolate chips, butter, and hot heavy cream mixture in a heatproof bowl. Let it sit for 5 minutes, and then stir until the chocolate is completely melted.
- Remove the tart from the refrigerator and add the white chocolate mixture on top.
- Once you have evenly spread the white chocolate on top, take half a teaspoon and make a few drops of the reserved raspberry sauce on top of the white chocolate. With a skewer, swirl the colors together.
- Place in the refrigerator to set for at least three hours or overnight. Garnish with extra berries and serve.
Notes
- This makes one 9-inch tart, but you can easily double it to feed more and make two tarts at the same time.
- Tons of custom options, see my tips above on that.
- Make sure to use good-quality white chocolate, so it melts easier.
- This freezes well, see my tips above on how to store.
- Use raspberry pie filling for the raspberry layer if desired, and add the white chocolate layer on top.
- This is the tart mold I recommend.
Nutrition
Love This Recipe?
Follow @ThisSillyGirlsKitchen on Instagram and @danadevolk on Pinterest for more!


