This post may contain affiliate links.
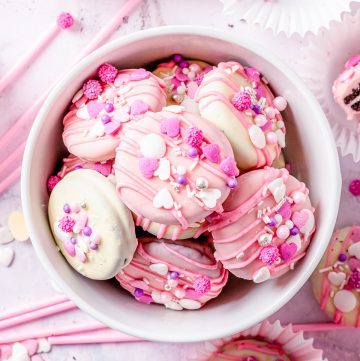
Chocolate Covered Oreos are the easiest, most fun no-bake treat you can make, with just a few ingredients and endless ways to decorate. Crisp Oreo cookies get dipped in smooth melted chocolate, then finished with colorful sprinkles for a treat that looks bakery-made. If you love easy candy treats like our Rolo pretzels and chocolate covered pretzels, these are a must.

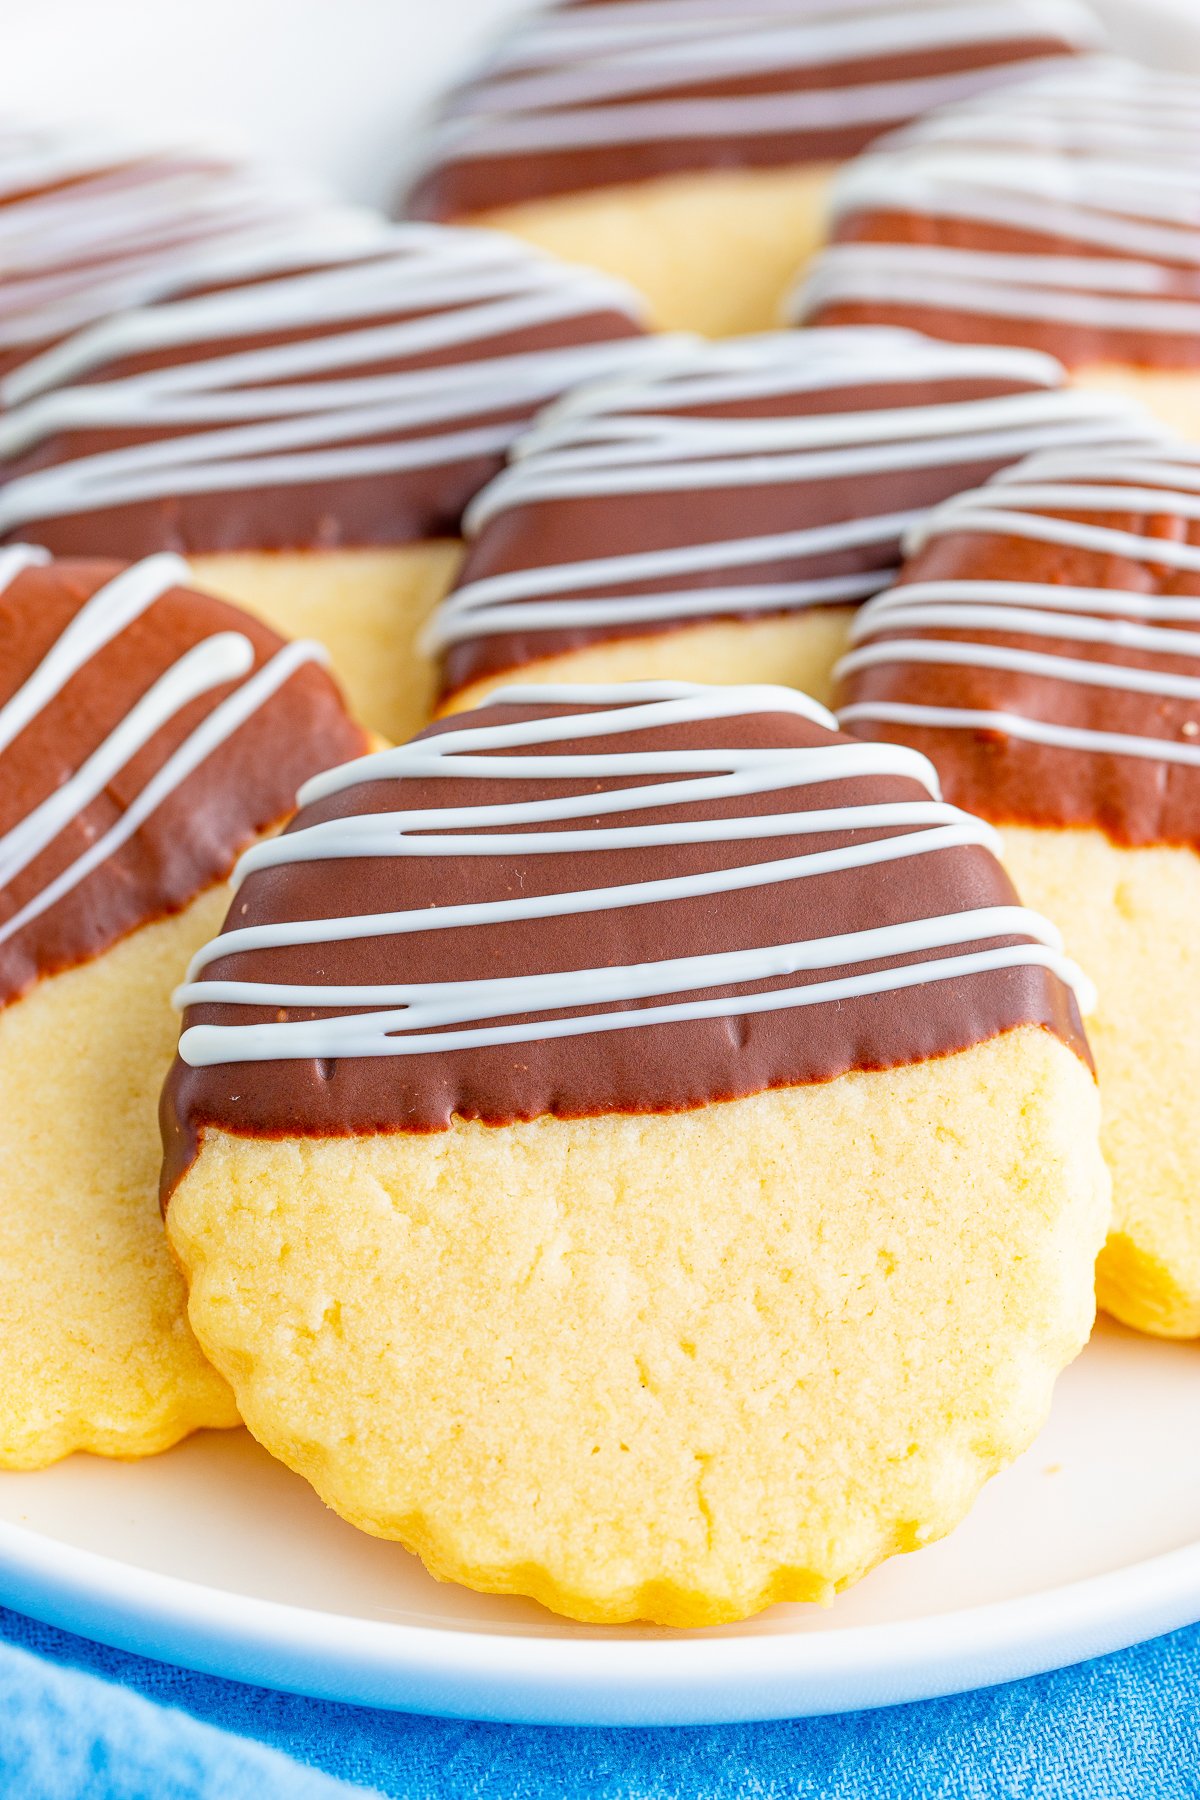
With crunchy Oreos, a smooth chocolate coating, and pretty sprinkles, these chocolate covered Oreos are a no-bake treat anyone can make, just like our chocolate dipped shortbread cookies.
Chocolate Covered Oreos Quick Look
- 🕒 Prep Time: 20 minutes
- 🌡️ Cook Time: No bake
- ⏳ Total Time: 50 minutes (with chilling)
- 🍽️ Serving: 20 cookies
- ⚡ Calories: About 120 per cookie
- 🌶️ Flavor Profile: Sweet, chocolatey, and crunchy
- ✋ Difficulty: Easy
Quick Answer
The best chocolate for chocolate covered Oreos is candy melts or quality melting chocolate, because they set up firm and glossy without tempering. Melt them gently and add a drizzle of coconut oil for a smooth, dippable consistency. Candy melts come in many colors, which makes decorating simple, the same trick we use for our dipped shortbread.
Jump to:
- Chocolate Covered Oreos Quick Look
- Quick Answer
- Why This Recipe Works
- Why You’ll Love This Recipe
- Key Ingredients
- Variations and Substitutions
- How to Make Chocolate Covered Oreos
- Recipe Tips & Tricks
- Serving Ideas and Suggestions
- Chocolate Covered Oreos FAQs
- Other Recommended Easy Oreo Desserts
- Chocolate Covered Oreos
Why This Recipe Works
Click to see the technique science
- No baking needed. Everything comes together with melted chocolate and a few minutes of dipping, so there is no oven required.
- Candy melts set firm. Using candy melts or melting chocolate gives a smooth, glossy coating that hardens quickly at room temperature or in the fridge.
- Endlessly customizable. Switch the colors and sprinkles to match any holiday, party theme, or season.
- Make-ahead friendly. They store beautifully, so you can make a big batch days in advance for parties or gifts without any last-minute stress.
- A crunchy, creamy combo. The crisp Oreo and the smooth chocolate shell give every bite the perfect contrast of textures.
Why You’ll Love This Recipe
- A no-bake treat ready in under an hour.
- Made with just a few simple ingredients.
- Easy to customize for any holiday, like our Halloween bark or Easter cookies.
- Fun for kids to help decorate.
- Perfect for parties, bake sales, and edible gifts, right alongside homemade fudge.
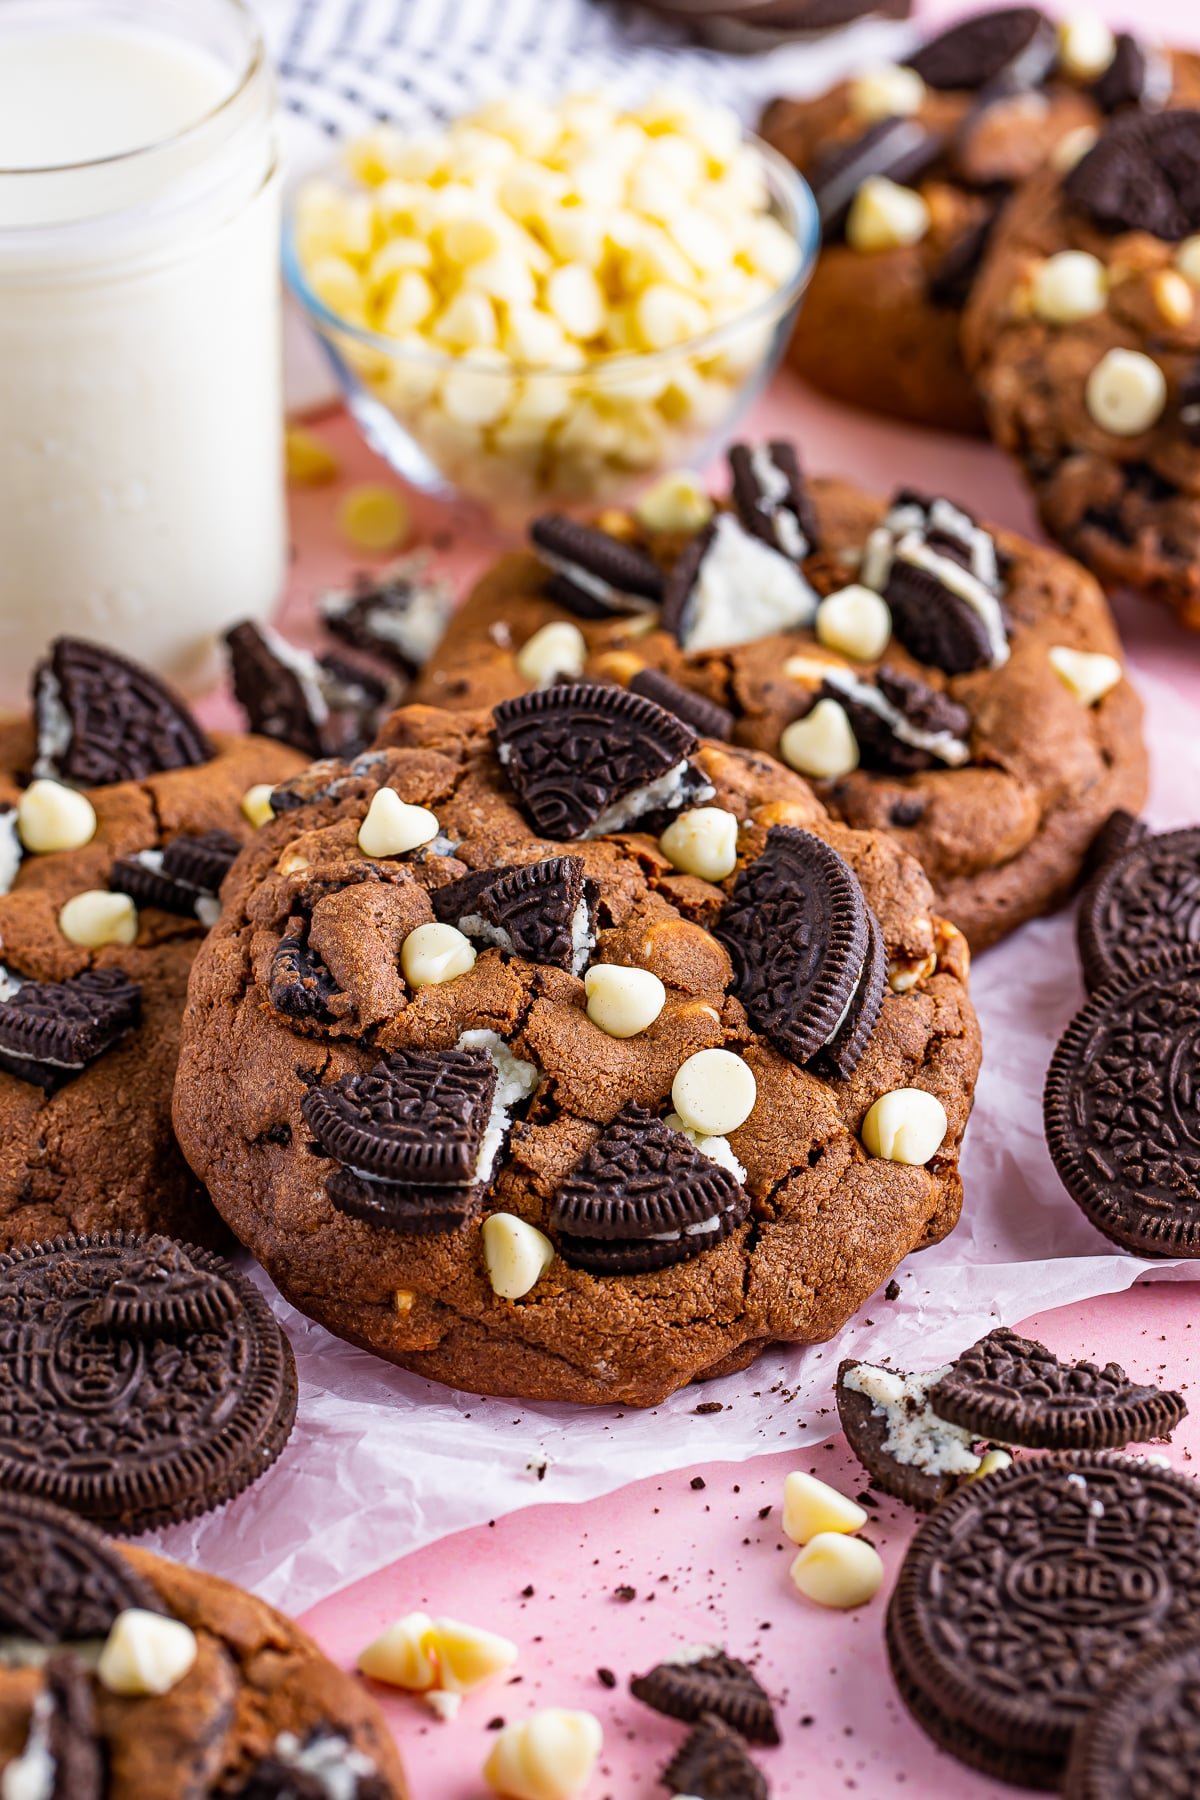
- A fun, no-bake way to enjoy Oreos, like our chewy cookies and cream cookies.
Key Ingredients
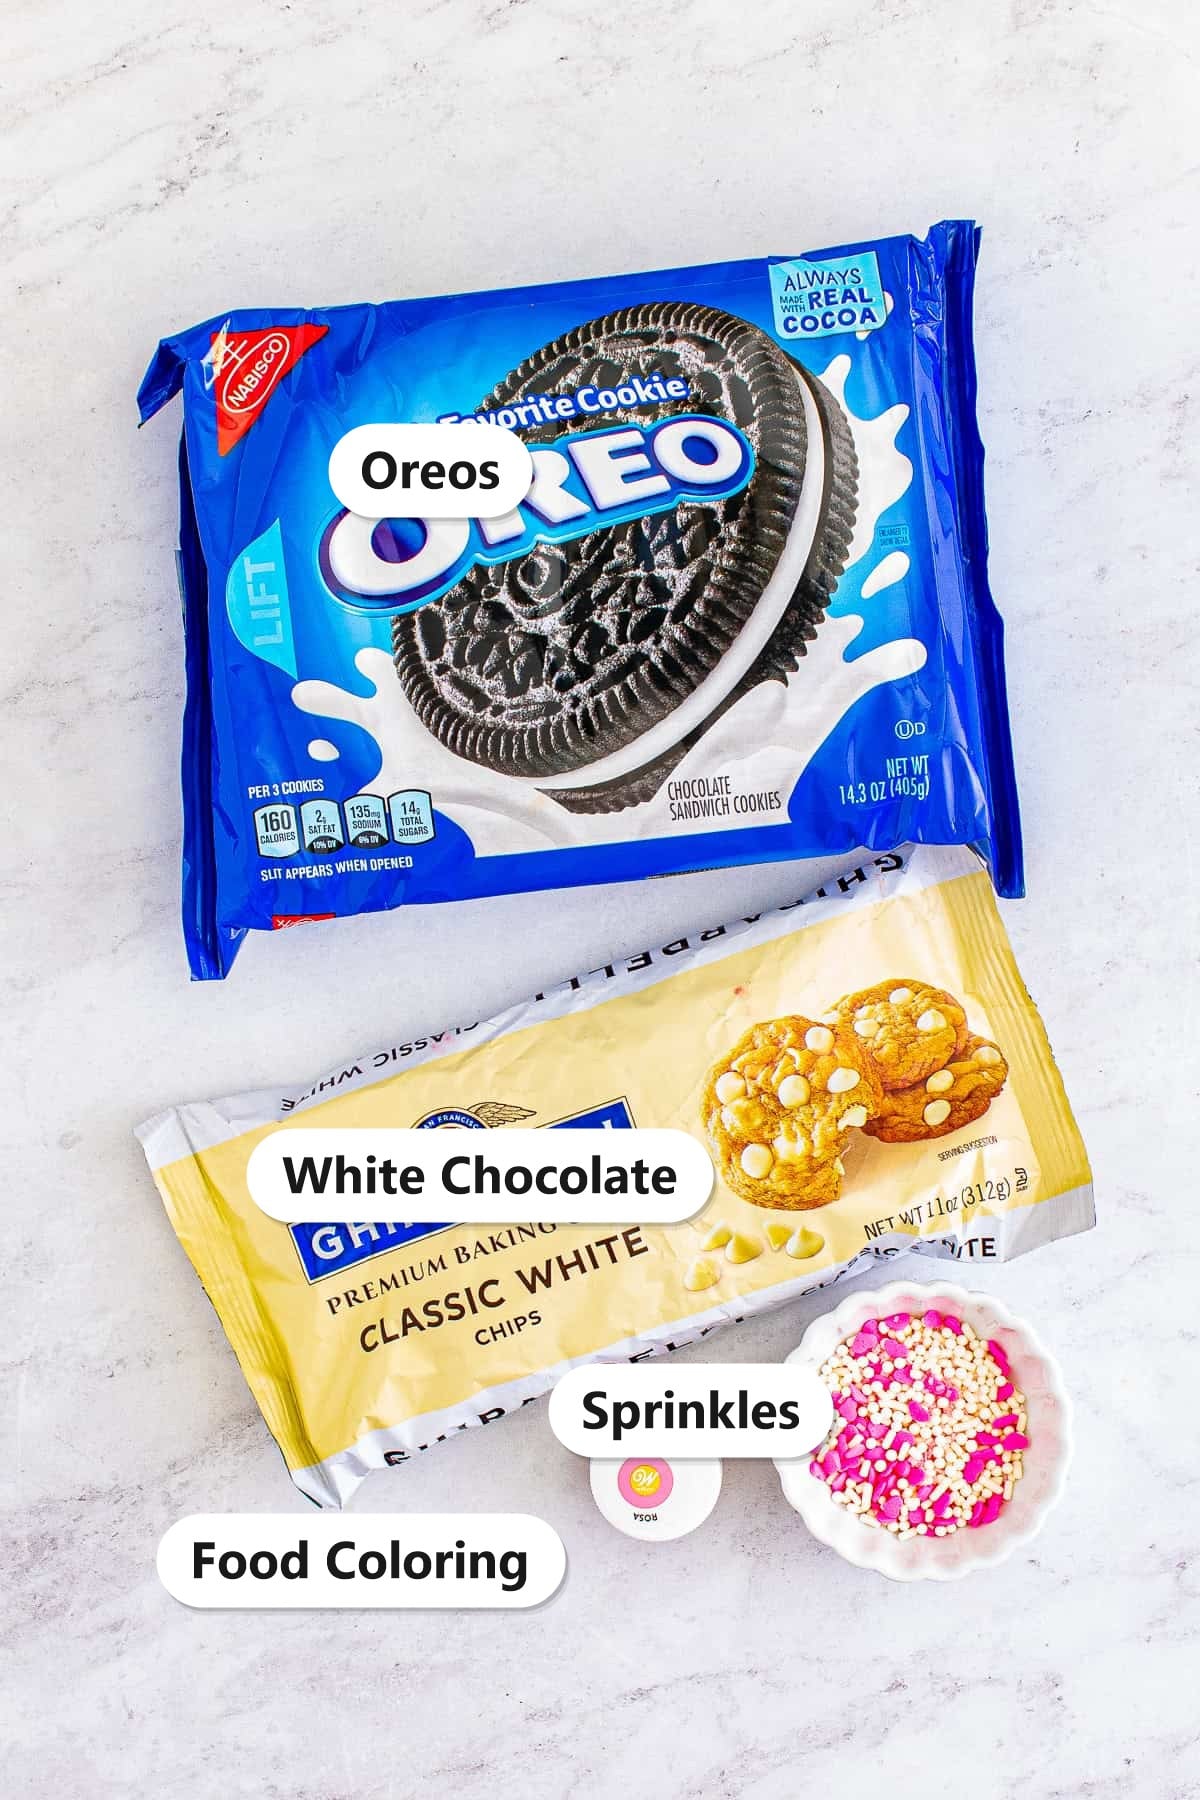
Here is everything you need to make these chocolate covered Oreos. The exact amounts are in the recipe card below.
- Oreos: classic sandwich cookies are the perfect base for dipping.
- White chocolate candy melts: melt smooth and set firm for an easy coating.
- Food coloring: tint the chocolate any color you like for the occasion.
- Sprinkles: add color, crunch, and a festive finish in any theme you like.
- Coconut or olive oil (optional): a small drizzle thins the melted chocolate for smoother, easier dipping.
See recipe card for exact quantities.
Variations and Substitutions
These chocolate covered Oreos are easy to make your own.
- Use dark or milk chocolate: swap the white candy melts for your favorite chocolate, like our white chocolate truffles base.
- Match any holiday: use red and green for Christmas, pastels for Easter, or orange for Halloween.
- Add a drizzle: drizzle a contrasting color on top, like our smores bark.
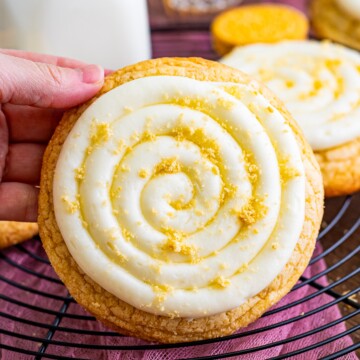
- Try flavored Oreos: use Golden, mint, or peanut butter Oreos for a twist.
- Add some crunch: sprinkle with crushed graham cracker toffee or nuts.
How to Make Chocolate Covered Oreos
- Melt the white chocolate candy melts gently using a double boiler, stirring until smooth.
- Divide the chocolate and tint with food coloring if desired, or use pre-colored candy melts.
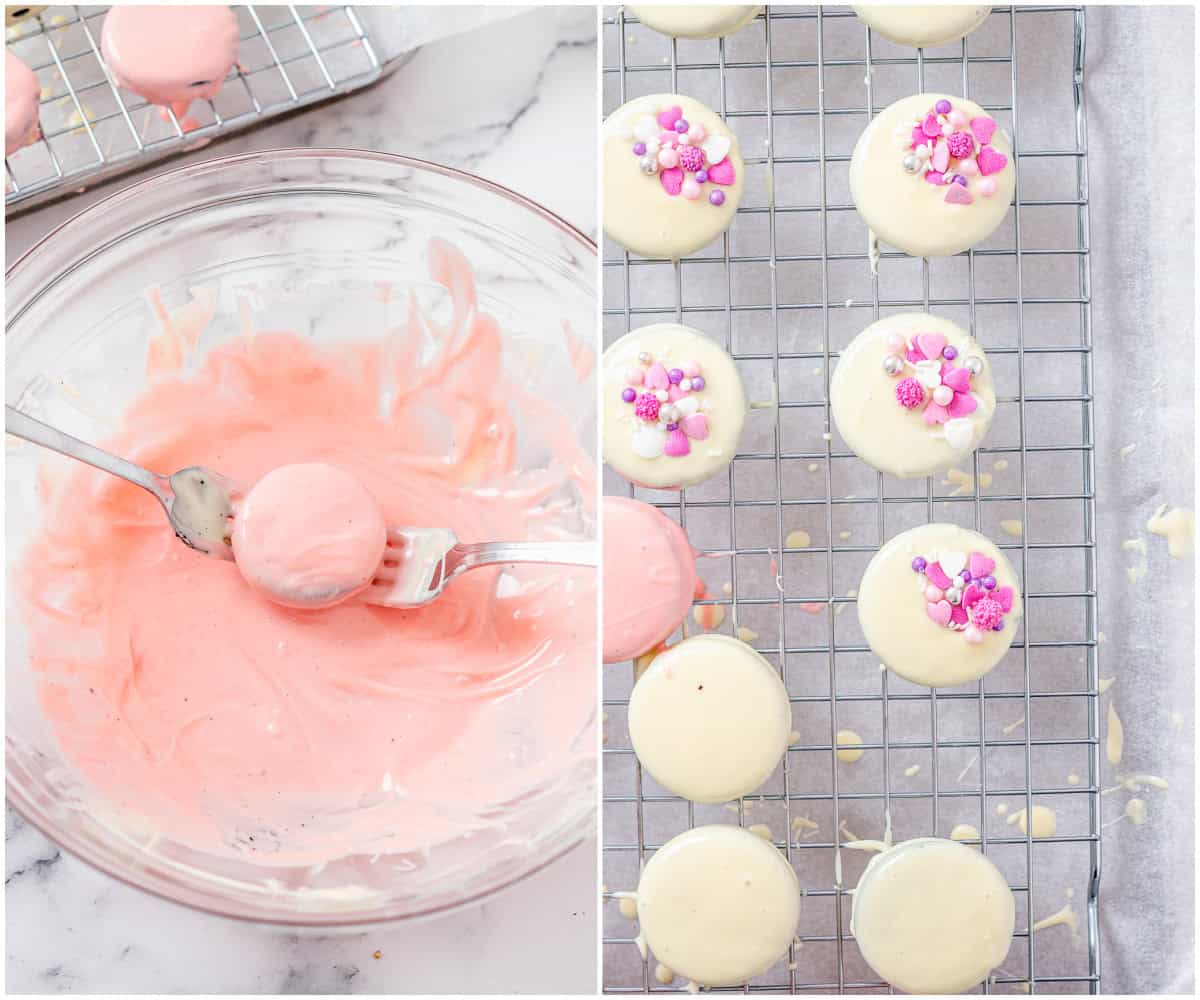
- Using two forks, dip each Oreo into the chocolate and let the excess drip off.
- Transfer the dipped Oreos to parchment paper and add sprinkles before the chocolate sets.
- Refrigerate for about 30 minutes, or until the chocolate is firm.
- Drizzle with extra chocolate to decorate, then chill again until set.
Recipe Tips & Tricks
- Do not overheat the chocolate. Melt it low and slow so it stays smooth and does not seize.
- Add a little oil. A drizzle of coconut or olive oil keeps the coating thin and easy to dip.
- Work quickly with sprinkles. Add them right after dipping so they stick before the chocolate sets.
- Use two forks. They make it easy to coat each Oreo, the same way we dip our chocolate covered pretzels.
- Chill to set. A short time in the fridge firms the coating for a clean, glossy finish.
Serving Ideas and Suggestions
These chocolate covered Oreos are as much fun to give as they are to eat, and they make any dessert table look festive.
Pile them onto a dessert tray with other bite-sized treats like mini cheesecakes, dirt cups, and Nestle crunch bars, then tuck a few into cellophane bags for party favors.
For more easy treats, try our brookie Oreo bars, copycat golden Oreo cookies, salted caramels, or chocolate nut clusters.

Chocolate Covered Oreos FAQs
You can, but chocolate chips do not always set as firm or glossy. If you use them, stir in a little coconut oil or shortening to help the coating set smoothly. Candy melts and melting wafers are the most foolproof choice.
Store them in an airtight container at room temperature for up to a week, or in the refrigerator for up to two weeks. Keep them in a single layer or between sheets of parchment so they do not stick together.
Yes. Freeze chocolate covered Oreos in an airtight container for up to two months, placing parchment between the layers. Thaw in the fridge, then bring to room temperature, just like our frozen dirt cake bars.
Lumpy or seized chocolate usually means it got too hot or a drop of water got in. Melt it gently over low heat, keep all utensils dry, and stir in a little oil to smooth it back out.
Chocolate covered Oreos keep well for up to a week, so they are perfect to make a few days ahead for a party or to package as gifts. Add any final drizzle the day you serve them so they look freshly made.
They work for everything from Valentine’s Day to Christmas, birthdays, and baby showers. Pair them with peanut brittle and homemade fudge for an easy holiday treat box.
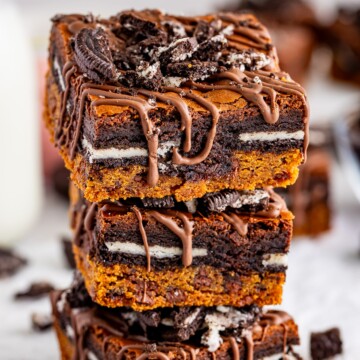
Simple, festive, and endlessly customizable, these chocolate covered Oreos are the kind of easy treat you will make for every celebration, right next to our homemade Oreo brownies.

Chocolate Covered Oreos
Ingredients
- 20 Oreos
- 10- ounce white chocolate candy melts
- Food coloring
- 1 cup sprinkles of choice
Instructions
- Melt chocolate chips in a large heatproof glass bowl (or smaller pot) using a double boiler method. Take a medium or small saucepan (a smaller one than your glass bowl), fill the pot with one or two inches of warm water. Take it to simmer over medium heat, and once water is heated through and steam released add the bowl on top. The glass bowl should not get in contact with water.
- Add in the candy melts and stir constantly until about 70% of the melts are melted. Remove from the heat and continue to stir with a spatula until everything has melted and smooth.
- Depending on which colors you are using you can divide the mixture between two bowls. Add desired food coloring to one bowl according to packaging instructions or desired color you want to achieve. Alternatively, you can use colored candy melts and melt them the same way as described above.
- For a very smooth consistency add a drizzle of coconut or olive oil to the melting chocolate.
- Using two forks, dip each Oreos into the chocolate. Carefully transfer the cookies to a cooling rack or parchment paper and add sprinkles. Let cool for a couple of minutes and refrigerate for 30 minutes or until chocolate is set.
- You can then proceed with more decorations. To drizzle the chocolate use a fork or pastry piping bag with the smallest nozzle. Once finished, refrigerate again until the chocolate sets.
Notes
- You can use this recipe for various different holidays.
- Make sure that you use gel food coloring so the chocolate does not seize.
- It is best to use a double boiler method for these instead of melting in the microwave.
- Decorate with any of your favorite sprinkles or more melted chocolate.
- Use your favorite Oreo flavor for these.
- Easily double this recipe to give as gifts.
Nutrition
Love This Recipe?
Follow @ThisSillyGirlsKitchen on Instagram and @danadevolk on Pinterest for more!


