This post may contain affiliate links.
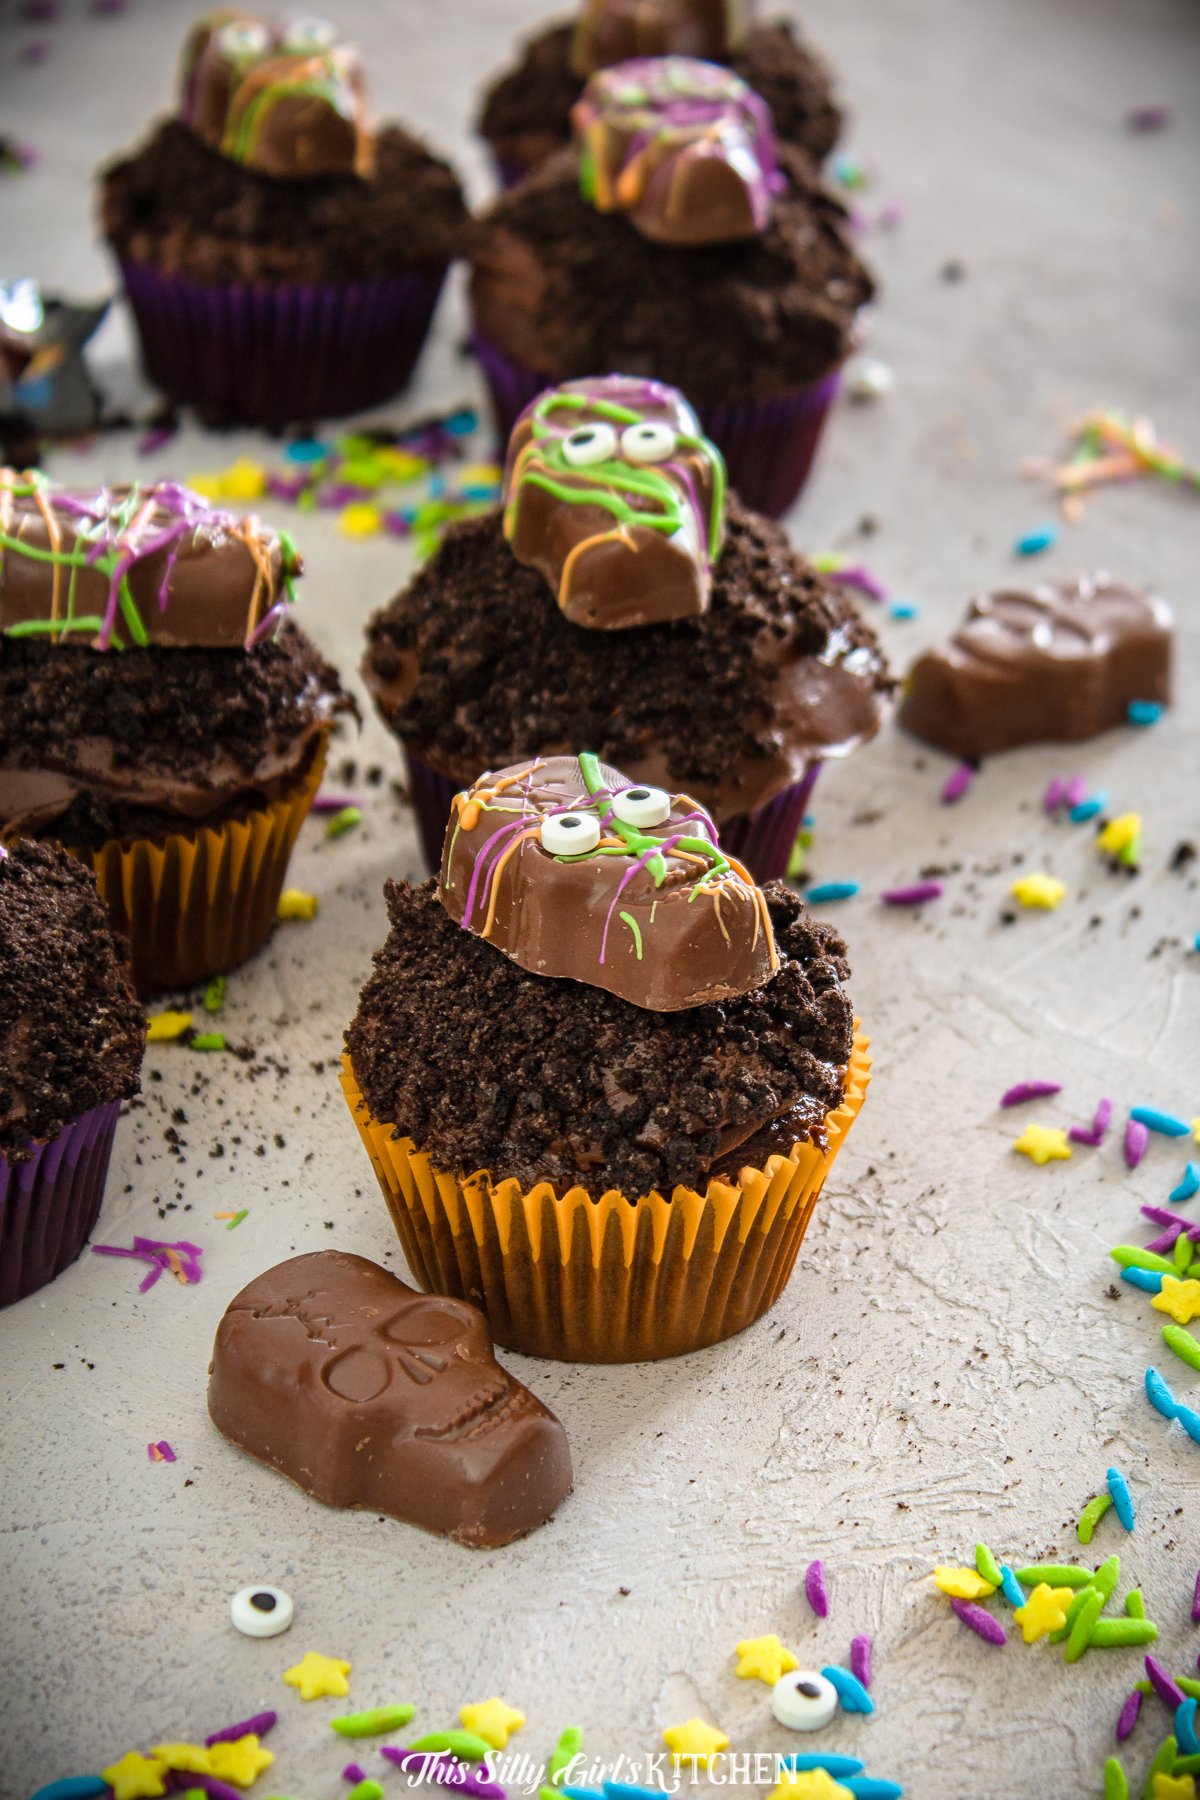
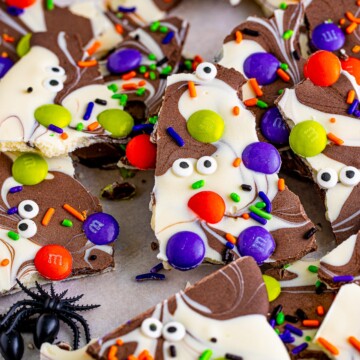
Halloween Bark is the 15 minute, no bake candy that looks like you raided a fancy chocolate shop’s spooky aisle, chocolate and white chocolate candy melts swirled into a marble slab and studded with Halloween M&Ms, purple and orange sprinkles, and googly candy eyeballs. My kids fight over who gets to place the eyeballs, which tells you exactly how hands on friendly this is. If my graveyard dirt cups run your spooky dessert table, this bark is the crunchy centerpiece next to them.

Two bags of candy melts, a toothpick swirl, and the scariest part is waiting two hours for it to set.
Halloween Bark Quick Look
- 🕒 Prep Time: 5 minutes
- 🌡️ Cook Time: 0 minutes
- ⏳ Total Time: 2 hours 5 minutes
- 🍽️ Serving: 6 servings
- ⚡ Calories: 253kcal
- 🌶️ Flavor Profile: Sweet marbled chocolate with candy crunch in every shard
- ✋ Difficulty: Easy, a melt, swirl, and sprinkle project kids can run
Quick Answer
Line a sheet tray with parchment. Melt 8 ounces each of chocolate and white chocolate candy melts in separate bowls per the package directions. Alternate dollops of both chocolates on the tray, tip the tray so they run together at about a quarter inch thick, then drag a toothpick through to swirl. Immediately top with Halloween M&Ms, sprinkles, and candy eyeballs, let it set at room temperature about 2 hours, and break into pieces.
Jump to:
Why This Recipe Works
Click to see the technique science
- Candy melts are built for this. They melt fluid without tempering and set hard and glossy at room temperature, which is why the bark snaps cleanly instead of bending or blooming.
- Dollop and tip beats spreading. Letting gravity run the two chocolates together keeps distinct ribbons of color, a spatula would blend them into one muddy tone.
- The quarter inch thickness is the sweet spot. Thick enough to hold candy toppings without cracking apart, thin enough to break into shareable shards with your hands.
- Toppings go on while it is wet. M&Ms, sprinkles, and eyeballs only anchor into fluid chocolate, decorating within a couple of minutes of swirling is the whole game.
- Room temperature setting prevents bloom. A slow, even set keeps the surface shiny, the fridge can cause streaky sugar bloom and condensation spots on candy coating.
Why You’ll Love This Recipe
- Fifteen minutes of fun, two hours of waiting, zero oven, zero skill required.
- The toothpick swirl plus candy eyeballs makes every batch look different and every batch look great.
- It is the easiest Halloween treat there is, faster than my Halloween cupcakes and just as photogenic on the party table.
- It delivers that same everyone asks for seconds energy as our moist chocolate banana chocolate chip muffins.
- It delivers that same everyone asks for seconds energy as our pina colada bark.
- It earns a spot in the rotation right next to our homemade boozy hot chocolate.
Key Ingredients
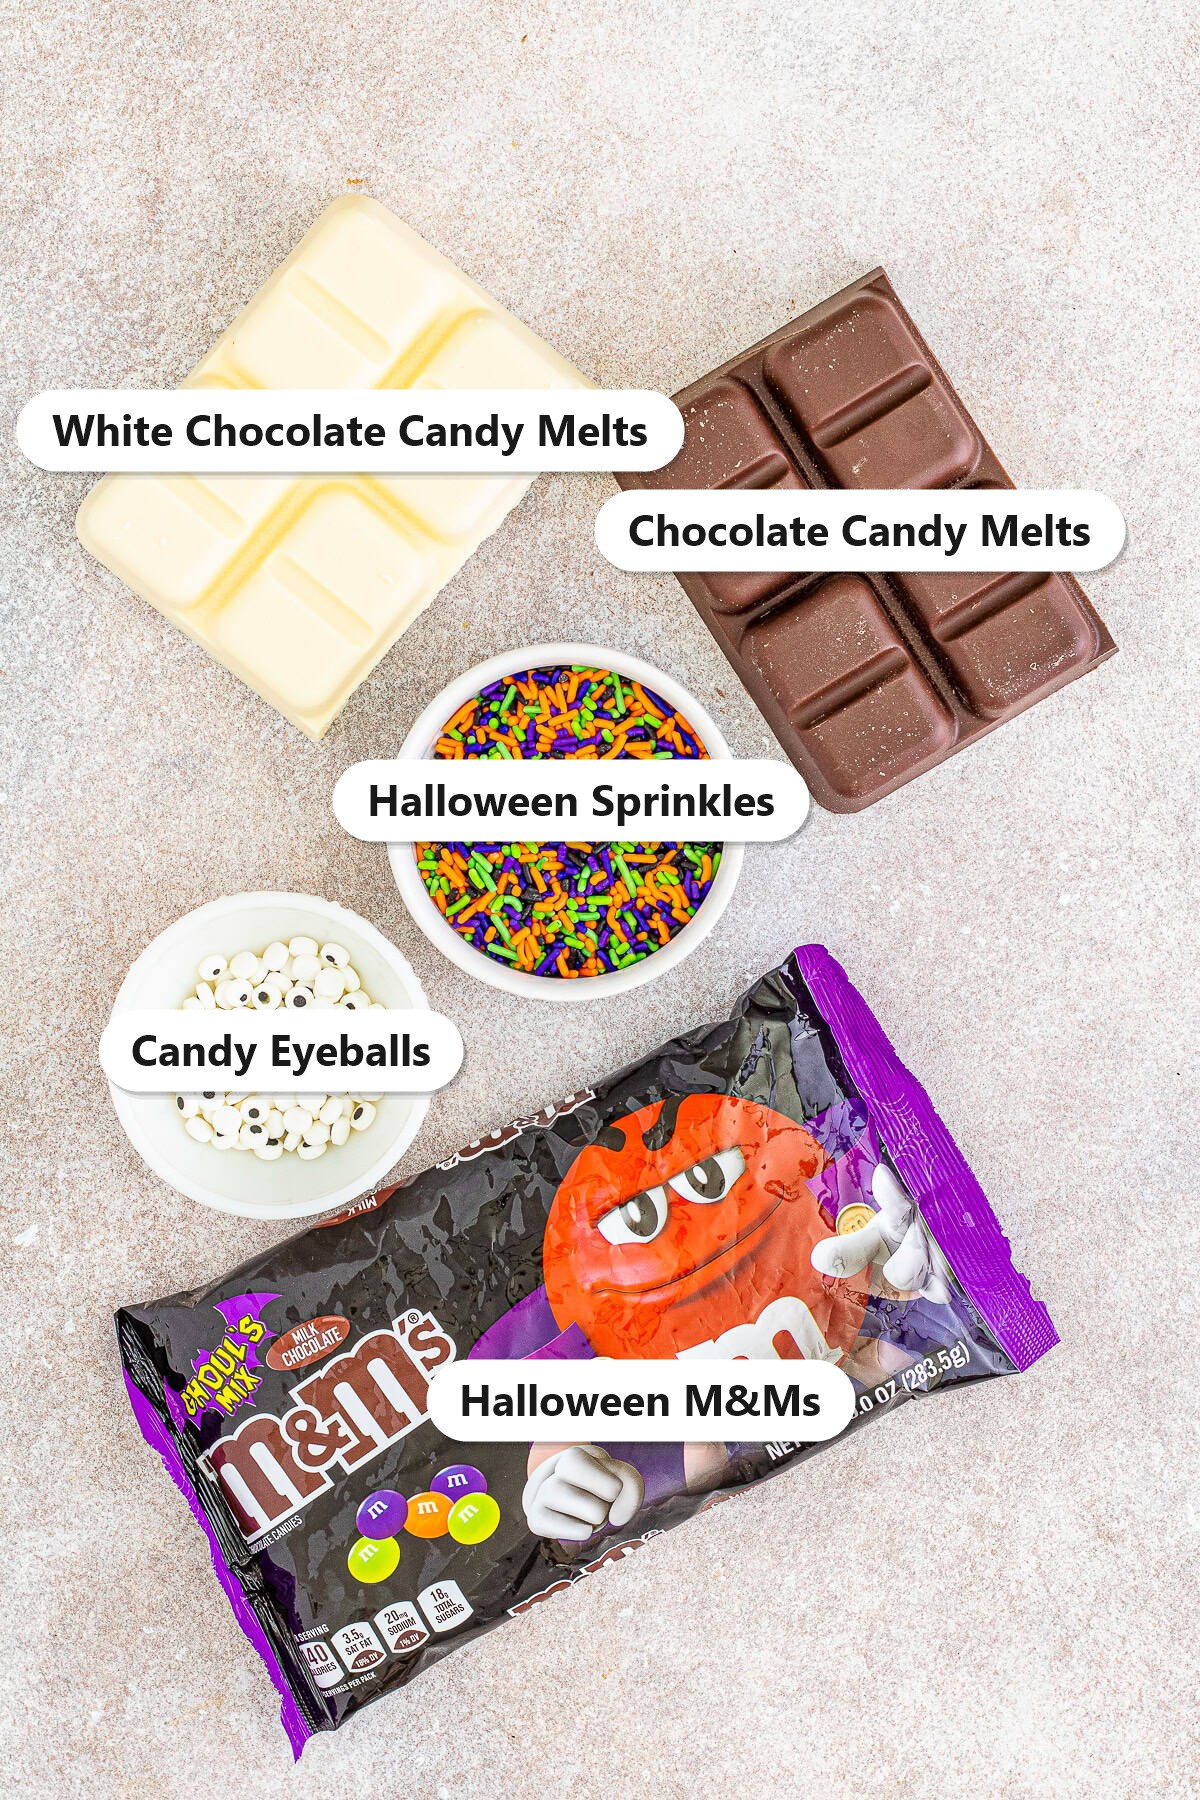
Five candy aisle pickups, that is the whole list.
- Chocolate candy melts: Eight ounces, the dark half of the marble swirl.
- White chocolate candy melts: Eight ounces, the light half that makes the swirl pop.
- Halloween M&Ms: A half cup of the orange, purple, and green Ghoul’s Mix.
- Halloween sprinkles: Orange, purple, and green jimmies scattered over the wet chocolate.
- Candy eyeballs: The googly finishing touch that makes the bark unmistakably Halloween.
See recipe card for exact quantities.
Variations and Substitutions
The swirl and sprinkle formula covers every version of spooky.
- Tint white candy melts orange and swirl with the chocolate for a pumpkin patch palette.
- Press in crushed Oreos, candy corn, or chopped Reese’s Pieces with the M&Ms.
- Use all white chocolate and drizzle with black candy melt cobwebs for a ghost bark.
- Want a full spooky menu? My graveyard dirt cups are the make ahead partner in crime.
- Swap the Halloween candy for red and green after October, the same bark carries you to Christmas.
- If you want to switch things up, our chocolate covered pretzel rods plays on similar flavors in a whole new way.
- If you want to switch things up, our chocolate chunk blondies plays on similar flavors in a whole new way.
- In the mood for something different? Our chocolate chip muffins scratches a similar itch.
How to Make Halloween Bark
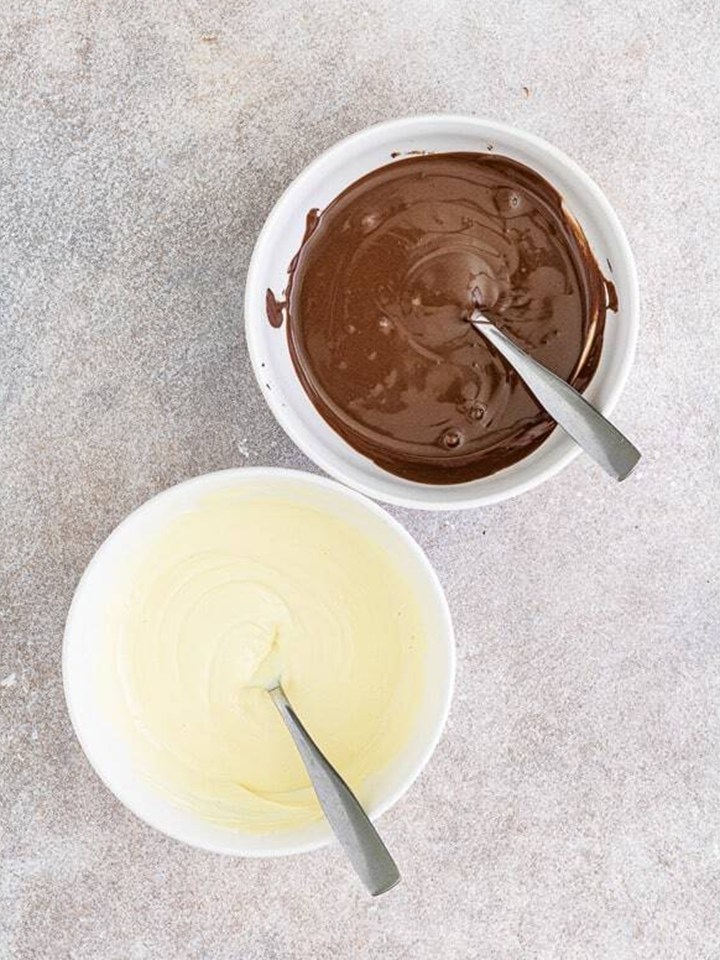
- Line a sheet tray with parchment paper. Break up the candy melts into separate bowls and microwave per the package directions until each is melted and smooth.
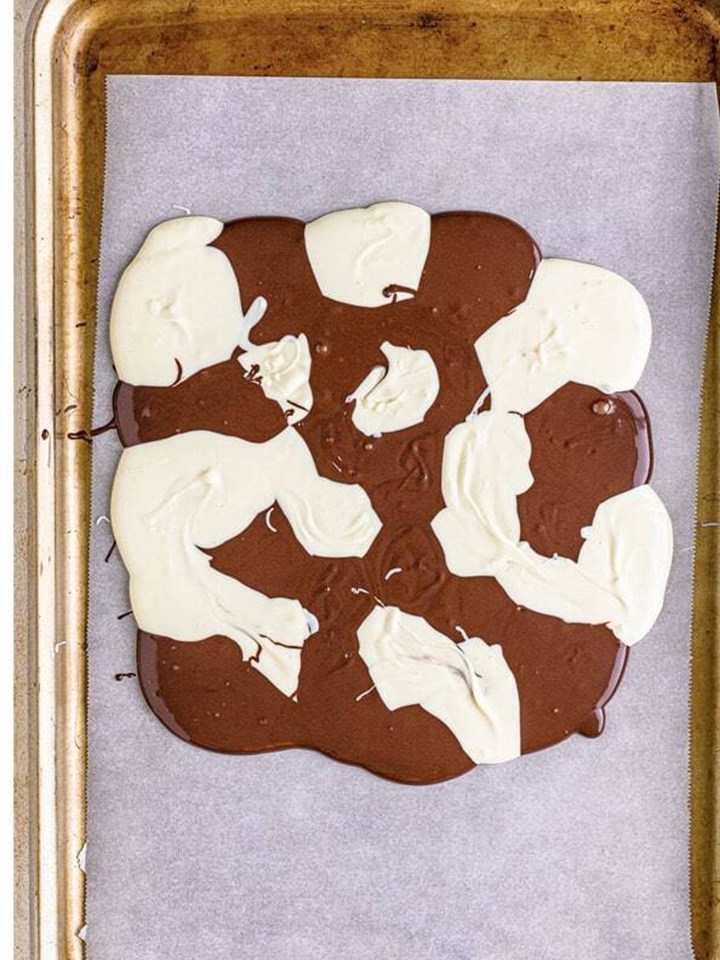
- Place alternating dollops of the chocolate and white chocolate onto the lined tray in a random pattern.
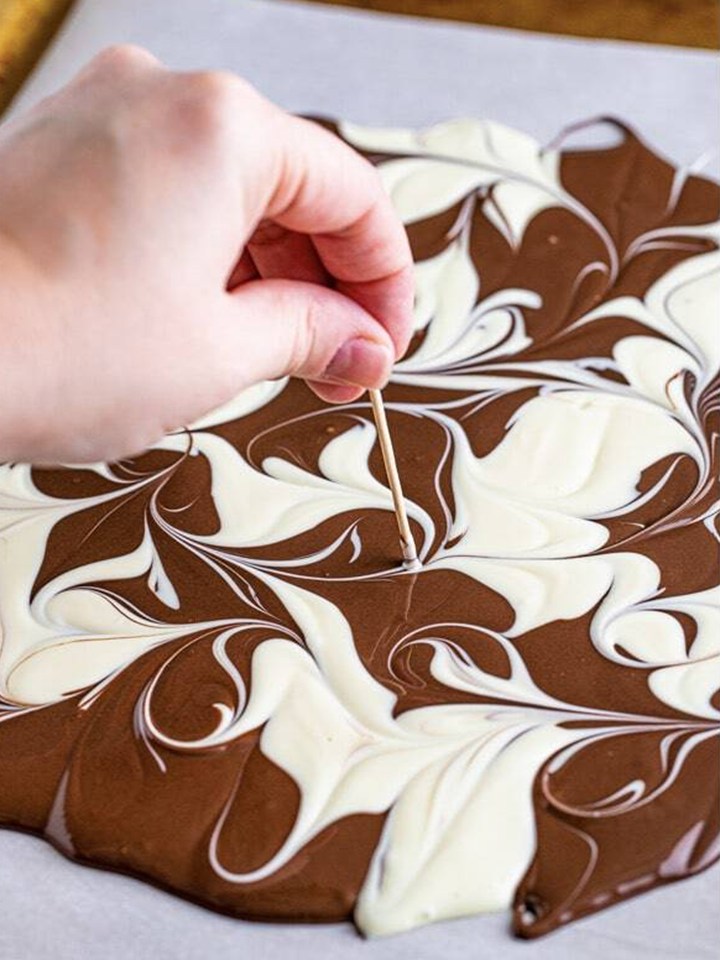
- Lift and tip the tray, holding the parchment steady, so the chocolates run together to about a quarter inch thick, then drag a toothpick through in swirls to marble the two colors.
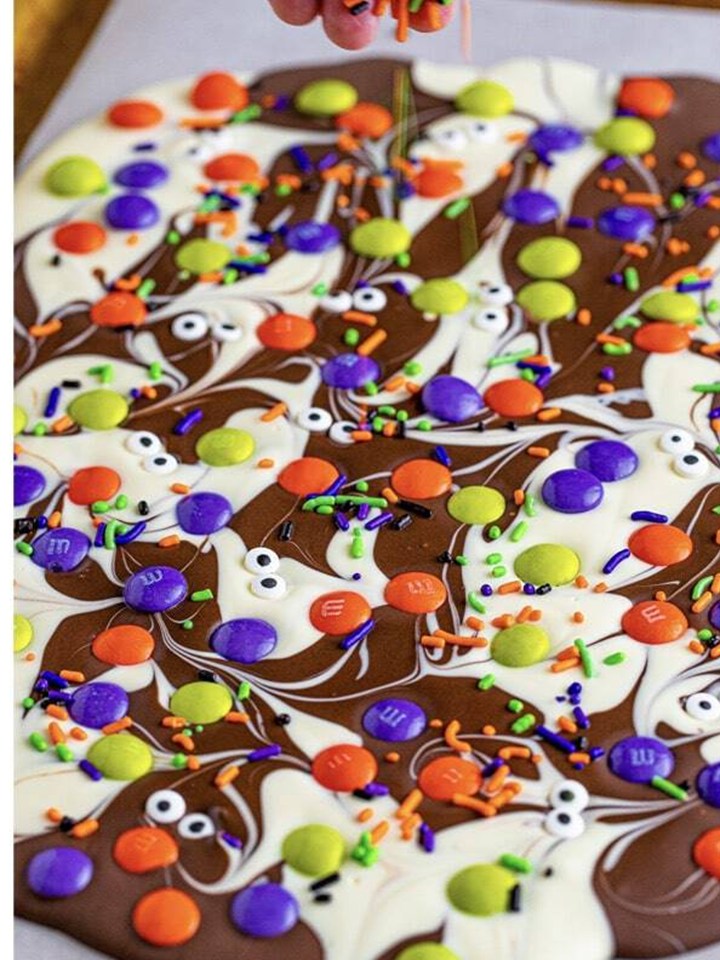
- Immediately sprinkle on the M&Ms, Halloween sprinkles, and candy eyeballs. Let the bark set at room temperature about 2 hours, then cut or break it into randomly shaped pieces.
Recipe Tips & Tricks
- Melt the two chocolates before you start dolloping. Both need to be fluid at the same time for the marble to work.
- Do not overheat candy melts. Short bursts with stirring, they scorch into a thick paste past their melting point.
- Decorate within 2 minutes of swirling. Once the surface skins over, the eyeballs and M&Ms will not stick.
- Press larger candies in gently. A light touch seats the M&Ms and eyeballs into the chocolate without sinking them.
- Set at room temperature, not the fridge. A slow set keeps the finish glossy and streak free.
- Break with your hands for character. Random shards look better on the party table than knife perfect squares.
- Plan the whole menu. This pairs effortlessly with our chocolate mandm cookies when company is coming.
- Plan the whole menu. This pairs effortlessly with our chocolate hazelnut coffee creamer when company is coming.
- Make it a full spread. Our hot chocolate cookies rounds out the table.
Serving Ideas and Suggestions
Pile the halloween bark shards on a dark platter with plastic spiders and gauze for instant spooky table decor that doubles as dessert.
And if you want one more idea for the table, our triple chocolate cookies never misses. Pair this bark with a slice of our no-bake Halloween sugar cookie cheesecake for an easy spooky dessert spread.
Bag broken pieces in clear treat bags with orange ribbon for trick or treat handouts or classroom parties, it holds up without refrigeration.
Set it out at the Halloween movie marathon beside a bowl of my puppy chow, sweet, salty, and zero plates required.
Store halloween bark in an airtight container at cool room temperature for up to 2 weeks, with parchment between the layers so the decorated faces stay pretty. Avoid the refrigerator unless your kitchen runs hot, condensation dulls the shine. It also freezes up to 2 months.

Halloween Bark FAQs
Halloween bark is a no bake candy made by swirling melted chocolate and white chocolate into a thin marbled slab, topping it with Halloween M&Ms, sprinkles, and candy eyeballs, and breaking it into shards once set. It takes about 15 minutes of hands on time and needs no oven, thermometer, or candy skills.
Candy melts or almond bark are the easiest, they melt smoothly in the microwave and set firm and glossy at room temperature with no tempering. Real chocolate bars or chips work too and taste richer, but untempered they set soft and can develop gray bloom, so keep that version refrigerated.
Alternate dollops of the two melted chocolates on the parchment, tip the tray so they flow together into one layer, then drag a toothpick through in curvy lines. Two or three passes gives dramatic marble, more than that and the colors start blending into one. The pattern locks in as the bark sets.
The chocolate skinned over before the toppings landed. Candy melts start setting within a few minutes, so decorate immediately after swirling and press the M&Ms and eyeballs in gently. If the surface has already set, dab the back of each candy with a little melted chocolate and glue it on.
About 2 hours at room temperature for a clean snap. Setting on the counter instead of the fridge keeps the surface glossy, refrigeration can cause condensation and dull streaks on candy coating. In a rush, 20 to 30 fridge minutes works, just bag or serve it soon after.
Up to 2 weeks ahead, which makes it perfect for party prep season. Store the broken pieces in an airtight container at cool room temperature with parchment between layers. For treat bags, it handles a day at room temperature without any melting worries as long as it is out of the sun.
Made this Halloween Bark? Leave a comment and a star rating below, and tell me who got to place the eyeballs!
Round out the spooky dessert tray with my ghost and pumpkin Halloween sugar cookies.
Keep the spooky bakes going with my vampire kissed strawberry hand pies.

Chocolate Halloween Bark
Ingredients
- 8 ounces chocolate candy melts
- 8 ounces white chocolate candy melts
- ½ cup Halloween M&Ms or candy of your choice
- Halloween sprinkles
- Candy eyeballs
Instructions
- Line a sheet tray with parchment paper.
- Break up the candy melts and place them in separate bowls.8 ounces chocolate candy melts, 8 ounces white chocolate candy melts
- Microwave until melted according to the package directions.
- Place dollops of the chocolate and white chocolate candy on the lined sheet tray. I like to make a random pattern.
- Lift up the sheet tray while securing the parchment paper with your fingers so it doesn’t move and tip the melted chocolate so it will run a little but still keep the pattern. We are looking for the chocolate to be about 1/4th inch thick.
- Take a toothpick and make a swirl pattern through the chocolate.
- Sprinkle the M&M’s on top.½ cup Halloween M&Ms
- Add the sprinkles on top.Halloween sprinkles
- Place the candy eyeballs around the bark randomly, use as many as you’d like.Candy eyeballs
- Let the bark sit at room temperature for 2 hours or until set.
- Cut or break it up with your hands producing randomly shaped pieces and serve.
Notes
- Use Room Temperature Candy: Make sure your candies are at room temperature before adding them to the melted chocolate to prevent them from melting.
- Spread Evenly: Use an offset spatula to spread the chocolate evenly on the parchment paper for a smooth, even layer.
- Get Creative: Don’t be afraid to mix and match different candies and colors to create a unique and festive look.
- Work Quickly: After melting the chocolate, work quickly to add the toppings before it sets.
- Chill for Best Results: If your kitchen is warm, place the bark in the refrigerator to set more quickly.
- Break into Smaller Pieces: Once the bark is set, use a sharp knife to cut it into smaller pieces for easy serving.
Nutrition
Love This Recipe?
Follow @ThisSillyGirlsKitchen on Instagram and @ThisSillyGirlsKitchen on Pinterest for more!