This post may contain affiliate links.
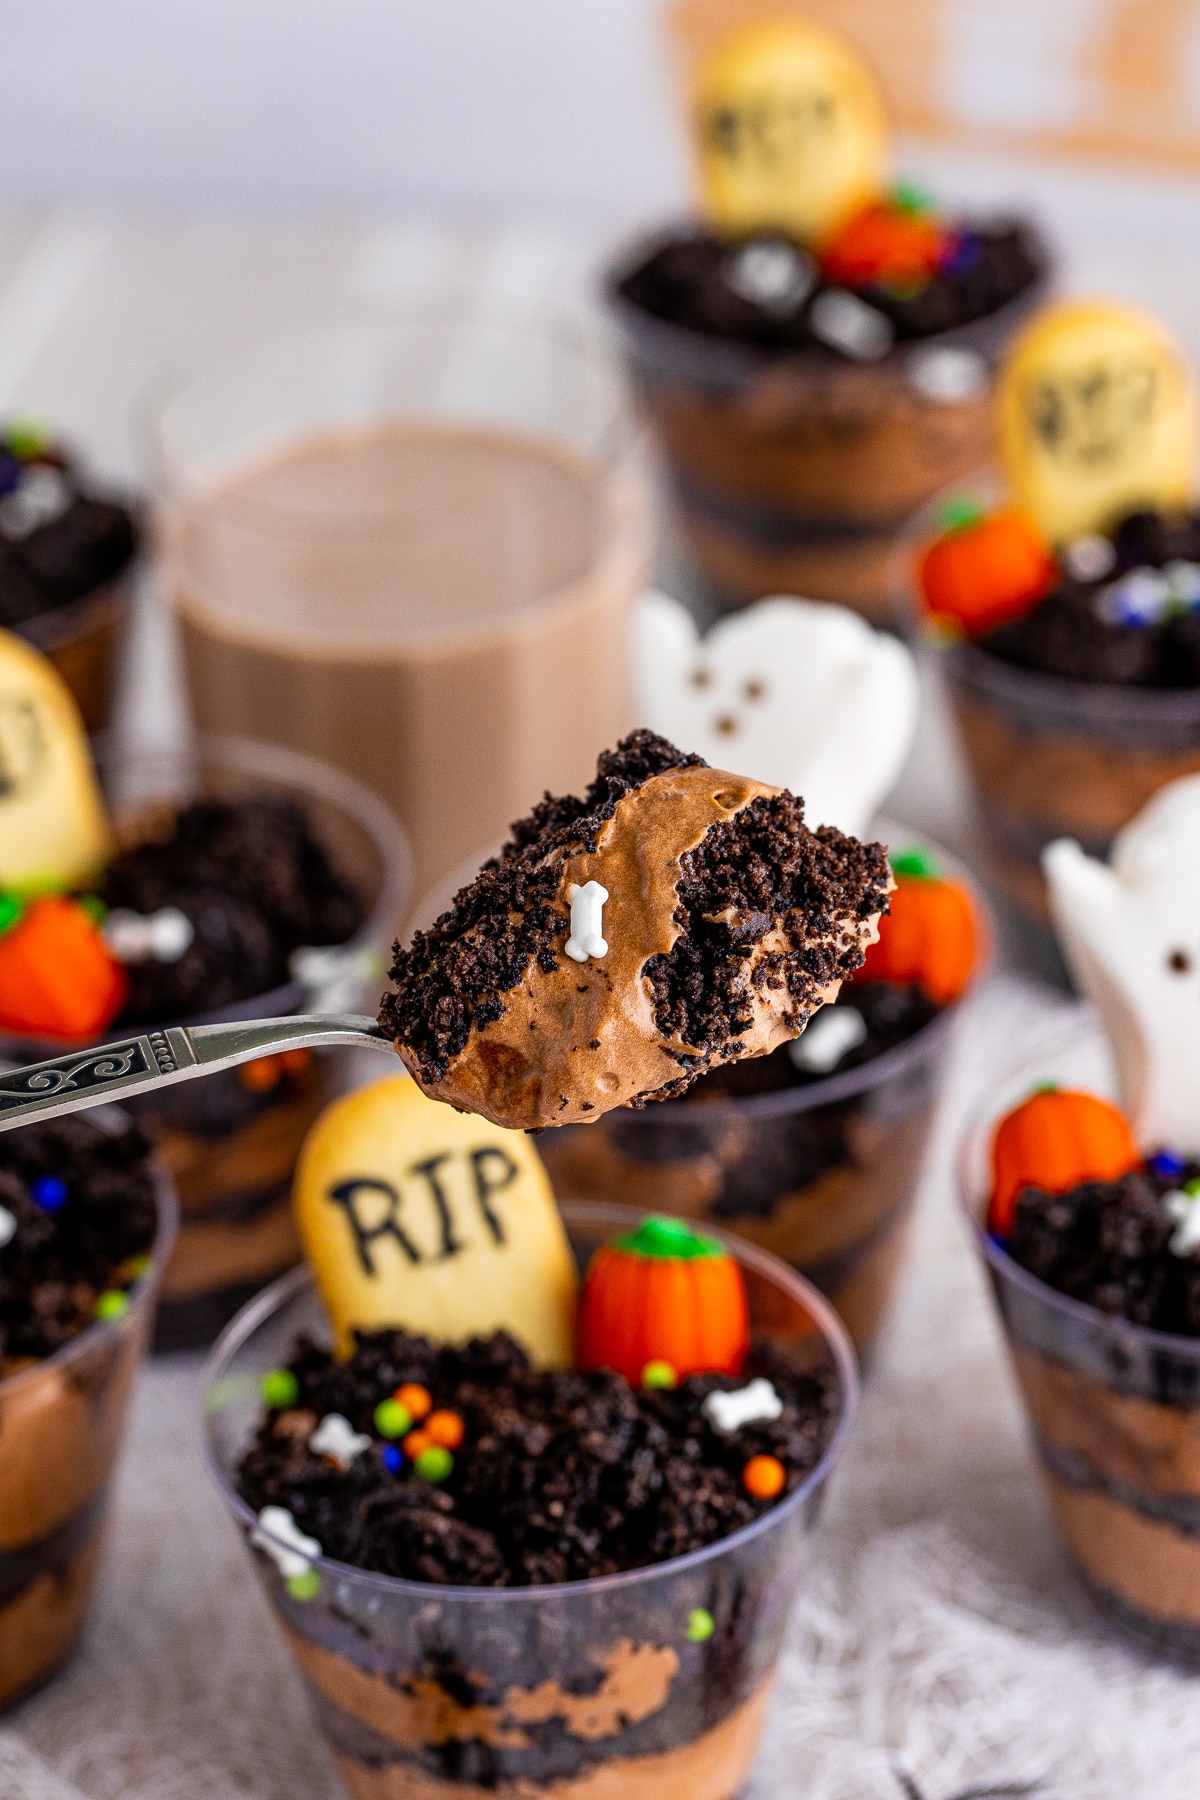
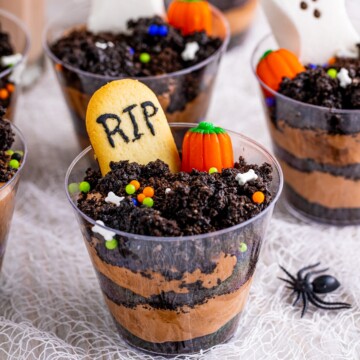
Halloween Dirt Cups are the no bake spooky dessert that lets the kids do the messy fun part, layered chocolate pudding and crushed Oreo dirt in clear cups topped with RIP cookie tombstones, ghost Peeps, and candy pumpkins. I made a big tray on a gray October afternoon while Maddie appointed herself head gravedigger, packing crumbs on top until every cup looked freshly dug. If your crew loves my no bake Oreo dirt cake, these are the single serving Halloween version of that same crowd pleaser.
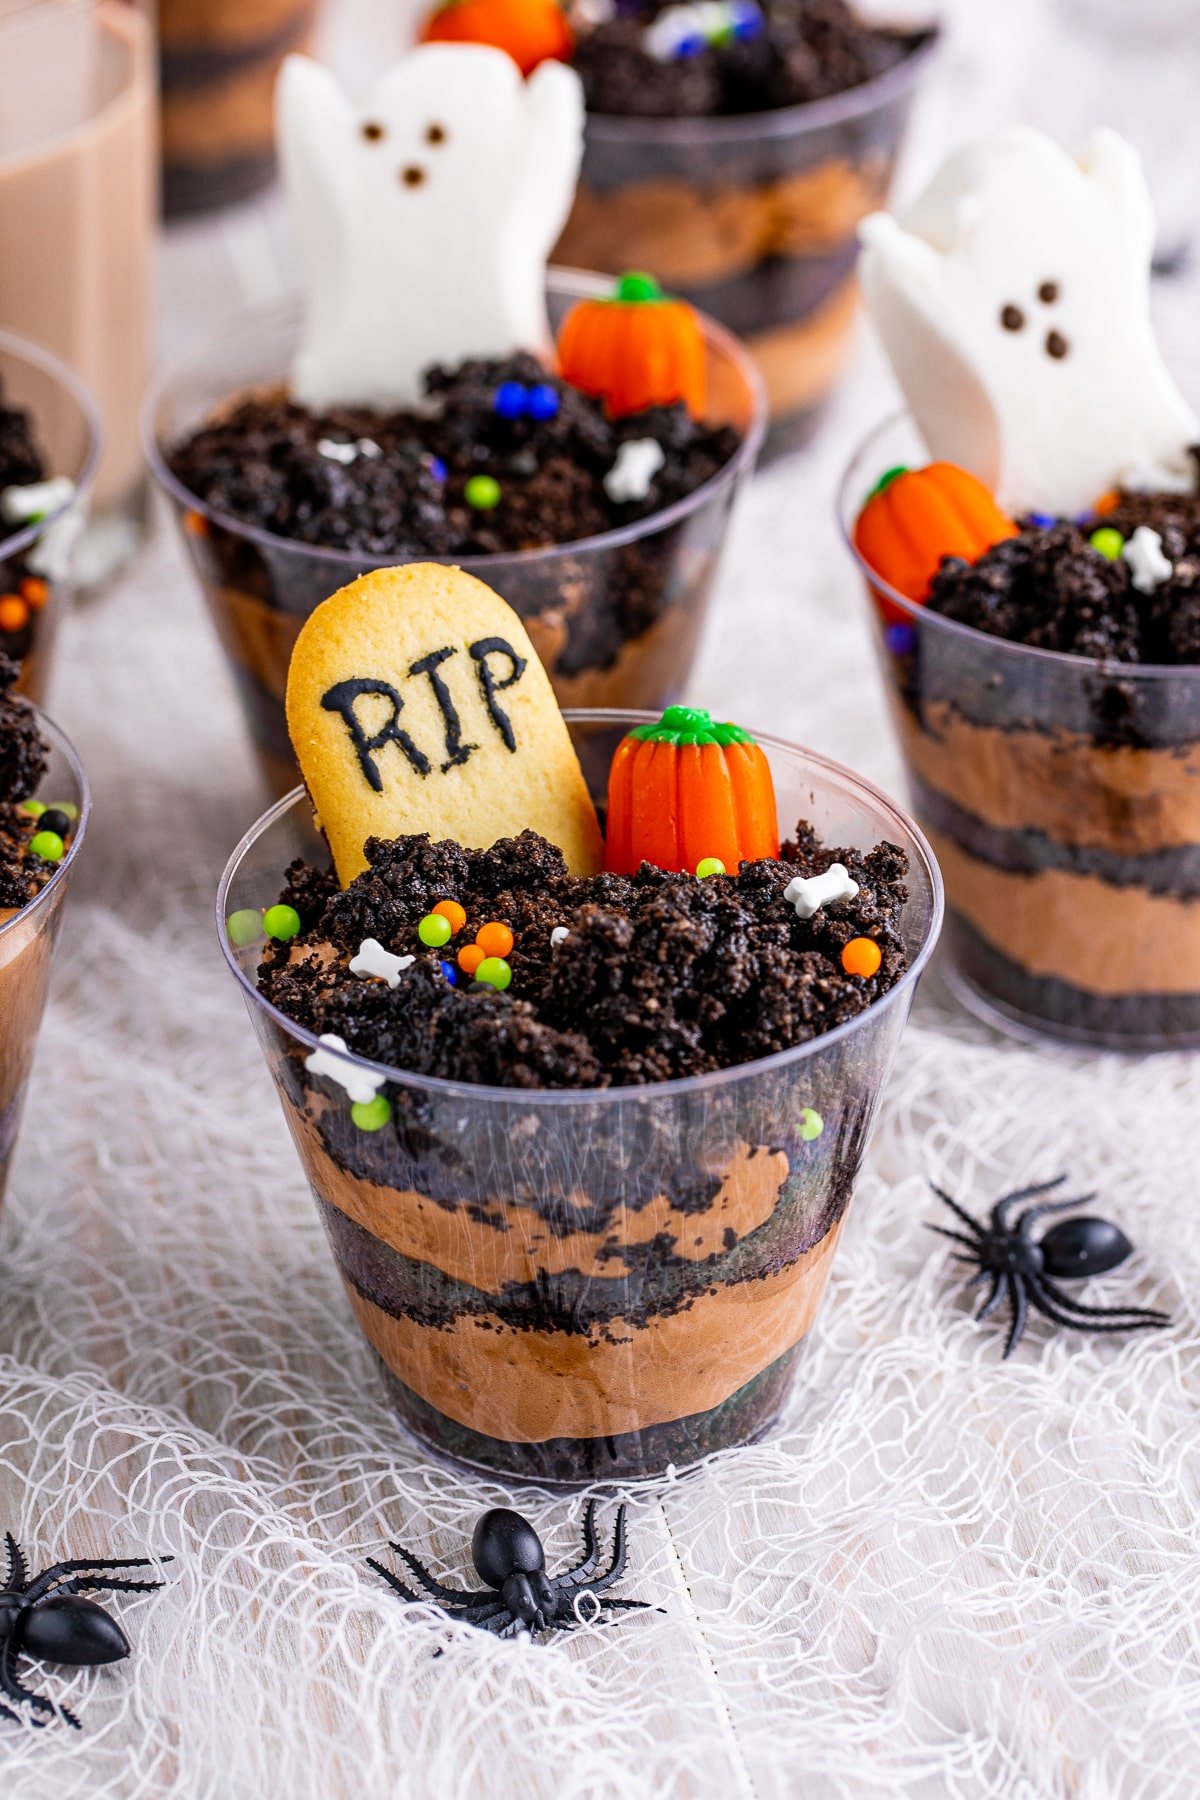
Crush, layer, decorate, chill, and watch them disappear.
Halloween Dirt Cups Quick Look
- 🕒 Prep Time: 30 minutes
- 🌡️ Cook Time: 0 minutes
- ⏳ Total Time: 30 minutes
- 🍽️ Serving: 18 cups
- ⚡ Calories: 461kcal
- 🌶️ Flavor Profile: Rich chocolate pudding and Oreo crunch with candy sweet toppings
- ✋ Difficulty: Easy, a no bake layer and decorate dessert
Quick Answer
Crush Oreos into fine crumbs in a food processor. Whisk instant chocolate pudding with cold milk, fold in whipped topping, then swirl in chocolate syrup. Spoon a layer of crumbs into clear cups, add the pudding, and top with more crumbs. Decorate with Milano cookie tombstones piped with RIP in black icing, ghost Peeps, candy pumpkins, and Halloween sprinkles, then chill until ready to serve.
Jump to:
Why This Recipe Works
Click to see the technique science
- Instant pudding plus whipped topping is foolproof. No cooking and no eggs, the pudding sets in minutes and the whipped topping makes it light and moussey, so it holds its shape in the cup without being heavy.
- A swirl of chocolate syrup deepens the flavor. Folding syrup in with just a few stirs keeps it streaky, adding a darker chocolate ribbon and that fudgy dirt look without making the pudding too sweet.
- Clear cups are the whole trick. Layering crumbs and pudding in see through cups shows off the dirt effect, so the dessert looks impressive with zero decorating skill required.
- Two textures of Oreo do the heavy lifting. Fine crumbs blend into the pudding while a coarser, syrup moistened batch on top mimics freshly dug earth, and that contrast is what sells the graveyard.
- Everything is make ahead friendly. The cups can be layered a day early and chilled, so you only add the Peeps and cookies before serving to keep them looking fresh.
Why You’ll Love This Recipe
- It is a no bake dessert, which means no oven, no fuss, and a Halloween party treat you can make right alongside the kids.
- Every cup is individually portioned, so there is no scooping or serving mess at the party, guests just grab and go.
- These are as easy as my dirt cupcakes, another Oreo and pudding treat kids love to help decorate.
- It delivers that same everyone asks for seconds energy as our dirt cups.
- It delivers that same everyone asks for seconds energy as our mini pumpkin pies in a muffin tin.
- It earns a spot in the rotation right next to our banana pudding fluff.
Key Ingredients
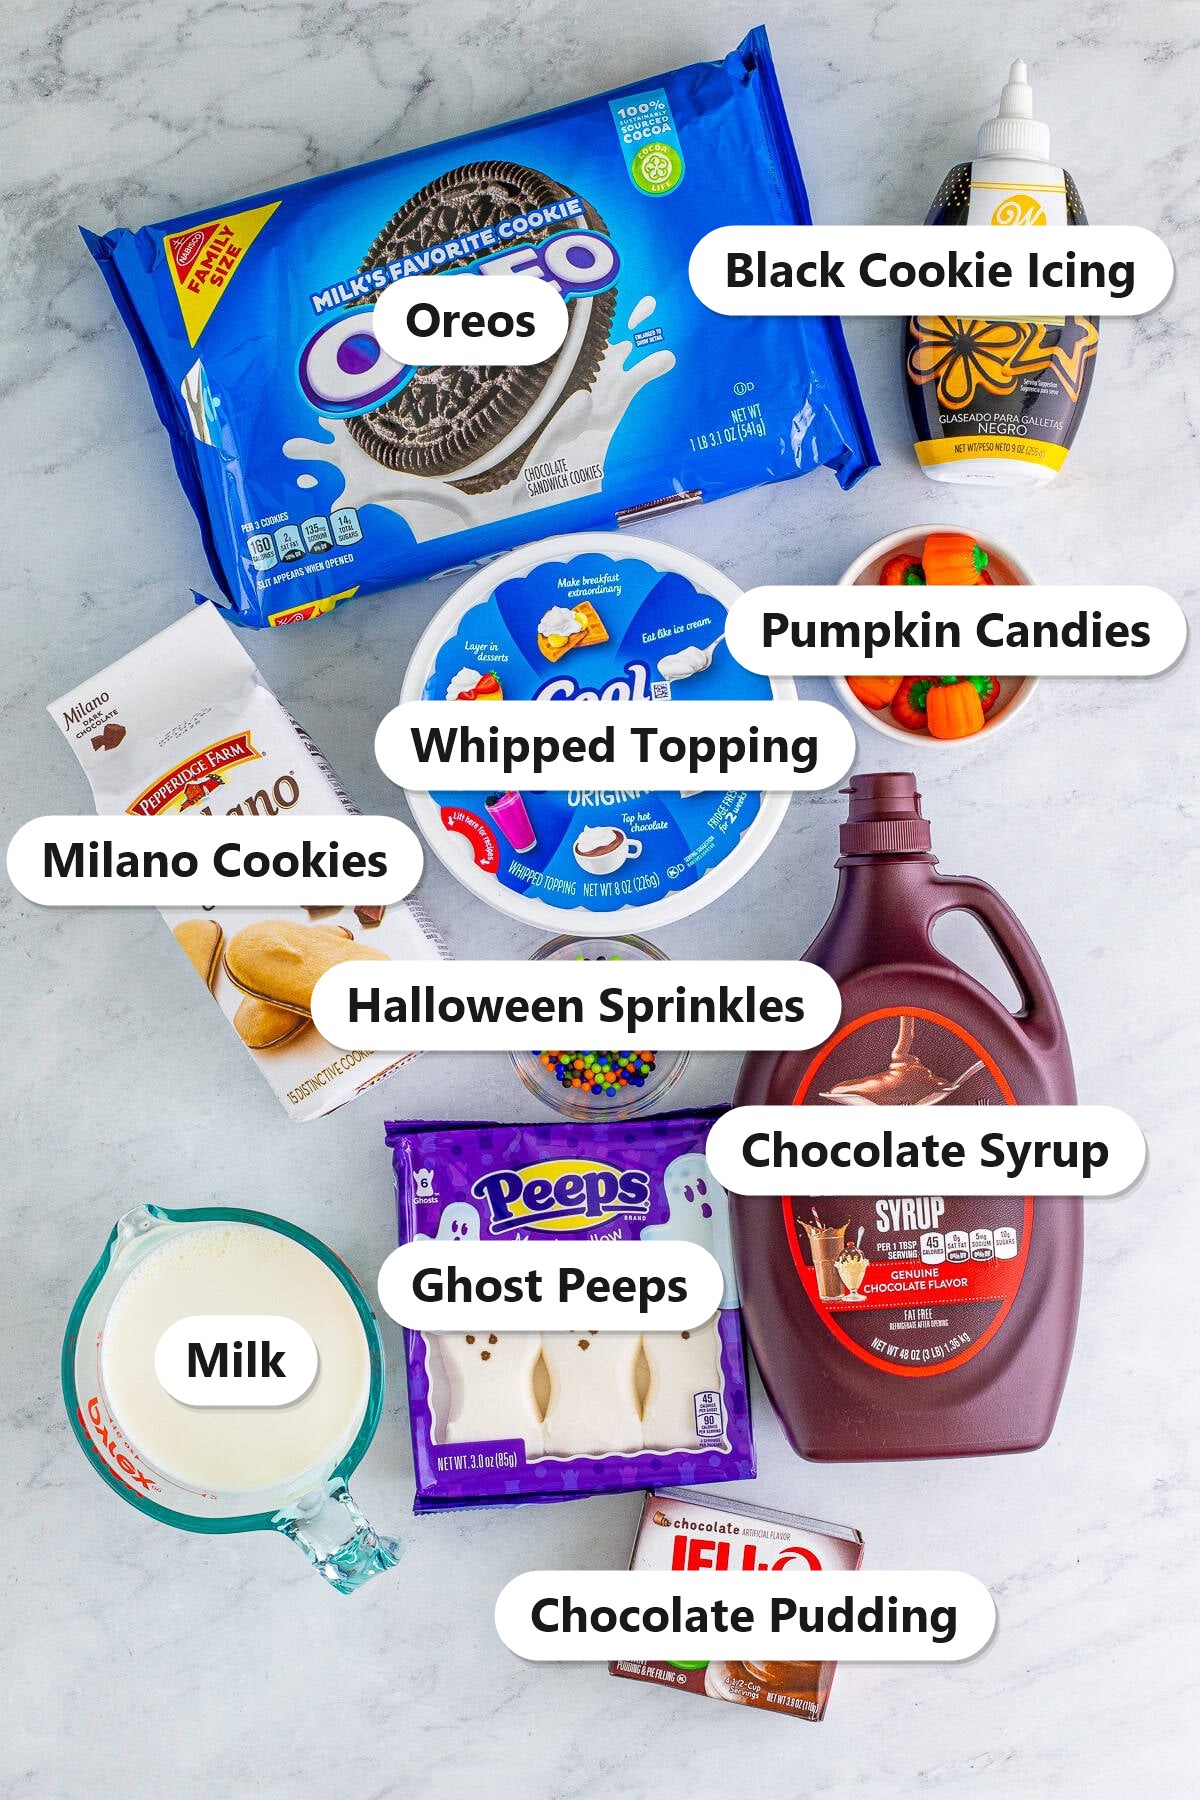
Half grocery store shortcuts, half candy aisle fun.
- Oreos: The dirt. Family size packs get crushed into crumbs, some fine for the pudding and some left clumpier for the topping. Any chocolate sandwich cookie works if that is what you have.
- Instant chocolate pudding: The base that sets fast with just cold milk, no stovetop needed. Chocolate keeps the whole thing looking like rich dark soil.
- Whipped topping: Folded into the pudding to lighten it into a moussey texture that holds its shape in the cups.
- Chocolate syrup: Swirled into the pudding for a deeper chocolate ribbon, then stirred into the top crumbs so they clump like real dirt.
- Milano cookies, ghost Peeps, and candy pumpkins: The graveyard crew. Milanos become RIP tombstones, Peeps are the ghosts rising from the dirt, and candy pumpkins and sprinkles finish the scene.
See recipe card for exact quantities.
Variations and Substitutions
One spooky base, easy to dress up or tone down.
- Use gluten free sandwich cookies and gluten free pudding to make the whole dessert gluten free.
- Swap the ghost Peeps for gummy worms and candy skeletons if you want a creepier, crawlier graveyard.
- Make it one big trifle instead of cups by layering everything in a single large clear bowl for a crowd.
- Skip the Halloween decorations entirely and you have classic dirt cups like the ones in my Oreo dirt cake, good any time of year.
- Add a layer of chopped peanut butter cups or crushed candy bars between the pudding and crumbs for an extra candy surprise.
- If you want to switch things up, our nutella microwave lava cake in a mug plays on similar flavors in a whole new way.
- If you want to switch things up, our sand pudding cups plays on similar flavors in a whole new way.
- In the mood for something different? Our pistachio lush scratches a similar itch.
How to Make Halloween Dirt Cups
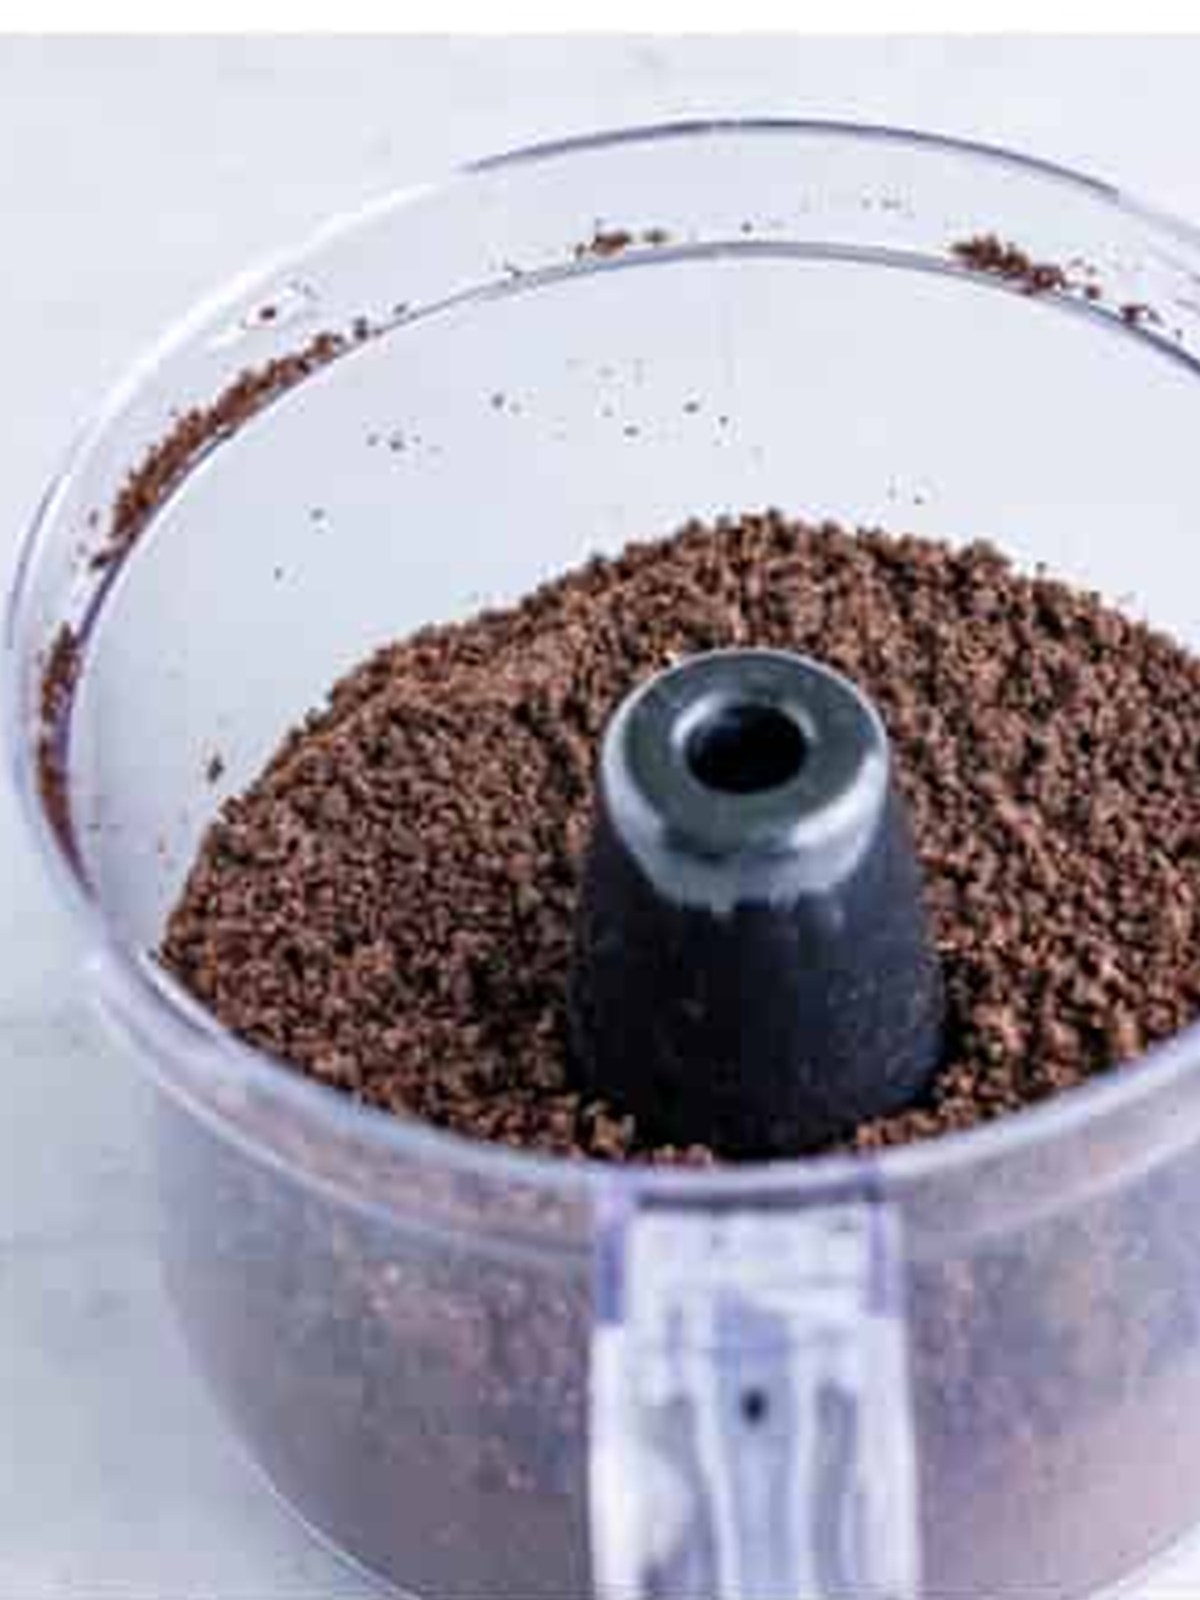
- Add the Oreos to a food processor in batches and pulse until they form fine crumbs. Set the crumbs aside in a large bowl.
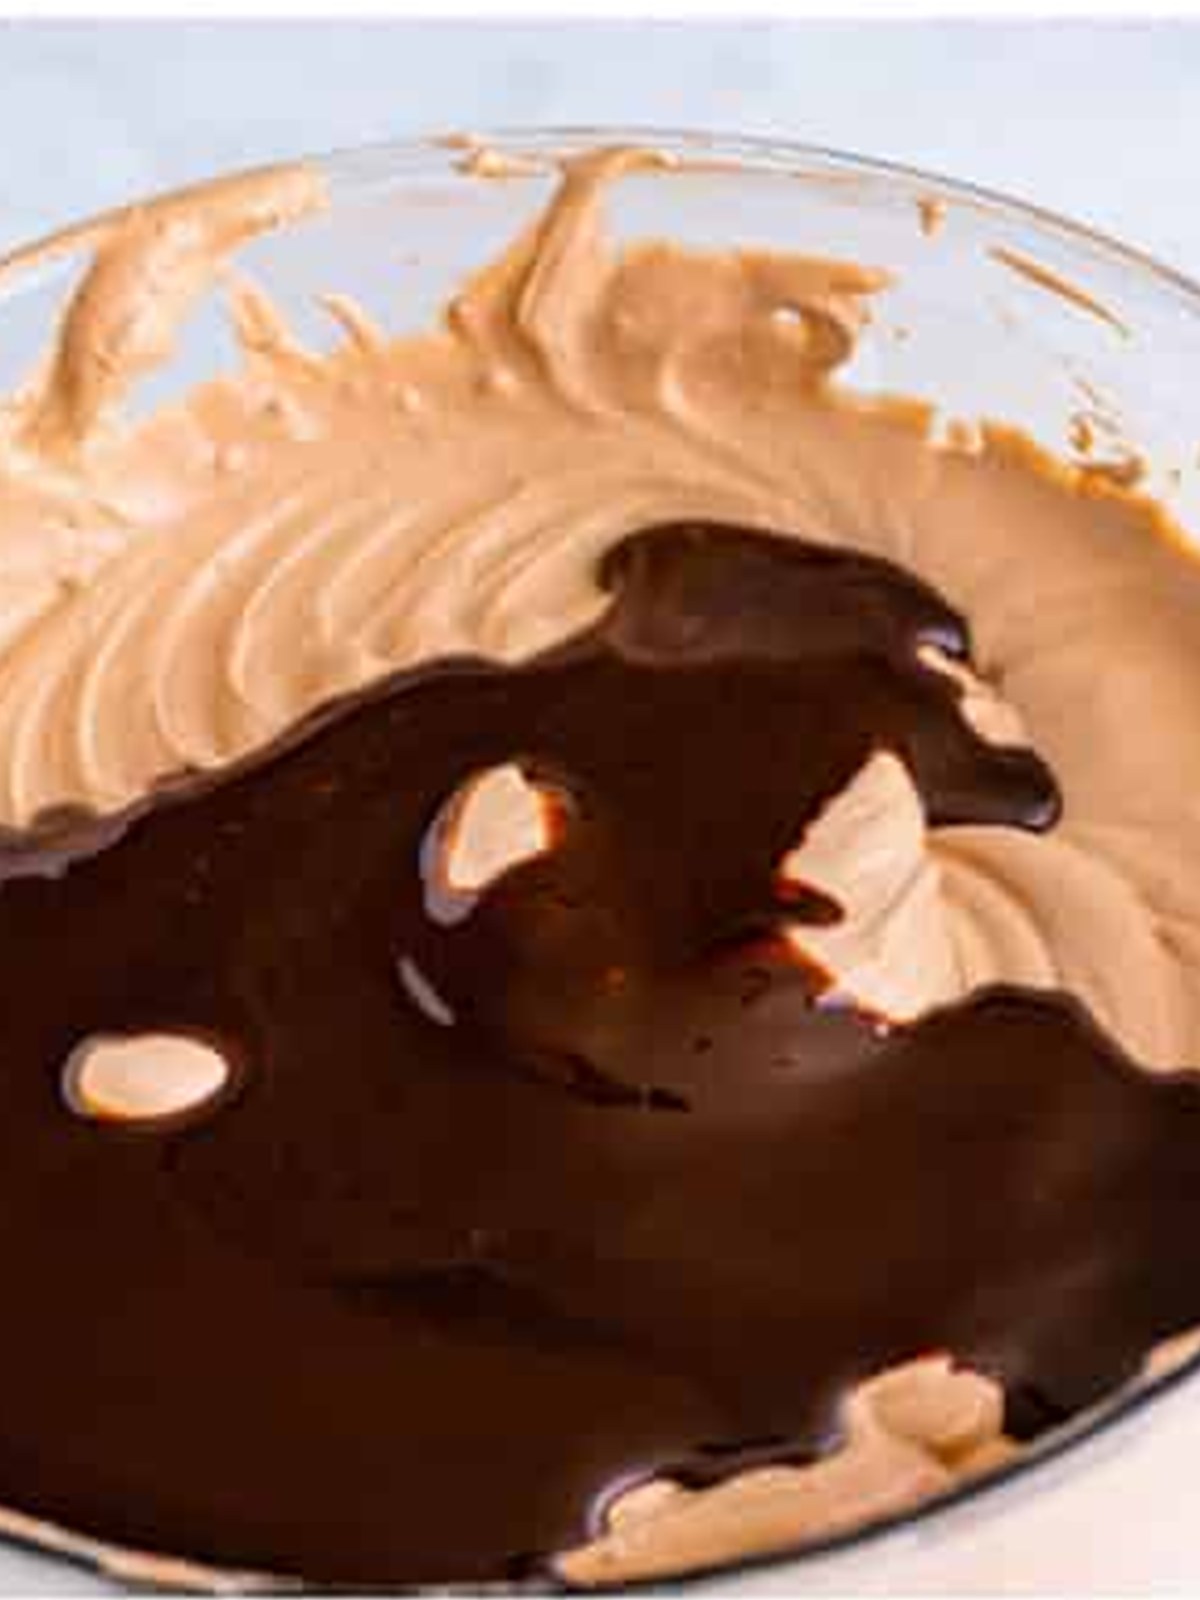
- Whisk the instant pudding mix with the cold milk for about two minutes until it thickens, then fold in the whipped topping until there are no streaks.
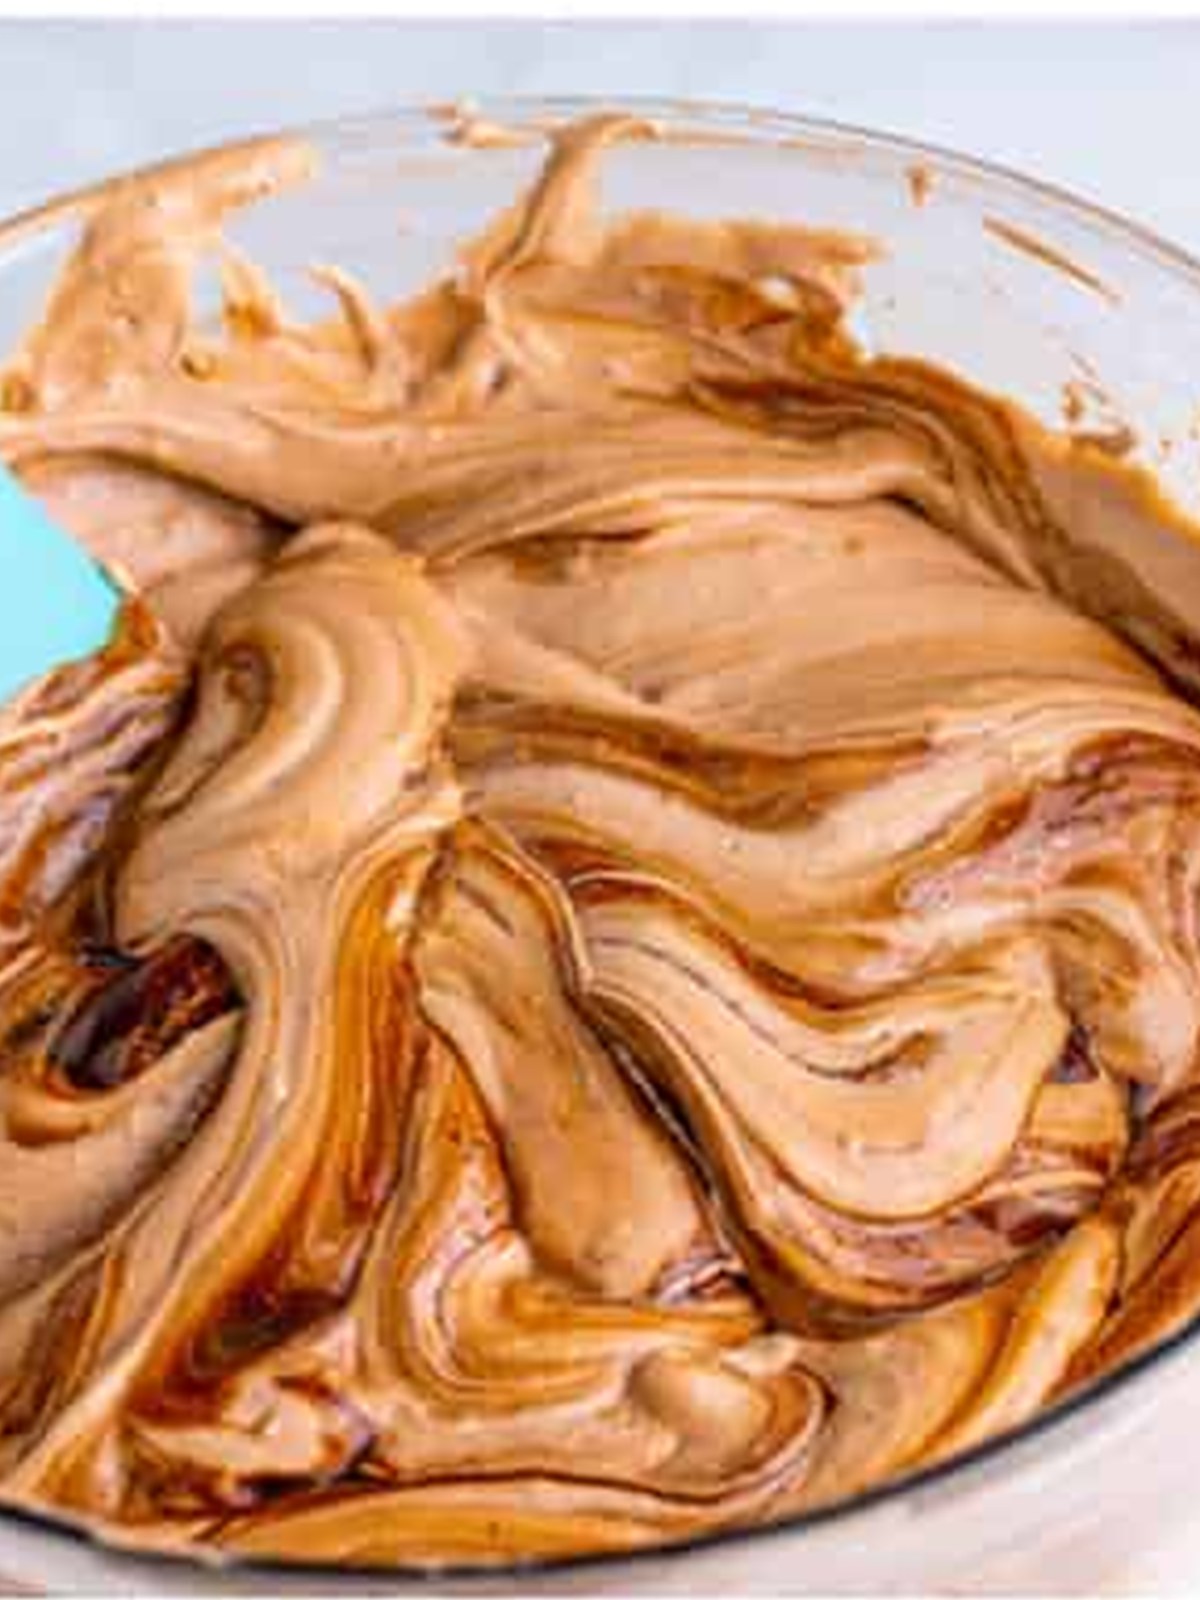
- Add half of the chocolate syrup and give it just a few stirs so it stays streaky, then chill the pudding until you are ready to assemble.
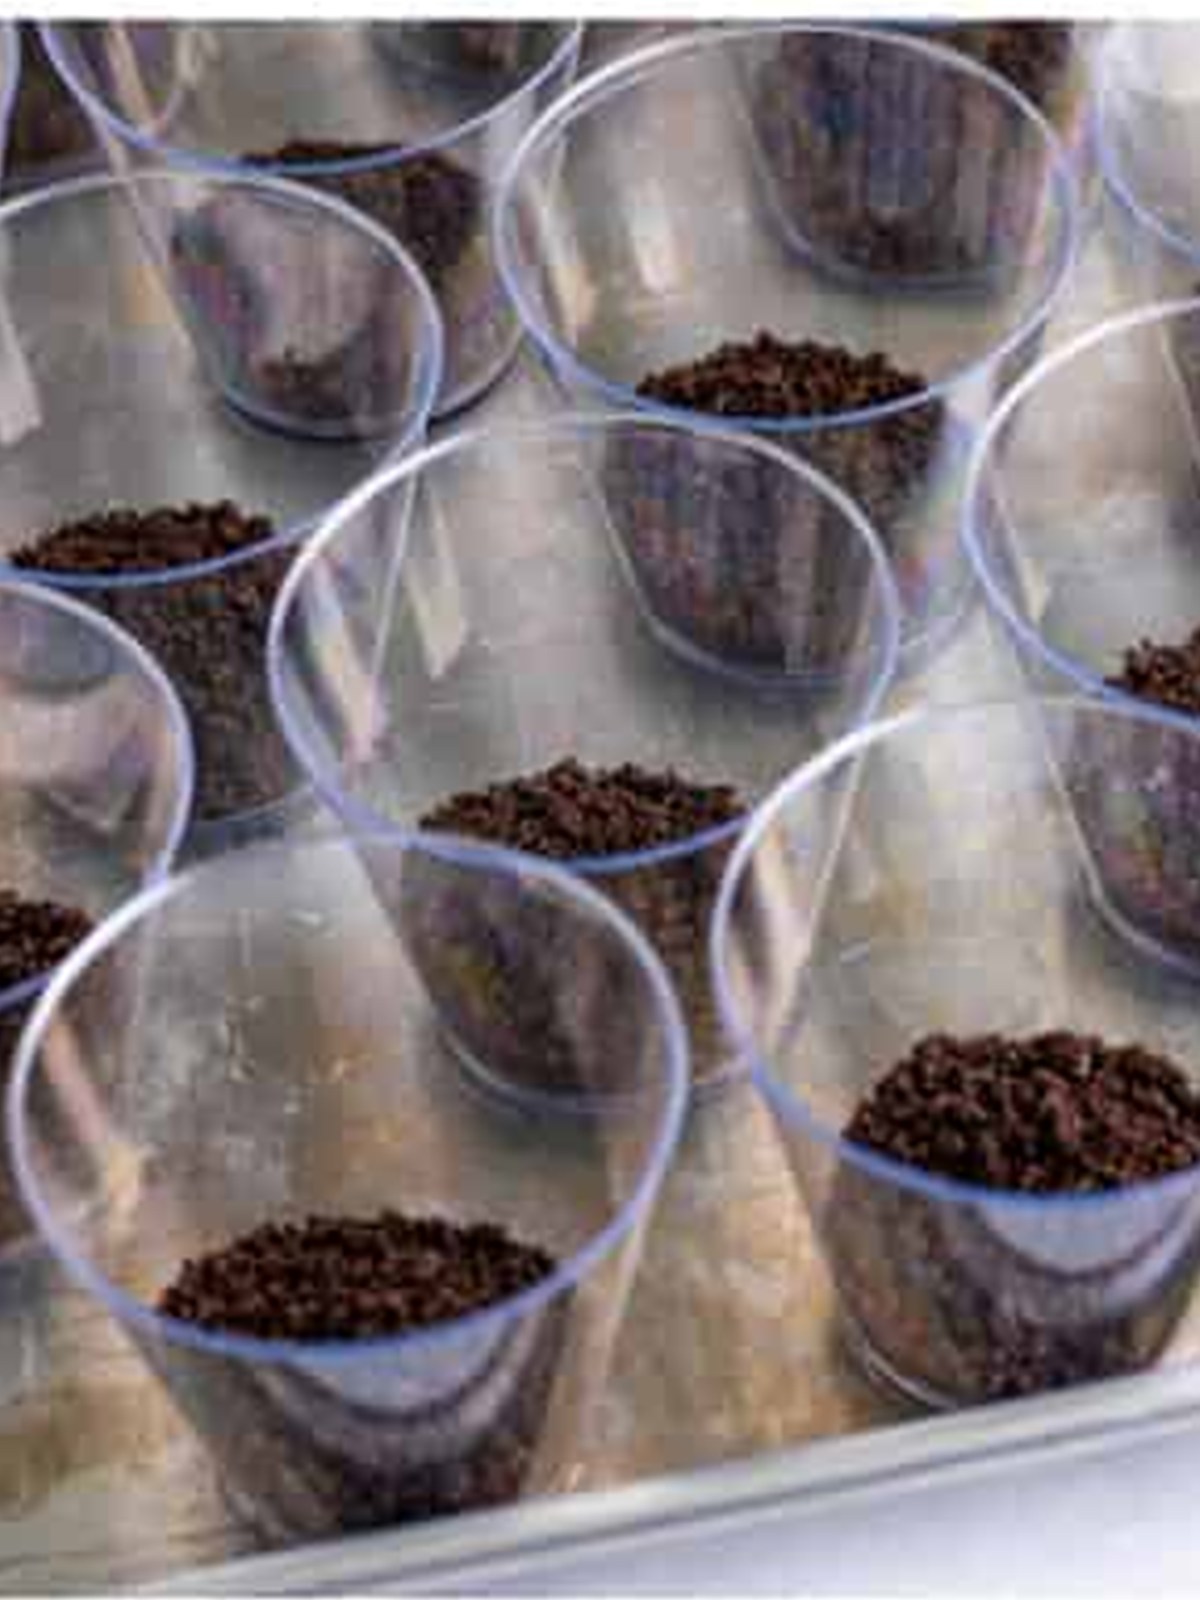
- Spoon a layer of Oreo crumbs into the bottom of each clear cup, pressing lightly to make an even base.
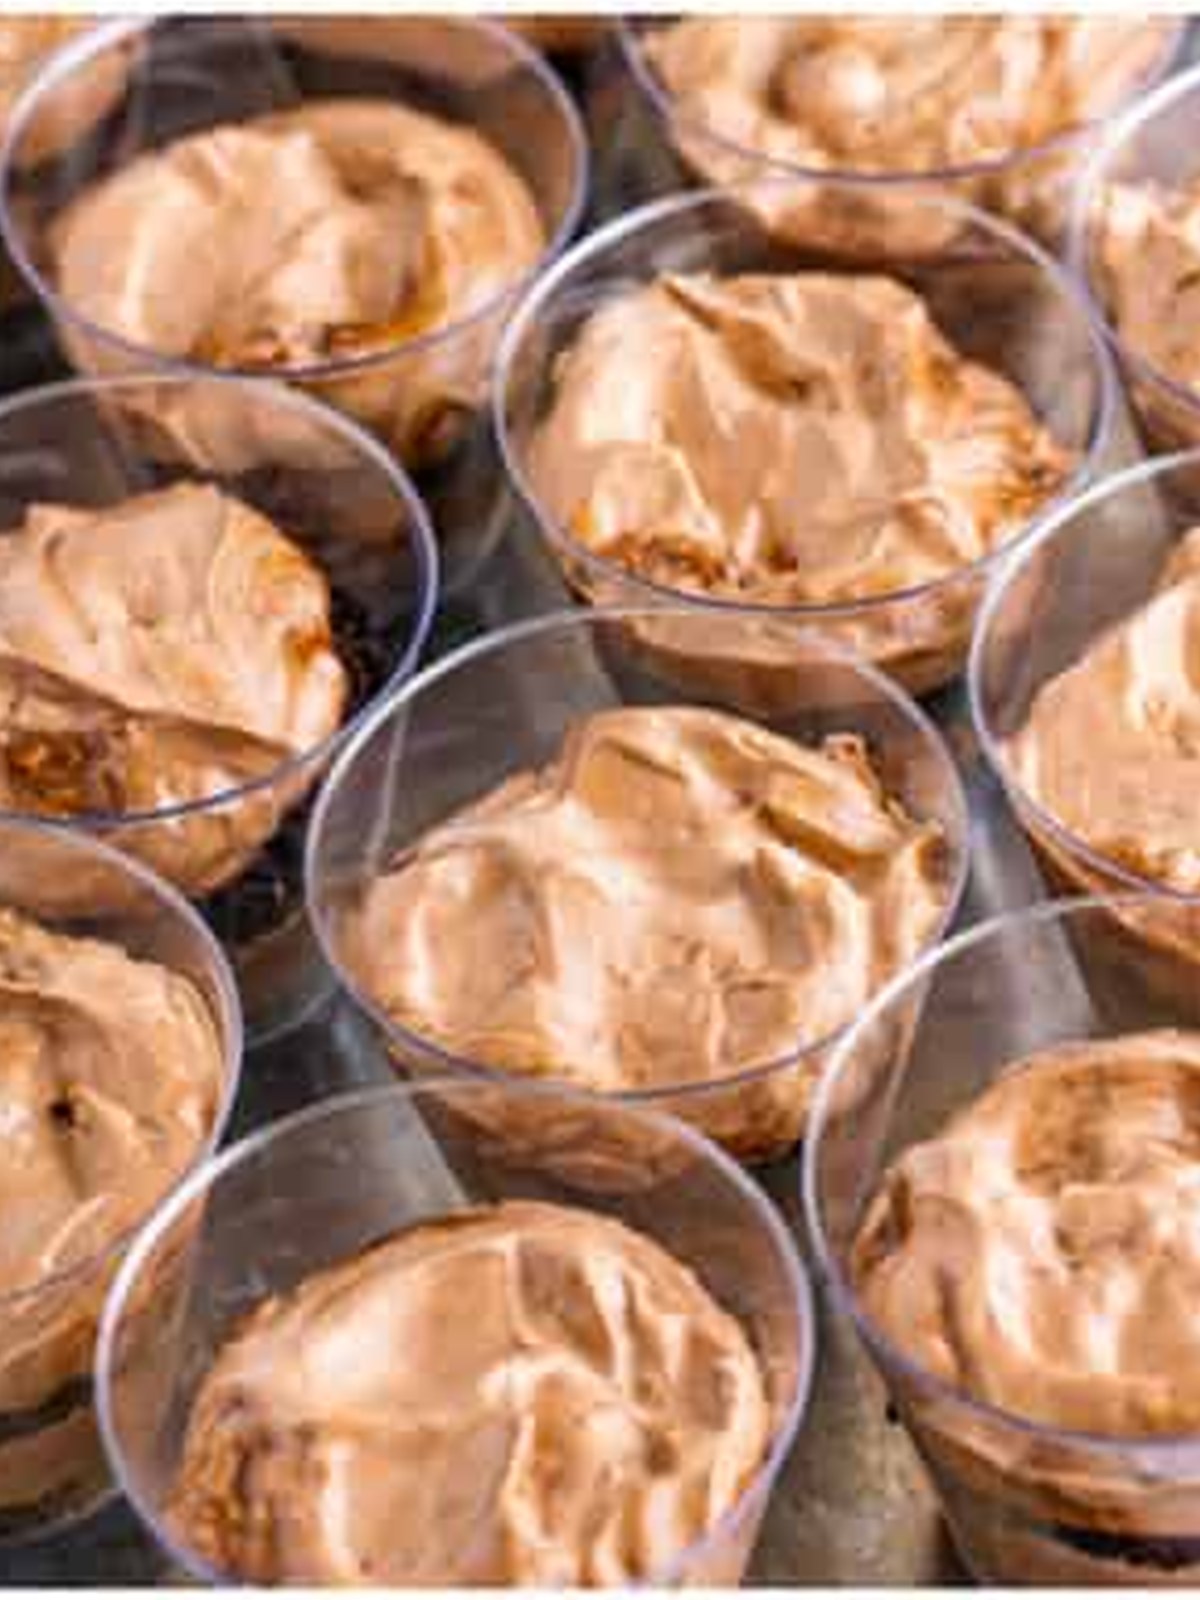
- Add a layer of the chocolate pudding on top of the crumbs, then repeat with more crumbs and pudding, finishing with a crumb top.
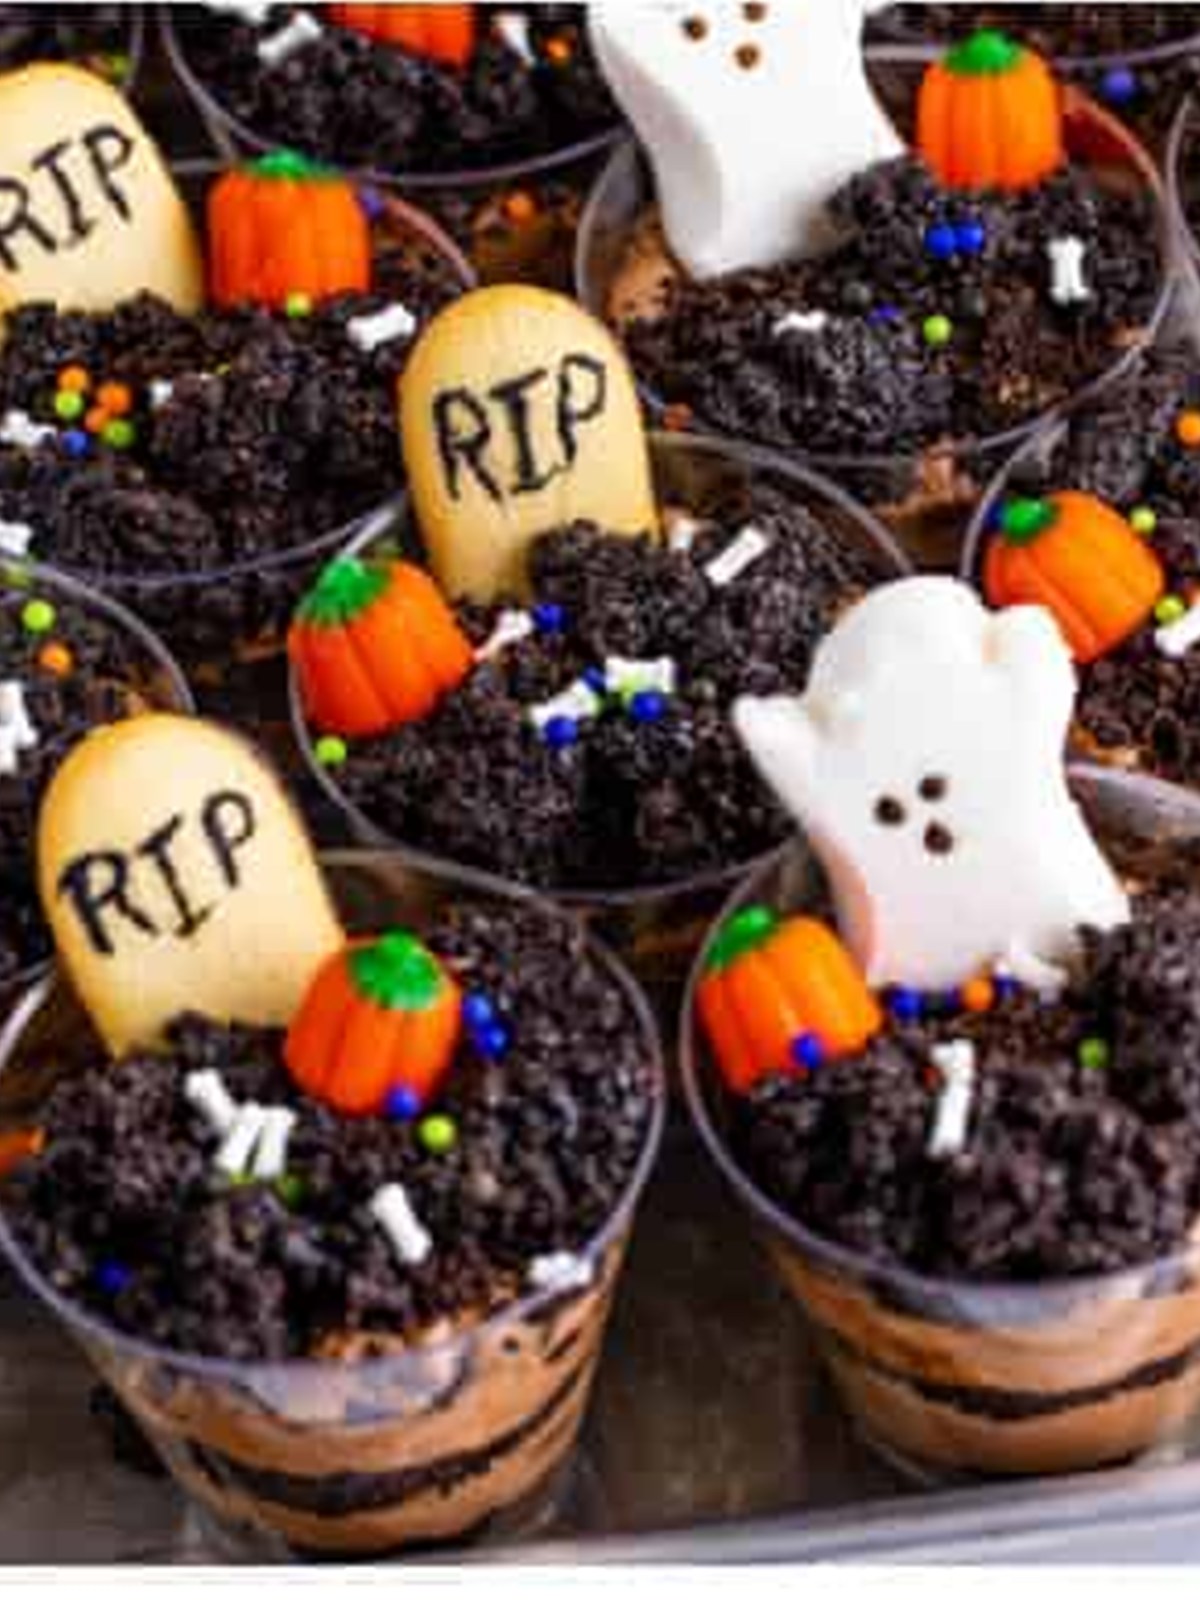
- Stir the remaining syrup into the leftover crumbs so they clump like dirt, mound them on top, then decorate with RIP Milano tombstones, ghost Peeps, candy pumpkins, and Halloween sprinkles. Chill until serving.
Recipe Tips & Tricks
- Crush the Oreos in batches. Overfilling the food processor gives you uneven crumbs, so work in two or three rounds for a consistent dirt texture.
- Do not fully mix in the chocolate syrup. A few stirs leaves those pretty dark streaks, over mixing turns the whole pudding one flat shade.
- Use clear cups so the layers show. Nine ounce clear plastic cups or small mason jars let the dirt effect do all the decorating work.
- Press the ghost Peeps and cookies in gently. Nesting them into the pudding a little keeps them standing upright instead of sliding off the top.
- Decorate close to serving. Peeps stay soft and cookies stay crisp if you add them within a few hours, and the pudding layers can be made a day ahead.
- Do half the cups plain. Decorating only some with big toppers gives the tray variety and lets picky eaters grab a low key one.
- Plan the whole menu. This pairs effortlessly with our coconut candy recipe when company is coming.
- Plan the whole menu. This pairs effortlessly with our caramel apple pudding cups when company is coming.
- Make it a full spread. Our flowerpot cupcakes rounds out the table.
Serving Ideas and Suggestions
Still filling out the menu? Readers love pairing this one with our poison apples, raspberry dessert cups, ice cream dirt cake bars, and Halloween bark.
Warm everyone up with a mug of our Witches Brew hot chocolate after the graveyard dirt cups.
Halloween Dirt Cups FAQs
Halloween dirt cups are made with crushed Oreos, instant chocolate pudding, milk, and whipped topping, layered in clear cups and decorated with Halloween candy. The Oreos are the dirt, the pudding is the base, and toppings like Milano cookie tombstones, ghost Peeps, and candy pumpkins turn each cup into a tiny graveyard.
Yes. Layer the pudding and crumbs in the cups up to a day ahead and keep them covered in the fridge. Add the ghost Peeps, cookies, and sprinkles within a few hours of serving so the Peeps stay soft and the cookies stay crisp.
Assembled dirt cups keep well for about three days in the refrigerator, though the cookie toppers soften over time. For the best texture, store the cups covered and add the crunchy decorations right before serving.
If you cannot find ghost Peeps, use gummy worms, candy skeletons, plastic Halloween picks, or marshmallows cut into ghost shapes. The dirt cups work with whatever spooky toppers you have, so use what your grocery store carries.
Yes. Because they are made with pudding and milk, dirt cups need to stay chilled until serving and should not sit out for more than about two hours. Keep them in the fridge and pull them out just before the party.
Absolutely. Seal the Oreos in a zip top bag and crush them with a rolling pin or the bottom of a heavy glass until you have fine crumbs. It takes a little more effort but works just as well for the dirt.
Made these Halloween Dirt Cups? Leave a comment and a star rating below, and tell me how your little gravediggers decorated theirs!
My royal icing wrapped mummy cookies belong at the same monster bash.
Set out a bowl of Halloween muddy buddies next to these dirt cups — that pumpkin spice powdered sugar makes the whole table look like a patch.
For a whole table of spooky snacks to serve with these dirt cups, check out our Halloween Party Food collection.

Halloween Dirt Cups
Ingredients
- 38.2 ounce 2 19.1 ounce packages packages Oreo cookies (family size)
- 4 cups whole milk
- 7.8 ounces 2 3.9 ounce packages instant chocolate pudding mix
- 16 ounces whipped topping thawed
- 1 cup chocolate syrup divided
- Milano Cookies
- Black cookie icing
- Ghost peeps
- Mini pumpkin candies
- Halloween sprinkles
Instructions
- Place the Oreos into a food processor, you will need to do this in batches. Process until they form crumbs. Place the crumbs into a large bowl and set aside.
- Add the milk and chocolate pudding mix to a large bowl, and stir together for 2 minutes until it begins to thicken. Add the whipped topping and fold it in until there are no streaks.
- Add ½ cup of the chocolate syrup and give it a few stirs. You want it to look streaky. Place it in the fridge until ready to assemble.
- Lay out 18 9-ounce or similar-sized cups or serving containers. Place 2 tablespoons of the cookie crumbs in the bottom of the cups. Add just under ¼ cup of the pudding mix on top. Repeat with 2 more tablespoons of cookie crumbs and the remaining pudding.
- Finally, add 1 tablespoon of the cookie crumbs on top of each cup.
- Add the remaining ½ cup of chocolate syrup to the remaining cookie crumbs and stir it all together. This will be clumpy and moist looking. Set aside.
- Decorate Milano cookies with black icing to say “RIP” or any saying you want, and add them to the cups. Add peep ghosts to the cups. I like to add the peeps and cookies to half of the cups, so they look different, but do as many as you want. Also, try and press them in gently into the pudding, so they stick up.
- Take the clumpy cookie crumbs and add this to the tops of the cups to resemble freshly dug graves and uneven Earth. Add the mini pumpkin candies and Halloween sprinkles.
- Chill until serving or serve immediately.
Notes
- Nutritional value does not include garnishes.
- Decorate these any way that you’d like.
- These make 18 9 ounces cups, you can halve the cup size for younger children.
- This can be made in a large bowl or a baking dish as well and scooped as needed.
- I do not recommend freezing this recipe.
- I find it easiest to decorate the cookies with a toothpick.
Nutrition
Love This Recipe?
Follow @ThisSillyGirlsKitchen on Instagram and @ThisSillyGirlsKitchen on Pinterest for more!