
This post may contain affiliate links.
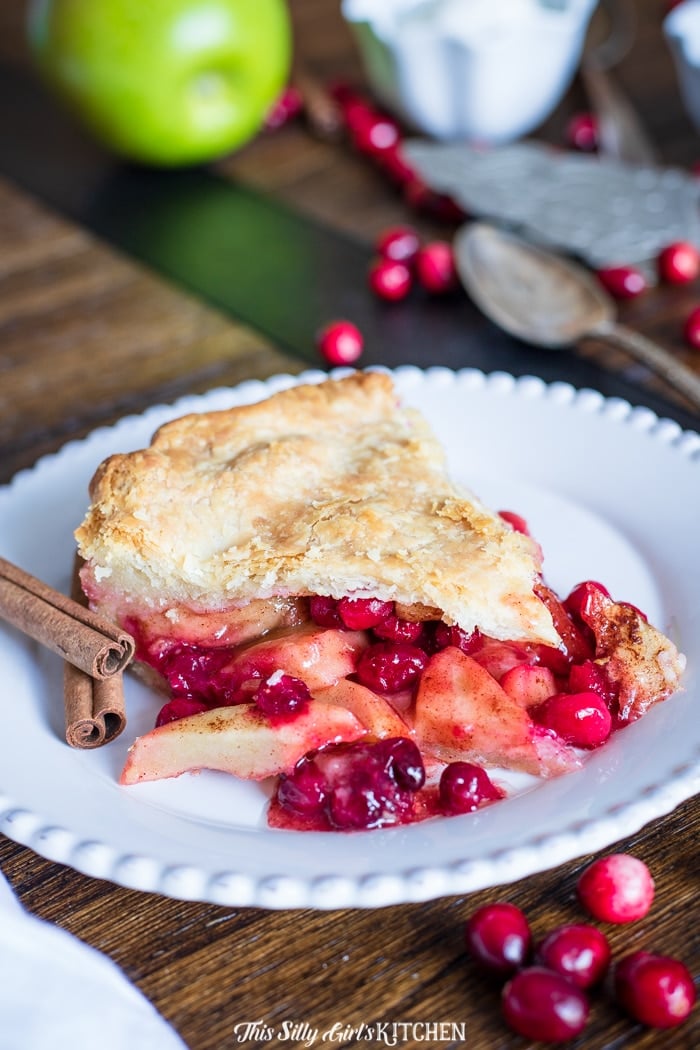
Mini Pumpkin Pies shrink the Thanksgiving classic into adorable handheld cups, real spiced pumpkin custard in flaky crusts, baked in a regular muffin tin with frozen pie crusts doing the hard part. I started making these for Thanksgiving dessert tables years ago because the kids kept abandoning half eaten pie slices, and a two bite pie has no leftovers to abandon, unlike a full apple cranberry pie.
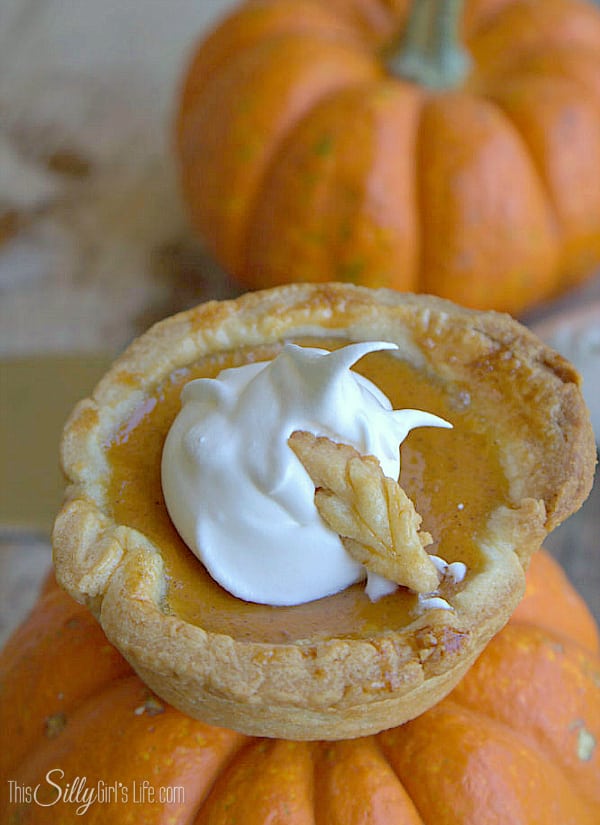
No pie plate, no blind baking, no slicing, just pop them out and top with whipped cream.
Mini Pumpkin Pies Quick Look
- 🕒 Prep Time: 10 minutes
- 🌡️ Cook Time: 30 minutes
- ⏳ Total Time: 40 minutes
- 🍽️ Serving: 9 mini pies
- ⚡ Calories: 250kcal
- 🌶️ Flavor Profile: Classic spiced pumpkin custard in flaky crust
- ✋ Difficulty: Easy, the muffin tin does the shaping, simpler than our pumpkin slab pie
Quick Answer
Whisk 2 eggs with canned pumpkin, sugar, cinnamon, pumpkin pie spice, and salt, then stir in evaporated milk. Cut thawed frozen pie crusts into 4 inch rounds, press them into a greased muffin tin, and fill each with the pumpkin mixture. Brush the exposed crust with beaten egg and bake at 400 degrees for 10 minutes, then at 325 for 15 to 20 more, until a toothpick comes out clean.
Jump to:
Why This Recipe Works
Click to see the technique science
- Frozen pie crusts are the shortcut that works. They roll and re roll beautifully into 4 inch rounds, so the fussiest part of pie making is already done for you.
- The muffin tin is the pie plate. Each cup shapes and supports its own little crust, no crimping skills required, and every pie bakes with its own golden edge.
- Real evaporated milk custard, not a shortcut filling. The filling is the genuine back of the can pumpkin pie custard, so every bite tastes exactly like Thanksgiving.
- The two temperature bake mirrors big pie rules. Ten minutes at 400 degrees sets the crust, then 325 gently finishes the custard without cracking it.
- Egg wash browns the little crusts. Brushing the exposed edges makes them bake up glossy and golden instead of pale and dusty.
- Portion control is built in. Nine tidy pies means no slicing, no plates, and a dessert table that serves itself.
Why You’ll Love This Recipe
- All the classic pumpkin pie flavor in a two bite, handheld package.
- Frozen crusts plus a muffin tin means zero pie making skill required.
- They free the oven and the pie plate for the apple cranberry pie, the muffin tin is done in 30 minutes.
- It delivers that same everyone asks for seconds energy as our pumpkin hand pies.
- It delivers that same everyone asks for seconds energy as our pumpkin whoopie pies recipe.
- It earns a spot in the rotation right next to our halloween dirt cups.
Key Ingredients
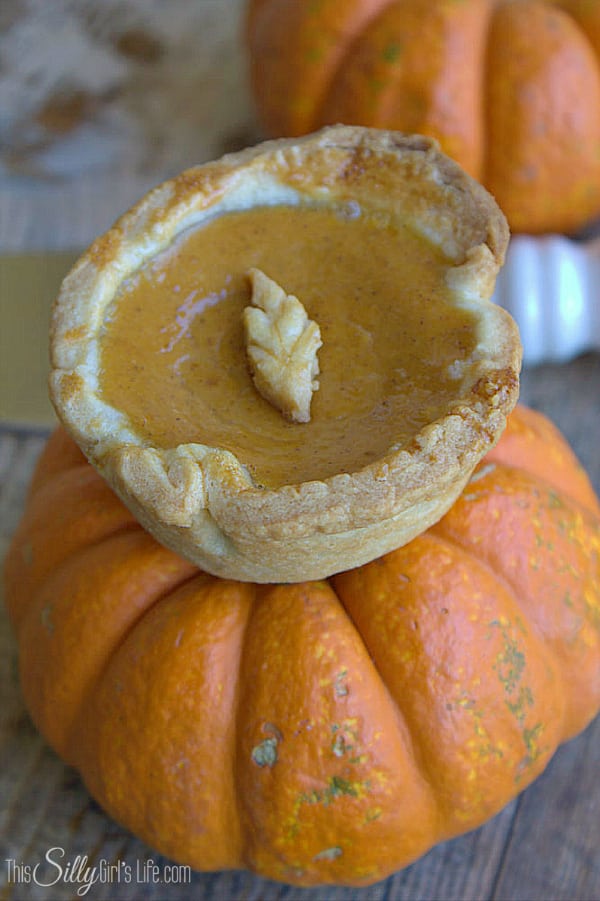
One can of pumpkin, one can of milk, and the freezer aisle shortcut.
- Frozen pie crusts: Four of them, thawed and re rolled into 4 inch rounds. All the flake, none of the food processor.
- Pure canned pumpkin: One 15 ounce can, pumpkin puree, not pumpkin pie filling.
- Evaporated milk: The 12 ounce can that makes the custard silky and rich, the classic pie way.
- Cinnamon and pumpkin pie spice: The warm spice blend that makes the whole house smell like November.
- Eggs: Two in the custard, plus one for brushing the crusts golden.
See recipe card for exact quantities.
Variations and Substitutions
The muffin tin format loves little upgrades.
- Cut leaves or turkeys from the leftover crust scraps, egg wash them, and bake them on top of each pie.
- Swap the crust for a gingersnap crumb base pressed into each cup for a spicier bottom.
- Stir a quarter teaspoon of vanilla and a tablespoon of maple syrup into the filling for a maple pumpkin version.
- Top with a sprinkle of candied pecans and a caramel drizzle instead of whipped cream.
- If you want to switch things up, our mini lemon meringue pies plays on similar flavors in a whole new way.
- If you want to switch things up, our halloween muddy buddies plays on similar flavors in a whole new way.
- In the mood for something different? Our pumpkin bars with cream cheese frosting scratches a similar itch.
How to Make Mini Pumpkin Pies
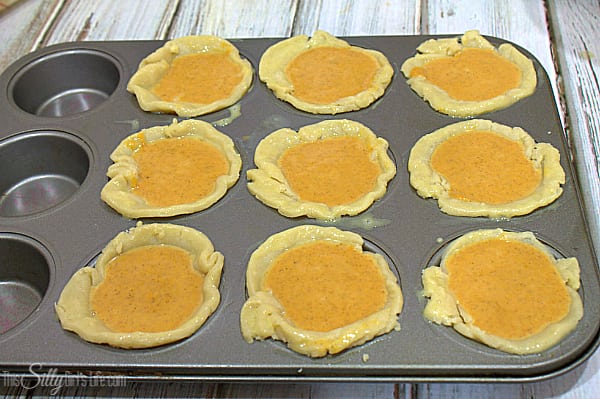
- Preheat the oven to 400 degrees and spray a muffin tin with cooking spray. Set the frozen pie crusts out about an hour ahead so they come to room temperature.
- In a large bowl, beat 2 of the eggs, then mix in the canned pumpkin. Add the sugar, cinnamon, pumpkin pie spice, and salt and combine. Stir in the evaporated milk until fully incorporated.
- Flatten each crust and cut out rounds with a 4 inch cookie cutter. Re roll the scraps to an eighth inch thick and keep cutting, you should get about 9 rounds. Gently mold each round into a muffin cup.
- Pour the pumpkin filling into the crusts, stopping just below the crust edge. Beat the remaining egg and brush the exposed dough.
- Bake for 10 minutes at 400 degrees, then reduce the heat to 325 and bake another 15 to 20 minutes, until a toothpick inserted in the center comes out clean.
- Cool completely in the tin, then run a small knife around each pie and pop them out. Top with whipped cream and serve.
Recipe Tips & Tricks
- Let the crusts thaw fully. A cold crust cracks when you press it into the cups, an hour at room temperature makes it pliable.
- Do not overfill the cups. Stop just below the crust line, the custard puffs slightly as it bakes.
- Re roll scraps only to an eighth inch. Thinner than that and the little crusts bake up brittle.
- Cool completely before popping them out. The custard needs to set or the pies bend and crack on the way out.
- Run a knife around stubborn pies. A thin blade around the edge releases any crust that fused to the tin.
- Use the leftover crust for decorations. Egg washed leaf cutouts baked on top turn a simple dessert into the cute one everyone photographs.
- Plan the whole menu. This pairs effortlessly with our maple glazed pumpkin bundt cakes when company is coming.
- Plan the whole menu. This pairs effortlessly with our mini pineapple upside down cupcakes when company is coming.
- Make it a full spread. Our pumpkin cookies rounds out the table.
Serving Ideas and Suggestions
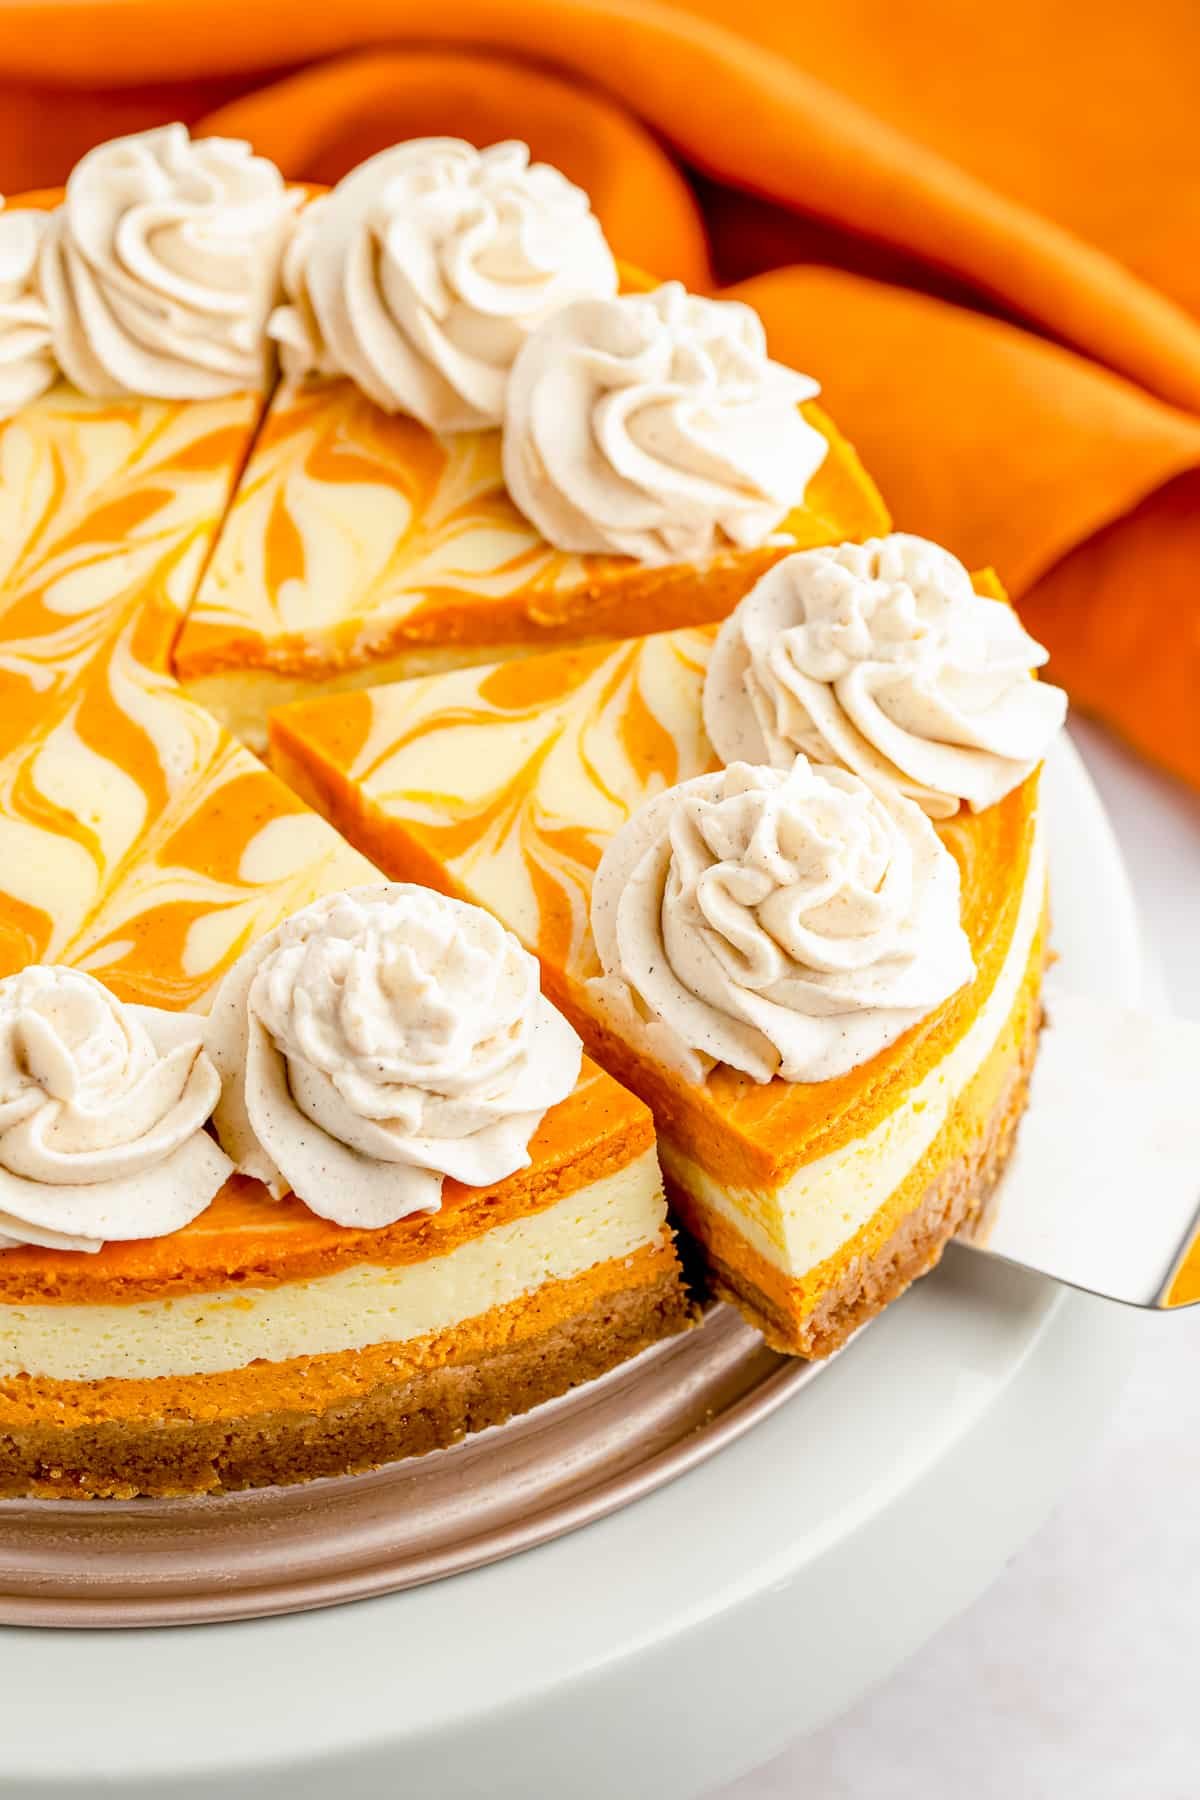
Still filling out the menu? Readers love pairing this one with our pumpkin cheesecake, sugar cookie cups, pumpkin cheesecake bars, and pumpkin spice monkey bread.
And when you are planning next week’s dinners, our pumpkin bread keeps the same easy comfort going.
Store them covered in the refrigerator up to 3 days, they are custard pies, so the fridge is a must. They also freeze well for a month, thaw overnight in the fridge and add the whipped cream fresh.
Mini Pumpkin Pies FAQs
Cut thawed pie crusts into 4 inch rounds, press them into greased muffin cups, fill with classic pumpkin custard, and bake at 400 degrees for 10 minutes, then 325 for 15 to 20 more. Cool completely, then pop each pie out with a small knife assist.
Absolutely, one double crust recipe cuts into about 9 to 12 rounds. Frozen crusts are the shortcut this recipe was built on, but homemade all butter crust makes them even flakier. Either way, roll to about an eighth inch thick.
Either the tin was under greased or the pies came out before cooling. Spray every cup well, cool the pies completely so the custard sets, and run a thin knife around each edge before lifting them out.
Yes, they are a great make ahead. Bake them up to 2 days ahead and refrigerate covered, or freeze them up to a month. Add the whipped cream right before serving so it stays fluffy.
Yes, like any pumpkin pie they are an egg and milk custard, so refrigerate within 2 hours of baking. They keep covered in the fridge about 3 days and actually taste best chilled with room temperature whipped cream.
A 4 inch round cutter fits a standard muffin tin, giving each pie walls tall enough to hold a real layer of custard. No cutter? Trace around a large mug or a small bowl with a paring knife.
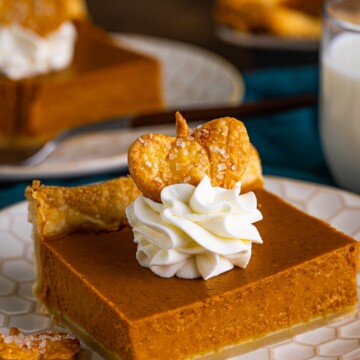
Made these Mini Pumpkin Pies? Leave a comment and a star rating below, I would love to hear how they went over at your holiday table!

Mini Pumpkin Pies
Ingredients
- 4 frozen pie crusts
- 1 can 15 oz pure pumpkin
- 1 can 12 oz evaporated milk
- 3/4 Cup granulated sugar
- 1 tsp ground cinnamon
- 3/4 tsp pumpkin pie spice
- pinch of salt 1/8 tsp
- 3 large eggs
Instructions
- Preheat oven to 400 degrees.
- In a large bowl, beat 2 of the eggs. Add in the canned pumpkin and combine. Add in the sugar, spices and salt and mix to combine. Last, add in the evaporated milk and stir until fully incorporated. Set aside while assembling pie crusts.
- About an hour before baking, take the pie crusts out of the freezer and let come to room temperature. Take crust out of the tin and flatter. Using a 4 inch round cookie cutter, cut out round of dough. You will have left over crust, so taking a rolling pin, add a little flour to your work surface and rolling pie. Roll out the dough to about an 1/8th of an inch, the thickness of the other dough rounds. Repeat the process of cutting out round with the cookie cutter. Carefully mold in the rounds of crust into a cupcake tin that has been sprayed with cooking spray.
- Pour in the pumpkin mixture. Take the additional egg and beat, brush the exposed dough with egg. (I used left over dough to cut out leafs/feathers, brush these with egg as well if using.) Bake for 10 minutes, reduce heat to 325 degrees and bake an additional 15 to 20 minutes or until a knife/toothpick inserted into the center comes out clean.
- Let cool in the tin completely. Carefully pop out the pies, you may need to run a knife along the edges to get them out. Serve with whipped cream if desired, enjoy!
Nutrition
Love This Recipe?
Follow @ThisSillyGirlsKitchen on Instagram and @ThisSillyGirlsKitchen on Pinterest for more!








Mini deserts are so much fun! And super cute too. Thanks for linking up to Snickerdoodle Sunday!
I got such a kick out of your instructions to take the pie crust out of the tin and “flatter”. I can just see you telling that pie crust all kinds of wonderful things about itself. I know it was a typo, but please don’t change it. It gave me a lovely laughter boost to start my day. You are after all “This Silly Girl” and I love you for it. I think everyone should treat their pie crust this way. We’d all have better pies. Too many people think of it as pie curst. You go girl. Love it!