
This post may contain affiliate links.
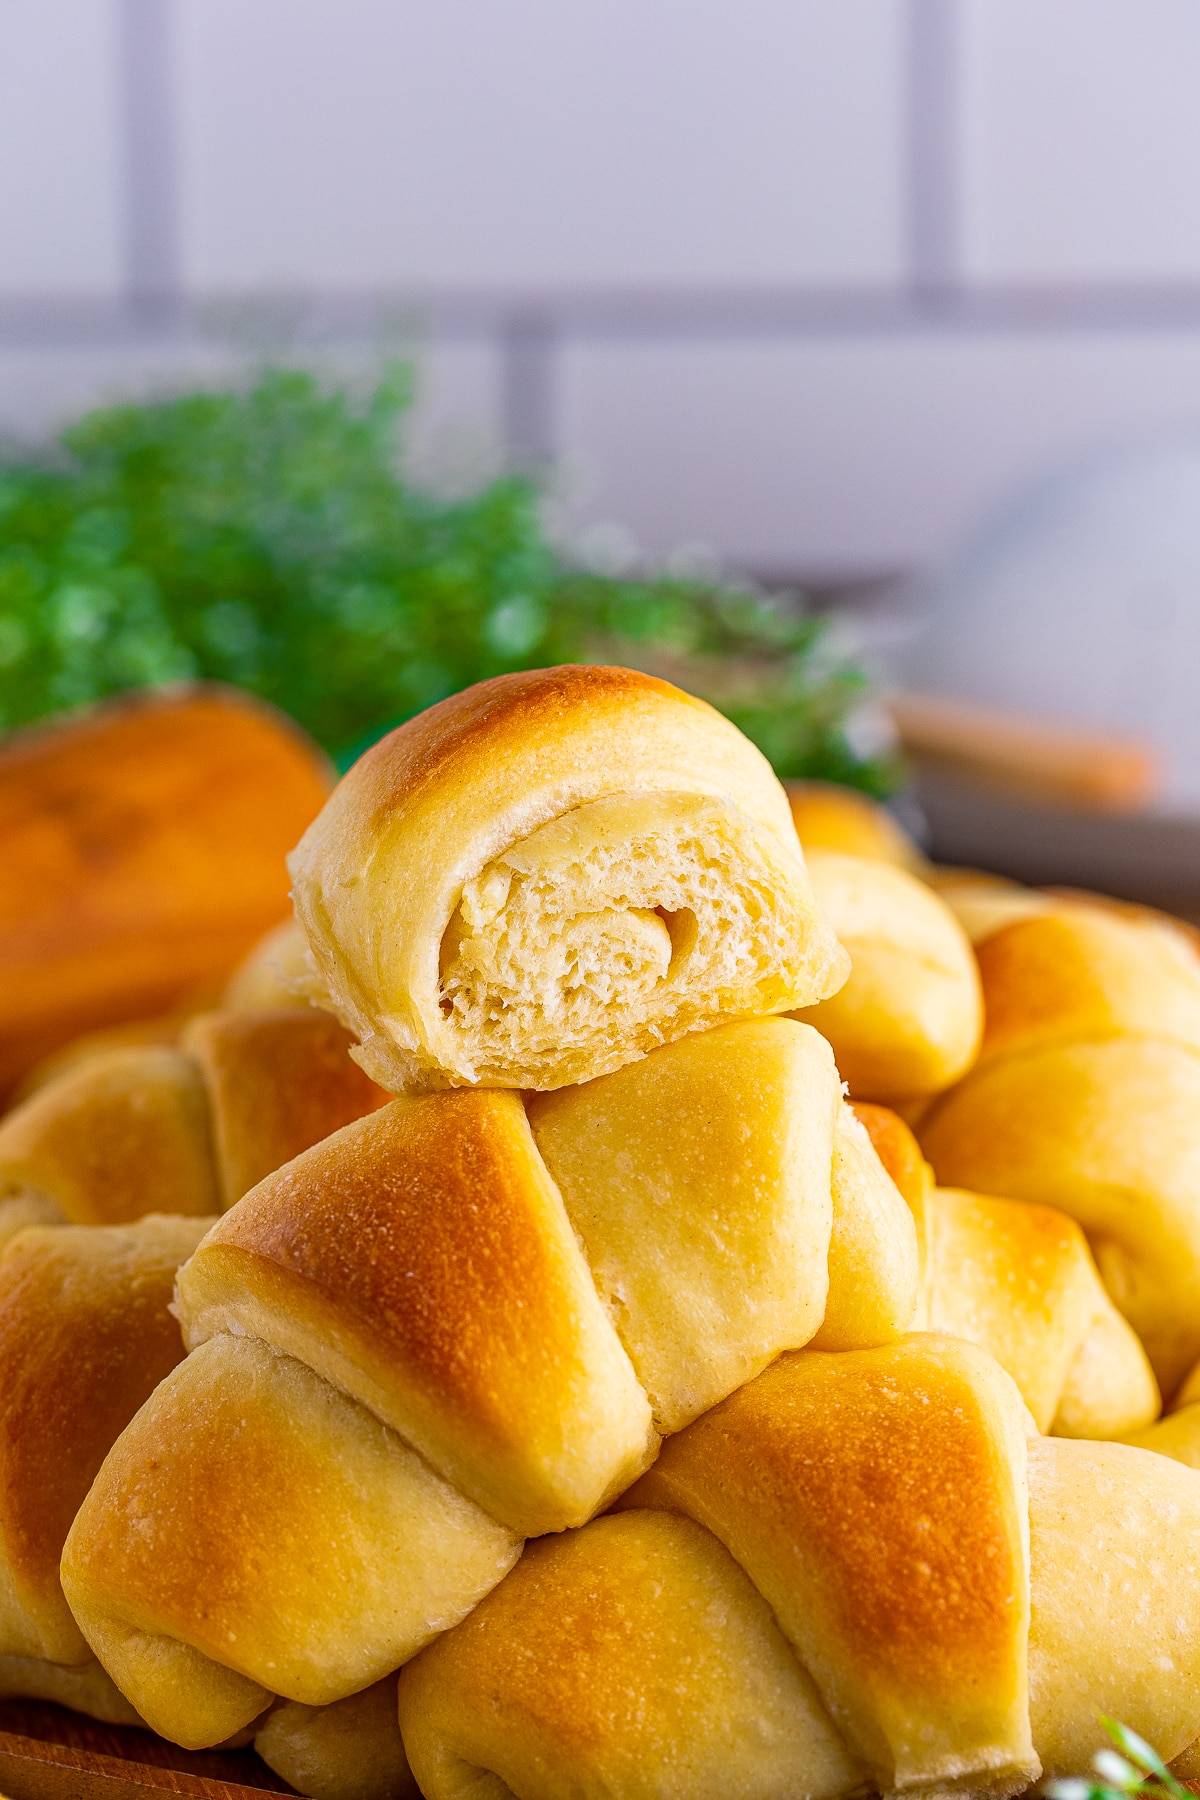
Crescent Rolls made from scratch are soft, buttery, and so much better than anything from a can, with a fluffy, flaky inside and a golden, tender outside. These are the rolls my family begs for at every holiday dinner, and the girls love brushing them with butter the second they come out of the oven. They are the perfect side for a cozy cottage pie or any Sunday supper.
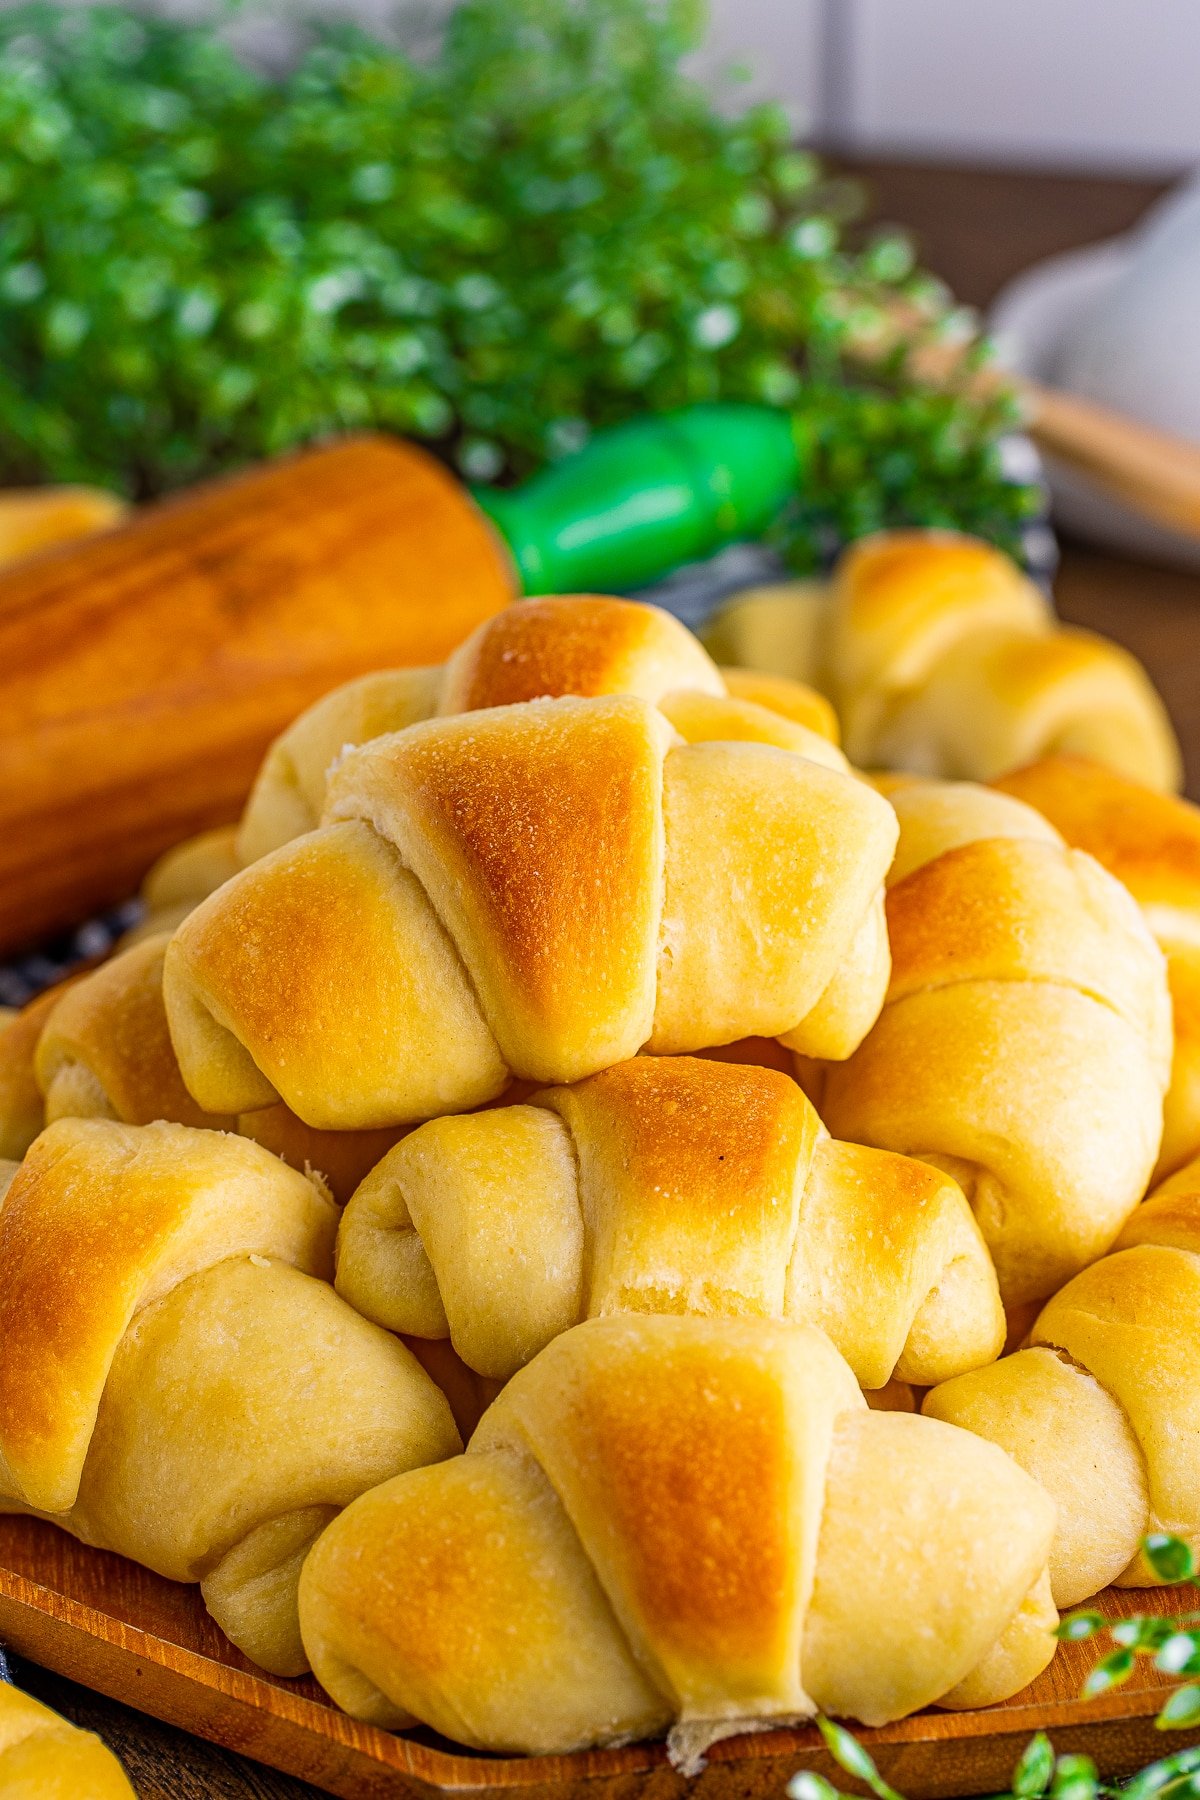
With a handful of simple ingredients and a little rise time, this homemade crescent roll recipe makes 24 pillowy, melt in your mouth rolls.
Crescent Rolls Quick Look
- 🕒 Prep Time: 30 minutes
- 🌡️ Cook Time: 15 minutes
- ⏳ Total Time: 3 hours
- 🍽️ Serving: 24 rolls
- ⚡ Calories: 163kcal
- 🌶️ Flavor Profile: Soft, buttery, and fluffy with a tender, flaky crumb
- ✋ Difficulty: Intermediate, a fun yeast bake like our homemade pizza dough
Quick Answer
To make homemade crescent rolls, bloom yeast in warm water with sugar, then mix it with milk, butter, egg, salt, and flour to form a soft dough. Knead until smooth and let it rise until doubled. Roll the dough into circles, cut into wedges, spread with butter, and roll each into a crescent. Let them rise again, then bake until golden and brush with melted butter.
Jump to:
Why This Recipe Works
Click to see the technique science
- Real butter makes them rich and tender. Butter worked into the dough and brushed on top gives these rolls their signature soft, buttery flavor that canned rolls cannot match.
- A double rise creates the fluffiest texture. Letting the dough rise once in the bowl and again after shaping gives the rolls their light, airy, pull apart crumb.
- Blooming the yeast guarantees a good rise. Proofing the yeast in warm water first makes sure it is active, so your rolls turn out tall and fluffy every time.
- Rolling from the wide end makes the classic shape. Cutting the dough into wedges and rolling from the wide end gives you that perfect crescent shape with pretty layers.
- A butter brush finishes them perfectly. Brushing the warm rolls with melted butter right out of the oven adds a glossy, irresistible buttery finish.
- They are make ahead and freezer friendly. You can shape them ahead or freeze baked rolls, so warm homemade crescent rolls are easy any night.
Why You’ll Love This Recipe
- They are soft, buttery, and fluffy, with a tender, flaky crumb that melts in your mouth.
- They are the perfect dinner roll for holidays and Sunday suppers, right alongside a batch of our homemade panettone on the holiday table.
- They make 24 rolls from one easy dough, and they are endlessly versatile for sliders, sandwiches, and more.
- It is the kind of no fuss win that pairs beautifully with our lemon cheesecake crescent rolls on a busy week.
- It is the kind of no fuss win that pairs beautifully with our texas roadhouse rolls on a busy week.
- It earns a spot in the rotation right next to our cinnamon roll cookies.
Key Ingredients
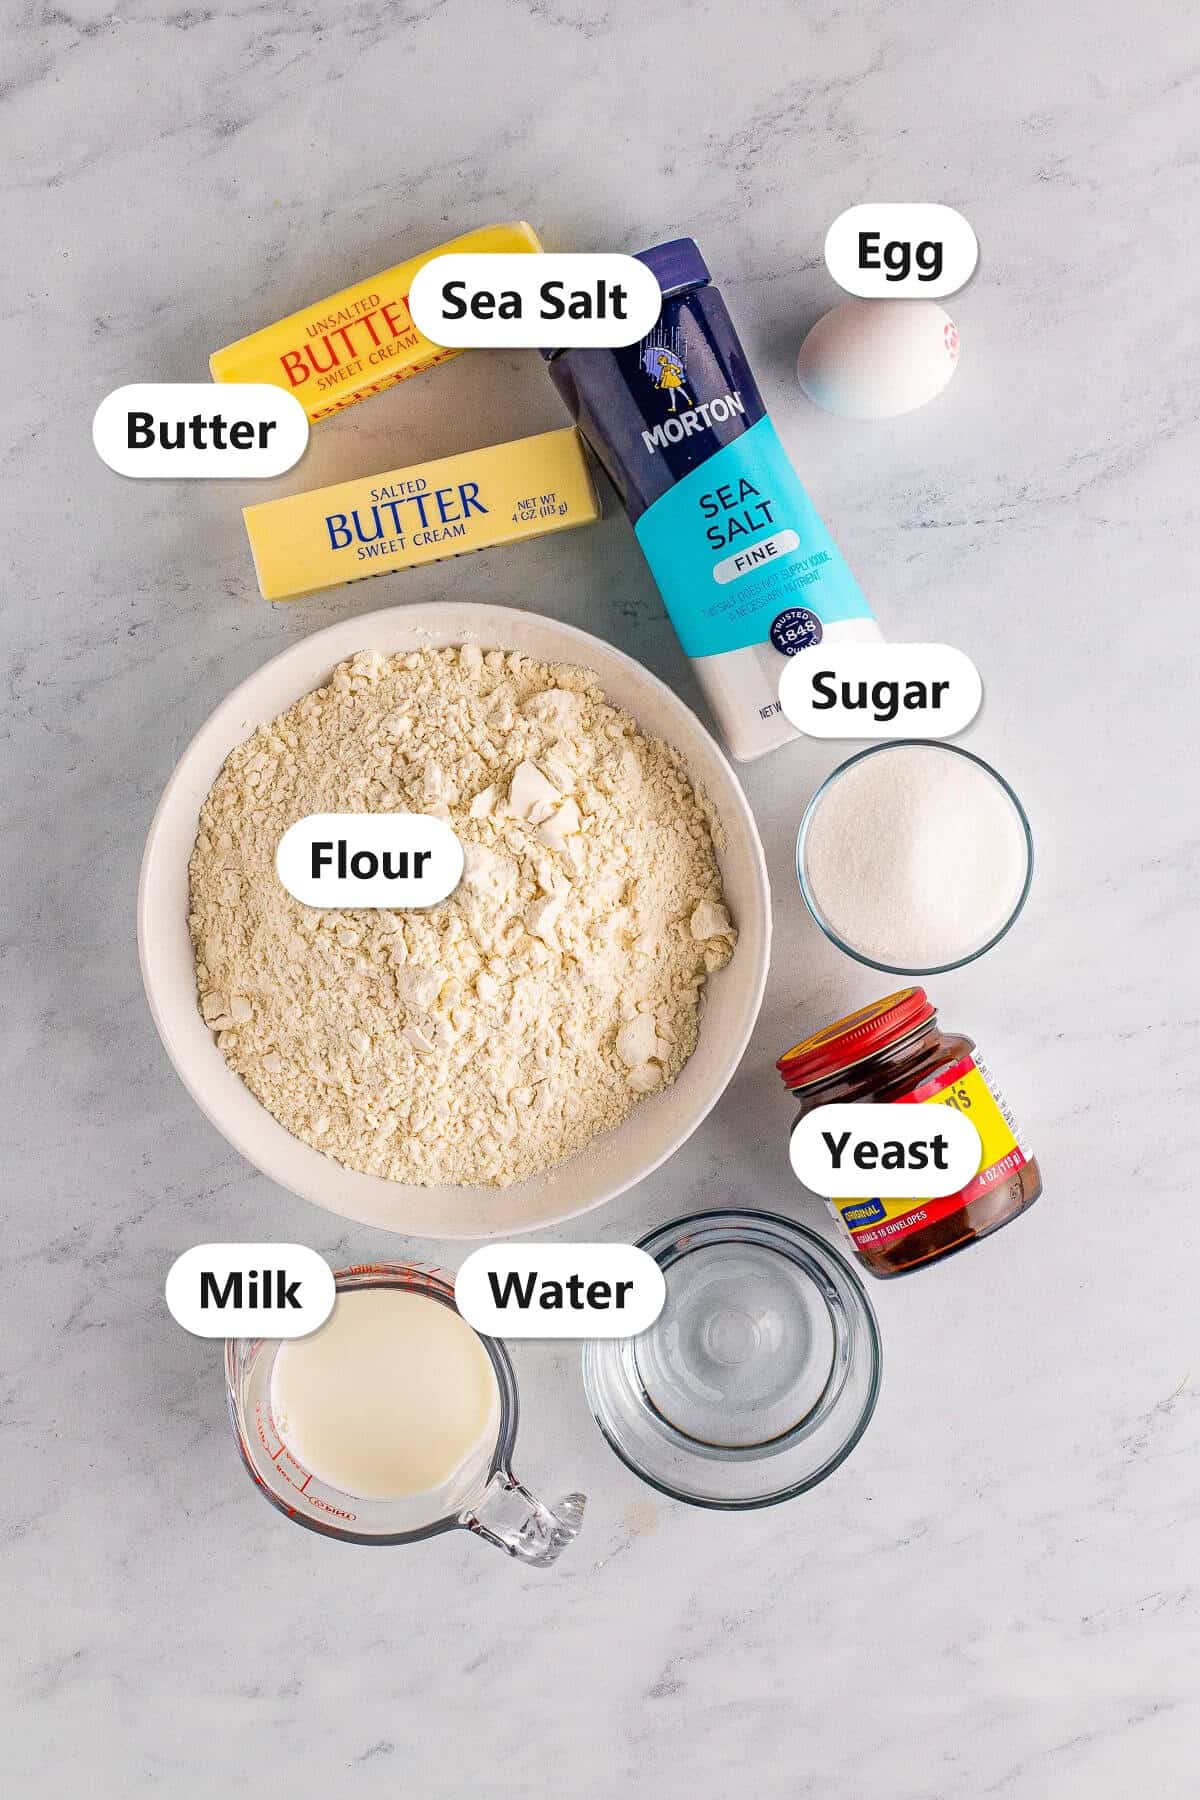
Just a few simple pantry ingredients make these soft homemade crescent rolls. Here is what each one does.
- All purpose flour: Builds the structure of the rolls while keeping them soft and tender.
- Active dry yeast: Blooms in warm water to give the rolls their tall, fluffy, airy rise.
- Butter: Worked into the dough and brushed on top, it makes the rolls rich, soft, and buttery.
- Milk and egg: Add richness and tenderness for a soft, golden crumb.
- Sugar and salt: Sugar feeds the yeast and adds a touch of sweetness, while salt balances and seasons the dough.
See recipe card for exact quantities.
Variations and Substitutions
These crescent rolls are a great base for all kinds of variations:
- Make garlic herb rolls: Brush the baked rolls with garlic butter and a sprinkle of fresh or dried herbs.
- Add cheese: Sprinkle a little shredded cheese or a pinch of everything bagel seasoning on the wedges before rolling.
- Make them sweet: Sprinkle cinnamon sugar on the buttered wedges for a treat like our crescent roll cinnamon rolls.
- Make sliders: Shape the dough into round dinner rolls instead of crescents for the perfect slider buns.
- For another spin on this idea, try our bbq chicken pizza crescent rolls next time.
- For another spin on this idea, try our lasagna roll ups next time.
- In the mood for something different? Our Italian wedding soup scratches a similar itch.
How to Make Crescent Rolls
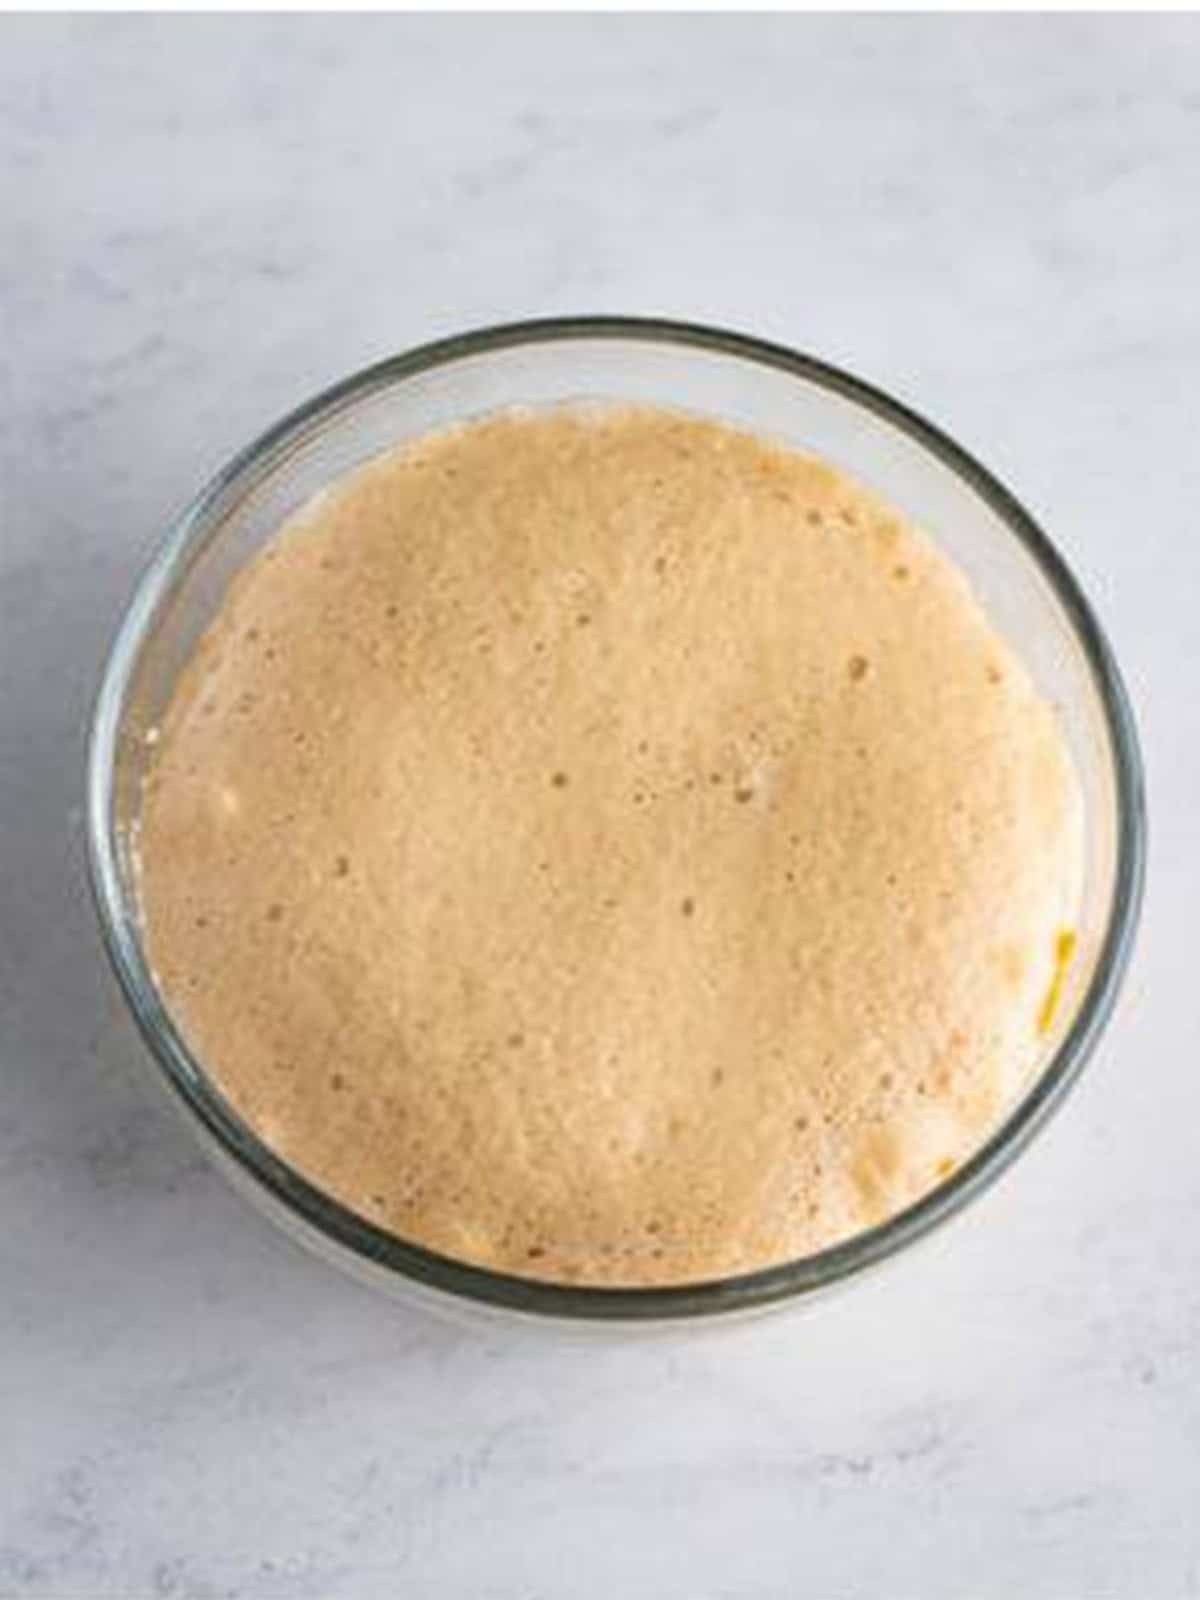
- In a small bowl, stir the warm water, 1 teaspoon of the sugar, and the yeast together. Let it sit for about 5 minutes, until bubbly and activated.
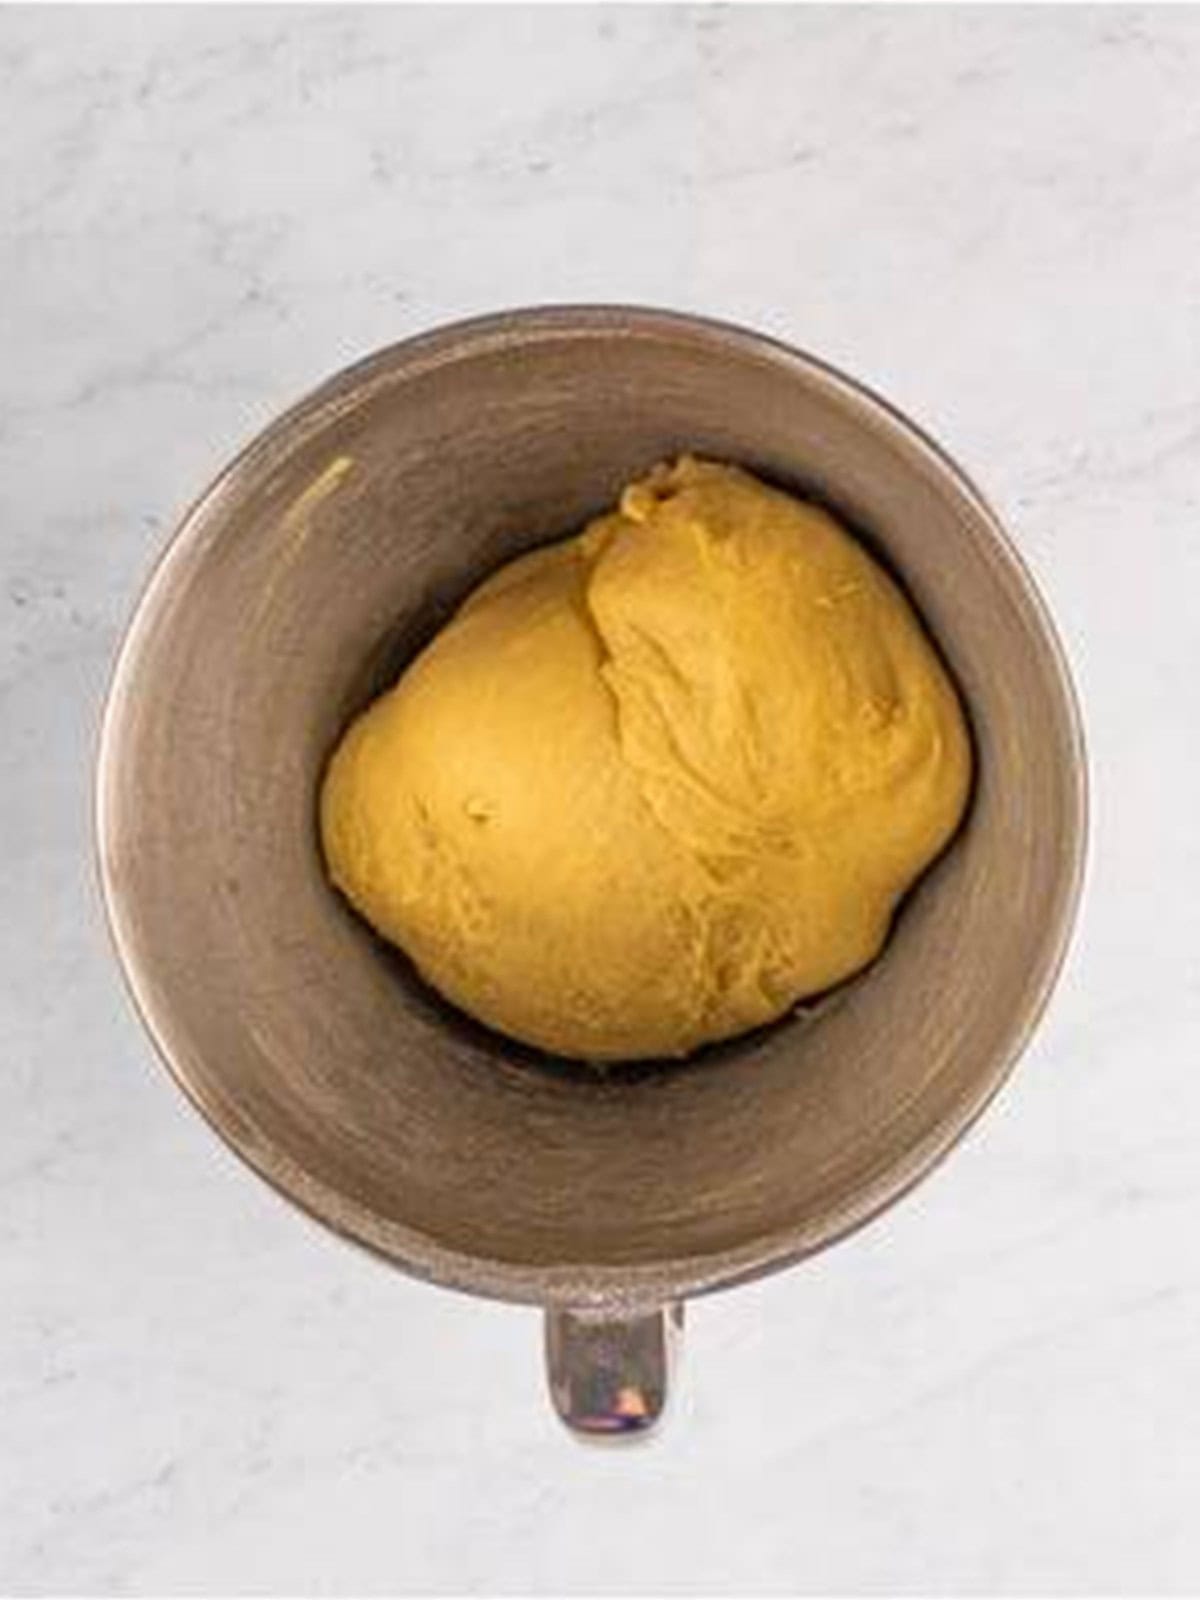
- In a stand mixer, combine the remaining sugar, softened butter, warm milk, egg, and salt. Stir in the yeast mixture, then add the flour and mix until the dough cleans the sides of the bowl. Knead for 7 minutes until soft and smooth.
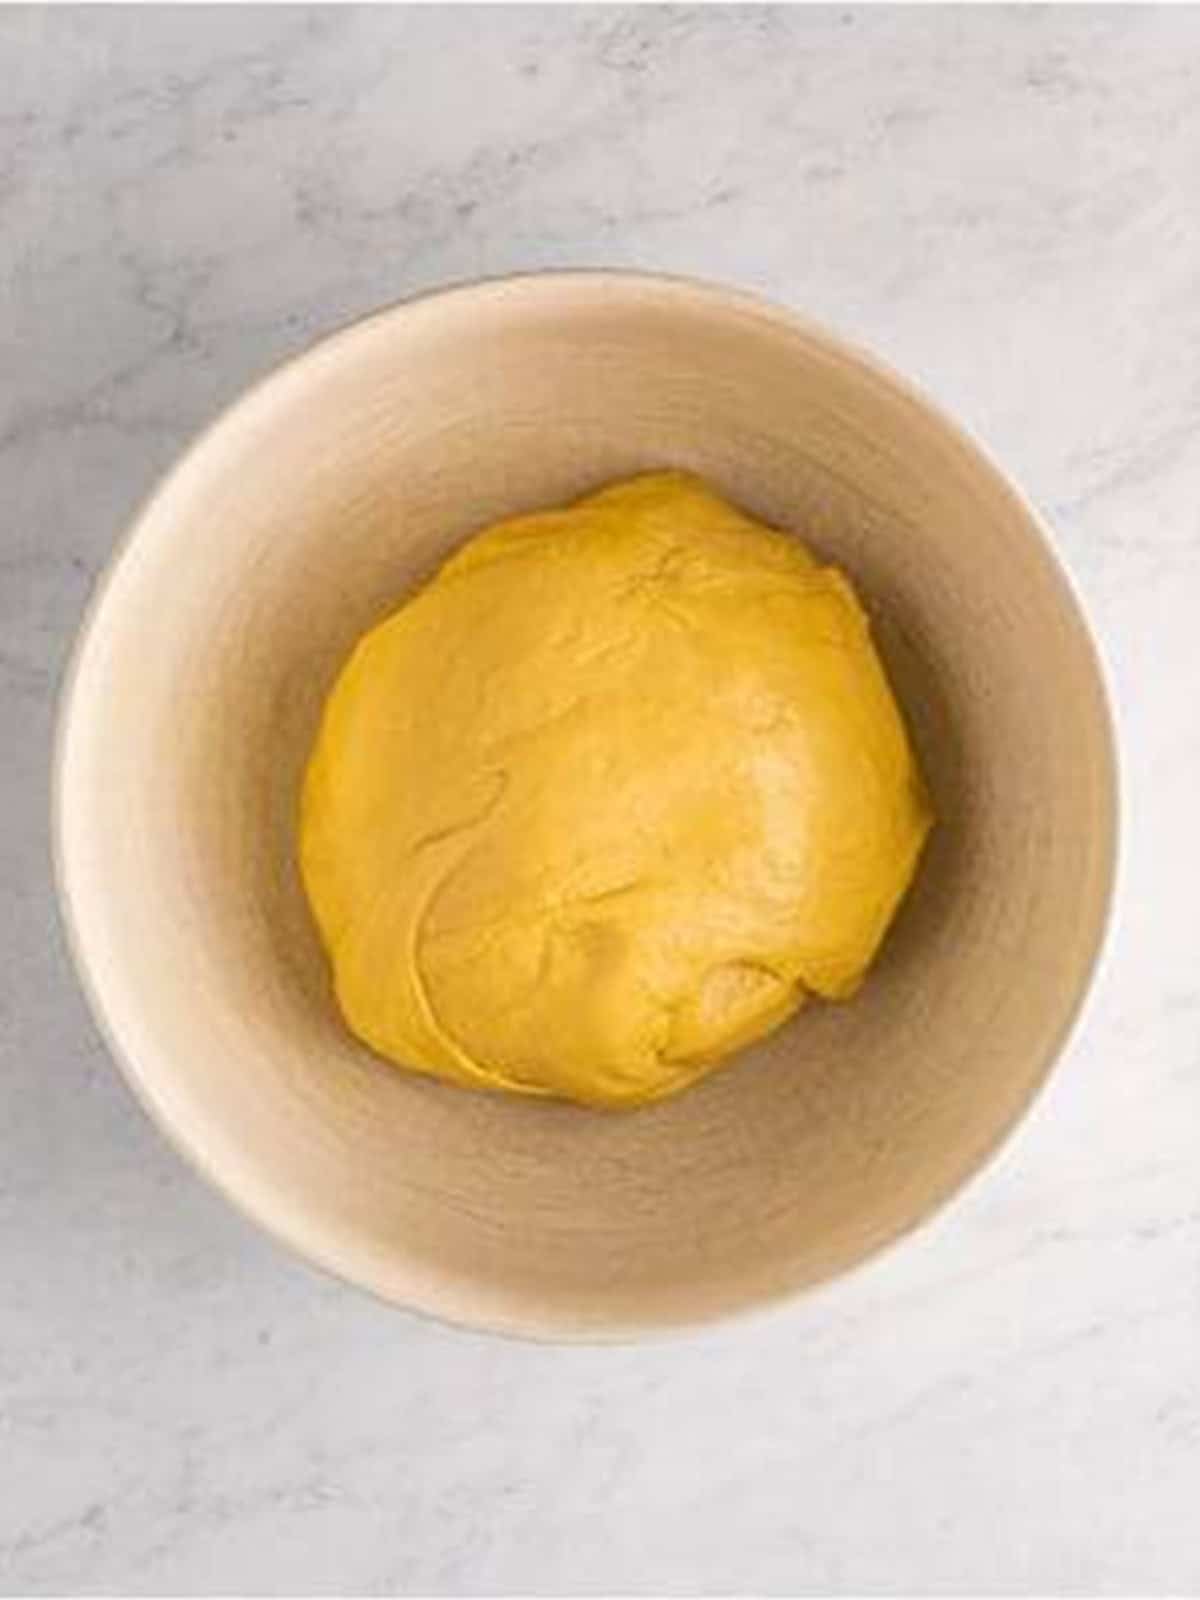
- Place the dough in a greased bowl and turn to coat. Cover and let it rise in a warm spot for 60 to 90 minutes, until doubled in size.
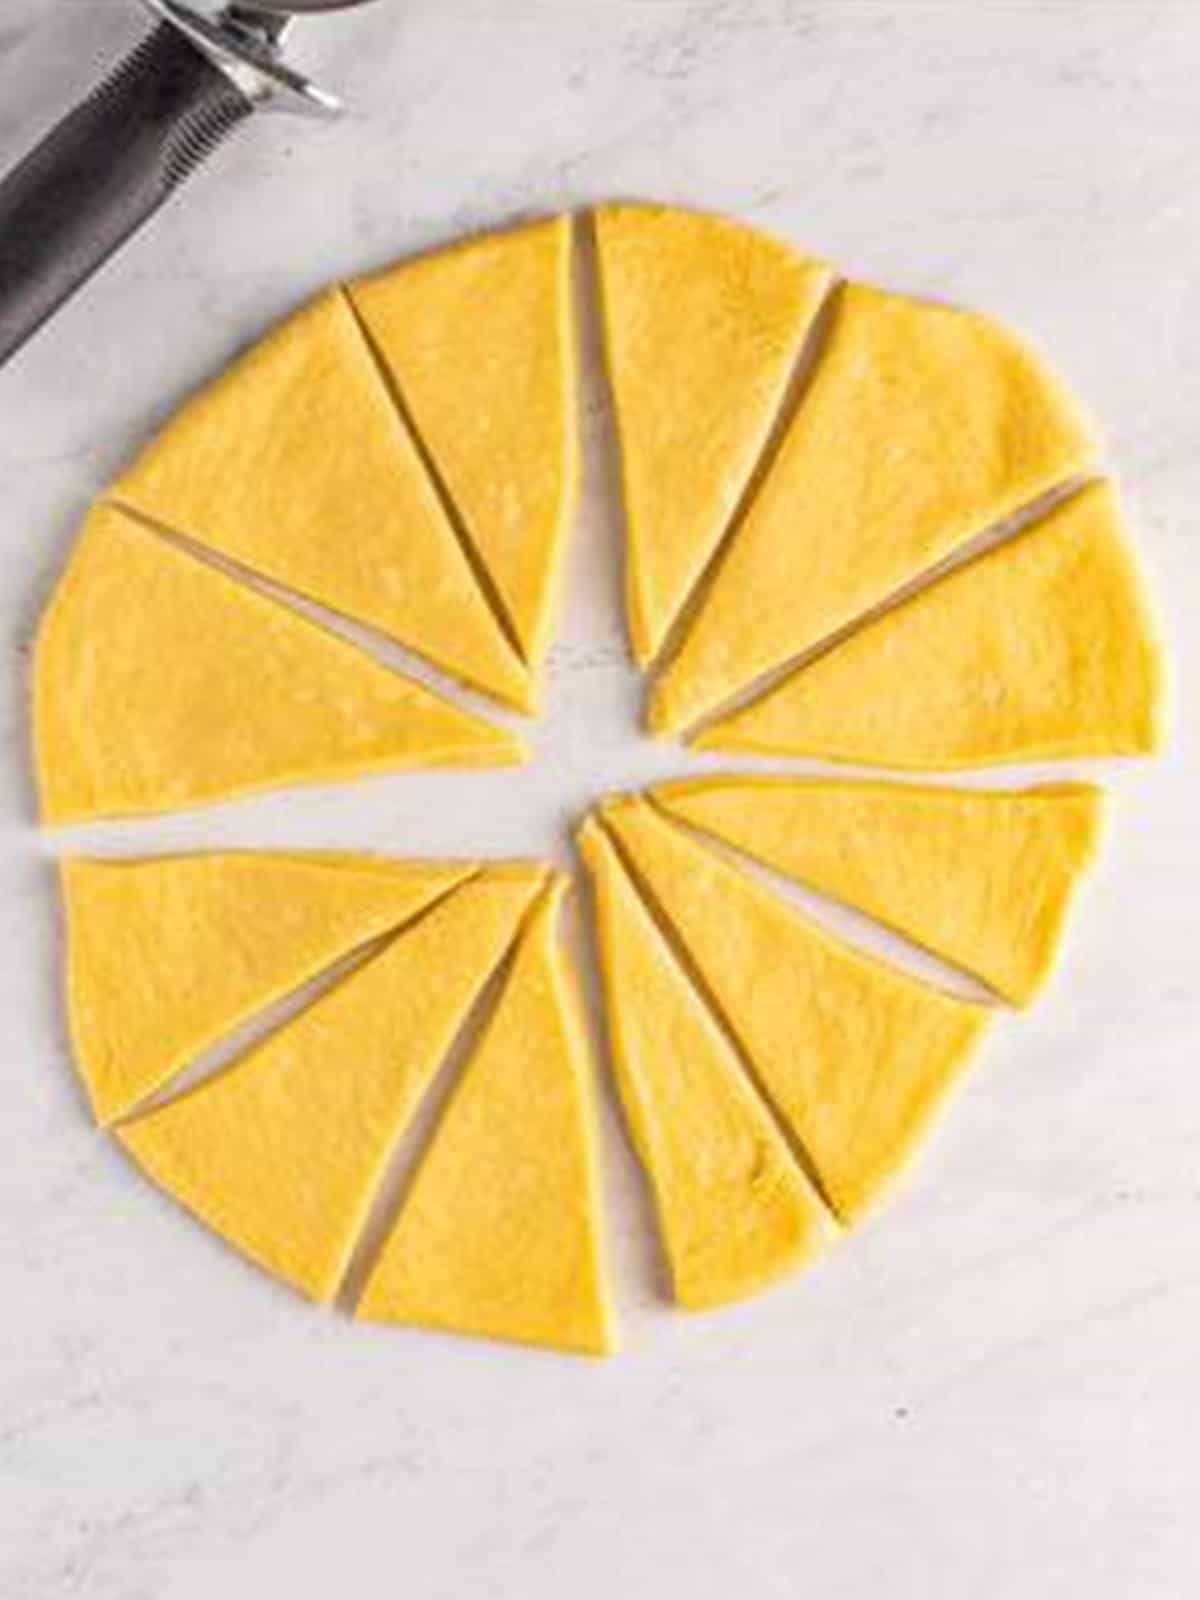
- Punch down the dough and divide it in half. Roll each half into a 12 inch circle and cut it into 12 even wedges with a pizza cutter.
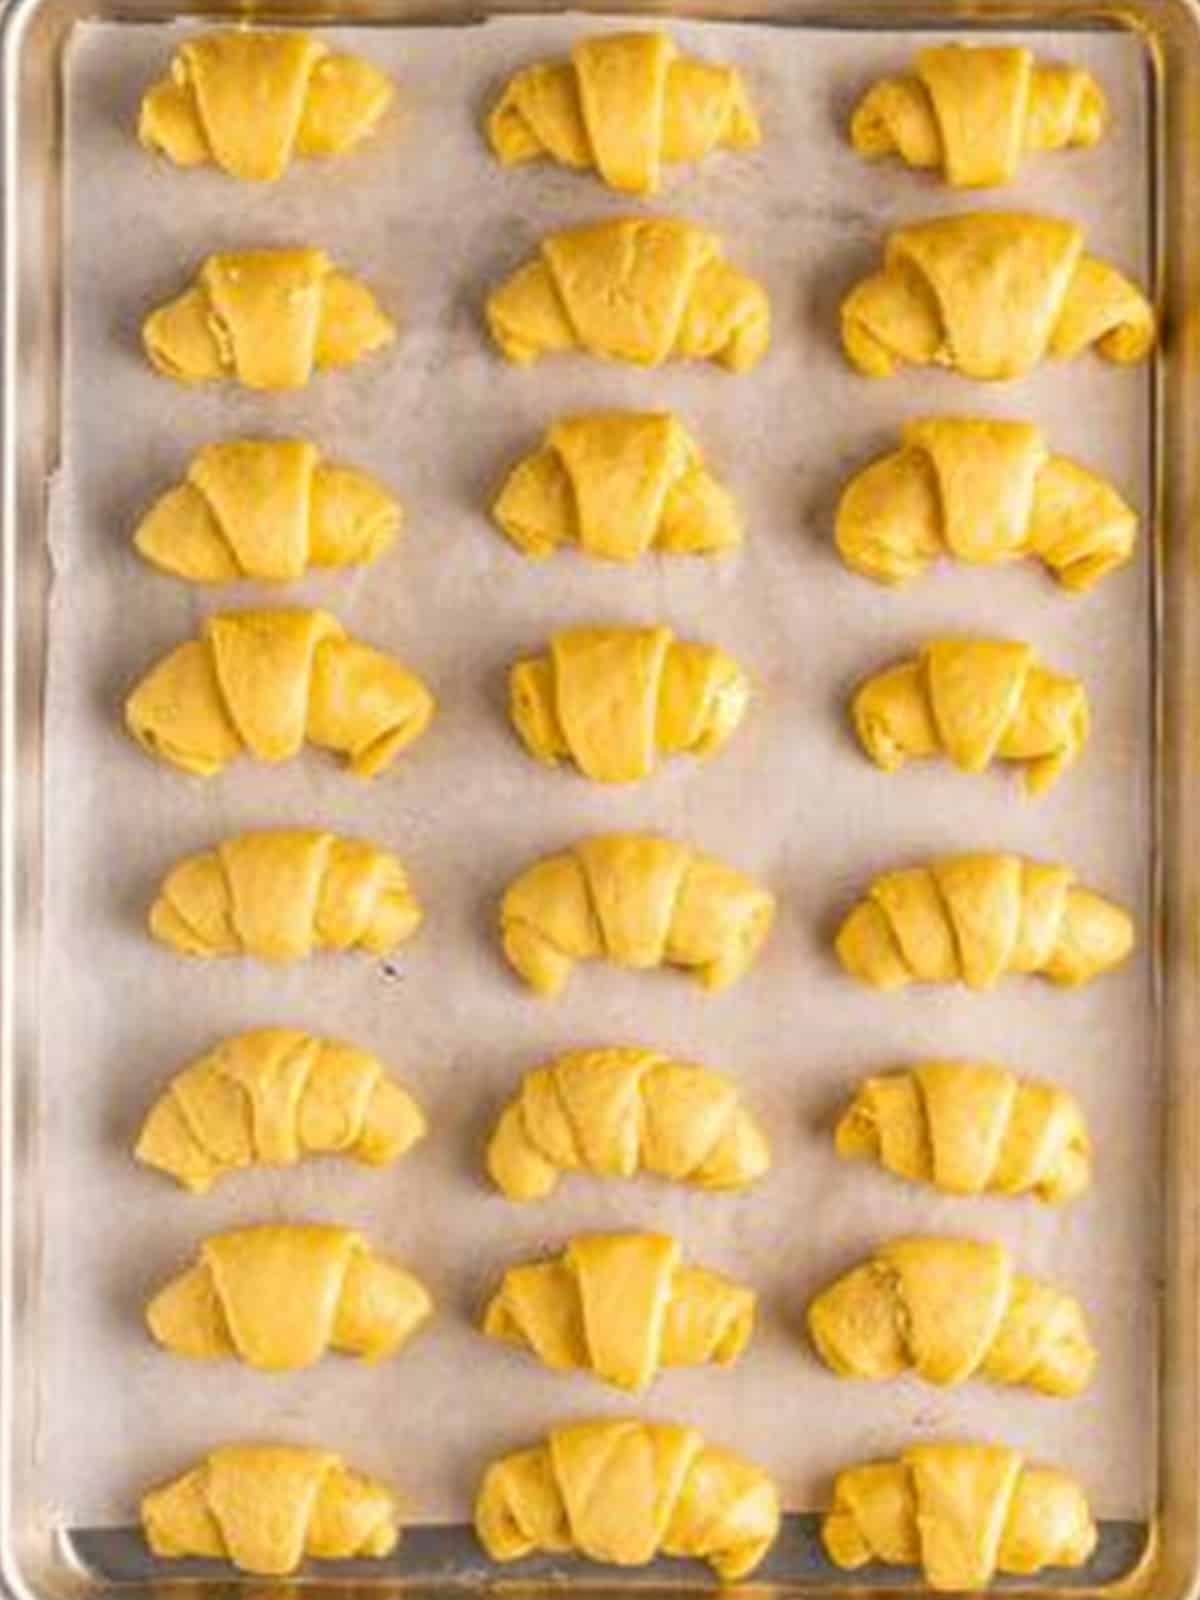
- Spread a little softened butter on each wedge, then roll it up tightly from the wide end into a crescent. Arrange on a parchment lined tray and let rise again for 60 to 90 minutes.
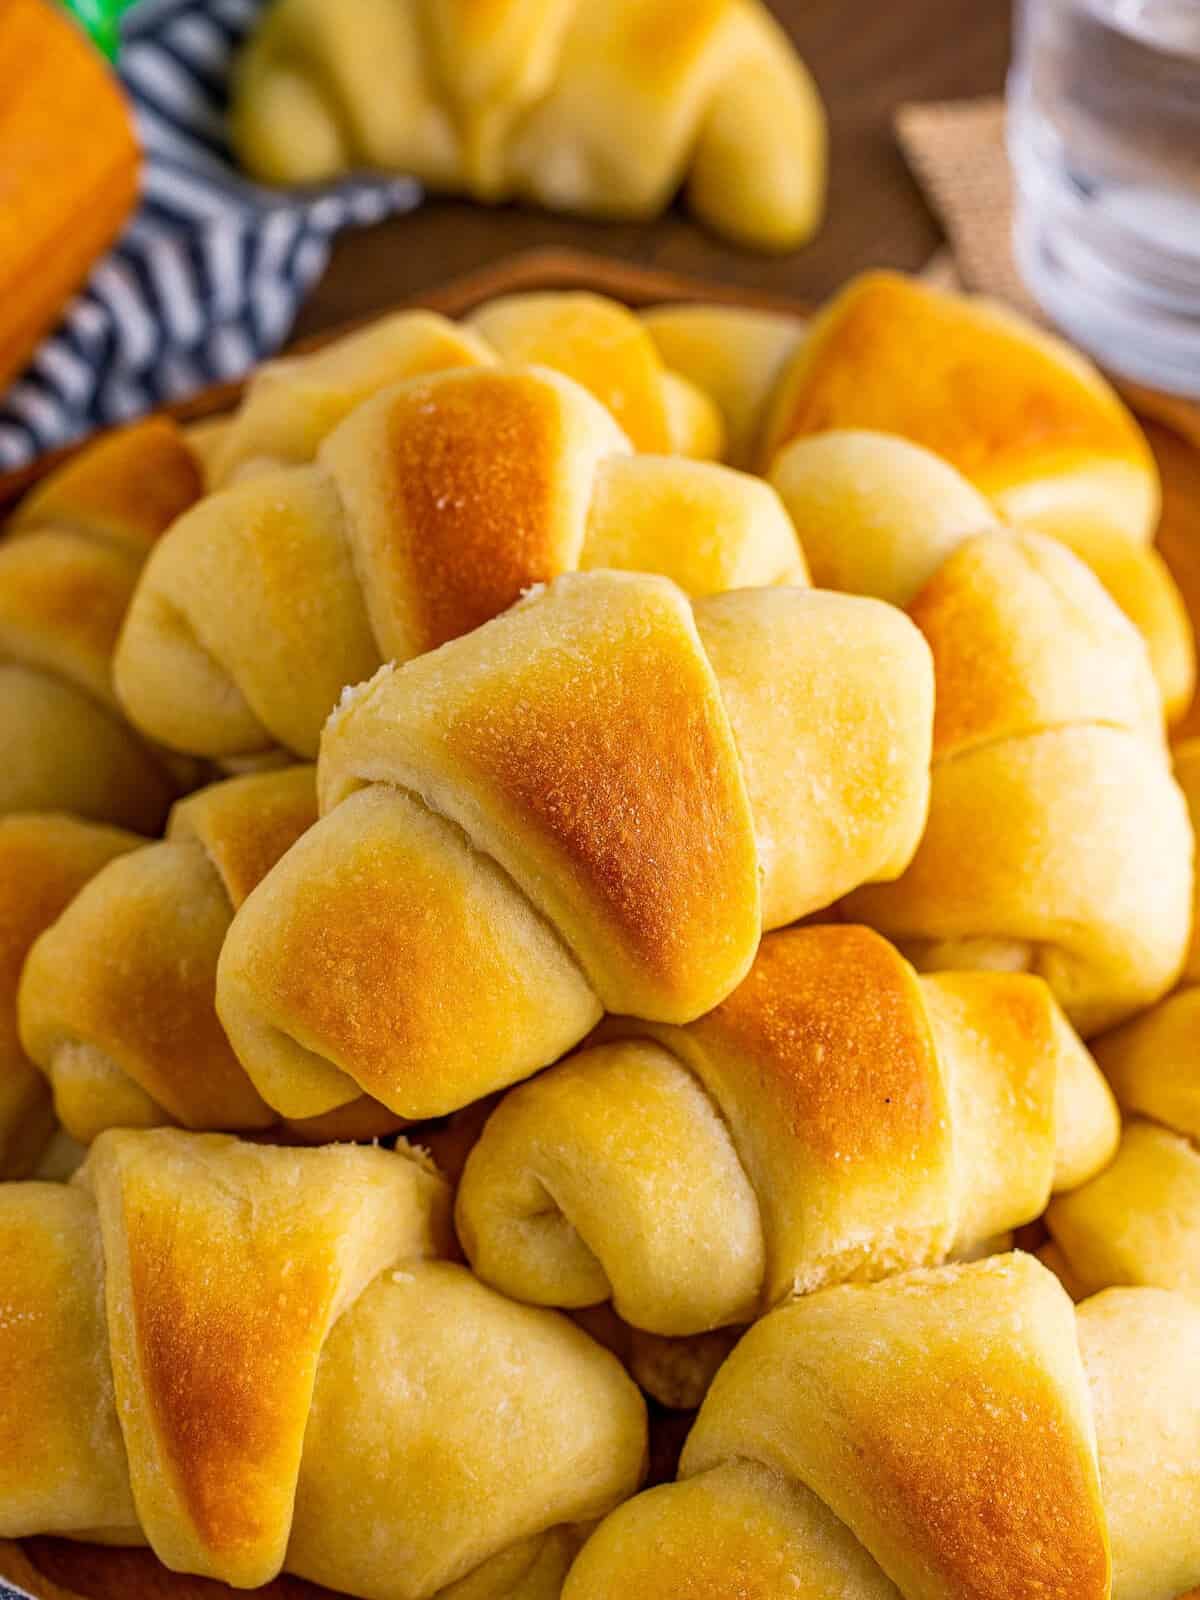
- Bake at 350 degrees Fahrenheit for 12 to 15 minutes, until golden brown and puffed up. Brush the warm rolls with melted butter and serve.
Recipe Tips & Tricks
- Check your liquid temperature, warm water and milk around 110 degrees Fahrenheit bloom the yeast without killing it.
- Let the dough fully double, both rises are key to soft, fluffy rolls, so do not rush them.
- Add flour gradually, just until the dough cleans the bowl, since too much makes the rolls dense.
- Roll from the wide end, and roll tightly for the prettiest crescent shape and layers.
- Brush with butter twice, a little on the wedges and more on the warm baked rolls for the best buttery flavor.
- Do not overbake, pull them when just golden so they stay soft and tender inside.
- Double up for gatherings. Serve it alongside our jalapeno popper crescent rolls and watch both disappear.
- Double up for gatherings. Serve it alongside our lobster roll and watch both disappear.
- Make it a full spread. Our mini cinnamon rolls rounds out the table.
Serving Ideas and Suggestions
Do not skip the leftovers, they make incredible breakfast sandwiches or French toast. Warm any extras in the oven for a few minutes to bring back that fresh baked, buttery softness.
Once you have mastered the dough, wrap it around a savory filling with our chicken crescent rolls with creamy filling.
Crescent Rolls FAQs
Yes, crescent rolls are easy to make ahead. You can shape the rolls, cover them, and refrigerate overnight, then let them come to room temperature and finish rising before baking. You can also fully bake them, cool, and store at room temperature for a day, then warm them in the oven before serving.
Dense crescent rolls usually come from too much flour, under proofing, or yeast that did not activate. Add flour gradually just until the dough cleans the bowl, let the dough fully double during both rises, and make sure your yeast gets bubbly before mixing. Warm, not hot, liquids are key to a good rise.
Absolutely. Baked crescent rolls freeze well for up to three months. Cool them completely, then freeze in an airtight bag and reheat in the oven straight from frozen. You can also freeze the shaped, unbaked rolls, then thaw, let them rise, and bake fresh whenever you want warm rolls.
Homemade crescent rolls are made from a soft yeast dough, which gives them a fluffier, more bread like texture and a rich, buttery, from scratch flavor. Canned crescent rolls are a laminated dough that bakes up flakier and more uniform. Many people find the homemade version is well worth the extra time.
Store leftover crescent rolls in an airtight container or bag at room temperature for up to two days, or in the fridge for up to a week. To keep them soft, reheat them in a 300 degree Fahrenheit oven for a few minutes. For longer storage, freeze them for up to three months.
Yes, you can make crescent rolls completely by hand. Mix the dough with a wooden spoon until it comes together, then turn it out and knead by hand for about 10 minutes until soft and smooth. It takes a little more effort, but the rolls turn out just as soft and fluffy.
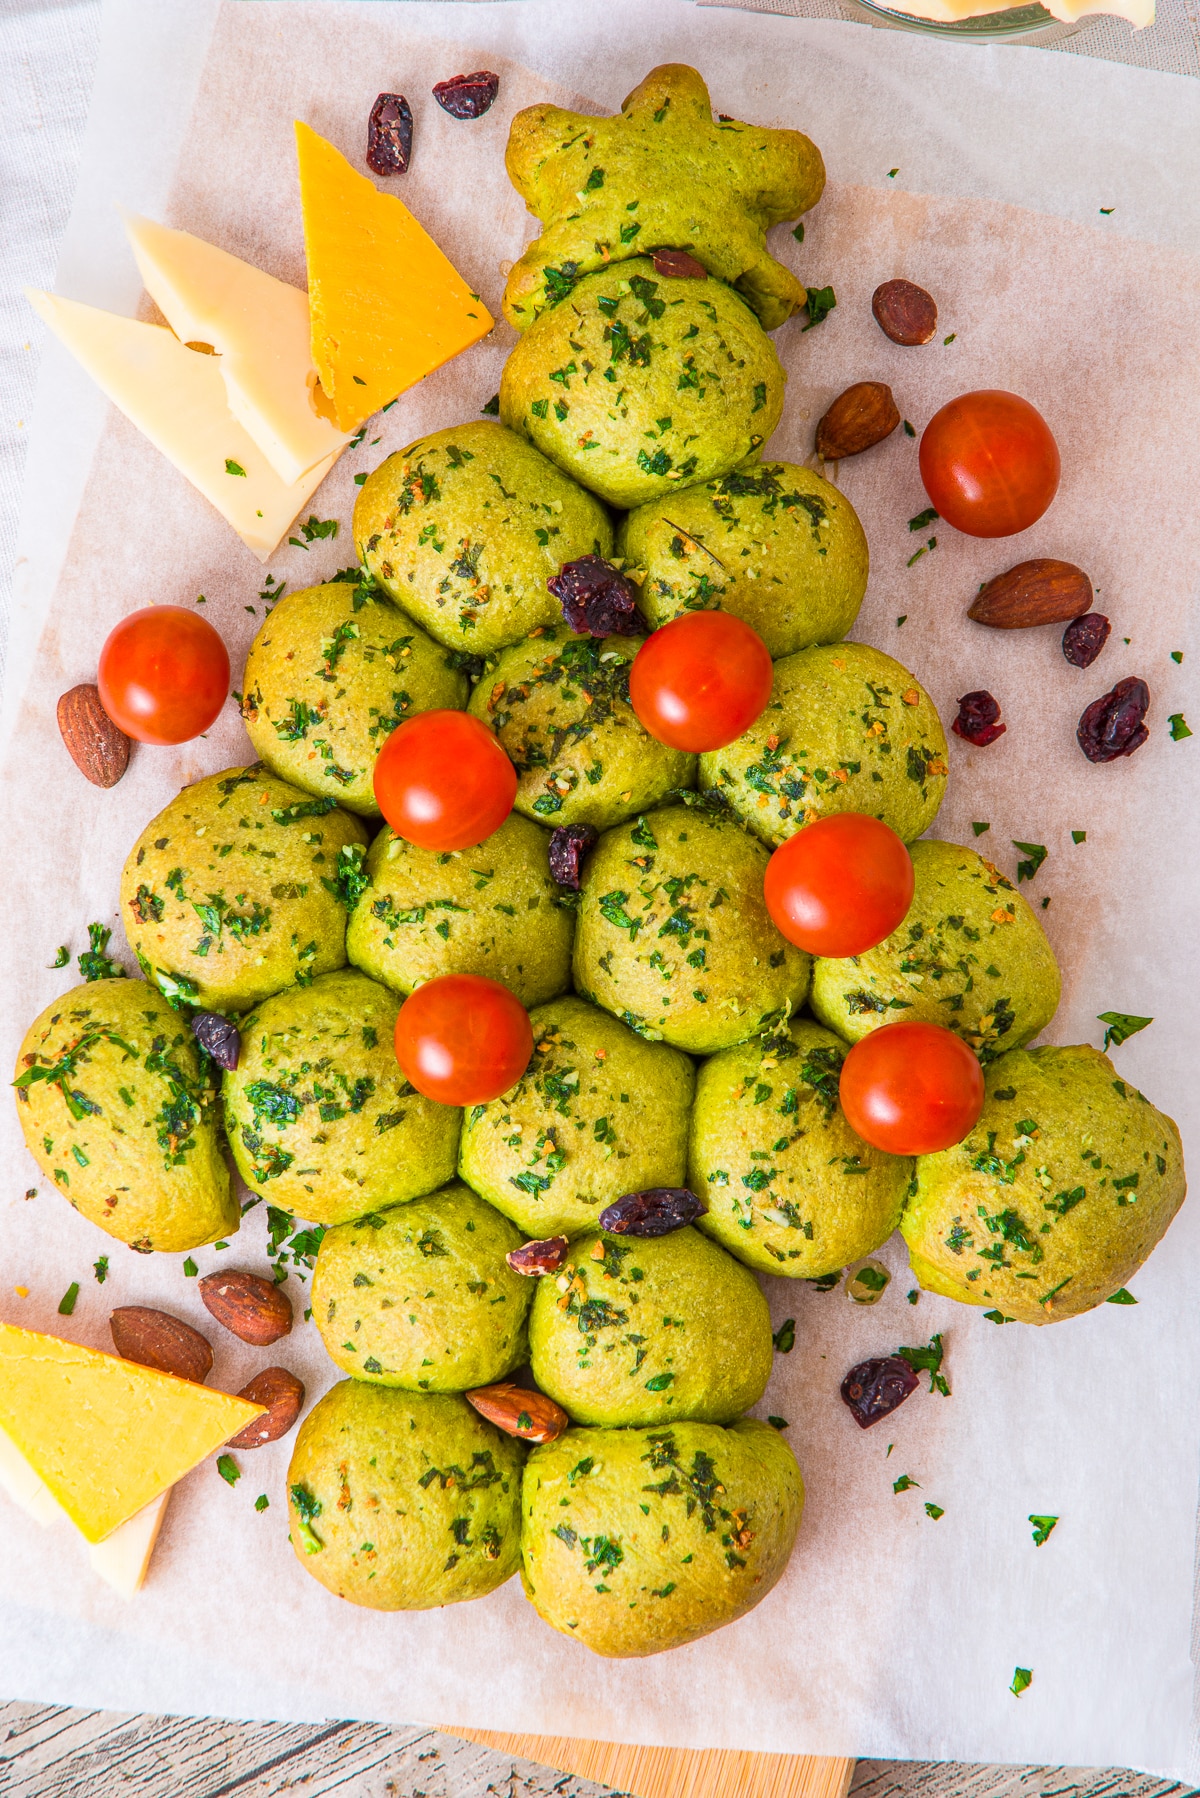


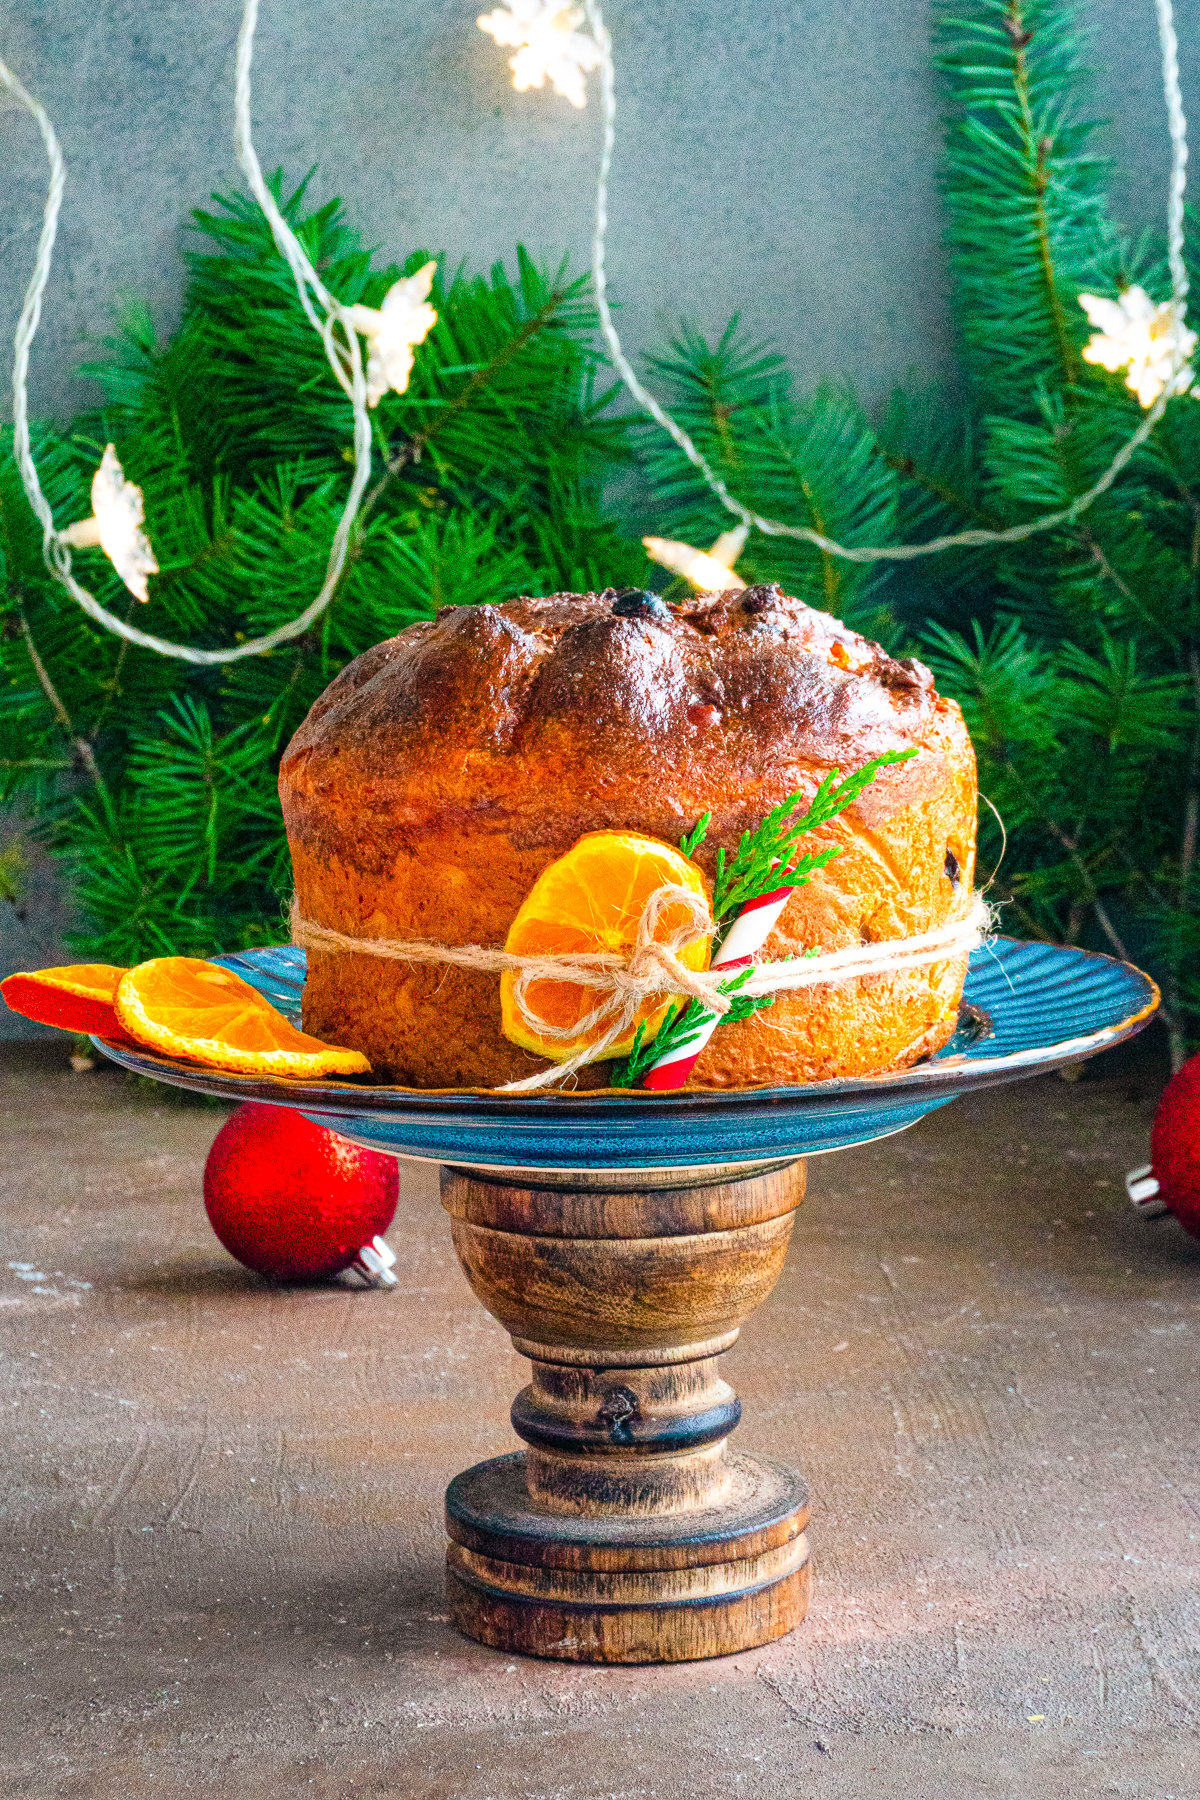
Baking up a holiday meal? Make our Christmas tree pull apart bread and overnight breakfast casserole next.
Serve a basket of these crescent rolls with a big bowl of our vegetable tortellini soup.

Homemade Crescent Rolls
Ingredients
- ¼ cup warm water 110°F
- 6 tablespoons granulated sugar divided
- 1 tablespoon active dry yeast
- ¾ cup unsalted butter softened, divided
- ¾ cup warm whole milk 110°F
- 1 large egg
- 1 ½ teaspoons fine sea salt
- 4 cups all-purpose flour
For topping:
- ¼ cup salted butter melted
Instructions
- In a small bowl add the water, 1 teaspoon of the sugar, and the yeast. Stir to combine and let it sit for 5 minutes until the yeast is bubbly and activated.
- In the body of a stand mixer with the hook attachment, add the remaining sugar, ½ cup of the butter cut into tablespoons, milk, egg, and salt, stir to combine.
- Once activated, add the yeast mixture and stir to combine.
- Add 3 cups of the flour, and stir it in.
- Mix on medium speed until the dough starts to clean the sides of the bowl. If the dough is too sticky, start adding up to 1 more cup of flour, 1 tablespoon at a time, until the dough cleans the sides of the bowl.
- Knead the dough on medium-high speed for 7 minutes, until a soft, smooth dough is formed.
- Spray a large bowl with cooking spray, add the dough and roll it around so it is covered in the spray. Cover the bowl with plastic wrap and let it double in size in a warm, dry place, 60-90 minutes.
- Line a large sheet tray with parchment paper, set aside.
- Once doubled, punch down the dough to release the air bubbles.
- Divide the dough into 2 even balls.
- Roll out one ball at a time into a 12-inch circle.
- Using a pizza cutter, cut into 12 even wedges.
- Using the remaining ¼ cup of softened butter, smear a little bit of it onto each wedge.
- Starting at the larger end of the triangle, tightly roll into a crescent shape.
- Place the rolls onto the prepared sheet tray. Repeat with the remaining dough ball.
- Cover with a clean kitchen towel and allow to double again for 60-90 minutes.
- Preheat the oven to 350°F. Bake the rolls for 12-15 minutes until golden brown and puffed up.
- Immediately brush with the melted butter and serve.
Notes
- We like to use whole milk for this recipe, but 2% can be used as well.
- This makes a large batch, you can easily halve this recipe.
- Add other ingredients to the rolls for another flavor, see above on some ideas.
- These make great vessels for smaller sandwiches.
- They work great with any meal to use as a side dish.
- These can be frozen, see above on how to do that.
Nutrition
Love This Recipe?
Follow @ThisSillyGirlsKitchen on Instagram and @ThisSillyGirlsKitchen on Pinterest for more!









Yes! They can be frozen for 3 months.
Hi, haven’t made them yet but was wondering if they can be made ahead of time and how much time? They look scrumptious.