
This post may contain affiliate links.
Oreo Pie is the dessert I reach for when I want something impressive with almost zero effort, and this no bake version needs just four ingredients and eight minutes before it goes in the fridge. I first threw it together for a last minute summer cookout when the oven was the last thing I wanted to turn on, and it vanished before the burgers did. If you love an easy no bake treat, our no bake Oreo cheesecake is another crowd pleaser.
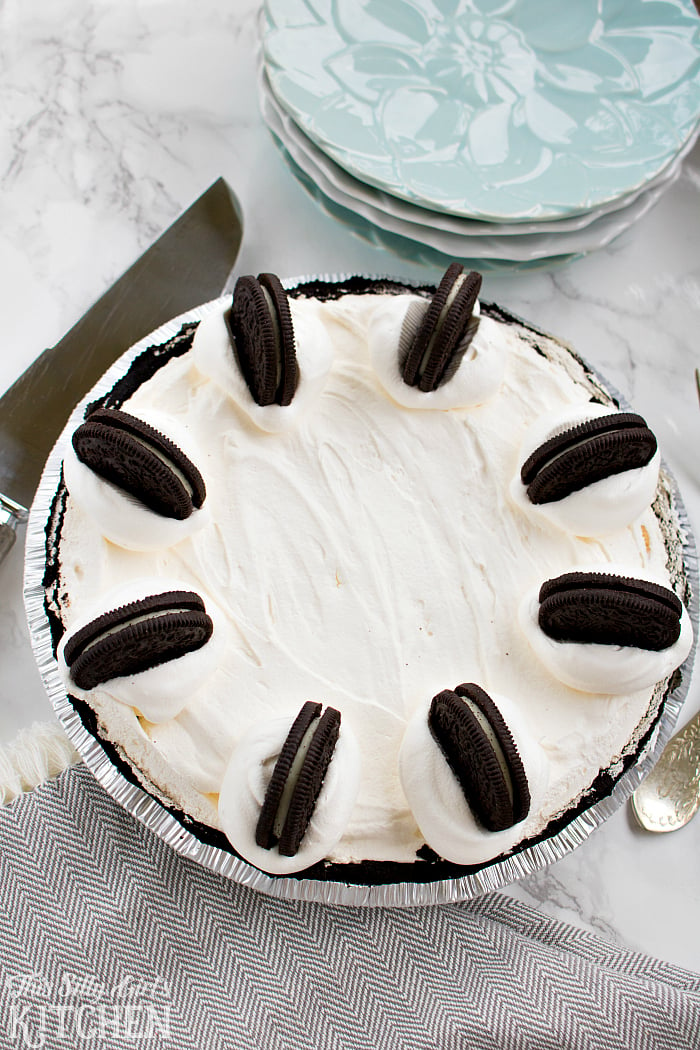
Golden Oreos dipped in milk soften into cake like layers between clouds of whipped topping for a pie that tastes like an Oreo cookies and cream dream.
Oreo Pie Quick Look
- 🕒 Prep Time: 8 minutes
- 🌡️ Cook Time: 0 minutes
- ⏳ Total Time: 4 hours 8 minutes
- 🍽️ Serving: 8 servings
- ⚡ Calories: 289kcal
- 🌶️ Flavor Profile: Sweet cookies and cream with soft, cake like Oreo layers
- ✋ Difficulty: Easy, as simple as our marble Oreo truffles
Quick Answer
Spread a third of the whipped topping in an Oreo pie crust. Dip Golden Oreos one at a time in milk and layer them over the topping, then repeat the layers. Finish with the remaining whipped topping, cover, and chill for at least 4 hours or overnight so the cookies soften into a cake like texture. Garnish with more topping and Oreos before serving.
Jump to:
Why This Recipe Works
Click to see the technique science
- Only four ingredients. A crust, whipped topping, milk, and Oreos are all it takes, so this pie is truly a throw together dessert.
- No oven required. Everything sets up in the fridge, making this the perfect dessert for hot days or when the oven is already full.
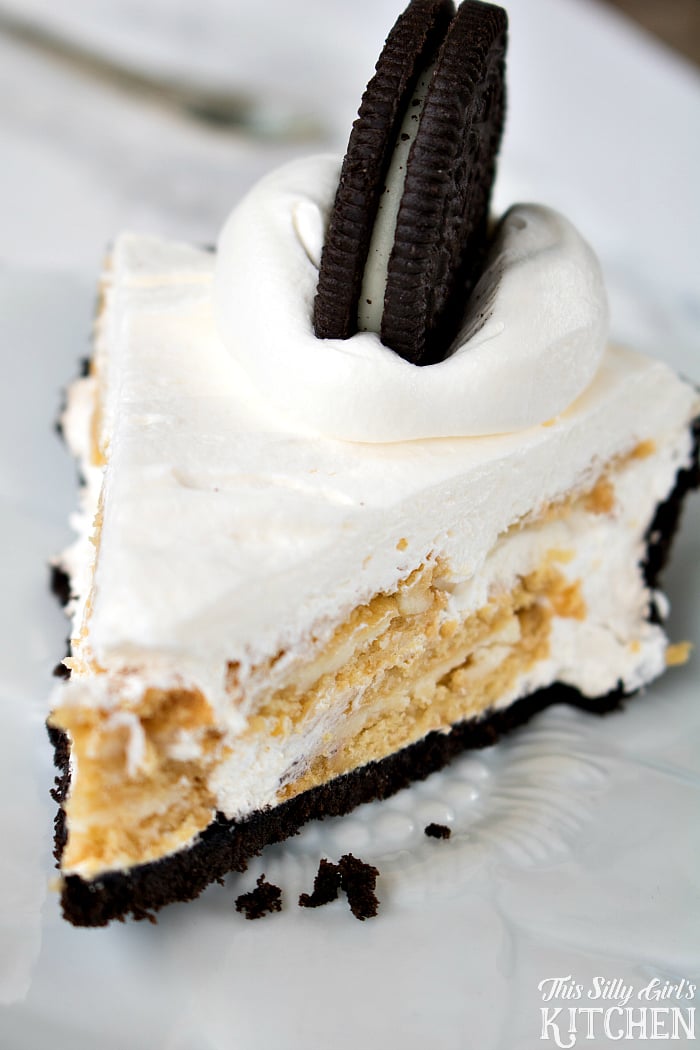
- The milk dip is the magic. Dunking the Oreos in milk softens them into a tender, cake like layer instead of a hard cookie, giving the pie that dreamy icebox texture.
- Golden Oreos keep it creamy. Using Golden Oreos lets the vanilla and cream flavors shine, though classic chocolate Oreos work beautifully too.
- Make ahead friendly. It needs time in the fridge anyway, so it is an ideal dessert to make the night before a party or cookout.
- Endlessly adaptable. Swap the Oreo flavor, add a drizzle of chocolate, or fold in extra cookie crumbs, this pie takes well to any twist.
Why You’ll Love This Recipe
- It needs just four simple ingredients and eight minutes of hands on time.
- No oven and no baking, it all sets up in the fridge.
- It is a make ahead crowd pleaser, like our no bake Oreo cheesecake.
- It delivers that same everyone asks for seconds energy as our no bake cannoli pie.
- It delivers that same everyone asks for seconds energy as our no bake coconut cream pie.
- It earns a spot in the rotation right next to our creamy no-bake lemon cream pie.
- It delivers that same everyone asks for seconds energy as our easy banana cream pie.
Key Ingredients
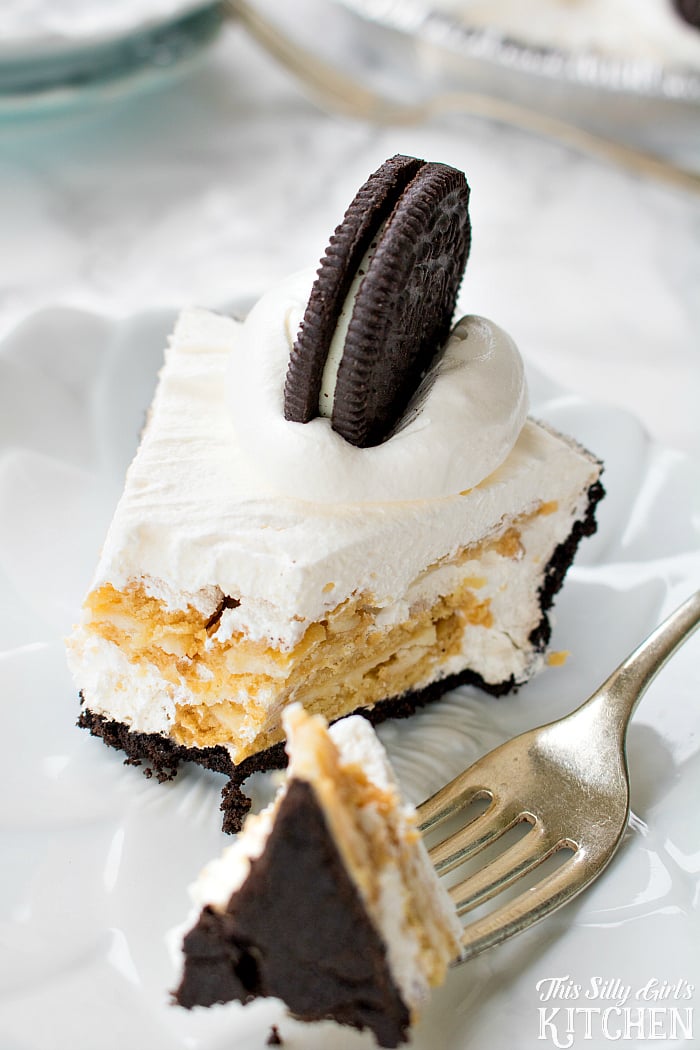
You only need a few store bought staples for this easy no bake pie.
- Oreo pie crust: A ready made chocolate cookie crust saves time and doubles down on that cookies and cream flavor. A graham crust works in a pinch.
- Whipped topping: Light, fluffy, and the creamy layer that holds everything together. Thawed whipped topping spreads the easiest.
- Golden Oreos: Dipped in milk and layered throughout, they soften into a cake like texture. Classic Oreos work too for a darker, chocolatier pie.
- Milk: A quick dip is what transforms crunchy cookies into tender layers. Any milk you have works.
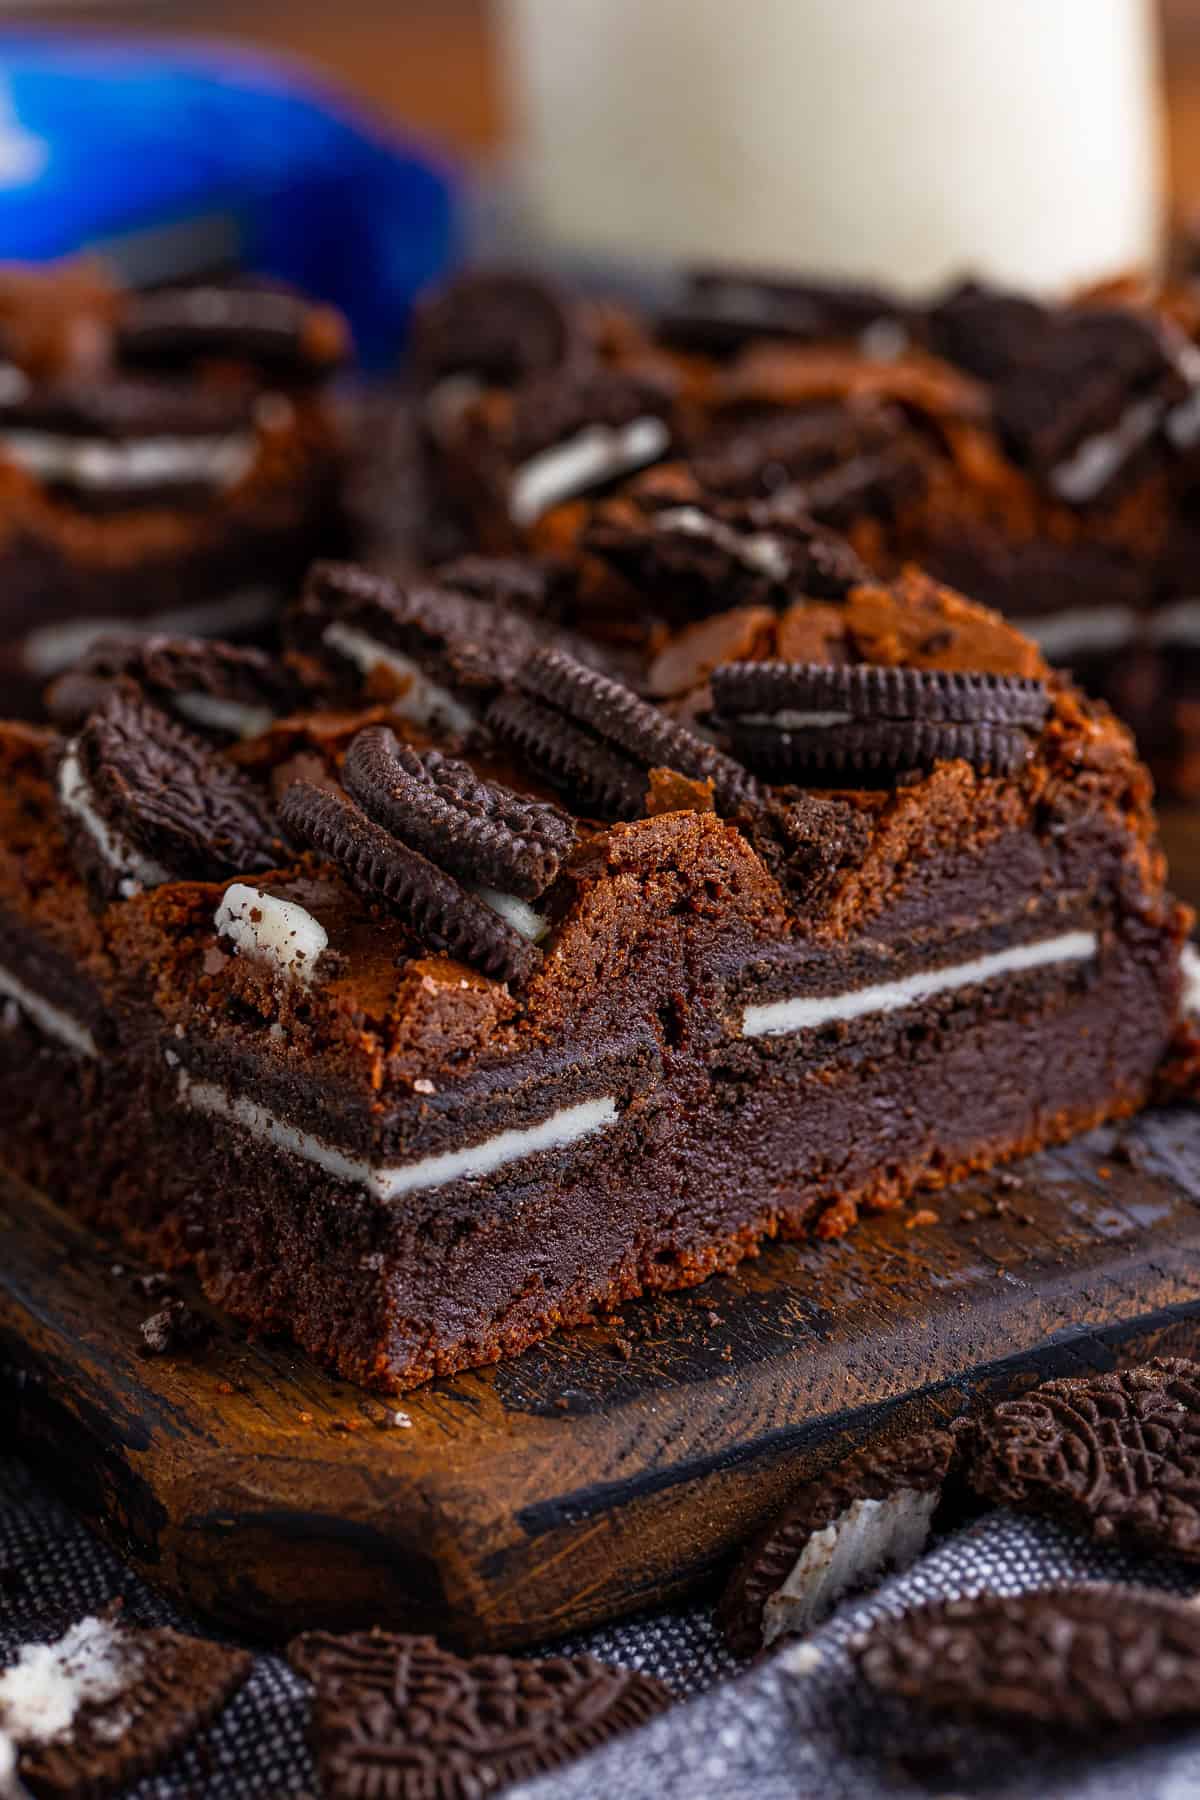
- Extra Oreos for garnish: A ring of cookies on top makes this pie look bakery worthy, just like the finish on our homemade Oreo brownies.
See recipe card for exact quantities.
Variations and Substitutions
This no bake pie is a blank canvas for your favorite flavors.
- Use classic chocolate Oreos, Mint Oreos, or Peanut Butter Oreos to change up the flavor completely.
- Add a layer of chocolate pudding or a drizzle of hot fudge between the cookie layers for extra decadence.
- Fold crushed Oreos into the whipped topping for even more cookies and cream in every bite.
- Turn it into individual cups instead of a pie, or serve it alongside our no churn cookie dough ice cream for a full sundae bar.
- If you want to switch things up, our pecan pie brownie bombs plays on similar flavors in a whole new way.
- If you want to switch things up, our mini lemon cheesecakes plays on similar flavors in a whole new way.
- In the mood for something different? Our no bake peanut butter pie scratches a similar itch.
- If you want to switch things up, our no bake blueberry plum crumble plays on similar flavors in a whole new way.
How to Make Oreo Pie

- Spread about a third of the whipped topping evenly across the bottom of the Oreo pie crust.
- Dip the Golden Oreos one at a time into the milk, just a quick dunk, and arrange them in a single layer over the whipped topping.
- Repeat the layers, adding another third of the topping and another layer of milk dipped Oreos.
- If you want to garnish the pie, reserve about a half cup of whipped topping. Otherwise, spread the rest over the top.
- Cover the pie and refrigerate for at least 4 hours, or overnight, so the Oreos soften into a cake like texture.
- Before serving, add dollops of the reserved whipped topping around the edge and top each with an Oreo. Slice and enjoy.
Recipe Tips & Tricks
- Dip, do not soak, the Oreos, a quick one second dunk softens them without turning them to mush.
- Chill at least 4 hours, and overnight is even better, so the cookies fully soften into that signature cake like layer.
- Use thawed whipped topping for the easiest spreading and cleanest layers.
- Reserve topping for garnish before you start layering so you are not scraping the container at the end.
- Slice with a warm knife, wiped clean between cuts, for the prettiest slices.
- Keep it cold until serving, since this pie softens quickly at room temperature.
- Plan the whole menu. This pairs effortlessly with our strawberry banana jello pie when company is coming.
- Plan the whole menu. This pairs effortlessly with our no bake chocolate peanut butter pie when company is coming.
- Make it a full spread. Our no bake peanut butter bars rounds out the table.
Serving Ideas and Suggestions
This no bake Oreo pie is made for easy entertaining. Slice it straight from the fridge and serve cold, when the layers are perfectly set and the cookies are tender.
Leftovers keep well covered in the fridge for up to three days, and honestly the texture only gets better as the Oreos continue to soften. You can also freeze the whole pie for up to a month, then let it thaw in the fridge before slicing. It is the kind of easy dessert you will find yourself making on repeat all summer long, right alongside our peanut butter chocolate chip cookie bars.
Oreo Pie FAQs
Yes, chilling is essential. The pie needs at least 4 hours in the fridge, and preferably overnight, so the milk dipped Oreos soften into a cake like layer and the whole pie sets firm enough to slice. Keep it refrigerated until you are ready to serve, since it softens quickly at room temperature.
Absolutely. Classic chocolate Oreos make a darker, richer, more chocolatey pie, while Golden Oreos keep it lighter with more of a vanilla cookies and cream flavor. Any Oreo flavor works, so use whatever you love best.
This is a great make ahead dessert. You can assemble it up to a day in advance, which actually improves the texture as the cookies soften. Add the garnish just before serving so the topping stays fresh and pretty.
Yes. Cover the whole pie tightly and freeze for up to a month. For a firmer, ice cream like treat, serve it straight from the freezer. For the classic soft texture, thaw it in the fridge for a few hours before slicing.
You can use freshly whipped heavy cream sweetened with a little powdered sugar, or a stabilized whipped cream for extra hold. Use about the same volume as the whipped topping the recipe calls for.
A runny pie usually means it did not chill long enough or the Oreos were soaked instead of quickly dipped. Give it the full 4 hours or overnight in the fridge, and dunk the cookies just briefly so they do not release too much moisture.


Tried this no bake Oreo pie? I would love to hear how it turned out, leave a comment and a star rating below!
For Oreo lovers with a blender, our Oreo milkshake takes 8 minutes flat.

No Bake Oreo Pie
Ingredients
- 1 Oreo pie crust
- 8 oz whipped topping
- 1/2 Cup milk
- 22 Golden Oreos
- 8 regular Oreos for garnish optional
Instructions
- Layer 1/3 of the whipped topping on the bottom of the crust. Dip Golden Oreos one at a time into the milk and layer on top of the whipped topping. Repeat one more time.1 Oreo pie crust
- If you want to garnish this like in the photo, reserve 1/2 Cup of the whipped topping. If not, add the remaining whipped topping on top. Cover and let sit in the fridge for at least 4 hours or up to overnight to set.1 Oreo pie crust
- Before serving, garnish pie with remaining whipped topping and Oreos as pictured, placing dollops of whipped topping on the corners and adding an Oreo. Serve and enjoy!1 Oreo pie crust
Notes
- You can make you own homemade crust by mixing Oreos with butter instead of using store bought.
- Homemade whipped cream can also be substituted, see my recipe above.
- This can be frozen, see my tips above on how to do that.
- You can switch up your Oreos for different flavors, lots of different options there.
- Top this however you like, we like to use more whipped topping and Oreos, but crushed Oreos or a chocolate drizzle works as well!
Nutrition
Love This Recipe?
Follow @ThisSillyGirlsKitchen on Instagram and @ThisSillyGirlsKitchen on Pinterest for more!












Good
Looks easy
How can any dessert be wrong when Oreos are involved? Your pie looks yummy.
Thanks for sharing at Wake Up Wednesday,
Bev
That pie looks amazing! Perfect summer treat!