This post may contain affiliate links.
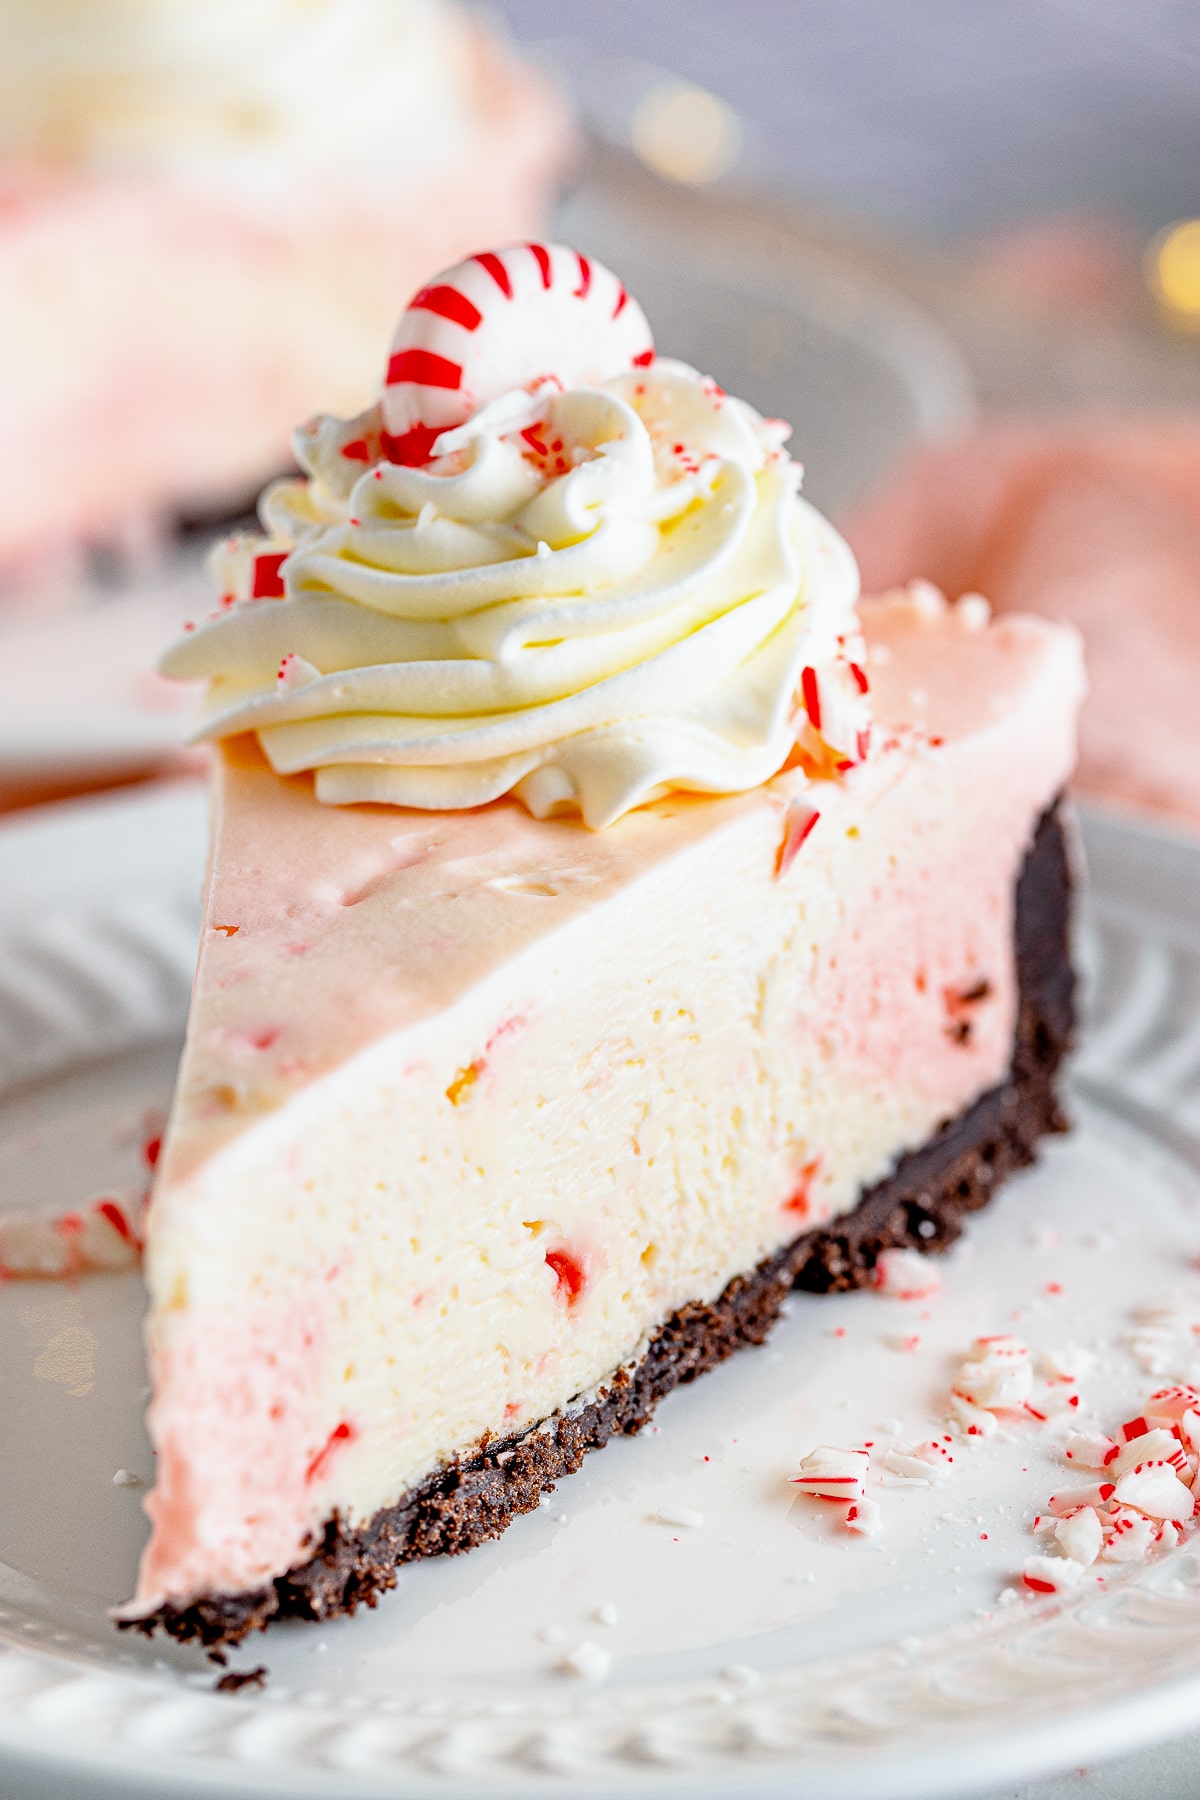
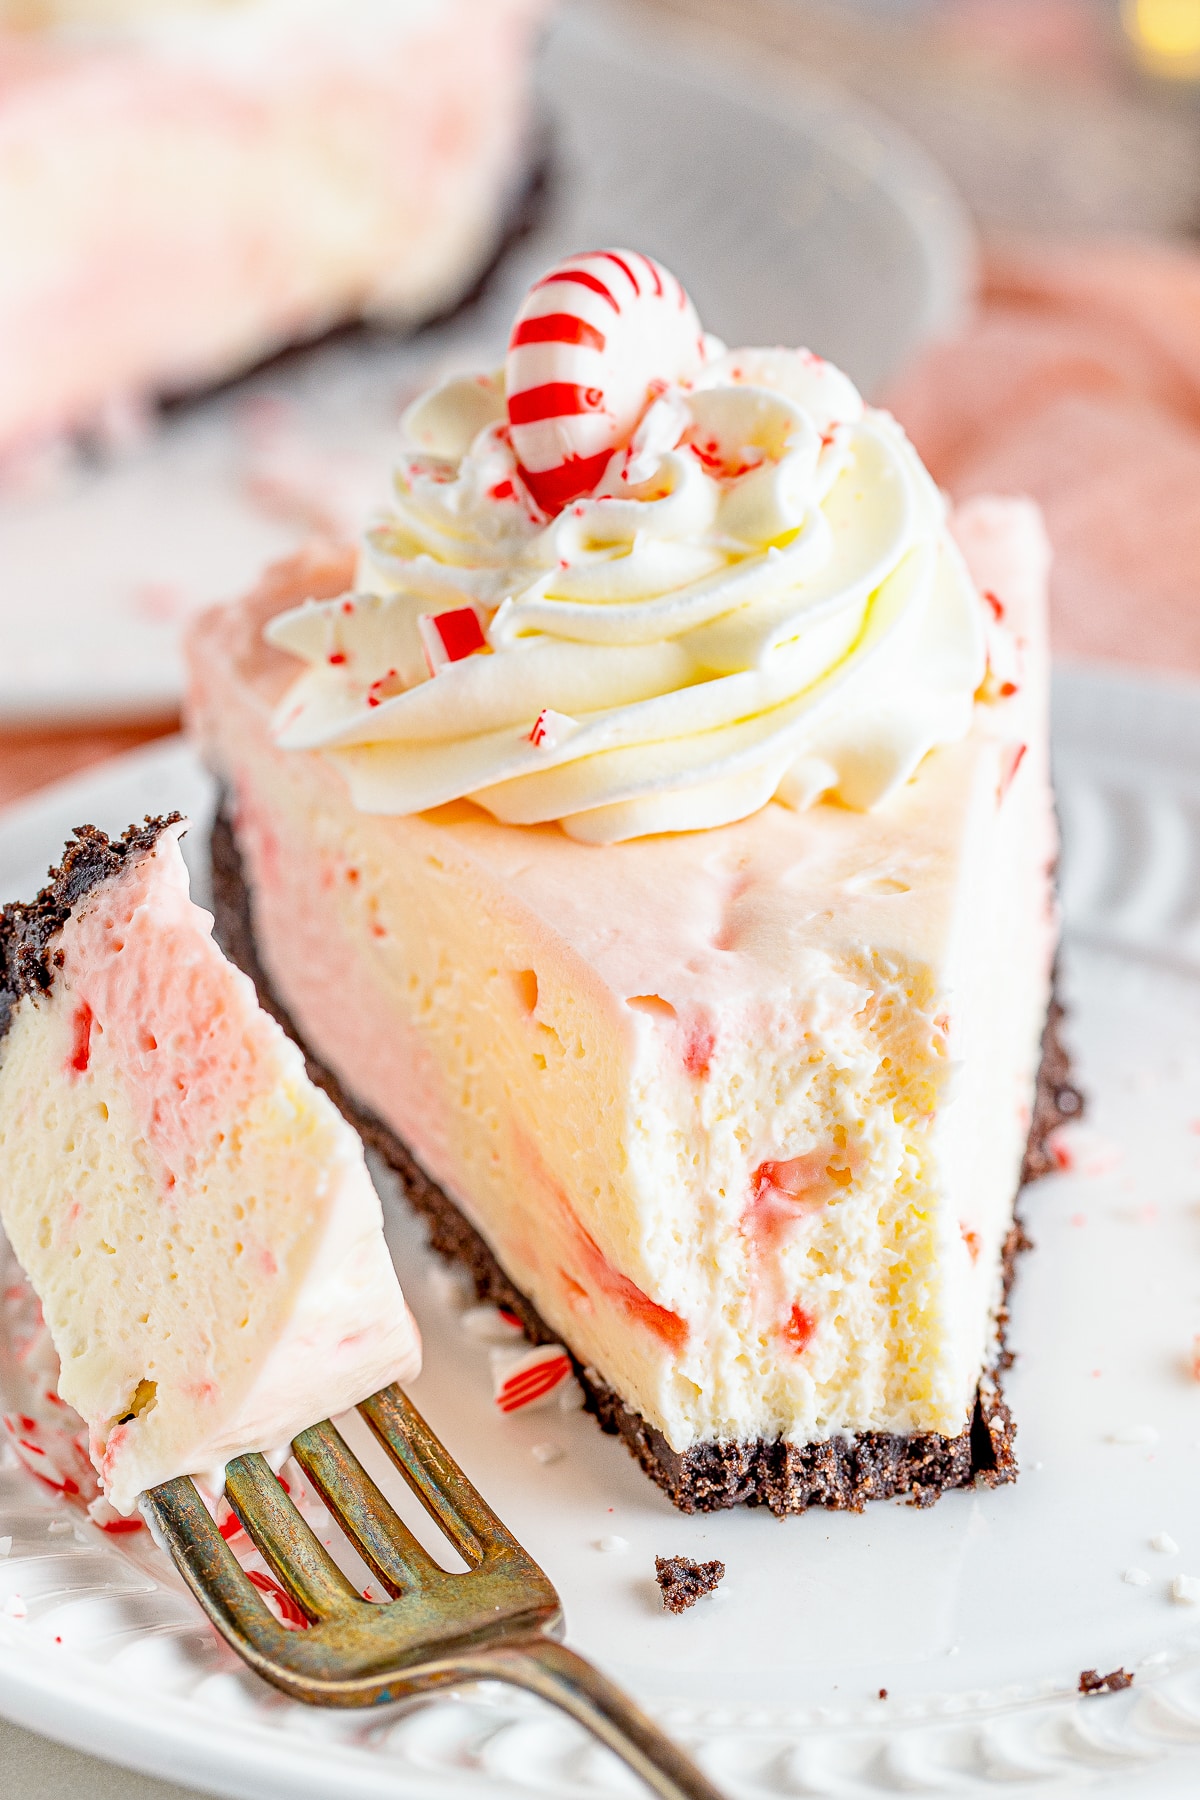
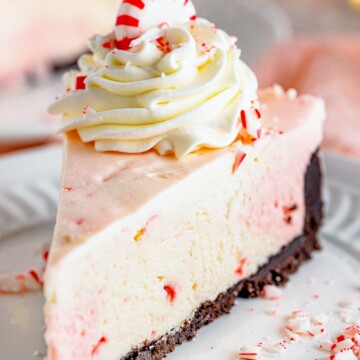
Peppermint Cheesecake is the pink swirled, candy cane flecked centerpiece that makes December dessert tables gasp, a buttery Oreo crust under a cloud of whipped peppermint filling, no oven involved anywhere. I made it for Christmas Eve one year assuming leftovers for breakfast, and the springform pan went home scraped clean. If my no bake cheesecake is your summer standby, this is its holiday glow up.
The oven stays off, the fridge does all the work overnight.
Peppermint Cheesecake Quick Look
- 🕒 Prep Time: 20 minutes
- 🌡️ Cook Time: 0 minutes
- ⏳ Total Time: 8 hours 20 minutes
- 🍽️ Serving: 12 servings
- ⚡ Calories: 553kcal
- 🌶️ Flavor Profile: Cool peppermint and vanilla cream over dark chocolate cookie crunch
- ✋ Difficulty: Easy, a whip, fold, and chill assembly
Quick Answer
Process 30 Oreos into fine crumbs with melted butter and press into a 9 inch springform pan, then freeze it while you make the filling. Whip cream cheese smooth, mix in granulated sugar, powdered sugar, vanilla, and peppermint extract. Separately whip heavy cream to stiff peaks, fold it in, then fold in crushed candy canes. Tint half the filling pink, dollop both colors into the crust, smooth the top, and chill at least 8 hours before slicing.
Jump to:
Why This Recipe Works
Click to see the technique science
- Whipped cream is the structure. Heavy cream whipped to stiff peaks and folded in aerates the filling and sets it firm in the fridge, no eggs, no water bath, no cracking.
- Two sugars do two jobs. Granulated sugar sweetens cleanly while powdered sugar adds cornstarch that helps stabilize the no bake filling for clean slices.
- Freezing the crust while you work. Twenty minutes in the freezer firms the butter so the Oreo crust holds together the moment the filling goes in.
- Peppermint extract plus real candy canes. Extract carries the mint flavor evenly through the filling while crushed candy canes add texture and little melting pockets of pink.
- The overnight chill is the actual cooking. Eight hours lets the whipped structure and the powdered sugar starch fully set, slice sooner and the centerpiece slumps.
Why You’ll Love This Recipe
- Zero oven time, the whole showstopper happens in a food processor, two bowls, and the fridge.
- The pink and white swirl with candy cane flecks looks bakery level with a five minute decorating effort.
- It is a make ahead dream, the overnight chill means the centerpiece dessert is done before the party starts, just like my no bake cheesecake.
Key Ingredients
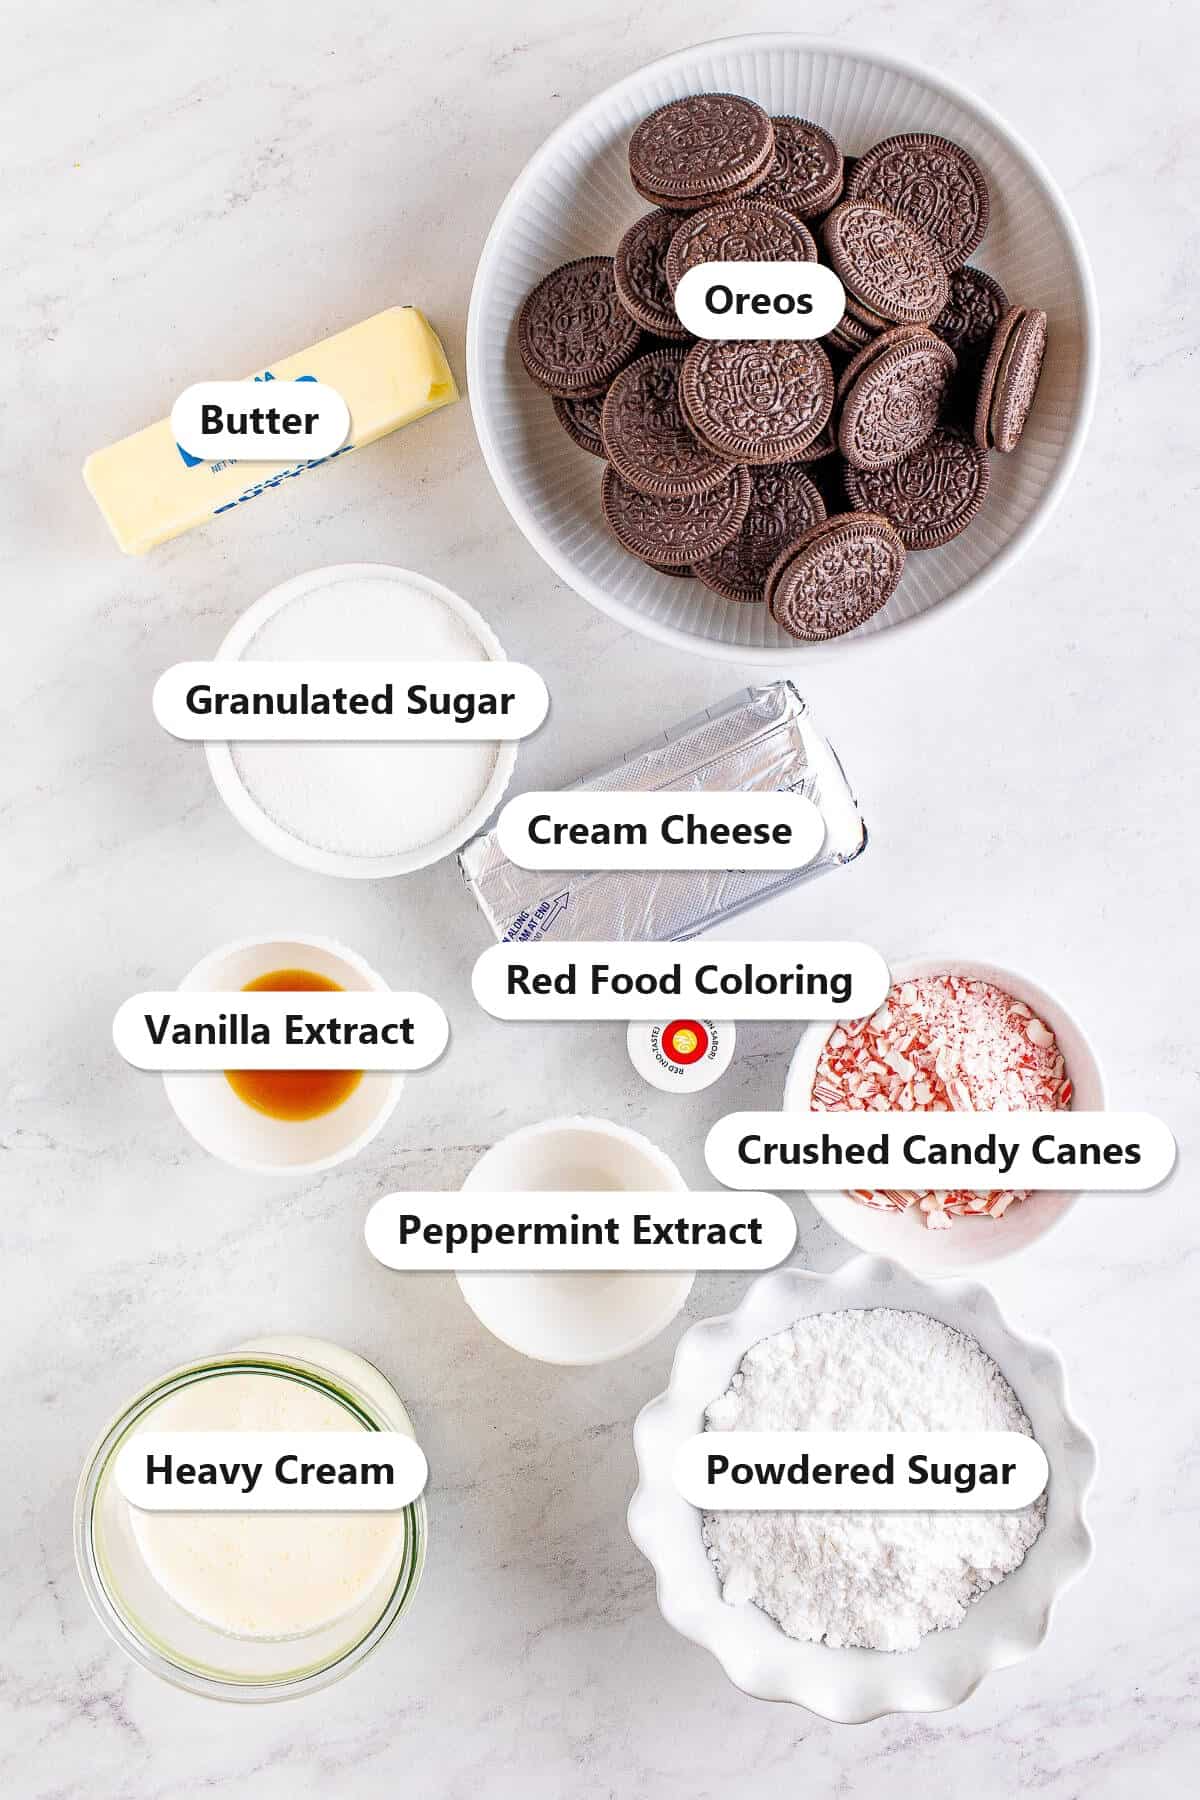
Cookie aisle basics plus candy canes build the whole dessert.
- Oreos and butter: Thirty cookies processed with melted butter make the dark chocolate crust.
- Cream cheese: Twenty four ounces, softened, the rich tangy base of the filling.
- Granulated and powdered sugar: The pair sweetens and stabilizes the no bake filling.
- Heavy whipping cream: Whipped to stiff peaks and folded in for the light, sliceable set.
- Peppermint extract, candy canes, and red food coloring: The mint flavor, the crunch, and the signature pink swirl.
See recipe card for exact quantities.
Variations and Substitutions
One creamy canvas, plenty of holiday spins.
- Fold in mini chocolate chips with the candy canes for a chocolate peppermint version.
- Swap the red coloring for green and top with crushed spearmint candies.
- Use golden Oreos for a lighter crust that lets the pink swirl pop.
- Want it bite sized instead? My mini cheesecakes take the same filling formula individual.
- Top with chocolate ganache before serving for a peppermint mocha finish.
How to Make Peppermint Cheesecake
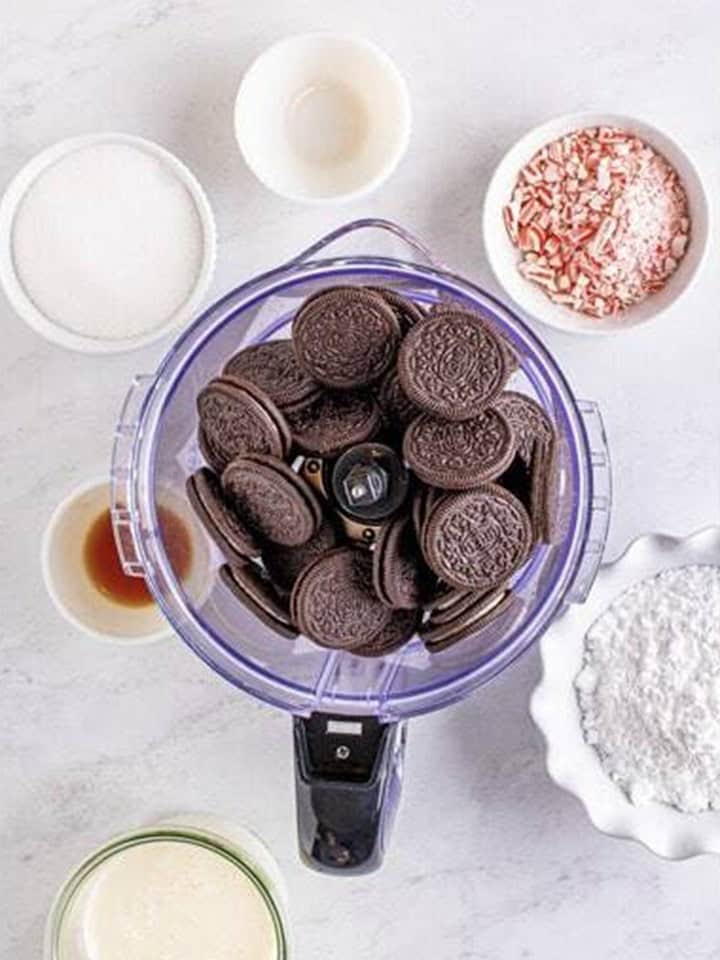
- Place the Oreos in the body of a food processor and process them into small crumbs.
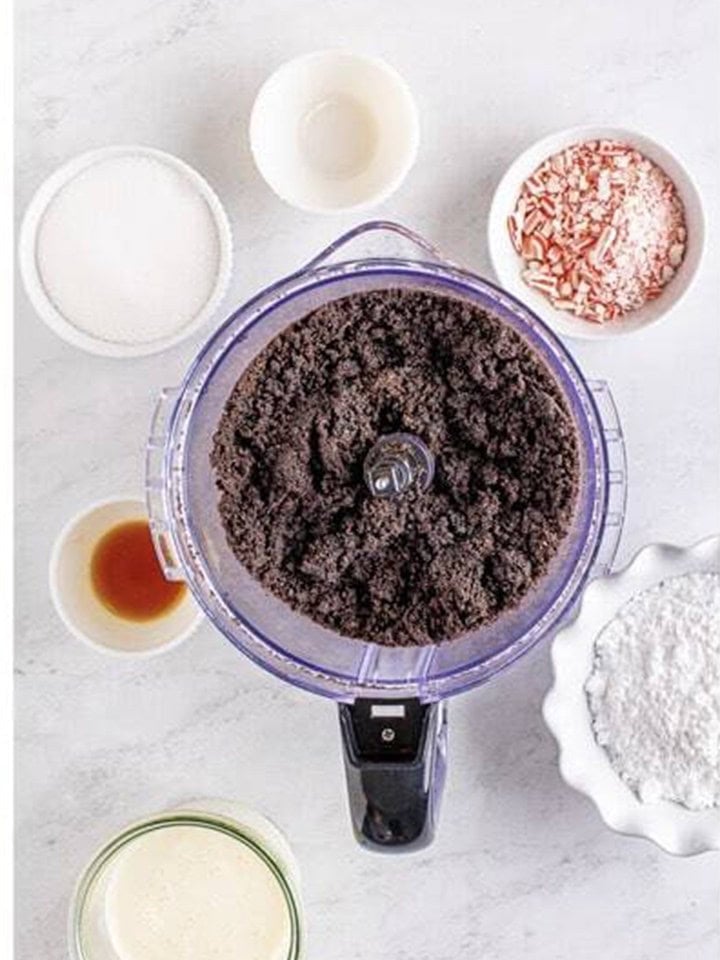
- Drizzle in the melted butter while pulsing, then stir with a spoon to make sure all the crumbs are coated.
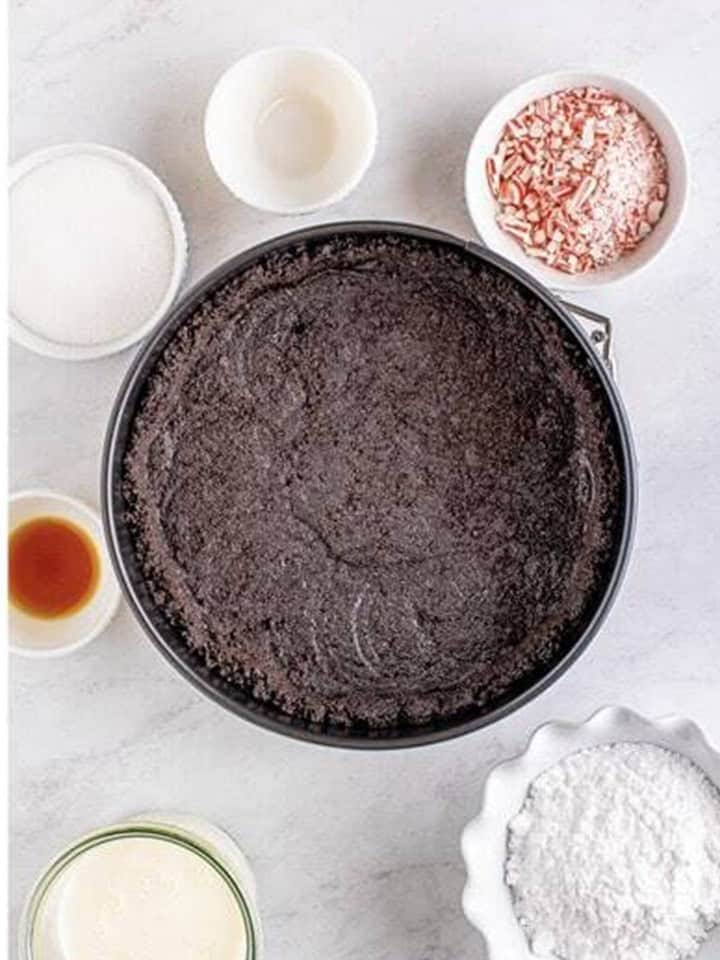
- Press the crumbs into the bottom and slightly up the sides of a 9 inch springform pan, packing them with the bottom of a flat glass. Freeze the crust while you make the filling.
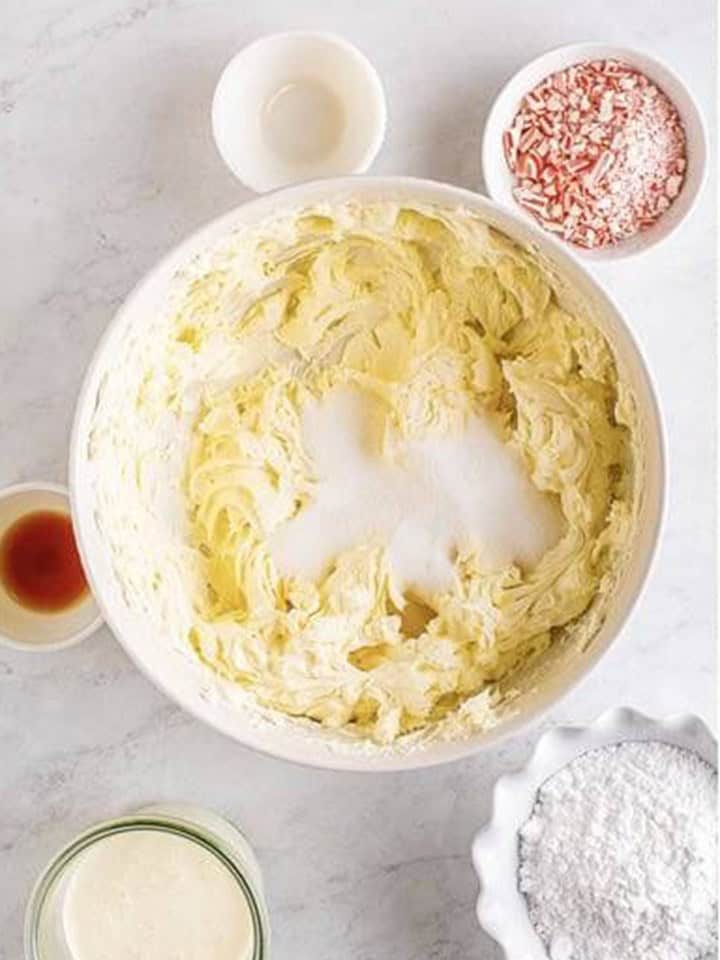
- In a large bowl, whip the cream cheese with an electric mixer until smooth, then add the granulated sugar and mix it in.
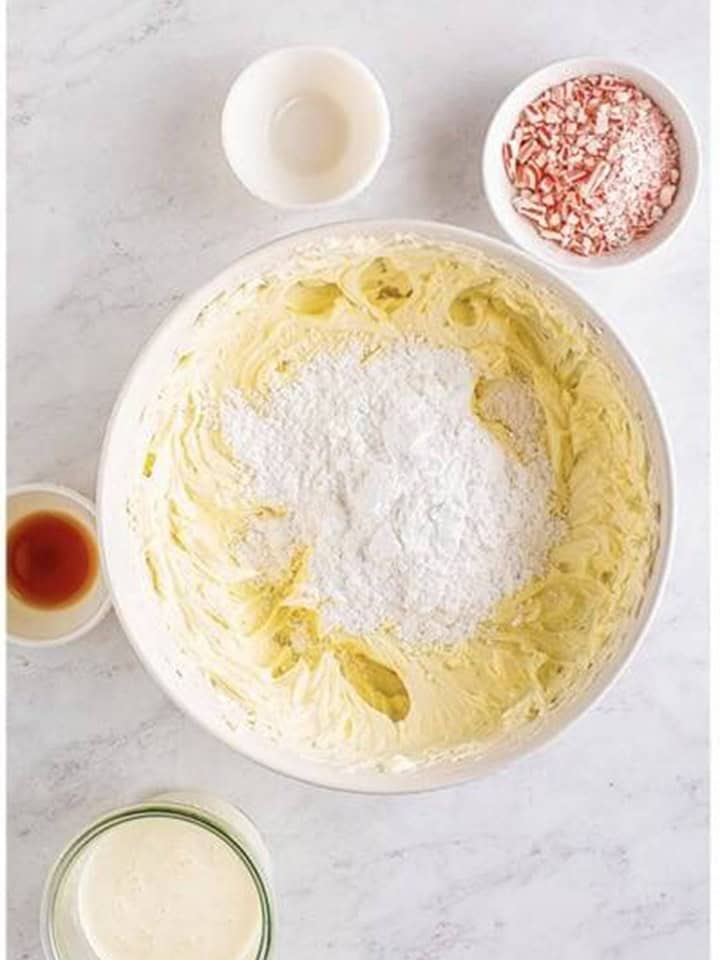
- Add the powdered sugar to the bowl.
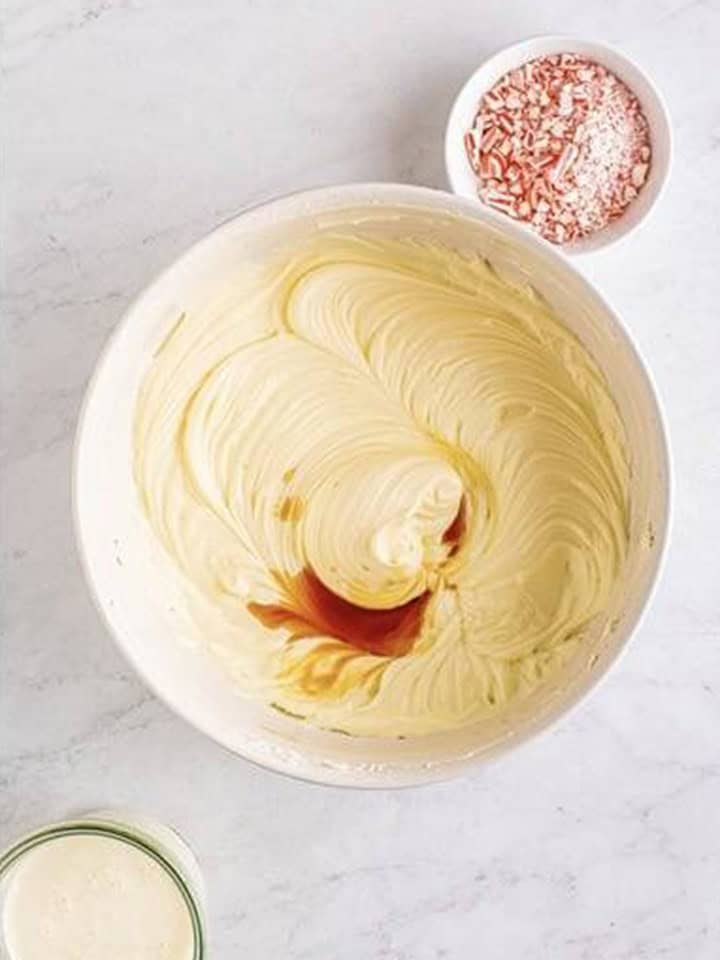
- Add the vanilla and peppermint extract.
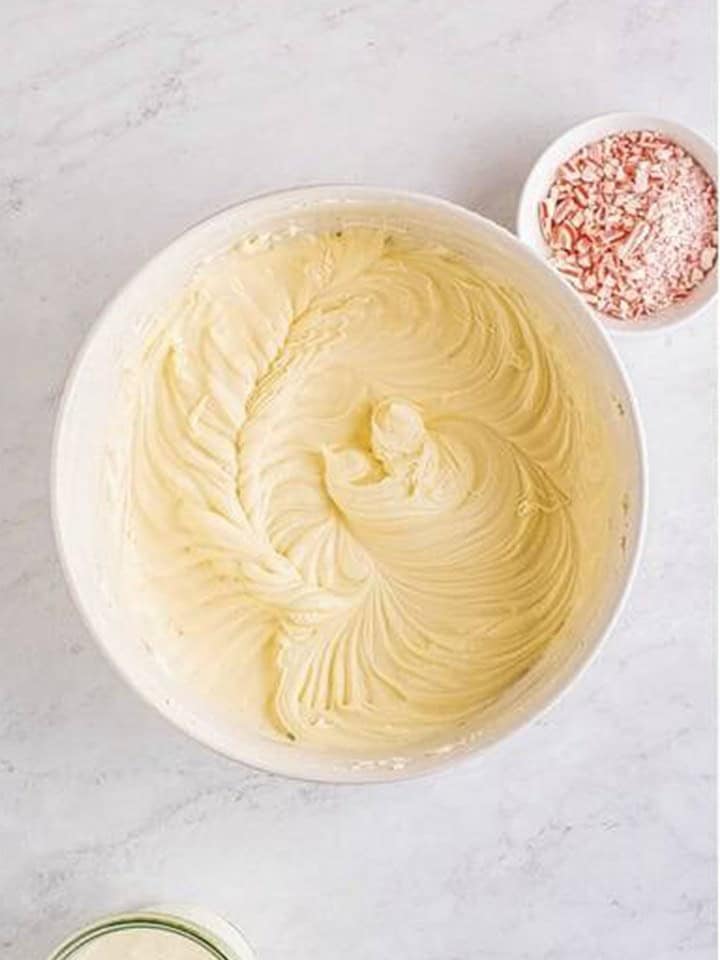
- Mix until completely combined and smooth, then set the bowl aside.
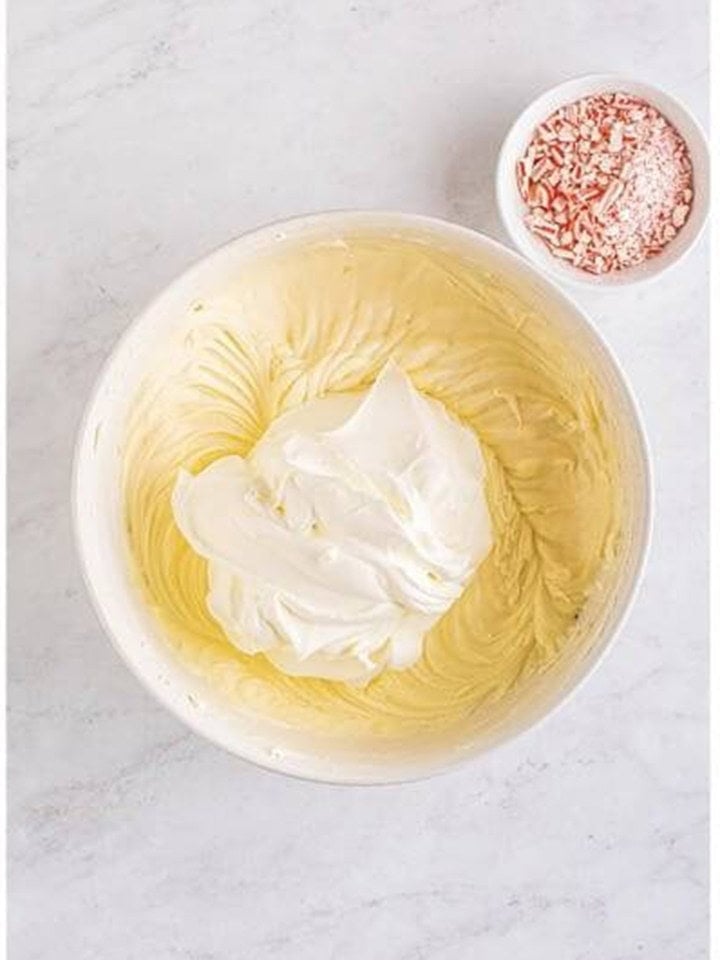
- In a medium bowl, whip the heavy cream to stiff peaks, then fold it into the cream cheese mixture until no streaks remain. Taste and add more peppermint extract if you want it mintier.
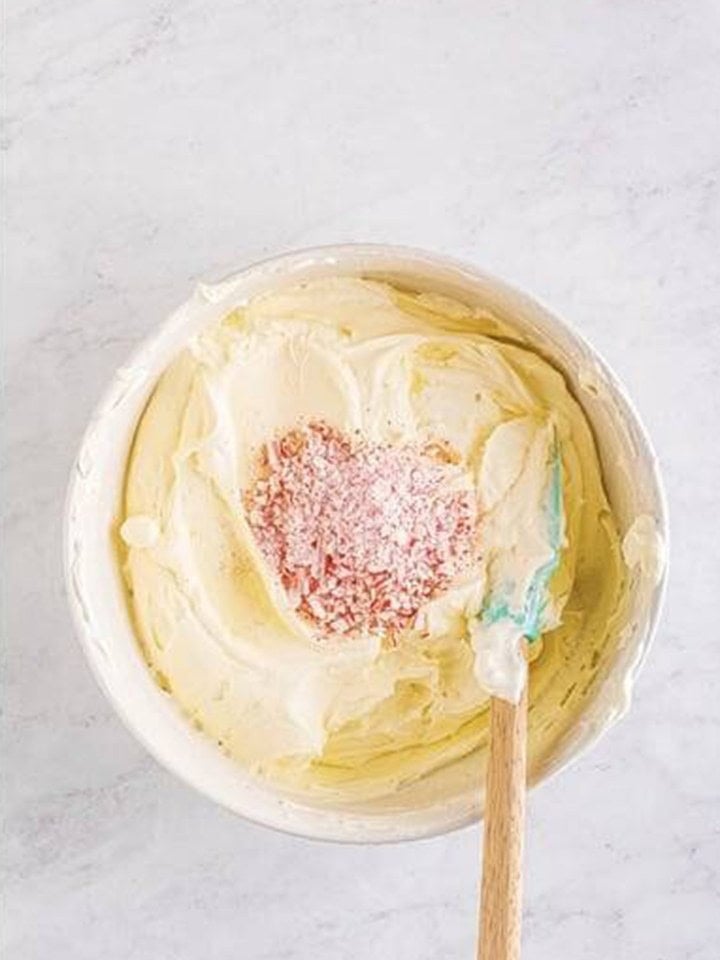
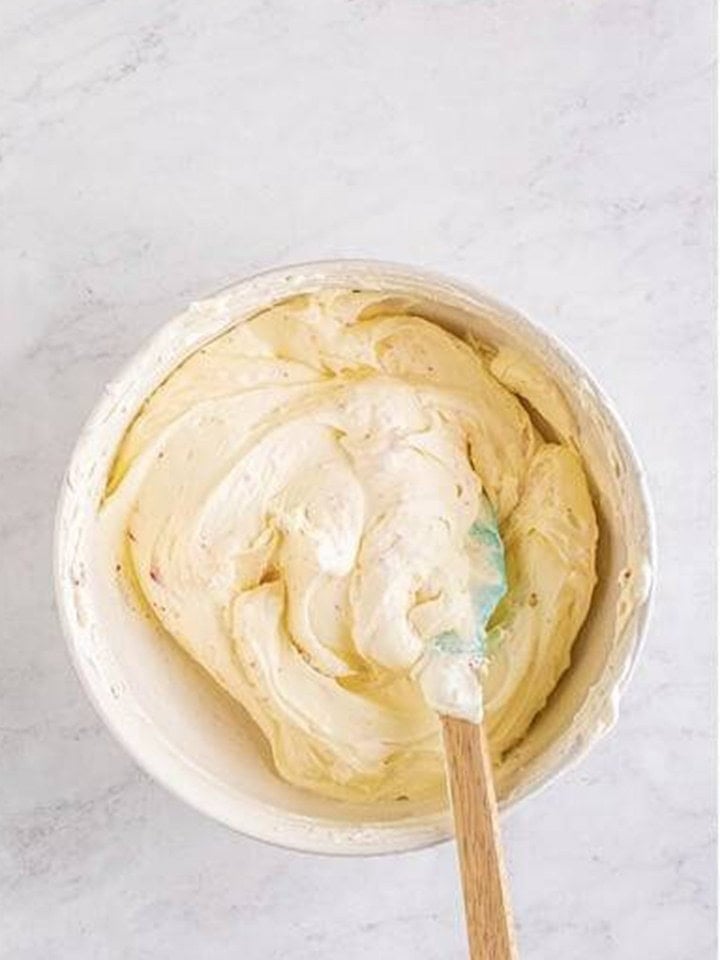
- Fold in the crushed candy canes.
- Divide the filling into two bowls and tint one pink with red gel food coloring.
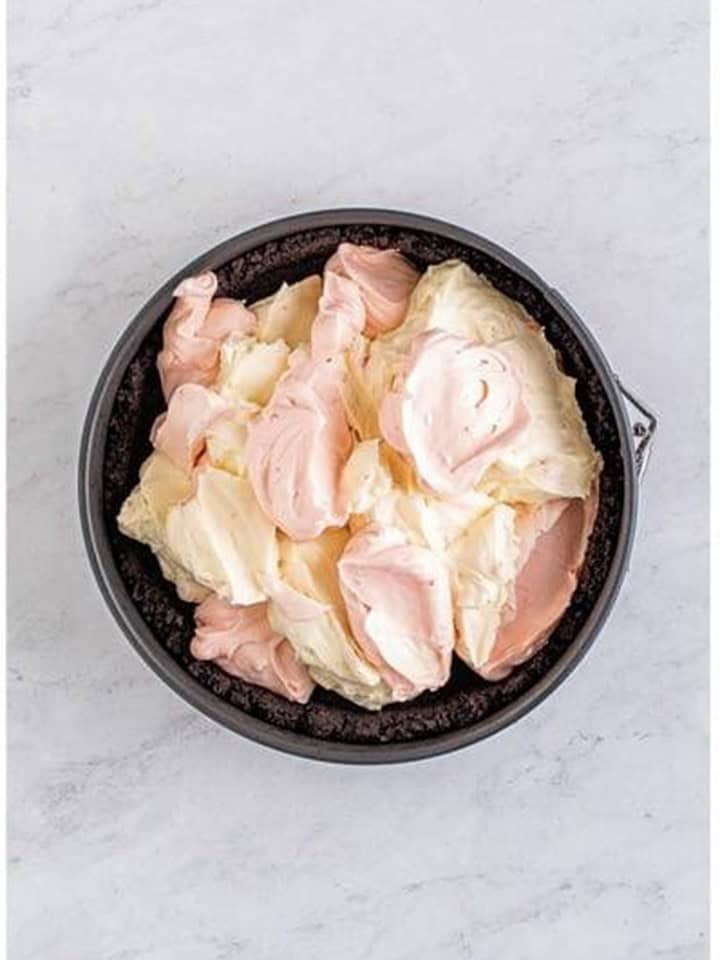
- Dollop the pink and white fillings into the crust, alternating so both colors are scattered throughout.
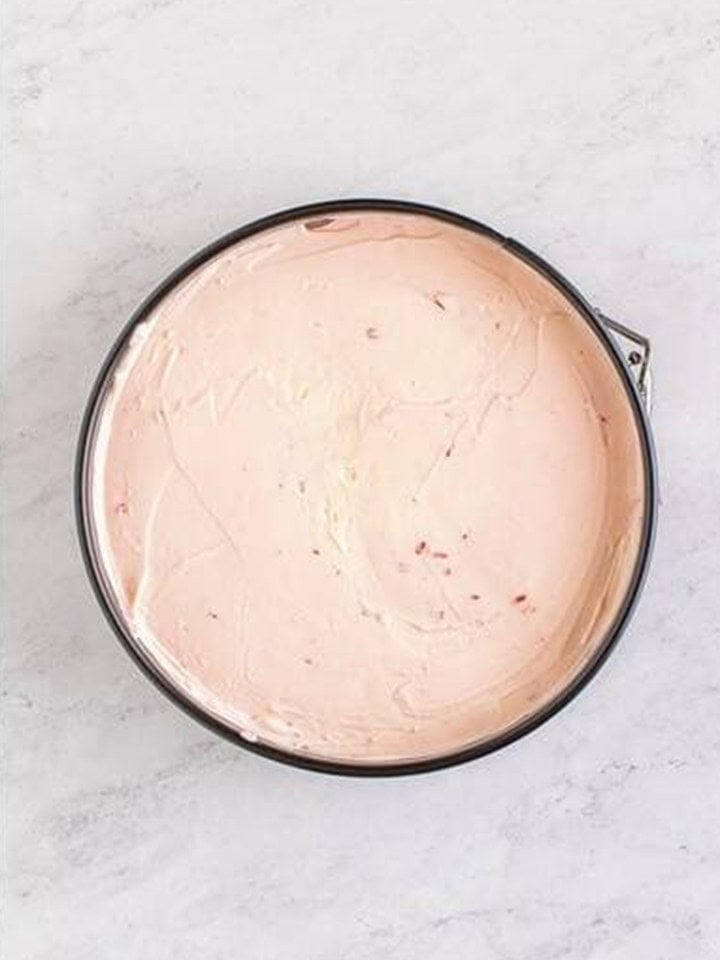
- Smooth out the top, cover, and refrigerate at least 8 hours or overnight. Release the springform ring, slice, and serve with whipped cream and candy cane pieces.
Recipe Tips & Tricks
- Soften the cream cheese completely. Cold cream cheese leaves lumps that never whip out of a no bake filling.
- Whip the cream to stiff peaks, not past. Under whipped cream will not set the filling, over whipped turns grainy while folding.
- Crush the candy canes fine. Big shards slowly melt into wet pink pockets, small pieces keep their crunch through the chill.
- Use gel food coloring. A drop or two gives a rich pink without thinning the filling like liquid coloring can.
- Chill the full 8 hours. The filling needs the whole stretch to set sliceable, overnight is even better.
- Run the knife under hot water between slices. A warm, wiped blade leaves those clean bakery layers in every cut.
Serving Ideas and Suggestions
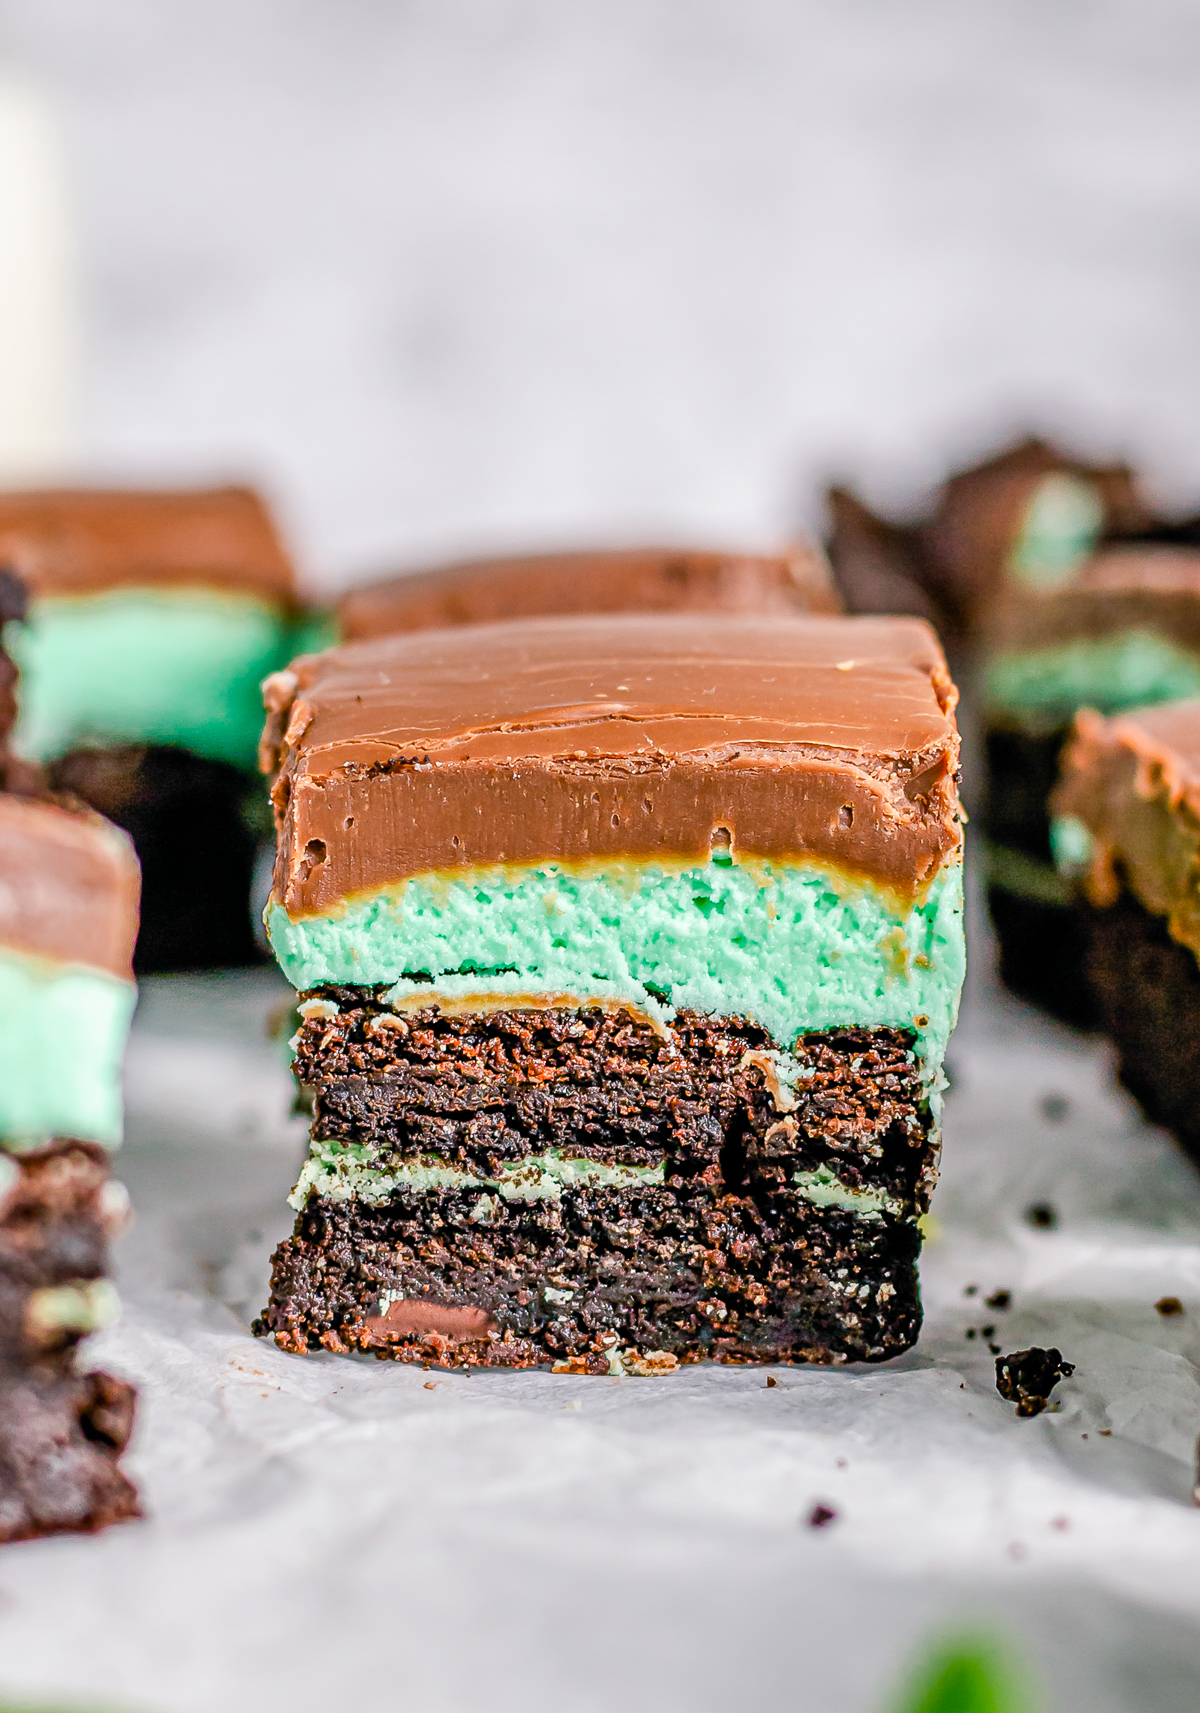
Slice the peppermint cheesecake with a warm knife and serve each piece with whipped cream and a mini candy cane, next to a tray of my mint brownies for the full mint chocolate spread.
For a holiday dessert board, surround it with my peppermint chex mix and extra crushed candy canes, the pink swirl makes it the centerpiece.
Pair slices with coffee or cocoa after Christmas dinner, and send guests home with squares of my chocolate fudge wrapped up from the same table.
Store the peppermint cheesecake covered in the refrigerator for up to 4 days, the candy cane pieces inside soften gradually so it is prettiest in the first two. Slices freeze well for up to a month, wrapped individually and thawed overnight in the fridge. Add the whipped cream and candy topping fresh at serving.
Peppermint Cheesecake FAQs
Peppermint cheesecake is a holiday dessert with a whipped cream cheese filling flavored with peppermint extract and crushed candy canes over a chocolate cookie crust. This version is completely no bake, the filling sets in the refrigerator overnight, and half of it gets tinted pink and swirled for a candy cane look.
Almost always the whipped cream. It has to reach genuinely stiff peaks before folding, and the assembled cheesecake needs a full 8 hours in the refrigerator, not the freezer, to set. Softened but not warm cream cheese and the powdered sugar both contribute structure too, do not swap the powdered sugar for all granulated.
Yes, starlight peppermint candies crush and behave exactly the same as candy canes, and both give the filling its minty crunch and pink flecks. Whichever you use, crush them into small pieces, large shards slowly dissolve in the moist filling and leave sticky pink puddles.
It is built for making ahead, the required overnight chill means it is actually better made the day before. Assemble it up to 2 days ahead and keep it covered in the springform pan in the fridge. Add whipped cream and candy cane garnish just before serving so the topping stays crisp.
Yes, it freezes beautifully. Freeze the whole cheesecake uncovered until firm, then wrap it well and freeze up to a month. Thaw overnight in the refrigerator, never at room temperature, and garnish after thawing. Individual slices freeze and thaw even faster for single servings.
Divide the finished filling into two bowls and tint one pink with a drop or two of red gel food coloring. Dollop the pink and white fillings into the crust alternately, checkerboard style, then smooth the top. The random dollops read as a beautiful marble when you slice, no fancy swirling technique required.

Made this Peppermint Cheesecake? Leave a comment and a star rating below, and tell me how the pink swirl came out!
Team eggnog gets my nutmeg kissed eggnog cake at the same holiday table.
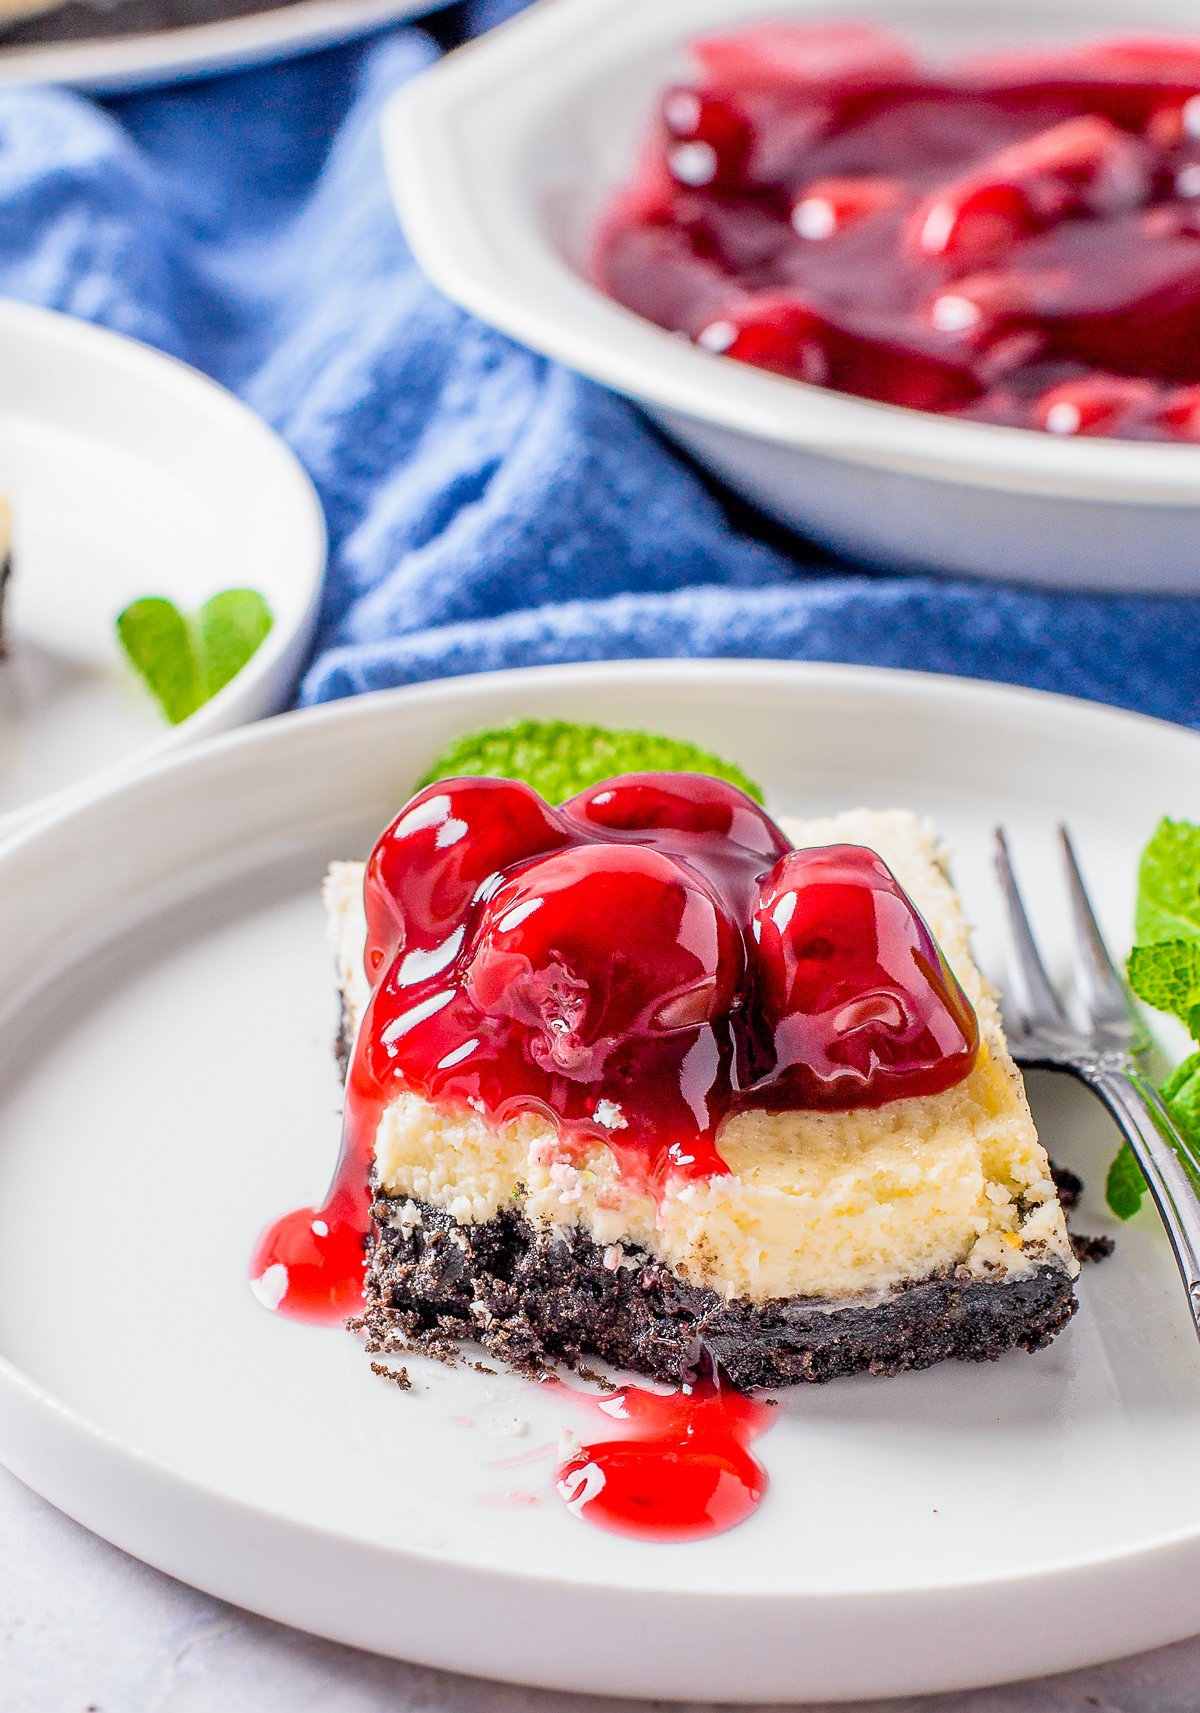
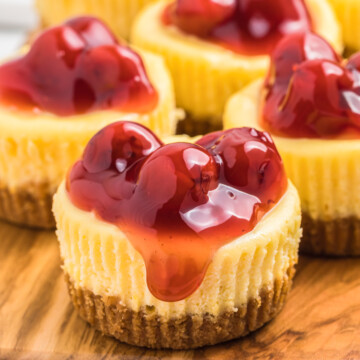
For a year round bake, my cherry cheesecake bars put cherry pie filling to its best use.
Molasses fans should cut into my frosted gingerbread bars.

Peppermint Cheesecake
Ingredients
For the crust:
- 30 Oreos
- 7 tablespoons unsalted butter melted
For the filling:
- 24 ounces cream cheese softened
- ½ cup granulated sugar
- 1 cup powdered sugar
- 1 teaspoon vanilla extract
- ¼ teaspoon peppermint extract or more to taste
- 1 ¼ cups heavy whipping cream
- ⅓ cup crushed candy canes/peppermints
- Red gel food coloring
Instructions
- Place the Oreos in the body of a food processor, process them until they are small crumbs.30 Oreos
- Drizzle in the melted butter while pulsing.7 tablespoons unsalted butter
- Stir with a spoon to ensure the crumbs are coated in the butter.
- Press the crumbs into a 9-inch springform pan on the bottom and slightly up the sides. I like to use the bottom of a flat glass or measuring cup to pack the crumbs in place.
- Place in the freezer while you assemble the filling.
- In a large bowl, whip the cream cheese with an electric hand mixer; you can also do this with a stand mixer with the paddle attachment until smooth.24 ounces cream cheese
- Add the granulated sugar and mix it in.½ cup granulated sugar
- Add in the powdered sugar, vanilla, and peppermint extract, mix to combine, and set aside.1 cup powdered sugar, 1 teaspoon vanilla extract, ¼ teaspoon peppermint extract
- In a medium bowl, whip the heavy cream to stiff peaks, making sure not to overmix.1 ¼ cups heavy whipping cream
- Fold the whipped cream into the cream cheese mixture until there are no streaks. Taste and add more peppermint extract if you want a stronger mint flavor.
- Fold in the crushed candy canes.⅓ cup crushed candy canes/peppermints
- Divide the mixture into two bowls.
- Color one of the bowls with red food coloring until you get a shade of pink that you like.Red gel food coloring
- Dollop the filling into the crust so it has a mix of pink and white filling throughout, and smooth out the top.
- Cover and place in the fridge for at least 8 hours or overnight.
- Take off the outer attachment of the pan, slice, and serve with toppings or as is.
Notes
- Soften the Cream Cheese: Make sure your cream cheese is at room temperature to avoid lumps in your cheesecake filling.
- Don’t Overmix the Whipped Cream: Whip the heavy cream to stiff peaks but be careful not to overmix, or it may turn into butter.
- Adjust Peppermint Flavor: Start with a small amount of peppermint extract and add more to taste since it’s quite potent.
- Use a Springform Pan: This makes it easier to remove the cheesecake without ruining its shape.
- Chill Time: Let the cheesecake set in the fridge for at least 8 hours or overnight for best results.
- Even Layers: When pressing the crust into the pan, use the bottom of a measuring cup for a flat and even crust.
Nutrition
Love This Recipe?
Follow @ThisSillyGirlsKitchen on Instagram and @danadevolk on Pinterest for more!


Yes, I would double the recipe, enjoy!
What changes need to be made to make this in a 9×13 inch pan? Double the recipe?