This post may contain affiliate links.
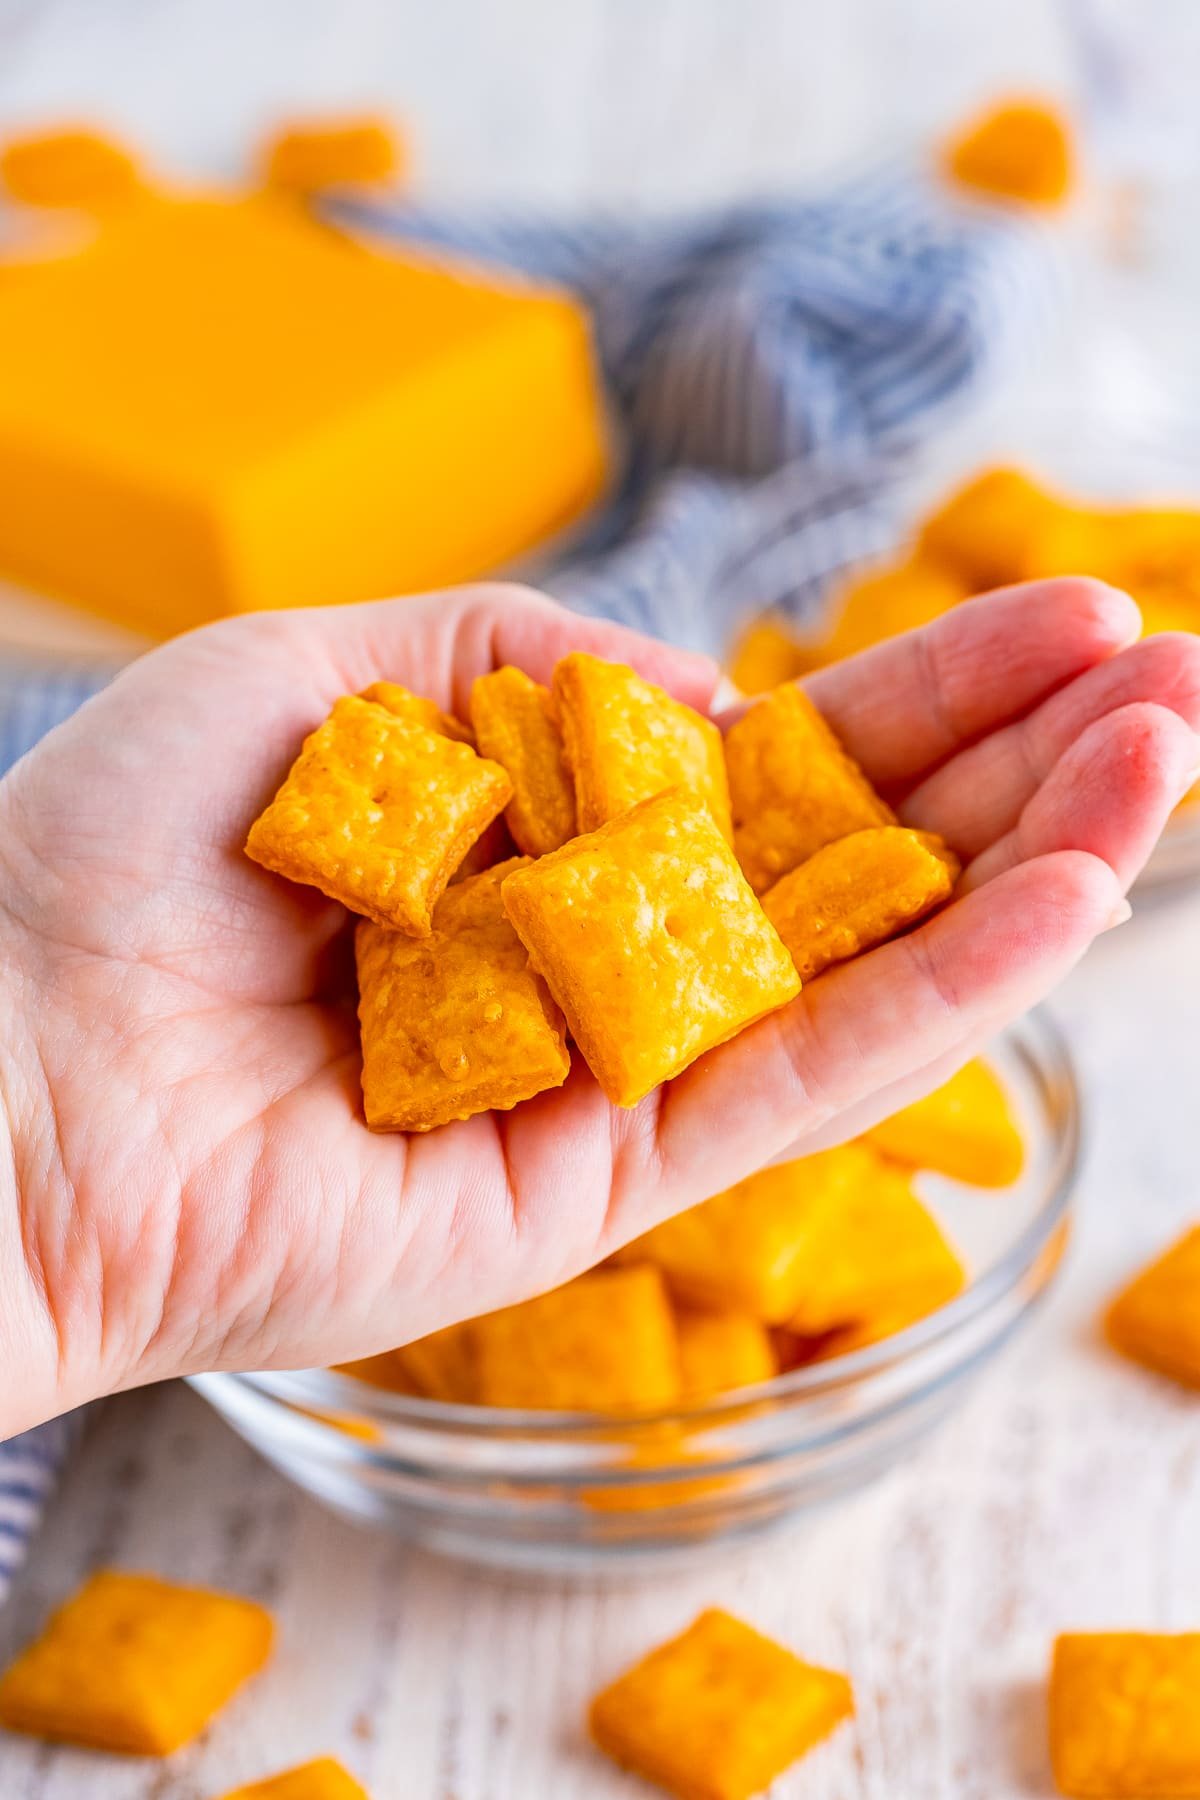
Homemade Cheez-Its are crispy, sharp, and impossibly cheesy, and they taste even better than the box. I first made a batch on a rainy weekend when the girls were bored and we needed a fun kitchen project, and we have been hooked ever since. They are made with just a handful of real ingredients, so they are perfect for snacking, lunchboxes, or a homemade snack mix spread.
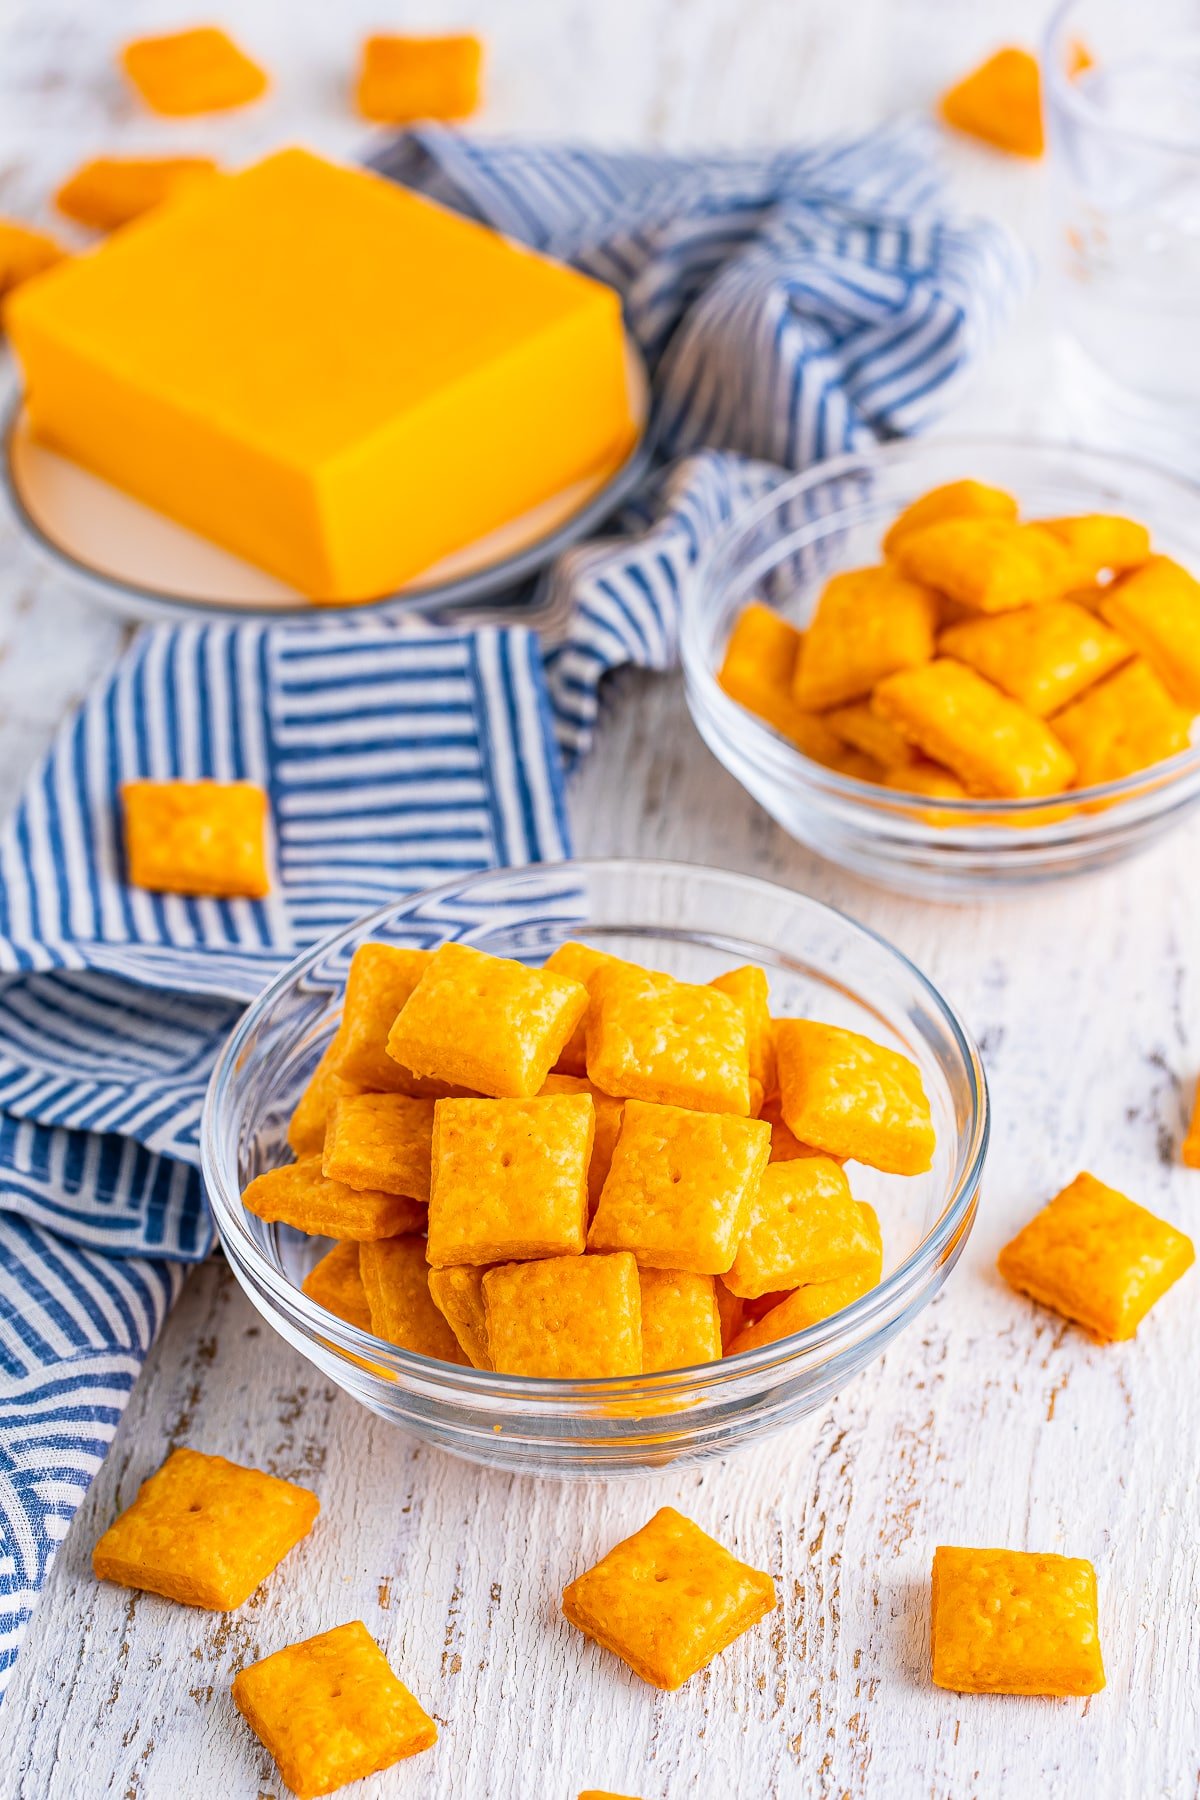
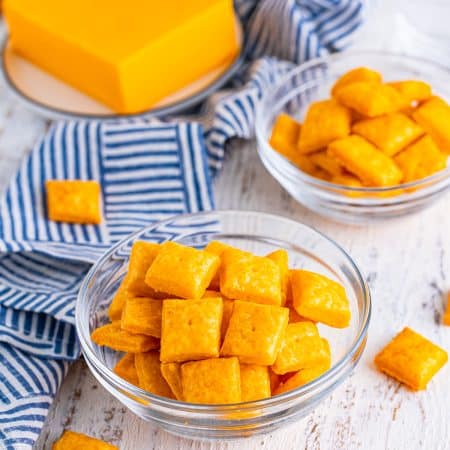
These homemade Cheez-Its come together in a food processor and bake up wonderfully crisp and golden.
Homemade Cheez-Its Quick Look
- 🕒 Prep Time: 30 minutes
- 🌡️ Cook Time: 15 minutes
- ⏳ Total Time: 1 hour 45 minutes (with chilling)
- 🍽️ Serving: 14 servings
- ⚡ Calories: 127kcal
- 🌶️ Flavor Profile: Sharp, cheesy, buttery, and crisp with a hint of garlic
- ✋ Difficulty: Moderate, a fun and rewarding baking project
Quick Answer
To make Homemade Cheez-Its, pulse shredded cheddar, flour, butter, and seasonings in a food processor, then add ice water until it forms a dough. Chill the dough, roll it thin, cut it into 1-inch squares, poke a hole in each, and bake at 375 degrees for 14 to 15 minutes until puffed and golden.
Jump to:
Why This Recipe Works
Click to see the technique science
- Real cheddar gives real flavor. Freshly shredded sharp cheddar is the star, delivering that bold, cheesy taste no boxed cracker can match.
- The food processor does the work. Pulsing the cheese, flour, and butter into crumbs creates a tender, even dough in minutes.
- Ice water keeps the dough tender. Cold water brings the dough together without melting the butter, which keeps the crackers flaky and crisp.
- Chilling makes rolling easy. An hour in the fridge firms up the butter so the dough rolls out thin without sticking or tearing.
- The poked hole is the secret. A toothpick hole in each square lets steam escape so the crackers stay flat and crisp, just like the real thing.
Why You’ll Love This Recipe
- They taste sharper and fresher than store-bought Cheez-Its, with no preservatives.
- You only need a handful of simple, real ingredients.
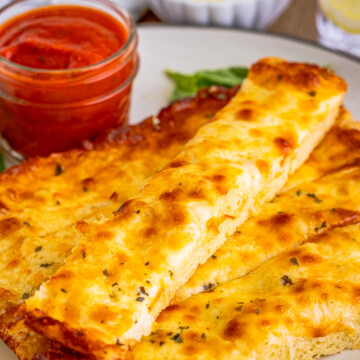
- They are a fun, hands-on baking project that pairs perfectly with our cheese sticks.
- It delivers that same everyone asks for seconds energy as our mini goat cheese balls.
- It delivers that same everyone asks for seconds energy as our graham cracker toffee with heath bits.
- It earns a spot in the rotation right next to our baked scalloped zucchini.
- It delivers that same everyone asks for seconds energy as our loaded french fries with cheese and bacon.
Key Ingredients
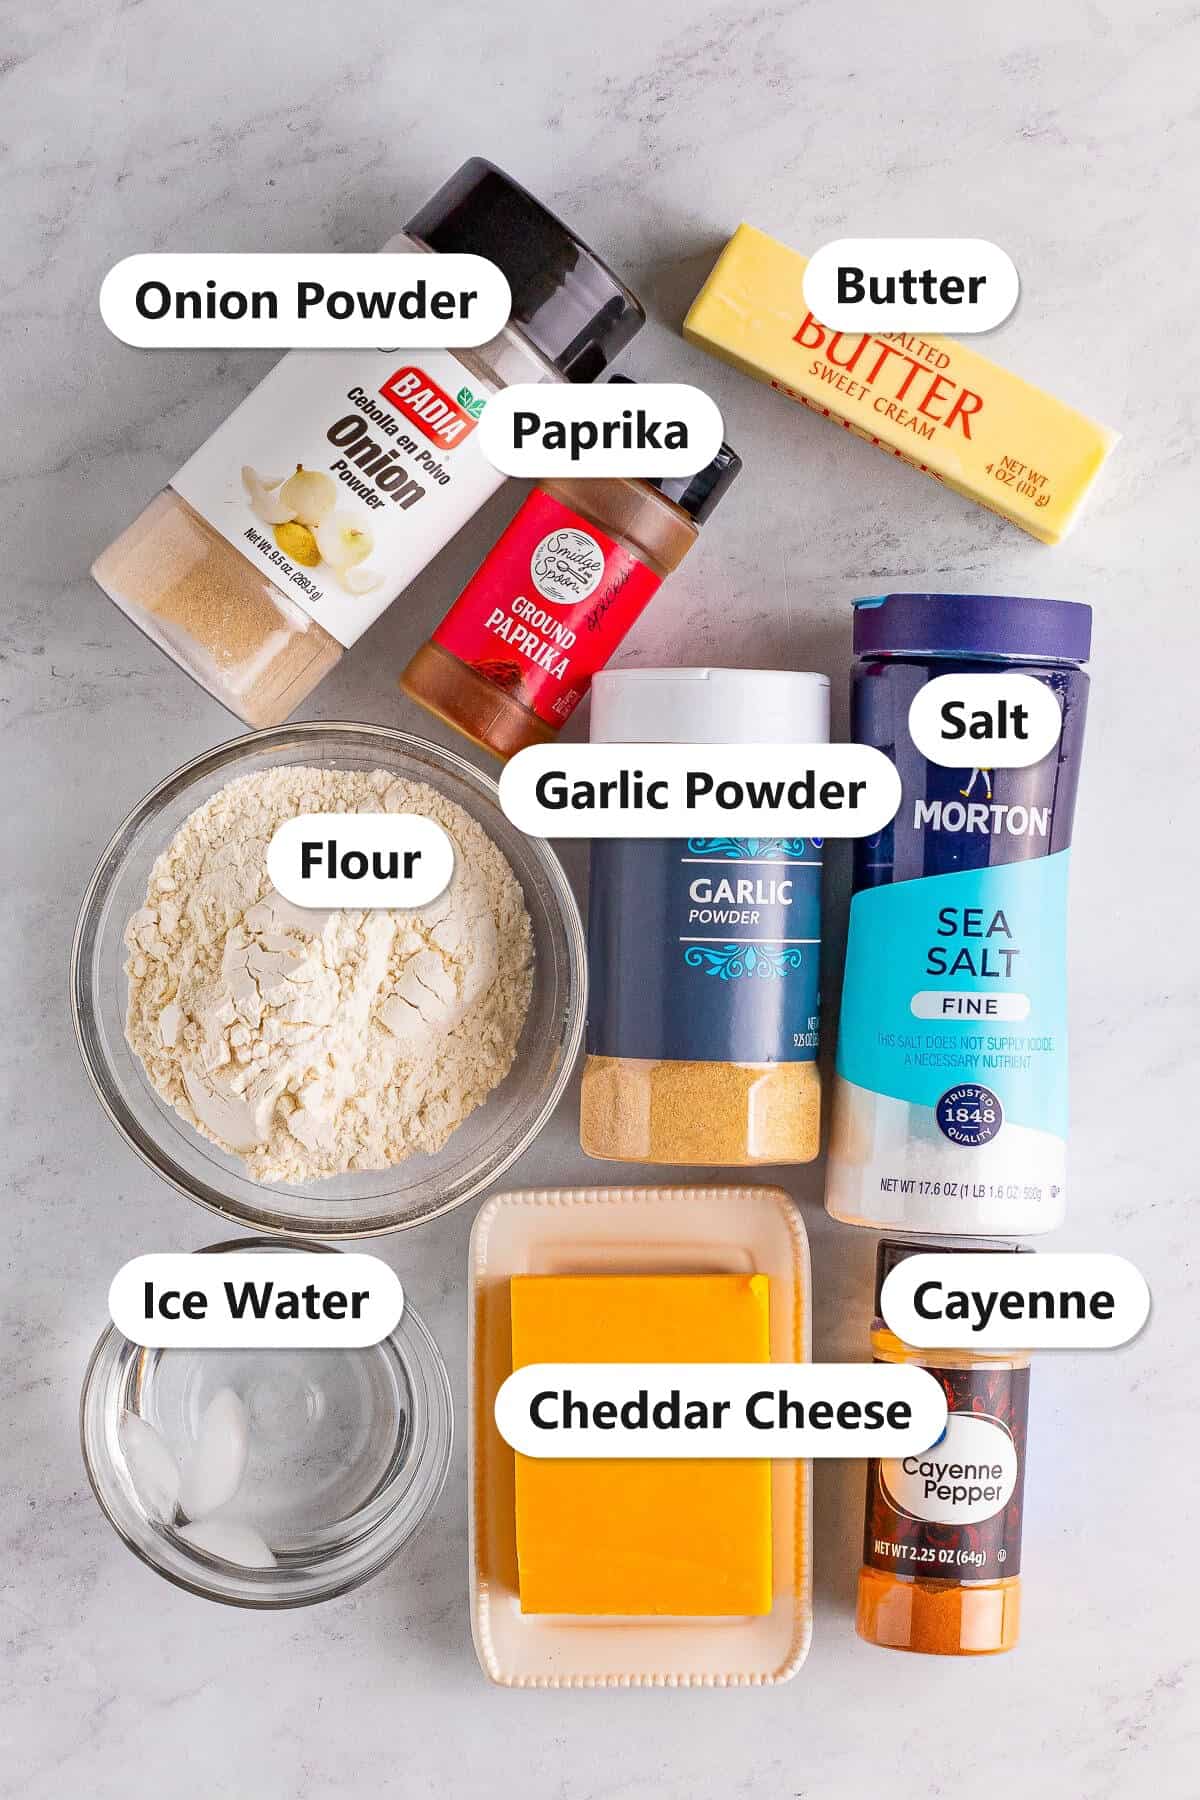
Just a few simple ingredients are all you need for these Homemade Cheez-Its.
- Sharp Cheddar Cheese: Shred it fresh for the best flavor and melt. Sharp cheddar gives the boldest, cheesiest taste.
- All-Purpose Flour: The structure of the cracker. It keeps them crisp and sturdy.
- Butter: Cold and cut in, it makes the crackers flaky and rich.
- Seasonings: Garlic powder, onion powder, paprika, and a pinch of cayenne add savory depth and a subtle kick.
- Ice Water: Brings the dough together while keeping the butter cold for the crispiest crackers.
See recipe card for exact quantities.
Variations and Substitutions
These Homemade Cheez-Its are easy to customize.
- Spice them up: Add more cayenne or a little chili powder for a spicy cracker.
- Try different cheeses: Use white cheddar, gouda, or a mix for a new flavor.
- Add herbs: Mix in a little dried rosemary, dill, or everything bagel seasoning.
- Make them whole grain: Swap part of the flour for whole wheat flour.
- Sprinkle with salt: Brush the tops with a little water and sprinkle flaky salt before baking.
- If you want to switch things up, our chili cheese dog casserole plays on similar flavors in a whole new way.
- If you want to switch things up, our southern chipotle cheese straws plays on similar flavors in a whole new way.
- In the mood for something different? Our pimento cheese scratches a similar itch.
- If you want to switch things up, our cheese stuffed bacon wrapped brats plays on similar flavors in a whole new way.
How to Make Homemade Cheez-Its
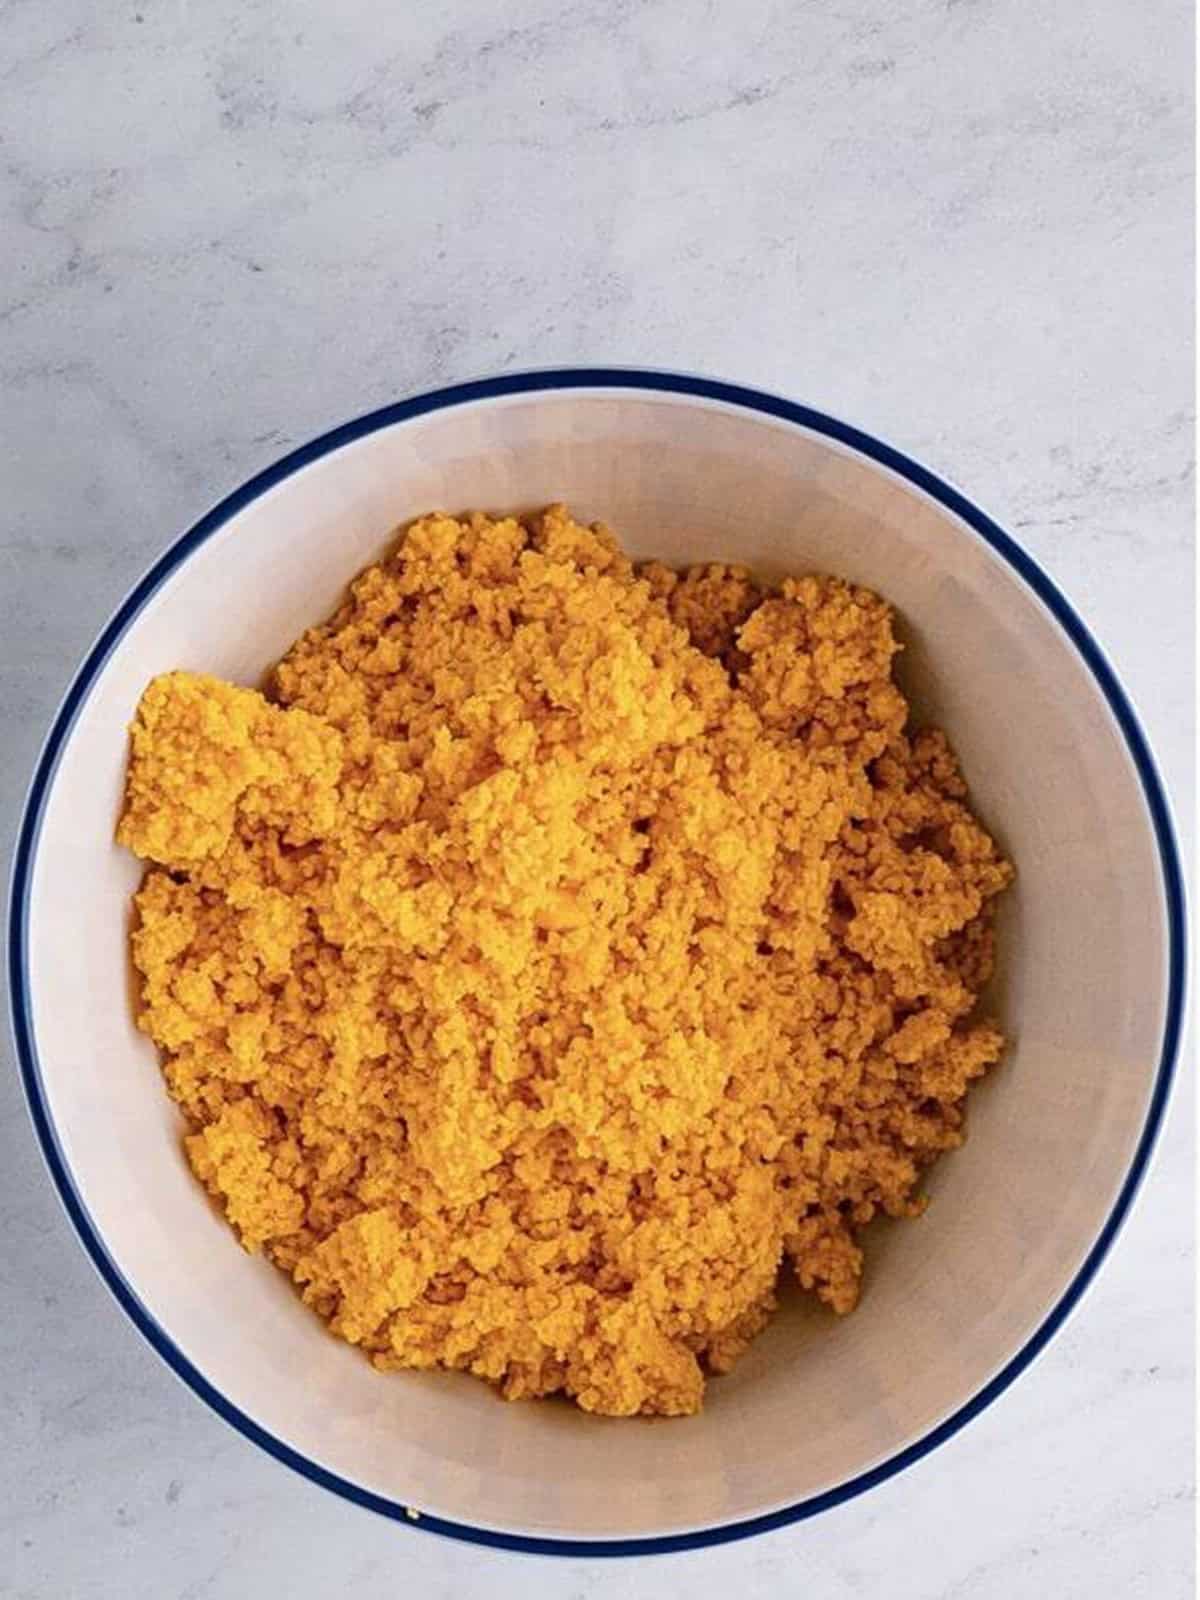
- Pulse into a dough. Combine the shredded cheese, flour, butter, salt, and seasonings in a food processor and pulse into coarse crumbs, then add the ice water until it looks like moist dough.
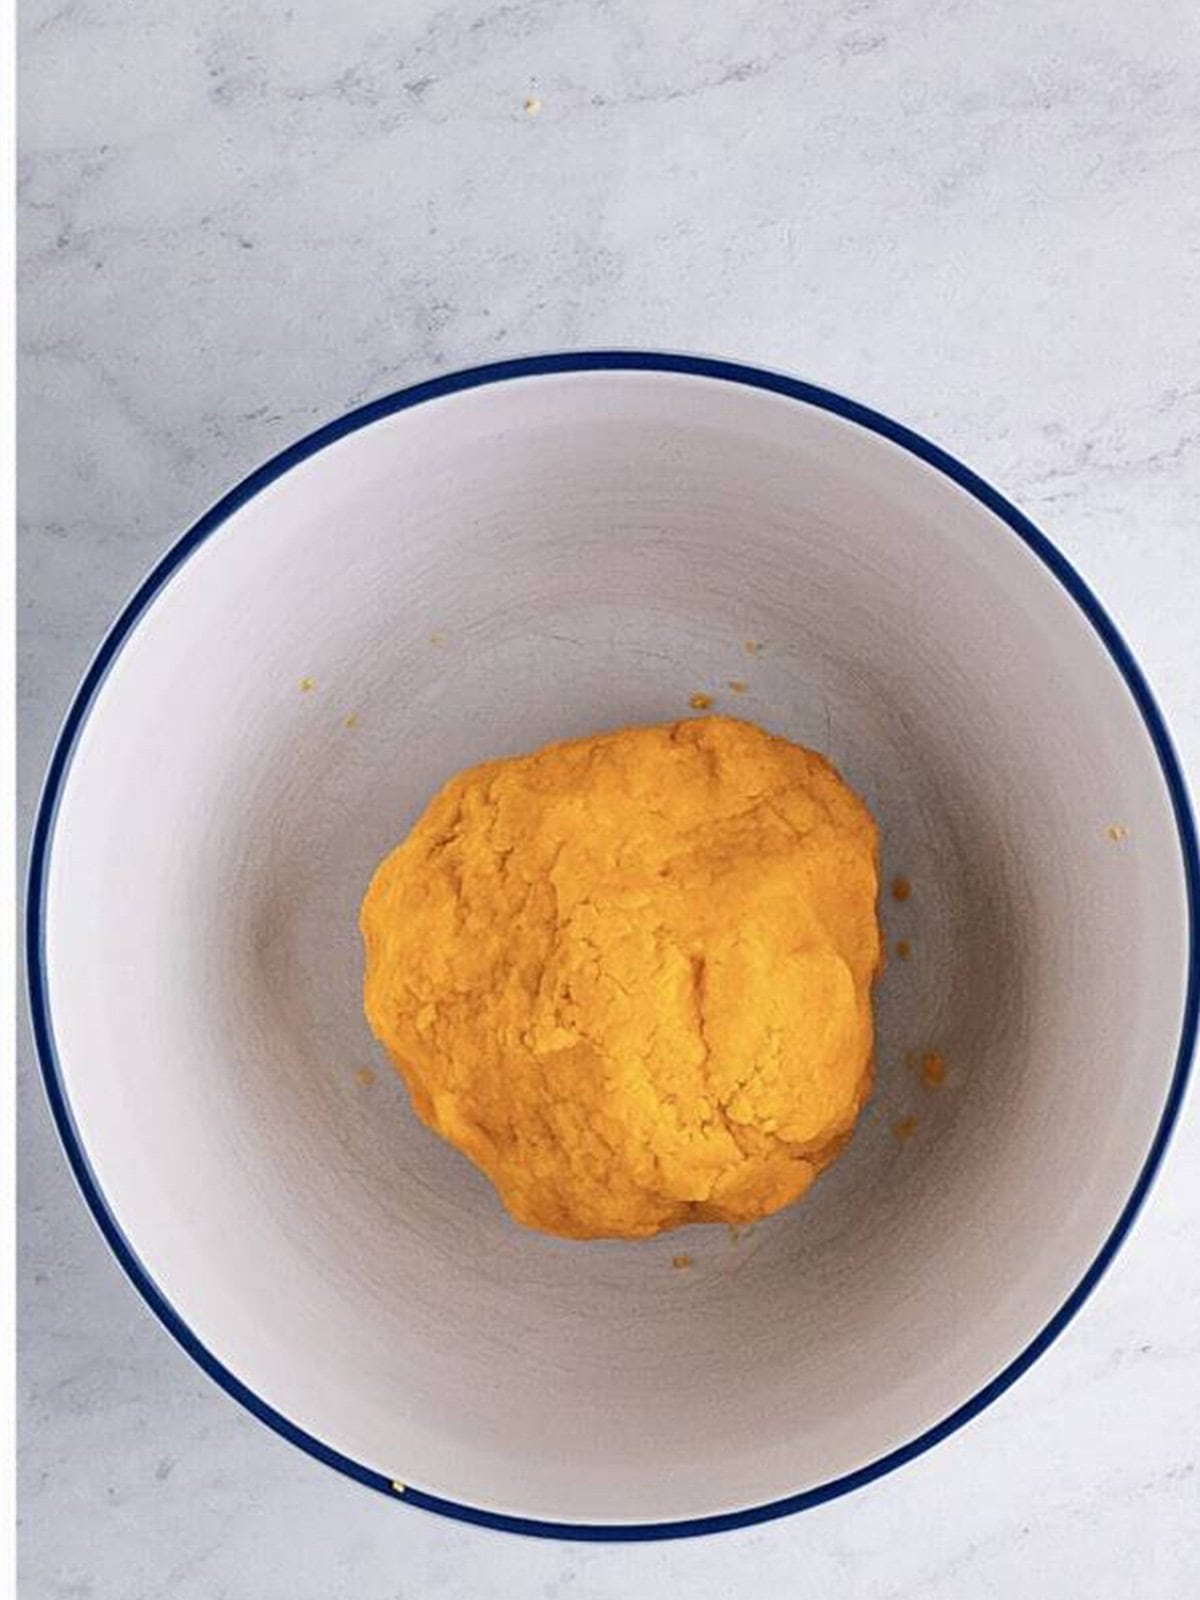
- Form a ball and chill. Knead the dough into a smooth ball, cover it with plastic wrap, and refrigerate for 1 hour.
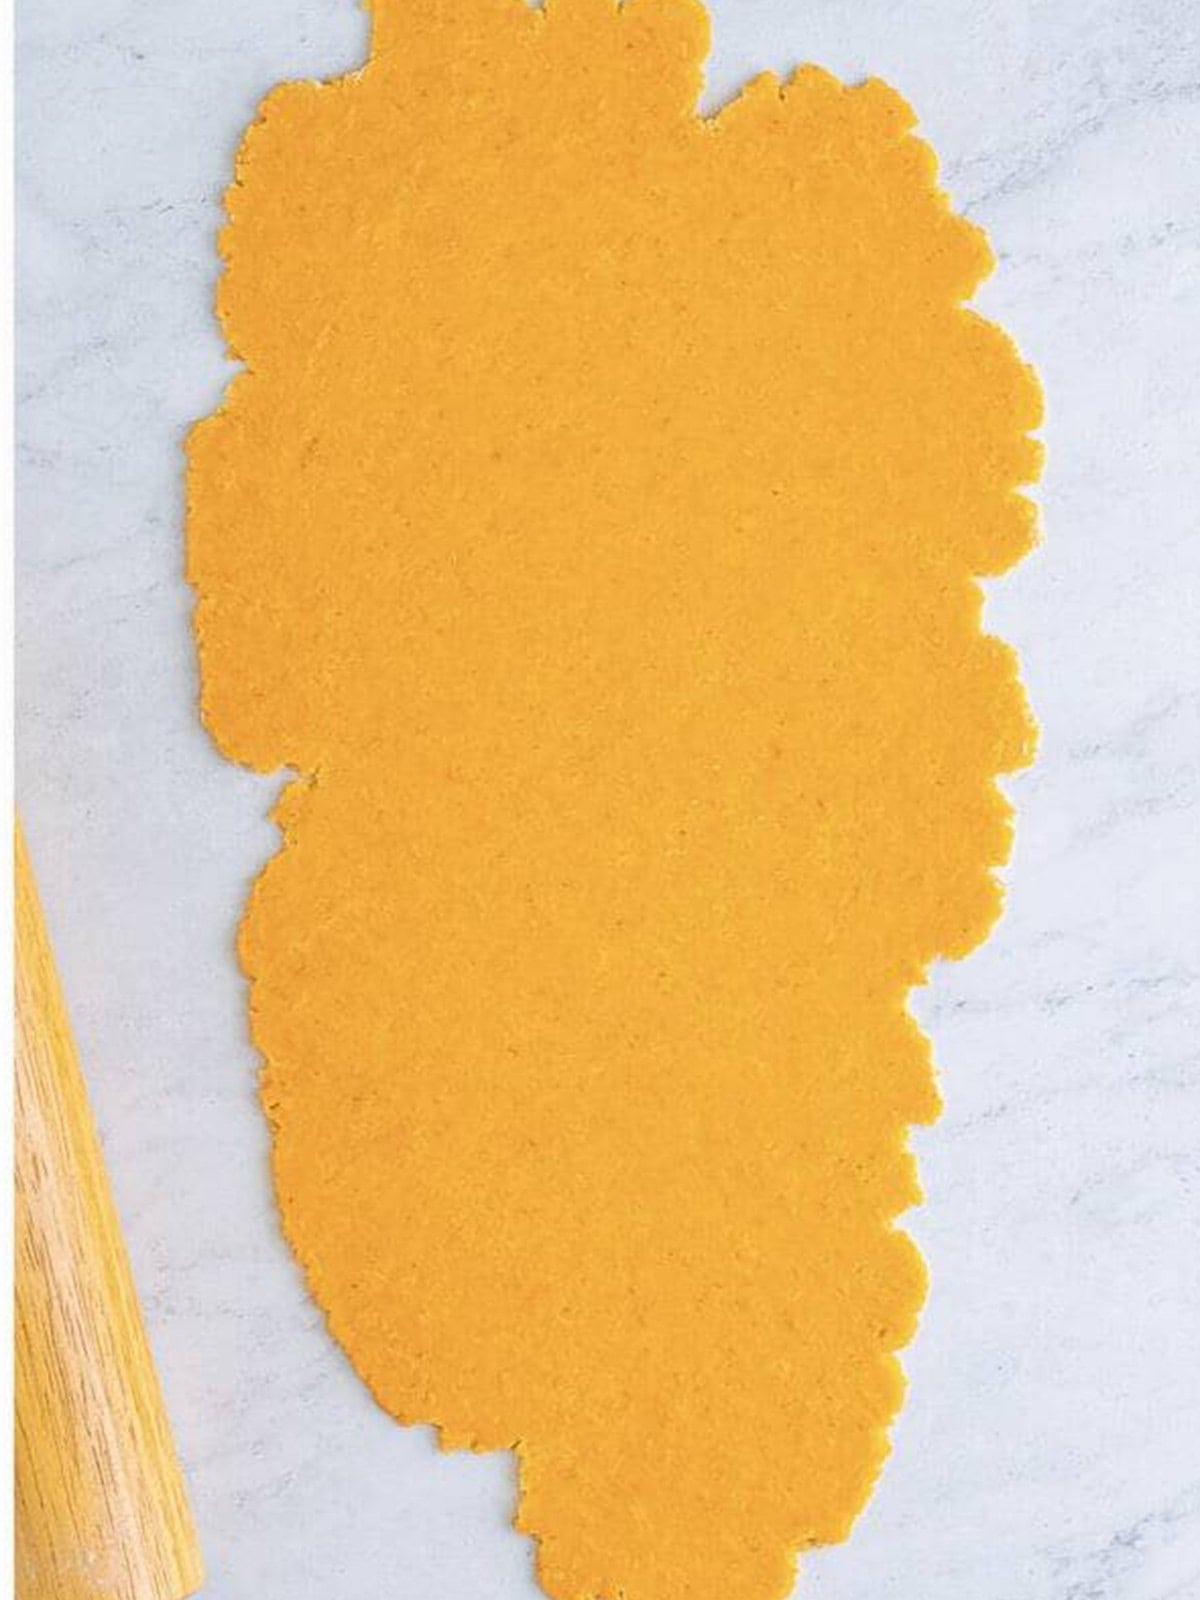
- Roll out the dough. Cut the dough in half and roll one piece out thin, about 1/8 inch, on a lightly floured surface into a rectangle.
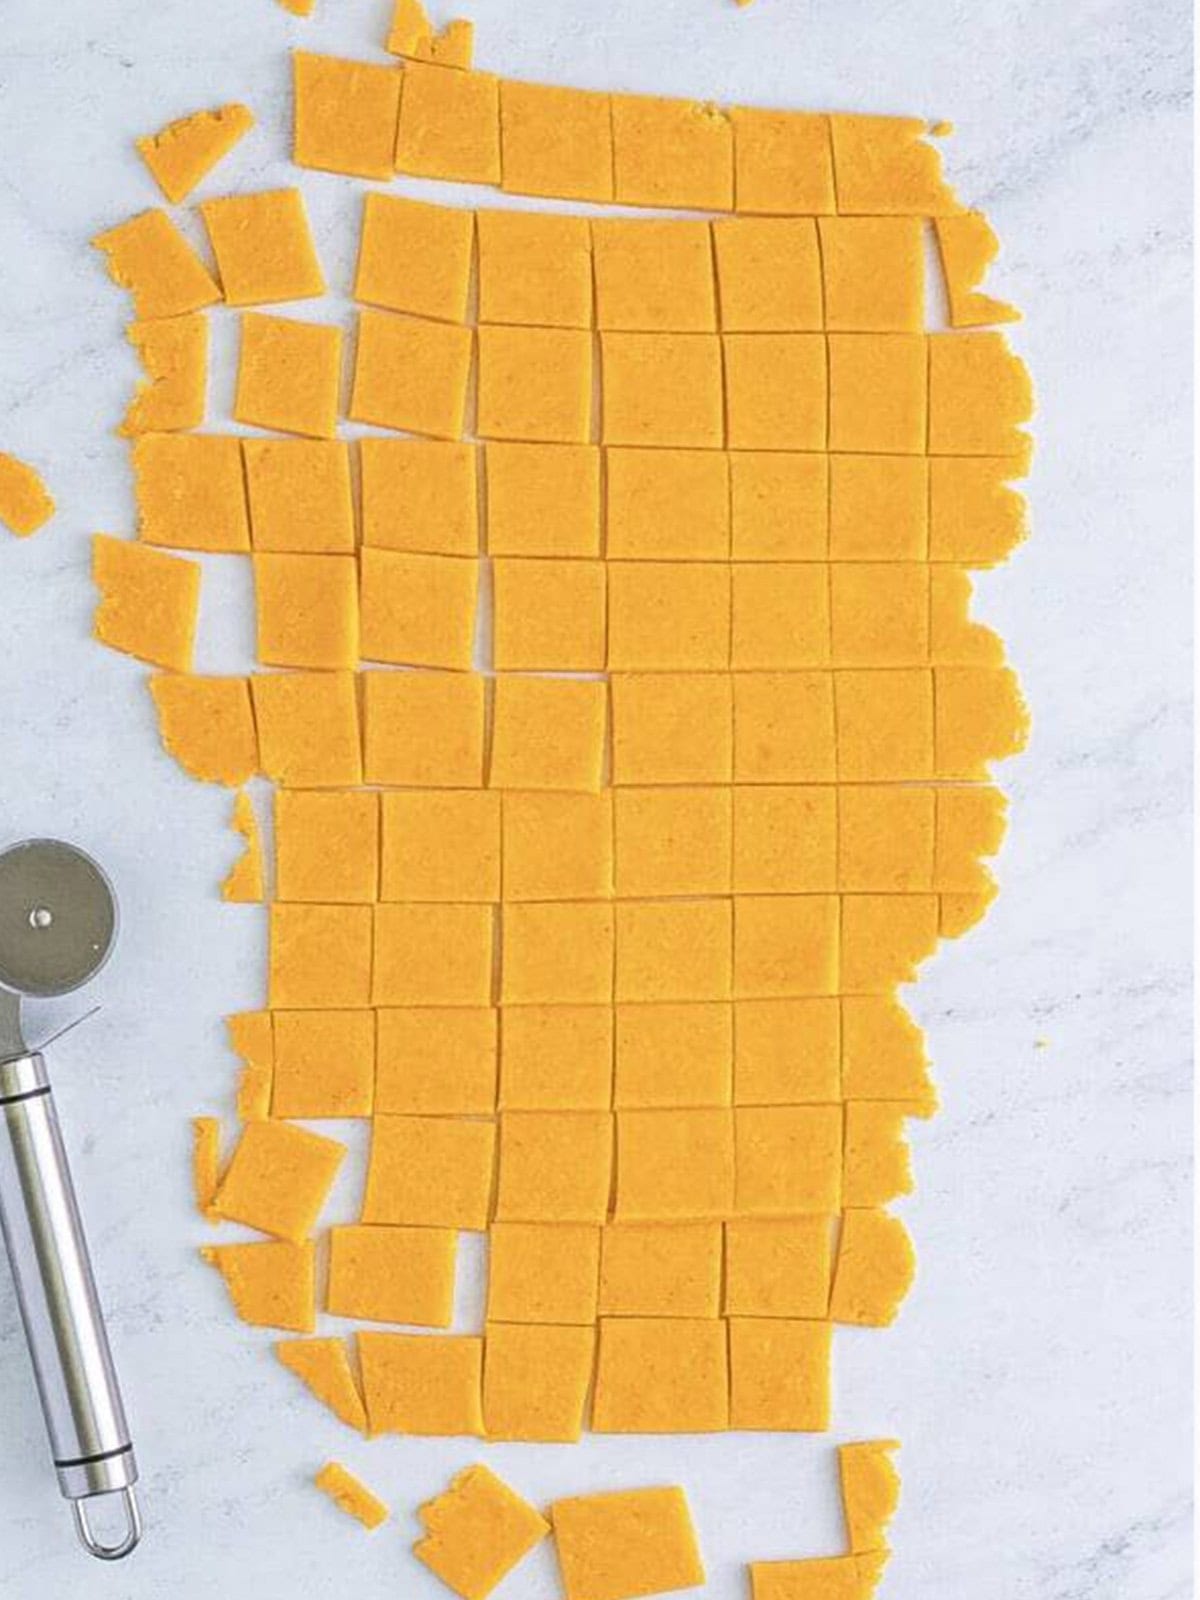
- Cut into squares. Cut the dough into 1-inch squares with a pizza cutter or pastry cutter.
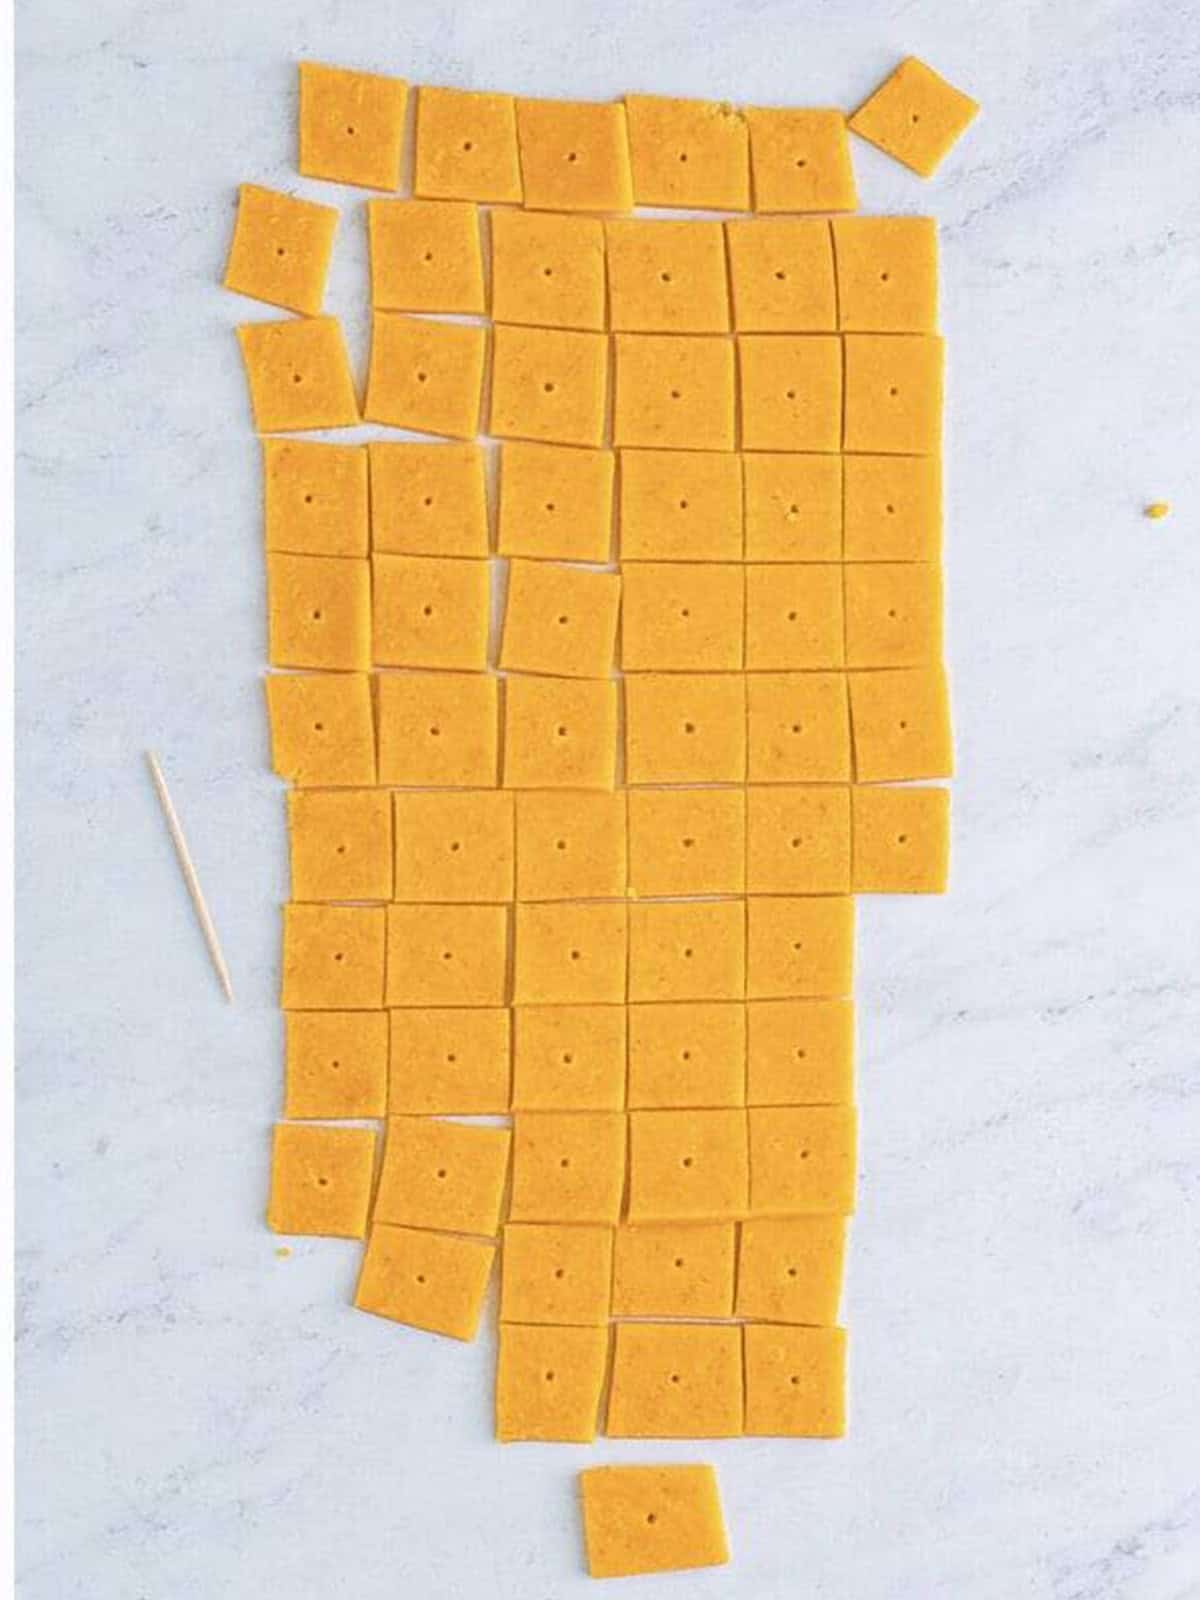
- Poke holes. Poke a hole in the center of each square with a toothpick, then arrange them not touching on a parchment-lined baking sheet.
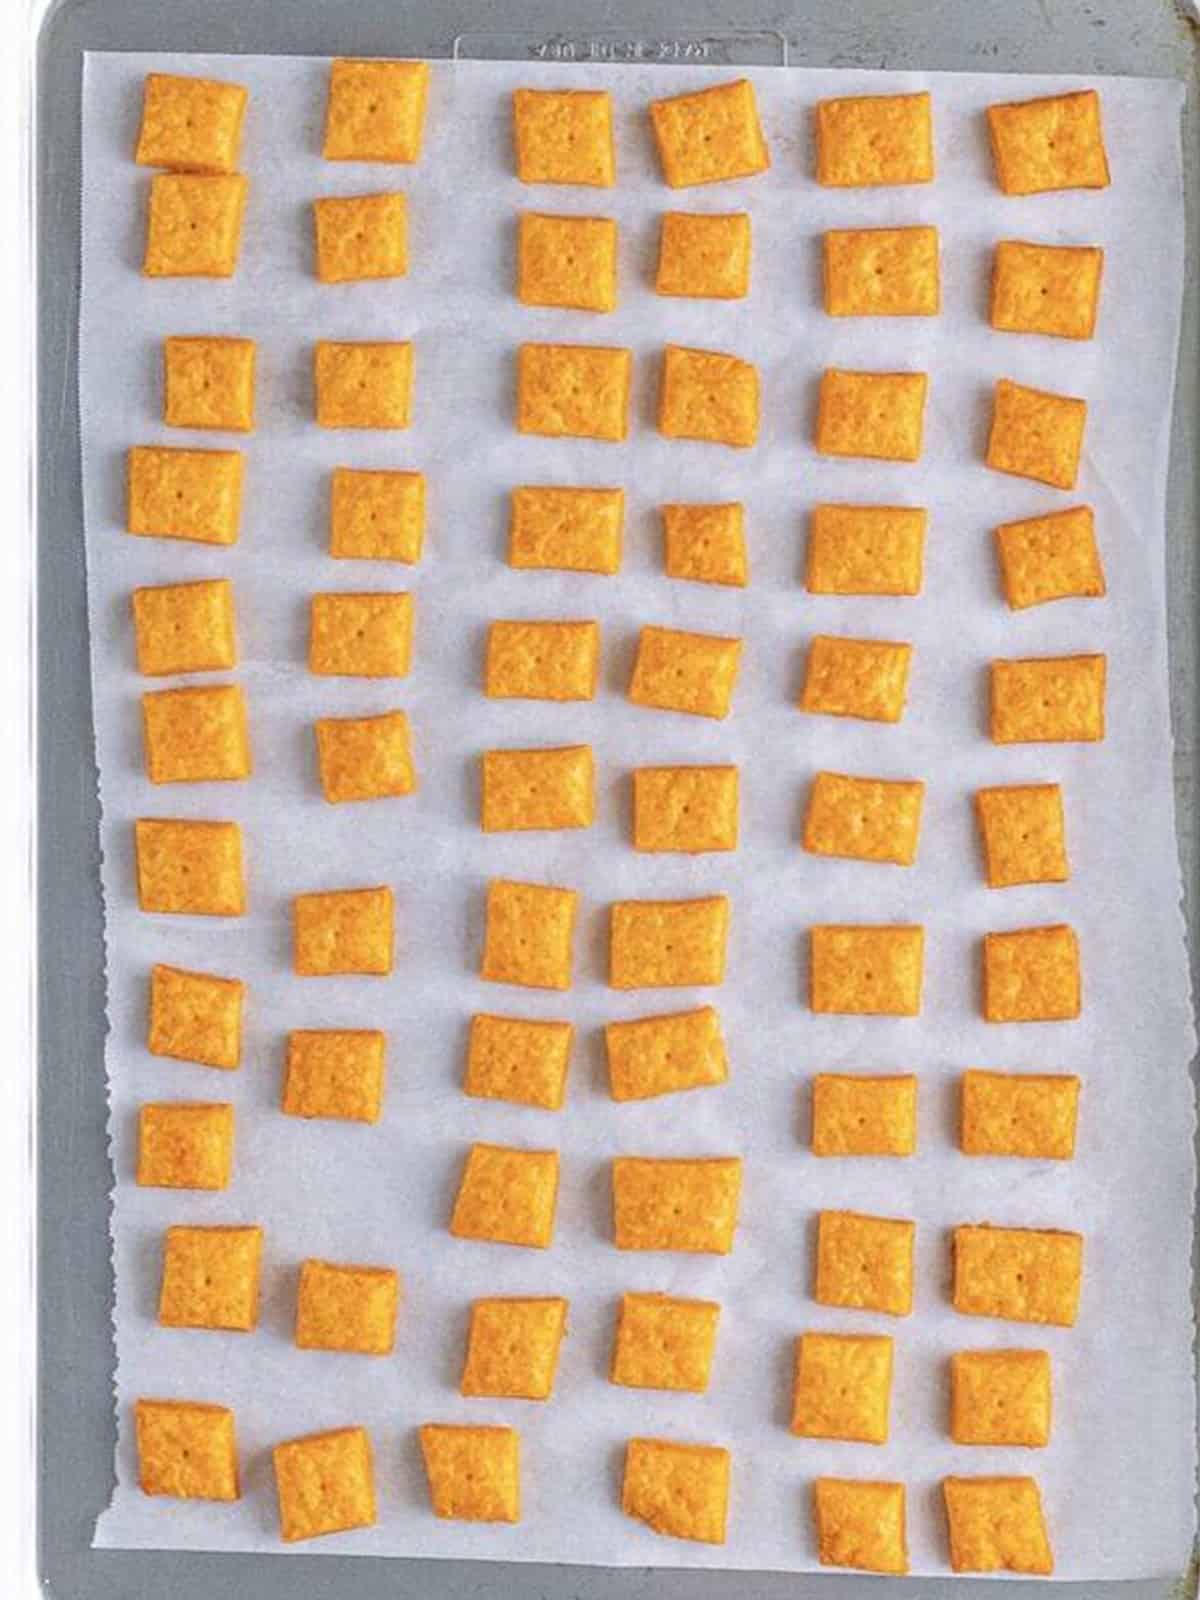
- Bake. Bake at 375 degrees for 14 to 15 minutes until puffed and lightly golden at the edges, then cool completely on the tray.
Recipe Tips & Tricks
- Shred your own cheese, pre-shredded cheese has anti-caking agents that keep it from binding into a smooth dough.
- Keep everything cold, cold butter and ice water are the keys to crisp, flaky crackers.
- Roll the dough thin, the thinner you roll, the crispier the Homemade Cheez-Its.
- Do not skip the hole, it lets steam escape so the crackers stay flat instead of puffing into pillows.
- Watch them closely, they go from golden to too dark quickly at the edges.
- Cool completely before eating, they crisp up as they cool.
- Plan the whole menu. This pairs effortlessly with our copycat cracker barrel hashbrown casserole when company is coming.
- Plan the whole menu. This pairs effortlessly with our cheddar and spinach quiche when company is coming.
- Make it a full spread. Our thick and chewy animal cracker cookies rounds out the table.
Serving Ideas and Suggestions
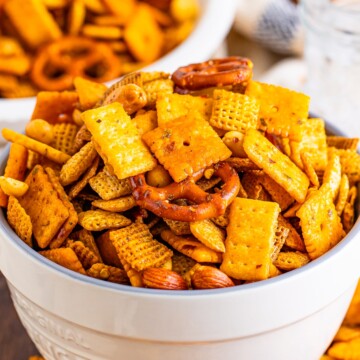
Still filling out the menu? Readers love pairing this one with our cottage cheese cake, firecracker chex mix, and cheese stuffed breadsticks.
Homemade Cheez-Its FAQs
Yes, Homemade Cheez-Its taste sharper, fresher, and cheesier than the box because they are made with real shredded cheddar and no preservatives. They do take a little more effort, but the flavor is worth it.
Sharp cheddar is best for Homemade Cheez-Its because it gives the boldest cheesy flavor. Shred it fresh from a block, since pre-shredded cheese has additives that keep the dough from coming together.
If your Homemade Cheez-Its are not crispy, roll the dough thinner, do not skip the poked hole, and make sure they cool completely. They crisp up as they cool on the tray.
Store Homemade Cheez-Its in an airtight container at room temperature for up to a week. If they soften, crisp them back up in a 300 degree oven for a few minutes.
Yes, you can make the dough for Homemade Cheez-Its up to 2 days ahead and keep it wrapped in the fridge, or freeze it for up to 3 months. Bake the crackers fresh when you are ready.
Poking a hole in each square lets steam escape while the Homemade Cheez-Its bake, so they stay flat and crisp instead of puffing up like little pillows.

Love a good homemade snack? Try our crunchy sweet chex mix next.

Homemade Cheez-Its
Ingredients
- 8 ounces block sharp cheddar cheese
- 1 cup all-purpose flour
- 4 tablespoons unsalted butter cut into cubes
- 1/2 teaspoon fine sea salt
- 1/8 teaspoon garlic powder
- 1/8 teaspoon onion powder
- 1/8 teaspoon paprika
- small pinch of cayenne
- 2 tablespoons ice water
Instructions
- Shred the cheese by hand or shred it using your food processor attachment.
- Place the shredded cheese, flour, butter, salt, garlic powder, onion powder, paprika, and cayenne in a food processor with the standard blade.
- Pulse until the mixture resembles coarse crumbs.
- Keep pulsing while adding the ice water. The mixture will look slightly moist and begin to look like a dough.
- Place the mixture into a large mixing bowl and knead it with your hands until it comes together into a smooth ball. Cover with plastic wrap and place it in the fridge for 1 hour.
- Preheat the oven to 375°F. Line sheet trays with parchment paper and set aside.
- Cut the dough in half and place it on a lightly floured, clean work surface. Keep the other half covered in the refrigerator.
- Roll out the dough to ⅛ of an inch thick or thinner with a rolling pin on a lightly floured surface. Form into a rectangle shape, just do the best you can.
- Cut the dough into 1-inch squares using a pastry cutter, pizza cutter, or something similar. Gather up the edges to use later and place them in the fridge.
- Take a toothpick and make a hole into the center of each square. Place the crackers not touching on to the prepared baking sheet.
- Bake for 14-15 minutes until they are puffed up, appear dry on top, and very slightly start to brown along the edges. Allow the crackers to cool to room temperature on the sheet tray.
- While the first batch is baking, roll out the second batch of the dough and repeat the rolling out and cutting process.
- Finally, take all the scraps and roll them out to form your last squares and bake them off as well.
- Enjoy immediately once they are cooled.
Notes
- Freshly grate the cheese from a block; we don’t want pre-shredded cheeses with added clumping agents.
- This makes a large batch, but you can easily double it to feed more or halve the recipe as needed.
- Custom options, see my tips above on that.
- This freezes well, see my tips above on how to store.
- Use different flavors of cheese to switch it up.
- Use cold butter. This will help to create a flaky crust.
- Don’t overwork the dough. Overworking the dough will make the crackers tough.
- Bake the crackers until they are golden brown. If they are not golden brown, they will be soft and chewy.
- Let the crackers cool completely before storing them. This will help to prevent them from becoming soggy.
Nutrition
Love This Recipe?
Follow @ThisSillyGirlsKitchen on Instagram and @danadevolk on Pinterest for more!


I have made these crackers several times over the last 10 days. Everyone loves them! I added real bacon bits to one batch and they were devoured. Thank you for sharing this recipe. I have added this recipe to my favorites!
I love this recipe!! I want my daughter to have quality snacks and she really enjoyed these!! Thank you!!
Store leftovers at room temperature in an airtight container for up to 7 days.
Freeze for up to 3 months.
How long will fresh ones last? Or grab a handful and freeze thaw as wanted??
You can freeze either
Can you freeze the dough or are we supposed to freeze the cooked cheese cracker?