This post may contain affiliate links.
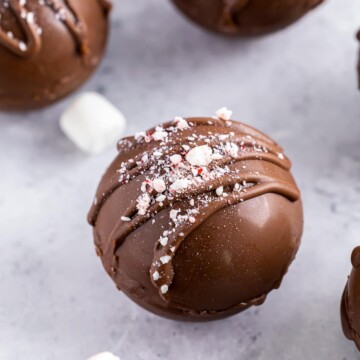
Hot Cocoa Bombs are the kitchen project with the biggest payoff per effort I know, a shiny chocolate shell packed with cocoa mix, mini marshmallows, and crushed peppermint that cracks open in slow motion when hot milk hits it, and the girls still gasp every single December like it is brand new magic. Pair one with a mug from our slow cooker white hot chocolate crowd and you have a hot chocolate bar.
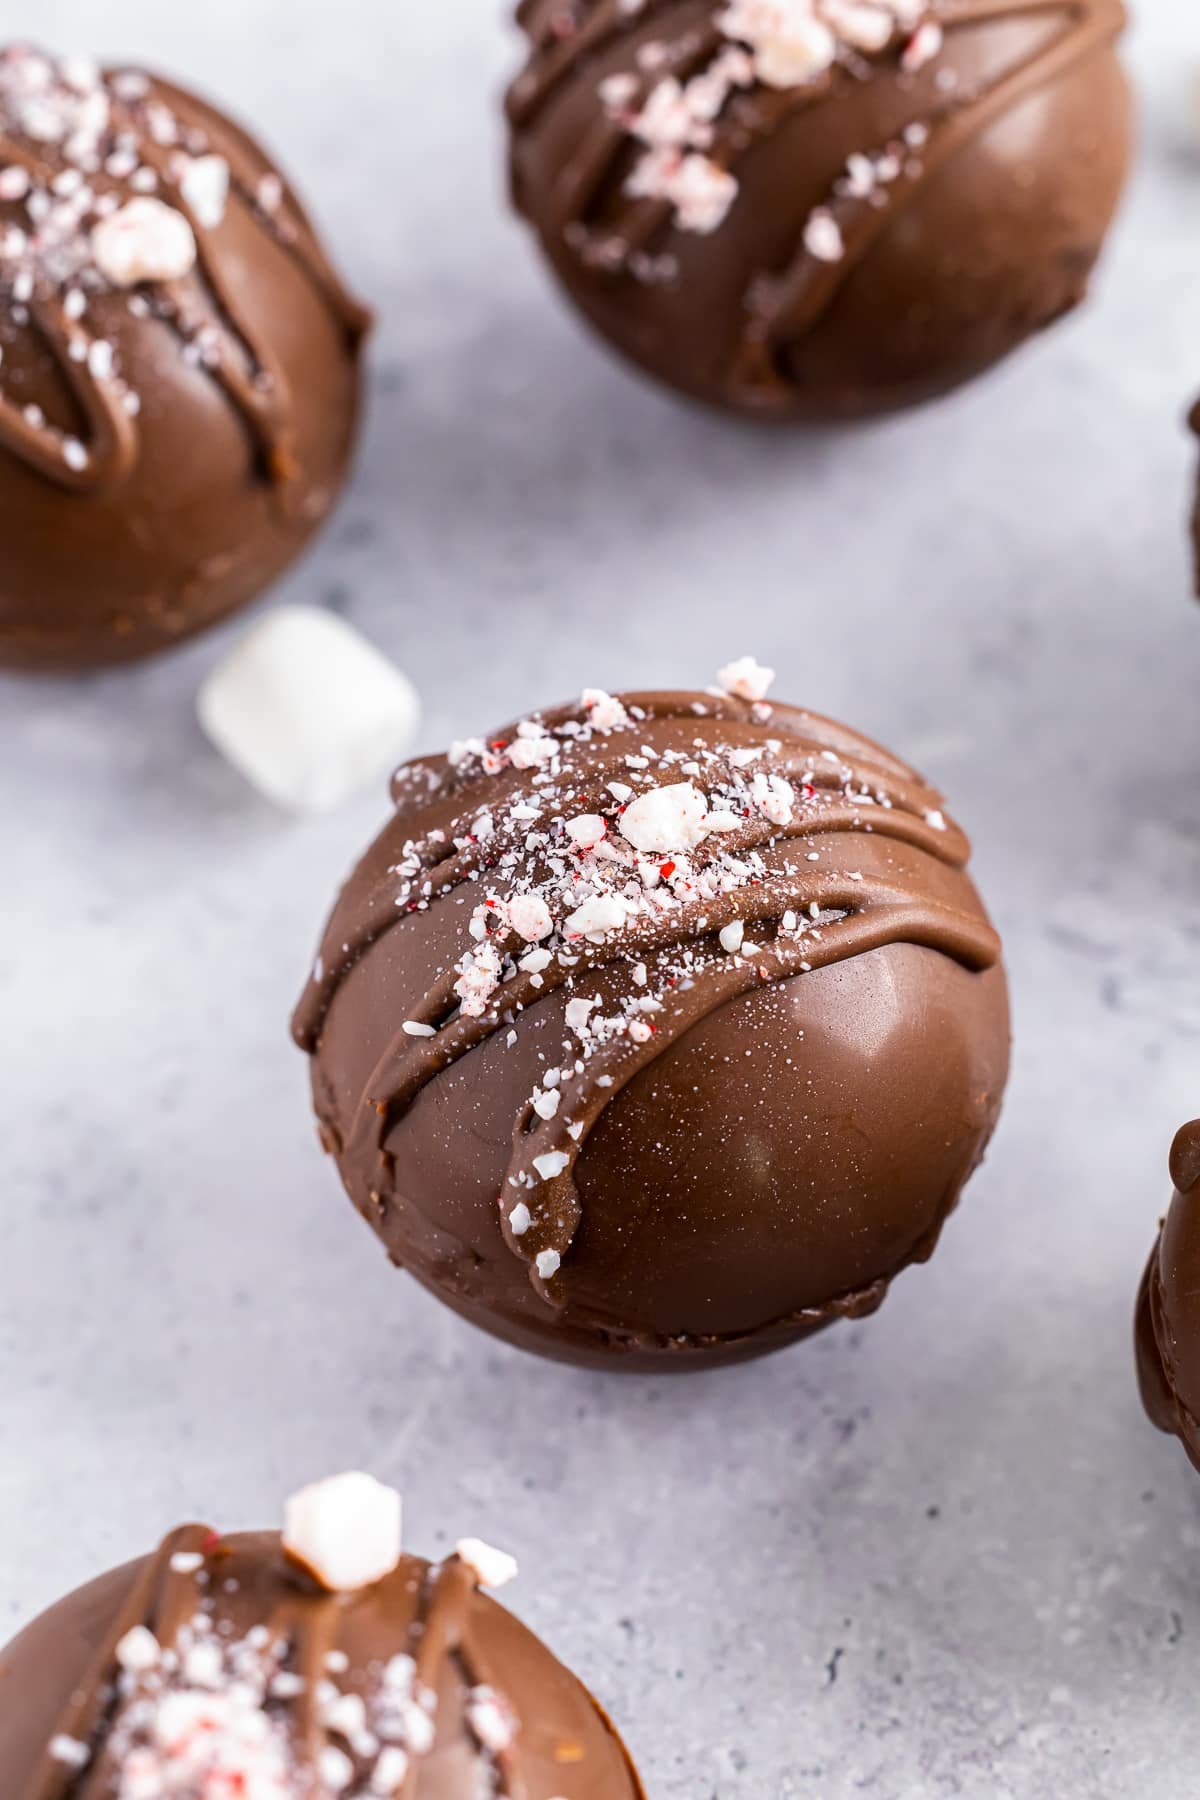
Four ingredients and a silicone mold are all it takes to make ten of them.
Hot Cocoa Bombs Quick Look
- 🕒 Prep Time: 20 minutes
- 🌡️ Cook Time: 0 minutes
- ⏳ Total Time: 30 minutes
- 🍽️ Serving: 10 bombs
- ⚡ Calories: 437kcal
- 🌶️ Flavor Profile: Creamy milk chocolate, sweet cocoa, and cool crushed peppermint
- ✋ Difficulty: Easy, on par with our chocolate mug cake
Quick Answer
Melt chocolate melting wafers in the microwave in 45 second bursts, then spoon and swirl the chocolate to coat the cavities of a silicone half sphere mold. Chill 5 to 10 minutes, unmold the shells, and fill half of them with a spoonful of hot cocoa mix, crushed peppermint, and mini marshmallows. Pipe melted chocolate around the rim, press an empty shell on top to seal, and drizzle the finished bombs with more chocolate. Drop one in a mug of hot milk and stir.
Jump to:
Why This Recipe Works
Click to see the technique science
- Melting wafers set up shiny and snappy. Compound melting wafers are made to harden glossy at room temperature, no candy thermometer or tempering required.
- Wiping the mold makes the shells gleam. A quick buff inside the silicone cavities before coating removes dust and water spots, which is the trick to bakery shiny bombs.
- Two coats beat one thick pour. Swirling a thin layer and letting it set builds an even shell that is sturdy enough to handle but thin enough to melt fast in milk.
- Cold shells release cleanly. Five to ten minutes in the fridge shrinks the chocolate slightly away from the silicone so the shells pop out without cracking.
- Warm chocolate is the glue. Piping melted chocolate around the rim and holding the halves together for 30 seconds welds a seam that survives gift bags and stockings.
- The mix stays sealed until showtime. Everything inside is shelf stable, so the bombs keep for weeks and the marshmallow surprise stays crisp until the milk hits.
Why You’ll Love This Recipe
- Four ingredients, no baking, and each one is a tiny magic show in a mug.
- They keep for weeks, which makes them the perfect make ahead holiday gift.
- They turn movie night into an event, especially next to a bowl of our Christmas puppy chow.
Key Ingredients
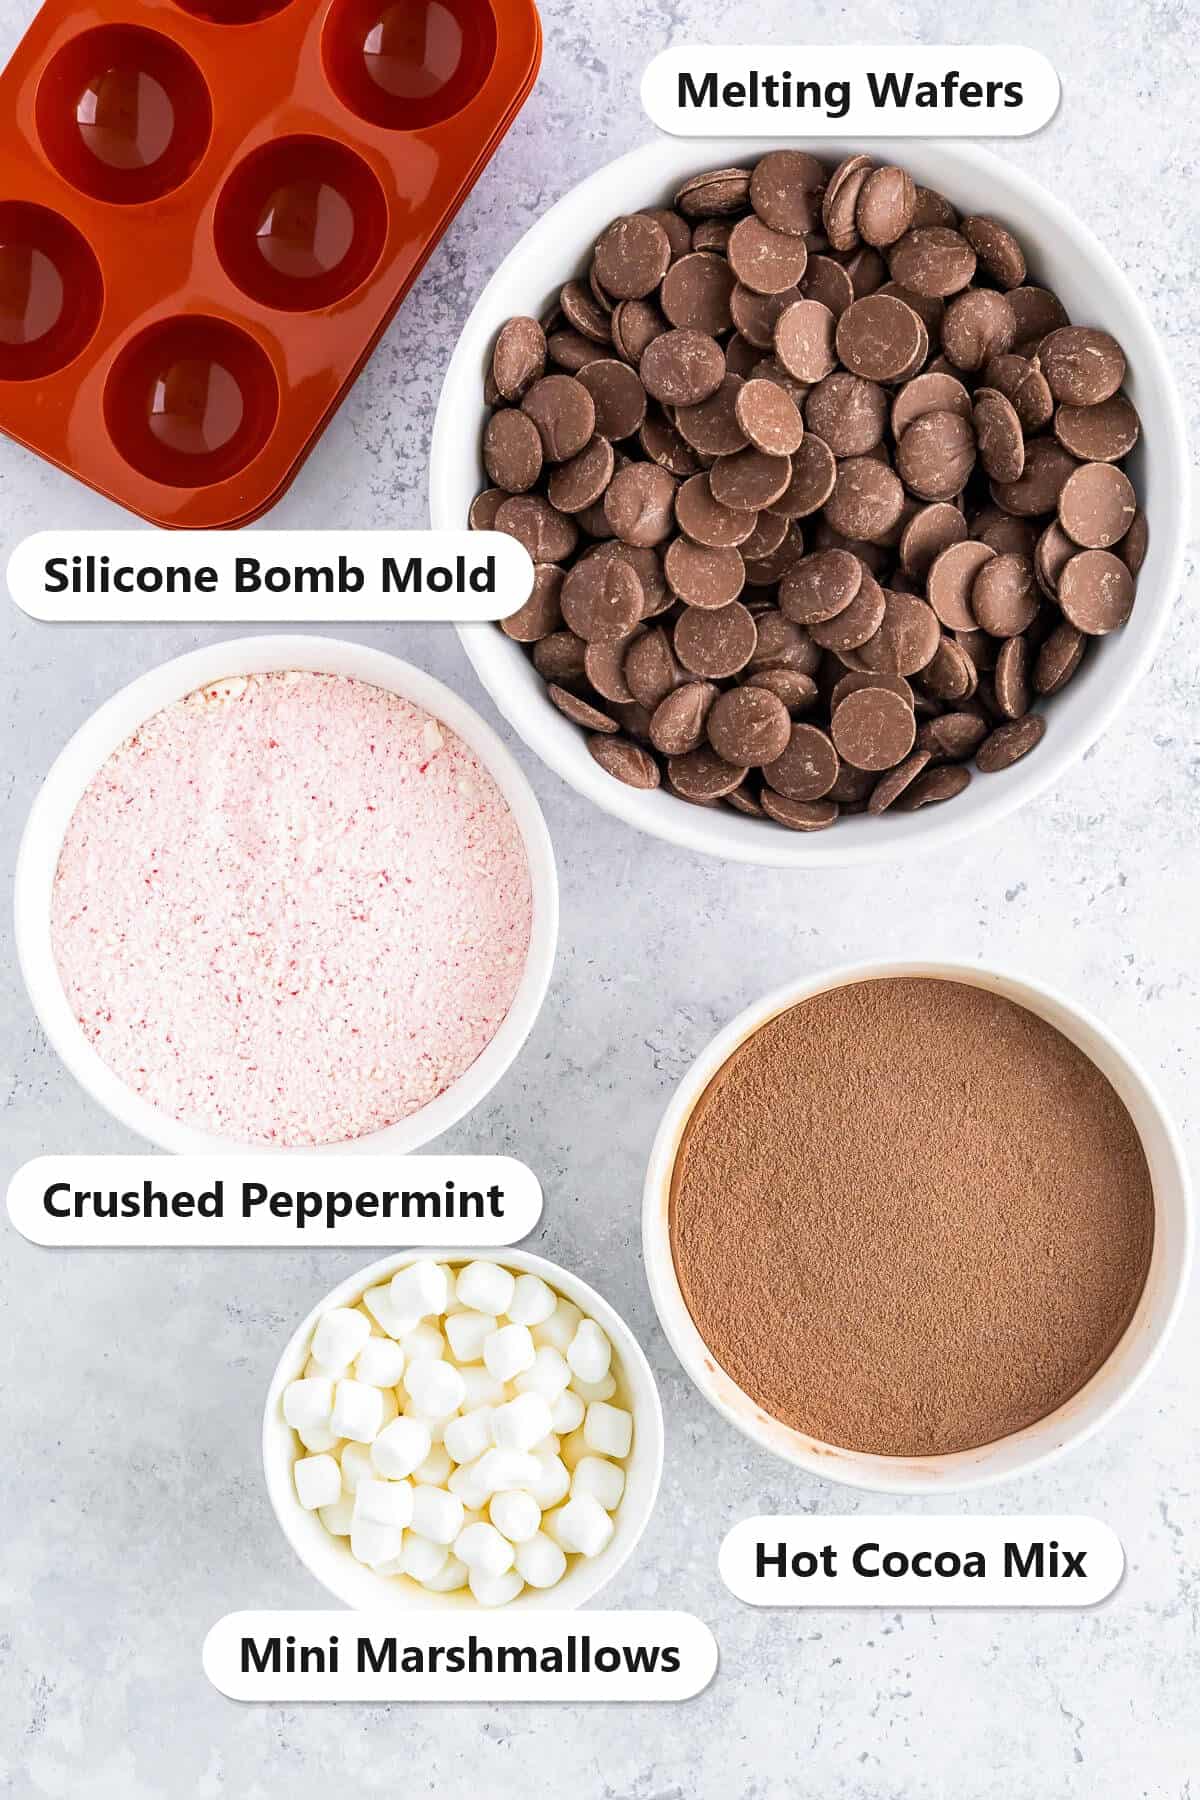
Four ingredients plus one silicone mold.
- Chocolate melting wafers: Ghirardelli milk chocolate wafers melt smooth and set shiny without tempering. Dark or white wafers work too.
- Hot cocoa mix: Peppermint chocolate mix doubles down on the candy cane flavor, but any favorite cocoa mix works.
- Crushed peppermint candy: Goes inside the bomb and on top for that candy cane crunch and festive look.
- Mini marshmallows: The surprise that floats up when the bomb melts open. Minis fit the shells perfectly.
- Silicone half sphere mold: Not an ingredient, but essential. A 2 to 2.5 inch cavity mold makes mug sized bombs.
See recipe card for exact quantities.
Variations and Substitutions
One mold, endless flavor combos.
- Use white chocolate wafers with the peppermint for a candy cane bark vibe.
- Swap the peppermint for caramel bits and a pinch of flaky salt for salted caramel bombs.
- Fill with mexican hot chocolate mix and a dash of cinnamon and cayenne for a spiced version.
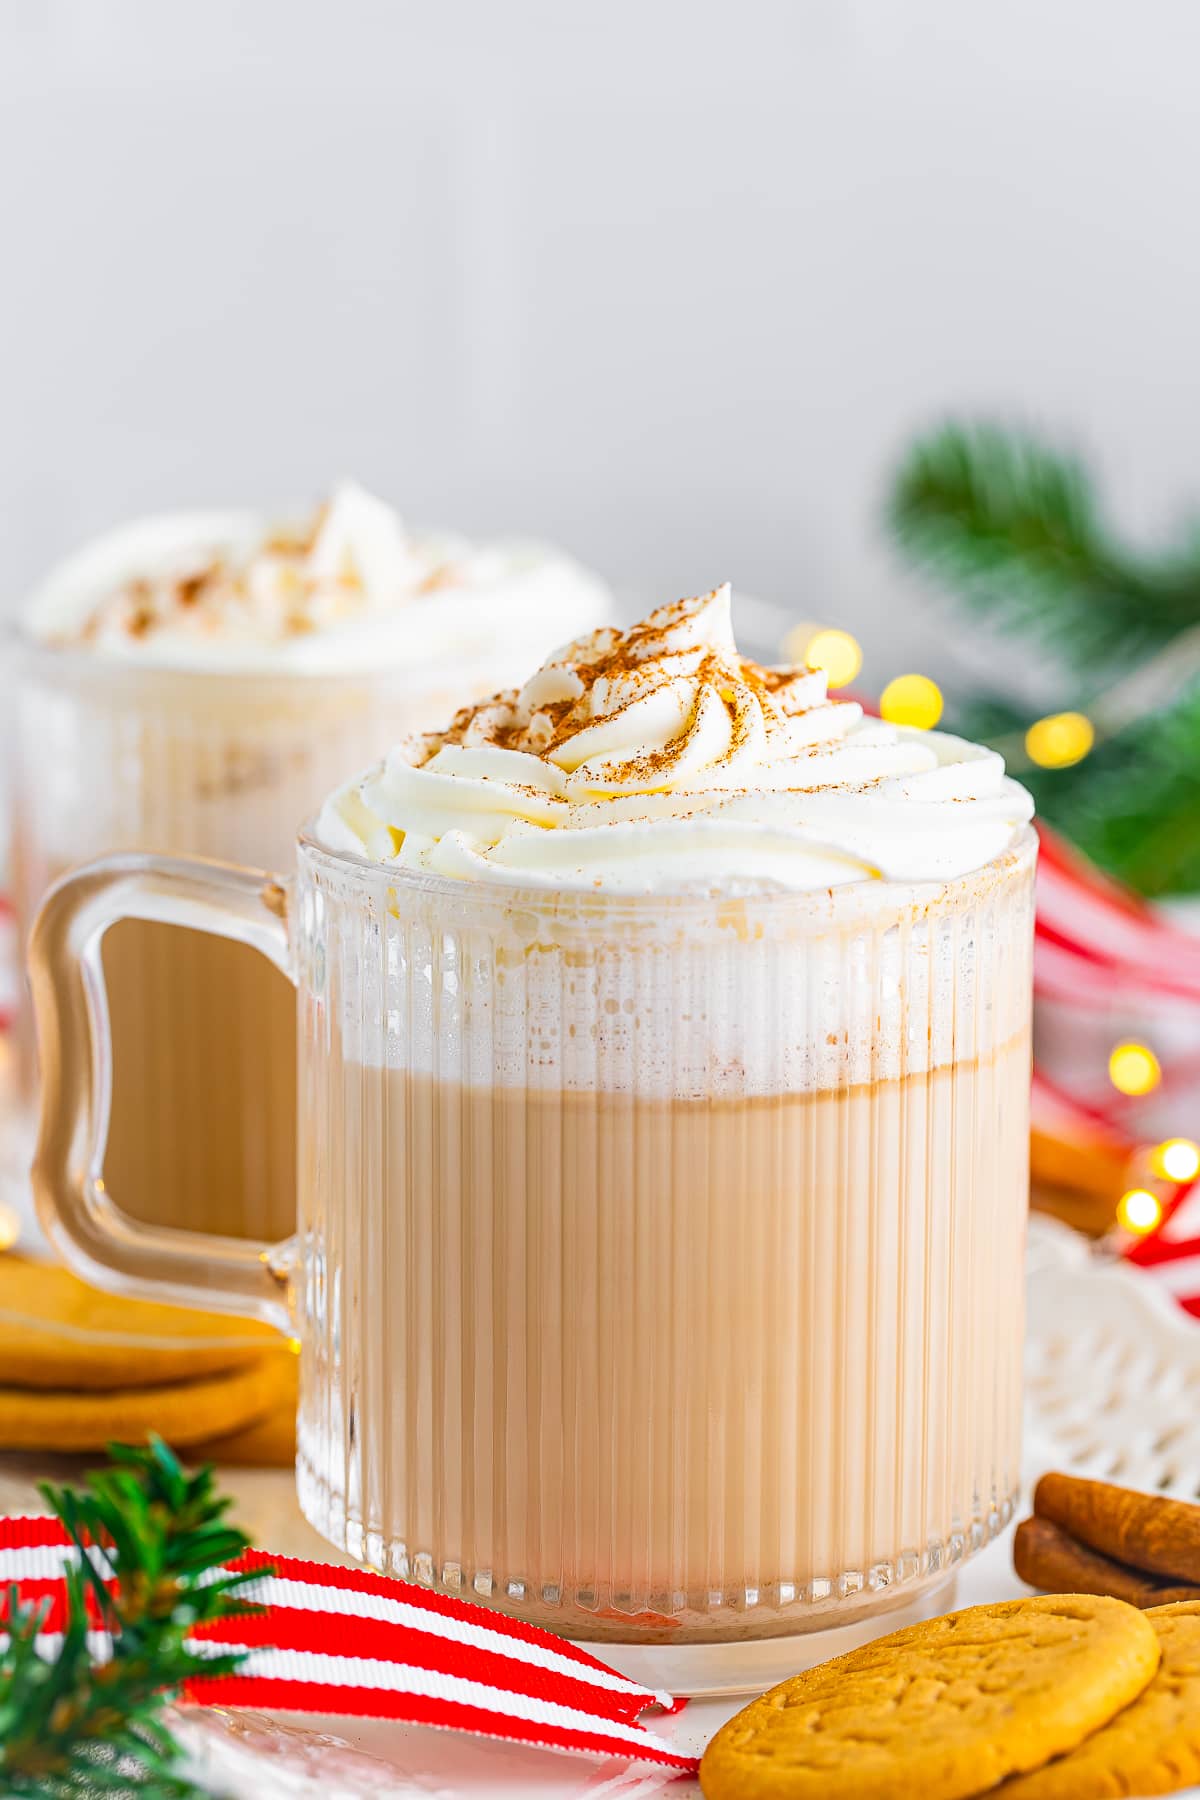
- Skip the peppermint entirely and serve them alongside our homemade gingerbread latte for a full holiday drink station.
How to Make Hot Cocoa Bombs
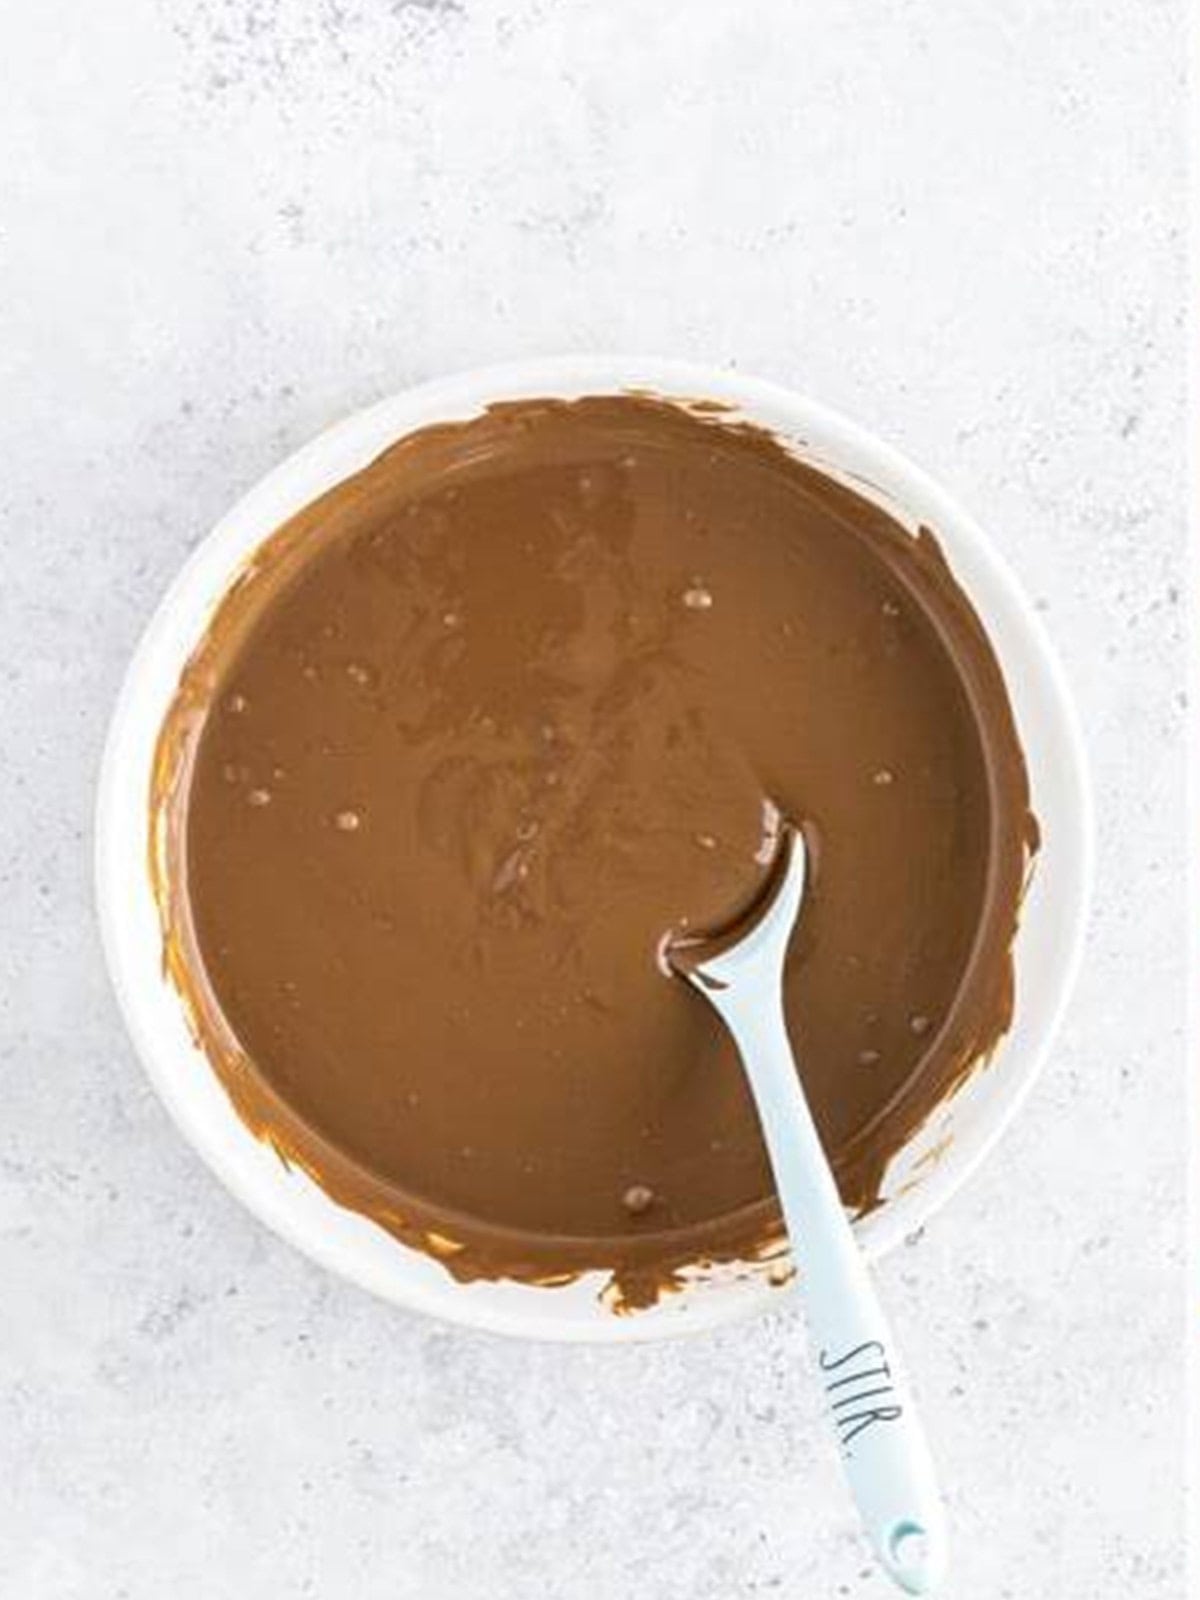
- Wipe the inside of the silicone molds with a paper towel so the shells come out shiny. Microwave the melting wafers in a heat safe bowl in 45 second bursts, stirring between each, until completely smooth.
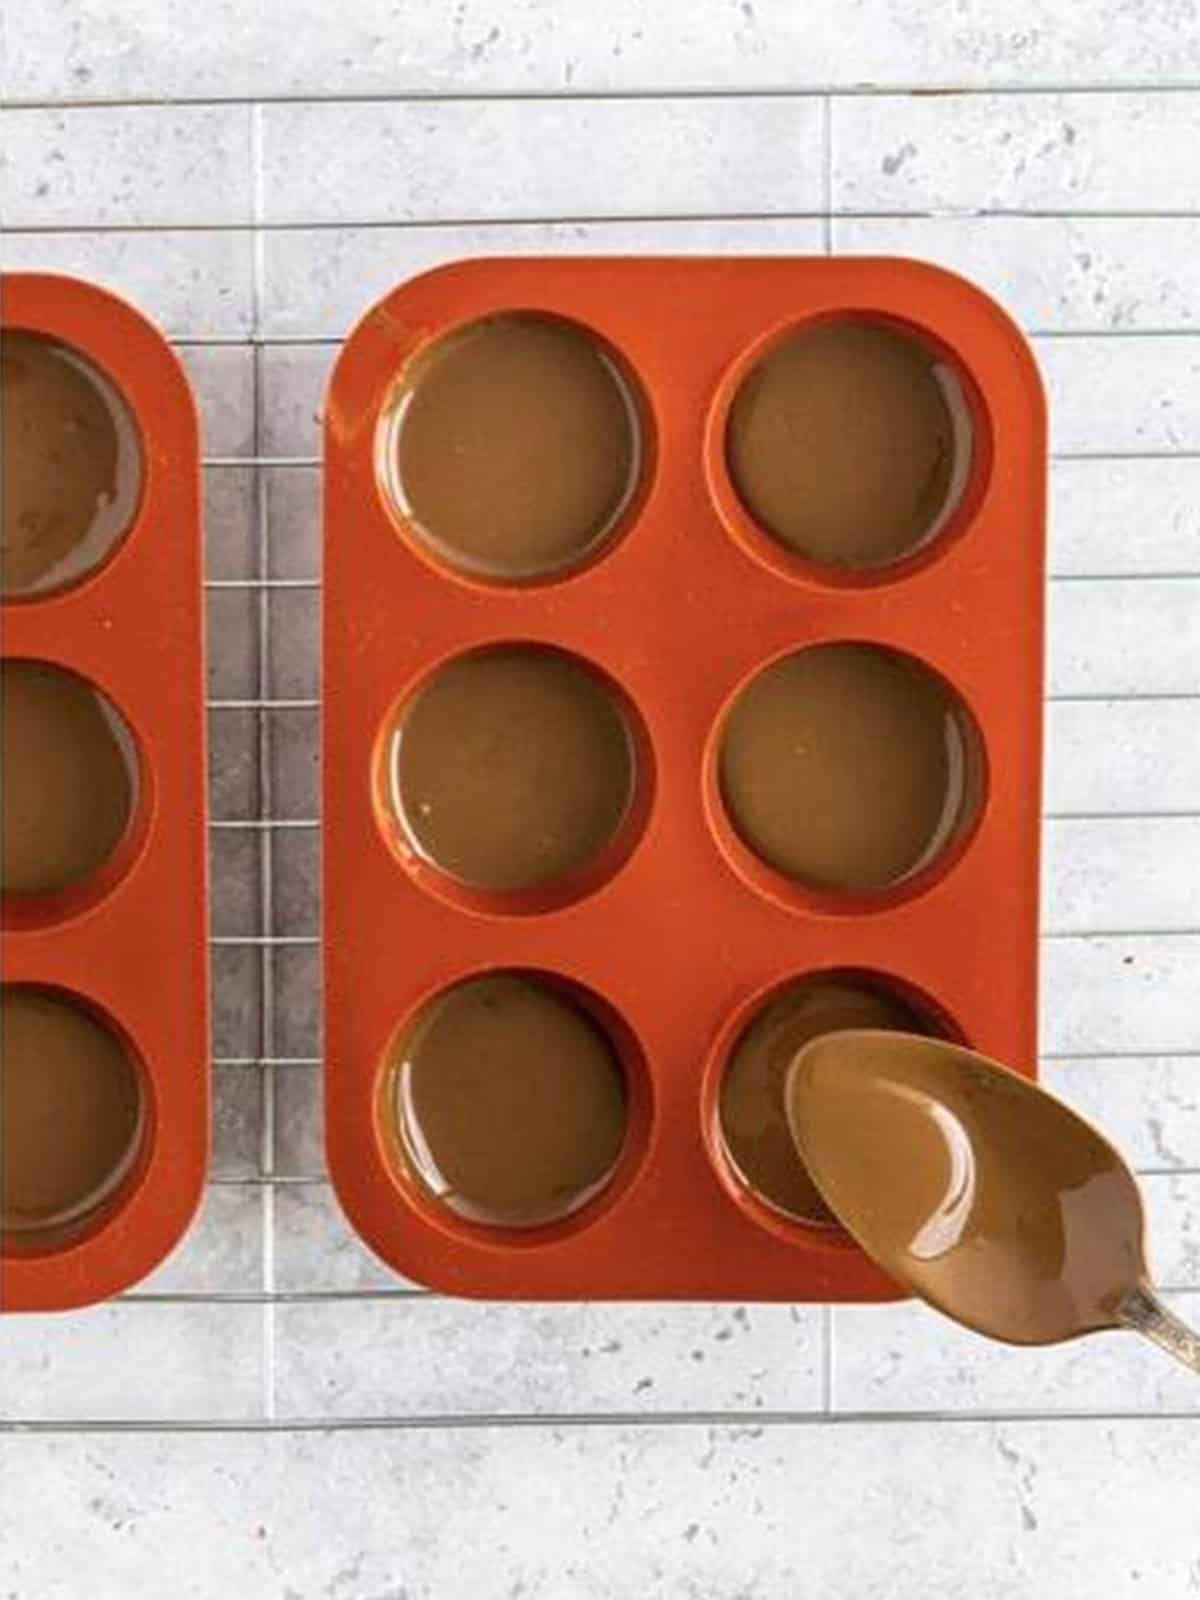
- Spoon 1 to 2 tablespoons of melted chocolate into each mold cavity and swirl to coat the inside completely, then shake the extra back into the bowl. Chill the coated molds in the fridge for 5 to 10 minutes.
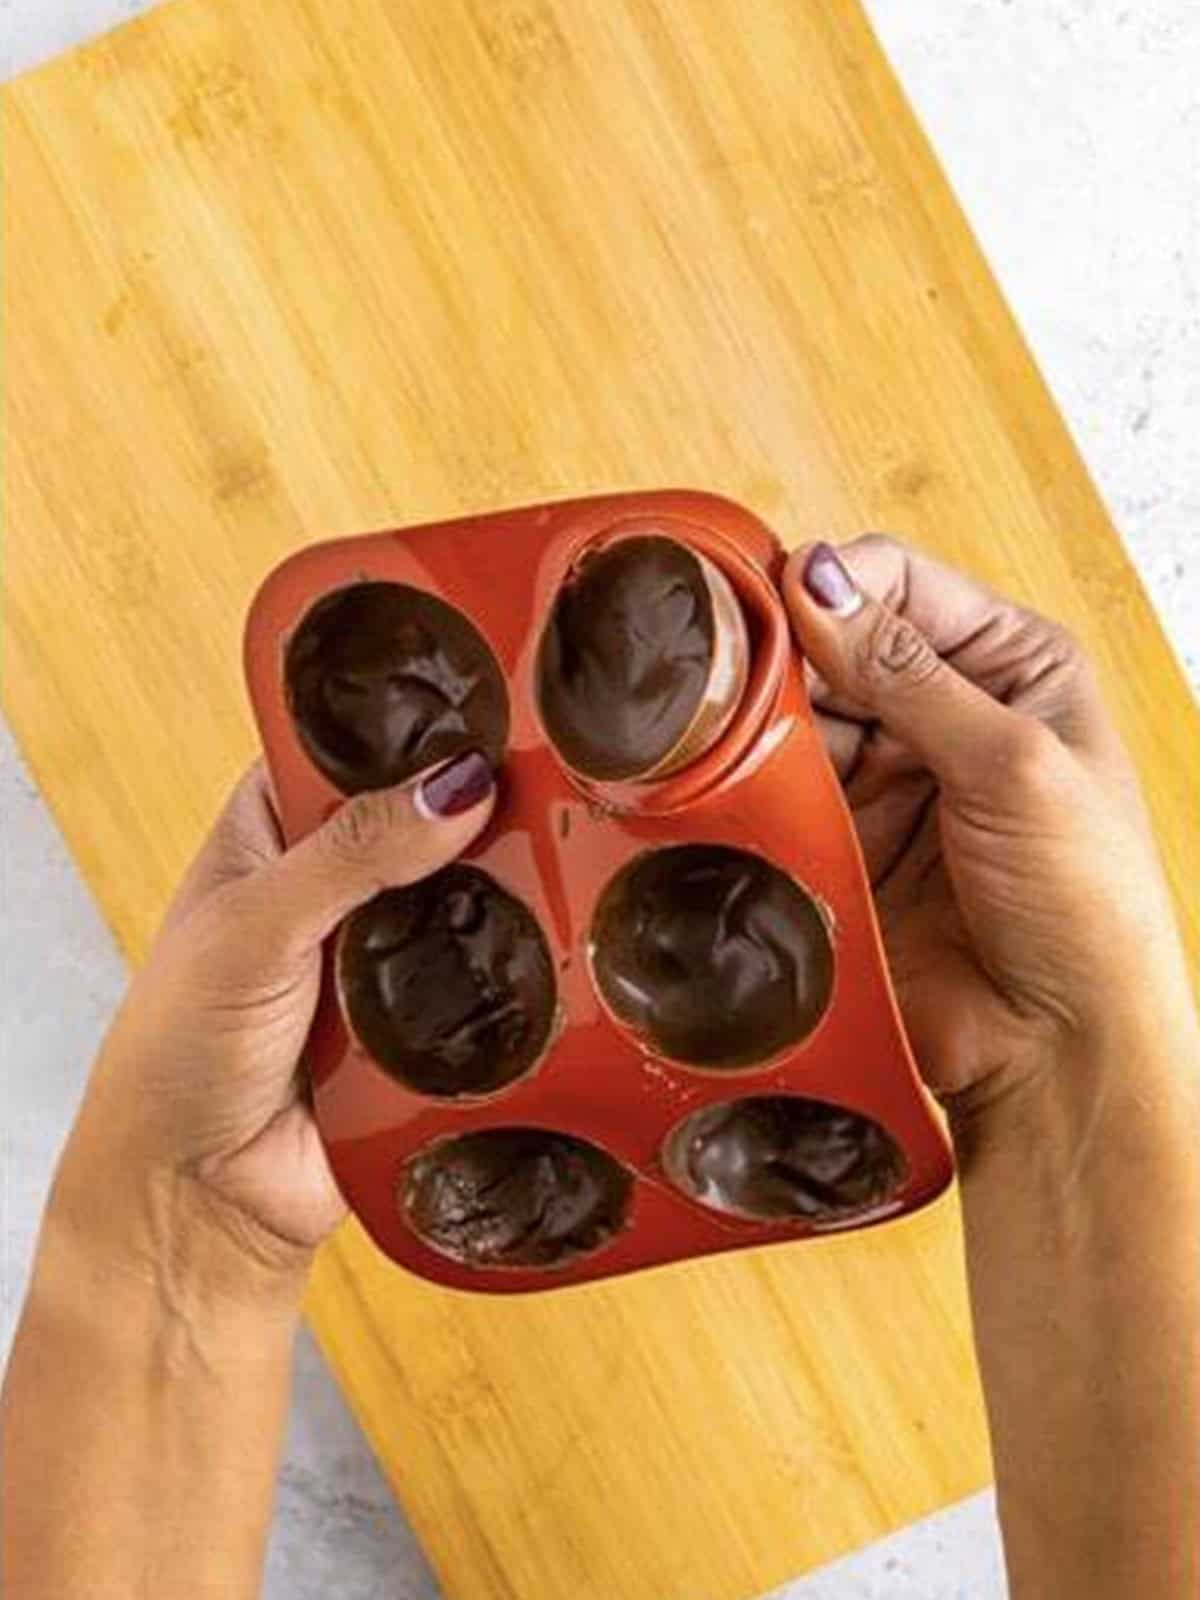
- Gently peel the silicone mold away from each hardened chocolate shell and place the shells on a cutting board. Scoop some remaining melted chocolate into a piping bag and snip the tip.
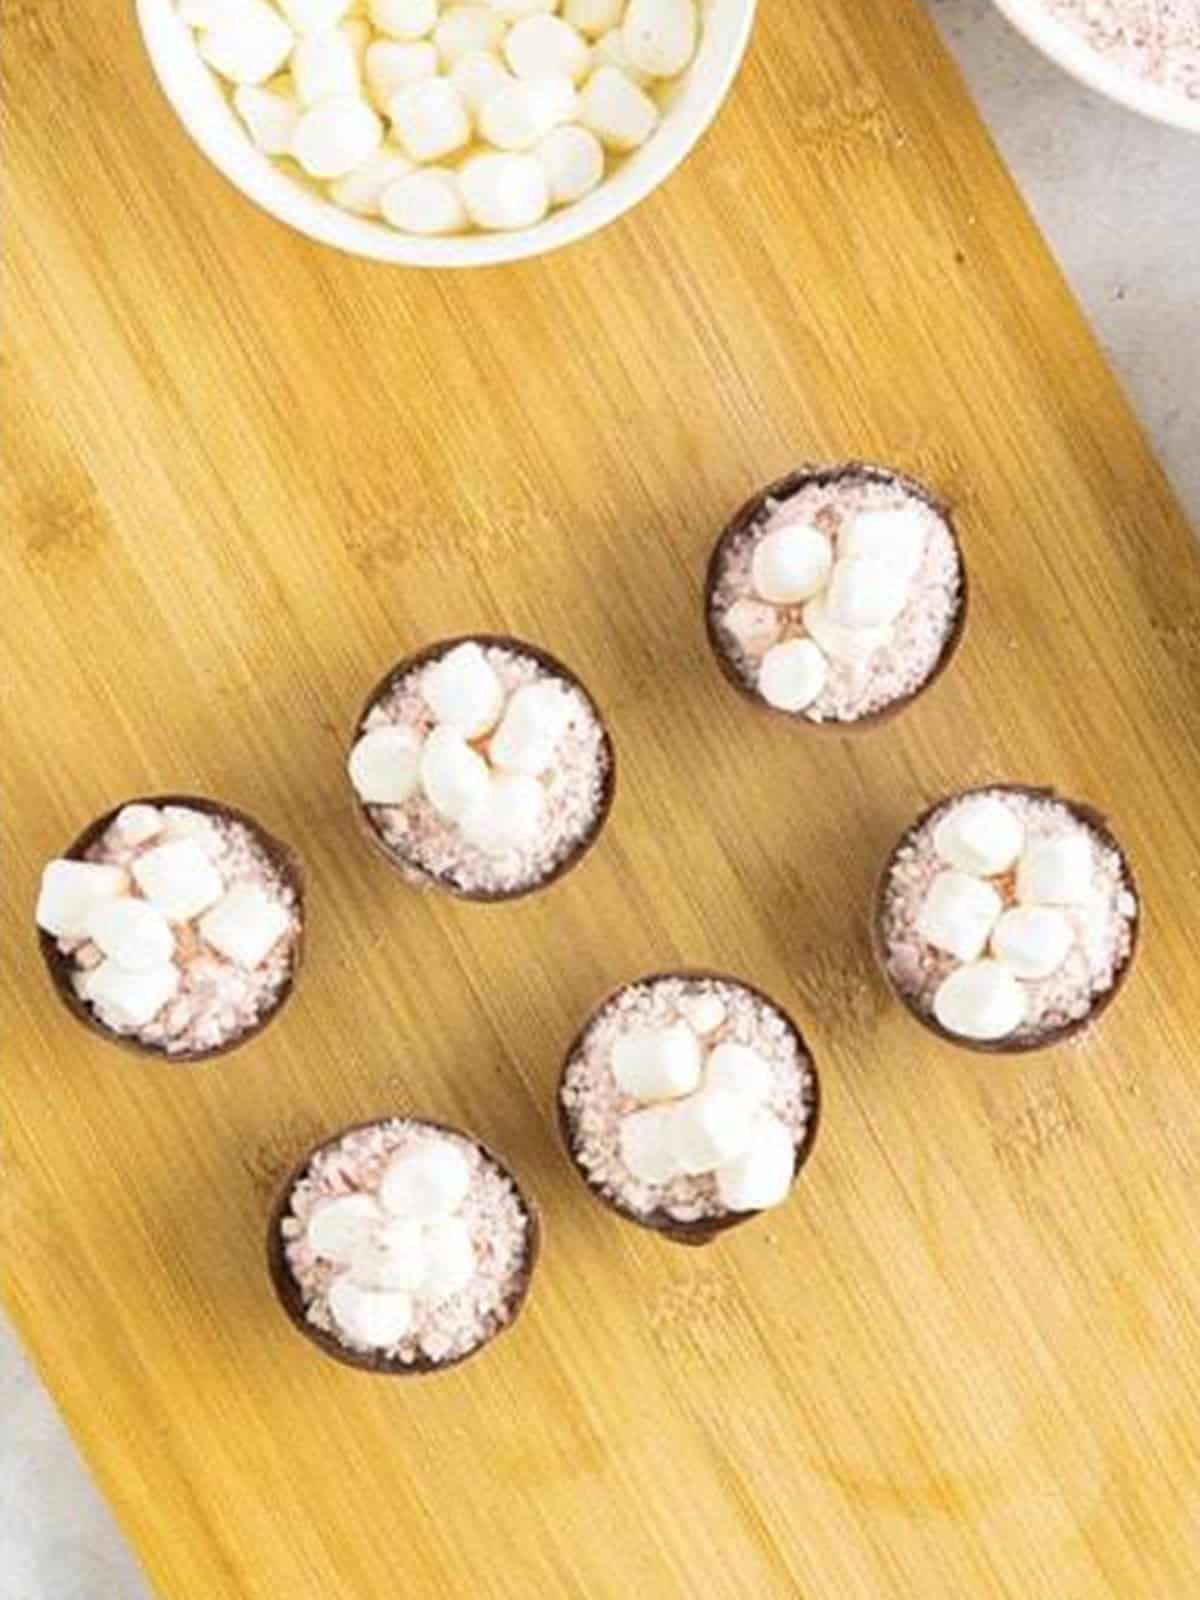
- Fill half of the shells with about a tablespoon each of hot cocoa mix and crushed peppermint, then top with 5 to 8 mini marshmallows.
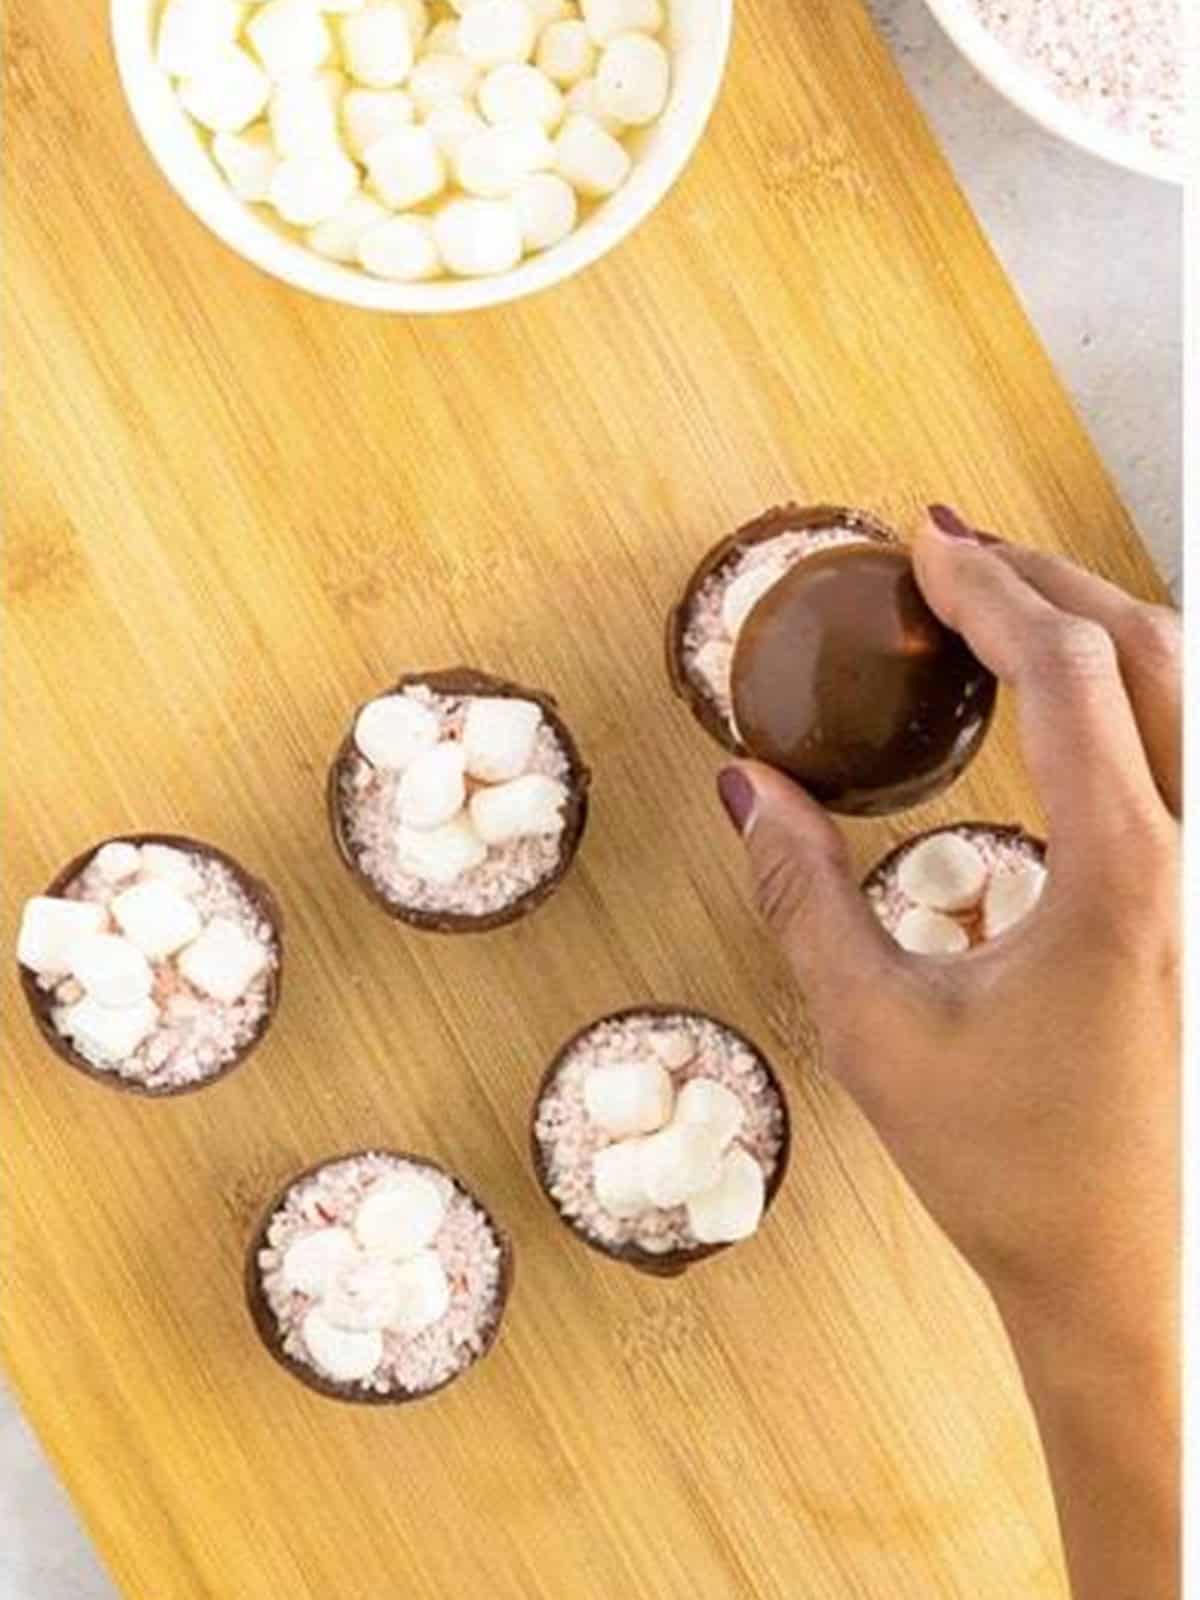
- Pipe a line of melted chocolate around the rim of each filled shell, place an empty shell on top, and hold gently for 30 seconds to a minute until the seam sets. Check that there are no gaps around the center.
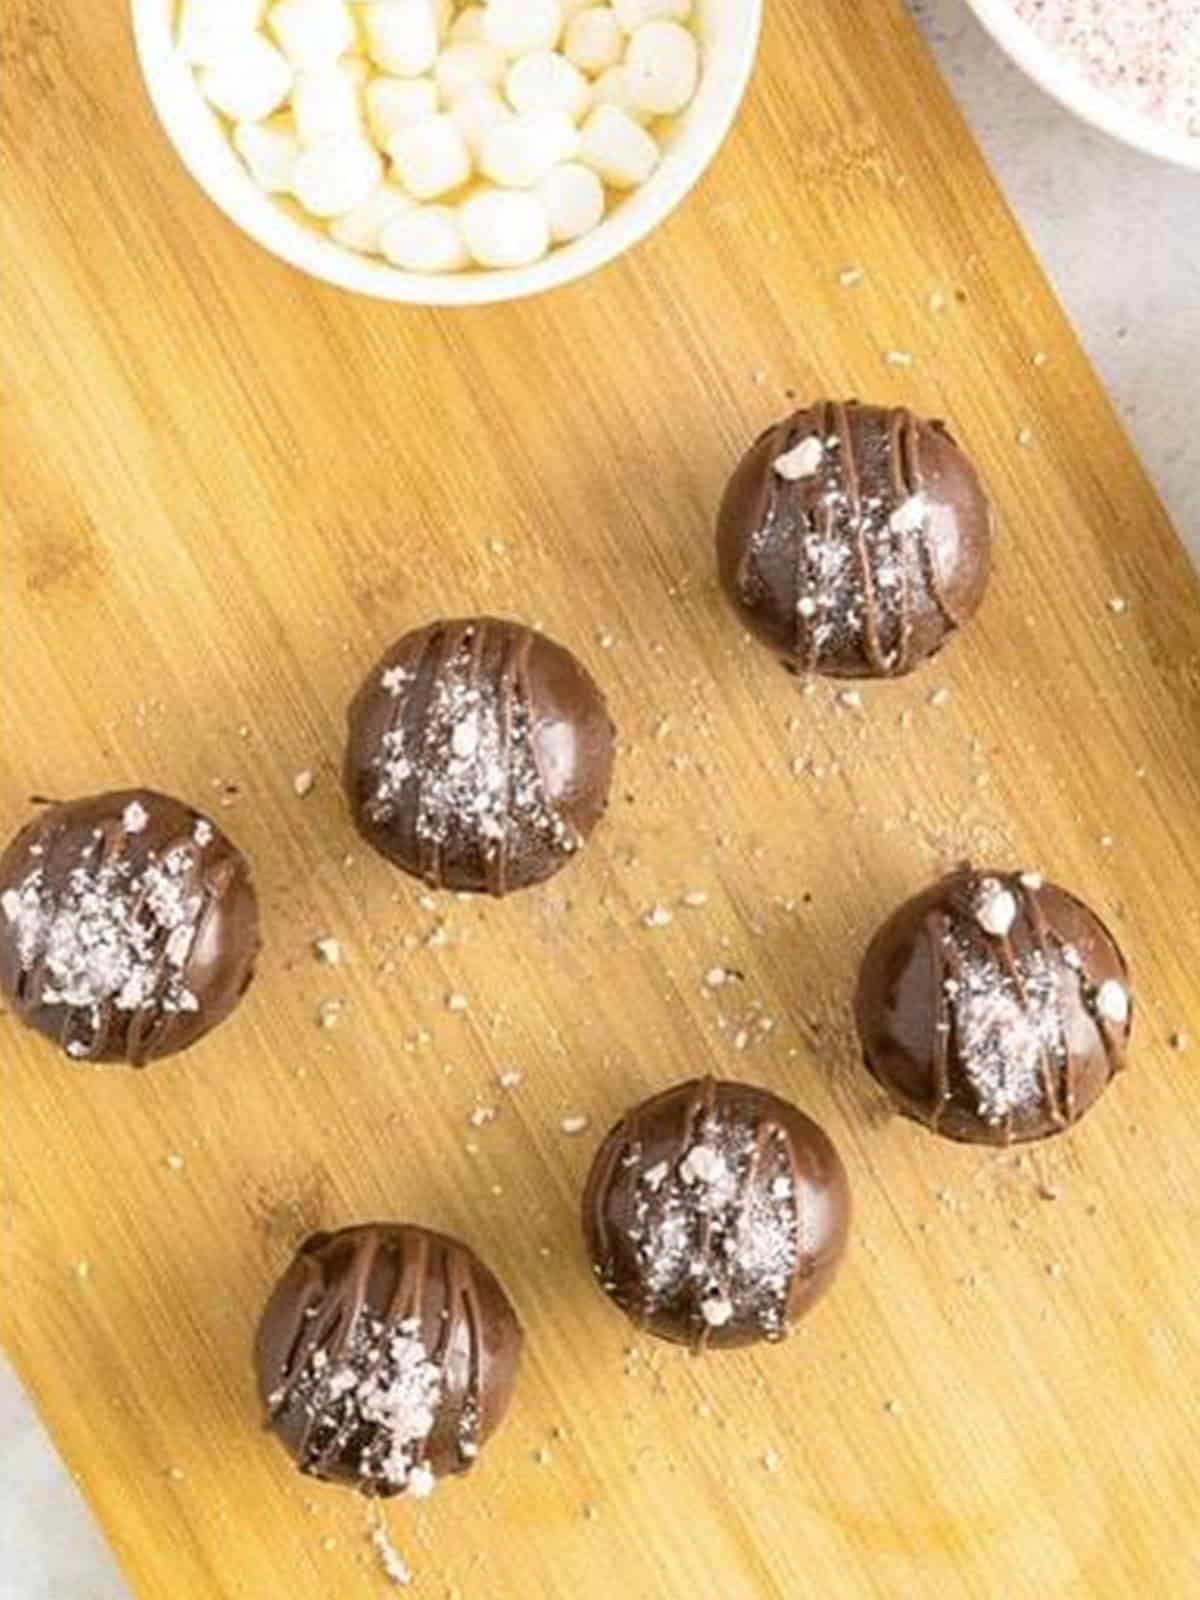
- Drizzle the sealed bombs with more melted chocolate, sprinkle with crushed peppermint, and let them set completely before serving or packaging.
Recipe Tips & Tricks
- Do not overheat the chocolate. Stir at every 45 second interval, wafers scorch fast and scorched chocolate will not set shiny.
- Keep your hands cool and quick. Warm fingers melt fingerprints into the shells, handle them by the edges.
- Patch cracks with melted chocolate. A small crack is an easy fix, pipe a little chocolate over it and smooth with a fingertip.
- Warm the rim for a cleaner seal. If a shell edge is ragged, press it briefly on a warm plate to melt it flat before joining.
- Use whole milk for serving. The richer and hotter the milk, the better the bomb melts and the creamier the cocoa.
- Make them ahead. Sealed bombs keep 2 to 3 weeks in a cool, dry spot, which makes December mornings much easier.
Serving Ideas and Suggestions
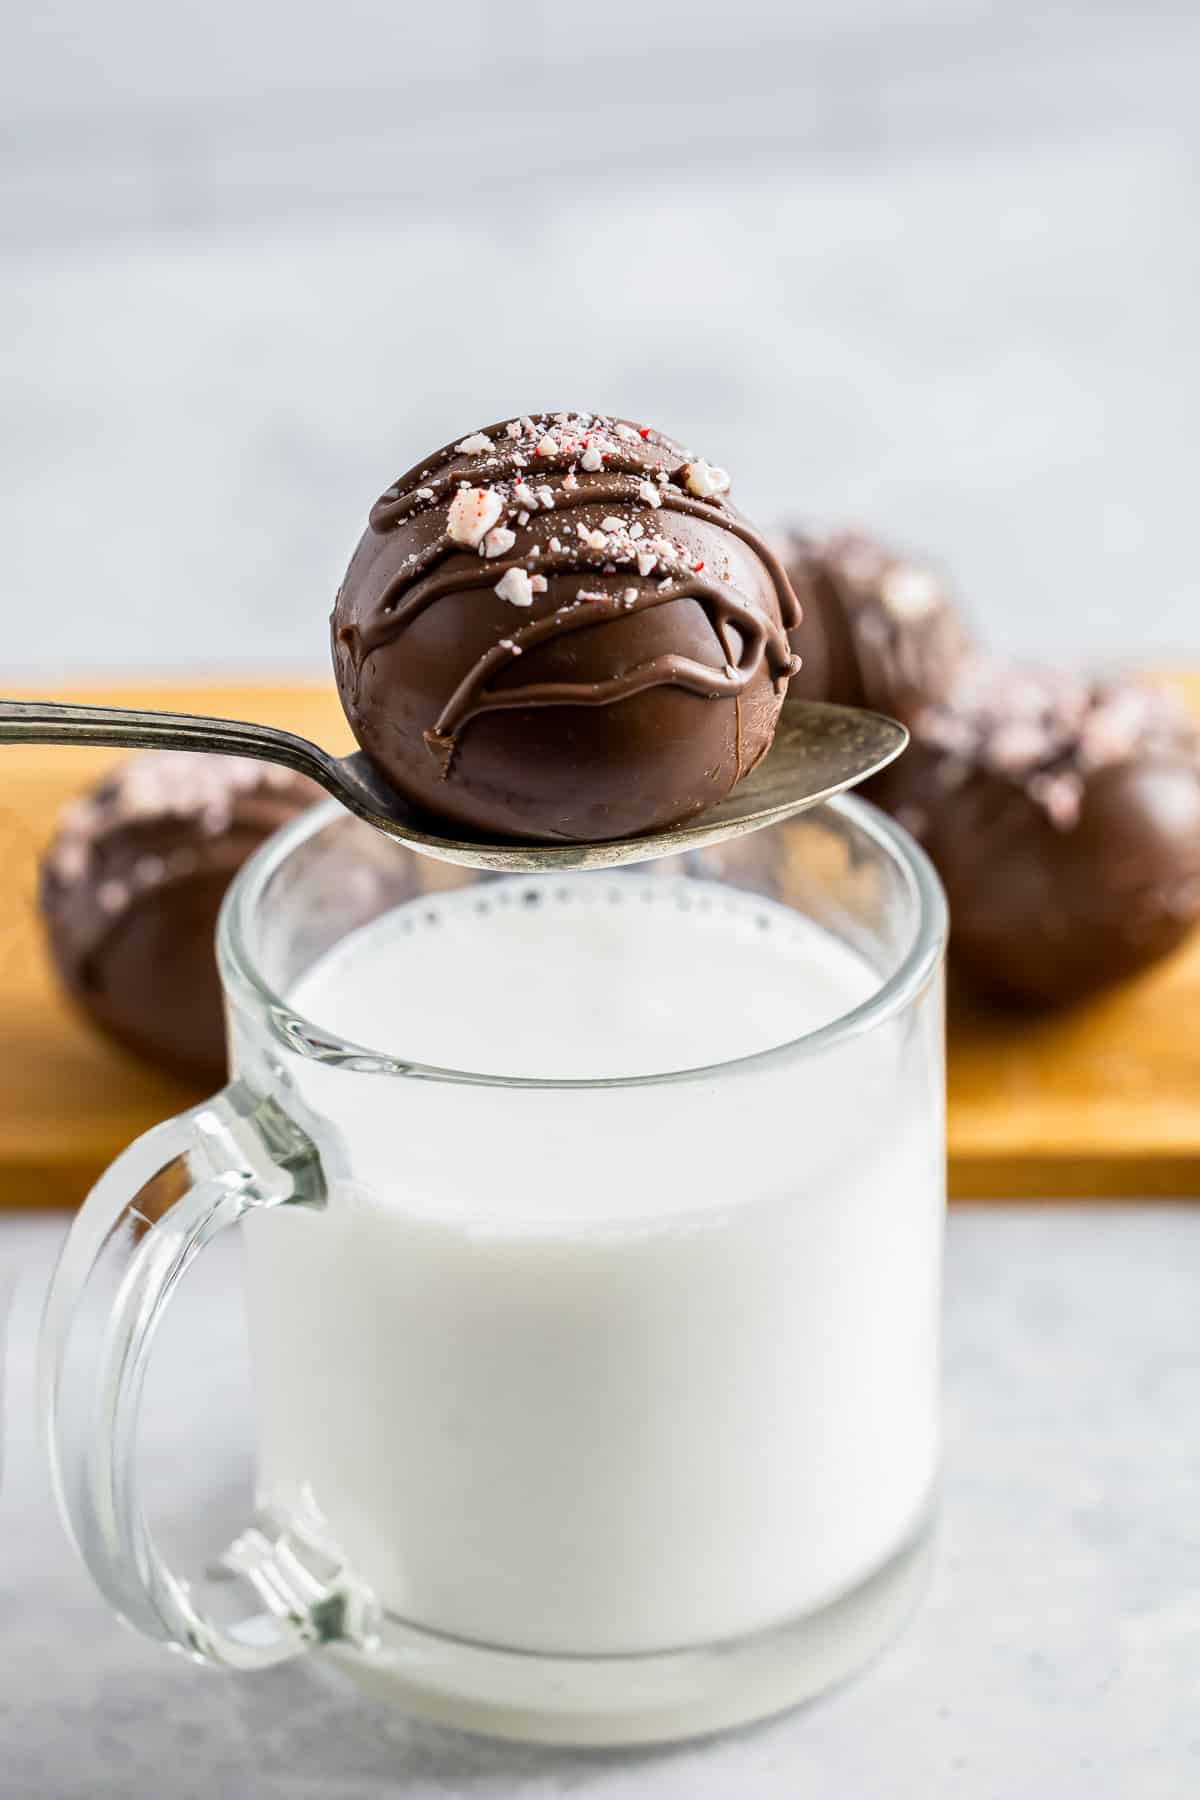
To serve, place a hot cocoa bomb in a big mug, pour 8 to 10 ounces of steaming hot milk over it, and watch the shell crack open and release the marshmallows. Stir and sip.
Set up a hot chocolate bar with these, a crock of our white hot chocolate, and plenty of toppings, then let everyone build their own mug.
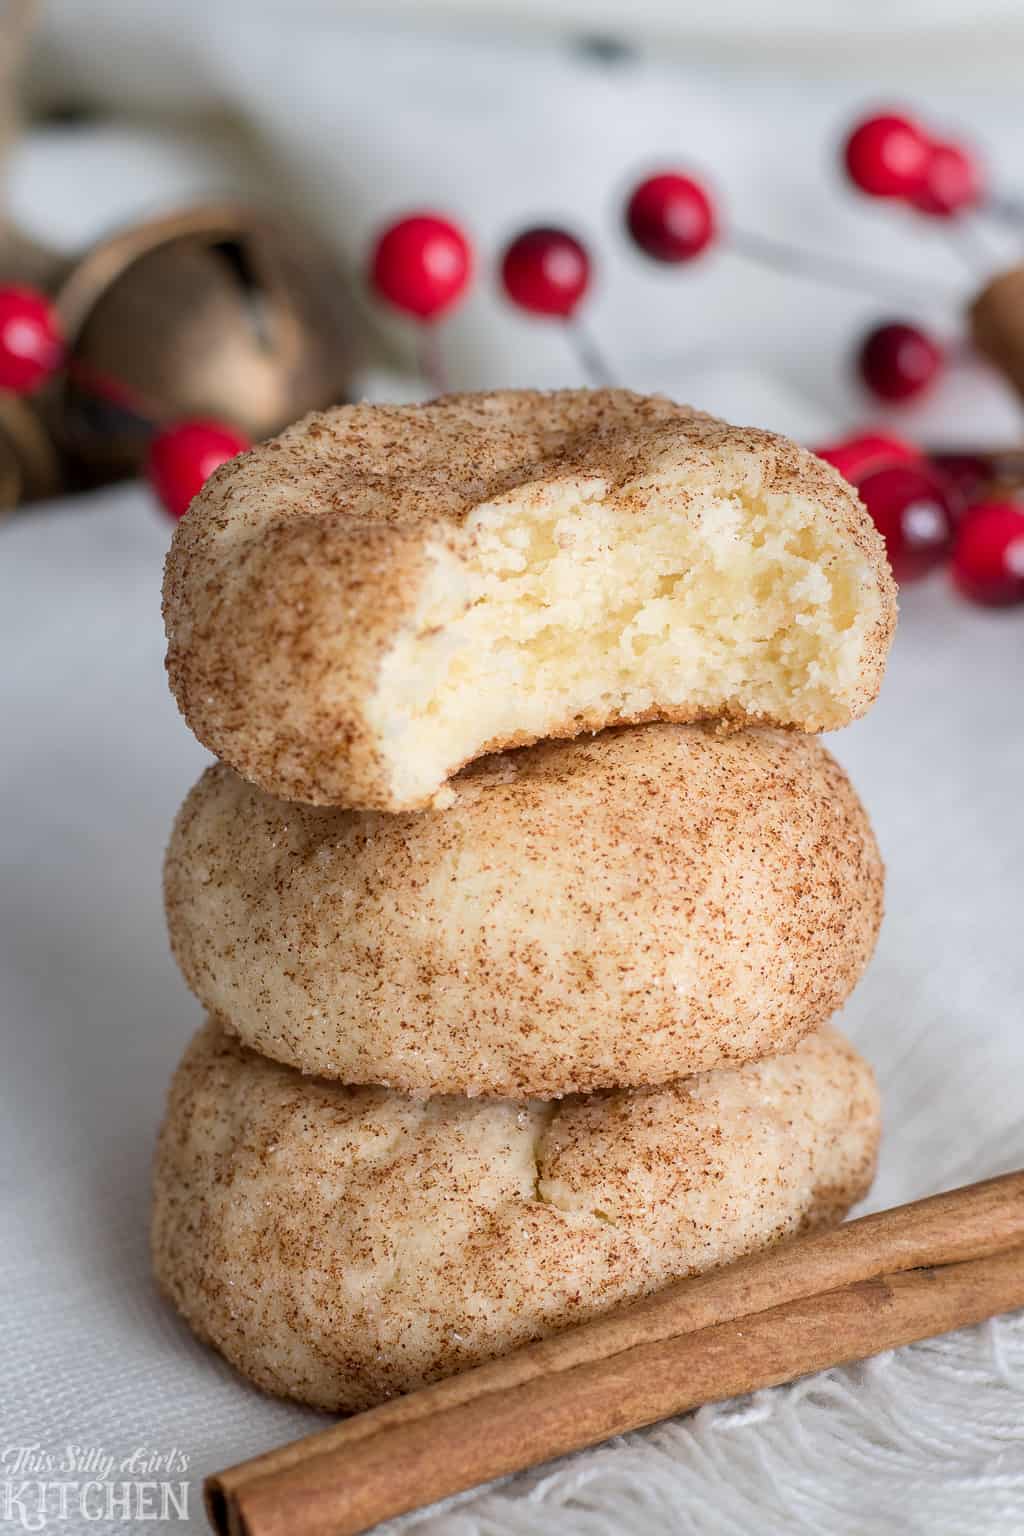
They are a natural next to holiday cookies, our snowball cookies and a batch of microwave peanut brittle round out a gift box beautifully.
For gifting, wrap each bomb in a square of cellophane with a ribbon and a tag that says drop me in hot milk. Stored cool and dry, they stay perfect for 2 to 3 weeks.
Hot Cocoa Bombs FAQs
Place the bomb in an empty mug and pour 8 to 10 ounces of very hot milk directly over it. The chocolate shell melts open, the cocoa mix and marshmallows float up, and a quick stir turns it into rich hot chocolate. Hot water works, but milk makes it much creamier.
Chocolate melting wafers, like Ghirardelli, are the easiest because they melt smooth and set shiny without tempering. Regular chocolate chips contain stabilizers that set dull and soft, so save those for cookies and use wafers or couverture chocolate for the shells.
Shells crack when they are too thin, too cold, or handled roughly. Swirl a generous, even coat of chocolate in the mold, let them come toward room temperature for a minute after chilling, and handle them by the edges. Small cracks patch easily with a bit of melted chocolate.
Stored in a cool, dry place in an airtight container, hot cocoa bombs keep for 2 to 3 weeks, everything inside is shelf stable. Avoid the fridge, condensation can cause the chocolate to bloom with white streaks. They still taste fine, they just lose the shine.
A silicone half sphere mold with cavities around 2 to 2.5 inches wide is the sweet spot, big enough to hold a tablespoon of cocoa mix plus marshmallows, and it fits standard mugs. Smaller molds work for kid sized mugs, just fill them with less.
Yes, they are one of the best make ahead food gifts. Seal and decorate the bombs, let them set completely, then wrap individually in cellophane. Made 2 weeks ahead and kept cool, they will still crack open perfectly on Christmas morning.
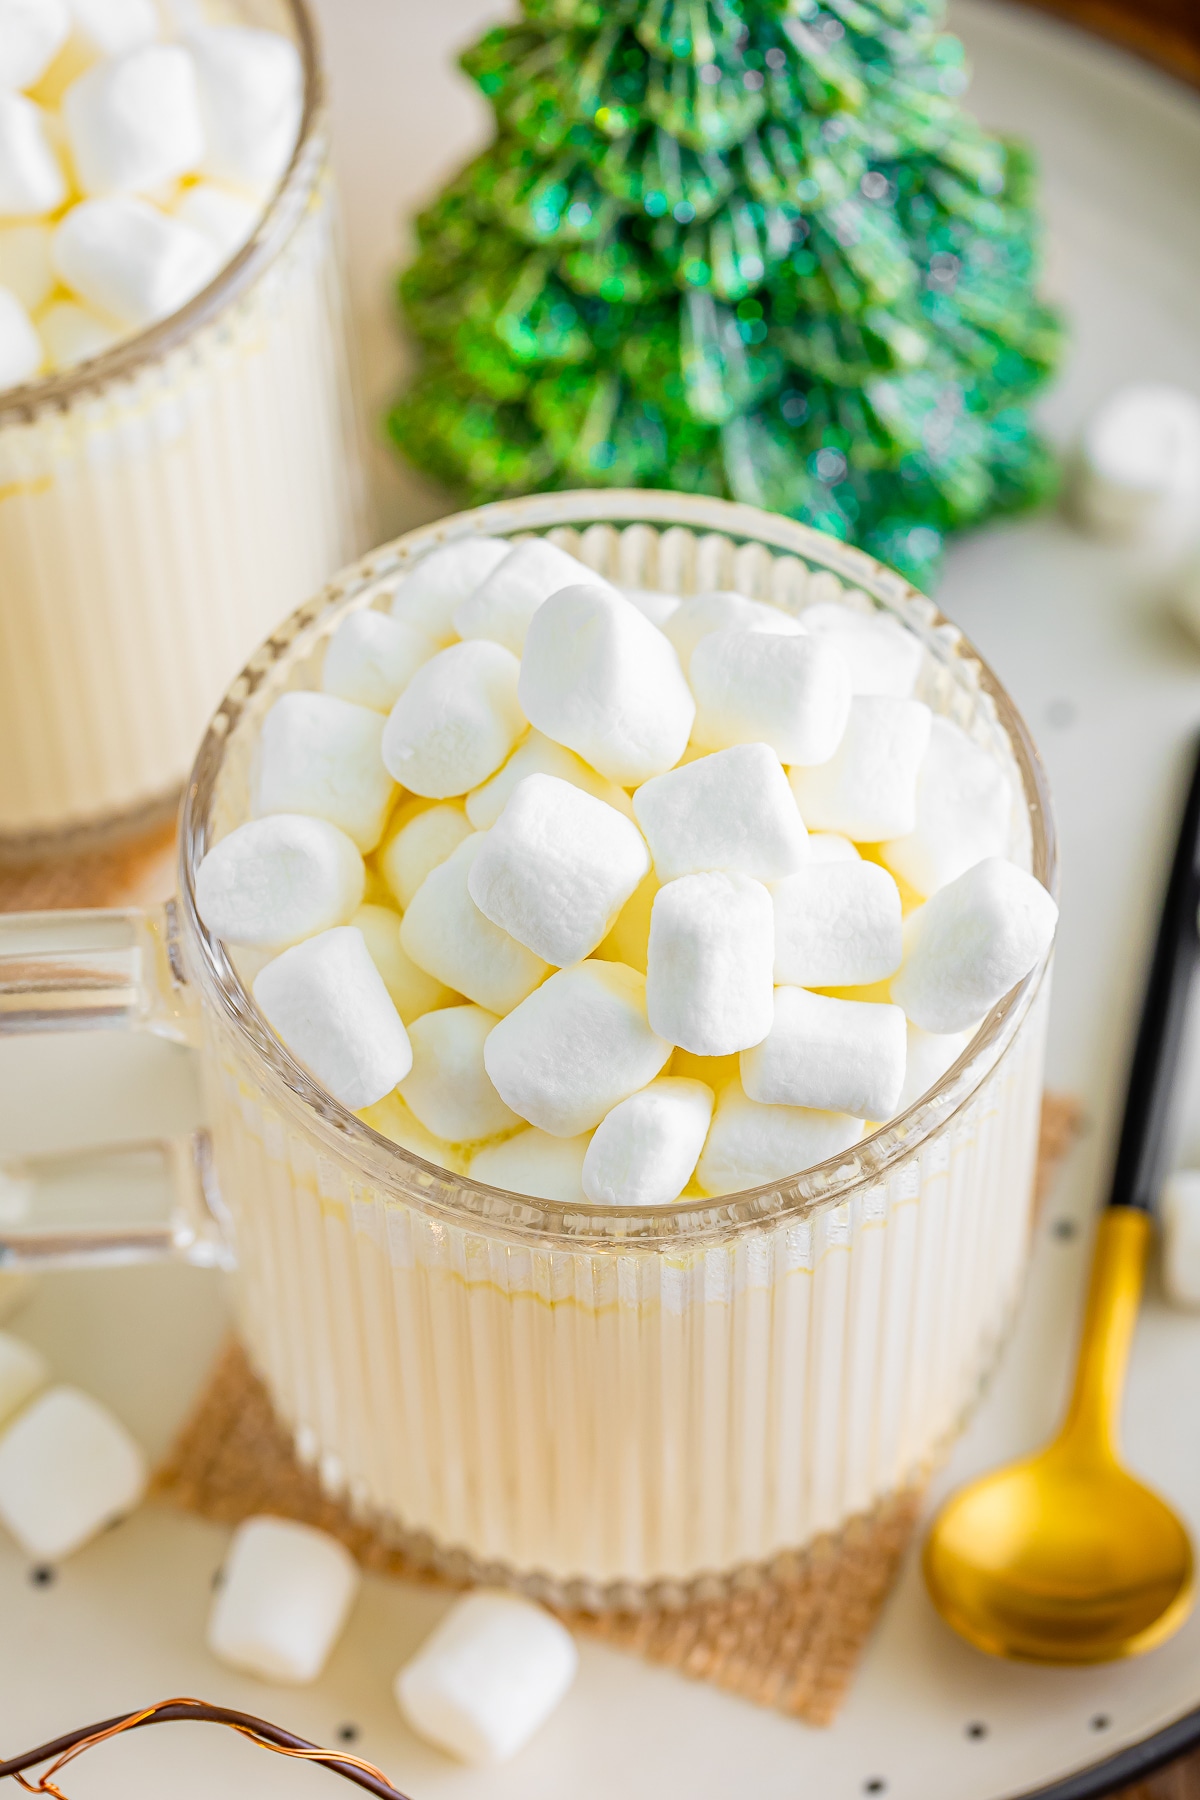
Made these Hot Cocoa Bombs? I would love to hear how they turned out, leave a comment and a star rating below!
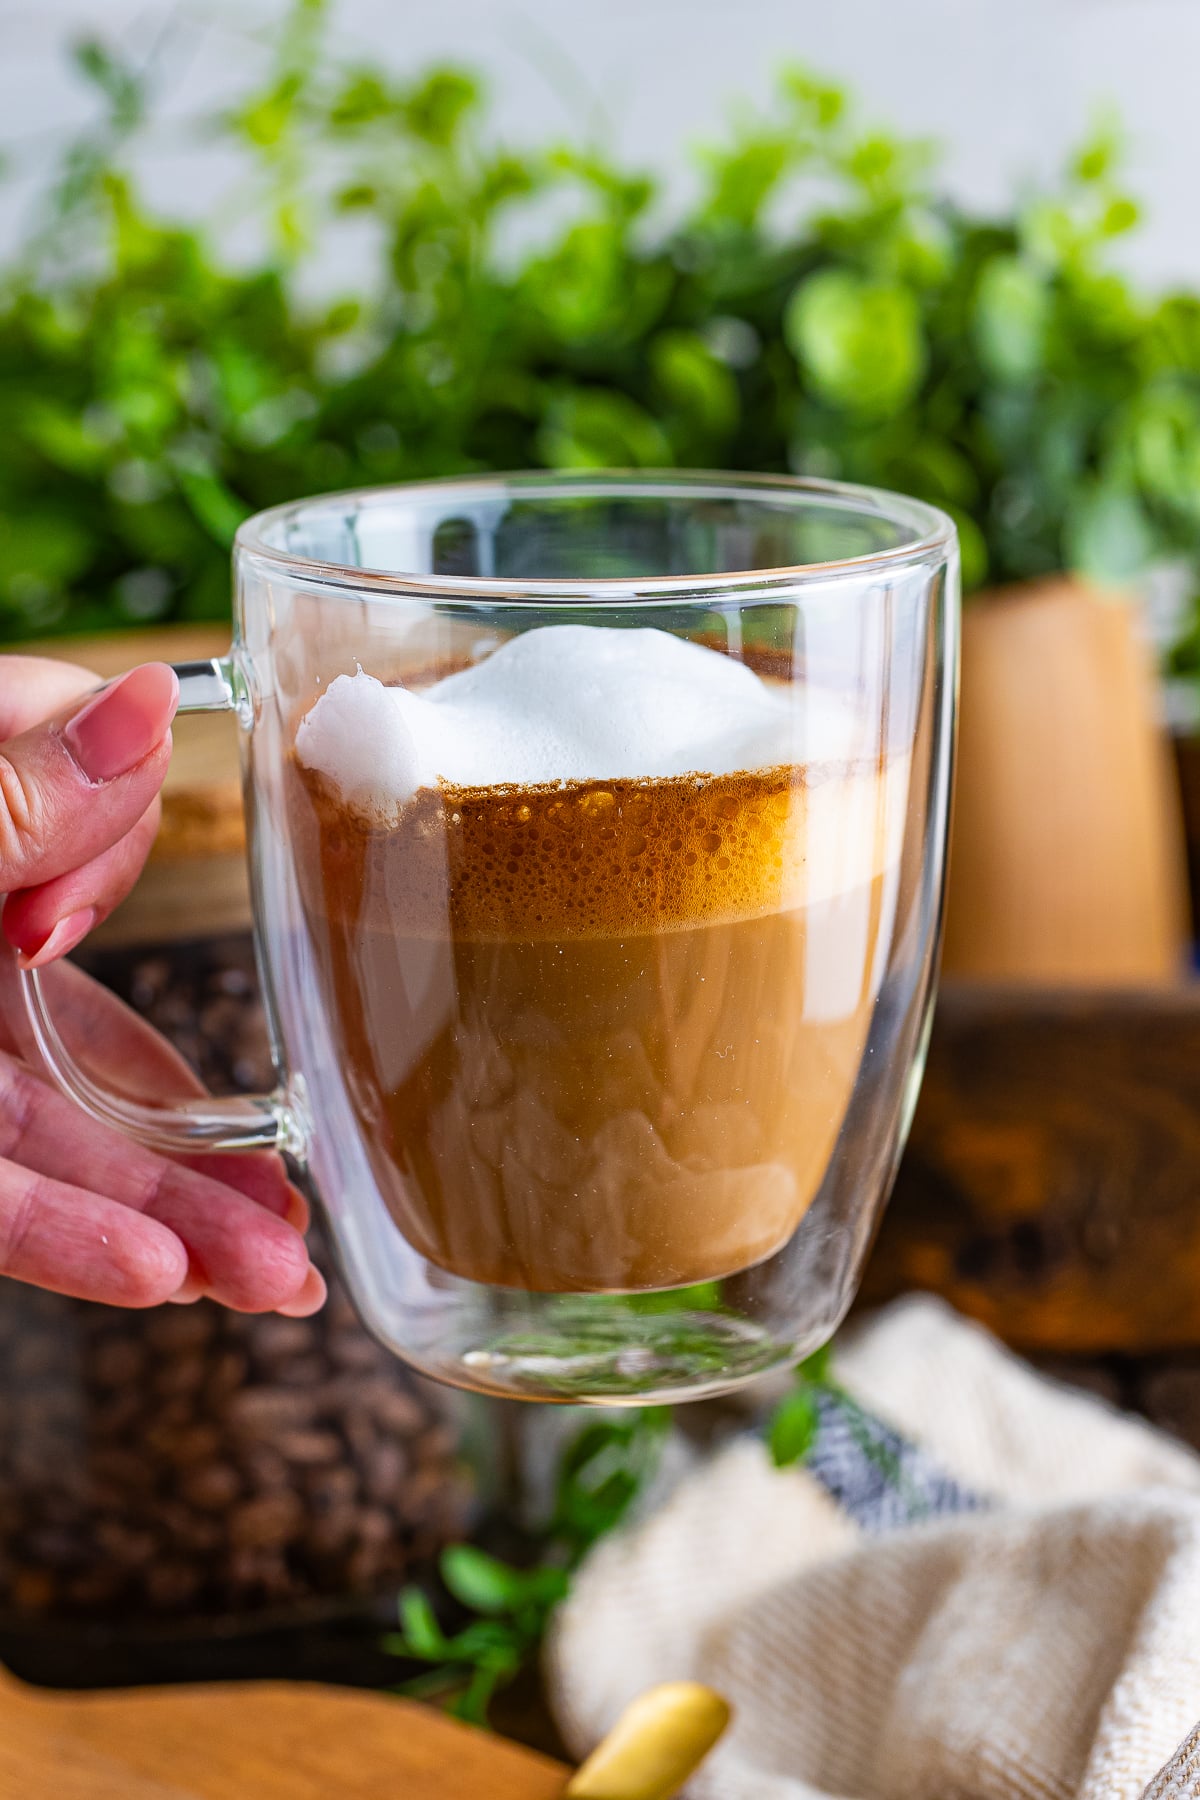
Coffee drinkers at the same party will want our eggnog latte recipe.
Add our savory Christmas tree pull apart bread to the holiday spread and watch it disappear.
Pair the cocoa bombs with a round of kid friendly Christmas mocktails for the full holiday drink station.
Keep the dipping chocolate going and make our chocolate covered pretzel rods for the treat trays.
Feeding a whole party? My grinch hot cocoa keeps a crockpot of green cheer warm for hours.
After the kids’ cocoa, pour my creamy kahlua hot chocolate for the adults.
When the bombs run out, my boozy hot chocolate is the from scratch upgrade.
My hot chocolate cake bakes the whole cocoa and marshmallow moment into a Bundt.
Pair a mug with a scoop of our edible sugar cookie dough recipe for the ultimate cozy dessert.
Serve cocoa with a plate of our Christmas Oreo balls recipe for the full holiday spread.

Hot Cocoa Bombs
Equipment
Ingredients
- 30 ounces Ghirardelli Milk Chocolate melting wafers
- 2 cups peppermint chocolate cocoa mix or cocoa mix of your choice
- 2 cups crushed peppermint candy
- 1 cup mini marshmallows
Instructions
How to make the spheres:
- Use a paper towel or clean kitchen towel and wipe the inside of the silicone molds. This will allow your chocolate mold to have a shiny coat on it.
- Using a heat-safe bowl, add the Ghirardelli melting wafers in the microwave for 45-second intervals. Make sure to stir the chocolate after every 45 seconds until completely melted and smooth.30 ounces Ghirardelli Milk Chocolate melting wafers
- Using a spoon, spoon about 1-2 tbsp of the chocolate into each mold. Carefully swirl the chocolate to completely coat the inside of the mold.
- Lightly shake the extra chocolate back into the bowl. Repeat with all the mold sections.
- Place the coated molds into the fridge for 5-10 minutes.
- Remove from the fridge and gently peel the silicone mold away from the hardened chocolate shell.
- Carefully place the molds onto a cutting board.
- Scoop some of the melted chocolate into the piping bag and cut the tip.
Building the cocoa bomb:
- Scoop about 1 tbsp of the hot cocoa mix into the bottom half of the molds.2 cups peppermint chocolate cocoa mix
- Sprinkle about 1 tbsp of the crushed peppermint candy on top of the cocoa.2 cups crushed peppermint candy
- Place about 5-8 mini marshmallows and crushed peppermint candy onto the top of the cocoa.1 cup mini marshmallows
- Pipe a line of melted chocolate around the edge of the bottom shell using the piping bag.
- Carefully place the top shell onto the bottom and gently hold the top to the bottom for about 30 seconds to a minute to allow the piped chocolate to harden to the top shell.
- Carefully pick up the bomb and make sure that there is no opening around the center of the shells.
- Place the mold back onto the cutting board and drizzle more chocolate over the mold for decoration. Sprinkle some crushed peppermint candy on top. Allow to set before enjoying!
Notes
- Make sure your silicone molds are clean and dry before using them.
- Use a pastry brush or the back of a spoon to evenly coat the molds with chocolate.
- Let the chocolate set completely in the fridge before filling and sealing the bombs.
- Be gentle when removing the chocolate spheres from the molds to avoid cracking.
- Heat the edges of the chocolate spheres on a warm plate to seal them more easily.
- Drizzle melted white chocolate or sprinkle some gold dust on top for a fancy finish.
Nutrition
Love This Recipe?
Follow @ThisSillyGirlsKitchen on Instagram and @danadevolk on Pinterest for more!