
This post may contain affiliate links.
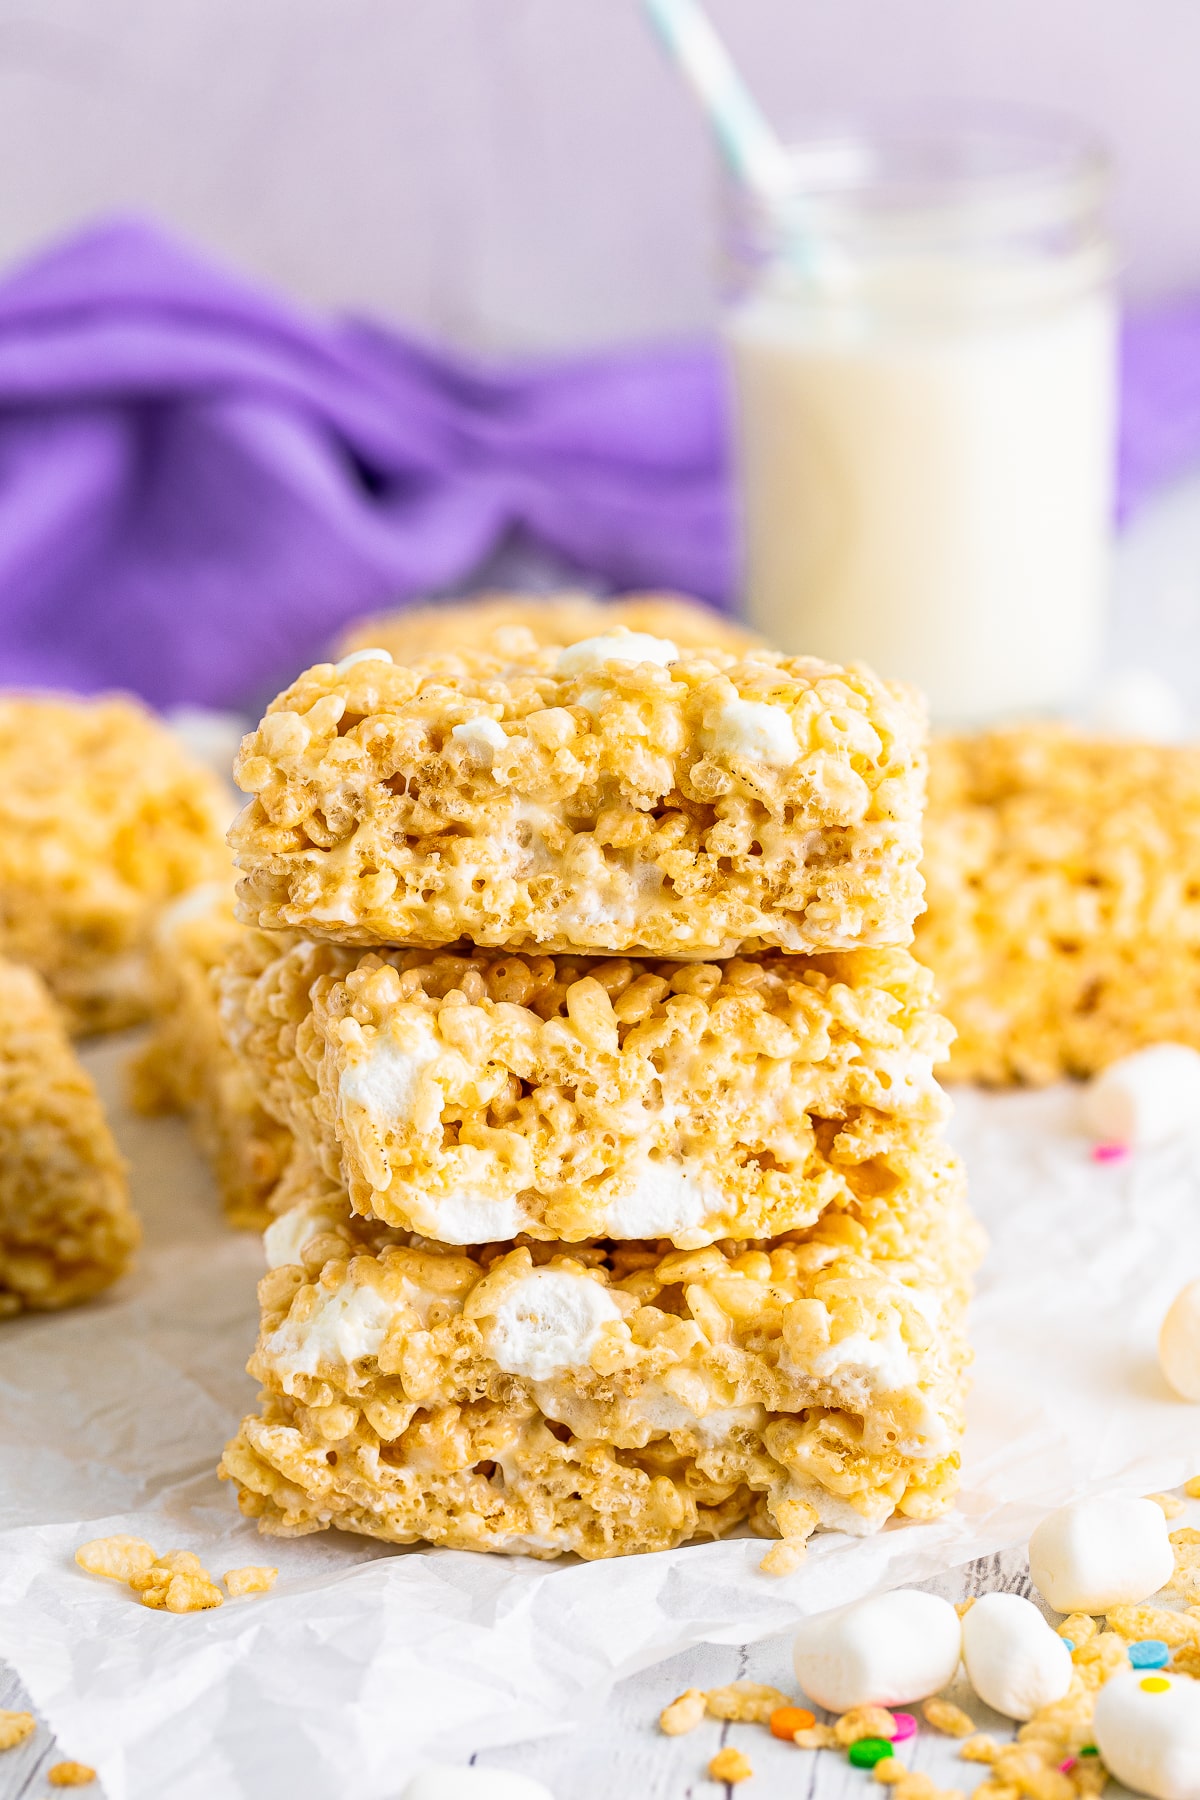
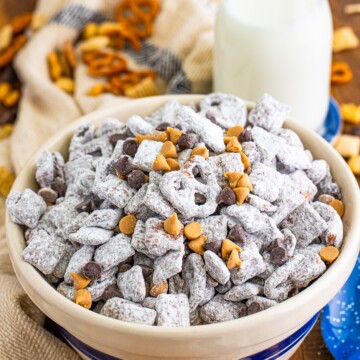
Rice Krispie Treats are the no-bake, four-ingredient treat that disappears the second I set them on the counter, and my girls beg for a batch every time we have a rainy afternoon with nothing to do. The secret is loading in extra marshmallows so they stay soft and gooey for days. If you love an easy sweet like our puppy chow, these are about to become your new go-to.
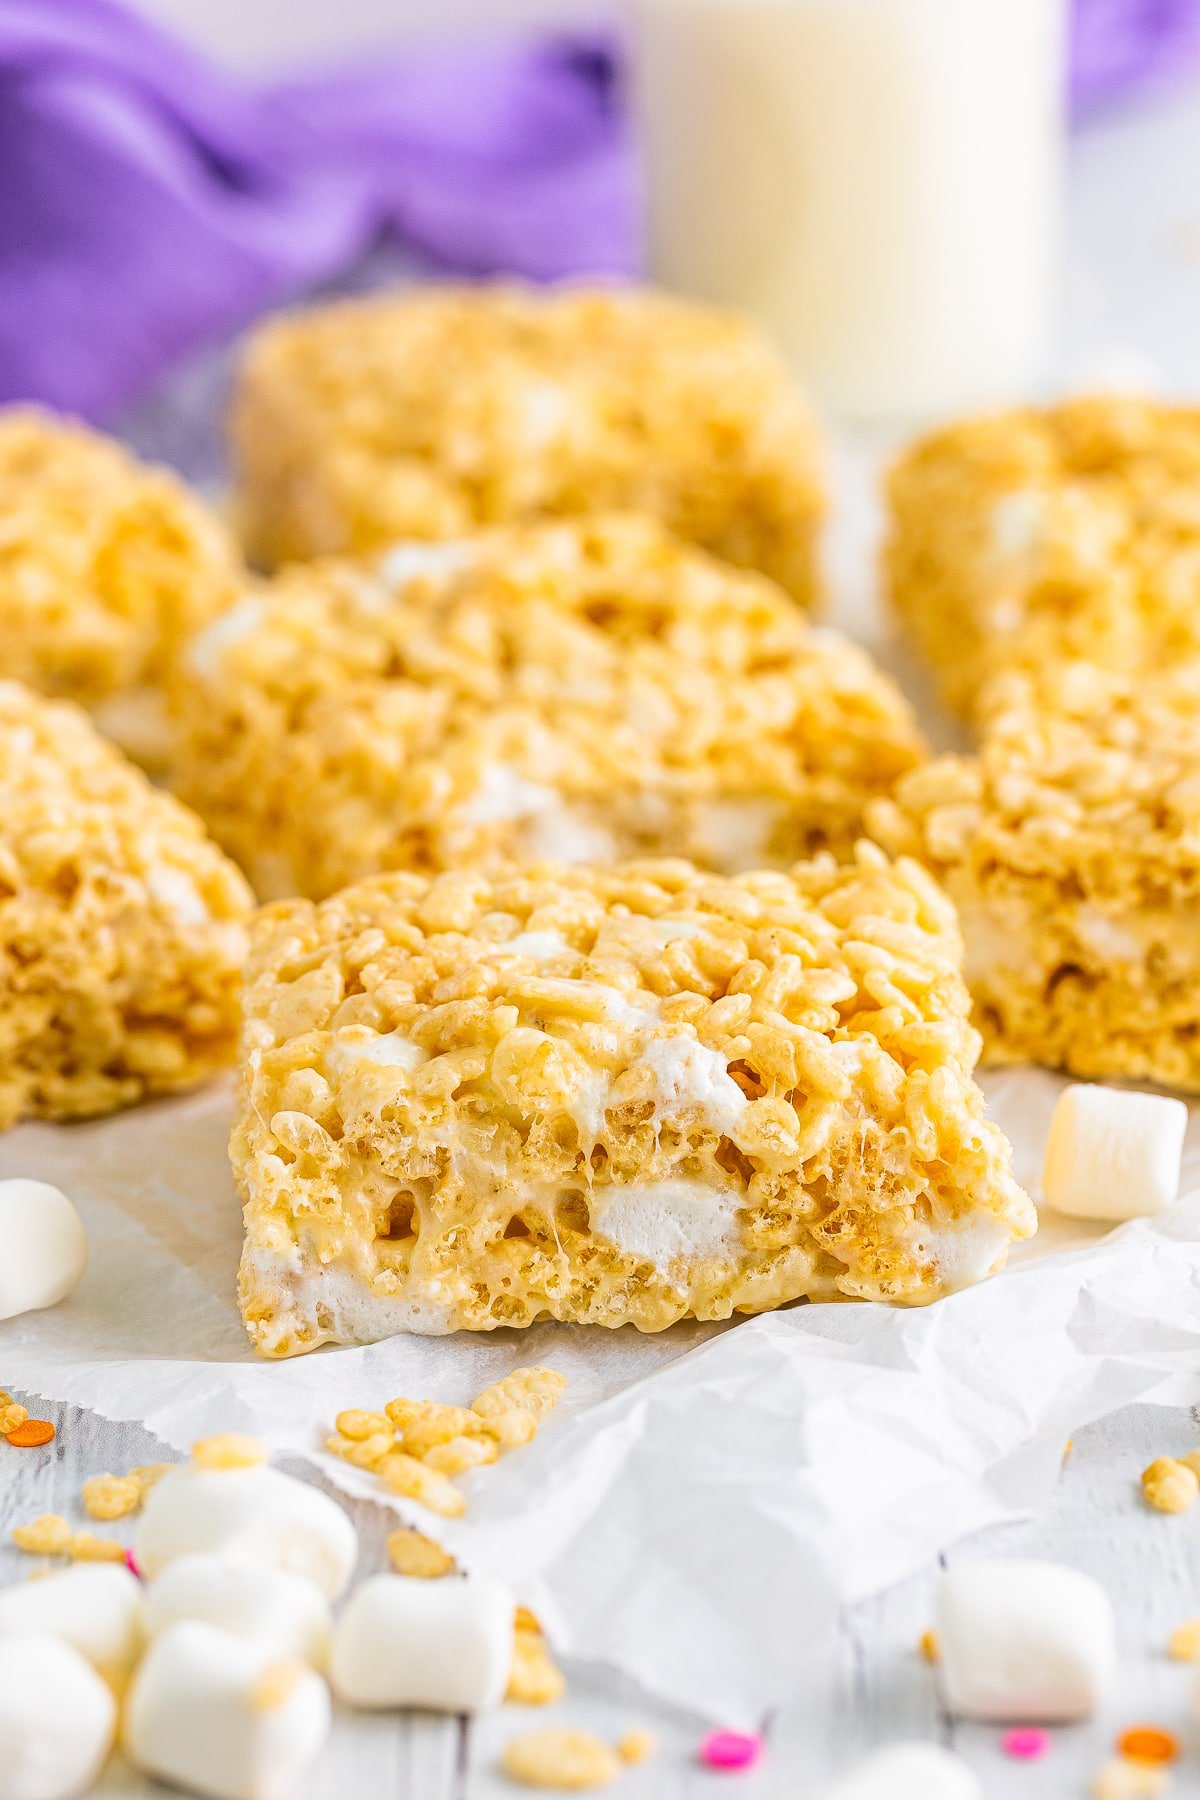
One pot, a few minutes of stirring, and you have the chewiest treats around.
Rice Krispie Treats Quick Look
- 🕒 Prep Time: 15 minutes
- 🌡️ Cook Time: 0 minutes
- ⏳ Total Time: 2 hours 15 minutes
- 🍽️ Serving: 24 servings
- ⚡ Calories: 110kcal
- 🌶️ Flavor Profile: Sweet, buttery, and irresistibly chewy
- ✋ Difficulty: Easy, no oven needed, as simple as our smores cereal treats
Quick Answer
Melt butter in a large pot, then stir in most of the mini marshmallows until smooth. Take it off the heat, mix in vanilla and a pinch of salt, then fold in the rice krispies cereal along with a handful of reserved marshmallows for extra gooey pockets. Press the mixture gently into a lined pan, let it set for a couple of hours, then cut into bars. The whole thing takes about 15 minutes of hands-on time.
Jump to:
Why This Recipe Works
Click to see the technique science
- Extra marshmallows keep them soft. Reserving a few cups of marshmallows to fold in at the end means melty pockets and treats that never go hard.
- Low and slow melting. Melting the butter and marshmallows over medium-low heat keeps them creamy instead of stiff and grainy.
- A splash of vanilla and salt. These two pantry staples take the flavor from plain to bakery-level in one stir.
- Do not pack them down. Gently pressing the mixture keeps the treats light and chewy instead of dense and tough.
- Salted butter does double duty. It adds richness and balances the sweetness in every single bite.
- A big pan means perfect thickness. A 10×15 jelly roll pan gives you treats that are tall enough to satisfy but not overwhelming.
Why You’ll Love This Recipe
- They come together in one pot with just a handful of ingredients you probably already have.
- No oven required, which makes them perfect for hot days and last-minute cravings.
- They are endlessly customizable, from monster rice krispie treats to brown butter or sprinkles.
- It delivers that same everyone asks for seconds energy as our valentine rice krispie treats.
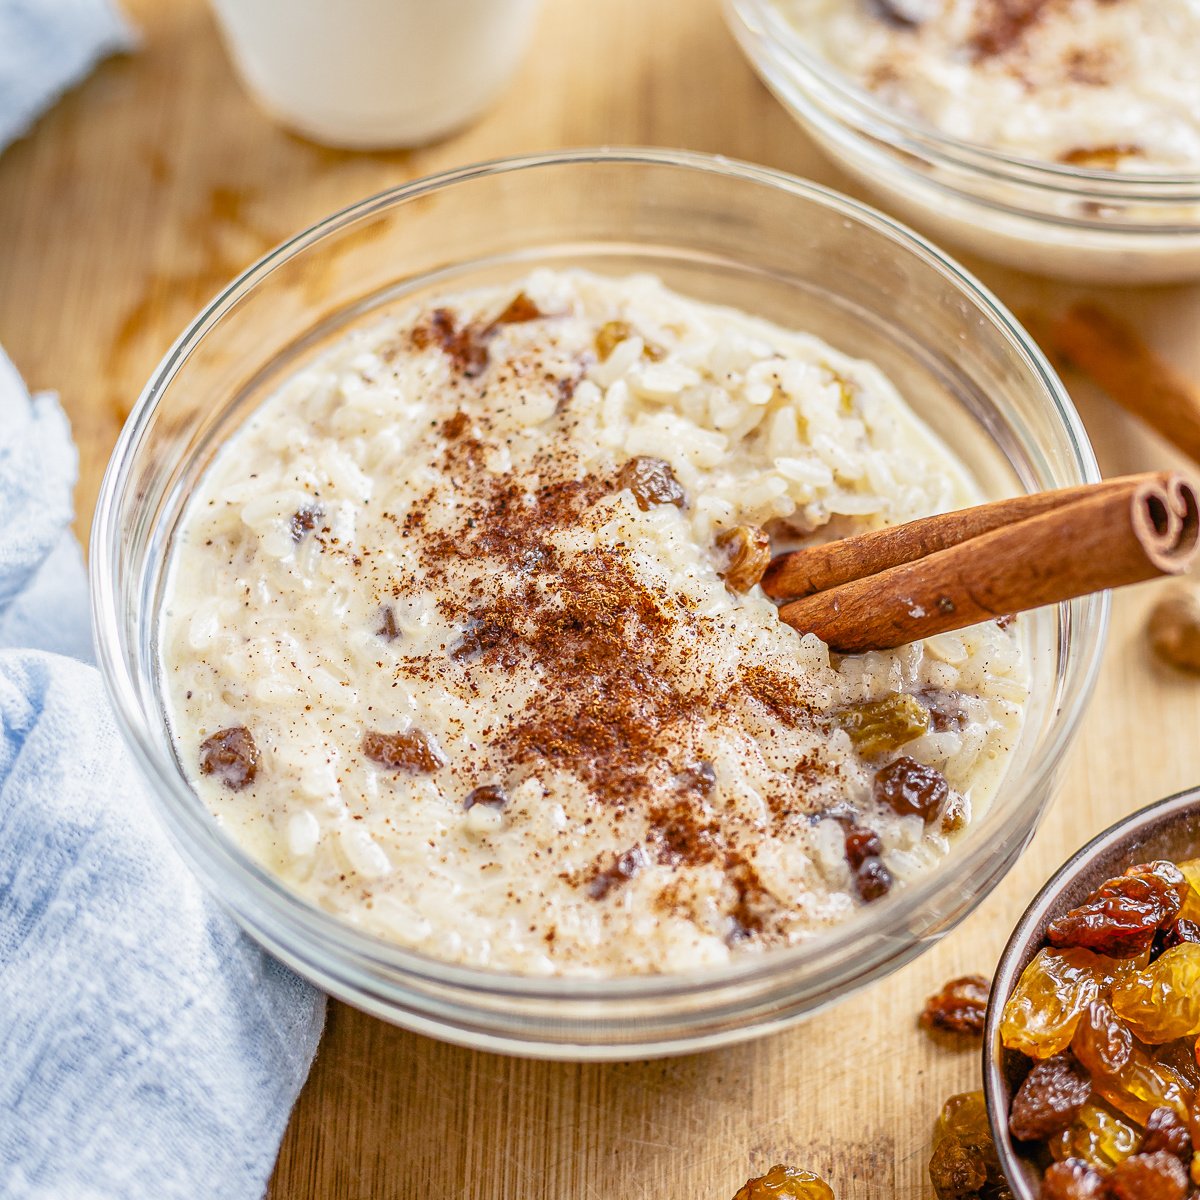
- It delivers that same everyone asks for seconds energy as our mexican rice pudding.
- It earns a spot in the rotation right next to our wild rice salad with orange and cranberries.
- It delivers that same everyone asks for seconds energy as our greek chicken bowls.
Key Ingredients
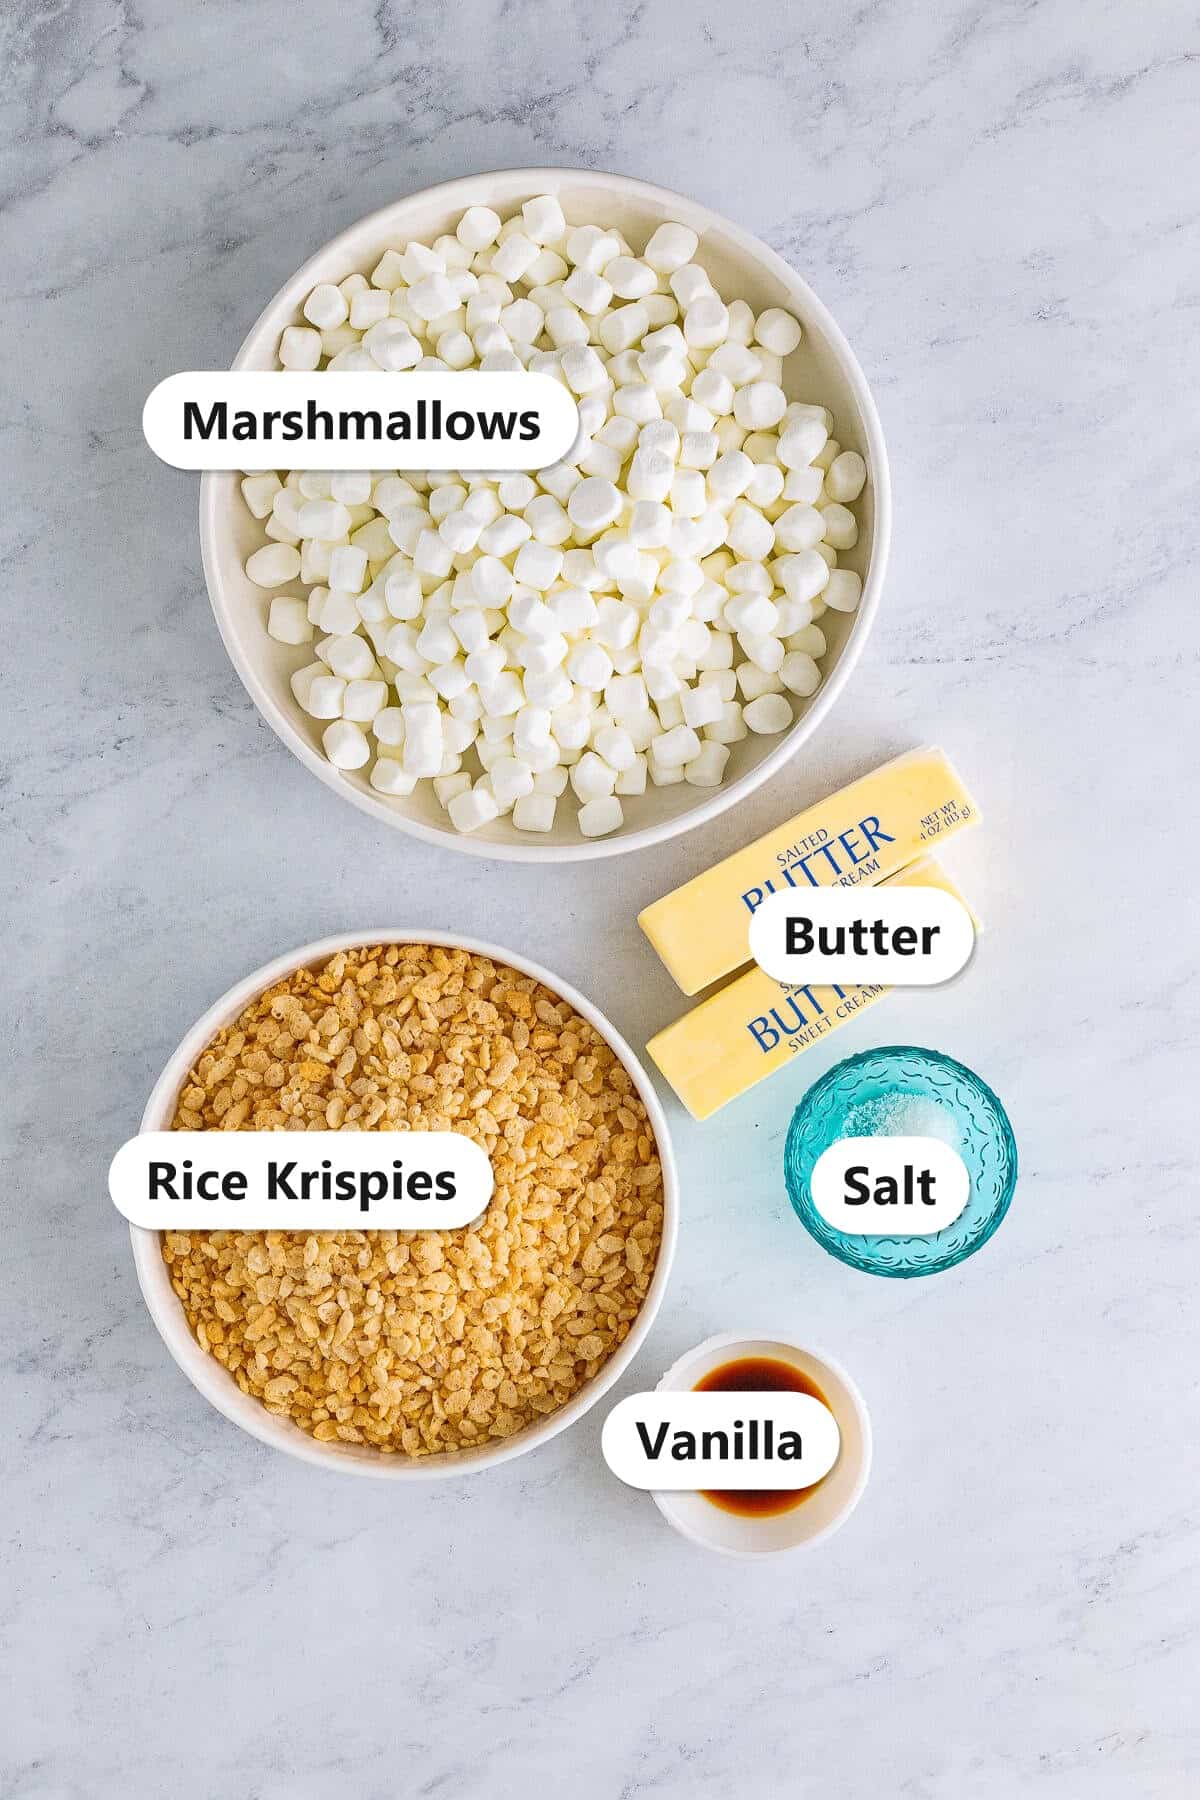
Just five simple ingredients stand between you and a pan of gooey treats. Here is why each one matters.
- Mini marshmallows: The star of the show. Mini ones melt faster and more evenly than the big ones, and reserving some keeps the treats extra gooey.
- Salted butter: Adds richness and a subtle savory note that balances out all that sweetness.
- Rice krispies cereal: Use a fresh box for the best crunch. Stale cereal makes for sad, soft treats.
- Vanilla extract: A small splash adds warmth and rounds out the marshmallow flavor.
- Fine sea salt: Just a pinch sharpens the flavor and keeps the treats from tasting flat.
See recipe card for exact quantities.
Variations and Substitutions
Once you master the base recipe, the fun begins. Try one of these easy spins.
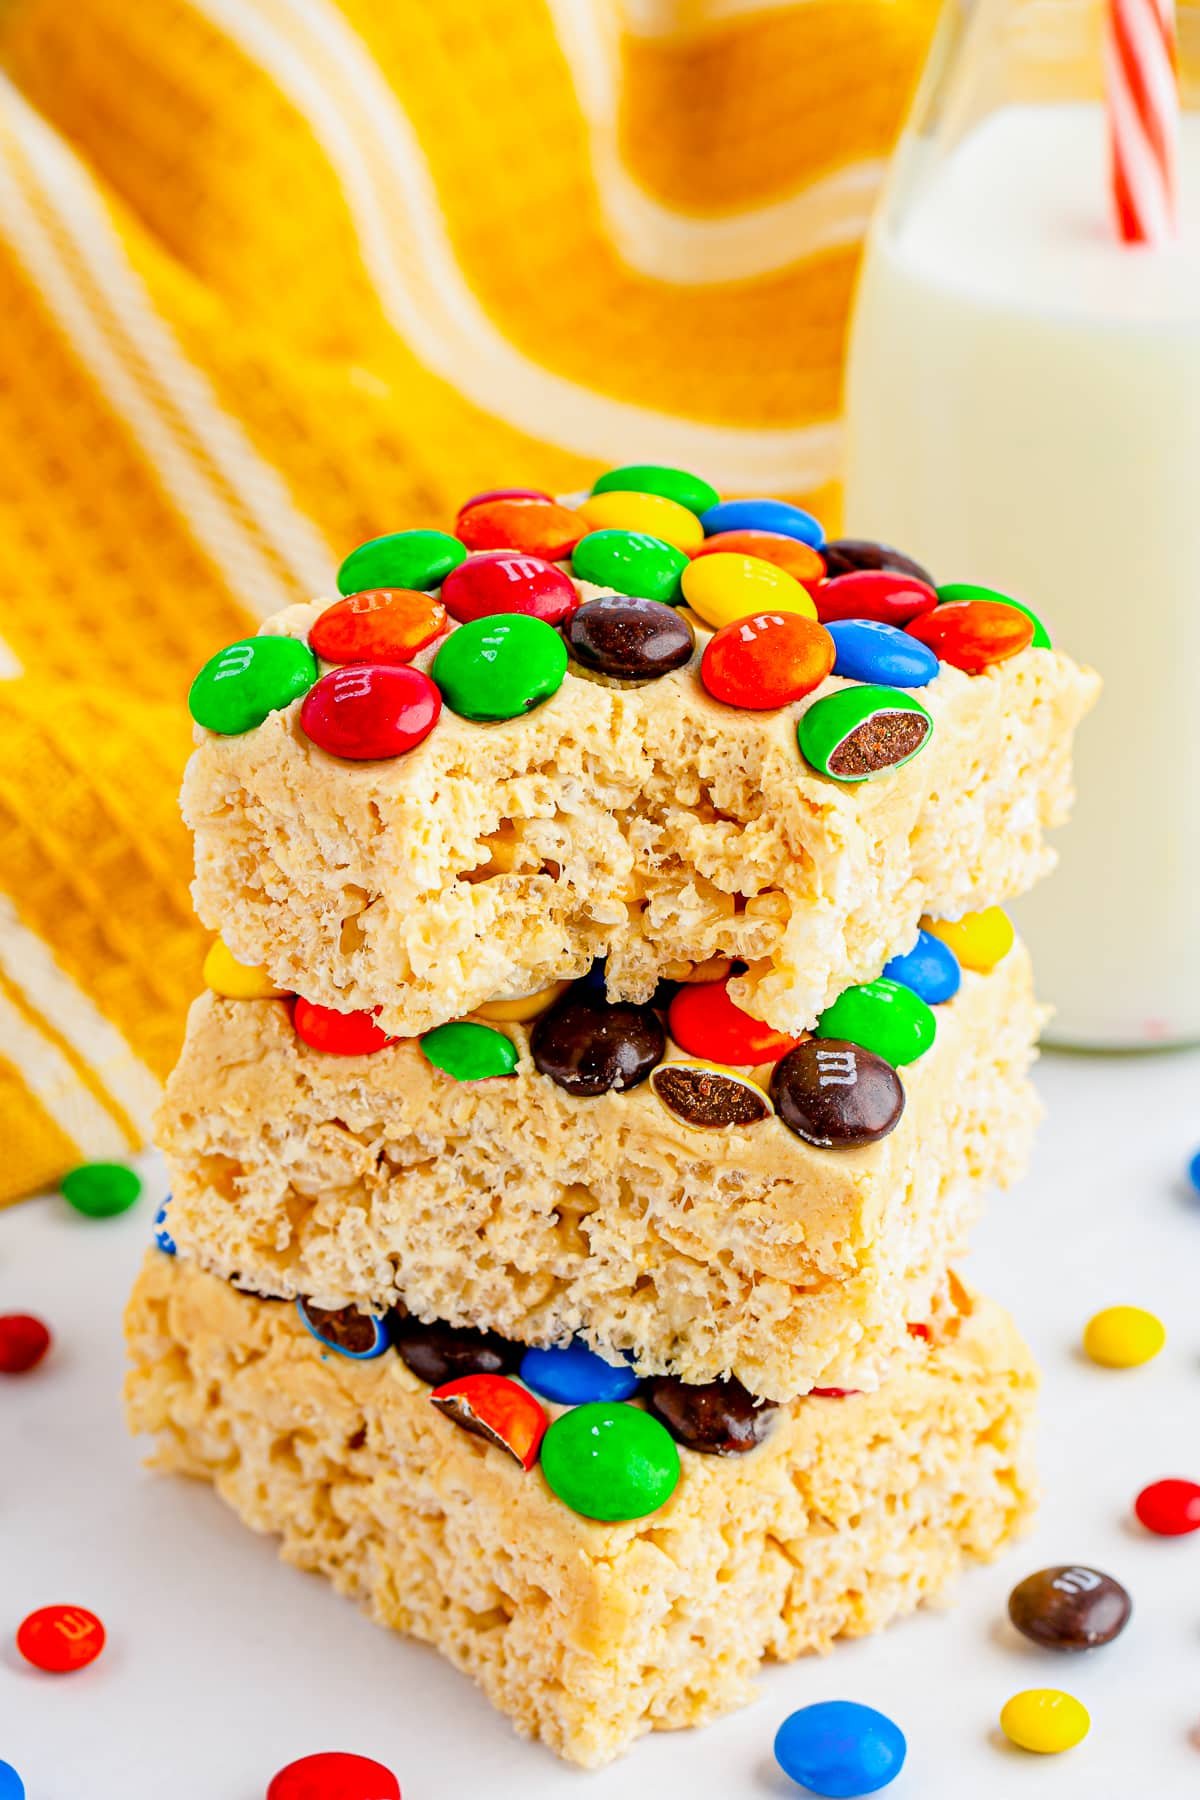
- Stir in 1 cup of M&Ms, sprinkles, or mini chocolate chips after the cereal for a pop of color.
- Brown the butter first for a nutty, caramel-like depth, like our brown butter rice krispie treats.
- Drizzle the cut bars with melted chocolate or peanut butter for an extra special treat.
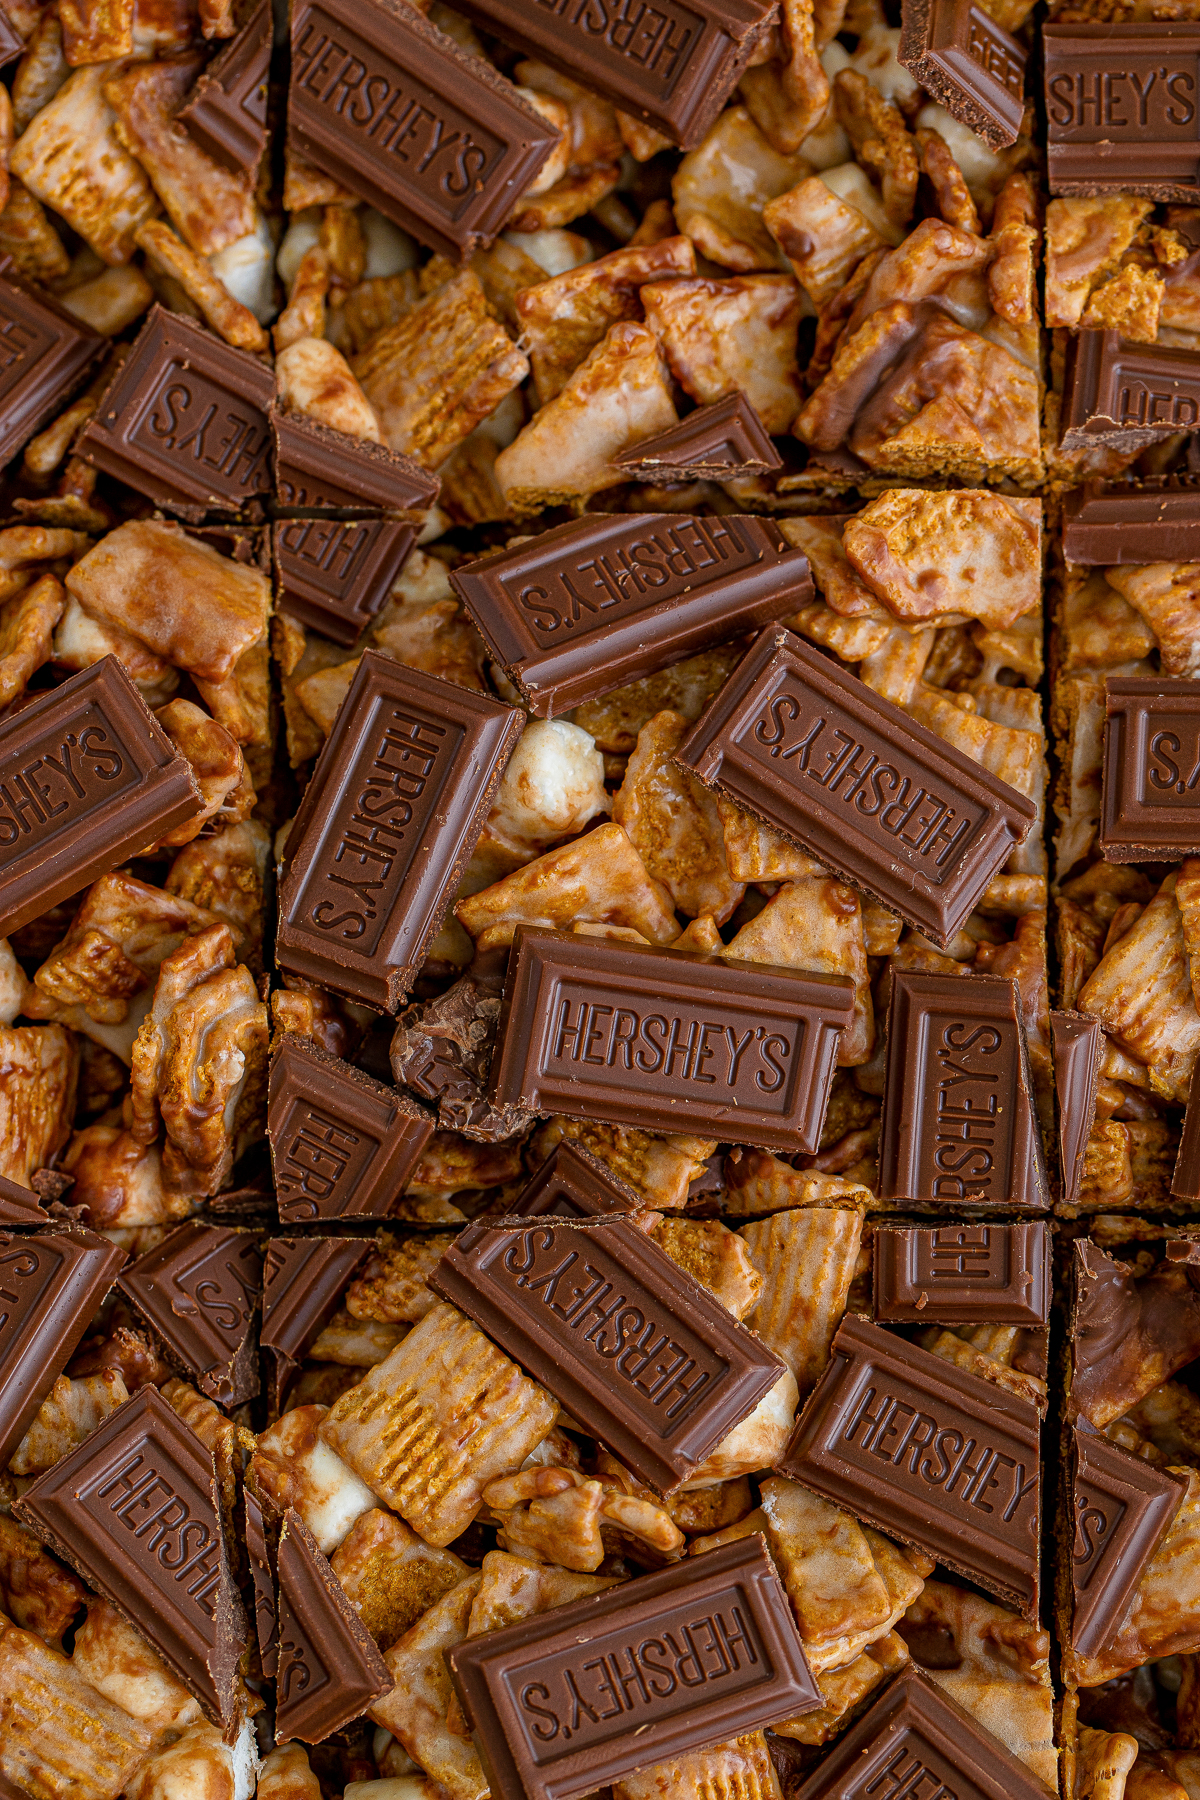
- Swap in a different cereal or fold in crushed cookies for a fun twist, like our smores cereal treats.
- If you want to switch things up, our rice pudding recipe plays on similar flavors in a whole new way.
- If you want to switch things up, our cheesy zucchini rice casserole plays on similar flavors in a whole new way.
- In the mood for something different? Our chex marshmallow treats scratches a similar itch.
- If you want to switch things up, our creamy chocolate rice pudding plays on similar flavors in a whole new way.
How to Make Rice Krispie Treats
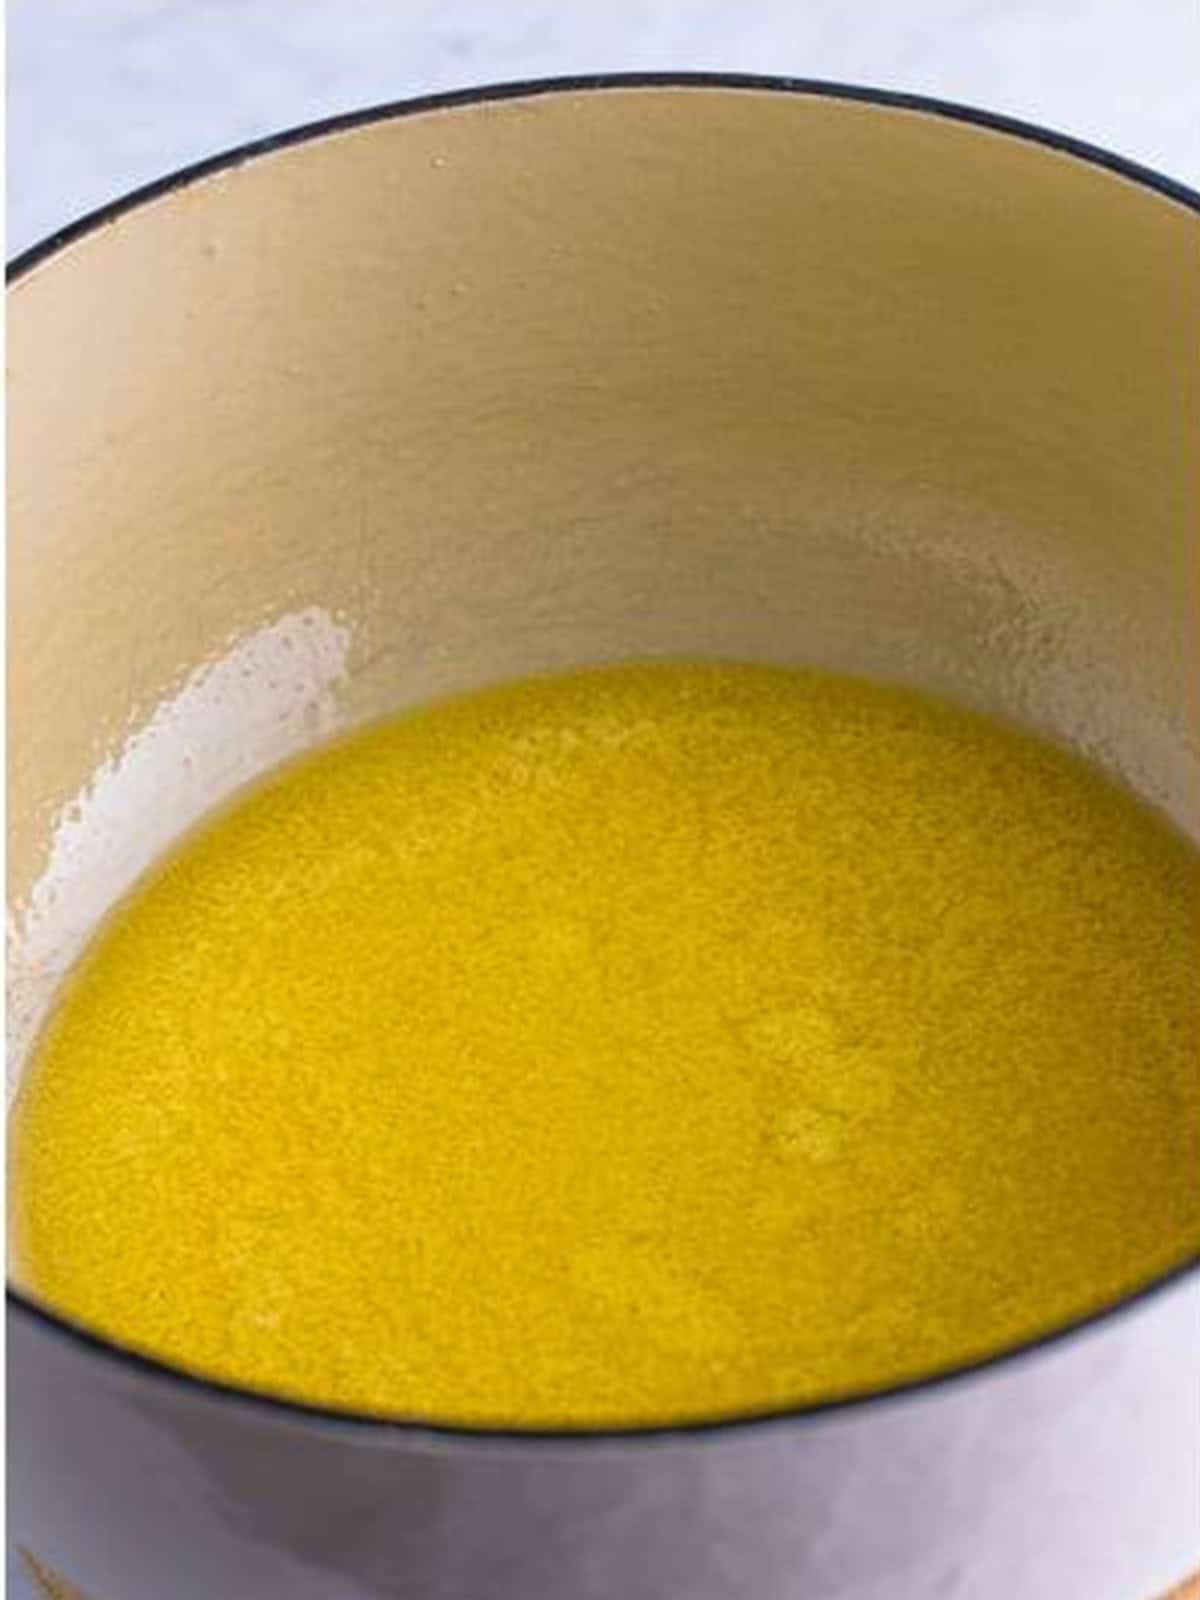
- Melt the butter in a large pot over medium-low heat.
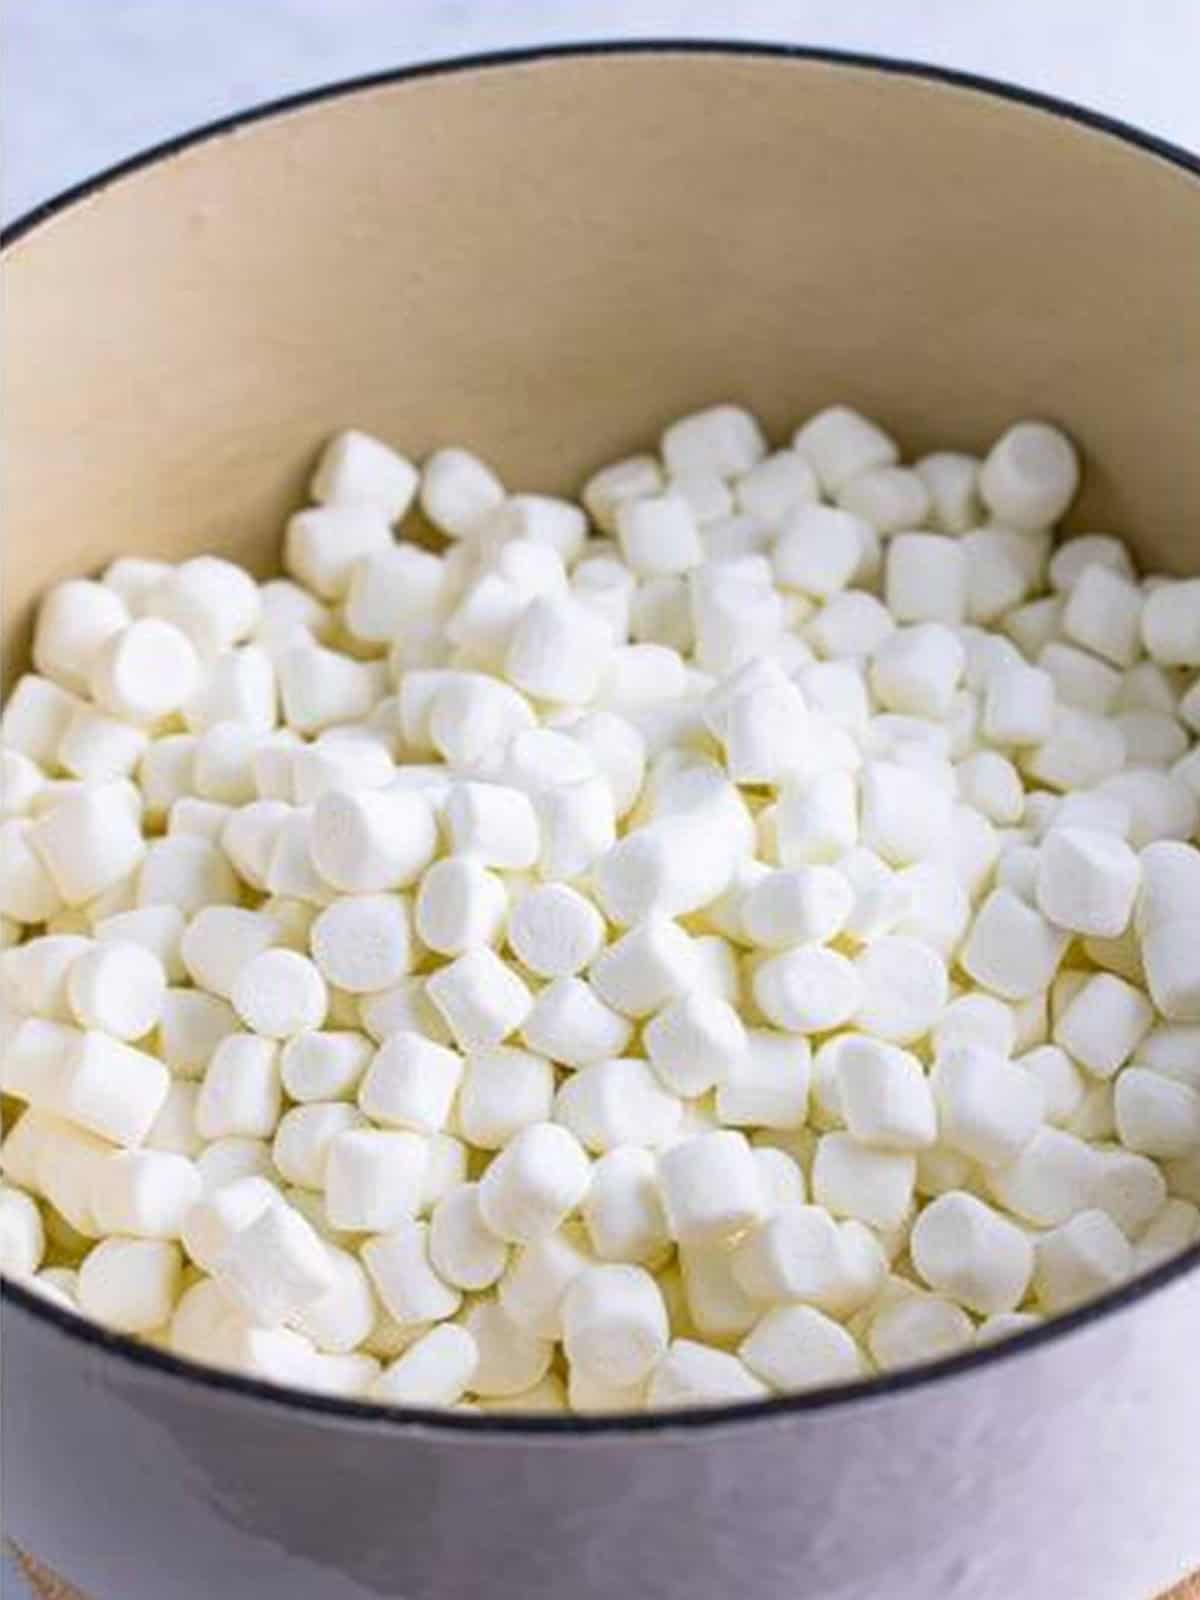
- Add most of the mini marshmallows, reserving about 4 cups for later.
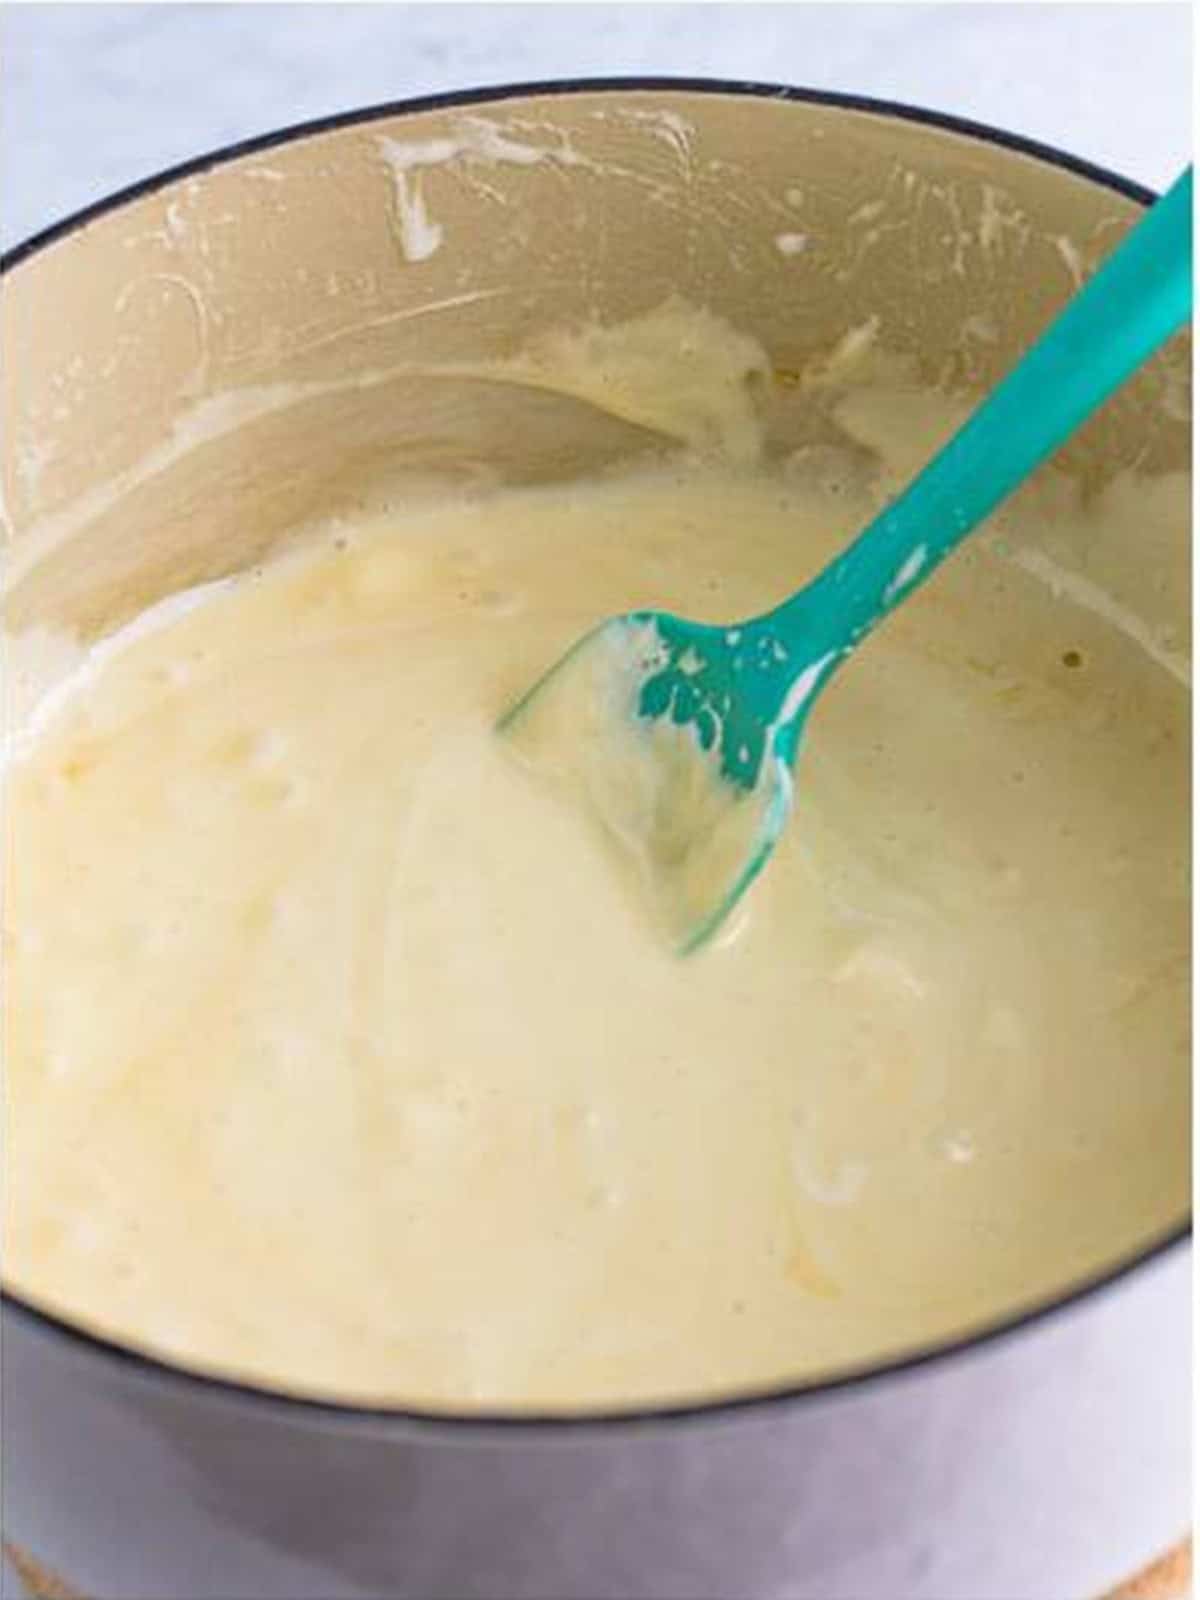
- Stir constantly until smooth, take off the heat, then mix in the vanilla and salt.
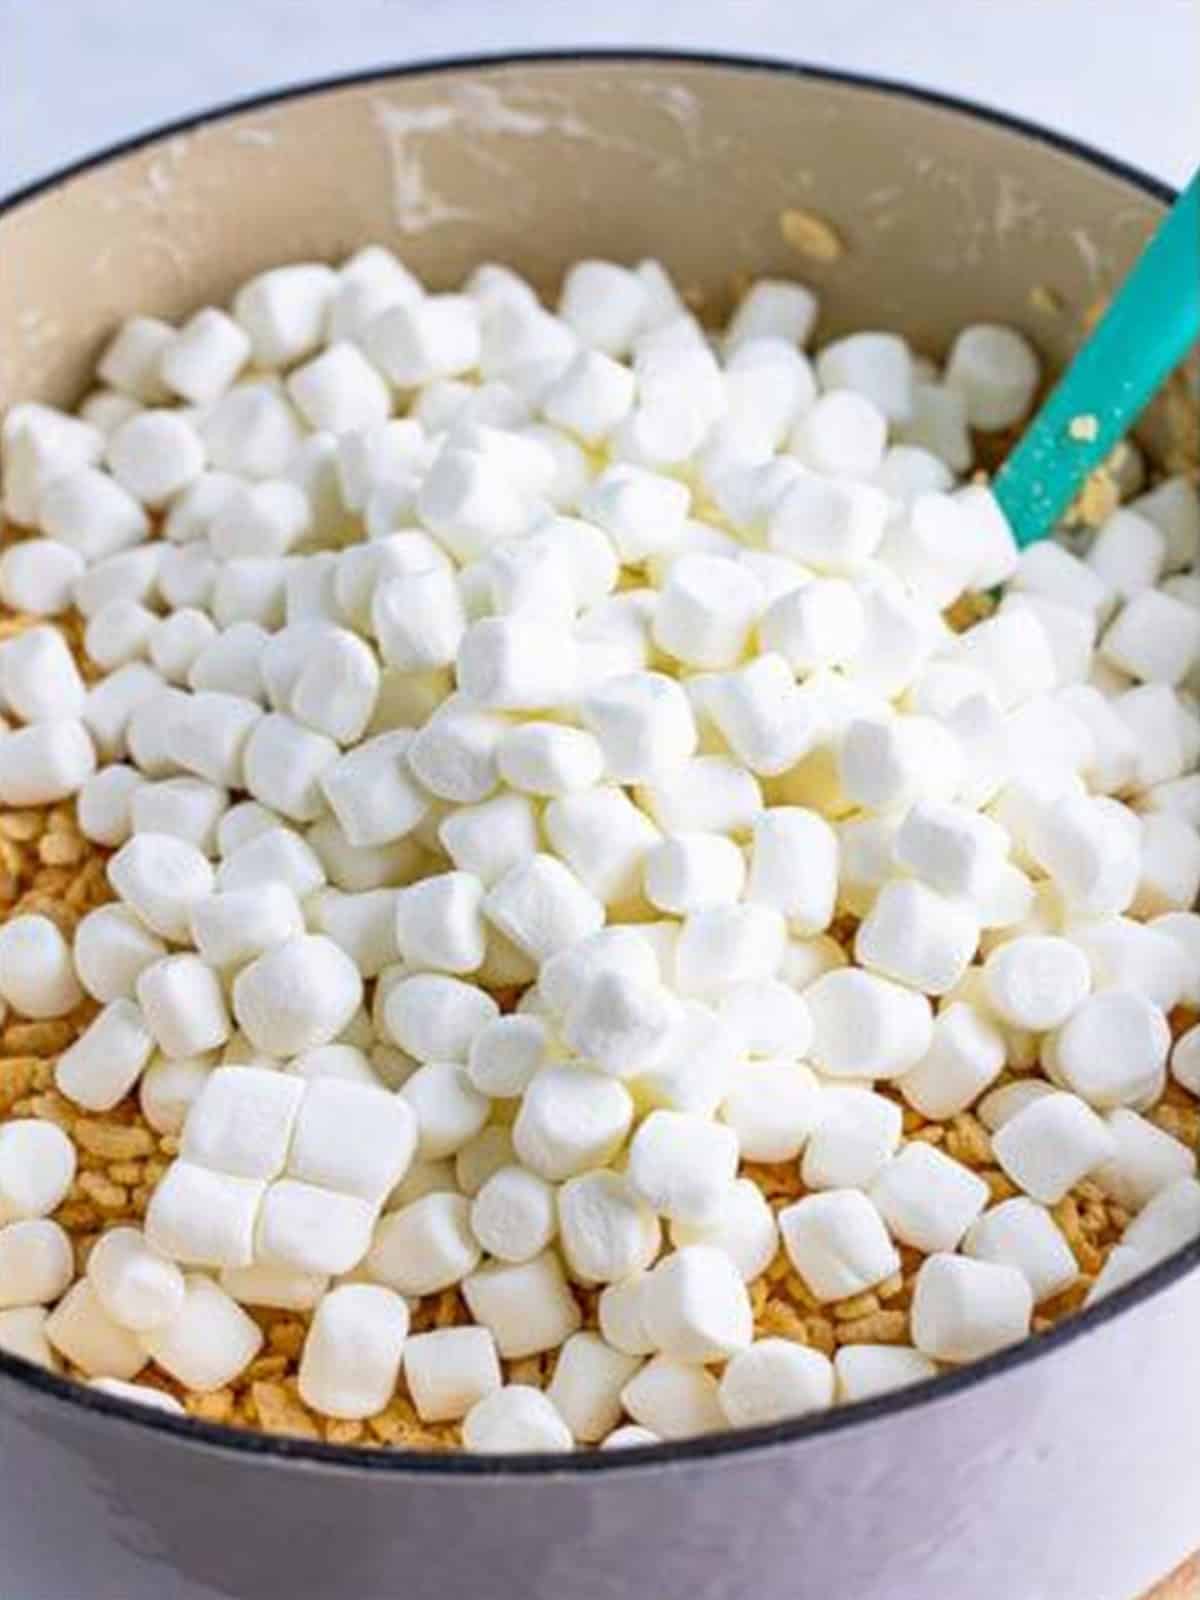
- Fold in the rice krispies cereal and the reserved marshmallows until everything is coated.
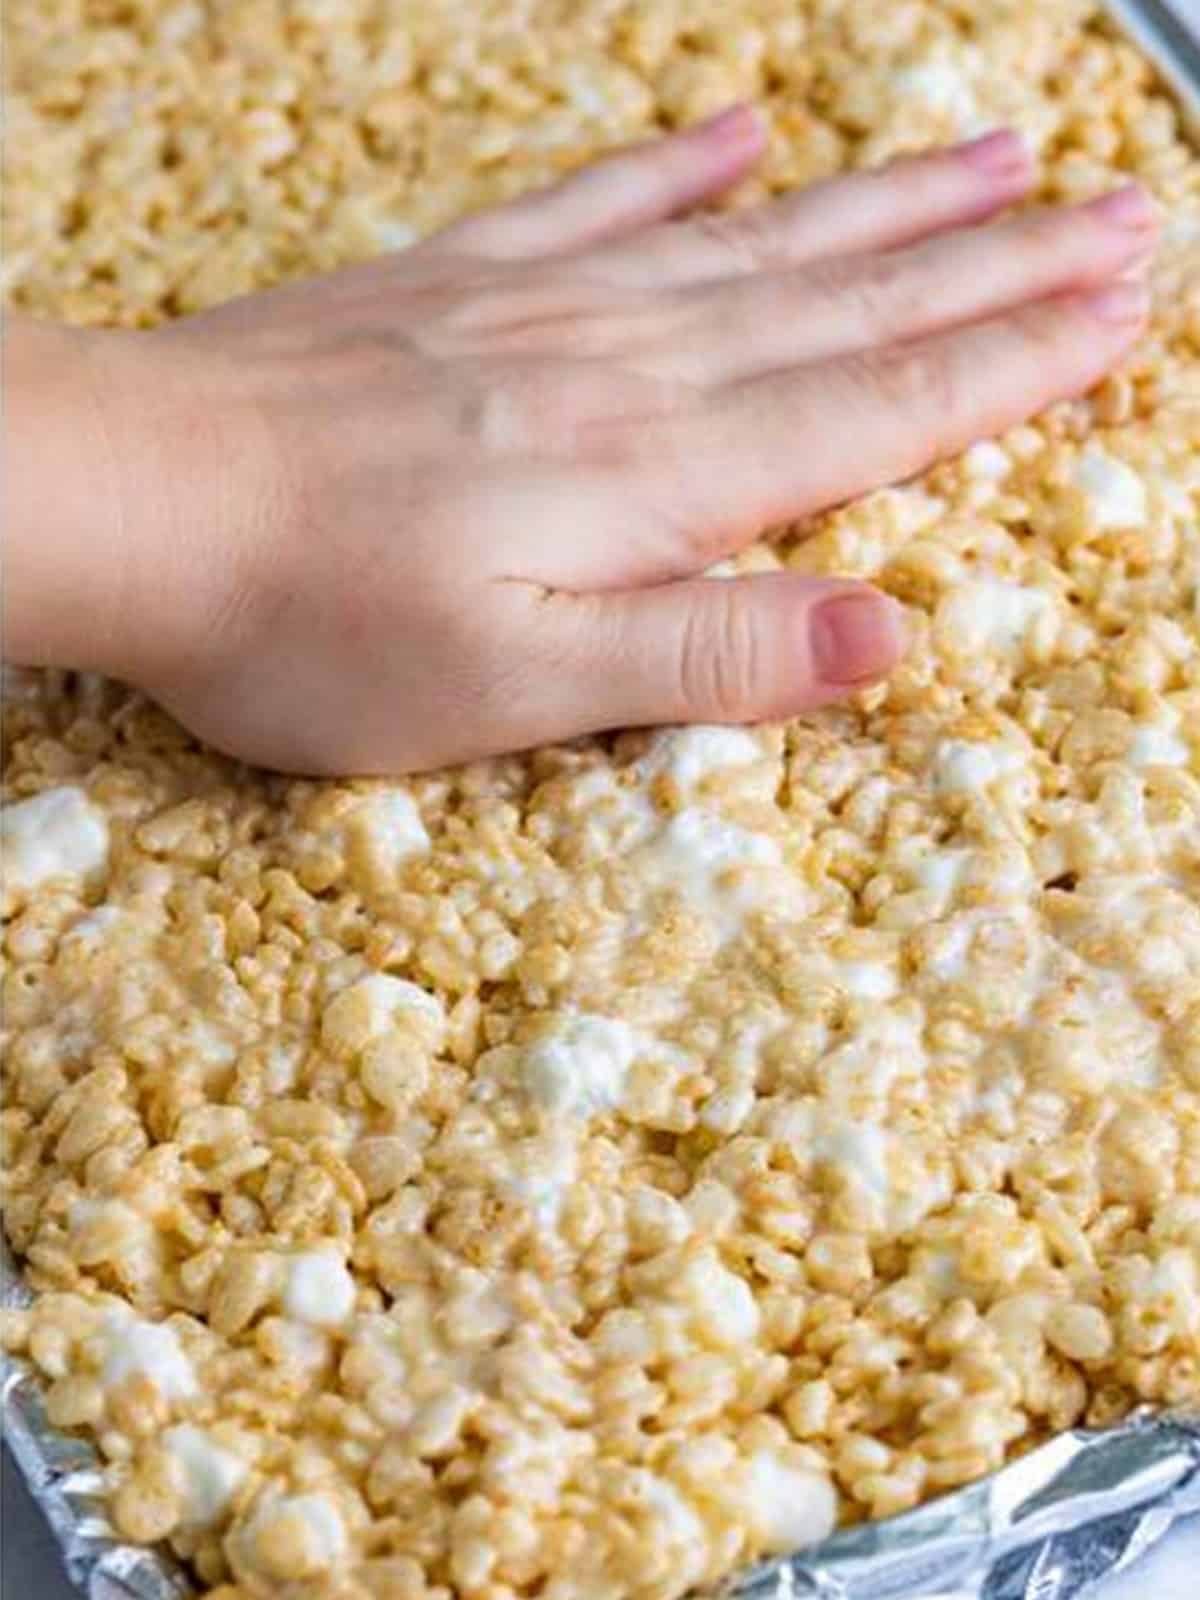
- Gently press the mixture into a foil-lined, greased pan without packing it down.
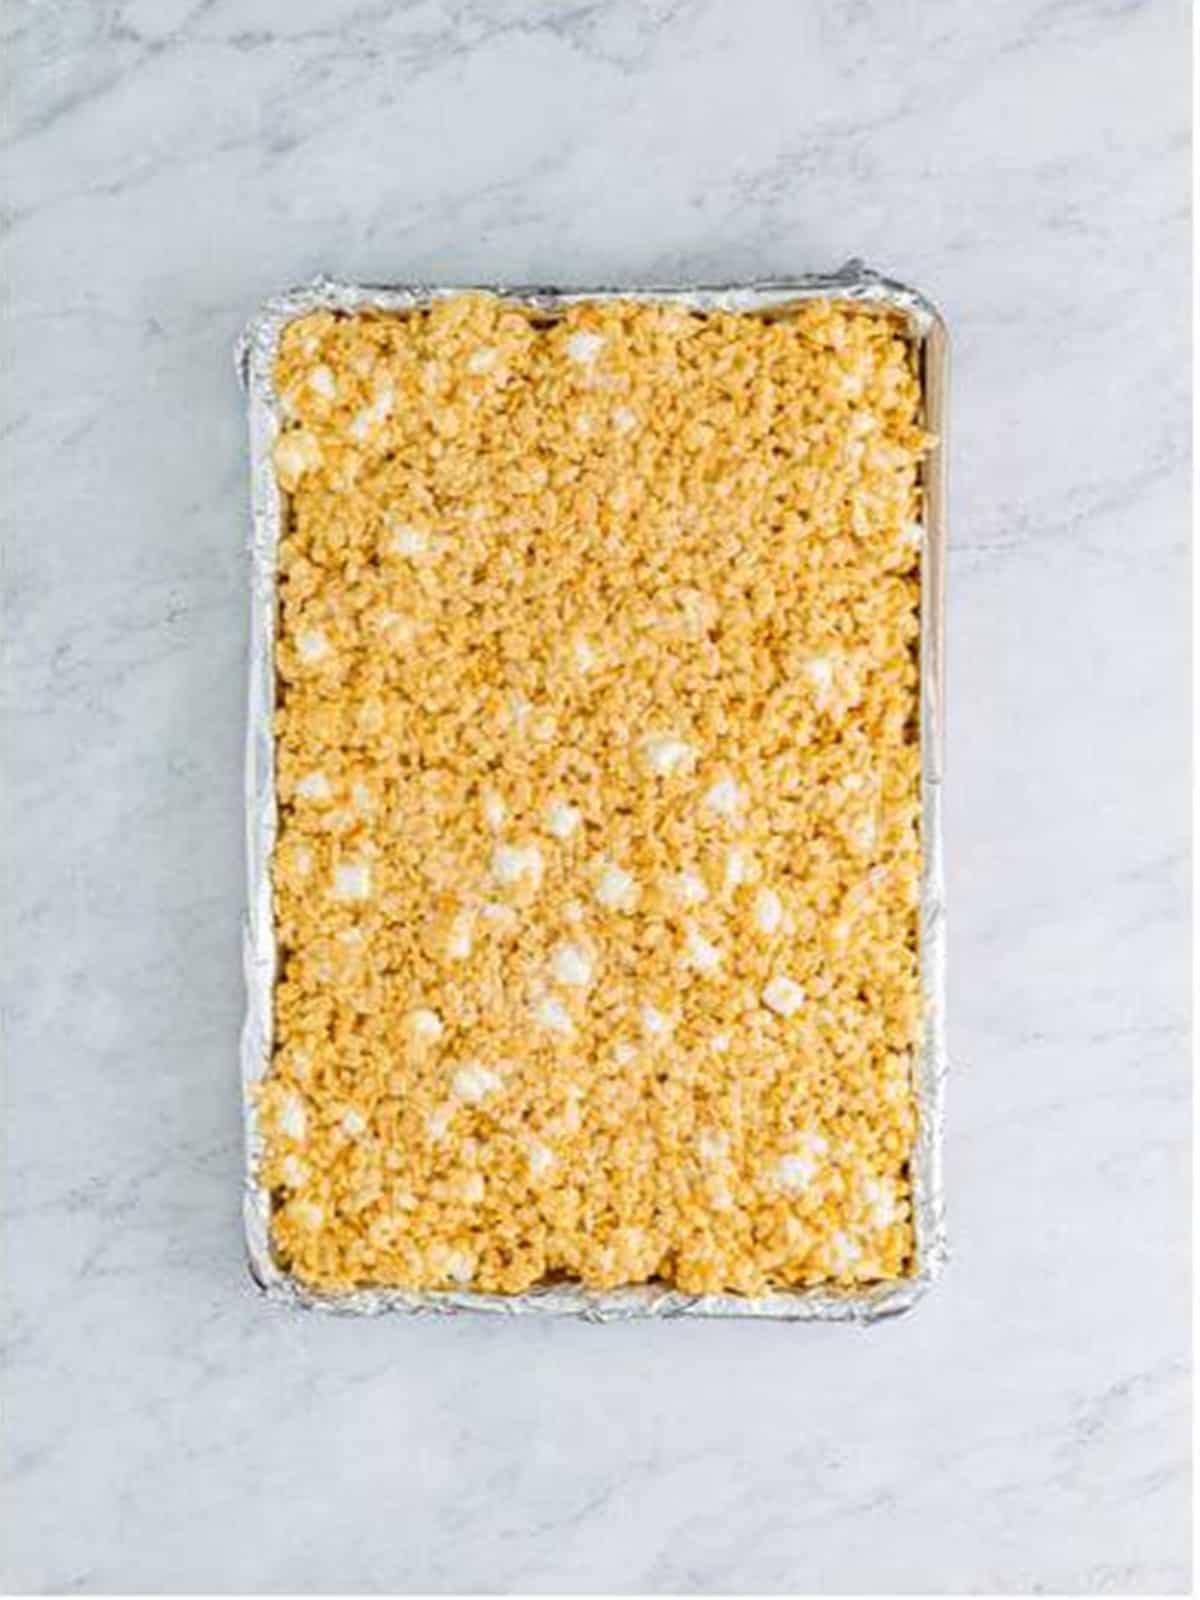
- Let the treats set for at least 2 hours, then cut into bars and serve.
Recipe Tips & Tricks
- Use fresh marshmallows. Old, dried-out marshmallows will not melt smoothly and make the treats tough.
- Grease your hands. Lightly spray your hands or spatula with cooking spray to press the sticky mixture without a mess.
- Do not overheat. Take the pot off the heat as soon as the marshmallows melt to keep the treats soft.
- Line the pan with foil. A foil sling lets you lift the whole slab out for clean, easy cutting.
- Reserve marshmallows for gooey pockets. Folding in whole marshmallows at the end is the secret to soft treats.
- Cut with a greased knife. Wipe and re-grease the blade between cuts for neat, clean squares.
- Plan the whole menu. This pairs effortlessly with our yellow rice recipe when company is coming.
- Plan the whole menu. This pairs effortlessly with our oyakodon when company is coming.
Serving Ideas and Suggestions
Rice Krispie Treats are perfect just as they are, stacked on a plate next to a cold glass of milk for an after-school snack or lunchbox surprise.
Wrap individual squares in plastic wrap for grab-and-go treats, or pile them on a dessert board with brownies and cookies for a crowd. They also make a sweet, easy homemade gift.
Rice Krispie Treats FAQs
Hard Rice Krispie Treats usually come from overheating the marshmallows or packing the mixture down too firmly. Melt over low heat, take the pot off as soon as the marshmallows are smooth, and press gently into the pan.
The secret to soft Rice Krispie Treats is using fresh marshmallows, not overheating them, and folding in a few cups of reserved marshmallows at the end for gooey pockets. Store them airtight so they do not dry out.
Stored in an airtight container at room temperature, Rice Krispie Treats stay fresh and chewy for about 3 days. After that they start to firm up, so they are best enjoyed within the first couple of days.
Yes, Rice Krispie Treats freeze well. Wrap them individually in plastic wrap, place them in a freezer bag, and freeze for up to 6 weeks. Thaw at room temperature before eating.
You can, but mini marshmallows melt faster and more evenly. If using large marshmallows for your Rice Krispie Treats, cut them down or be patient while they melt, and stir often.
A splash of vanilla and a pinch of salt take Rice Krispie Treats from ordinary to bakery-level. The vanilla adds warmth while the salt balances the sweetness so they do not taste flat.
Craving more easy no-bake sweets? Whip up a batch of our brown butter rice krispie treats next.
Ready to level up the classic? These caramel rice krispie treats hide a whole layer of dulce de leche inside.
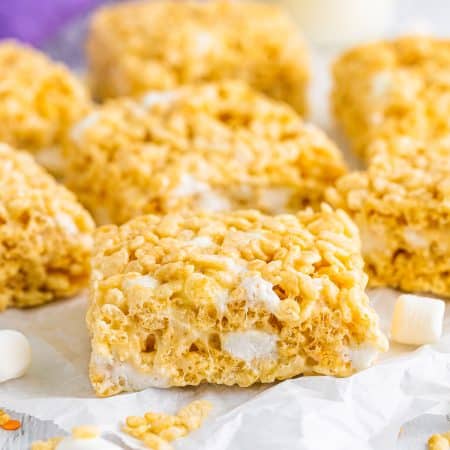

Rice Krispie Treats
Ingredients
- 1 cup salted butter
- 3 10-ounce bags mini marshmallows
- 1 tablespoon vanilla extract
- ½ teaspoon fine sea salt
- 9 ounce box rice Krispies cereal
Instructions
- Line a 10×15 inch jelly roll pan with foil and lightly spray it with cooking spray, set aside.
- In a dutch oven or in a large pot, melt the butter over medium-low heat.
- Reserve 4 cups of the mini marshmallows on the side and add the remaining marshmallows to the pot.
- Stir constantly until melted.
- Take off the heat. Add the vanilla extract and salt to the pot then stir to combine.
- Add half of the cereal, mix it in to combine.
- Add the remaining cereal and mini marshmallows, and stir until combined.
- Add the mixture to the prepared jelly roll pan. Then you’ll want to lightly grease your hands with cooking spray and gently press the mixture into the pan. Do not smash them down, you don’t want them too compact, just gently form to the pan.
- Let them set up for at least 2 hours, then cut into bars and serve.
Notes
- You can use a 9×13 inch pan to make these thicker if desired.
- These can be frozen, see above on how to do that.
- Other cereals can be used to switch up the flavor, I shared some of my favorites above.
- These need to set up on the countertop for around 2 hours.
- You can omit adding the extra 4 cups of marshmallows, but we highly recommend this.
- You can also use regular large marshmallows for this, see above on how we do that.
Nutrition
Love This Recipe?
Follow @ThisSillyGirlsKitchen on Instagram and @ThisSillyGirlsKitchen on Pinterest for more!








Sounds delicious!
If you roll them thin, then melt butter, chocolate and some marshmallows, you can spread this over the RK layer, then roll it up like a pinwheel. Refrigerate until set, then slice them. There are never leftovers.