This post may contain affiliate links.
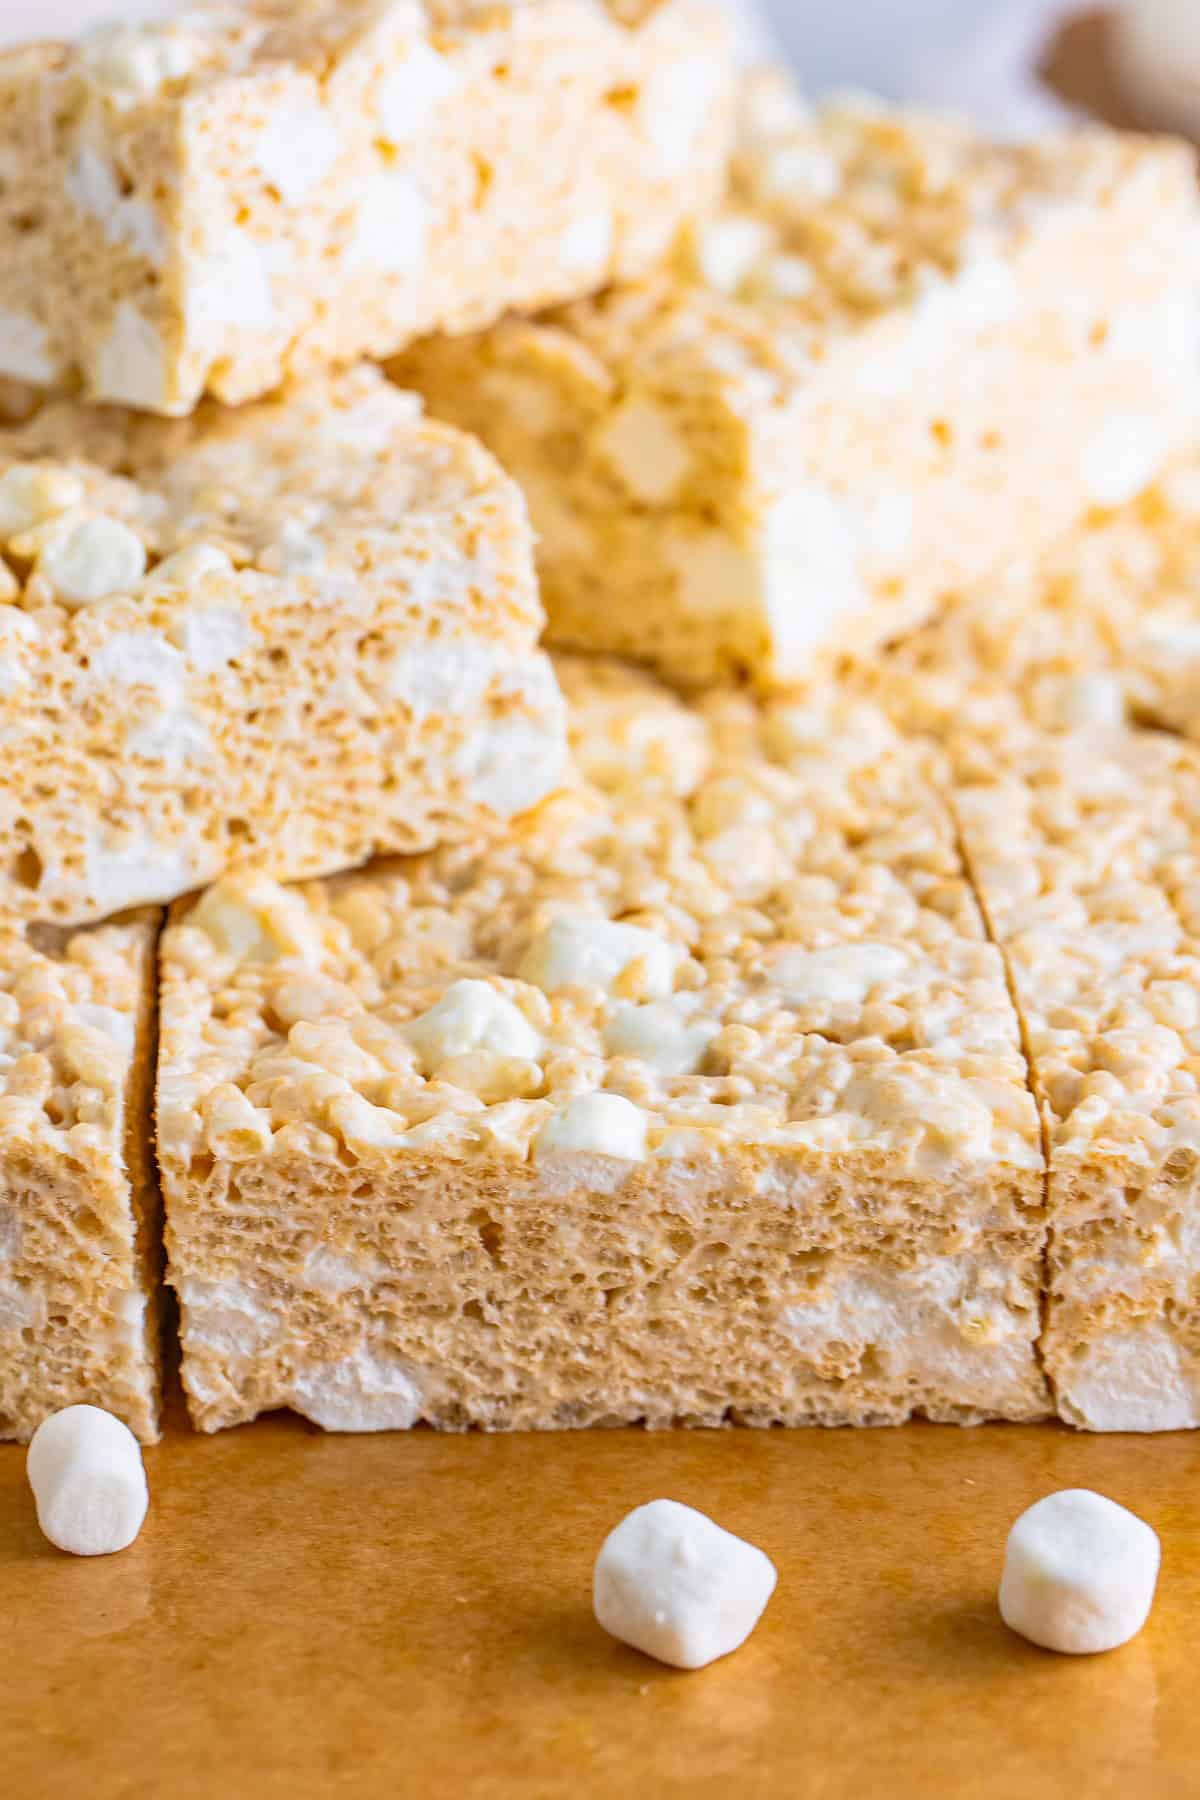
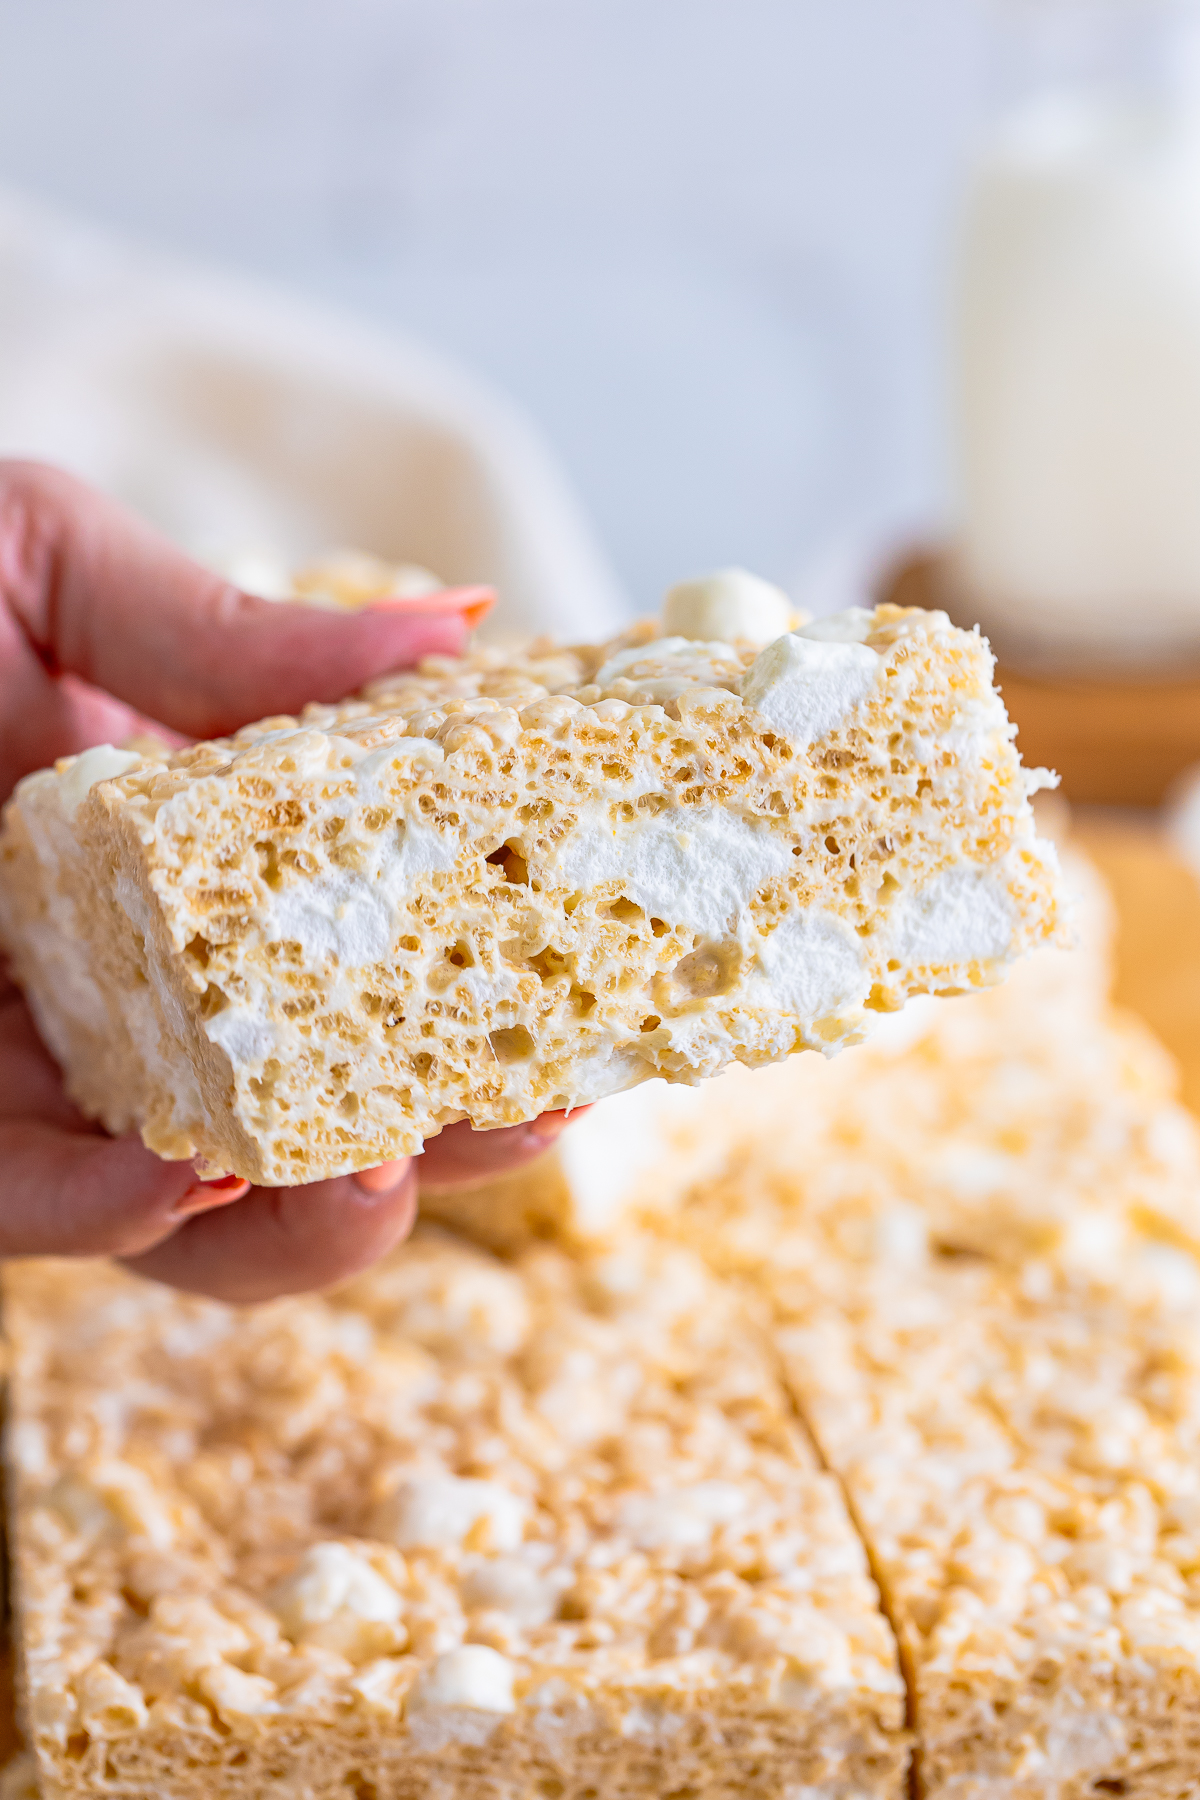
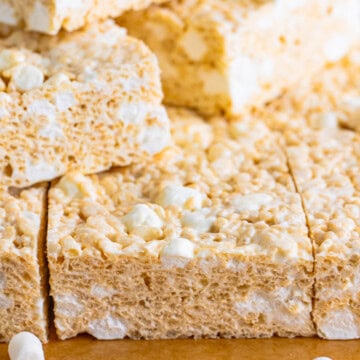
Brown Butter Rice Krispie Treats take the no bake treat you grew up on and give it a nutty, caramel deep upgrade that tastes like the fanciest bake sale in town, all from one pot. I made a pan of these on a rainy Saturday afternoon when Maddie and Lizzie were begging for something sweet, and the toasty smell of the browning butter alone had them parked at the counter. If you love a gooey no bake win, our marshmallow s’mores cereal treats are right in the same wheelhouse.
One extra step, browning the butter, is the only thing standing between you and the best batch of treats you have ever made.
Brown Butter Rice Krispie Treats Quick Look
- 🕒 Prep Time: 15 minutes
- 🌡️ Cook Time: 5 minutes
- ⏳ Total Time: 20 minutes
- 🍽️ Serving: 24 treats
- ⚡ Calories: 159kcal
- 🌶️ Flavor Profile: Nutty browned butter, sweet vanilla, and extra gooey marshmallow
- ✋ Difficulty: Easy, a one pot no bake treat on par with our easy puppy chow muddy buddies
Quick Answer
Melt salted butter in a large pot over medium low heat and keep stirring until it turns light golden brown and smells nutty, then pull it off the heat right away. Stir in most of the mini marshmallows until smooth, mix in vanilla and salt, then fold in the cereal and the reserved marshmallows. Press the mixture gently into a parchment lined pan, let it set for about two hours, and cut into bars.
Jump to:
- Brown Butter Rice Krispie Treats Quick Look
- Quick Answer
- Why This Recipe Works
- Why You’ll Love This Recipe
- Key Ingredients
- Variations and Substitutions
- How to Make Brown Butter Rice Krispie Treats
- Recipe Tips & Tricks
- Serving Ideas and Suggestions
- Brown Butter Rice Krispie Treats FAQs
- Other Recommended No Bake Treat Recipes
- Brown Butter Rice Krispie Treats
Why This Recipe Works
Click to see the technique science
- Browned butter builds deep flavor. Cooking the butter until the milk solids toast adds a nutty, caramel like richness that plain melted butter just cannot touch.
- Reserving marshmallows keeps them gooey. Folding a few cups of mini marshmallows in at the very end leaves soft, melty pockets throughout instead of one uniform texture.
- Low and slow melting prevents toughness. Melting the marshmallows gently over low heat keeps the mixture soft, so the treats stay chewy instead of turning hard and crunchy.
- A touch of salt balances the sweet. Fine sea salt cuts the sugar and makes the browned butter flavor pop, the same trick that makes salted caramel so addictive.
- A light press keeps them tall and soft. Pressing gently instead of packing the mixture down means the bars stay thick, airy, and easy to bite.
Why You’ll Love This Recipe
- They taste like the classic but better, with a grown up nutty depth from the browned butter that everyone notices on the first bite.
- It is a true one pot, no bake recipe that comes together in about 20 minutes of hands on time, perfect for last minute potlucks and bake sales.
- The extra marshmallows folded in at the end make them ridiculously gooey, just like our marshmallow s’mores cereal treats.
- It earns a spot in the rotation right next to our Nutella truffles.
Key Ingredients
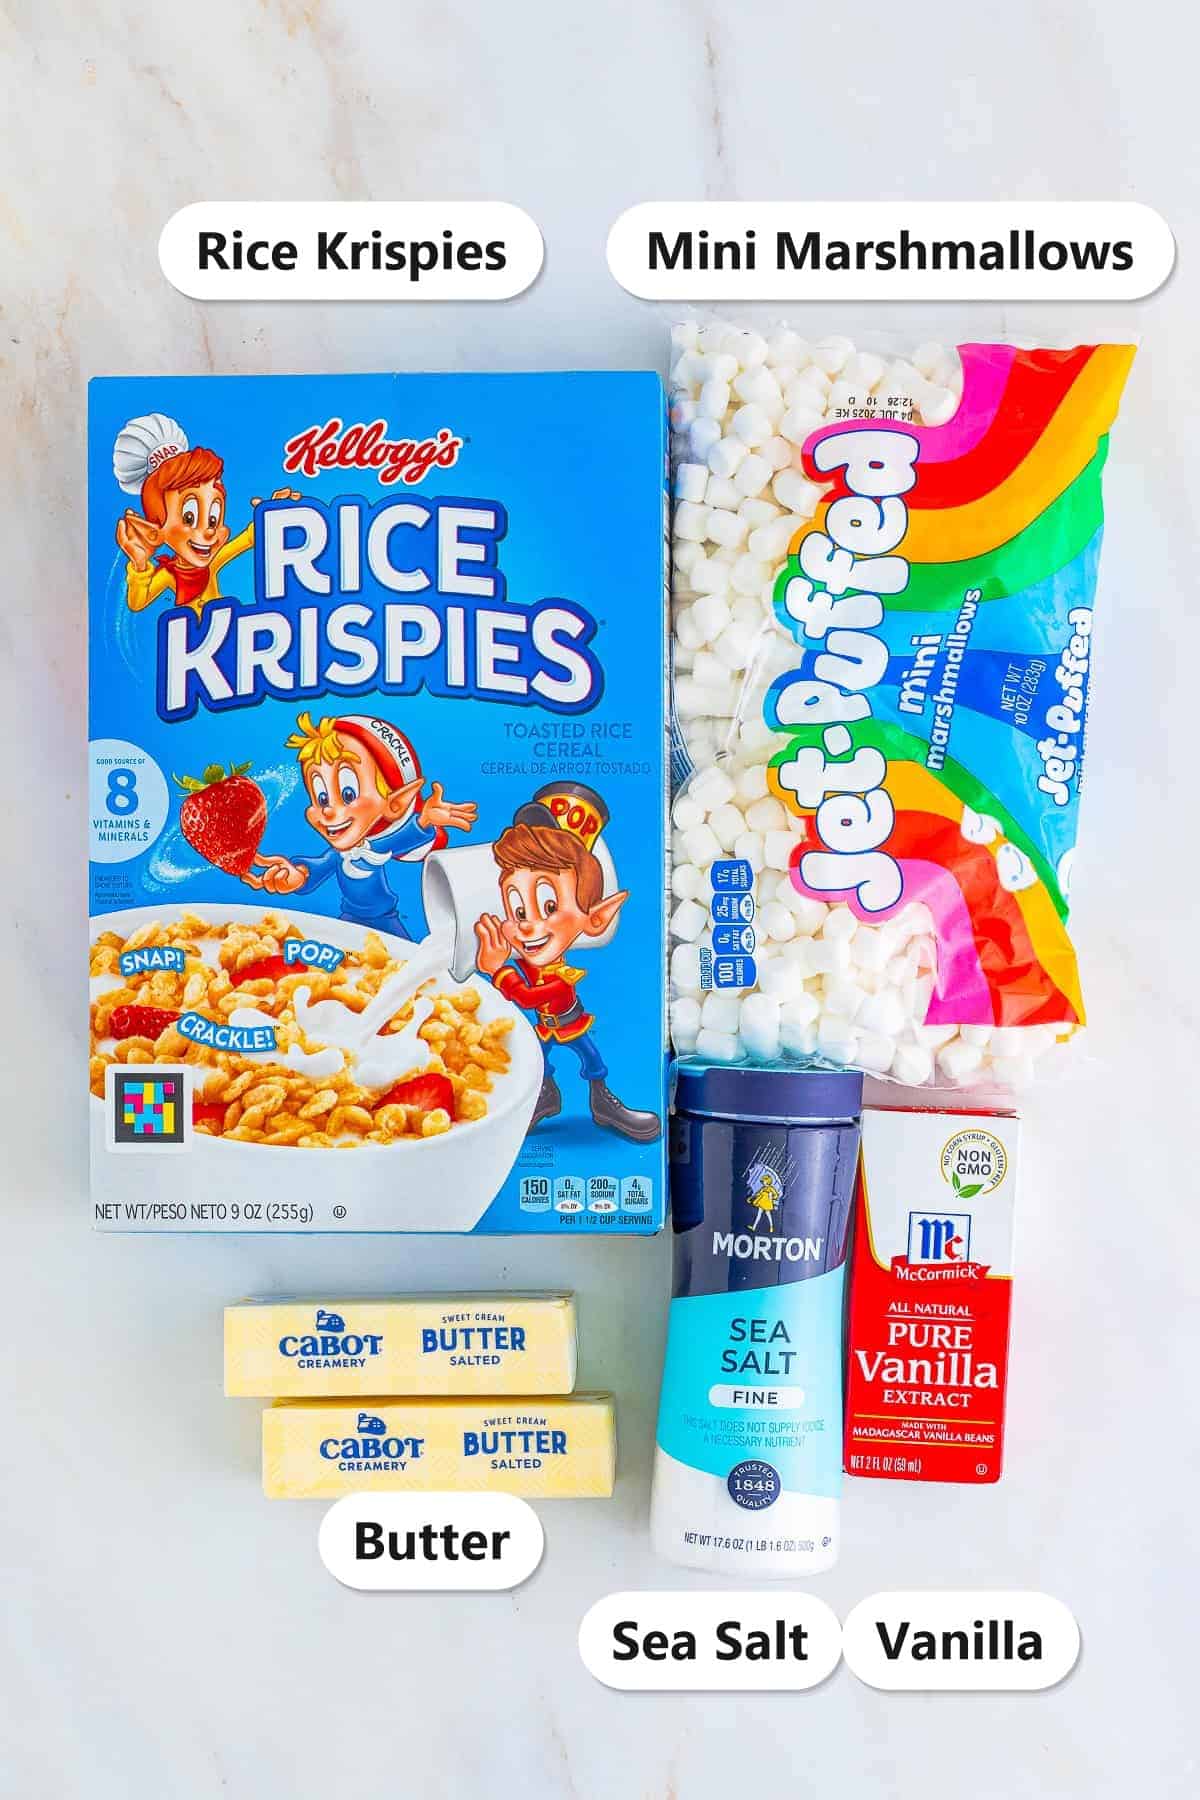
Five simple ingredients are all you need, and most of them are probably already in your pantry. Here is what each one does.
- Salted butter: The star of the show. Browning it is what gives these treats their signature nutty, toasty flavor, so do not skip that step.
- Mini marshmallows: Mini melt faster and more evenly than large ones, and you will reserve a few cups to fold in at the end for extra gooey pockets.
- Rice Krispies cereal: The classic crisp base. Use a fresh box so every bite has that signature snap.
- Vanilla extract: A splash rounds out the browned butter and adds bakery level warmth.
- Fine sea salt: Just a little balances the sweetness and makes the brown butter taste even richer, like in our cinnamon sugar candied pecans.
See recipe card for exact quantities.
Variations and Substitutions
These treats are a perfect blank canvas. Here are some easy ways to switch them up.
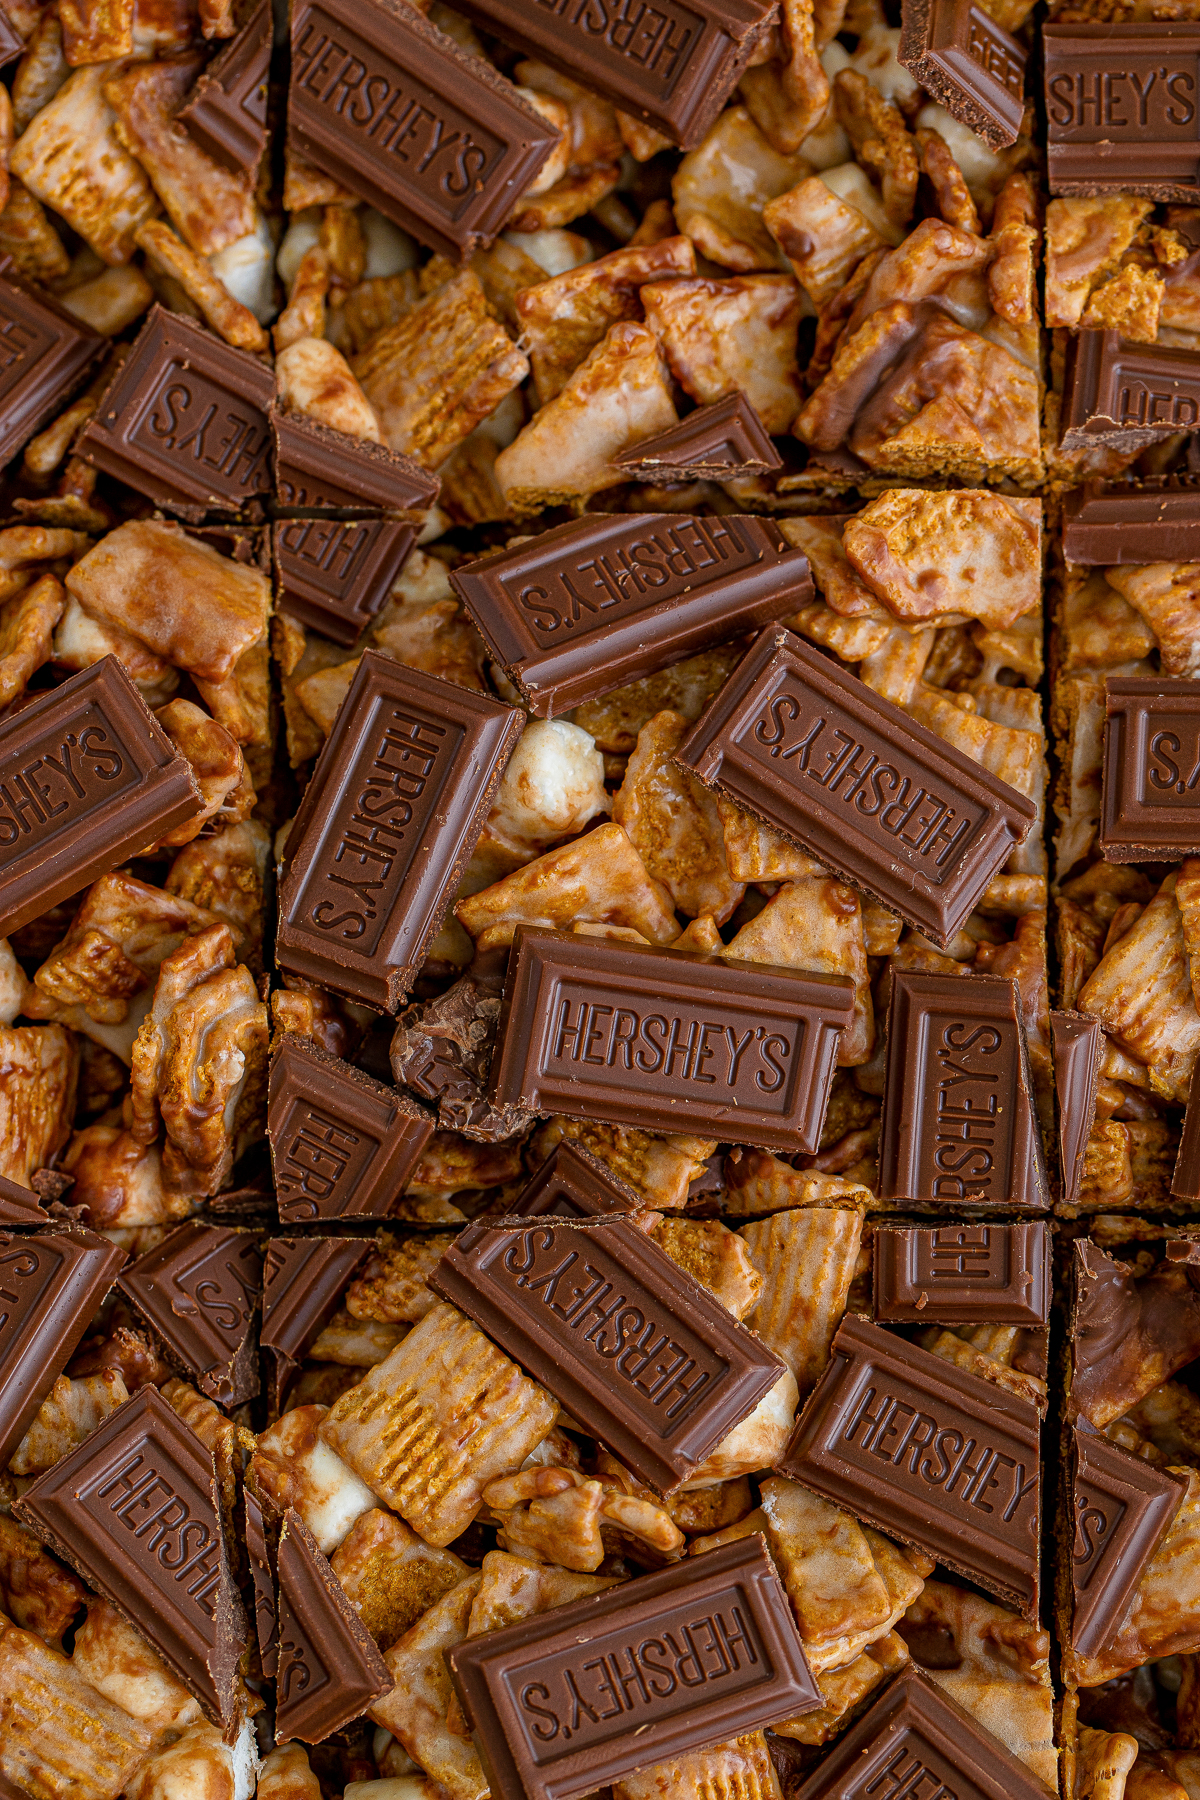
- Brown butter s’mores: Fold in chopped graham crackers and mini chocolate chips for a campfire twist.
- Salted caramel: Drizzle warm caramel over the top and finish with a pinch of flaky salt.
- Chocolate dipped: Dip the cut bars halfway in melted chocolate, like our chocolate covered peanut butter pretzels.
- Sprinkle party: Stir rainbow sprinkles into the mixture for a fun, kid friendly birthday version.
- Peanut butter swirl: Melt a few tablespoons of peanut butter into the marshmallow mixture for a nutty upgrade.
- In the mood for something different? Our fudge with nuts scratches a similar itch.
How to Make Brown Butter Rice Krispie Treats

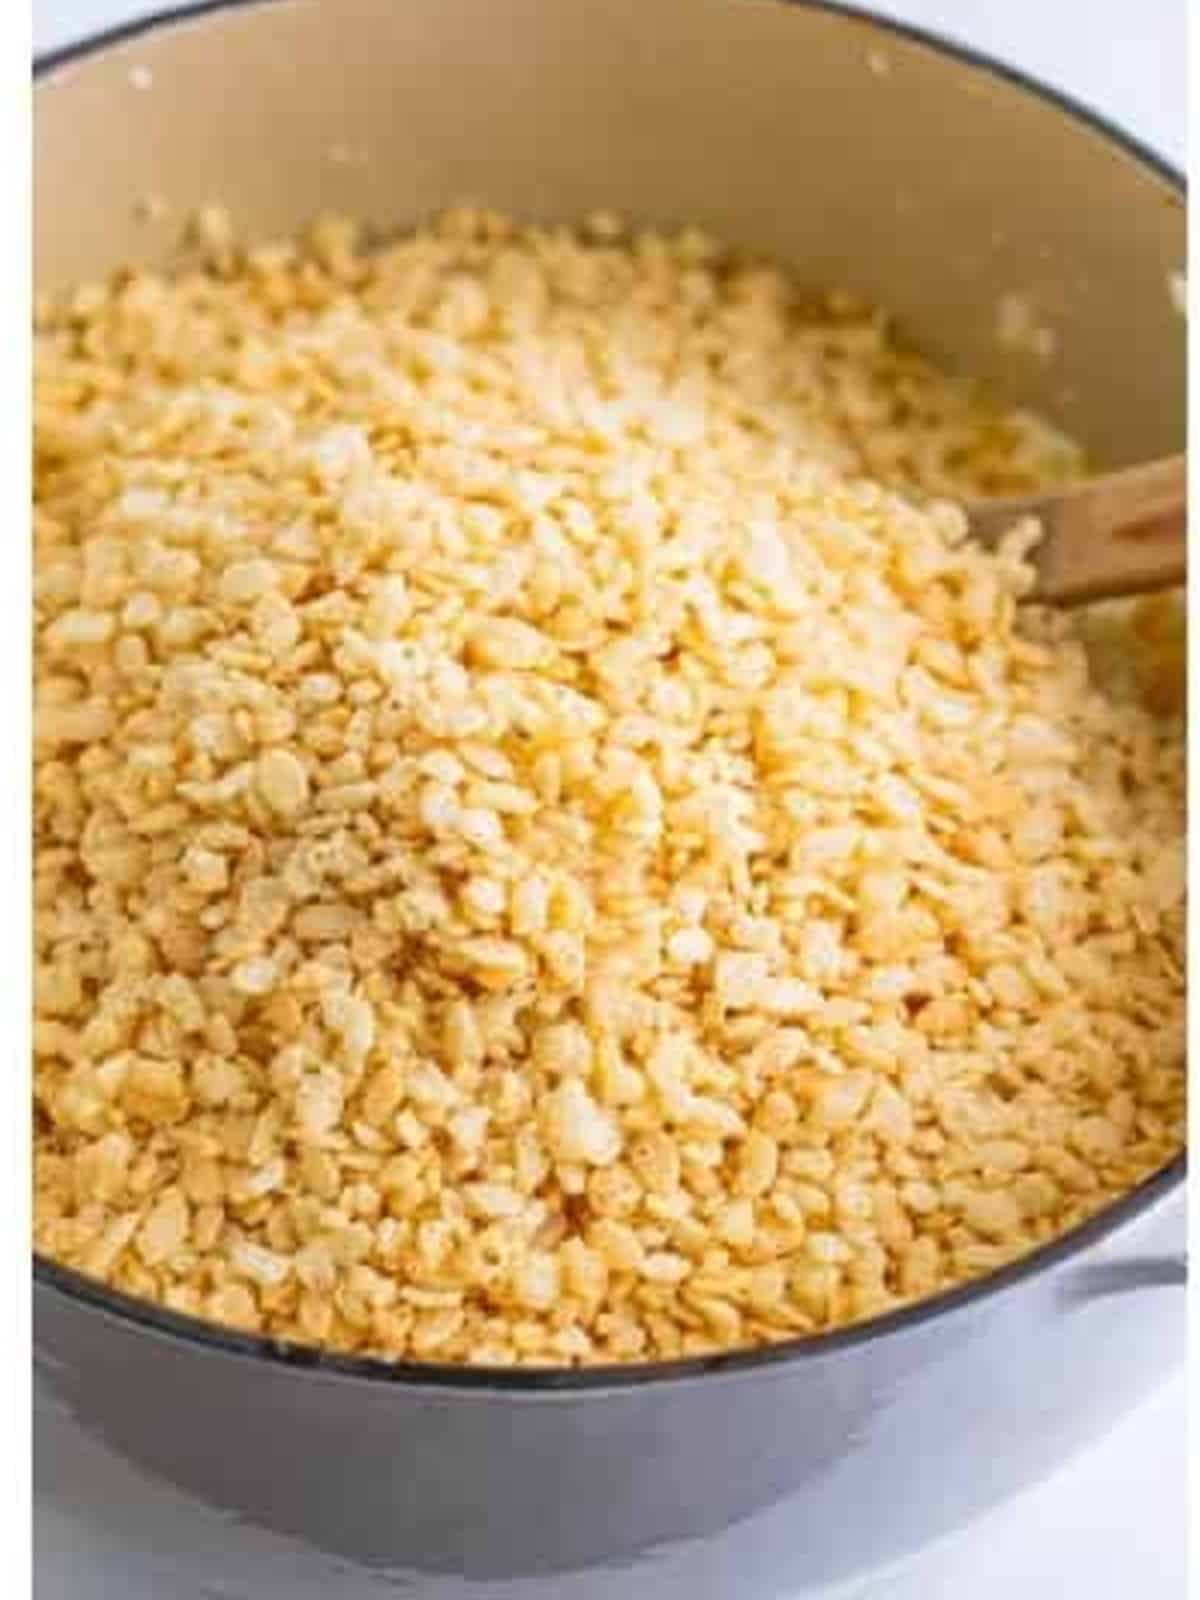
- Melt the salted butter in a Dutch oven or large pot over medium low heat, then keep stirring until it turns light golden brown and smells nutty. Take it off the heat right away, because it keeps browning.

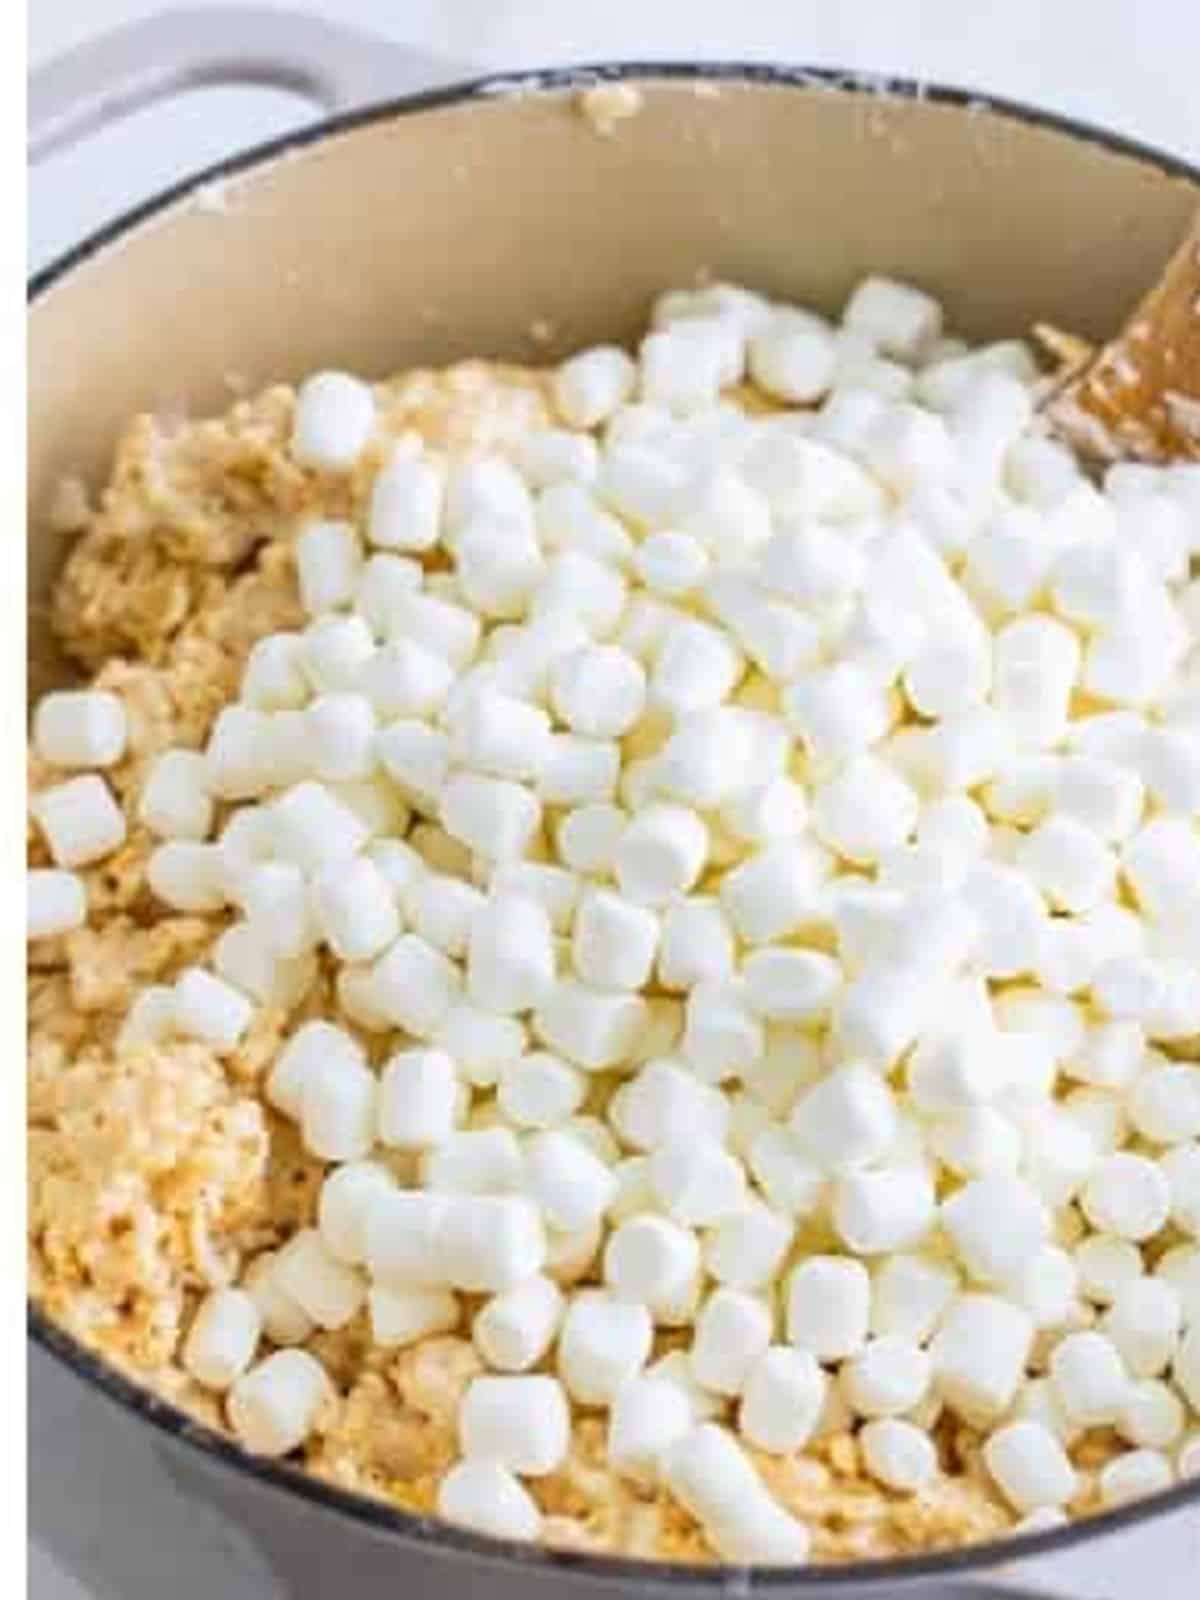
- Reserve 4 cups of the mini marshmallows, then add the rest to the warm browned butter.
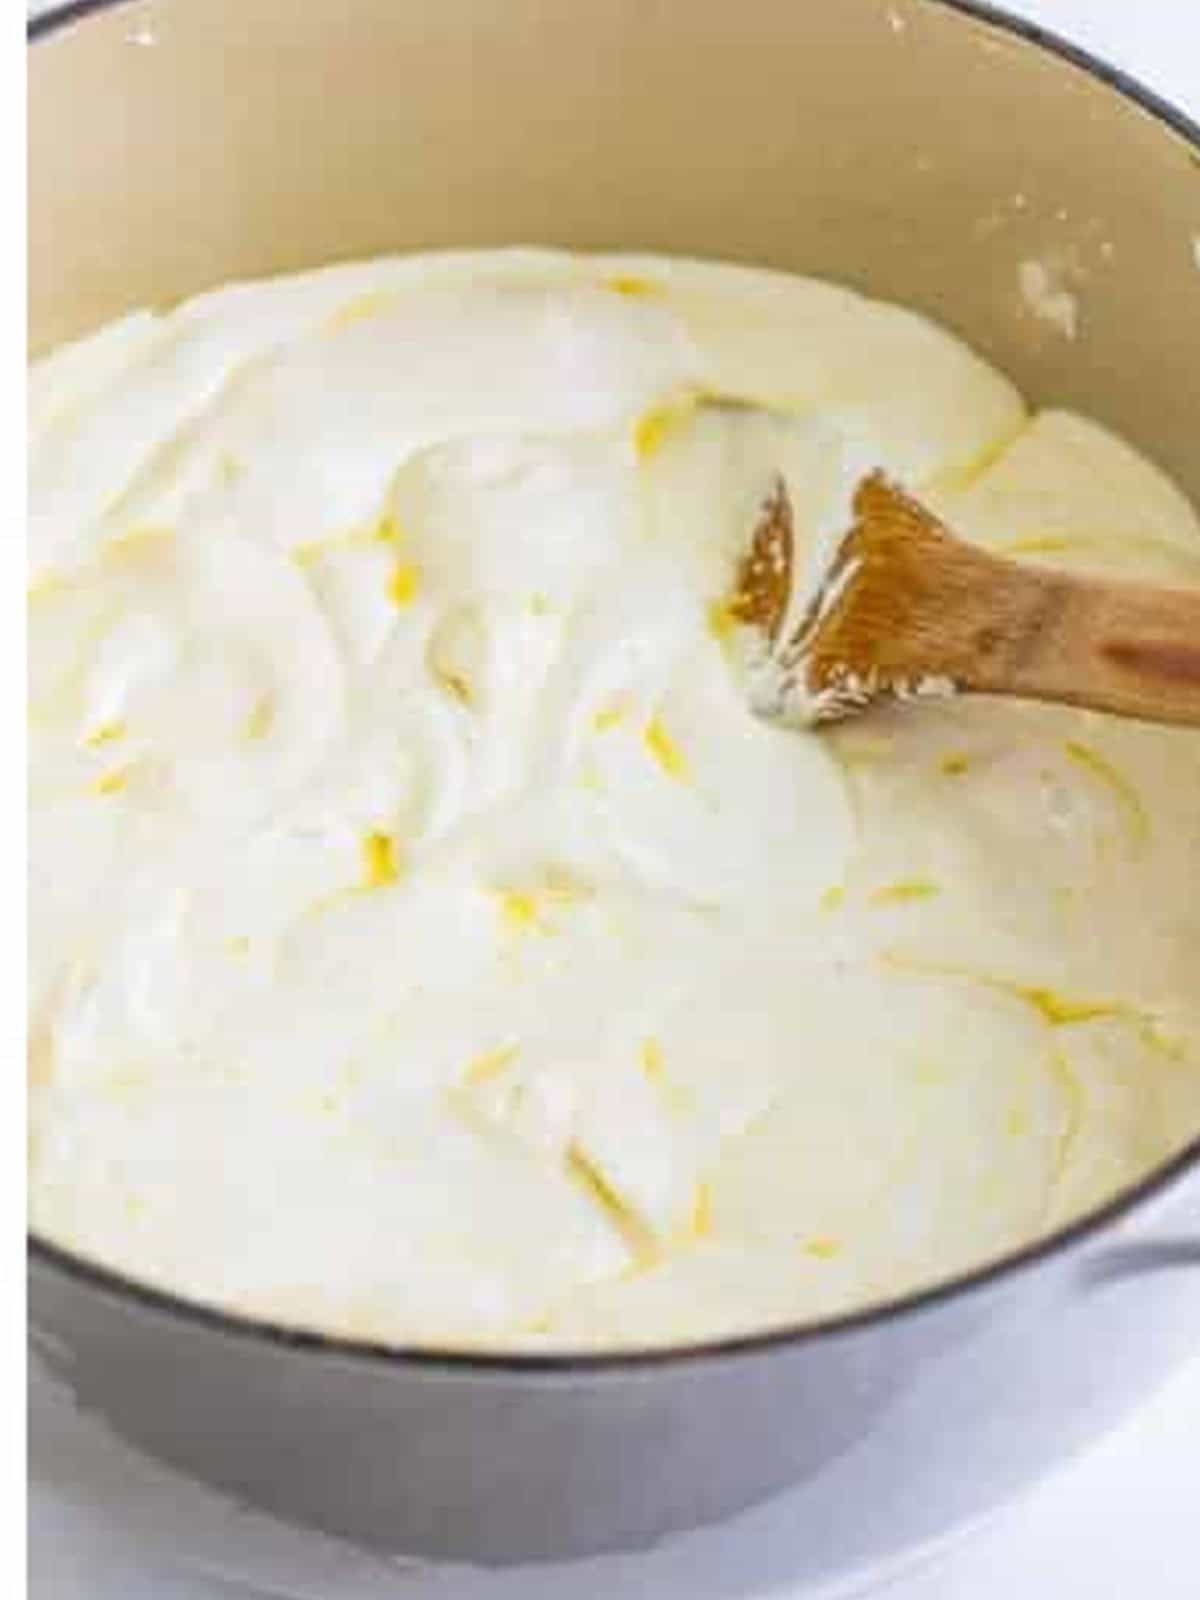
- Stir constantly until the marshmallows are fully melted and smooth. If they need a little help, return the pot to low heat briefly, stirring the whole time.
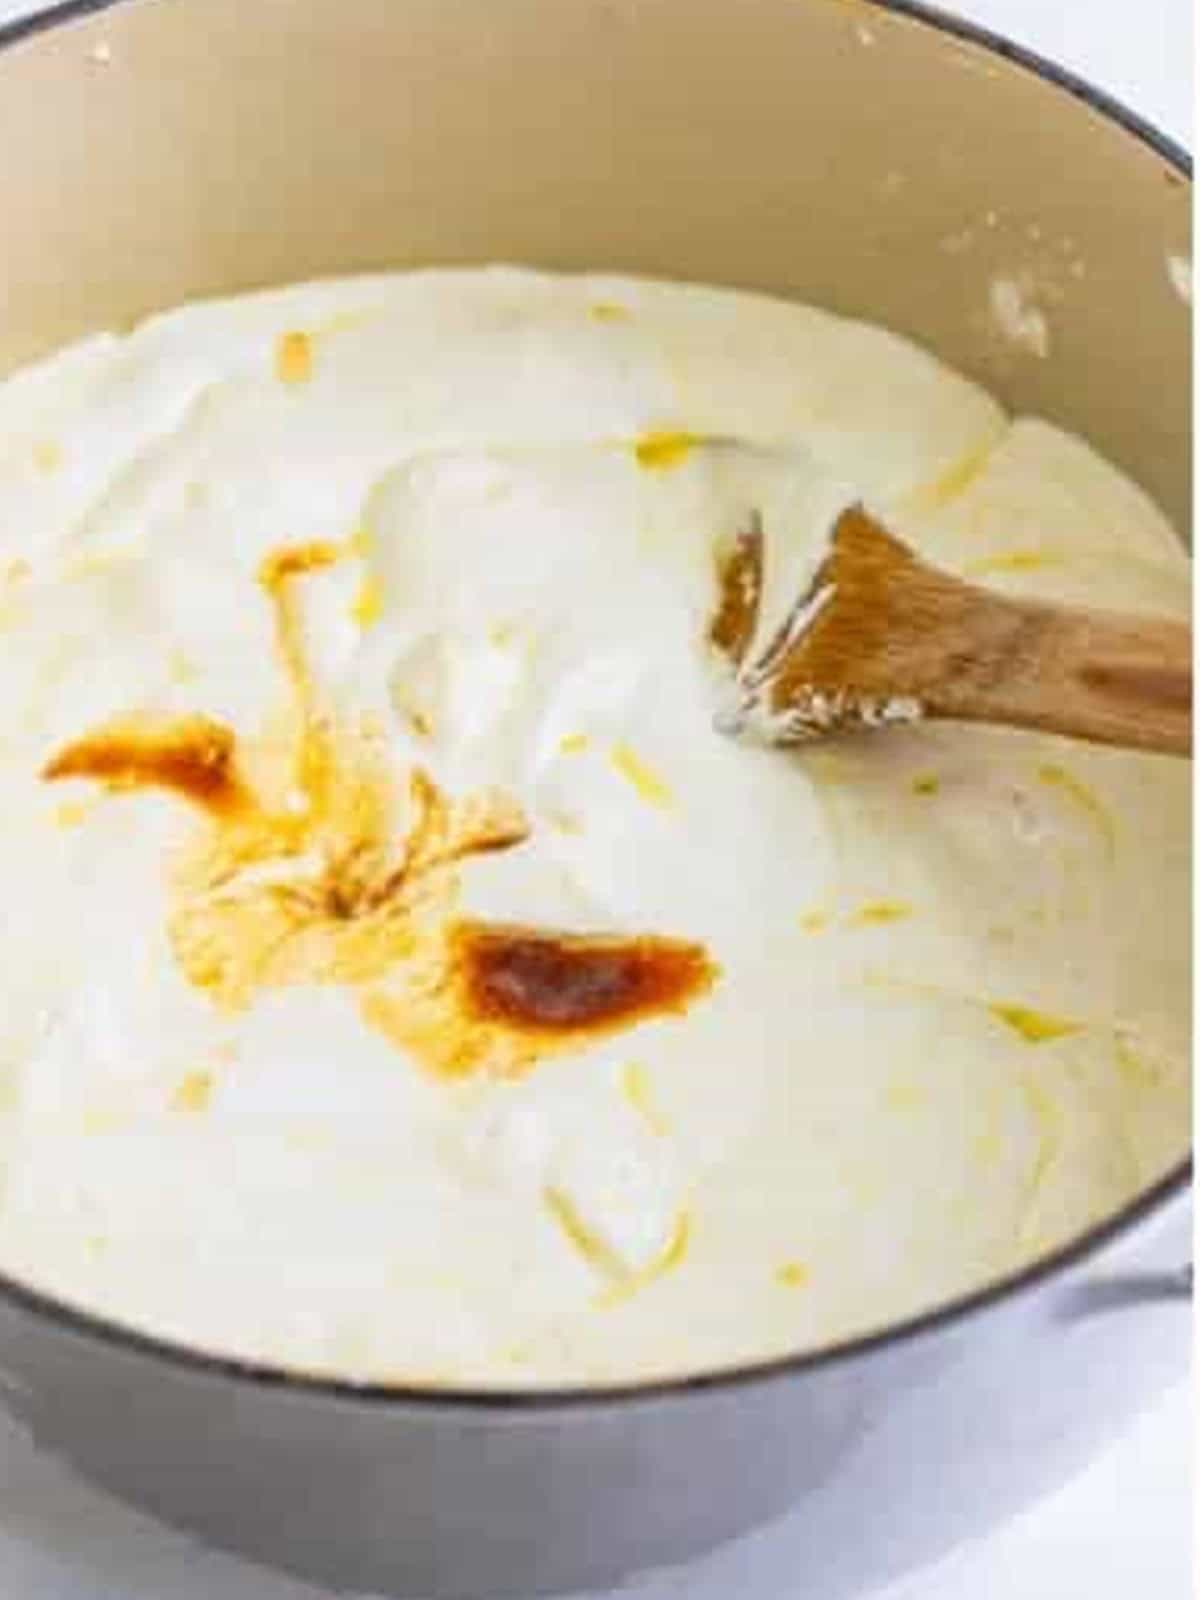
- Stir in the vanilla extract and fine sea salt until evenly combined.
- Add half of the Rice Krispies cereal and gently fold it into the marshmallow base.
- Add the remaining cereal along with the reserved mini marshmallows.
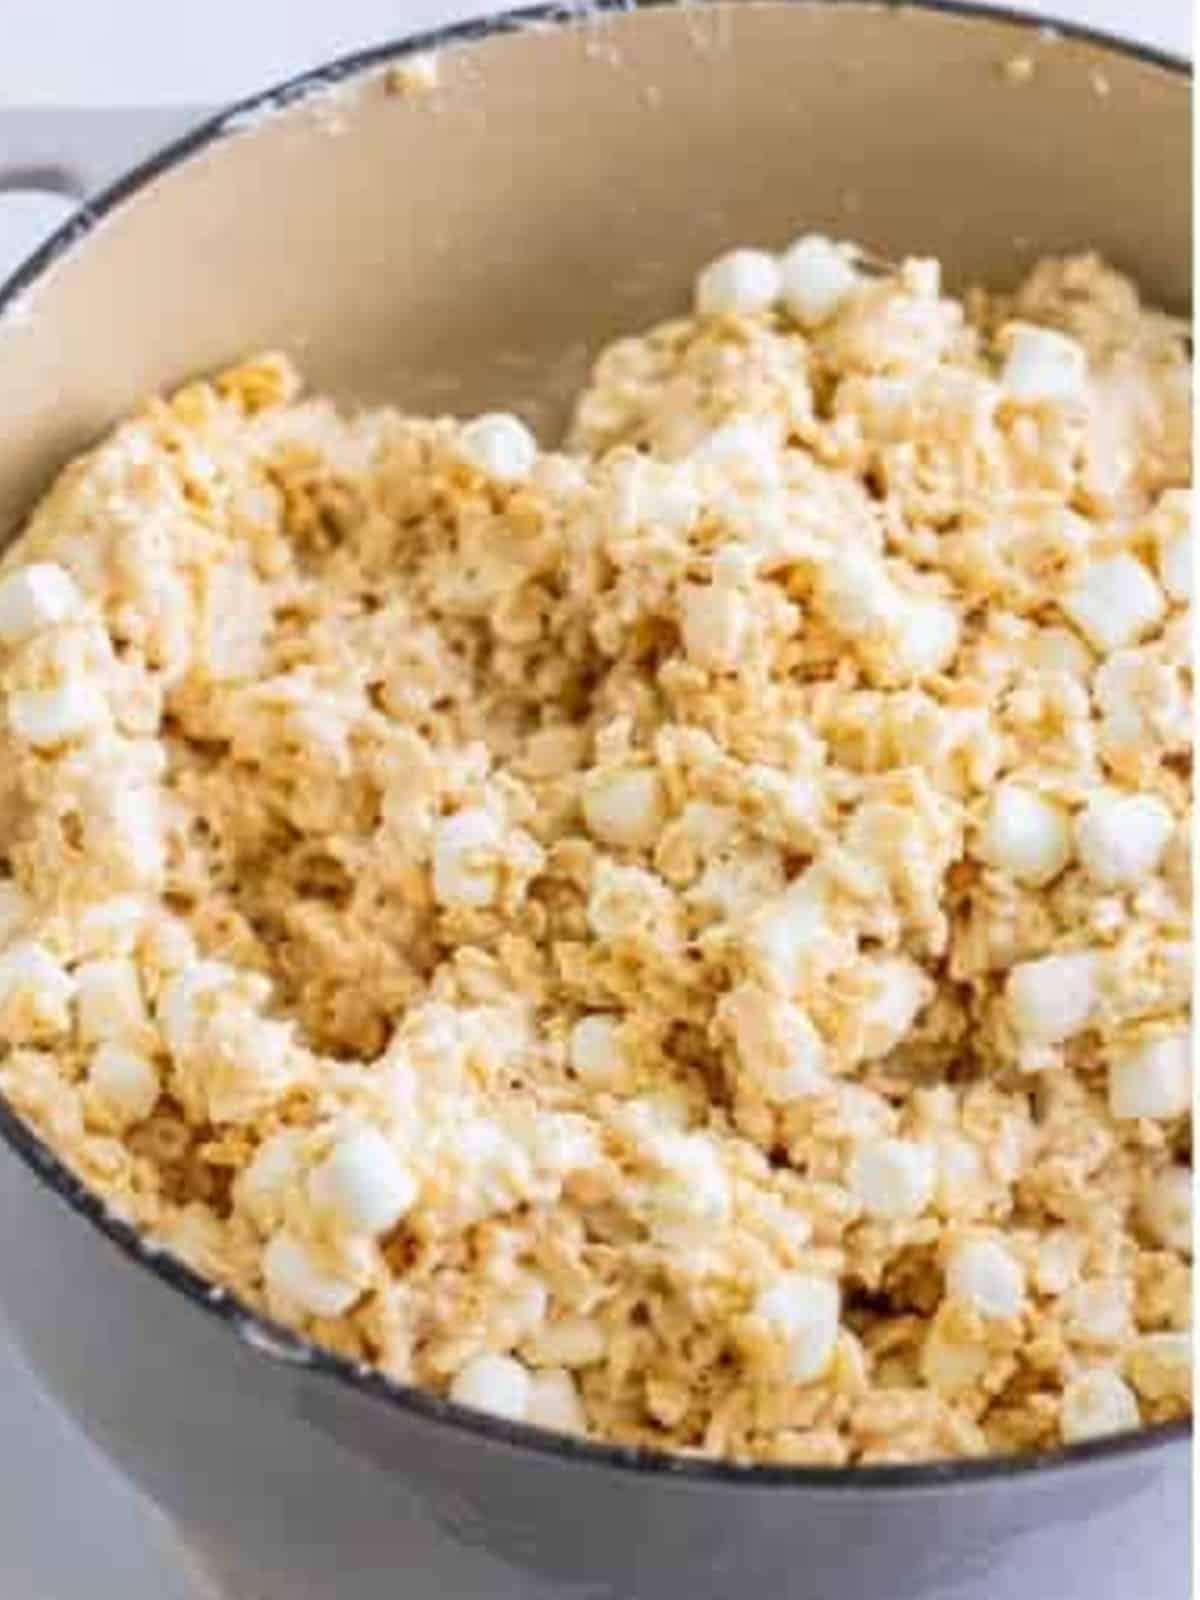
- Fold everything together gently until the cereal is coated and the marshmallows are studded throughout.

- Scrape the mixture into a parchment lined 10 by 15 inch jelly roll pan and press it gently and evenly with lightly greased hands. Do not pack it down hard.
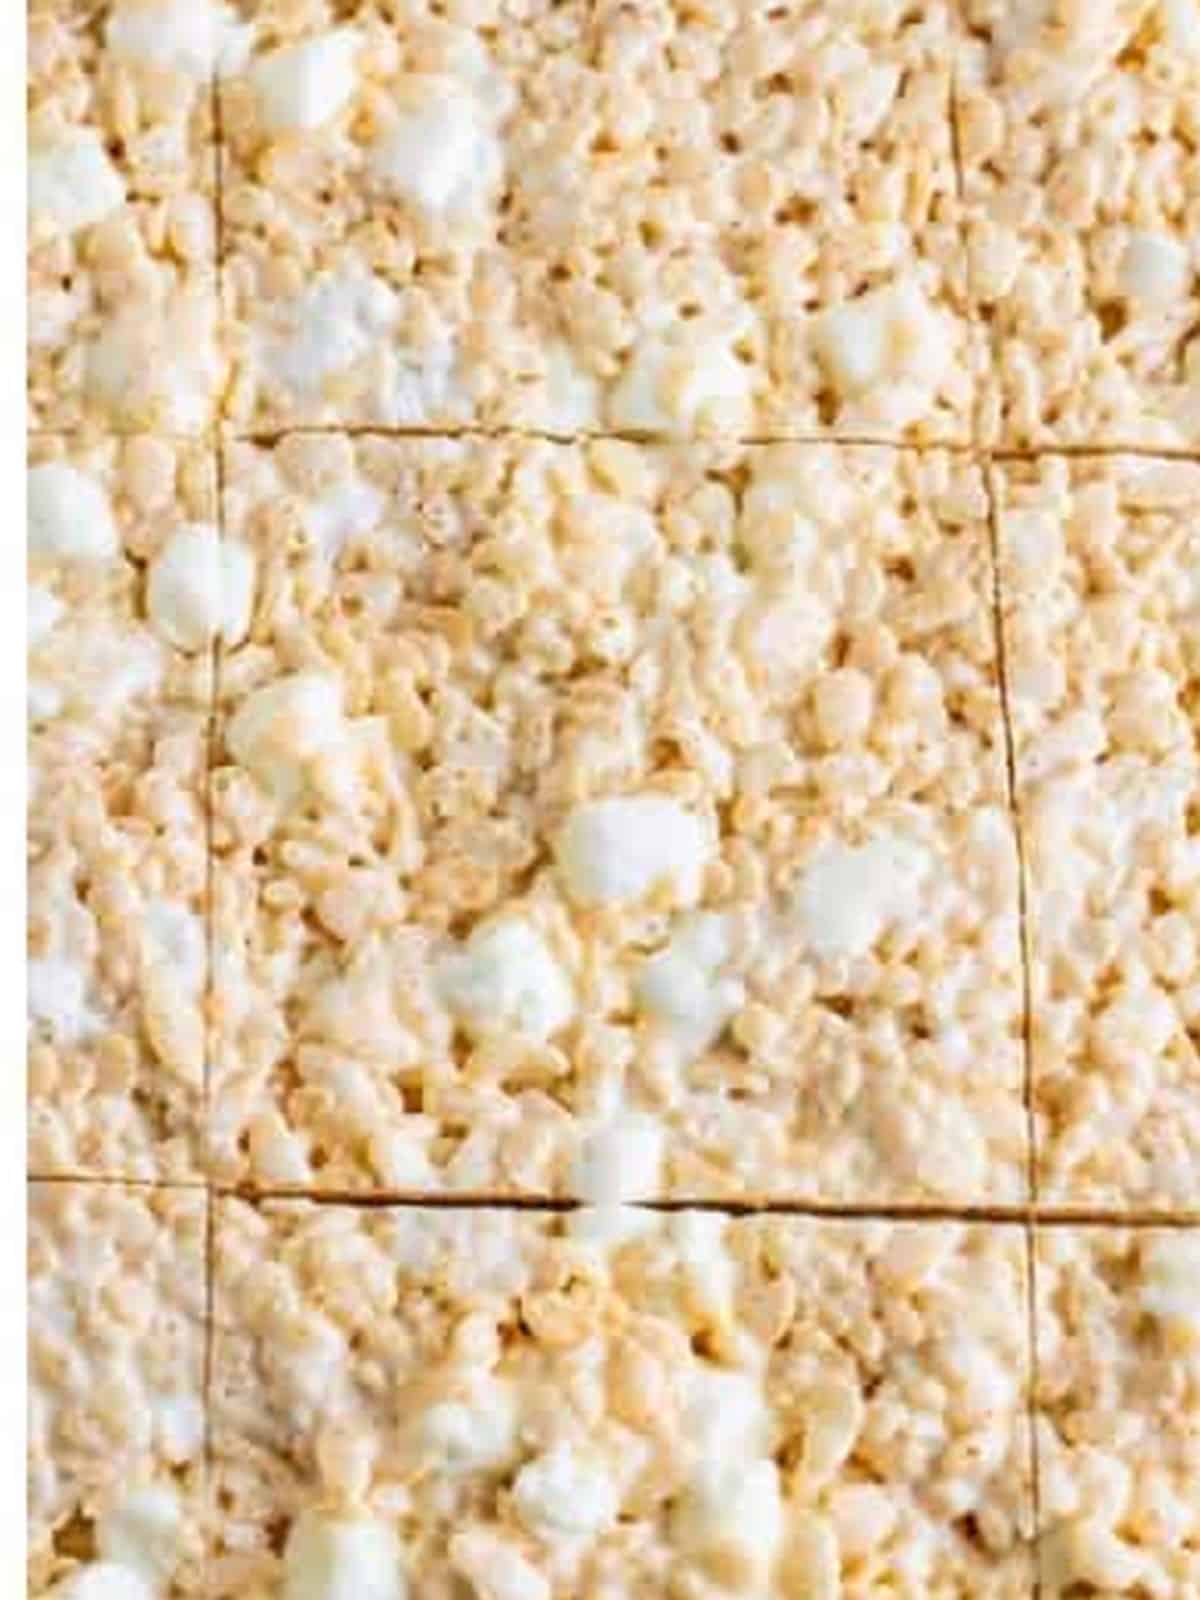
- Let the treats set at room temperature for at least 2 hours, then lift out and cut into bars.
Recipe Tips & Tricks
- Watch the butter closely. It goes from golden to burnt in seconds, so stay at the stove and pull it off the heat the moment it smells nutty and looks light brown.
- Use fresh marshmallows. Stale, dried out marshmallows will not melt smoothly and can leave your treats grainy.
- Grease your hands, not a spatula. Lightly greased hands give you the best control for pressing the mixture in evenly without compacting it.
- Do not over press. Packing the mixture down hard makes the treats dense and hard instead of soft and chewy.
- Line the pan with parchment. An overhang of parchment lets you lift the whole slab out for clean, easy cutting.
- Cut with a greased knife. A little cooking spray on the blade keeps the sticky marshmallow from dragging.
- Make it a full spread. Our Valentine rice krispie treats rounds out the table.
Serving Ideas and Suggestions
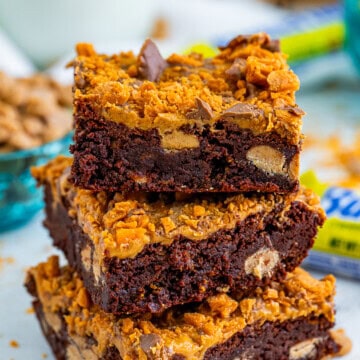
These brown butter rice krispie treats are a guaranteed crowd pleaser at any gathering. Pile them on a platter next to our puppy chow muddy buddies and a batch of thick and chewy Butterfinger brownies for the ultimate no fuss dessert table.
For an easy summer treat, serve them slightly warm with a scoop of our no churn cookie dough ice cream on the side. They are also perfect for lunchboxes, road trips, and after school snacks.
Wrap individual bars in parchment and tie with twine for the cutest homemade gift or bake sale offering. They pair beautifully with a tall glass of cold milk or a mug of coffee for the adults.
Brown Butter Rice Krispie Treats FAQs
Hard treats usually come from melting the marshmallows over heat that is too high or pressing the mixture into the pan too firmly. Melt the marshmallows gently over low heat and press the mixture in with a light touch to keep them soft and chewy.
Yes. They keep well in an airtight container at room temperature for up to three days. For the best texture, cut them just before serving so the edges stay soft.
Store them in an airtight container at room temperature with a sheet of parchment between layers. Avoid the refrigerator, which dries them out and makes them firm.
Absolutely. Wrap each bar tightly in plastic wrap, place them in a freezer bag, and freeze for up to six weeks. Thaw at room temperature for about an hour before serving.
You can make these with plain melted butter, but browning it is what sets this recipe apart. The toasted, nutty flavor it adds is worth the extra few minutes at the stove.
A 10 by 15 inch jelly roll pan gives you thick, bakery style bars. For taller treats, use a 9 by 13 inch pan instead and expect a slightly longer set time.
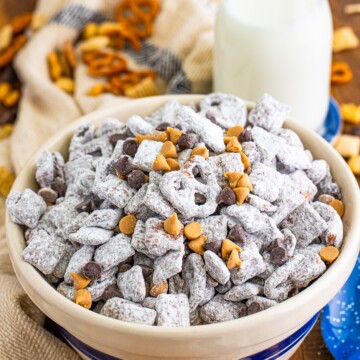

Looking for your next easy dessert? Try our crowd favorite puppy chow muddy buddies next.
Love these? Try the classic version of these Rice Krispie Treats made with regular butter.
Still filling out the menu? Readers love pairing this one with our caramel rice krispie treats with dulce de leche, pecan pie brownies, smores brownies, and chex bars.

Brown Butter Rice Krispie Treats
Ingredients
- 1 cup salted butter
- 3 10- ounce bags mini marshmallows
- 1 tablespoon vanilla extract
- ½ teaspoon fine sea salt
- 9 ounce box Rice Krispies cereal
Instructions
- Line a 10×15 inch jelly roll pan with parchment and lightly spray it with cooking spray, set aside.
- In a dutch oven or in a large pot, melt the butter over medium-low heat.1 cup salted butter
- Once melted, stir constantly until light golden brown; take off the heat immediately. The butter will continue to brown so make sure you take it off the heat quickly.
- Reserve 4 cups of the mini marshmallows on the side and add the remaining marshmallows to the pot.3 10- ounce bags mini marshmallows
- Stir constantly until melted. If the marshmallows don’t fully melt, you can place it back on the stove over medium-low heat, stirring constantly until fully melted. Take off the heat again.
- Add the vanilla extract and salt to the pot, then stir to combine.1 tablespoon vanilla extract, ½ teaspoon fine sea salt
- Add half of the cereal and mix it in to combine.9 ounce box Rice Krispies cereal
- Add the remaining cereal and mini marshmallows and stir until combined.
- Add the mixture to the prepared jelly roll pan.
- Then, you’ll want to lightly grease your hands with cooking spray and gently press the mixture into the pan. Do not smash them down; you don’t want them too compact, just gently form into the pan.
- Let them set up for at least 2 hours, then cut into bars and serve.
Notes
- Use parchment paper to line the bottom of the pan—it makes cleanup easy.
- Lightly spray your hands or use butter wrappers to press the mixture without sticking.
- Don’t overcook the marshmallow mixture—remove it from the heat as soon as it’s smooth.
- Add the cereal in two parts to make mixing easier.
- Let them cool fully before cutting, so they hold their shape.
- Want perfectly even squares? Use a ruler and a sharp knife for clean cuts.
Nutrition
Love This Recipe?
Follow @ThisSillyGirlsKitchen on Instagram and @danadevolk on Pinterest for more!


These were so much fun to make and tasted delicious.