
This post may contain affiliate links.
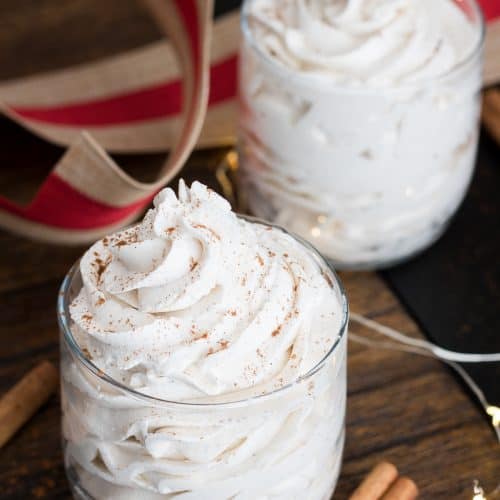
Stabilized Whipped Cream with Cornstarch is the four ingredient trick that holds its pillowy shape for three full days in the fridge without weeping or deflating, and Maddie called it the best whipped cream she has ever piped on a slice of pie last Saturday afternoon. If you love our Best Fluffy Buttercream Frosting Recipe, this is the lighter cousin you reach for when buttercream feels too heavy.
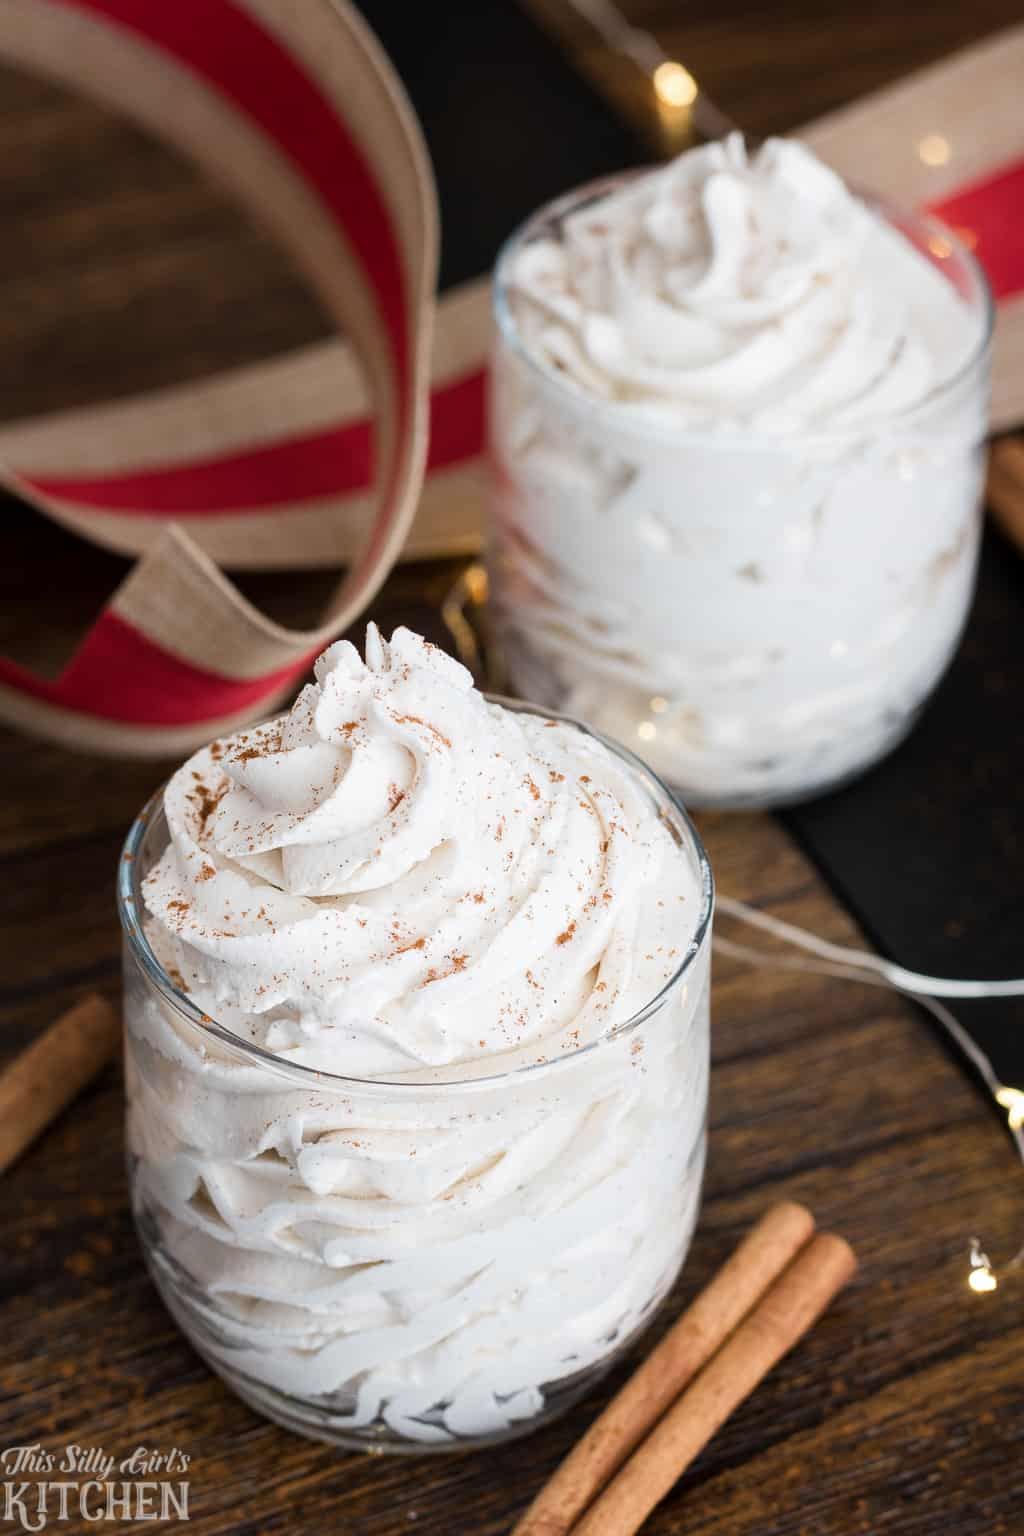
The cornstarch is the magic, it binds the water in the cream so your whipped topping never separates on top of a slice of cake or a bowl of berries.
Stabilized Whipped Cream with Cornstarch Quick Look
- 🕐 Prep Time: 8 minutes
- 🍴 Cook Time: 0 minutes (no cook)
- ⏳ Total Time: 8 minutes
- 🍽 Serving: 16 servings (about 2 cups whipped)
- ⚡ Calories: 112kcal per serving
- 🌶 Flavor Profile: Light, vanilla forward, lightly sweet (the workhorse base for any dessert topping)
- ✋ Difficulty: Easy, on par with our Easy Strawberry Earthquake Cake Recipe
Quick Answer
Pour 2 cups of cold heavy whipping cream into a chilled stand mixer bowl. Whip on medium low while gradually adding 4 tablespoons of powdered sugar mixed with 1 tablespoon of cornstarch. When soft peaks form, add 1 teaspoon of vanilla bean paste and whip until stiff peaks hold their shape. The cornstarch binds the water in the cream so the whipped cream stays piped tall in the fridge for up to 3 days without separating or weeping.
Jump to:
- Stabilized Whipped Cream with Cornstarch Quick Look
- Quick Answer
- Why This Recipe Works
- Why You’ll Love This Recipe
- Key Ingredients
- Variations and Substitutions
- Cornstarch vs Gelatin and Other Whipped Cream Stabilizers
- How to Make Stabilized Whipped Cream with Cornstarch
- Recipe Tips & Tricks
- Serving Ideas and Suggestions
- Stabilized Whipped Cream with Cornstarch FAQs
- Other Recommended Copycat Recipes
- Stabilized Whipped Cream with Cornstarch (Easy Recipe)
Why This Recipe Works
Click to see the cornstarch science
- Cornstarch absorbs the liquid that makes whipped cream weep. Regular whipped cream is mostly air and fat. Over time, the liquid in the cream separates out, the air bubbles pop, and the cream deflates into a puddle. Cornstarch absorbs that excess liquid before it can escape, which keeps the structure intact for hours instead of minutes. It is the same principle as using cornstarch to thicken a sauce: the starch granules swell and trap moisture. In whipped cream, that trapped moisture stays inside the foam instead of pooling at the bottom of the bowl.
- No blooming, no melting, no extra dishes. The gelatin method is firmer and lasts longer (2 to 3 days vs 12 hours for cornstarch), but it requires blooming the gelatin in cold water, melting it, cooling it, and tempering it into the cream without creating lumps. The cornstarch method skips all of that. You add the cornstarch with the powdered sugar before you start whipping and it incorporates evenly on its own. One bowl, one whisk attachment, 3 to 4 minutes. If you need whipped cream that holds for a same-day dessert, use cornstarch.
- Powdered sugar carries the cornstarch evenly. Stirring the cornstarch into the powdered sugar before adding to the cream means it disperses without clumping. Adding cornstarch straight from the jar into liquid cream creates lumps that never dissolve.
- Cold cream + cold bowl traps more air. Heavy cream whips best when everything is cold. The fat in the cream needs to stay firm enough to trap air bubbles as the whisk spins. If the cream or the bowl is warm, the fat softens, the bubbles pop, and you get a flat, soupy mess instead of stiff peaks. Put the bowl and whisk attachment in the freezer for 10 minutes before starting. Use cream straight from the fridge. This step matters more than any stabilizer you add.
- Medium low speed builds a stable foam. High speed shears the fat globules and over-whips the cream into butter territory. Starting on medium low gives you time to control the texture and stop exactly at stiff peaks.
- Vanilla bean paste flavors without thinning the foam. The seed-flecked paste adds vanilla flavor and visual specks without the alcohol in extract that can slightly thin the structure. Extract works fine but paste is the upgrade.
- Stiff peaks hold the pipe shape for up to 3 days. The cornstarch-stabilized foam pipes from a star tip and holds the ridges in the fridge for 72 hours, which makes this recipe the make-ahead workhorse for cakes, trifles, and pie toppings.
Why You’ll Love This Recipe
- Holds piped peaks for 3 days in the fridge. No more re-whipping right before serving. Make it Friday for a Sunday dessert. Perfect for our Layered Lemon Blueberry Trifle Recipe where the whipped cream layer needs to hold shape overnight.
- Four ingredients, eight minutes, no cook. Heavy cream, powdered sugar, cornstarch, vanilla. That is it. Whip and serve, or whip and refrigerate up to 3 days. Beats anything from a can.
- The workhorse base for every dessert in the kitchen. Pipe it on pie, dollop it on hot chocolate, fold it into a mousse, layer it in a trifle. One bowl, infinite uses.
- It earns a spot in the rotation right next to our raspberry curd.
Key Ingredients
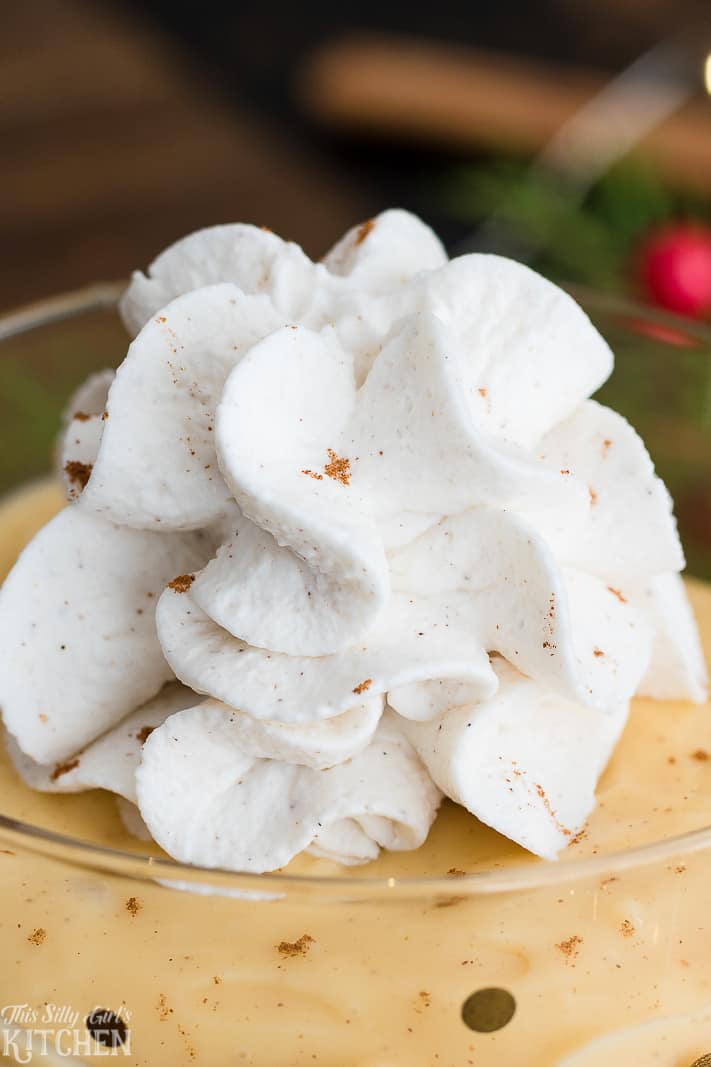
- Heavy Whipping Cream: 36 percent or higher milk fat. Lower-fat cream will not hold whipped structure even with the cornstarch trick. Use the cold, full fat heavy cream from the dairy aisle, not the canned alternative.
- Powdered Sugar: Confectioner’s sugar dissolves instantly into cold cream without making the texture gritty. Granulated sugar refuses to fully dissolve and gives you a sandy bite. Stick with powdered.
- Cornstarch: The secret weapon and the reason this recipe works for 3 days. One tablespoon binds the free water in the cream so peaks stay tall. Pre-mix it with the powdered sugar so it disperses cleanly without clumping. Same technique we use on the meringue topping of our Copycat Pineapple Upside Down Cheesecake.
- Vanilla Bean Paste: The flavor upgrade. Visible vanilla flecks plus deeper aroma than extract. Pure vanilla extract works fine as a substitute (use the same 1 teaspoon).
See recipe card for exact quantities.
Variations and Substitutions
- Cinnamon stabilized whipped cream: Whisk half a teaspoon of ground cinnamon into the powdered sugar plus cornstarch before adding to the cream. Same 3-day hold, with a warm spice note that pairs beautifully with apple and pumpkin desserts (try our Apple and Blackberry Crumble Recipe topped with the cinnamon version).
- Chocolate stabilized whipped cream: Sift 2 tablespoons of unsweetened cocoa powder into the powdered sugar plus cornstarch mix. Bumps total powdered sugar to 5 tablespoons to balance the cocoa bitterness. Perfect on our Chocolate Espresso Cake Recipe.
- Maple stabilized whipped cream: Swap the powdered sugar for 3 tablespoons maple syrup whisked with the cornstarch and 1 tablespoon water. Earthier sweetness, great on pancakes and French toast.
- Dairy free swap: Coconut cream (the solid layer from a chilled can of full fat coconut milk) whips beautifully with the same cornstarch trick. Use 1.5 tablespoons cornstarch instead of 1 since coconut cream has less protein structure.
- Reduced sugar: Swap powdered sugar for 2 tablespoons powdered monkfruit or powdered erythritol blend. Same cornstarch ratio. The structure holds; sweetness adjusts to taste.
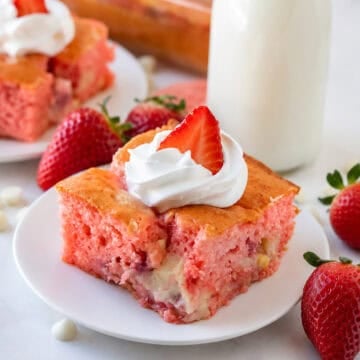
- Use the whipped cream as a frosting: The stabilized version pipes onto cakes and cupcakes and holds up through a 4-hour party. Try it on our Easy Strawberry Earthquake Cake Recipe in place of the usual cream cheese topping.
Cornstarch vs Gelatin and Other Whipped Cream Stabilizers
There are four common ways to stabilize whipped cream, and they are not interchangeable. Here is how they compare and when to reach for each one.
| Stabilizer | How it works | Holds | Best for |
|---|---|---|---|
| Cornstarch (this recipe) | Binds the free water in the cream, no melting or blooming step | About 3 days refrigerated | Piping, cake topping, everyday desserts |
| Gelatin | Sets the firmest structure, but must be bloomed and melted first | 4 to 5 days | Wedding-style piped decorations |
| Cream cheese | Adds body plus a slight tang | 2 to 3 days | Frosting-style swirls |
| Instant pudding mix | Quickest pantry shortcut, adds flavor and color | About 2 days | Flavored toppings |
Cornstarch wins on ease. There is no blooming, no melting, and no added flavor, you just whisk it in with the powdered sugar and whip as usual.
How to Make Stabilized Whipped Cream with Cornstarch
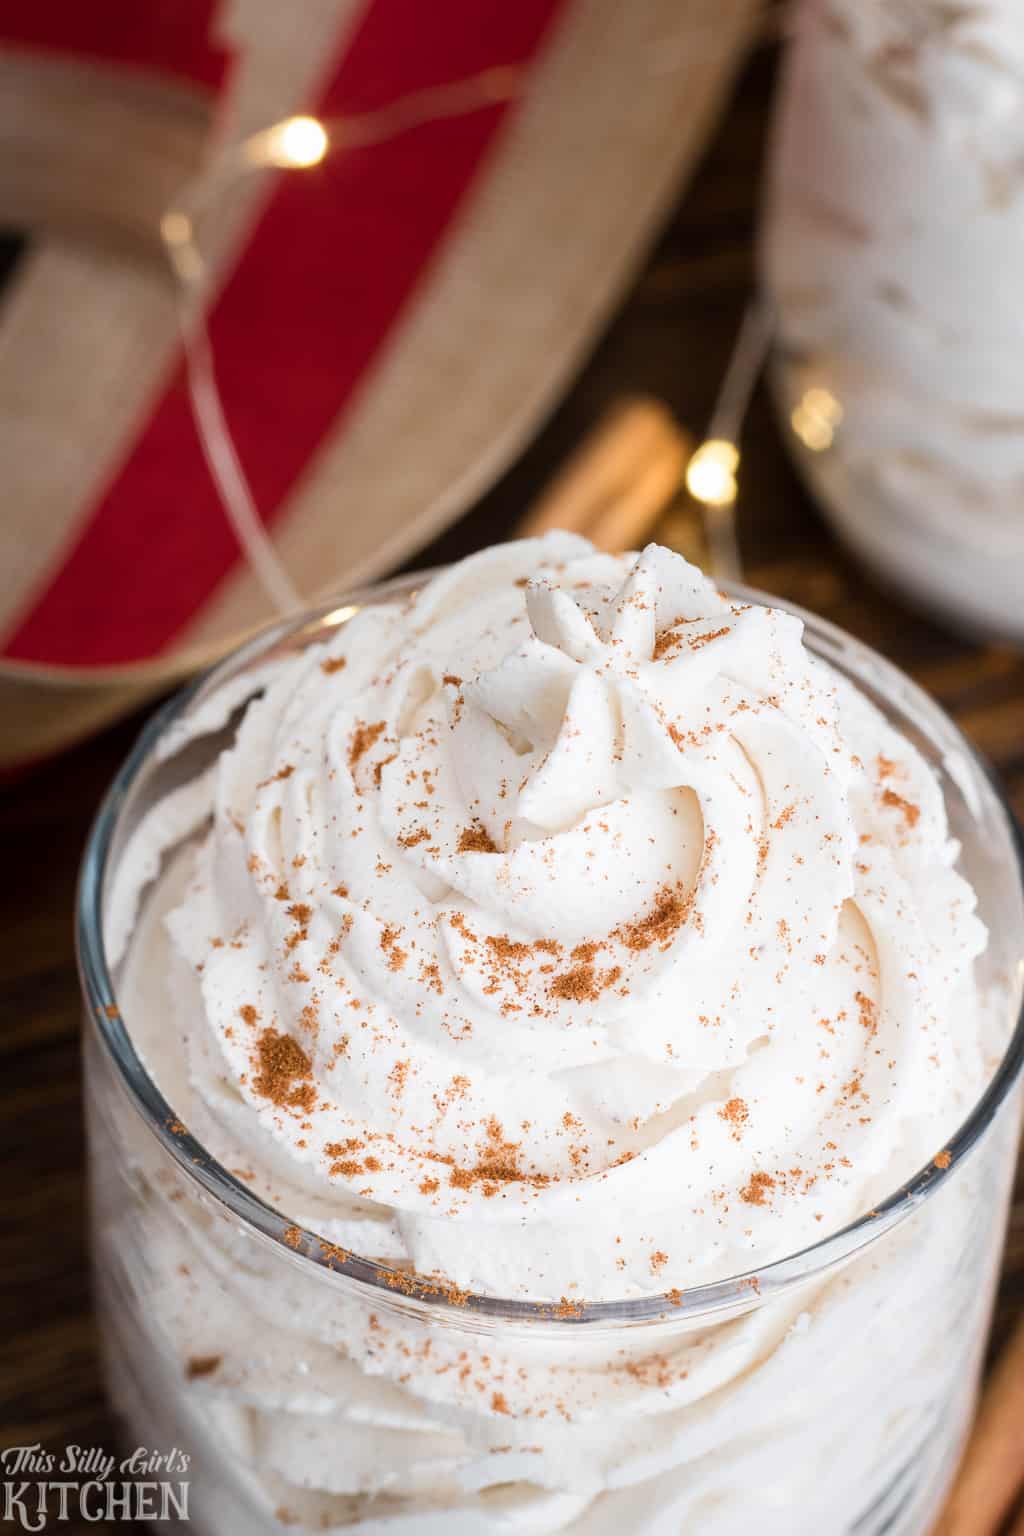
- Chill the stand mixer bowl and whisk attachment in the freezer for 10 minutes before starting. Cold bowl + cold whisk + cold cream is the trifecta for fast, stable whipping. Pull the heavy cream from the fridge at the last possible second.
- In a small bowl, whisk the powdered sugar and cornstarch together until evenly blended with no clumps. This is the critical step. Adding cornstarch straight into the cream guarantees lumps that will not dissolve.
- Pour the cold cream into the chilled mixer bowl. Start the mixer on medium-low (speed 4 on a KitchenAid) and slowly stream in the powdered sugar plus cornstarch blend. Whip for about 2 minutes until soft peaks form.
- Add the vanilla bean paste, bump the speed to medium (speed 6), and whip another 1 to 2 minutes until stiff peaks hold their shape on the whisk. Stop the moment you see firm peaks, over-whipping turns it into butter. Use immediately or transfer to an airtight container and refrigerate up to 3 days.
Recipe Tips & Tricks
- Chill the bowl AND the whisk. Both go in the freezer for 10 minutes before you start. Cold equipment is the difference between 2 minutes to soft peaks and 5 minutes to soft peaks.
- Pre-mix the cornstarch with the powdered sugar. Whisk them in a small bowl first. Lumps that form when cornstarch hits liquid cream directly never dissolve, you will taste them in the finished topping.
- Use heavy cream with at least 36 percent milk fat. Lower-fat cream or half and half will not hold whipped structure no matter how much cornstarch you add. Read the label.
- Stop at stiff peaks, not beyond. The moment the cream holds firm peaks on the whisk, turn the mixer off. Another 10 seconds and you are in butter territory with no way back.
- Store in an airtight container in the coldest part of the fridge. Back of the bottom shelf is colder than the door. Push as much air out as possible before sealing to slow oxidation. The whipped cream holds piped texture for 3 days under those conditions.
- Re-whip lightly if needed before serving. Even with cornstarch, a small re-whip on low speed for 15 seconds tightens the texture back up if you stored it for 2+ days. Don’t add more cornstarch, that will not help.
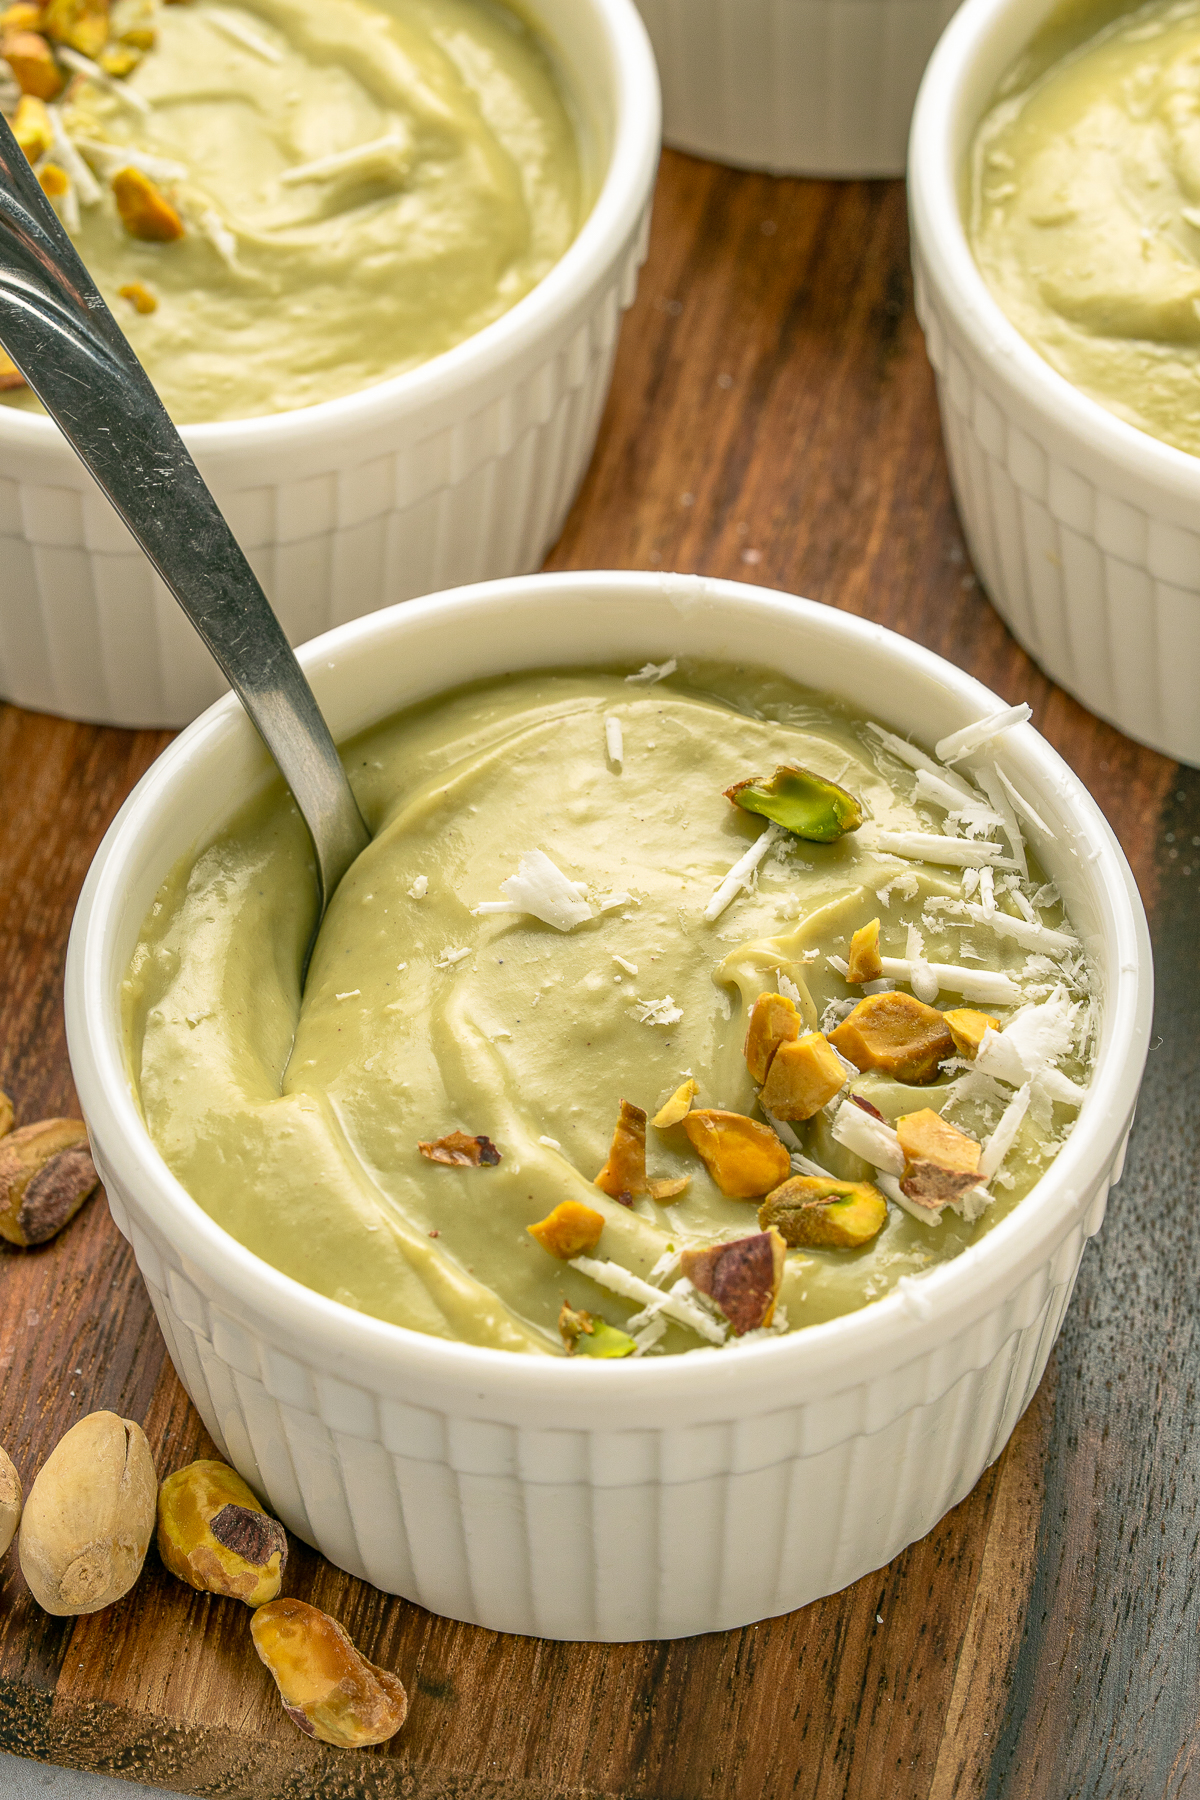
- Want a faster set? For desserts that need to be ready in 30 minutes, pop the bowl of whipped cream in the freezer for 5 minutes after whipping. Same trick we use on our Pistachio Pudding when prep time is tight.
Serving Ideas and Suggestions
Pipe the stabilized whipped cream into a star tip and pull tall peaks onto a slice of our Easy Blueberry Lemon Poke Cake or our Classic Southern Buttermilk Pie Recipe. The cornstarch holds the peaks tall on a warm day or under a hot dessert spotlight.
Layer it inside a trifle alongside fresh berries and angel food cake cubes. Our Layered Lemon Blueberry Trifle Recipe uses this exact whipped cream as the structural cream layer. Pile a generous dollop on top of our Easy Mini No Bake Key Lime Pie Recipe right before serving for a tropical cool-down finish.
For brunch use it as a topping for fresh waffles, pancakes, or French toast. For dessert table moments pipe it onto our Golden Oreo Strawberry Cheesecake Bars or our Apple and Blackberry Crumble Recipe. Maddie and Lizzie always swipe the bowl when they think nobody is looking.
Stabilized Whipped Cream with Cornstarch FAQs
Cornstarch absorbs the free water in heavy cream that would normally weep out and collapse the foam over time. The starch binds with water molecules and traps them inside the whipped structure, which is why peaks stay tall for 3 days in the fridge instead of slumping in 2 hours like plain whipped cream. The cornstarch is the cheapest, easiest stabilizer in your pantry.
1 tablespoon of cornstarch per 2 cups of heavy whipping cream. That ratio gives you 3-day stability without any starchy aftertaste. Doubling it does not double the hold time, it just adds chalky texture. Stick with 1 tablespoon.
Up to 3 days in an airtight container in the coldest part of the fridge. Piped peaks hold their shape for 72 hours. Past day 3 the structure starts to weep slightly but the flavor is still fine for another day. Beyond day 4, re-whip on low speed for 15 seconds to tighten the texture or use it folded into a fresh dessert.
Yes. Pipe rosettes onto a parchment-lined sheet tray and freeze solid (about 2 hours). Transfer the frozen rosettes to a freezer-safe bag and freeze up to 2 months. Pull rosettes straight from the freezer onto desserts, they thaw in 10 minutes at room temperature and hold their piped shape better than thawed-and-re-whipped cream.
Heavy whipping cream with at least 36 percent milk fat. The grocery store brand labeled “heavy whipping cream” or “heavy cream” works. Avoid “whipping cream” (lower fat, 30 to 35 percent) and avoid half and half (only 10 to 12 percent fat, will not whip). For the absolute best texture splurge on the local dairy brand at 40 percent fat.
Yes, this is exactly what it is built for. The cornstarch-stabilized version pipes onto cakes, cupcakes, and trifles and holds piped peaks through a 4-hour party without weeping. Use it in place of buttercream for a lighter, less sweet frosting option. For piping decorations that hold longer than 4 hours, our Fluffy Buttercream Frosting is the better pick.
The cornstarch method is one of the easiest baking techniques there is. Add everything to a cold bowl, whip until stiff, done. The only mistake beginners make is using cream that is not cold enough or overwhipping past stiff peaks (which turns it into butter). Stop the mixer the moment the cream holds a firm peak. If it starts to look grainy, you have gone too far.
The stabilizer (cornstarch, gelatin, or cream cheese) absorbs or traps the liquid in the cream that would otherwise separate out and cause the foam to deflate. Cornstarch absorbs excess moisture. Gelatin creates a protein network that physically holds the foam structure. Cream cheese adds fat and body that resists melting. All three work. Cornstarch is the simplest, gelatin is the firmest.
You overwhipped it. Once heavy cream passes stiff peaks, the fat globules start clumping together and separating from the liquid, which is literally how butter is made. The fix: stop the mixer the moment the cream holds a firm peak when the whisk is lifted. If you see the cream start to look grainy or yellow, you have gone too far. There is no fix once it turns. Start over with fresh cold cream.
Yes. Stabilized whipped cream spreads and pipes like a light frosting and holds its shape on a fully cooled cake for about 3 days refrigerated. It will not stand up to fondant or heavy tiered stacking, but for sheet cakes, layer cakes, and cupcakes it works beautifully.
Plan on about 2 hours at a cool room temperature before it starts to soften, less on a hot day. It is still a fresh dairy product, so serve, then get the dessert back into the refrigerator.
If this Stabilized Whipped Cream with Cornstarch earned a spot on your dessert table, give our Creamy Kielbasa Pasta Recipe a try next, the savory weeknight cousin that uses the same dairy-cream foundation in a totally different direction.
Other Recommended Copycat Recipes


If you tried this Stabilized Whipped Cream with Cornstarch, please leave a star rating below and drop a comment to let me know how it went. It helps other home cooks find the recipe and it tells me what to develop next for the family dessert table. Tag @thissillygirlskitchen on Instagram if you snap a photo, Maddie, Lizzie, and I love seeing your piped peaks come together.

Stabilized Whipped Cream with Cornstarch (Easy Recipe)
Ingredients
- 2 cups heaving whipping cream
- 4 tablespoons powdered sugar
- 1 tablespoon cornstarch
- 1 teaspoon vanilla bean paste or extract
Instructions
- Add the cream to the bowl of a stand mixer (or hand mixer), stir in the powdered sugar, adding slowly. On medium-low speed whip the cream to form soft peaks.2 cups heaving whipping cream, 4 tablespoons powdered sugar
- Slowly add in the remaining ingredients until incorporated and whip until hard peaks form. Just until the cream will stand up on its own. Do not overwhip or you will have butter!1 tablespoon cornstarch, 1 teaspoon vanilla bean paste
Video
Notes
- This does need to be refrigerated to last longer see my tips above on how to store.
- You can easily make this different flavors by adding extracts or other mix-ins.
- You can swap out vanilla bean paste for equal amounts of vanilla extract if you don’t have that on hand.
- Make sure you bowl and heavy cream are cold, I feel this produces the best whip cream.
- If you like a less sweet version just use less powdered sugar.
- You can also use regular granulated sugar as well, but we prefer powdered as you won’t have any graininess in your recipe.
Nutrition
Love This Recipe?
Follow @ThisSillyGirlsKitchen on Instagram and @ThisSillyGirlsKitchen on Pinterest for more!










I haven’t tried that, but I don’t see why not 🙂
I love this idea! Do you think this could be made with a sugar alternative?
Yes, this has to be refrigerated. At the grocery store, that can set out because it is made without fresh ingredients. DEFINITELY MAKE THIS INSTEAD, lol 😉
I’m assuming this needs to be refrigerated after it’s prepared, but I’m asking because I’ve seen stabilized whipped cream at the grocery store bakery that was packaged and out on the counter. Do you know what’s up with that? I’ve been afraid to buy it, but am so glad to have your recipe!
No, I’ve never frozen it, it goes together so quickly I haven’t needed to 🙂
Delicious! Great with fresh picked strawberry’s. Have you tried freezing this for future use?
Thanks so much, I would make it one day in advance. It would probably last longer, but still the more fresh the better 🙂
I would like to know how long in advance could I prepare? Thinking to use on your pumpkin cheesecake cupcakes for Thanksgiving. Thanks and love your blog
There are *so* many things I would use this cream with 😀 Love that it can be made in advance, too!
What a great idea! I’ve only found the gelatin method for stabilization. I like your method a lot better. I think you have to be super careful with the other way. Thank you! I’ll be pinning this for future reference.