This post may contain affiliate links.
Chocolate Espresso Cake is the bakery-style chocolate cake that tastes like you have been baking since dawn, with rich chocolate layers and silky chocolate frosting deepened by a kick of fresh espresso, and I baked this one on a chilly Saturday afternoon when Maddie was begging for chocolate and Lizzie was already setting the cake stand on the counter. If you love our classic chocolate layer cake, this is the grown-up cousin that turns coffee lovers into instant fans.

The whole cake comes together in about 45 minutes and uses one bowl for the batter, so you can have a stunning layered cake on the table without dirtying every dish in the house.
Chocolate Espresso Cake Quick Look
- 🕐 Prep Time: 15 minutes
- 🍴 Cook Time: 30 minutes
- ⏳ Total Time: 45 minutes
- 🍽 Serving: 14 servings
- ⚡ Calories: 482kcal
- 🌶 Flavor Profile: Deep chocolate, espresso forward, sweet and rich
- ✋ Difficulty: Easy, on par with our homemade yellow cake with chocolate frosting
Quick Answer
Whisk together flour, cocoa powder, and baking soda. Cream butter with granulated and brown sugar, then beat in eggs and vanilla. Slowly add the dry ingredients, pour in one cup of brewed espresso, and divide between two 8 inch cake pans. Bake at 350 degrees Fahrenheit for 25 to 30 minutes, then cool completely. Frost with a creamy chocolate buttercream and finish with chocolate covered espresso beans for a bakery worthy Chocolate Espresso Cake.
Jump to:
- Chocolate Espresso Cake Quick Look
- Quick Answer
- Why This Recipe Works
- Why You’ll Love This Recipe
- Key Ingredients
- Variations and Substitutions
- How to Make Chocolate Espresso Cake
- Recipe Tips & Tricks
- Serving Ideas and Suggestions
- Chocolate Espresso Cake FAQs
- Other Recommended Easy Chocolate Cake Recipes
- Chocolate Espresso Cake Recipe
Why This Recipe Works
Click to see the cake science
- Espresso deepens chocolate, it does not make it taste like coffee. This is the most common misconception about espresso in baking. The espresso powder amplifies the natural bitterness and complexity of the cocoa, making the chocolate flavor taste richer and more intense. You will not taste coffee in the finished cake. People who say “I don’t like coffee” eat this and ask for seconds. The amount is small enough to enhance, not overpower.
- Brown sugar adds moisture and chew. The molasses in brown sugar holds onto water during baking, so half a cup of brown sugar paired with the granulated sugar keeps the crumb soft and tender well past day one.
- Baking soda reacts with cocoa. Natural cocoa is acidic, so baking soda neutralizes it while providing lift. That is why this recipe uses baking soda instead of baking powder.
- Hot liquid blooms the cocoa. Pouring warm espresso into the batter dissolves the cocoa solids more fully than cold liquid would, giving the finished cake a deeper, smoother chocolate flavor.
- Two 8 inch pans give the right ratio. Splitting the batter between two equal pans creates layers that are tall enough to hold a generous frosting layer between them without overwhelming the crumb.
Why You’ll Love This Recipe
- One bowl batter, bakery results. The cake mixes together in a single mixing bowl in under 15 minutes, but the espresso-deepened flavor and layered look make it taste like you bought it from a high-end bakery.
- Coffee lovers go wild. Anyone who loves a mocha or espresso martini will completely flip for this cake, and it instantly turns a regular dinner into a special occasion.
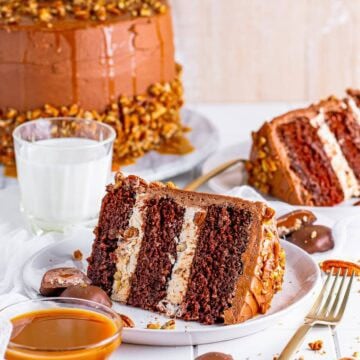
- Two layers means dramatic presentation. The frosted cake stands tall on the cake stand and looks just as fancy as our classic German chocolate cake, with a fraction of the work.
- It delivers that same everyone asks for seconds energy as our chocolate peppermint poke cake.
Key Ingredients
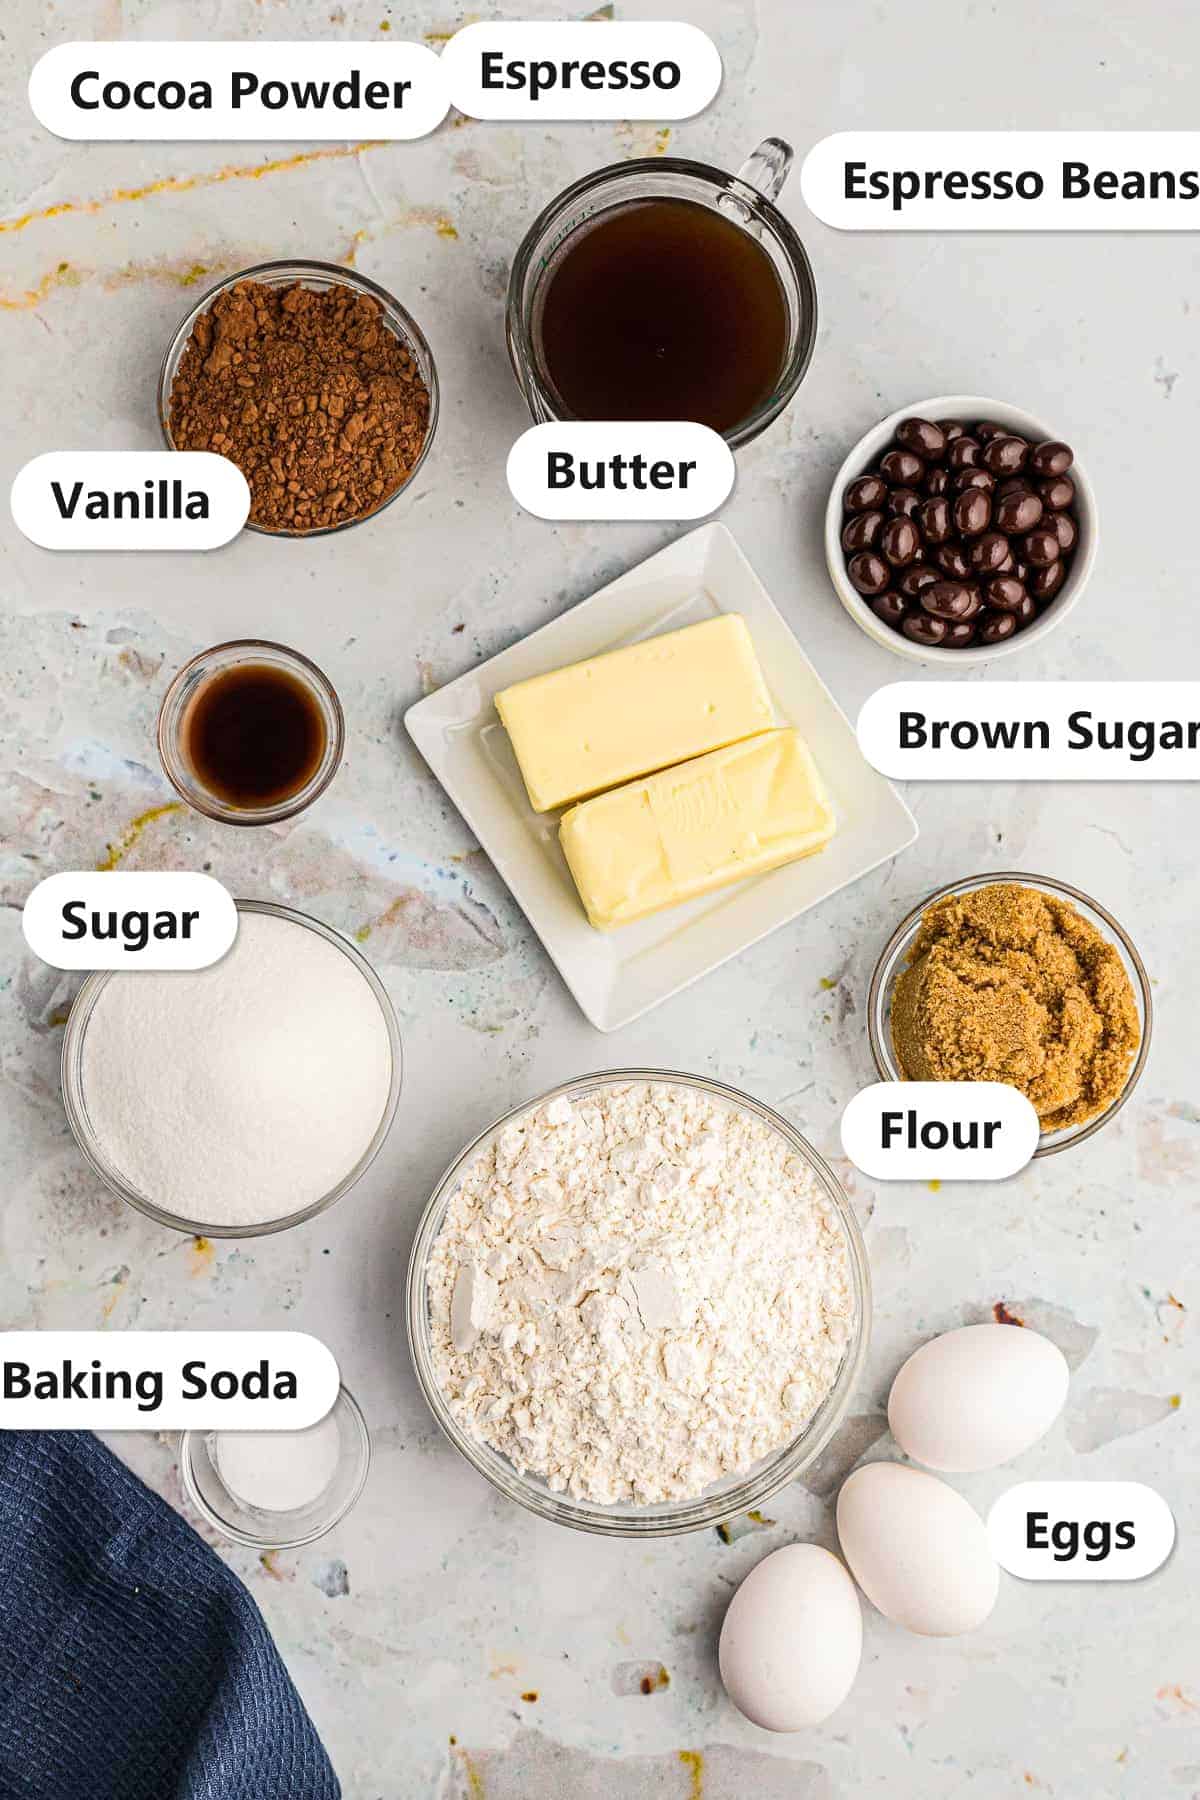
- Cocoa powder: Use a natural unsweetened cocoa here, not Dutch processed. The natural cocoa is acidic and pairs with the baking soda to give the cake its lift. Hershey’s regular cocoa is a perfect grocery-store pick.
- Brewed espresso: A full cup of fresh brewed espresso is what makes this cake sing. If you do not have an espresso machine, brew a very strong dark roast coffee with double the grounds you would normally use, and it works just as well.
- Unsalted butter: Used in both the cake and the frosting. Always go with unsalted so you can control the salt level, and let it come to room temperature so it creams smoothly with the sugars.
- Eggs: Three large eggs bind the batter and add richness. Let them come to room temperature for the smoothest emulsion, which keeps the crumb tender instead of dense.
- Chocolate covered espresso beans: The garnish that gives this cake its bakery edge. They add visual drama on top, a satisfying crunch, and another little hit of coffee flavor for the final bite.
See recipe card for exact quantities.
Variations and Substitutions
- Decaf espresso. Swap in decaf espresso if you want the deeper chocolate flavor without the caffeine kick, which is perfect for dessert later in the evening.
- Add a mocha buttercream. Beat one tablespoon of instant espresso powder into the chocolate frosting for an extra mocha lift that matches the cake’s depth.
- Bake as a sheet cake. Pour all the batter into a 9 by 13 inch pan and bake for 30 to 35 minutes for a one-layer version that serves a crowd at a potluck.
- Switch to dark chocolate cocoa. Use a darker cocoa like Hershey’s Special Dark for a moodier, almost black chocolate cake that pairs even more dramatically with the espresso beans on top.
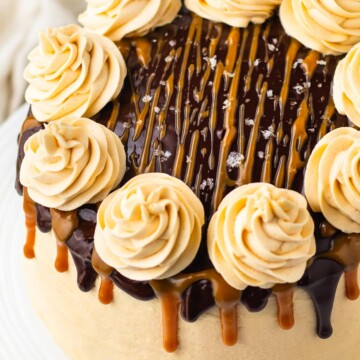
- Top with a chocolate ganache. Skip the buttercream and drape the cake in a glossy ganache for a sleeker, restaurant-style finish similar to our chocolate caramel cake.
- If you want to switch things up, our chocolate tres leches cake plays on similar flavors in a whole new way.
How to Make Chocolate Espresso Cake
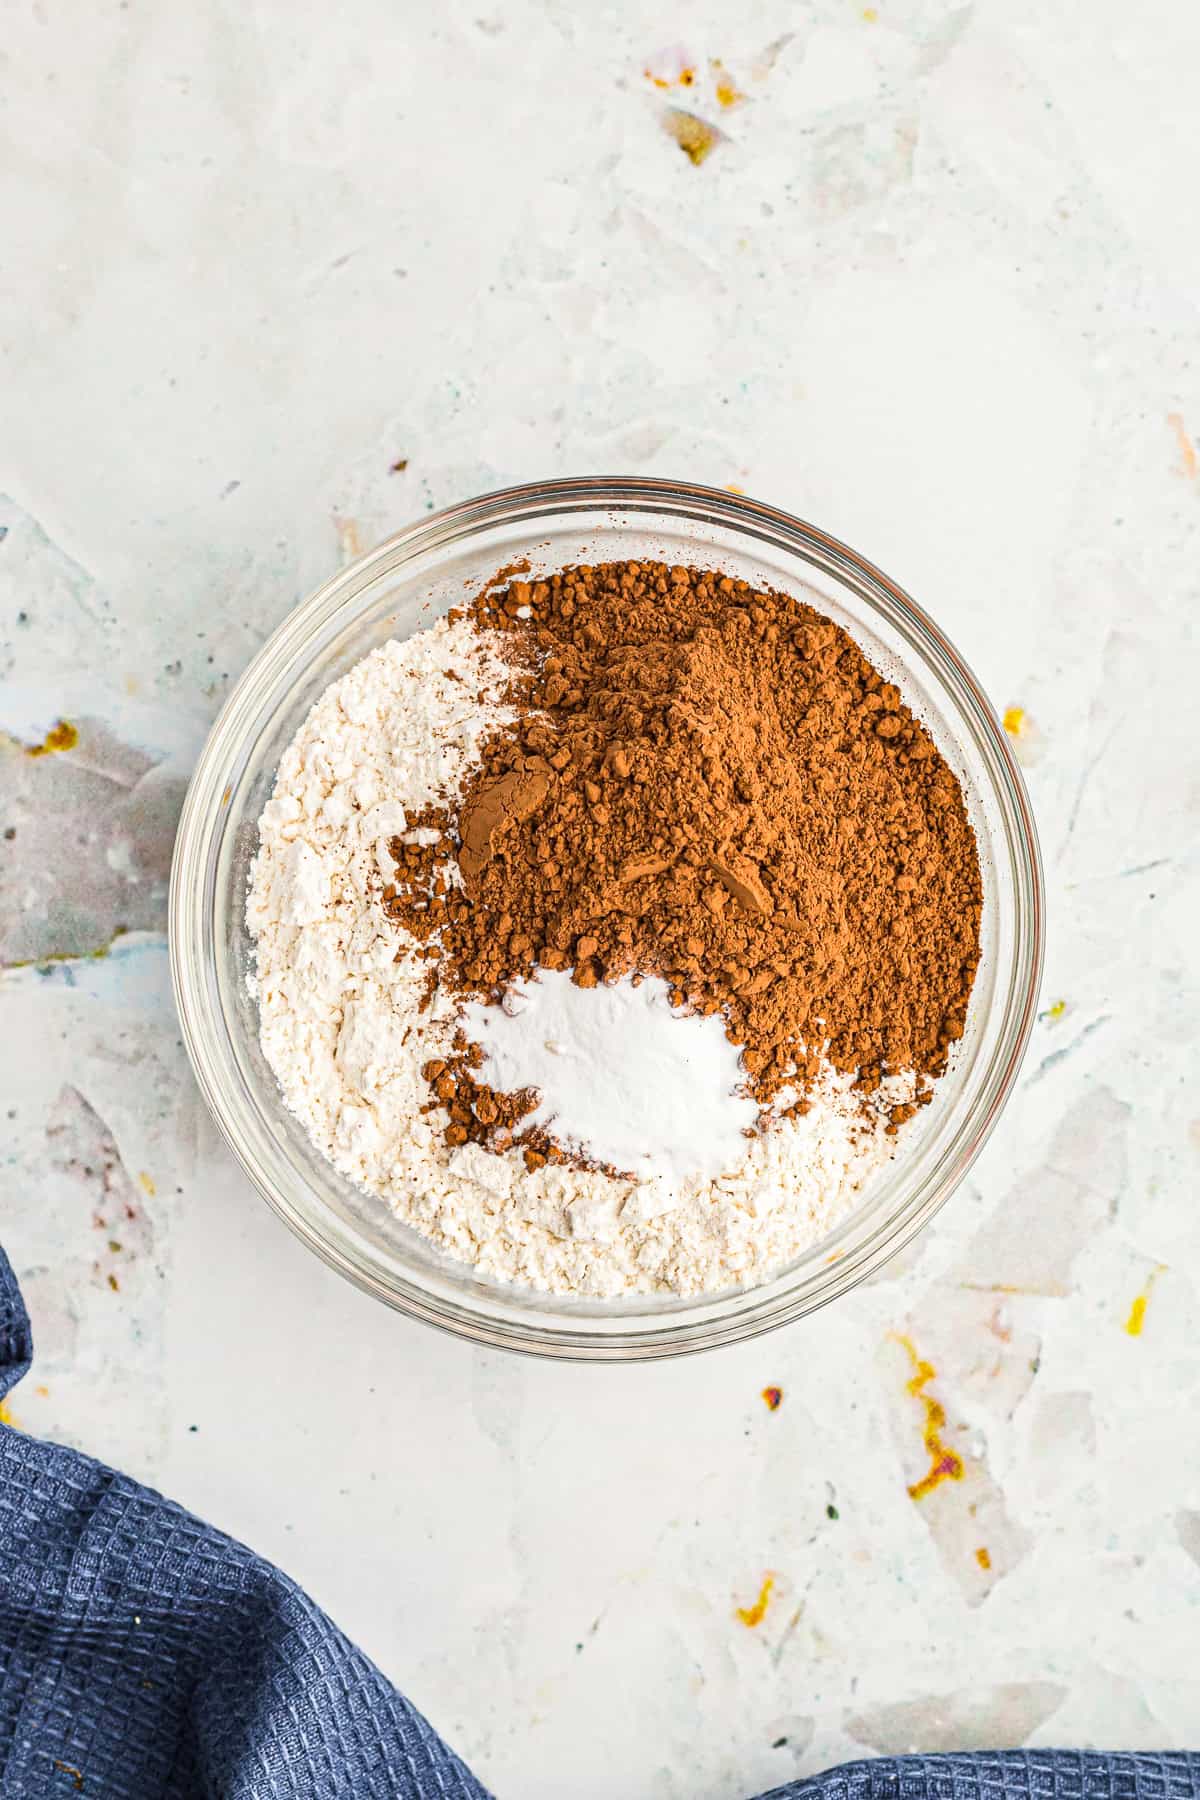
- Whisk flour, cocoa powder, and baking soda in a medium bowl and set aside.
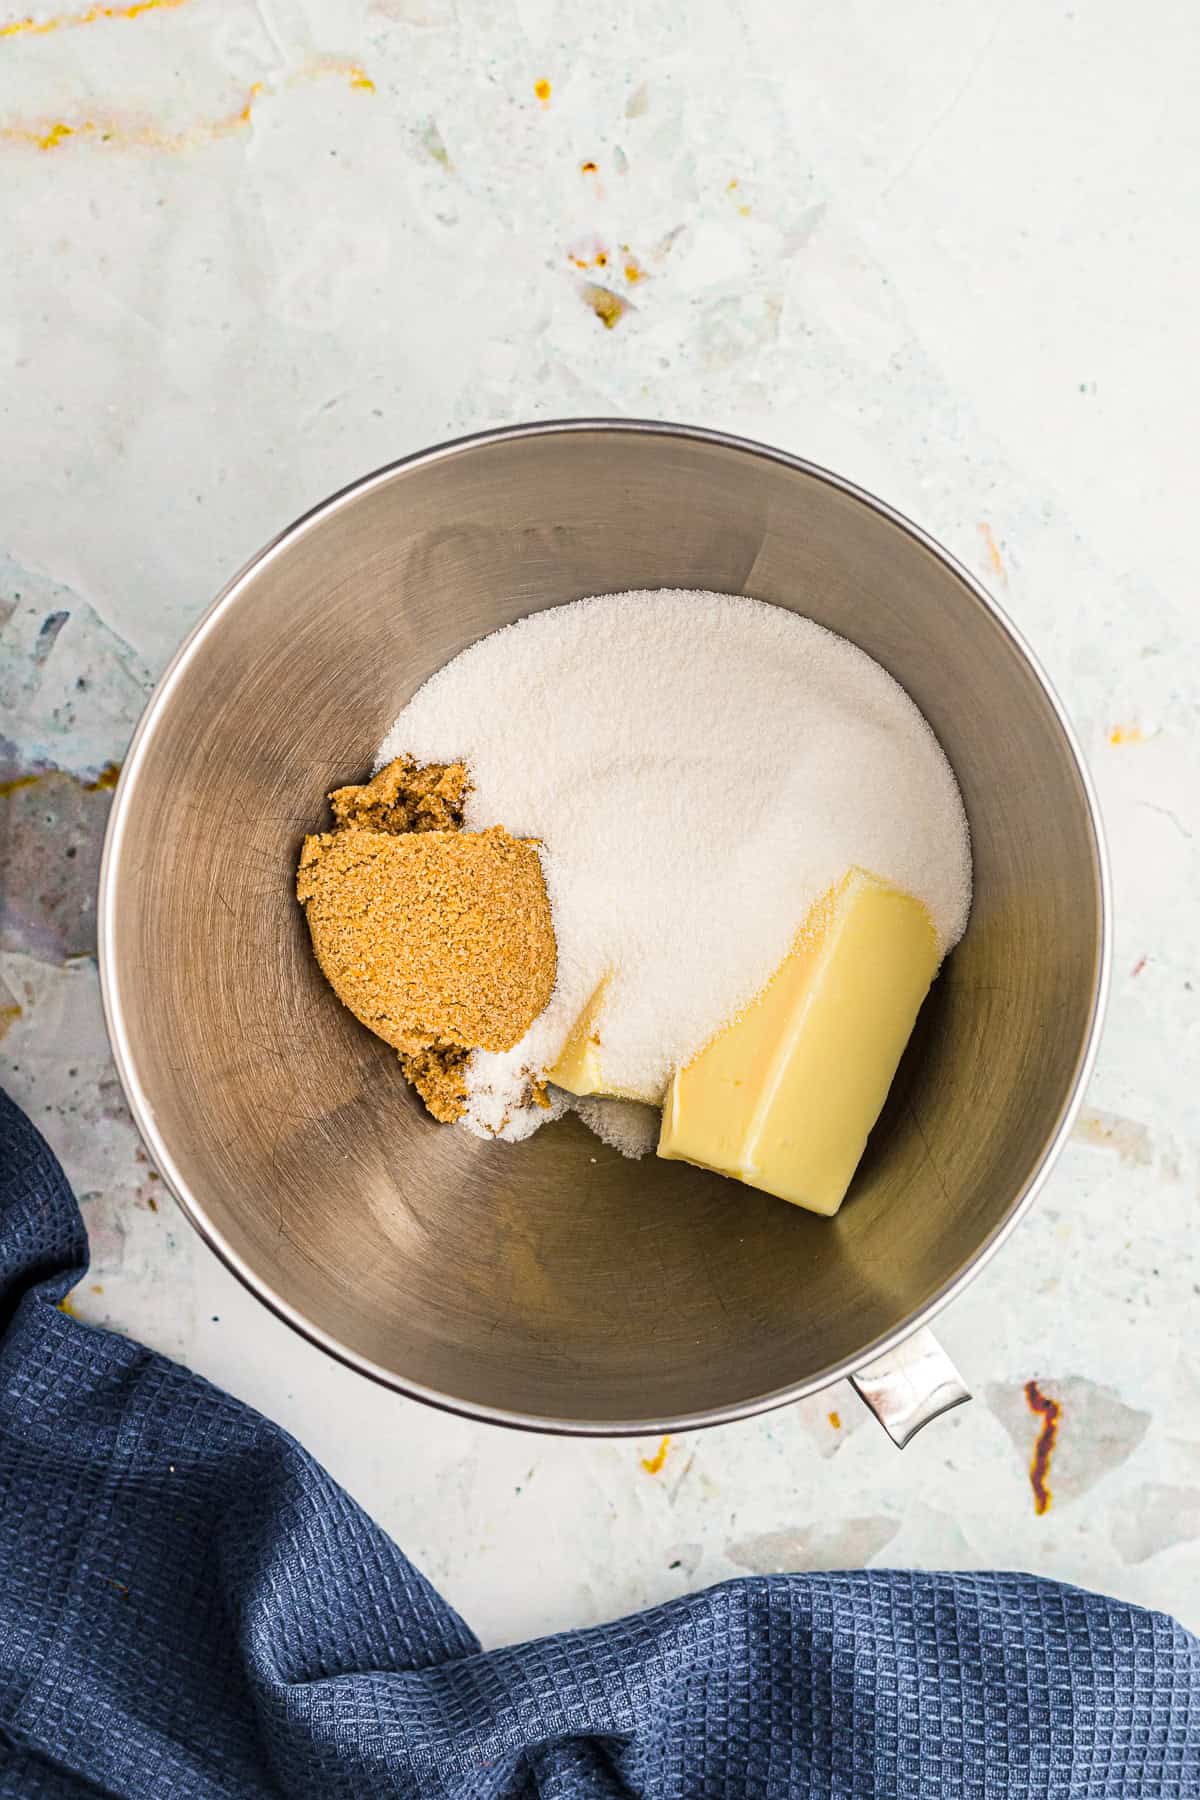
- Cream the butter with the granulated and brown sugars until light and fluffy, about three minutes.
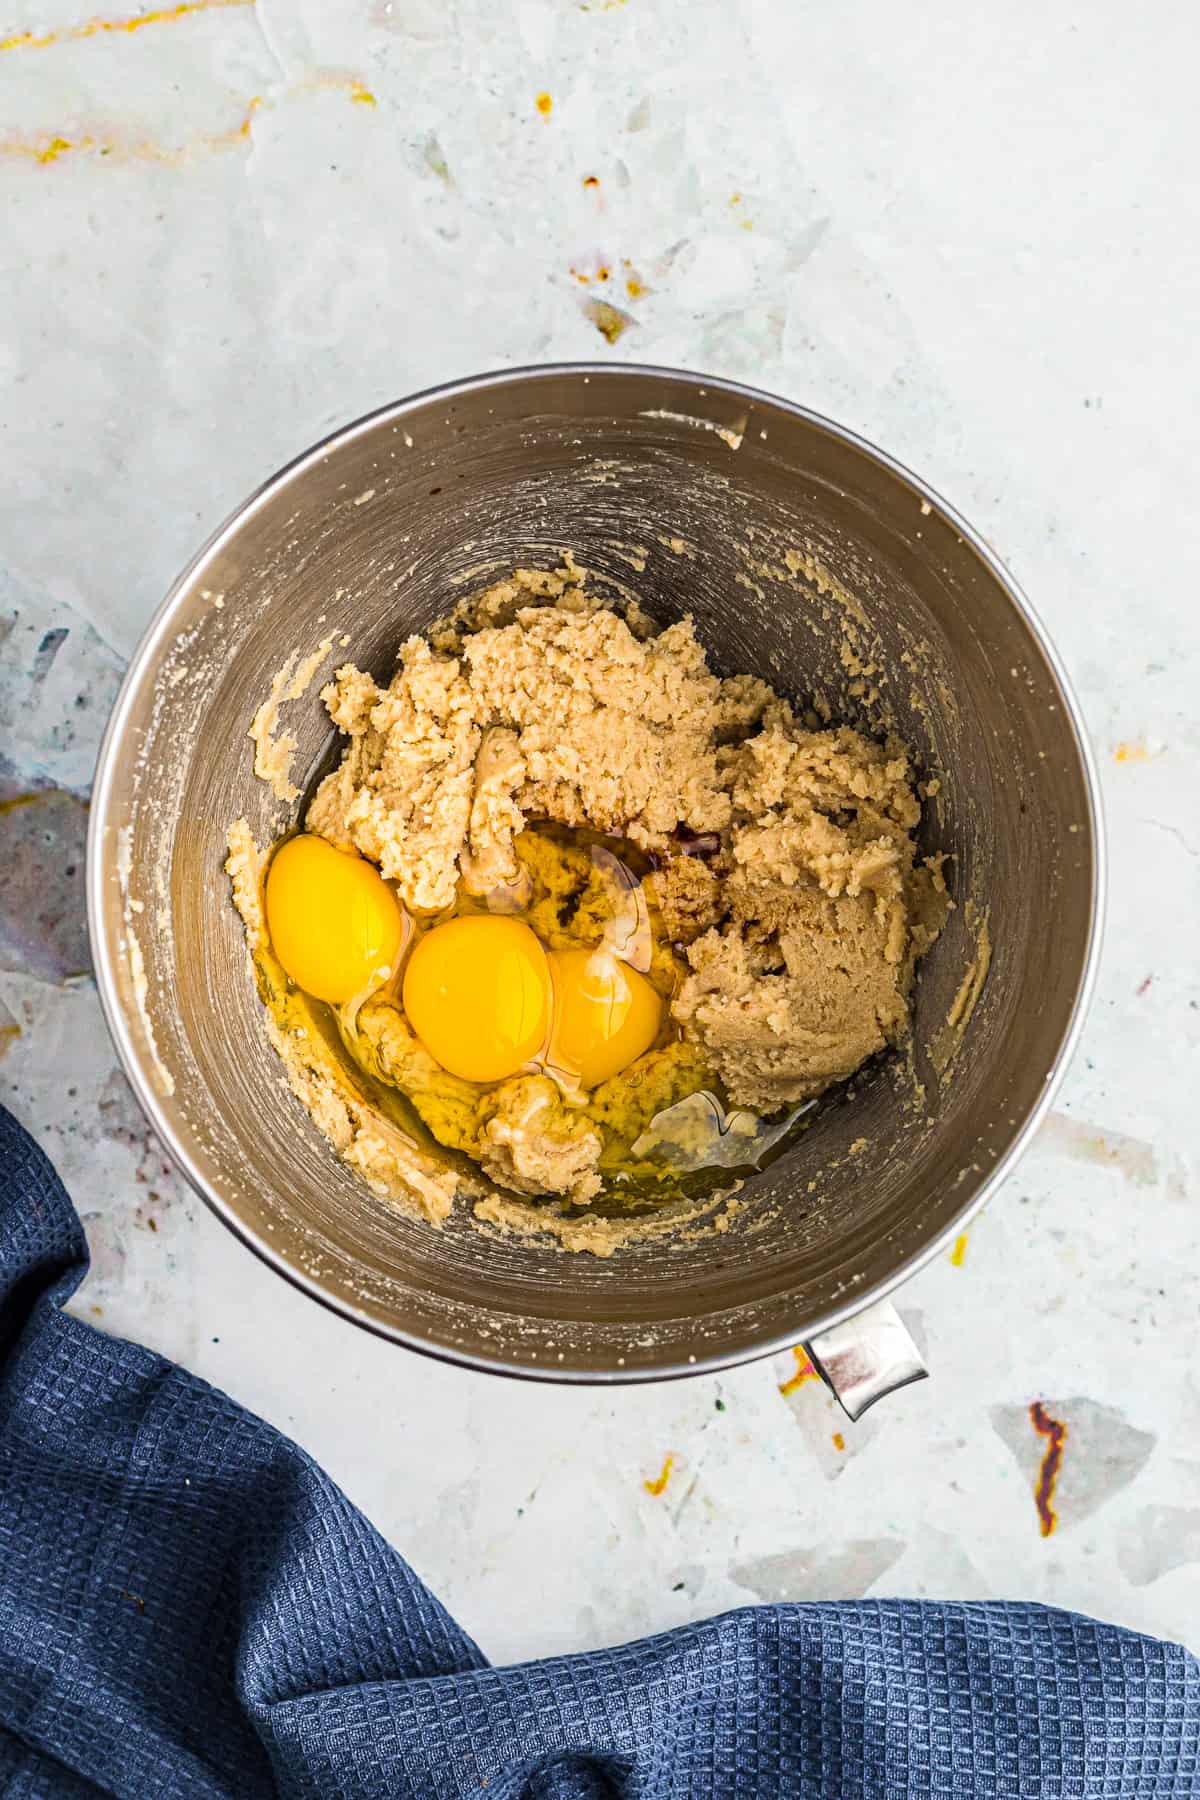
- Beat in the eggs one at a time, then mix in the vanilla extract.
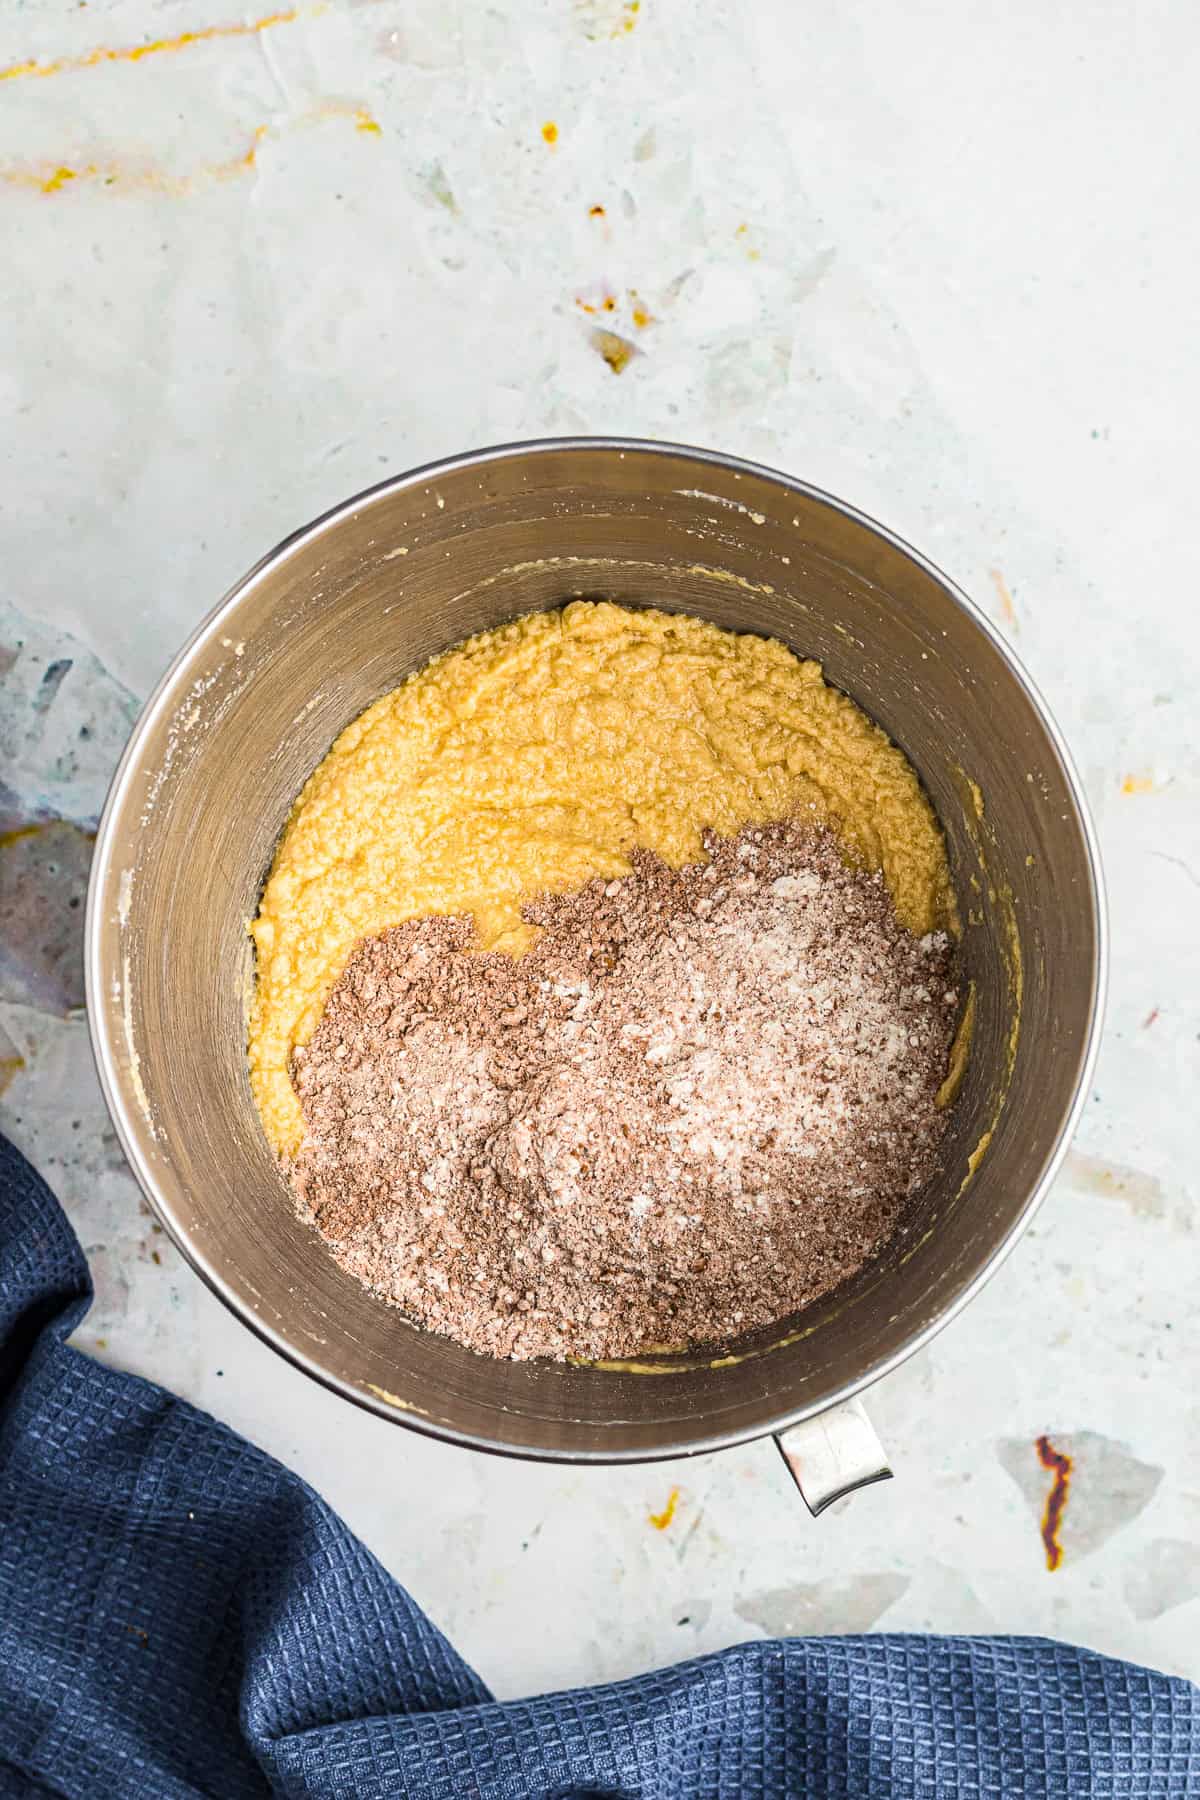
- Slowly add the dry ingredients to the butter mixture, scraping the bowl to fully combine.
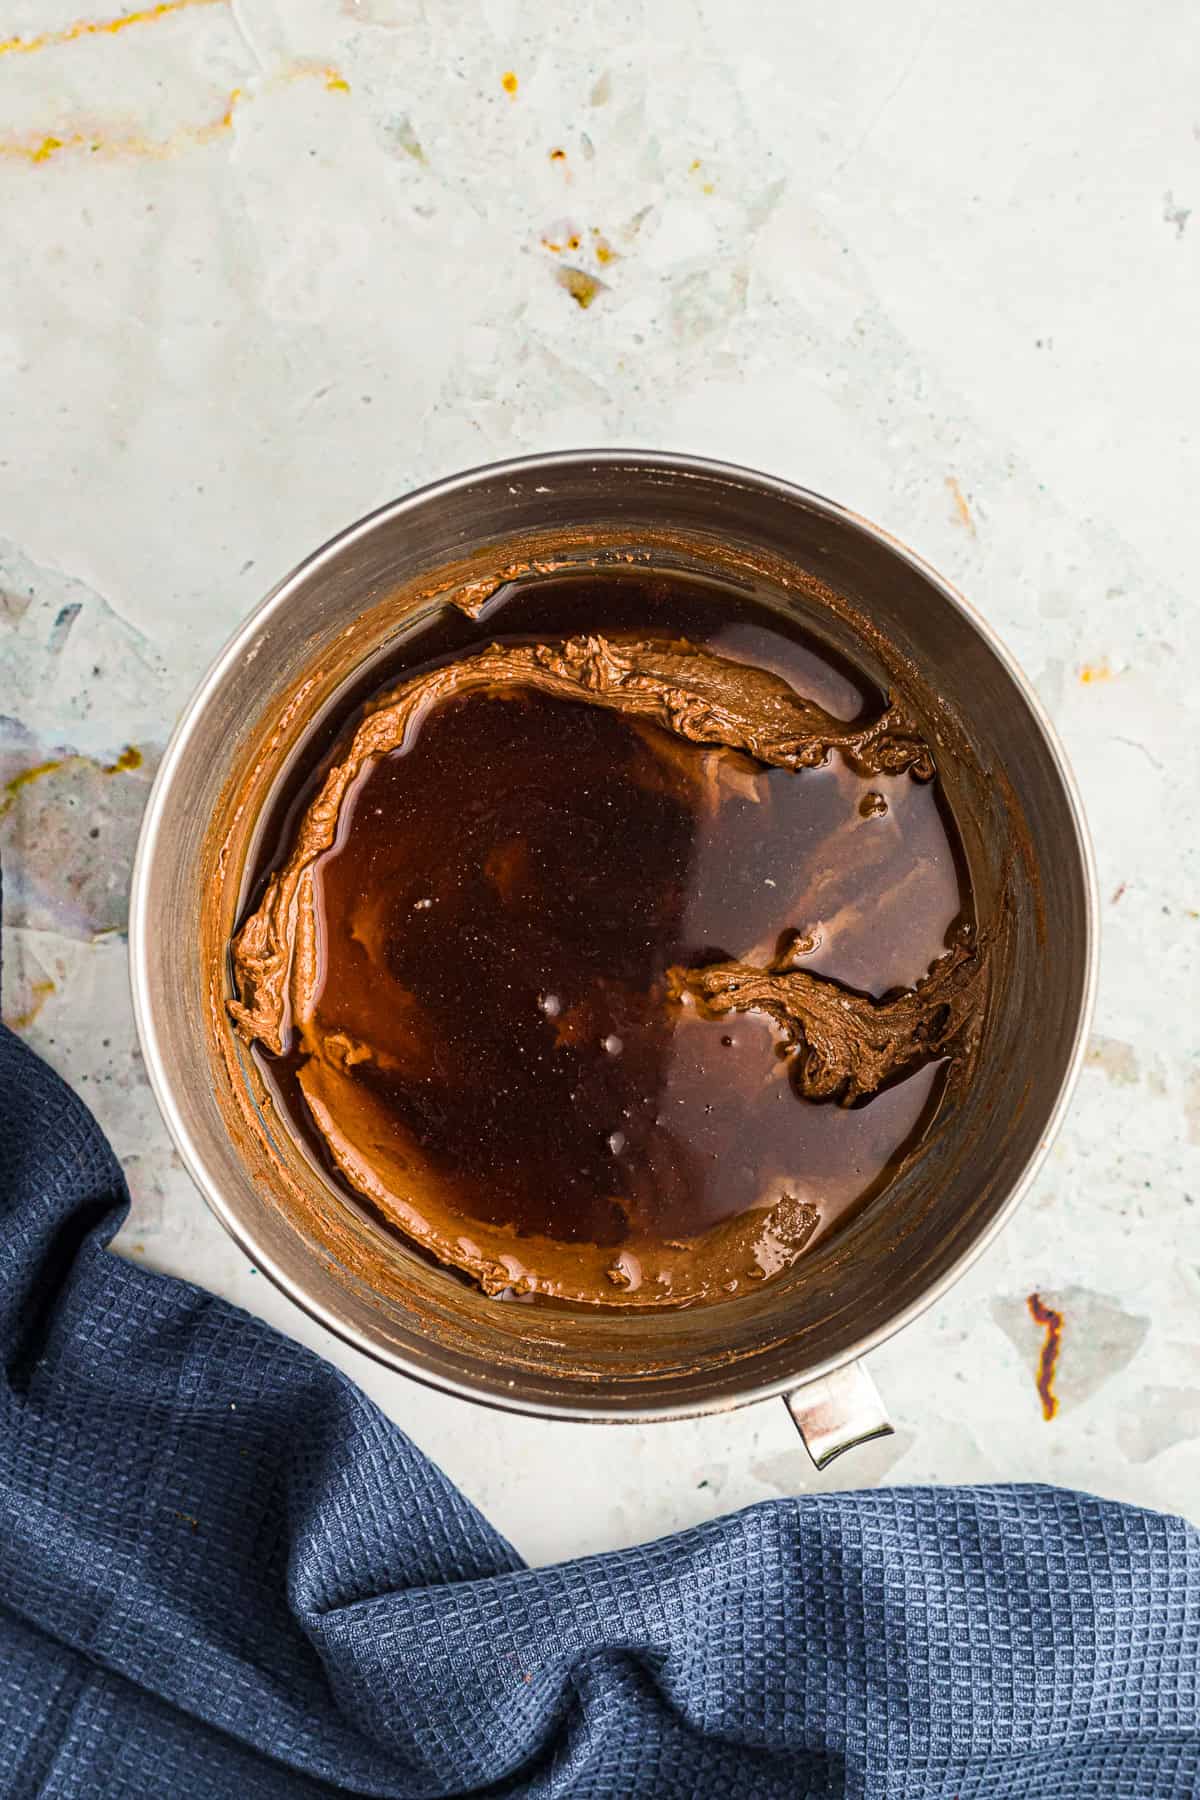
- Pour in the brewed espresso and mix on low until the batter is smooth and pourable.
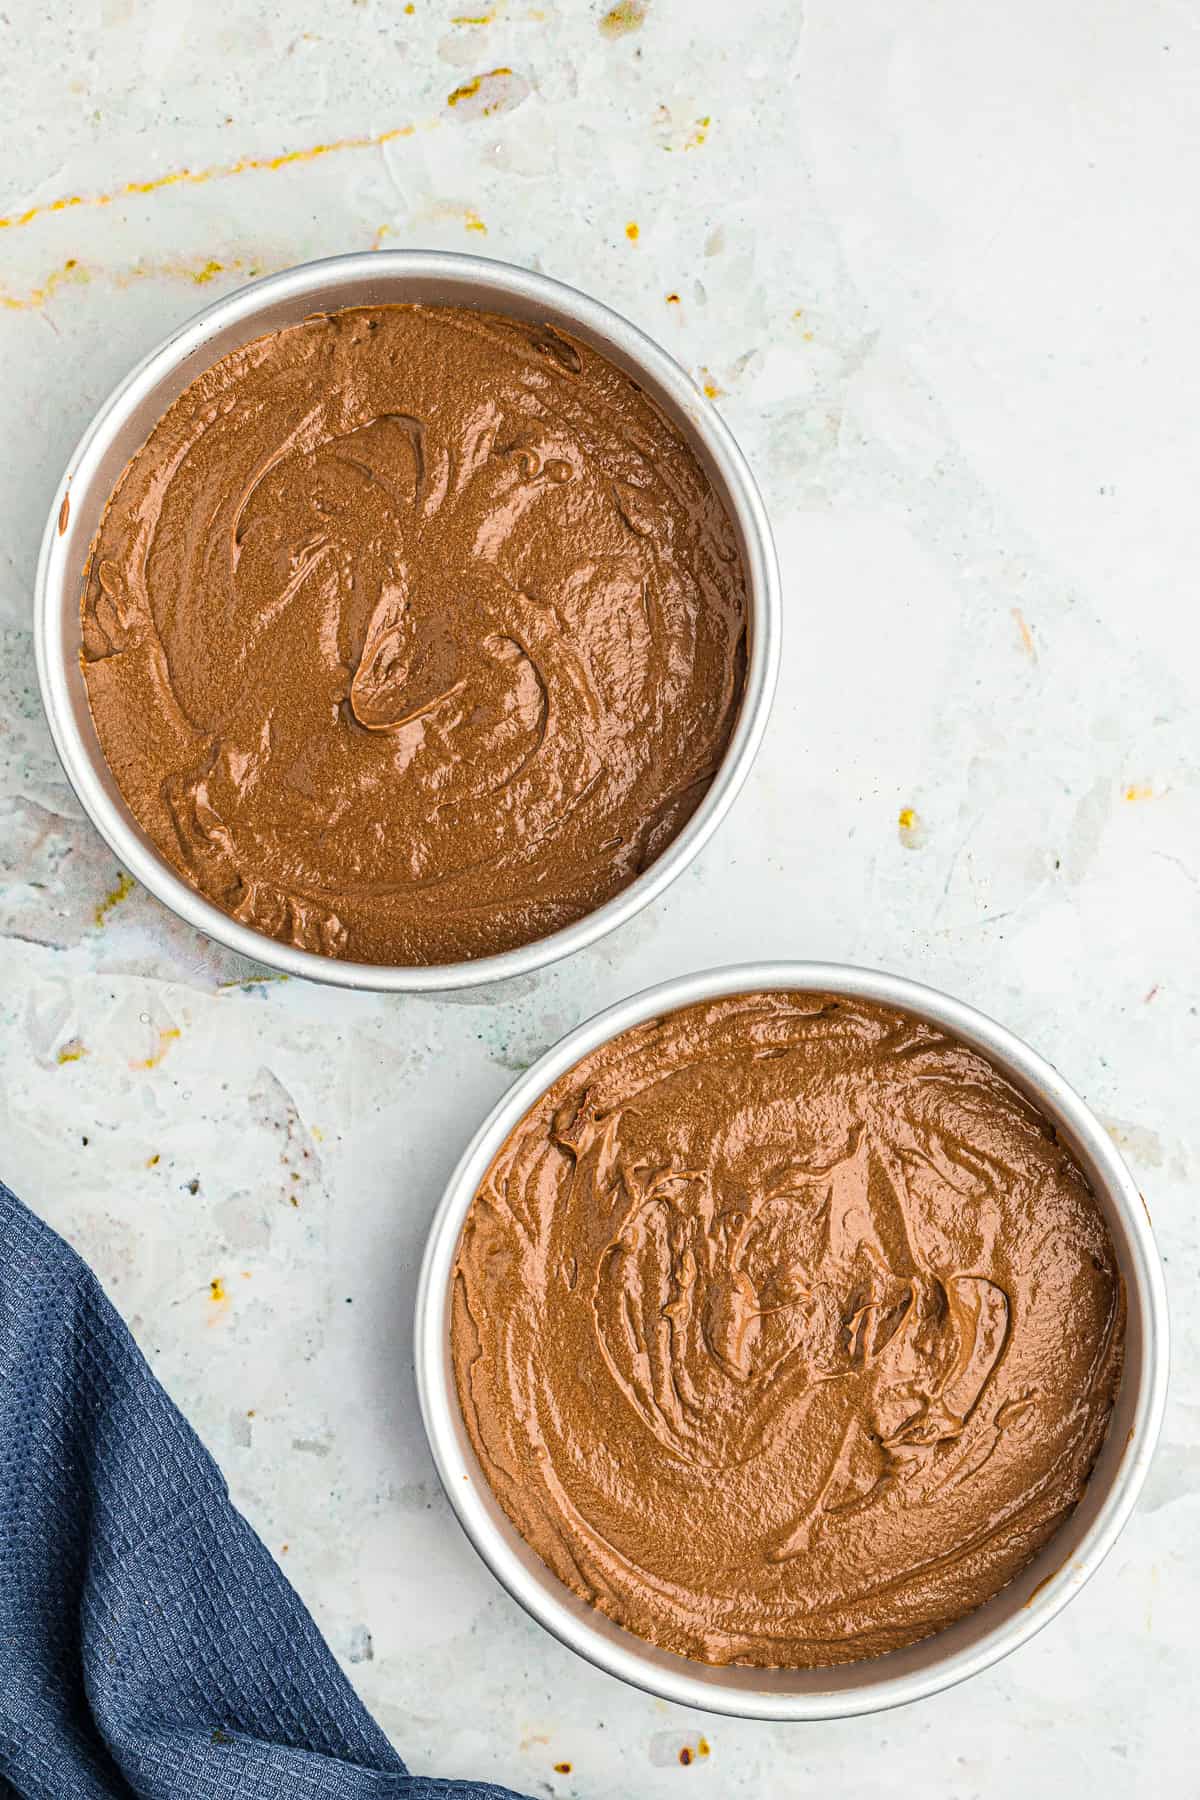
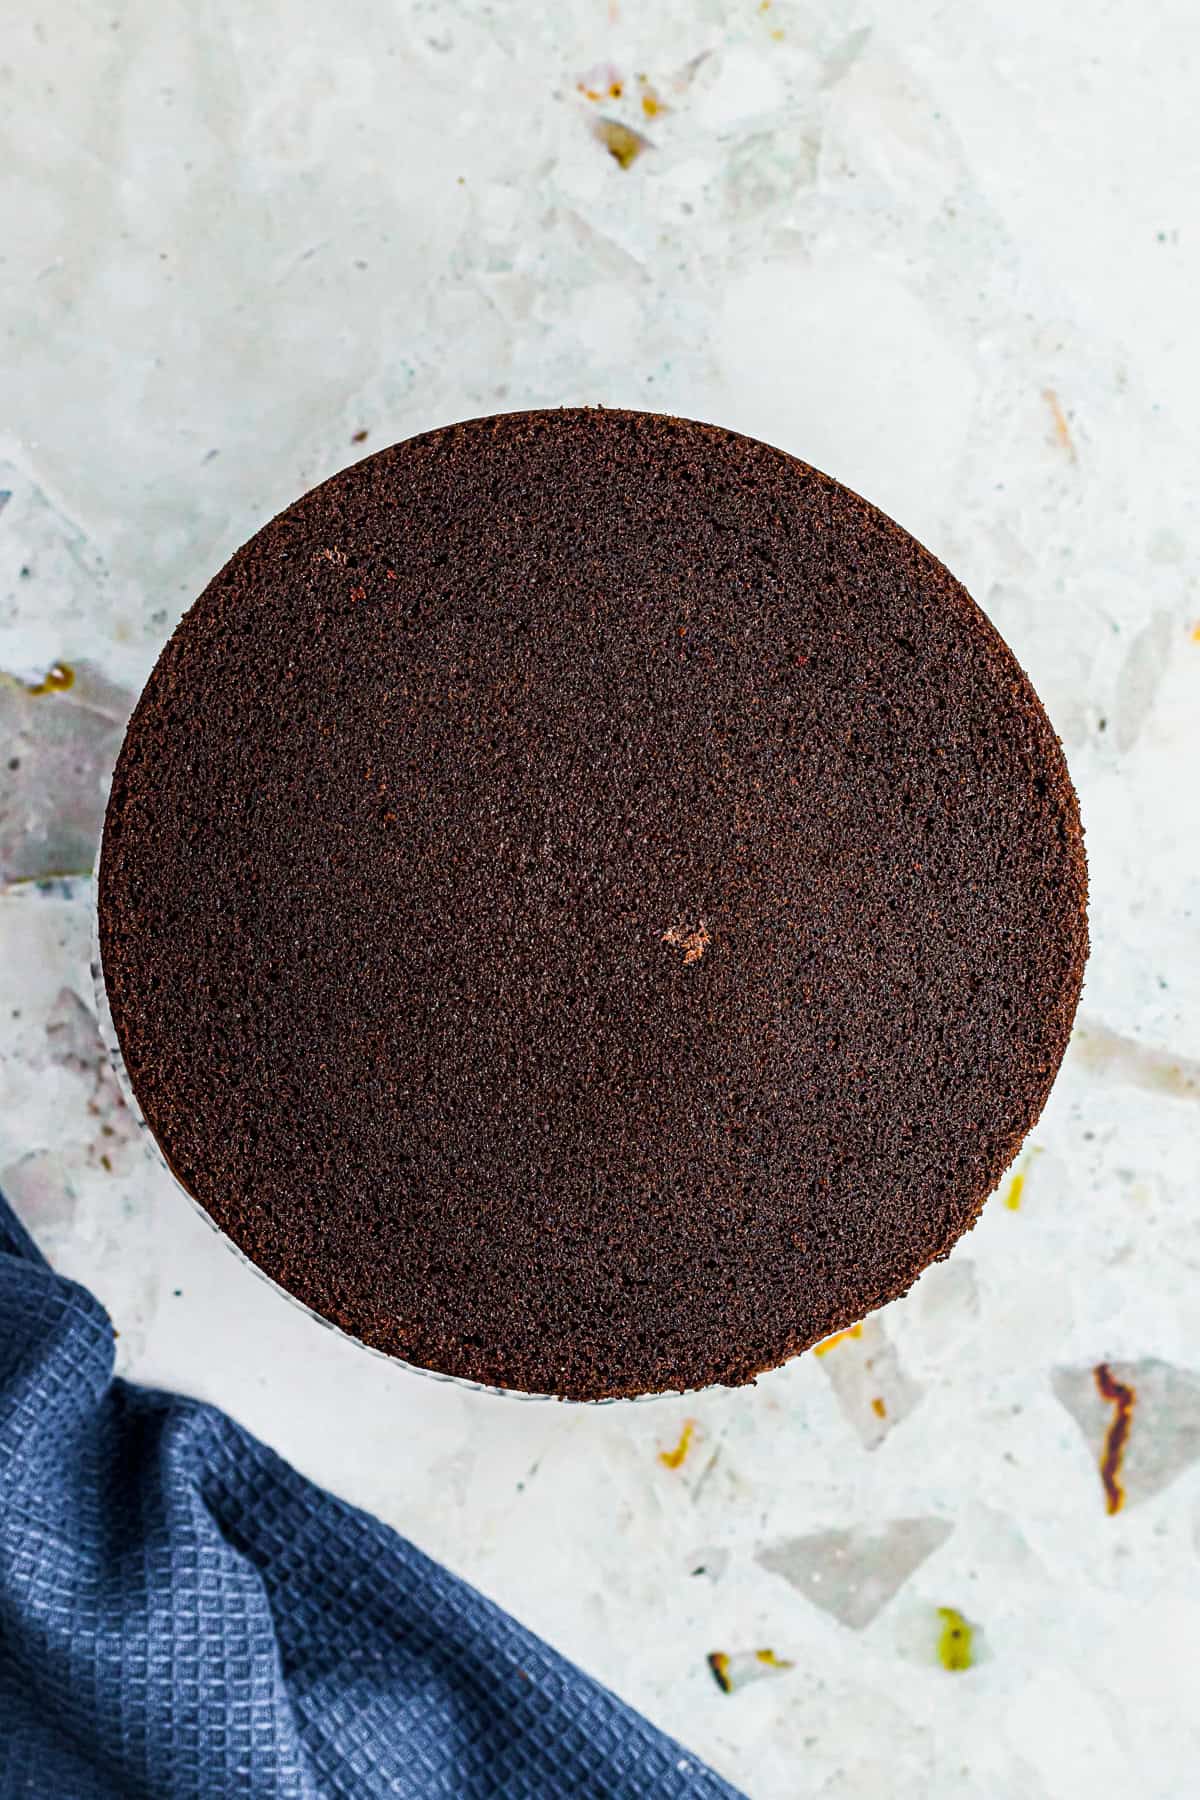
- Divide the batter evenly between two lightly greased 8 inch cake pans and tap each pan on the counter.
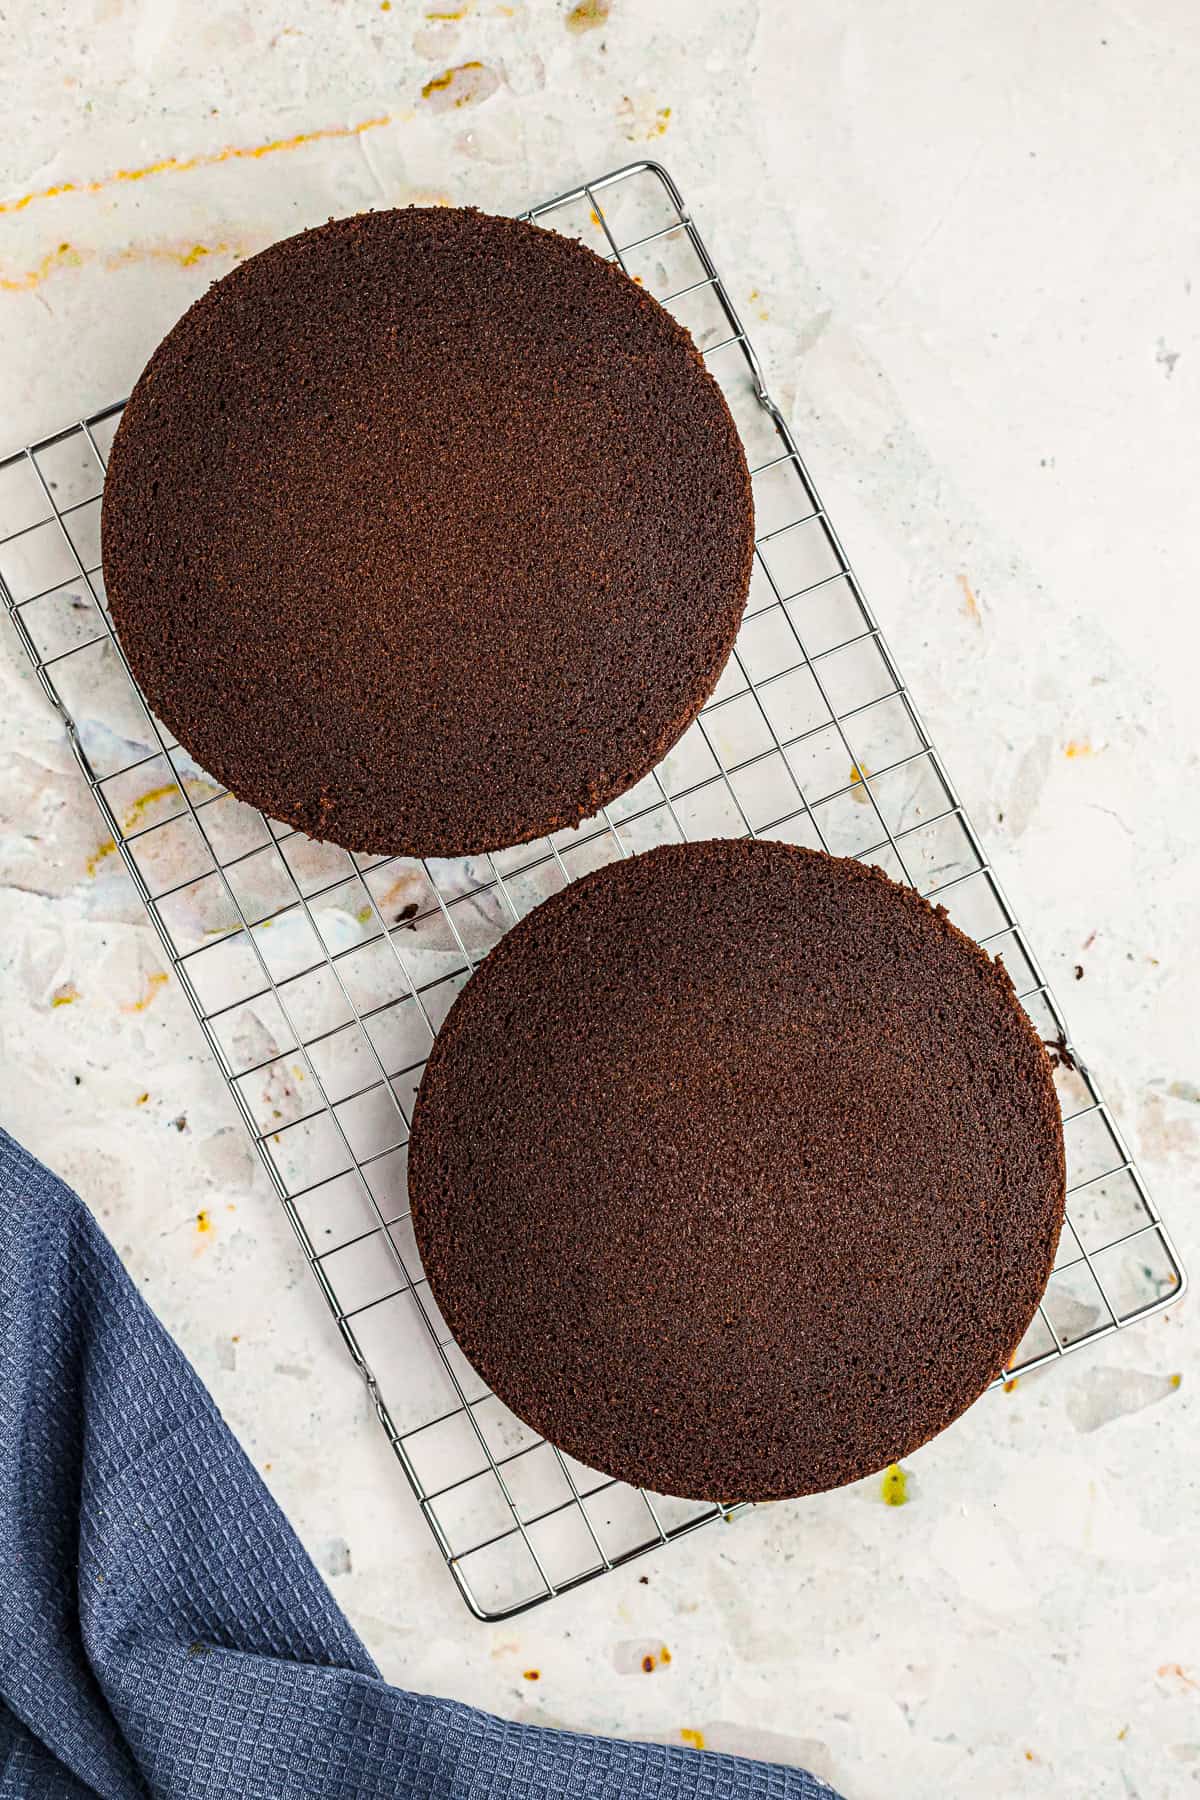
- Bake at 350 degrees Fahrenheit for 25 to 30 minutes, then cool on a wire rack before frosting.
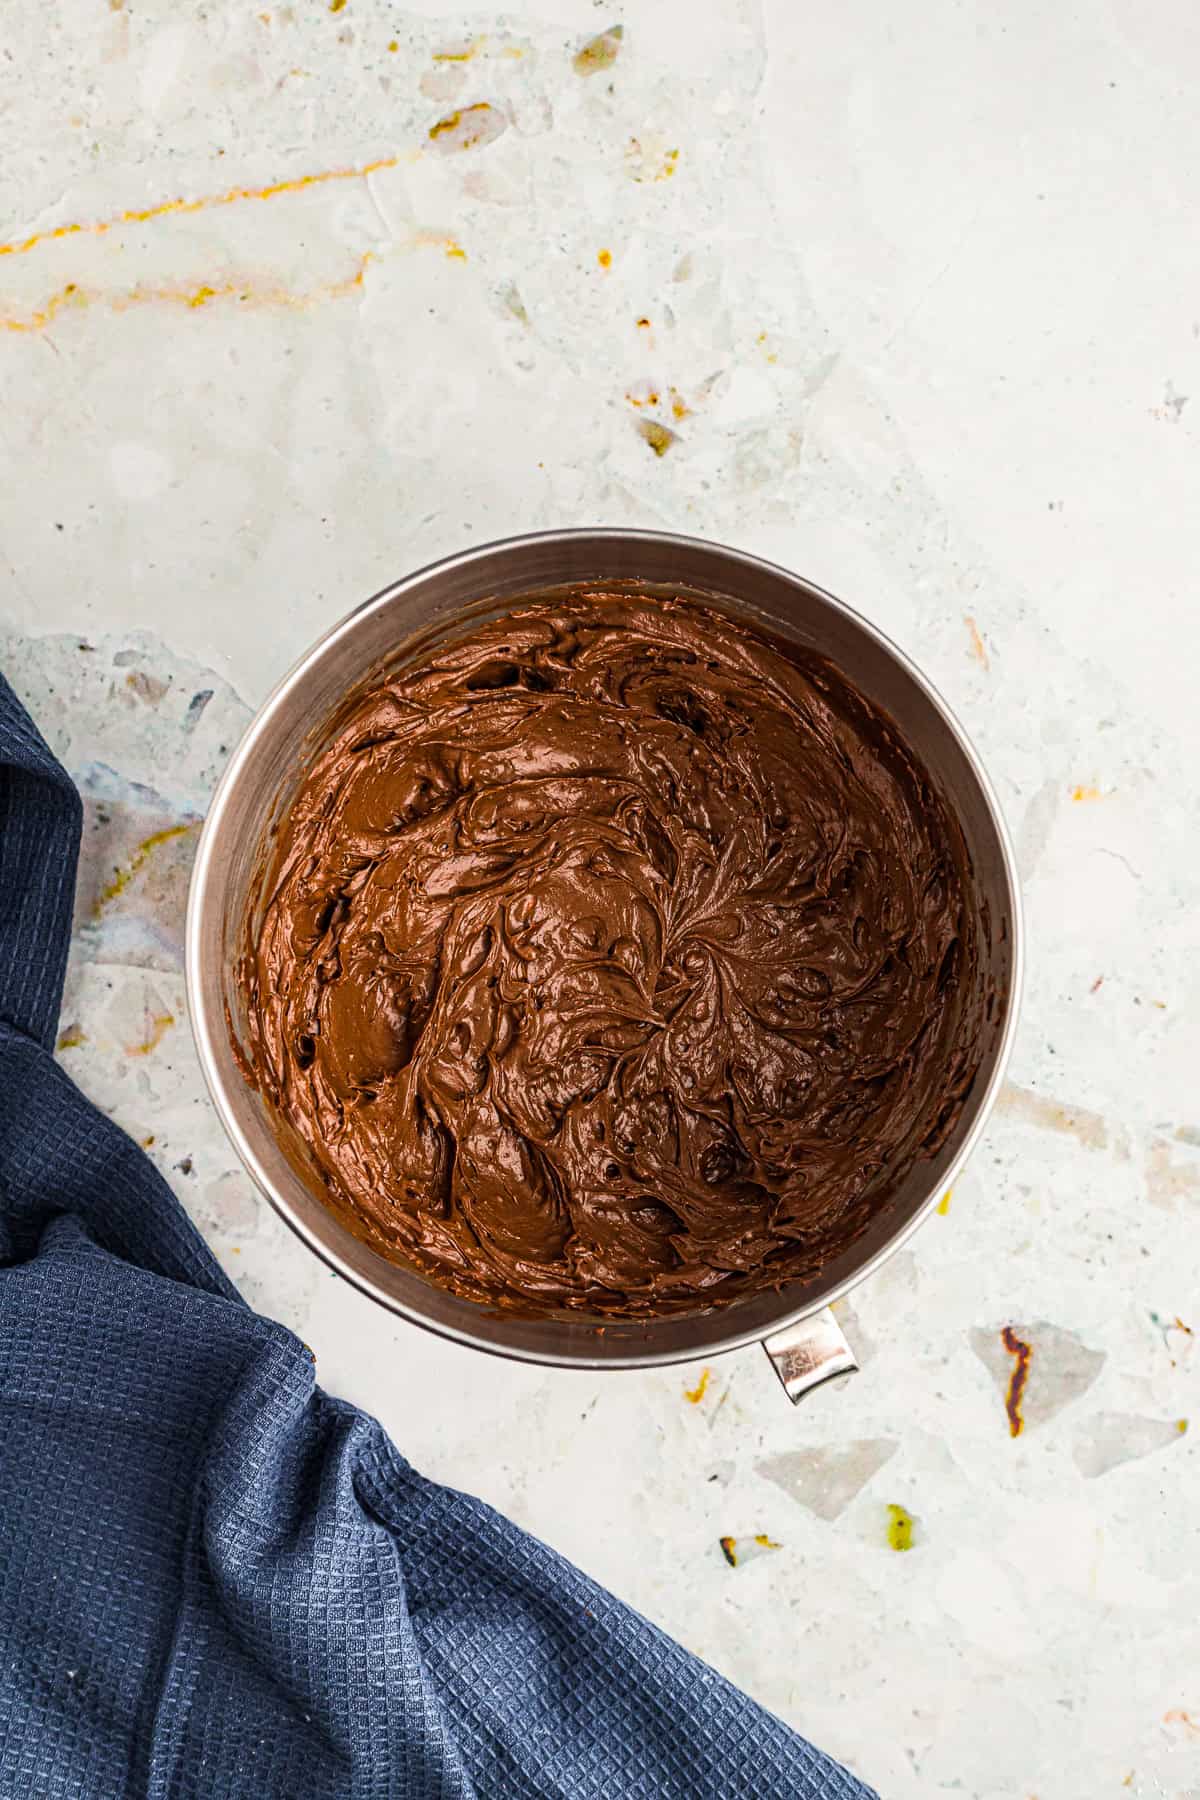
- Beat butter with cocoa powder, sugar, milk, and vanilla until the frosting is smooth and fluffy.
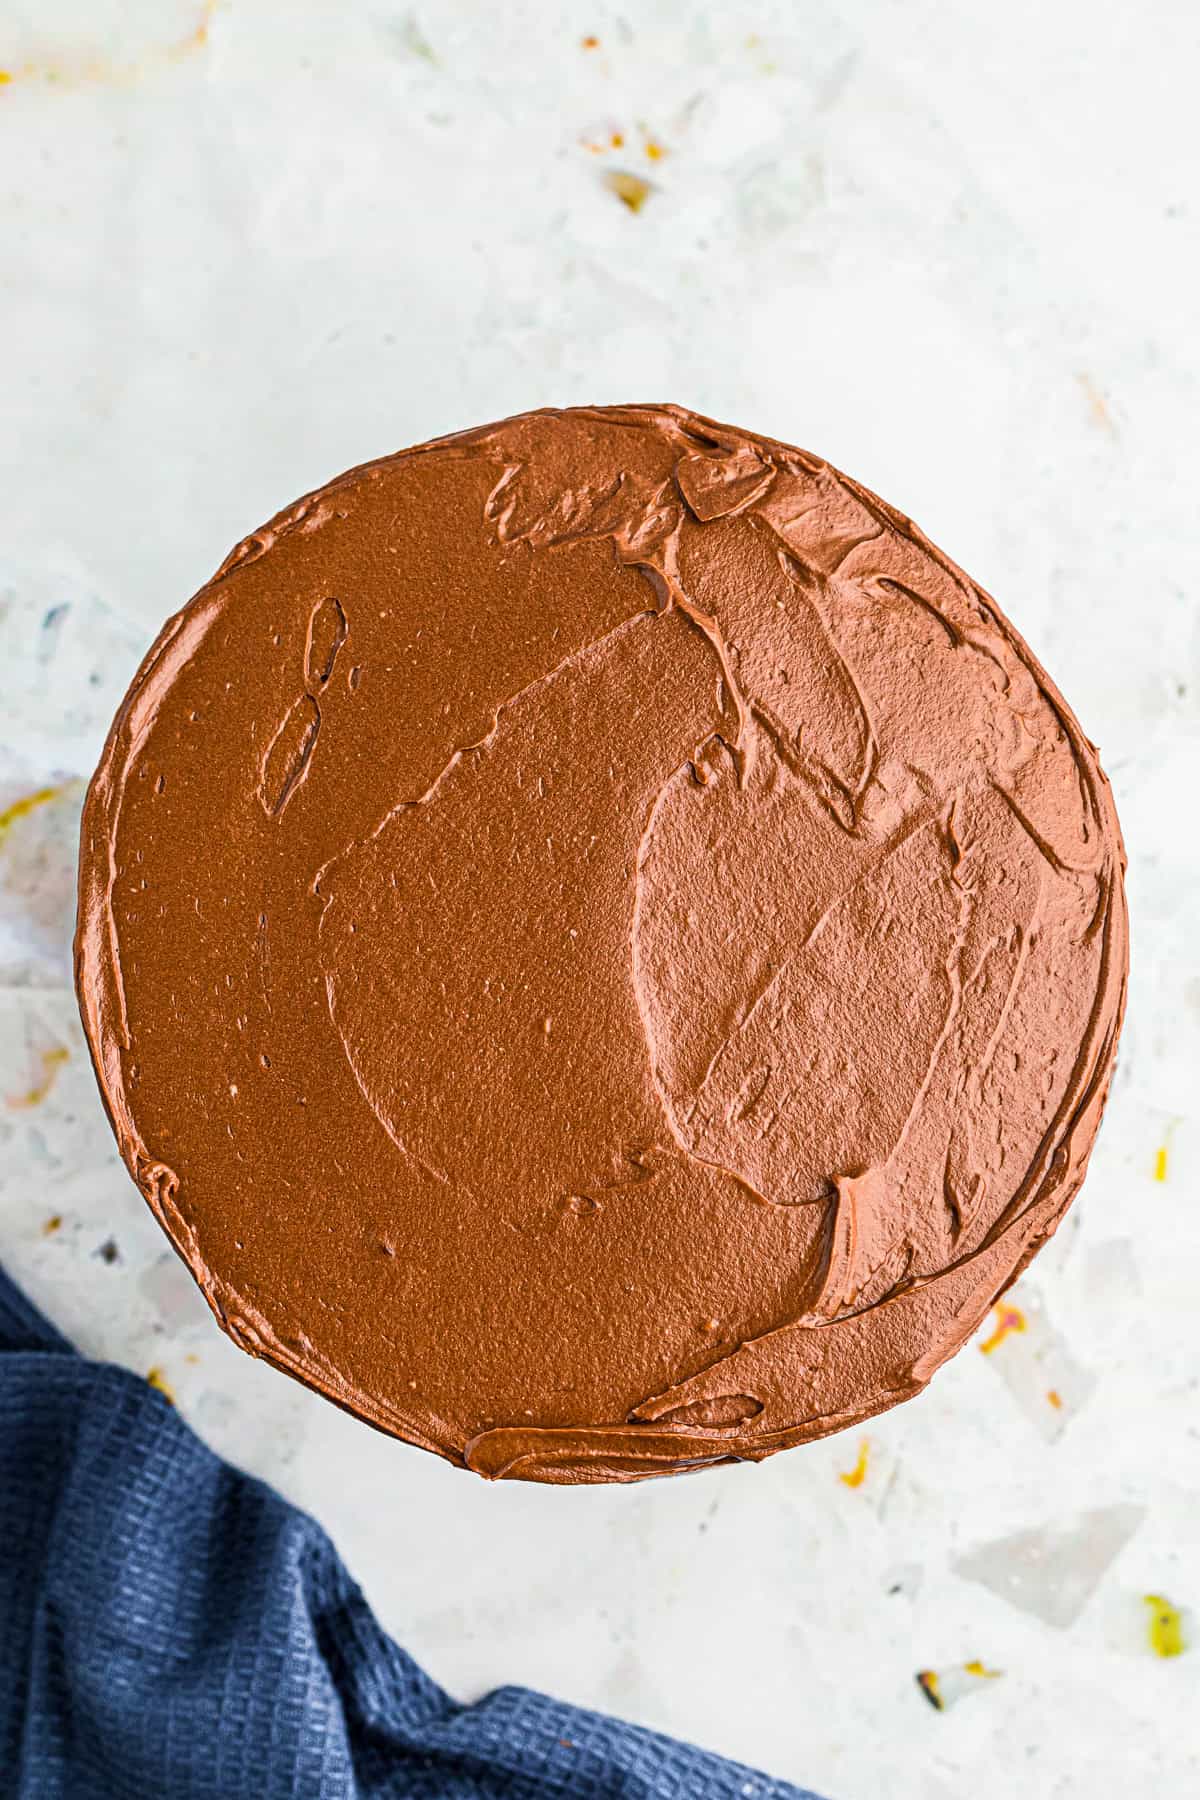
- Set the first cake on a stand, spread three quarters cup of frosting over the top, then stack and frost the second layer.
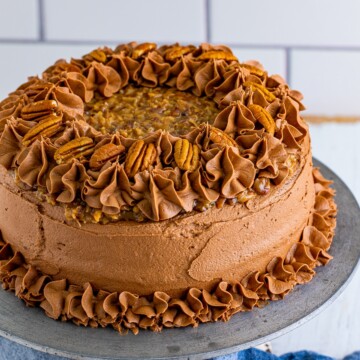
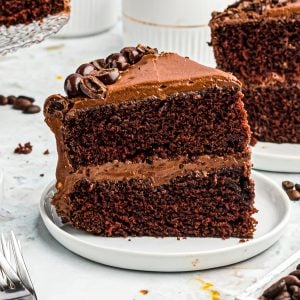
- Finish with chocolate covered espresso beans on top for the bakery look and slice to serve.
Recipe Tips & Tricks
- Cool the cakes fully before frosting. Frosting a warm cake makes the buttercream slide right off, so give the layers at least an hour on a rack before assembling.
- Brew the espresso fresh. Day old coffee tastes flat and pulls the cake down with it. A freshly pulled shot or strongly brewed dark roast right before mixing makes a real difference.
- Line the cake pans with parchment. A quick parchment circle on the bottom of each pan guarantees a clean release every time, no chunks left behind.
- Crumb coat first. Spread a thin first coat of frosting over the cake and chill for 15 minutes before applying the final coat. The crumb coat traps loose crumbs so the outer frosting looks smooth.
- Warm your frosting knife. Dip an offset spatula in hot water and wipe dry between strokes to smooth the chocolate frosting like a pro for our best buttercream finish.
- Store at room temperature for one day. The cake stays moist under a dome at room temperature for up to a day. After that, refrigerate covered and let it come to room temperature before serving so the crumb softens up.
- Freeze layers ahead. Wrap unfrosted layers tightly in plastic and freeze for up to a month. Thaw on the counter, then frost the day you plan to serve.
- Plan the whole menu. This pairs effortlessly with our flourless chocolate cake when company is coming.
Serving Ideas and Suggestions
Chocolate Espresso Cake was made for after dinner moments. Slice and serve it with a tall glass of cold milk, a fresh cup of coffee, or a dollop of whipped cream for a finish that feels right at home next to our German chocolate cake at any family dessert spread.
And if you are anything like our family, our chocotorta will be on the menu soon after.
For a table that feels like a celebration, add our white chocolate mousse cake with butterscotch to the lineup.
For a coffee shop vibe at home, pair a slice with a homemade latte or our copycat Starbucks iced cafe mocha for a deep mocha pairing that doubles down on the espresso flavor in the cake. A small scoop of vanilla bean ice cream on the side melts into the warm chocolate for a stunning a la mode plate.
For a birthday or dinner party, set this on the table next to our classic chocolate layer cake and our moist marble cake to offer guests three different cake personalities. Two thin slices each lets everyone try all three without the sugar crash later.

Chocolate Espresso Cake FAQs
No. If you do not have an espresso machine, brew a very strong cup of dark roast coffee using double the grounds you would normally use. The resulting brew works just like espresso in this Chocolate Espresso Cake recipe.
No. The espresso powder amplifies the chocolate flavor, making it taste more intensely chocolatey, not like coffee. The amount is small enough to enhance without overpowering. People who do not like coffee consistently love this cake because the espresso is undetectable as a separate flavor. It just makes the chocolate taste better.
Yes. Instant coffee works as a 1:1 substitute. The flavor will be slightly less intense than espresso powder but the effect is the same: deeper chocolate. Avoid using brewed coffee as a substitute because it adds too much liquid and not enough concentrated flavor. Espresso powder and instant coffee are both dry and dissolve in the hot water.
Yes. Skip the espresso powder entirely and use only cocoa powder bloomed in hot water. The cake will still be delicious but the chocolate flavor will be lighter and less complex. The espresso is what elevates this from a good chocolate cake to a great one, but it is not structurally necessary.
First, overbaking. Chocolate cake should be pulled when a toothpick comes out with a few moist crumbs, not completely clean. Second, too much flour. Measure by spooning flour into the cup and leveling, not scooping (scooping packs in extra flour).
Yes. Bake the layers up to one day ahead and store wrapped at room temperature. You can also freeze unfrosted layers wrapped tightly for up to a month. Frost the day you plan to serve so the Chocolate Espresso Cake looks fresh.
Cover loosely and store at room temperature for one day. After that, refrigerate the Chocolate Espresso Cake in a covered container for up to four days and let each slice come to room temperature before serving so the crumb softens back up.
Absolutely. A decaf espresso or strongly brewed decaf still amplifies the cocoa flavor in a Chocolate Espresso Cake without adding the caffeine kick, which is perfect for serving later in the evening.
Natural unsweetened cocoa is acidic, so baking soda neutralizes the acid and provides the lift the layers need. Using baking powder would leave the Chocolate Espresso Cake with a flatter rise and a slightly metallic aftertaste.
Chocolate buttercream is the classic pairing. Chocolate ganache (cream + chocolate chips, melted and cooled) gives a glossier, more fudgy finish. Our Fluffy Buttercream Frosting with cocoa powder added makes a lighter option. For contrast, our Chocolate Cream Cheese Frosting adds tang.
Other Recommended Easy Chocolate Cake Recipes

If you bake this Chocolate Espresso Cake this weekend, leave a star rating and a comment below so I know how your layers turned out. Tag us on Instagram @thissillygirlskitchen so I can see your cake stand reveal.

Chocolate Espresso Cake Recipe
Ingredients
Cake:
- 2 cups all-purpose flour
- ½ cup unsweetened cocoa powder
- 1 ½ teaspoons baking soda
- 1 cup unsalted butter
- 1 cup granulated sugar
- ½ cup brown sugar
- 3 eggs
- 1 teaspoon vanilla extract
- 1 cup brewed espresso or coffee
Chocolate Buttercream:
- ¾ cup unsalted butter softened
- 1 cup unsweetened cocoa powder
- 4 ½ cups powdered sugar
- ½ cup milk
- 2 teaspoon vanilla extract
Instructions
- Preheat the oven to 350 degrees F. In a medium bowl, combine the flour, cocoa powder, and baking soda, set aside.2 cups all-purpose flour, ½ cup unsweetened cocoa powder, 1 ½ teaspoons baking soda
- In a mixing bowl, combine the butter with the sugars, and once they are combined.1 cup unsalted butter, 1 cup granulated sugar, ½ cup brown sugar
- Mix in the eggs, and vanilla.3 eggs, 1 teaspoon vanilla extract
- Slowly add in the dry ingredients, scraping the bowl to be sure you have all ingredients combined.
- Pour in the brewed espresso or coffee and mix to combine it with cake batter.1 cup brewed espresso or coffee
- Evenly divide the cake batter, and pour into two, lightly sprayed, 8 inch cake pans. Gently tap on the counter to make sure all air bubbles are settled.
- Bake for 25-30 minutes, until the cake springs back to the touch. Remove from the oven and let them cool on the rack before frosting.
- In a large bowl, or stand mixer, mix the butter with the cocoa powder, sugar, milk, and vanilla. Use the whisk attachment or electric mixer’s beaters to whip the frosting until it’s smooth and creamy.¾ cup unsalted butter, 1 cup unsweetened cocoa powder, 4 ½ cups powdered sugar, ½ cup milk, 2 teaspoon vanilla extract
- Layer one cake on a cake stand or turntable and add ¾ to 1 cup frosting and frost. Add the second layer and frost the top and sides of the cake until covered.
- Garnish cake with chocolate covered espresso beans or chocolate chunks, chopped into smaller pieces.
Notes
- The use of coffee in a cake brings out the chocolate flavor.
- You can substitute the coffee/espresso for buttermilk or regular milk.
- Decorate the top however you’d like, we use chocolate covered coffee beans which can be easily found at your local grocer.
- This can be frozen, see my tips above.
- This serves a lot of people so it is a great cake to bring for gatherings.
- If you are not a fan of chocolate on chocolate you can absolutely frost with another buttercream recipe.
Nutrition
Love This Recipe?
Follow @ThisSillyGirlsKitchen on Instagram and @danadevolk on Pinterest for more!


The recipe calls for no salt, which must be the problem because it is flavorless. I made it for my daughters birthday and none of us ate it after the first few bites.
This cake is so good — probably the best thing I’ve ever baked. The espresso flavor is pretty light (I used instant espresso, which may contribute to that) — just enough to temper the sweetness. When I make it again, I might make the espresso/coffee stronger so that flavor comes through a bit more.
My cake tasted nice and sweet before baking it, after baking it, it doesn’t taste sweet… I made this for my partners birthday super disappointed):
Ours came out pretty dry. I’m not sure what went wrong.
Yum, great tip!
This came out great! I did substitute the granulated sugar for brown sugar and it still tastes delicious. 🙂