
This post may contain affiliate links.
Lady Finger Cookies Recipe turns out the same delicate cookies you find layered inside the best tiramisu, with a light crisp shell, a tender airy center, and a dusting of powdered sugar that melts on the first bite. The first time I piped a batch on a *quiet Sunday afternoon* Maddie called dibs on dipping the warm ones in espresso for an instant Italian coffee treat. Pair the cookies with our tiramisu pie for the full Italian dessert spread.
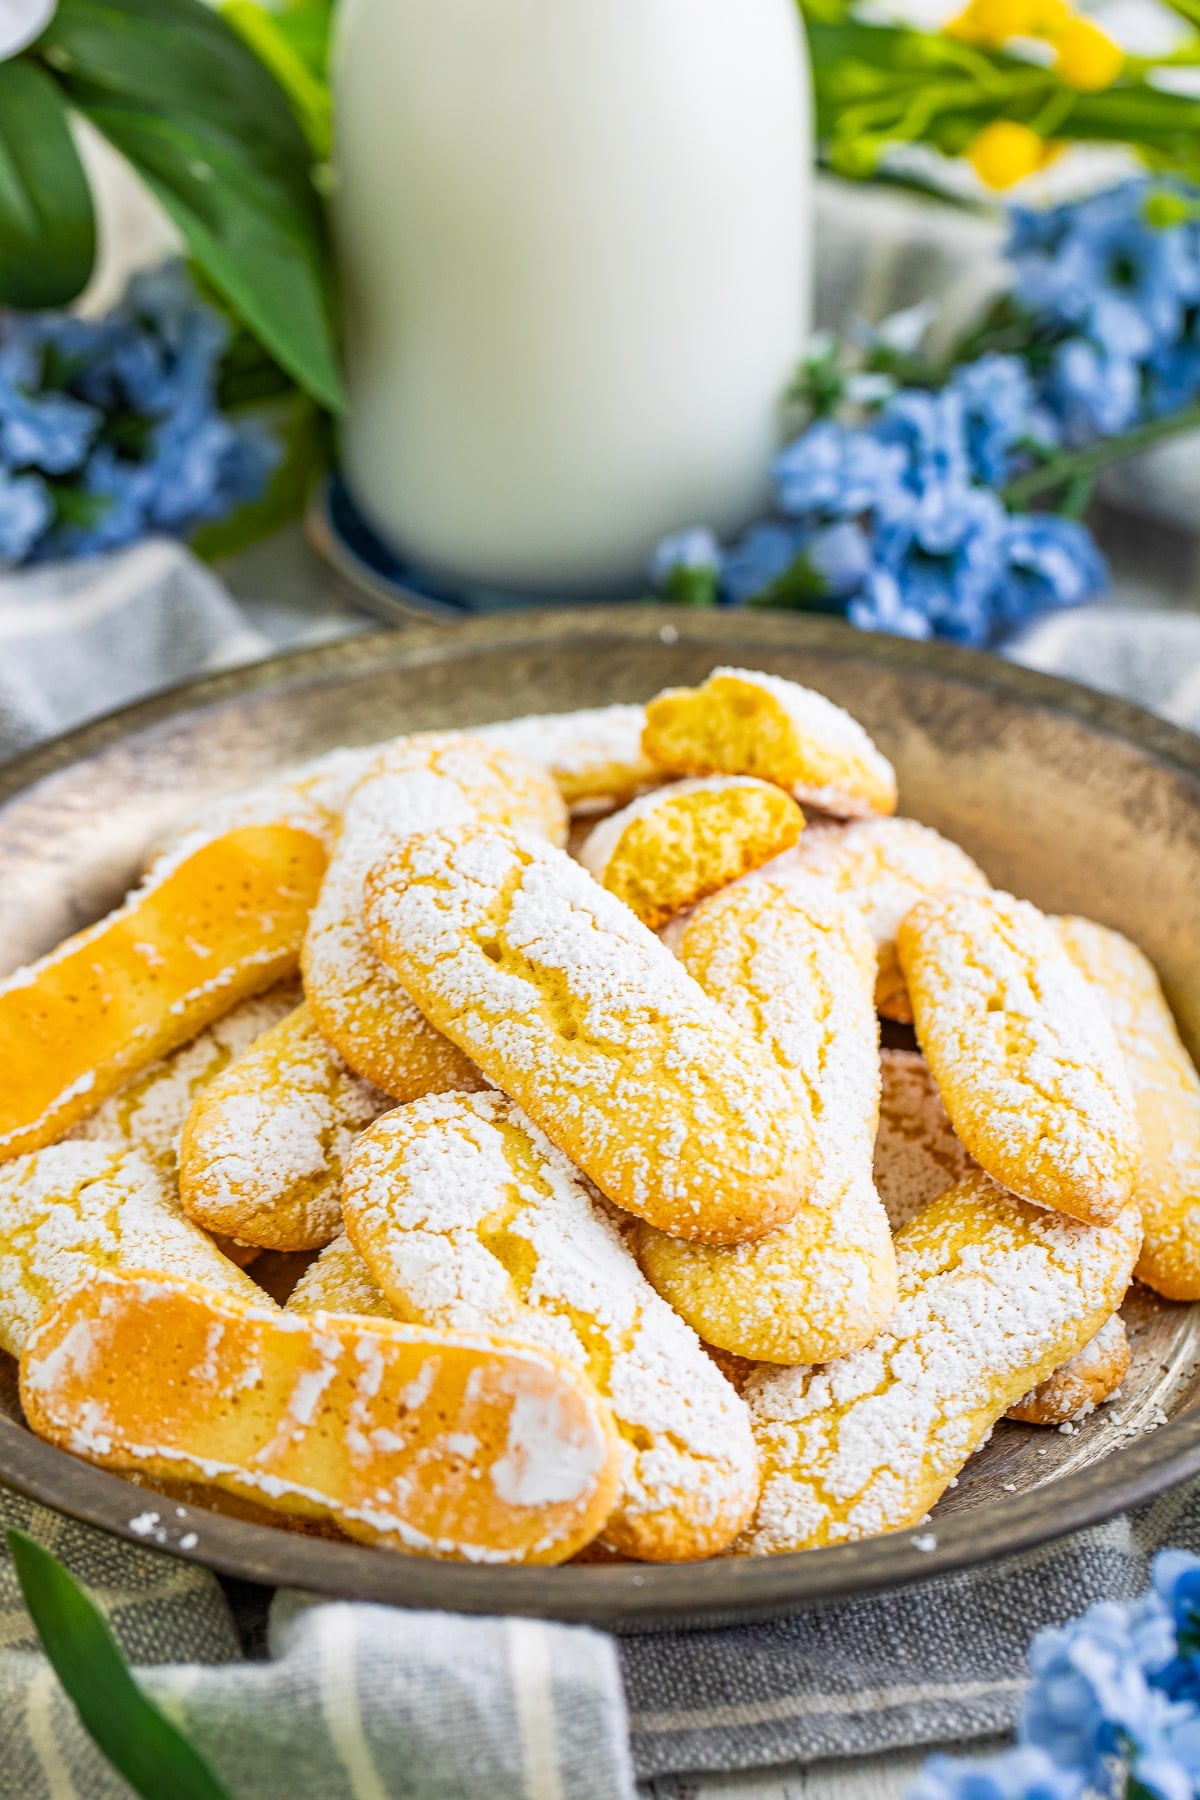
Seven pantry ingredients, one double boiler, and the same Italian sponge cookie technique that turns out bakery-quality ladyfingers at home for tiramisu or coffee dunking.
Lady Finger Cookies Recipe Quick Look
- 🕐 Prep Time: 15 minutes
- 🍴 Cook Time: 27 minutes (12 minutes baking plus double-boiler time)
- ⏳ Total Time: 42 minutes
- 🍽 Serving: 30 ladyfinger cookies
- ⚡ Calories: ~35kcal per cookie
- 🌶 Flavor Profile: Lightly sweet vanilla sponge with a crisp powdered-sugar shell and a tender airy crumb that absorbs coffee and liqueur like a dream
- ✋ Difficulty: Intermediate baking, on par with our fluffy buttercream frosting
Quick Answer
Whisk eggs, sugar, and salt over a double boiler until the mixture reaches 165 degrees Fahrenheit (about 5 to 15 minutes), then transfer to a stand mixer and whip with vanilla extract on high until light, fluffy, medium peaks form. Fold in sifted flour and cornstarch gently, pipe into 3-inch logs on parchment, dust generously with powdered sugar, and bake at 350 degrees Fahrenheit for 12 minutes until the edges are lightly golden but the centers stay pale.
Jump to:
- Lady Finger Cookies Recipe Quick Look
- Quick Answer
- Why This Recipe Works
- Why You’ll Love This Recipe
- Key Ingredients
- Variations and Substitutions
- How to Make Lady Finger Cookies Recipe
- Recipe Tips & Tricks
- Serving Ideas and Suggestions
- Lady Finger Cookies Recipe FAQs
- Other Recommended Copycat Recipes
- Homemade Lady Finger Cookies Recipe
Why This Recipe Works
Click to read why this recipe works
- The 165 degree Fahrenheit double boiler step pasteurizes the raw eggs AND dissolves the sugar fully into the egg mixture. This is what gives you the signature smooth crisp shell instead of grainy or rough ladyfingers.
- Sifting the flour and cornstarch twice aerates the dry mixture so the final cookies bake up airy and tender. Skip the double sift and you get dense ladyfingers that fall flat in tiramisu.
- Whipping to medium peaks (not stiff) preserves the right amount of air without over-developing the egg structure. Too stiff and you get tough cookies; too soft and they spread instead of holding their piped shape.
- The powdered sugar dusting before baking is what creates the signature crisp sugar shell that distinguishes a real ladyfinger from any other sponge cookie. Do not skip it.
- The 12 minute bake at 350 degrees Fahrenheit sets the structure without drying out the centers. The edges should be lightly golden, the centers should stay pale, and the cookies should feel firm but spring back slightly when pressed.
- Cooling on a wire rack lets air circulate underneath so the bottoms stay crisp. Cooling on the pan traps steam and softens the texture.
Why You’ll Love This Recipe
- Bakery quality at home. Crisp powdered-sugar shell, tender airy crumb, the exact texture you find in the imported boxes for half the price.
- Seven pantry ingredients. Flour, cornstarch, eggs, sugar, salt, vanilla, plus powdered sugar for dusting, you probably have everything already.
- Perfect for tiramisu. Sturdy enough to soak up espresso and Marsala without falling apart, the way authentic Italian ladyfingers should hold up.
- Make-ahead friendly. Cookies keep a full week in an airtight container, the flavor and texture actually improve overnight.
- Coffee dunkers. Dunk in espresso or a hot cappuccino for a quick Italian breakfast or afternoon treat, the same easy comfort as our fluffy buttercream cupcakes.
- Tested temperature method. The 165 degree Fahrenheit double-boiler step is the difference between bakery-quality and grocery store ladyfingers, and we walk you through it.
- Naturally dairy free. No butter, no milk, no cream, the recipe is naturally dairy free for guests with sensitivities.
- Cheap and gift-worthy. A batch of 30 cookies costs under five dollars in pantry ingredients and packages beautifully in a tin or cellophane bag.
- It is the kind of no fuss win that pairs beautifully with our cookies and cream cookies on a busy week.
- It is the kind of no fuss win that pairs beautifully with our cherry vanilla meringue cookies on a busy week.
- It earns a spot in the rotation right next to our molasses crinkle cookies.
Key Ingredients
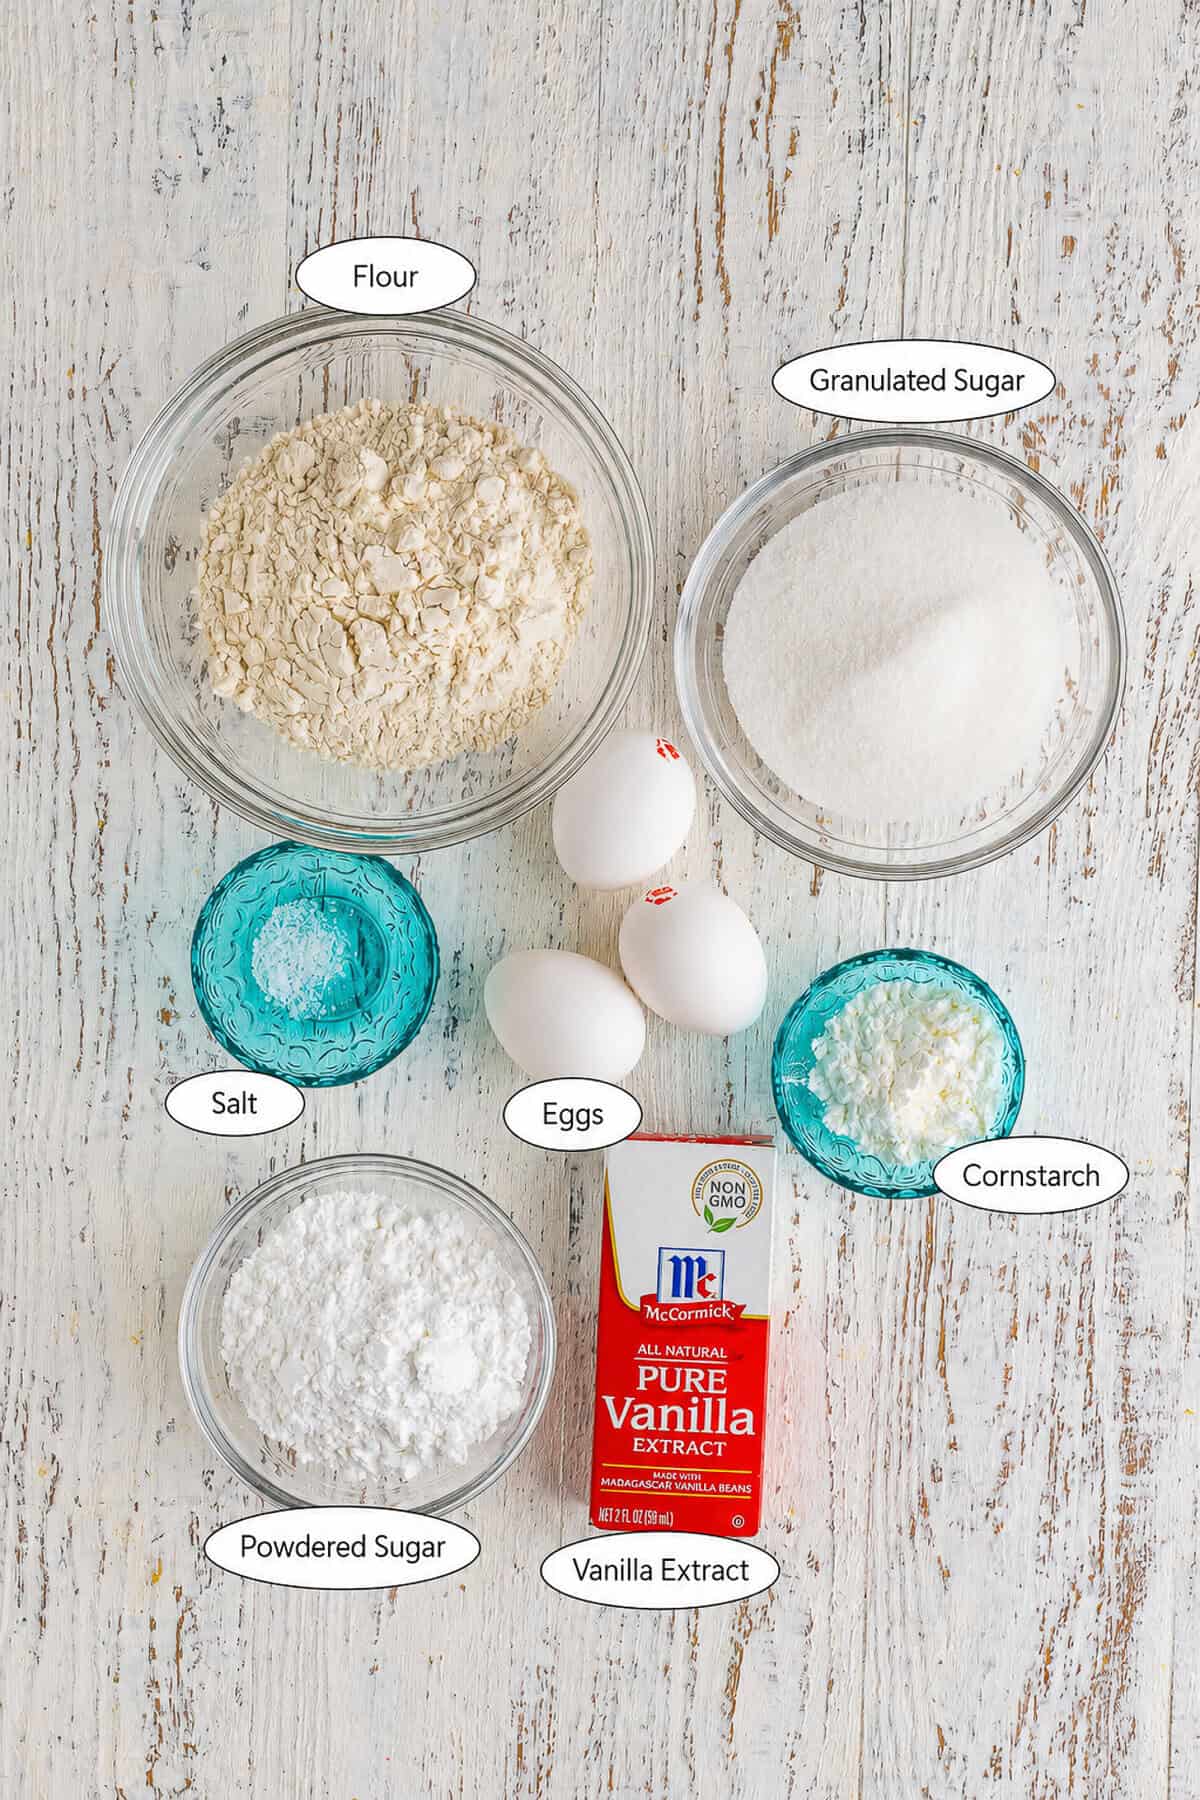
- All-purpose flour: Sifted twice for the lightest crumb, sifted flour aerates the batter and gives you the signature ladyfinger texture. Do not skip the sift step, it is the difference between dense and airy.
- Cornstarch: Sifted with the flour. Cornstarch tenderizes the cookies and helps them stay crisp on the outside while keeping the centers light and dry.
- Large eggs: The structure of the cookie. Use room-temperature eggs, cold eggs do not whip to the same fluffy peaks.
- Granulated sugar: Dissolves into the warm egg mixture over the double boiler and gives the cookies their delicate sweetness.
- Kosher salt: Just a quarter teaspoon balances the sweetness and brings out the vanilla.
- Vanilla extract: Pure vanilla extract added after the eggs cool. The same vanilla works in our fluffy buttercream frosting.
- Powdered sugar: Generously dusted on top before baking for the signature crisp sugar crust.
See recipe card for exact quantities.
Variations and Substitutions
- Lemon ladyfingers: Add 1 teaspoon of lemon zest to the egg mixture for a bright citrus version that pairs with berries and whipped cream.
- Almond ladyfingers: Swap half the vanilla extract for almond extract for an Italian amaretto flavor.
- Chocolate dipped: Dip the cooled cookies halfway in melted dark chocolate and chill on parchment for a fancy dessert tray version.
- Coffee dipped: Dunk the finished cookies briefly in cold espresso for instant tiramisu-style coffee bites.
- Cocoa dusted: Replace half the powdered sugar dusting with unsweetened cocoa powder for a mocha-style finish.
- Gluten-free swap: Substitute 1:1 gluten-free flour blend for the all-purpose flour, the cookies are slightly more delicate but the technique is the same.
- Cinnamon sugar: Sprinkle the cookies with cinnamon sugar instead of powdered sugar for a spiced fall variation.
- Pair with our Italian desserts: Layer these into our tiramisu pie for the full Italian dessert spread.
- For another spin on this idea, try our cookies and cream blossom cookies next time.
- For another spin on this idea, try our muddy buddy cookies next time.
- In the mood for something different? Our Easter bunny cookies scratches a similar itch.
How to Make Lady Finger Cookies Recipe
- Preheat the oven to 350 degrees Fahrenheit. Line two sheet trays with parchment paper and set aside.
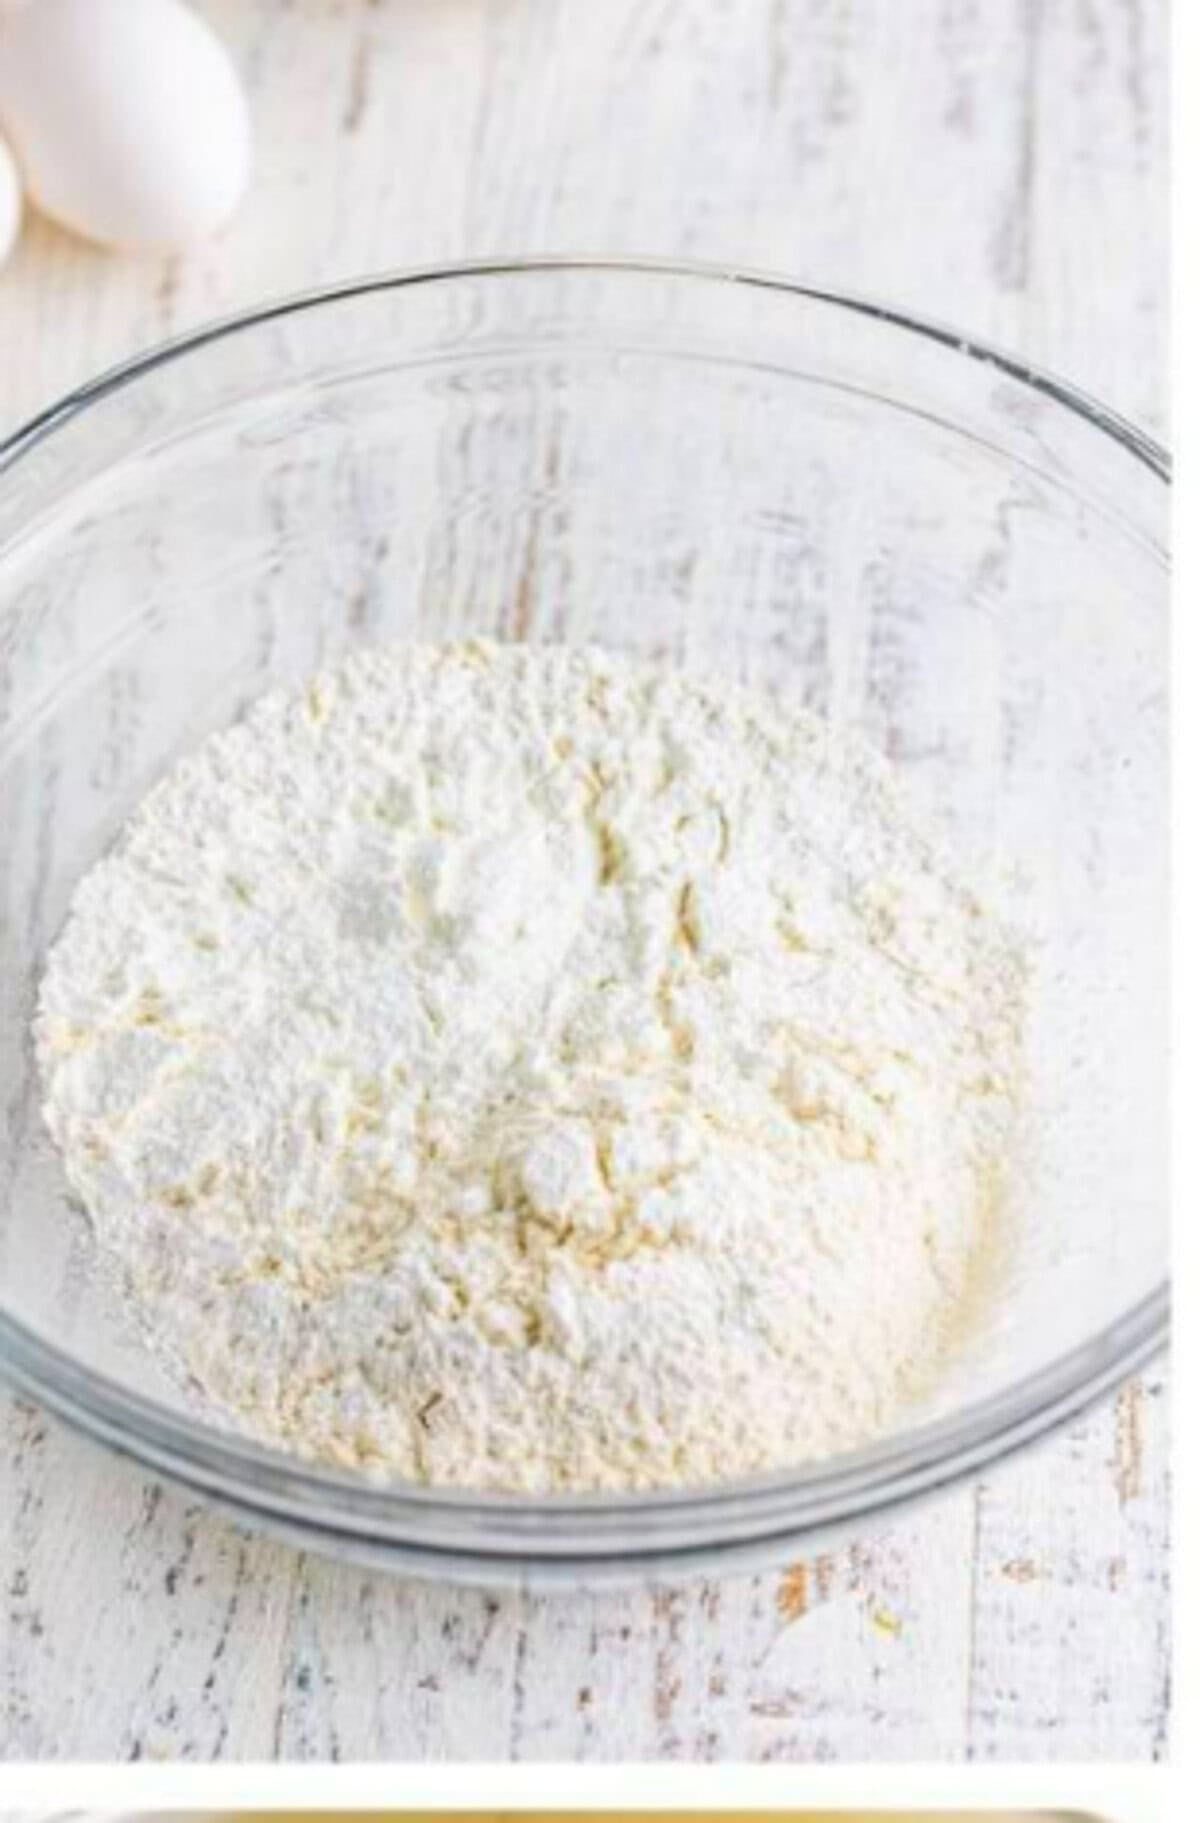
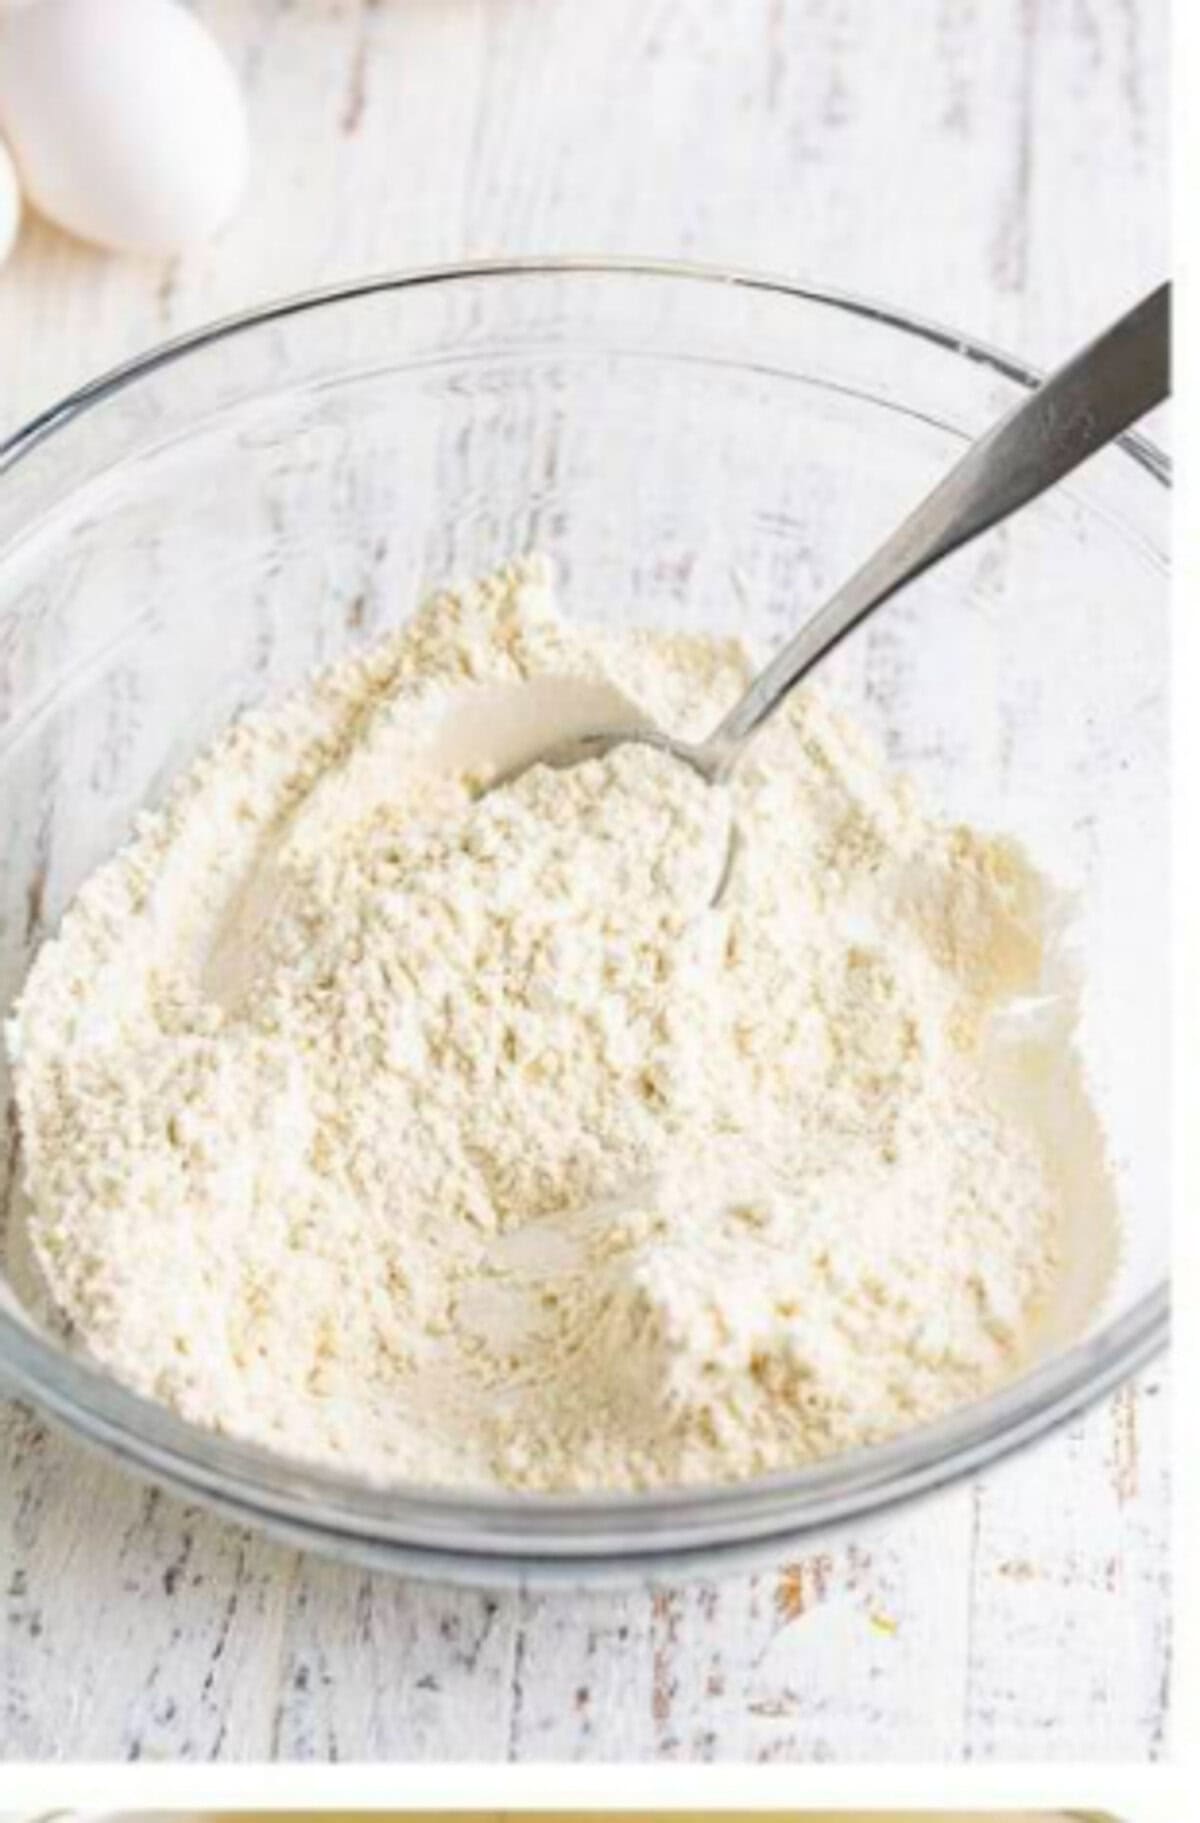
- Whisk together the sifted all-purpose flour and cornstarch in a medium bowl until evenly combined. Set the dry mixture aside while you build the egg base.
- Whisk the eggs, granulated sugar, and kosher salt together in a heatproof medium-sized bowl until well combined and the sugar starts to dissolve.
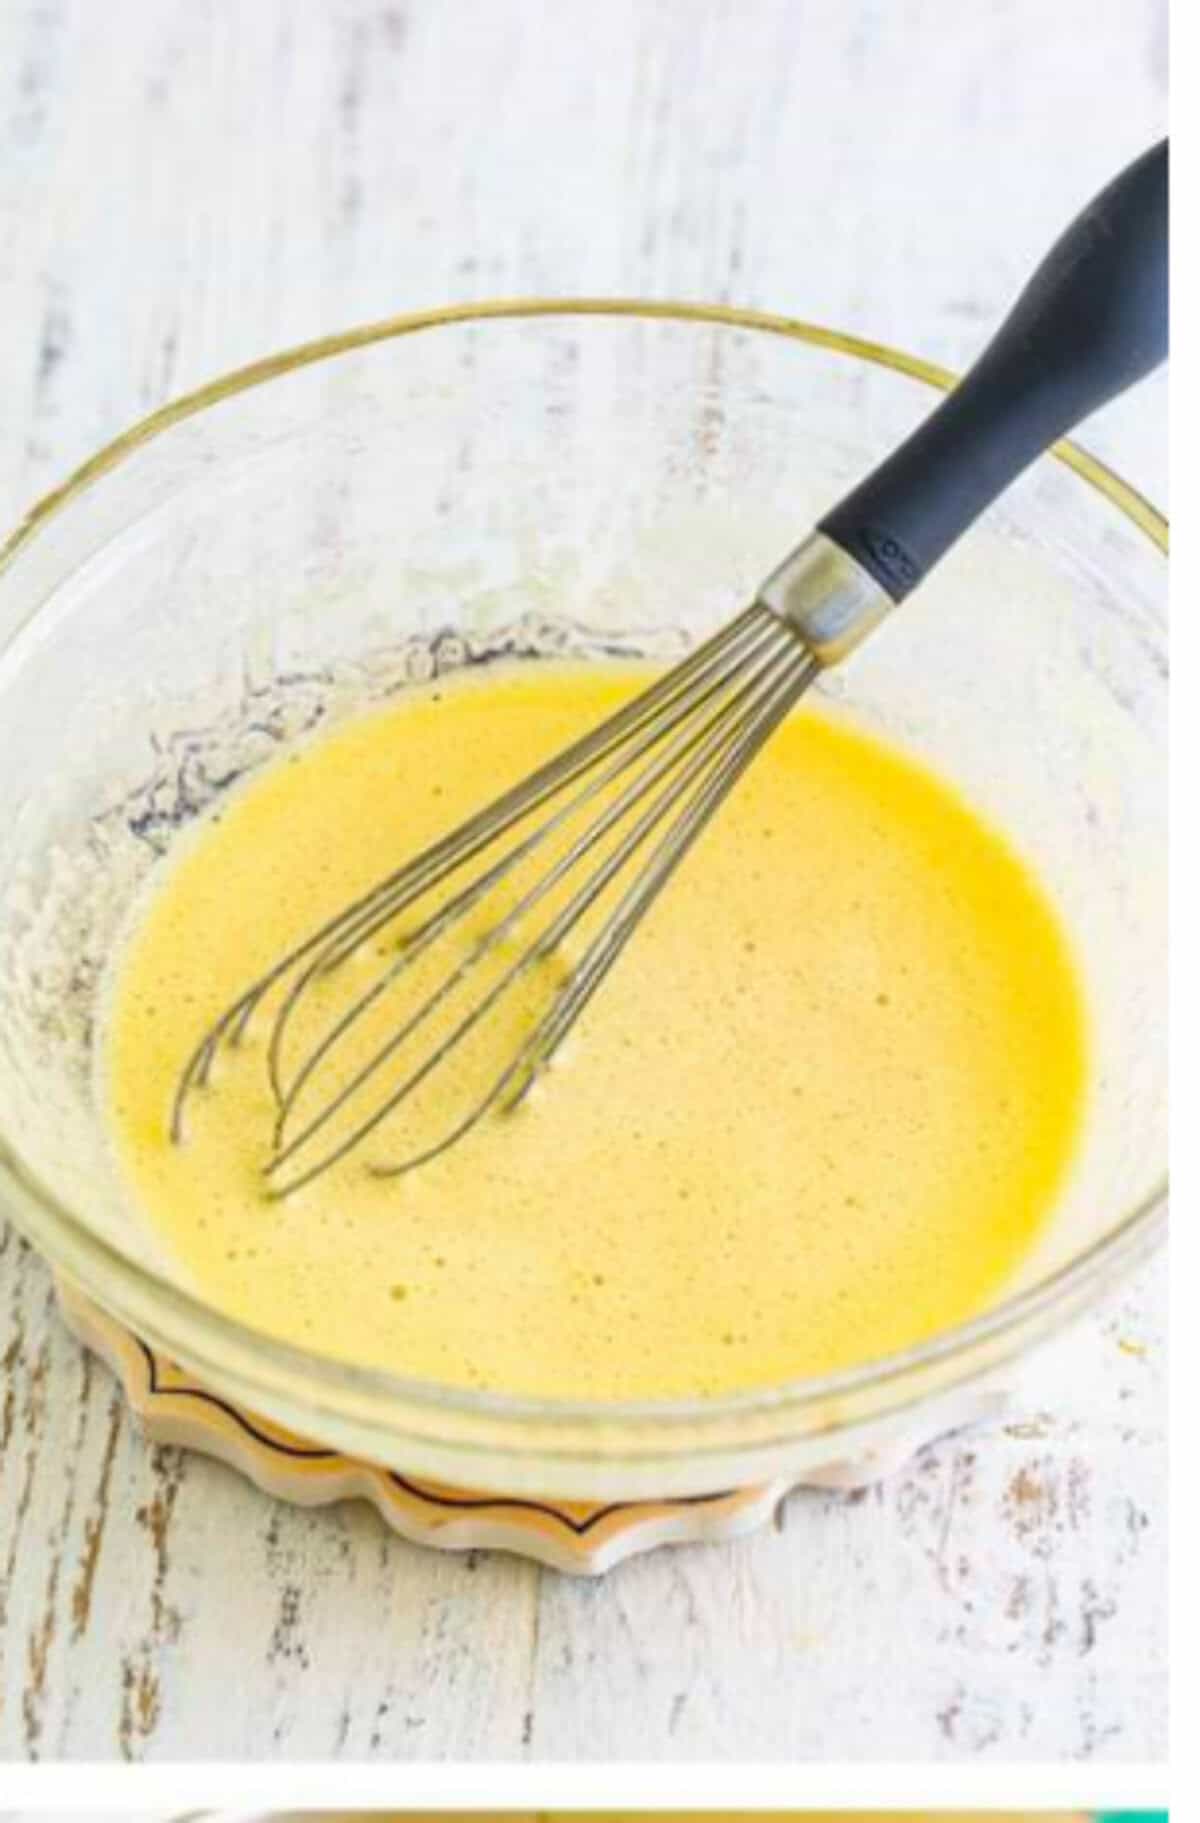
- Place the bowl over a double boiler (a saucepan with about an inch of simmering water) over medium heat, whisking constantly and scraping the sides and bottom so the eggs do not scramble.
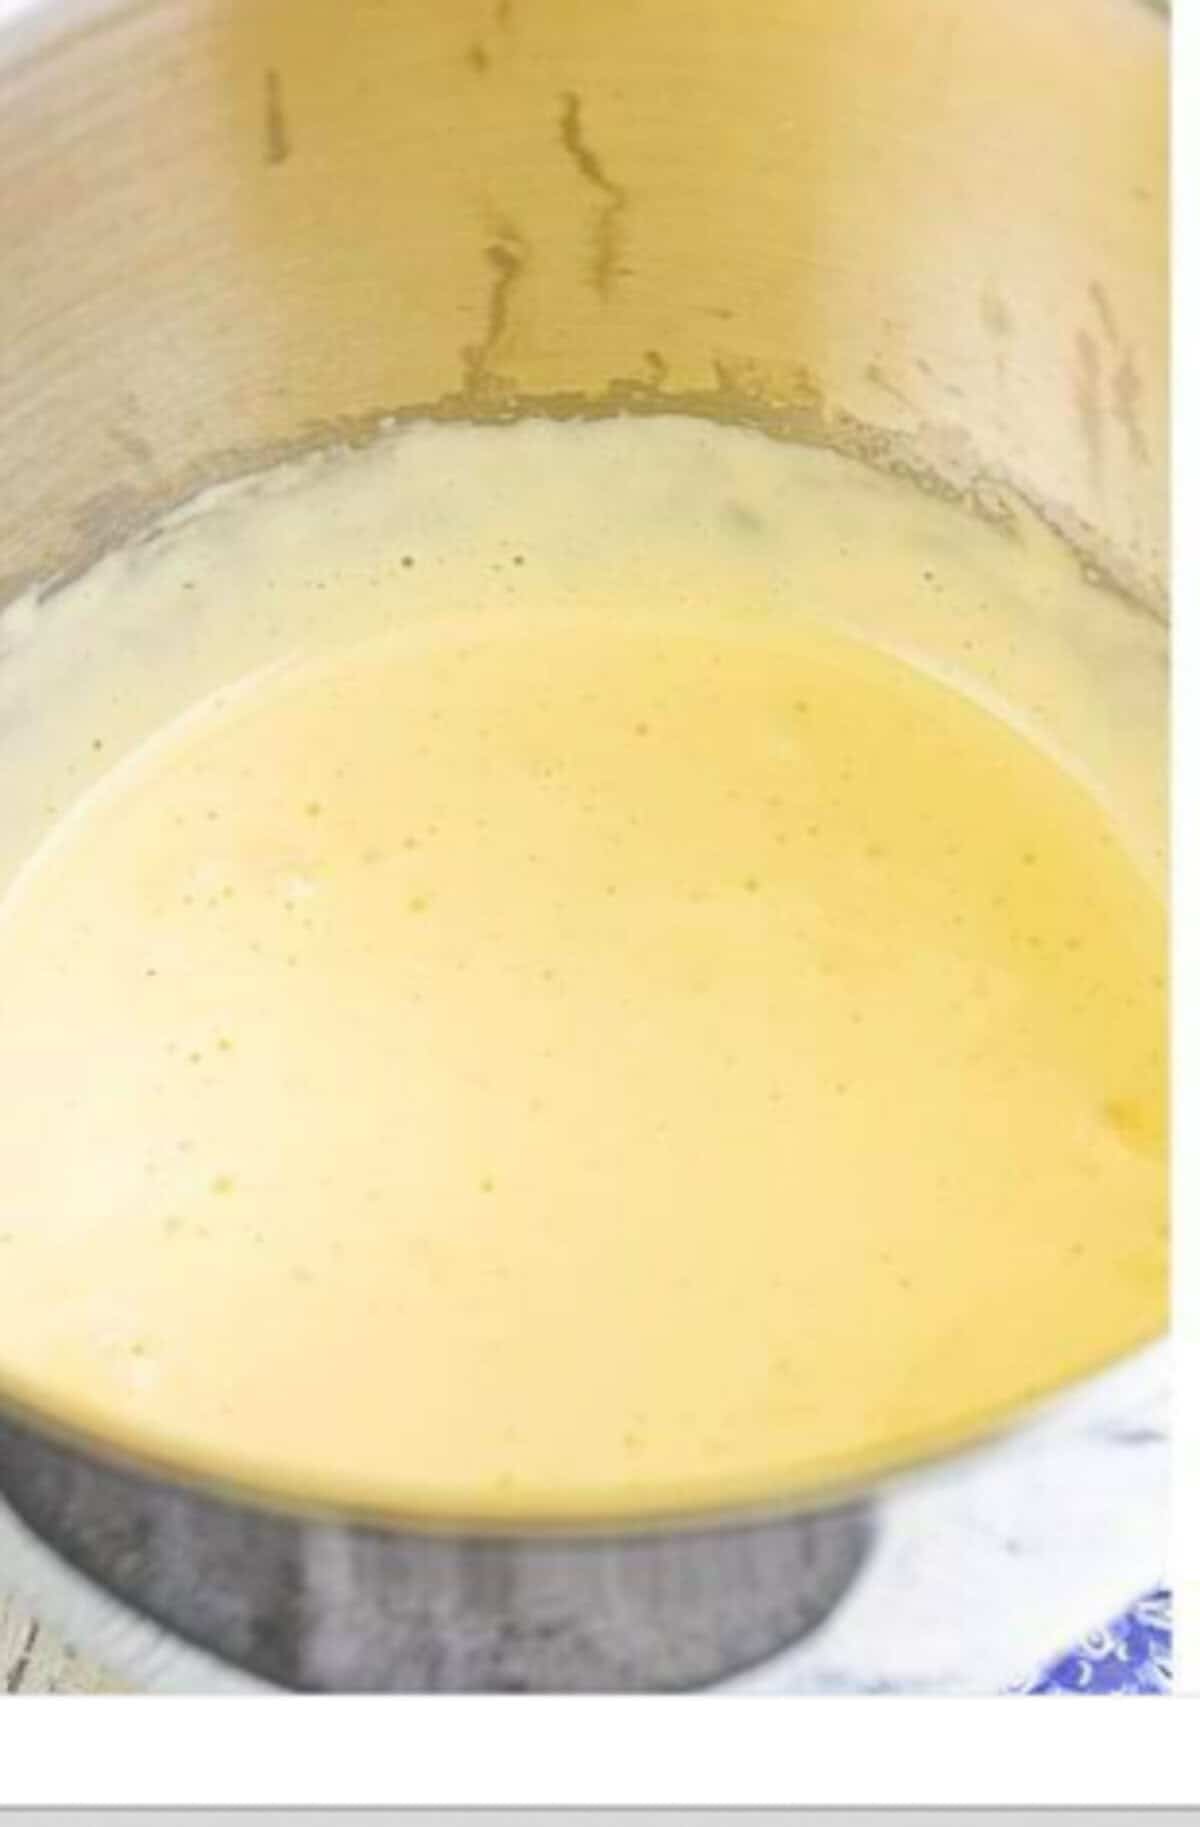
- Continue whisking until the internal temperature of the mixture reaches 165 degrees Fahrenheit. This is the critical step, it can take 5 to 15 minutes for the eggs to reach the correct food-safe temperature.
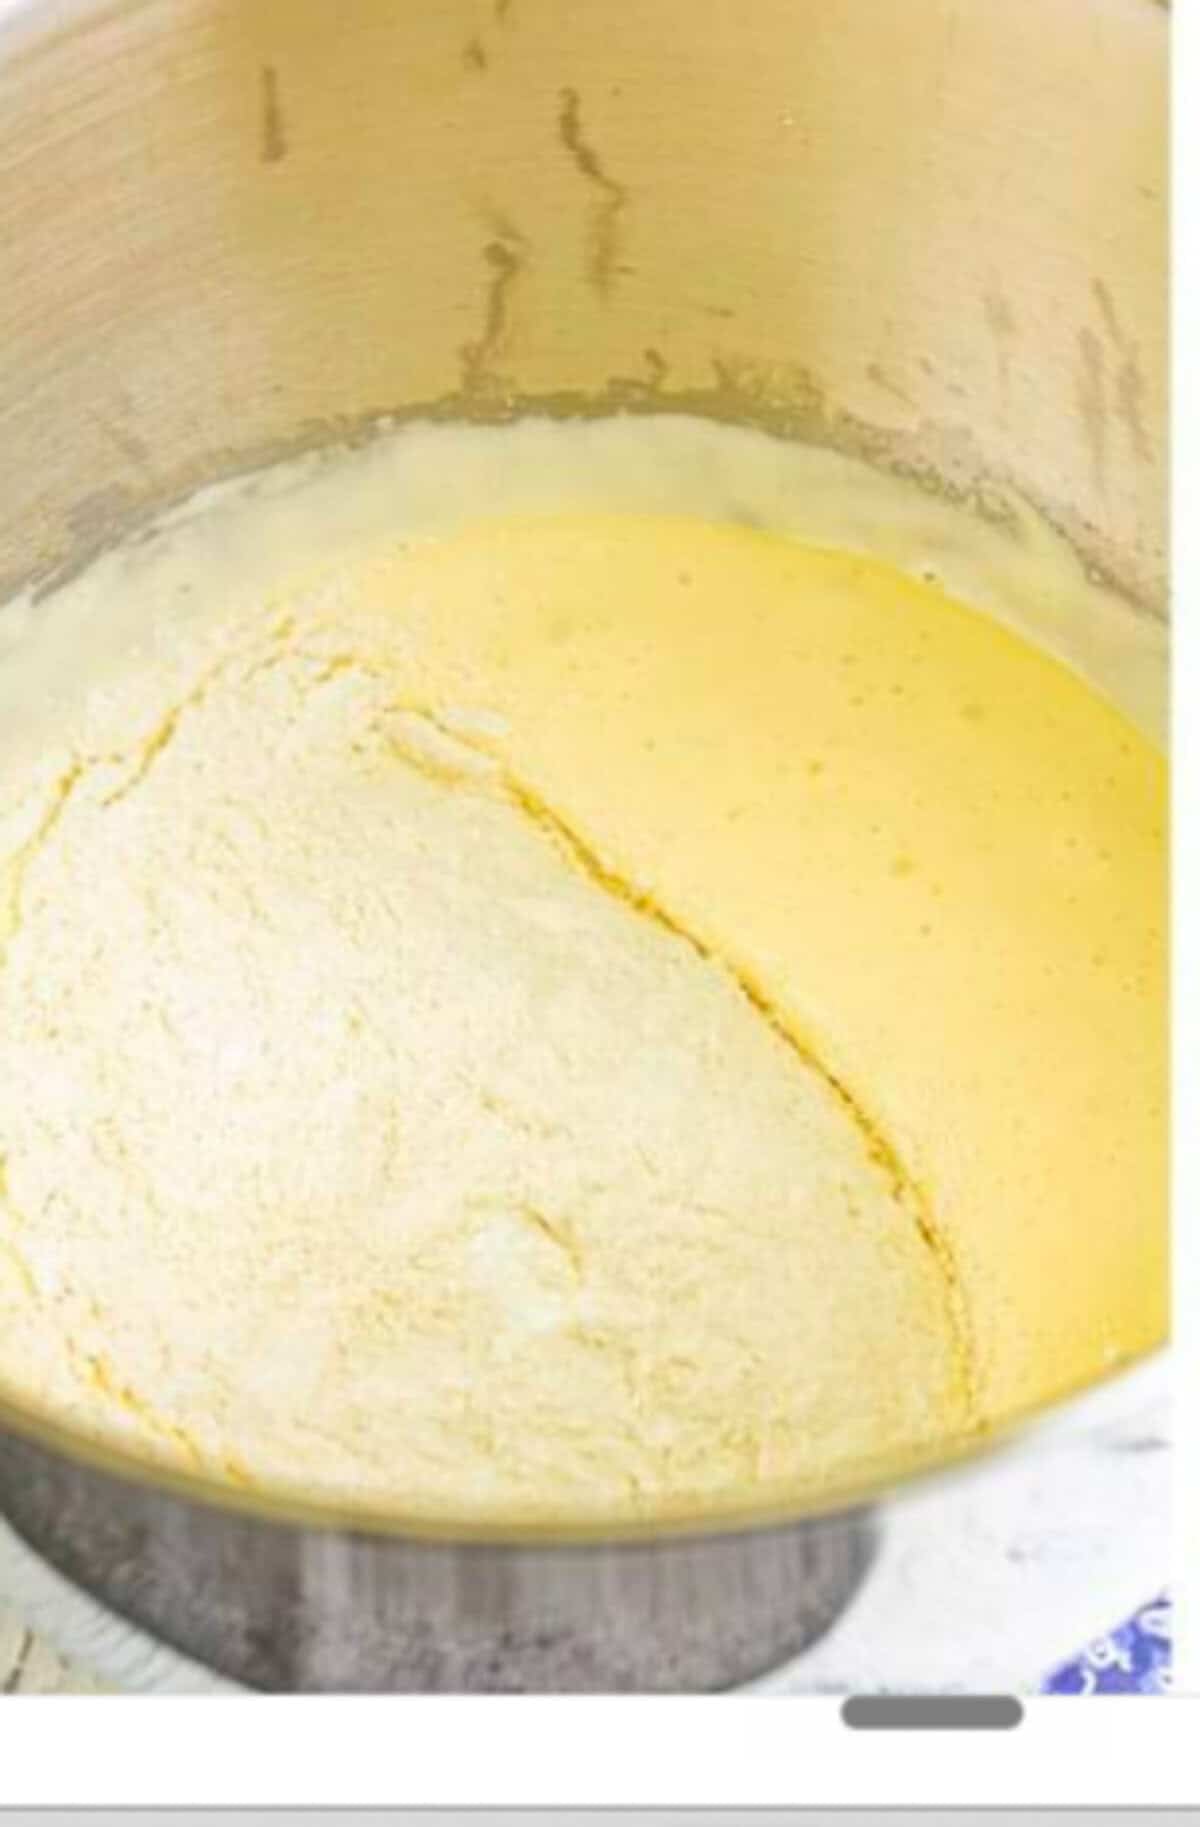
- Transfer the warmed egg mixture and add the vanilla extract to the body of a stand mixer fitted with the whisk attachment.
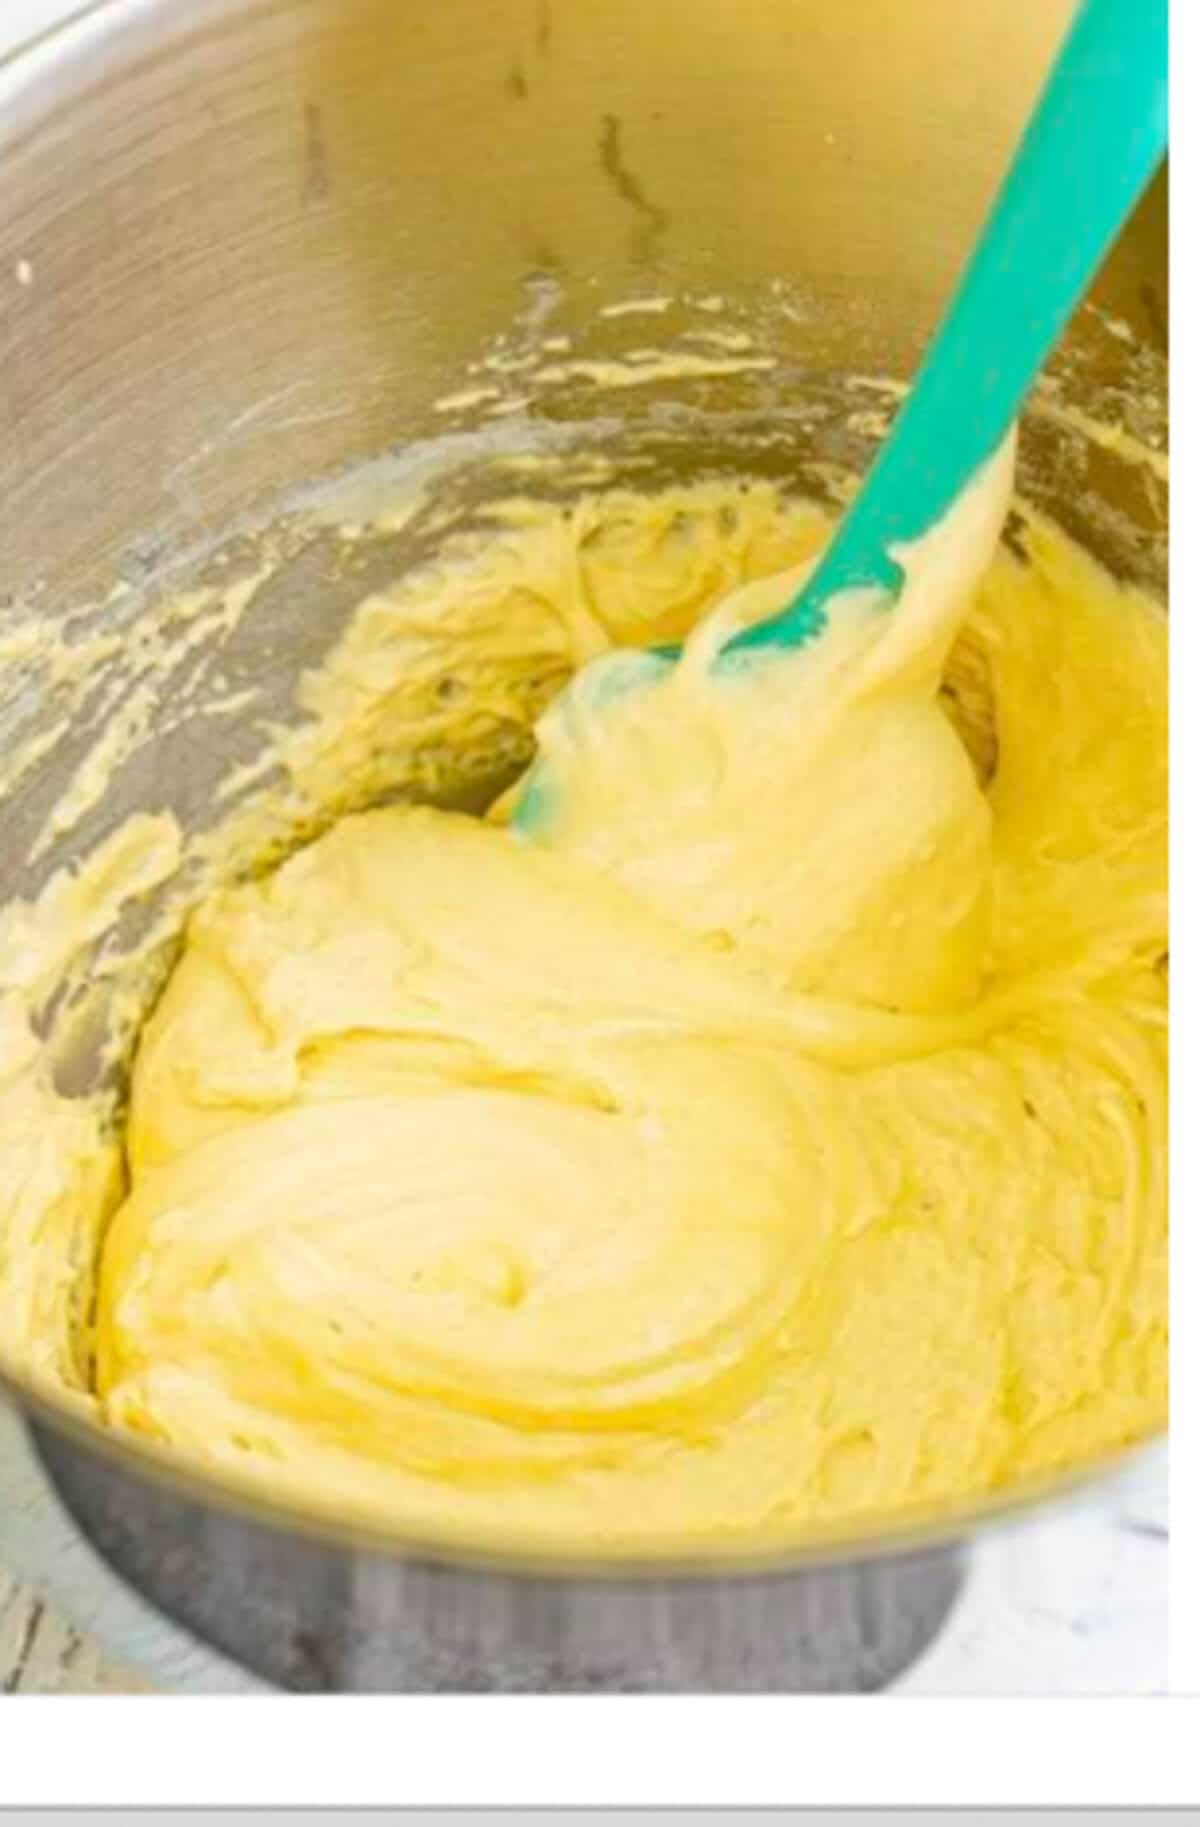
- Whip the egg mixture on high until light, fluffy, and forming medium peaks. The texture is ready when a dollop of the mixture holds its shape for a second then sinks back in, about 5 to 8 minutes.
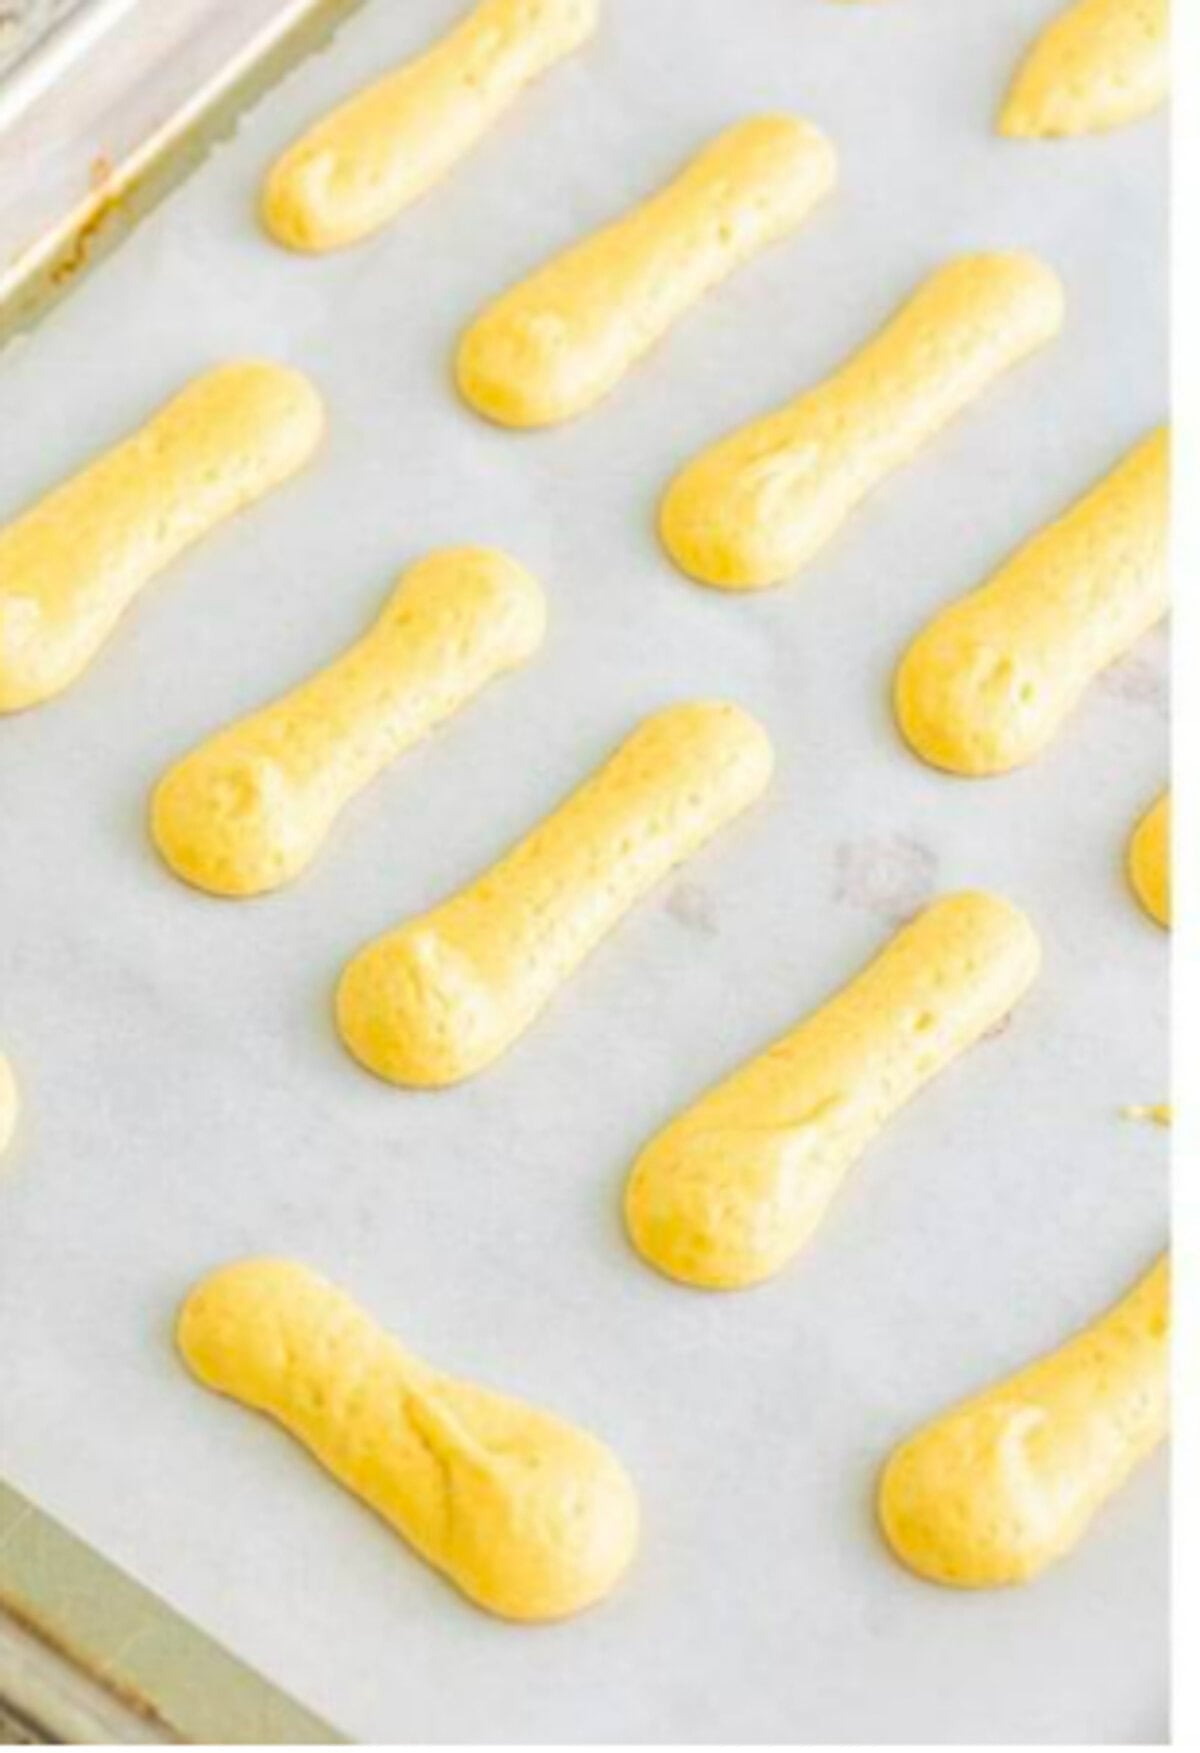
- Gently fold the sifted flour and cornstarch into the whipped egg foam with a spatula until just combined. Do not over-mix or you will deflate the airy batter.
- Transfer the batter to a piping bag fitted with a half-inch round tip. Pipe cookies onto the parchment-lined sheet trays in 3-inch long by half-inch wide logs, spacing them about one inch apart. You can pipe them longer if you prefer.
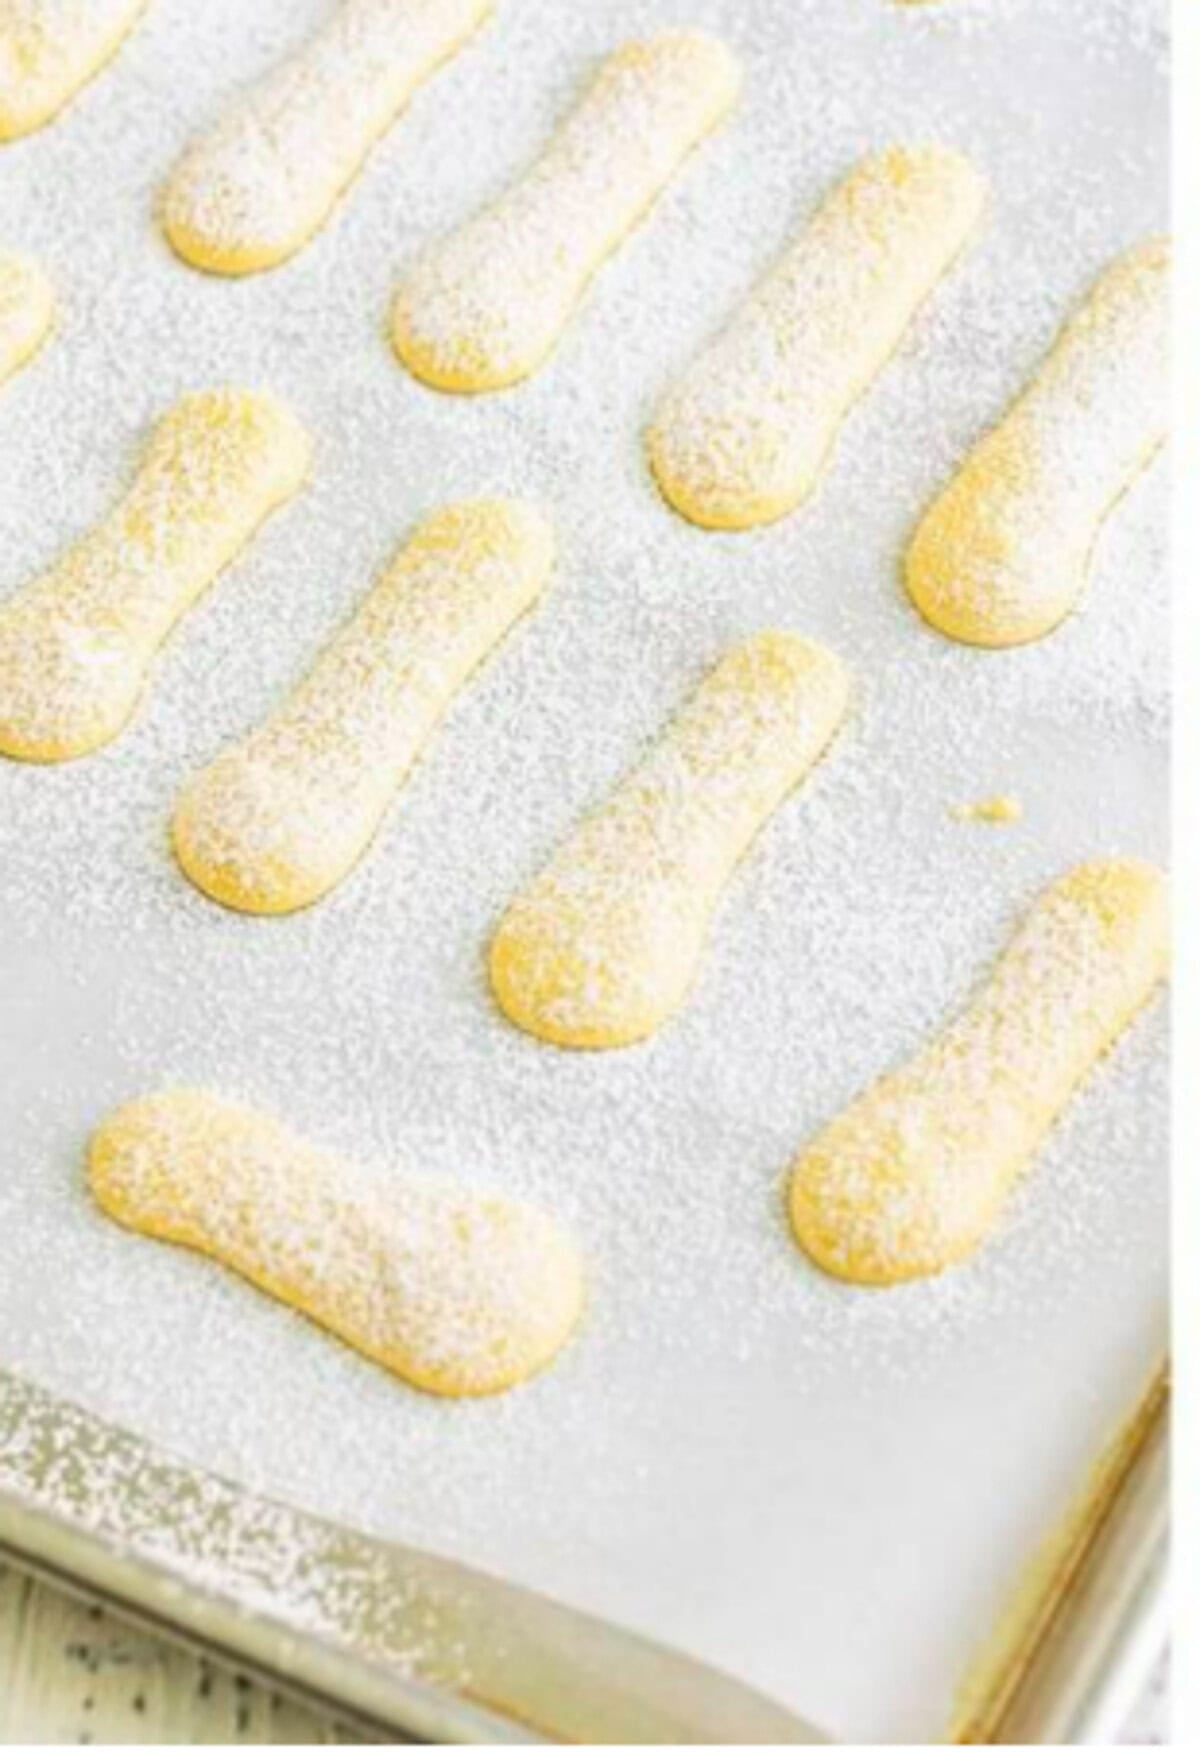
- Generously sift powdered sugar over the top of every cookie. Bake at 350 degrees Fahrenheit for 12 minutes, until the edges are very lightly golden but the centers stay pale.
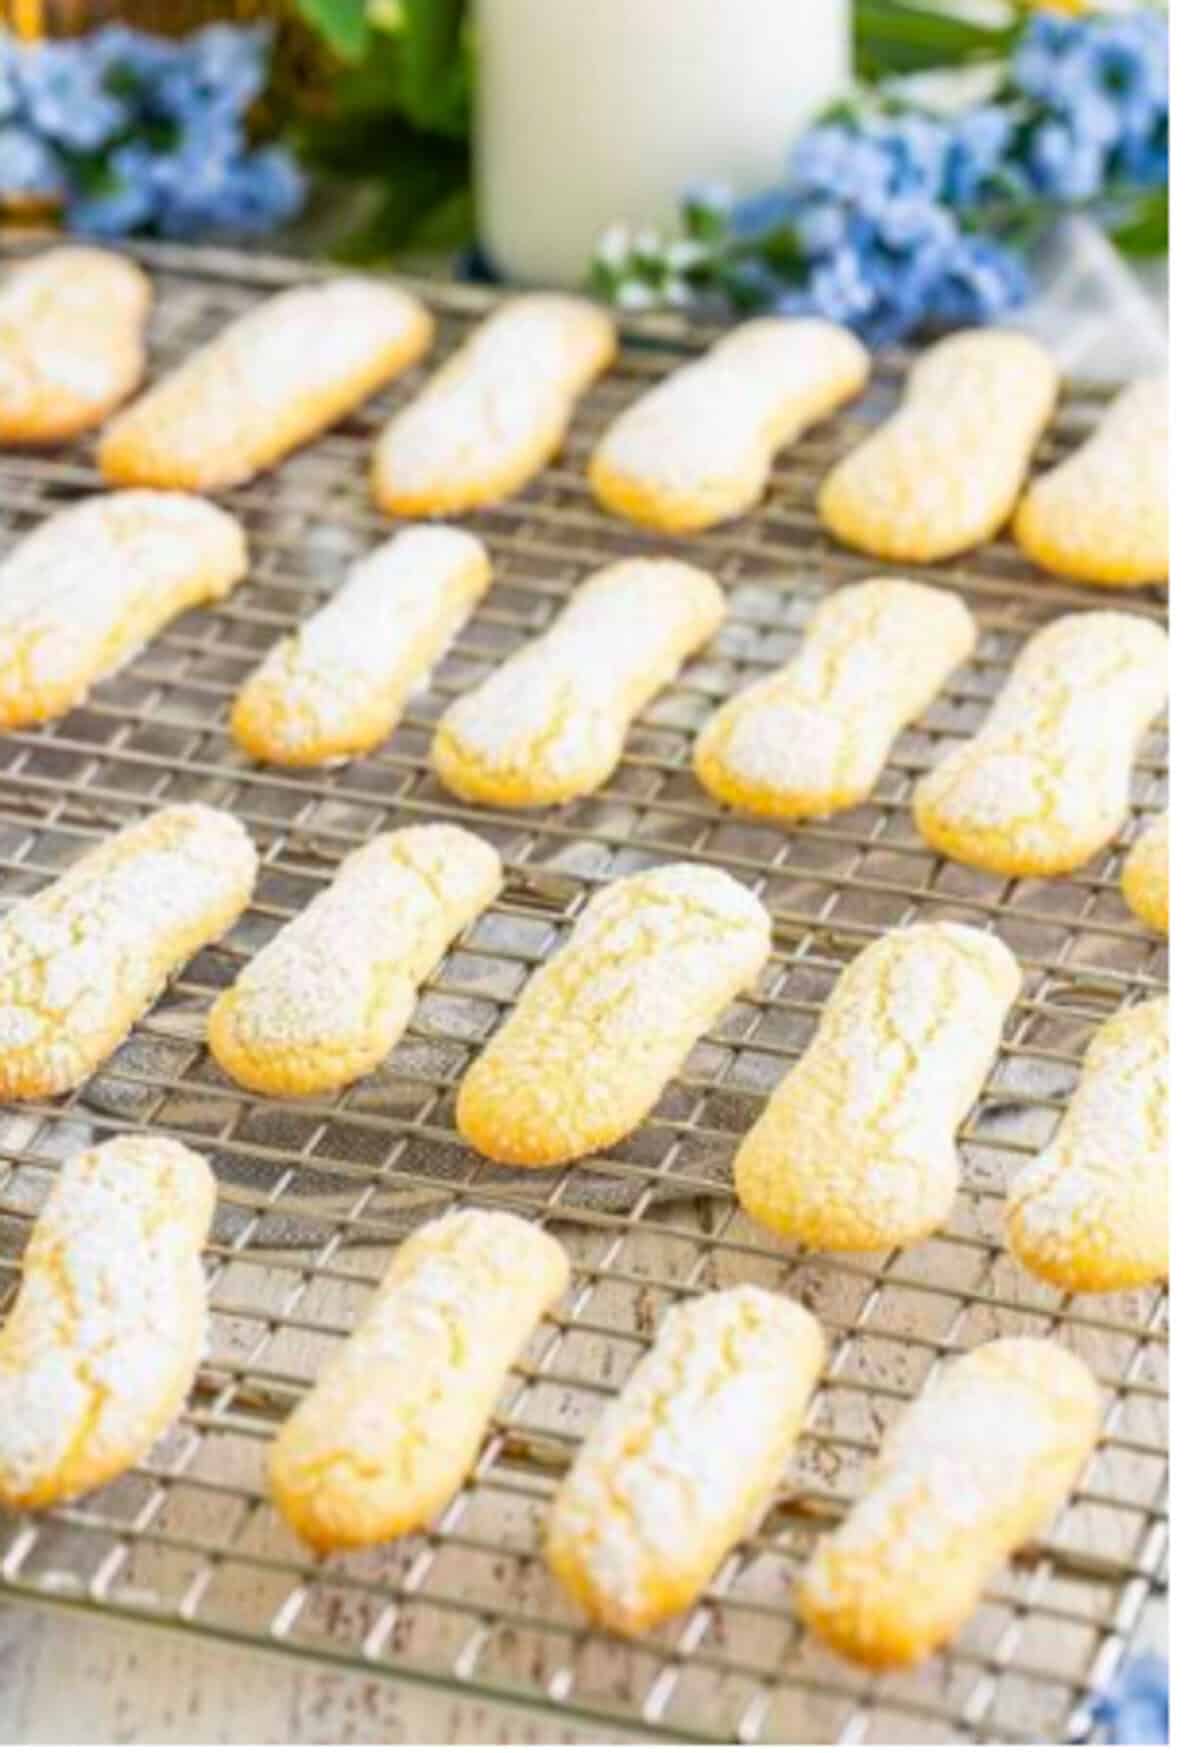
- Let the cookies cool on the baking sheet for 2 minutes to firm up, then transfer to a wire rack to cool completely before serving or storing.
Recipe Tips & Tricks
- Sift everything twice. Sift the flour and cornstarch twice before whisking together, sifted flour aerates the batter and is the difference between bakery-quality and dense ladyfingers.
- 165 degrees Fahrenheit is the magic number. Use an instant-read thermometer on the egg mixture over the double boiler, do not eyeball it. Under 165 degrees the eggs are not food safe, over 165 the whites scramble.
- Whisk constantly over the double boiler. The bowl needs constant whisking and scraping or the bottom of the eggs will scramble. Five to fifteen minutes of constant attention.
- Room-temperature eggs whip taller. Pull the eggs out 30 minutes before starting, cold eggs do not whip to the same fluffy peaks.
- Medium peaks not stiff peaks. Stop the mixer when a dollop holds its shape for a second then sinks back. Over-whipped eggs make a tough cookie.
- Fold, do not stir. Use a spatula and fold the flour in with a J-shape motion. Stirring deflates the airy batter and gives you flat dense cookies.
- Pipe in straight lines. Hold the piping bag vertically and pipe in one smooth straight motion. Wavy lines give you uneven cookies.
- Powdered sugar is non-negotiable. Generously dust the tops before baking, the sugar forms the signature crisp shell that defines a real ladyfinger.
- Bake just until lightly golden. Pull the cookies as soon as the edges turn very lightly golden, the centers should stay pale. Over-baked ladyfingers go from crisp to dry and dusty in 30 seconds.
- Make-ahead friendly. Stored in an airtight container at room temperature, the cookies keep a full week and are wonderful with our copycat butterbeer for dessert.
- Double up for gatherings. Serve it alongside our sprinkle cookies recipe and watch both disappear.
- Double up for gatherings. Serve it alongside our mummy cookies and watch both disappear.
- Make it a full spread. Our strawberry earthquake cake rounds out the table.
Serving Ideas and Suggestions
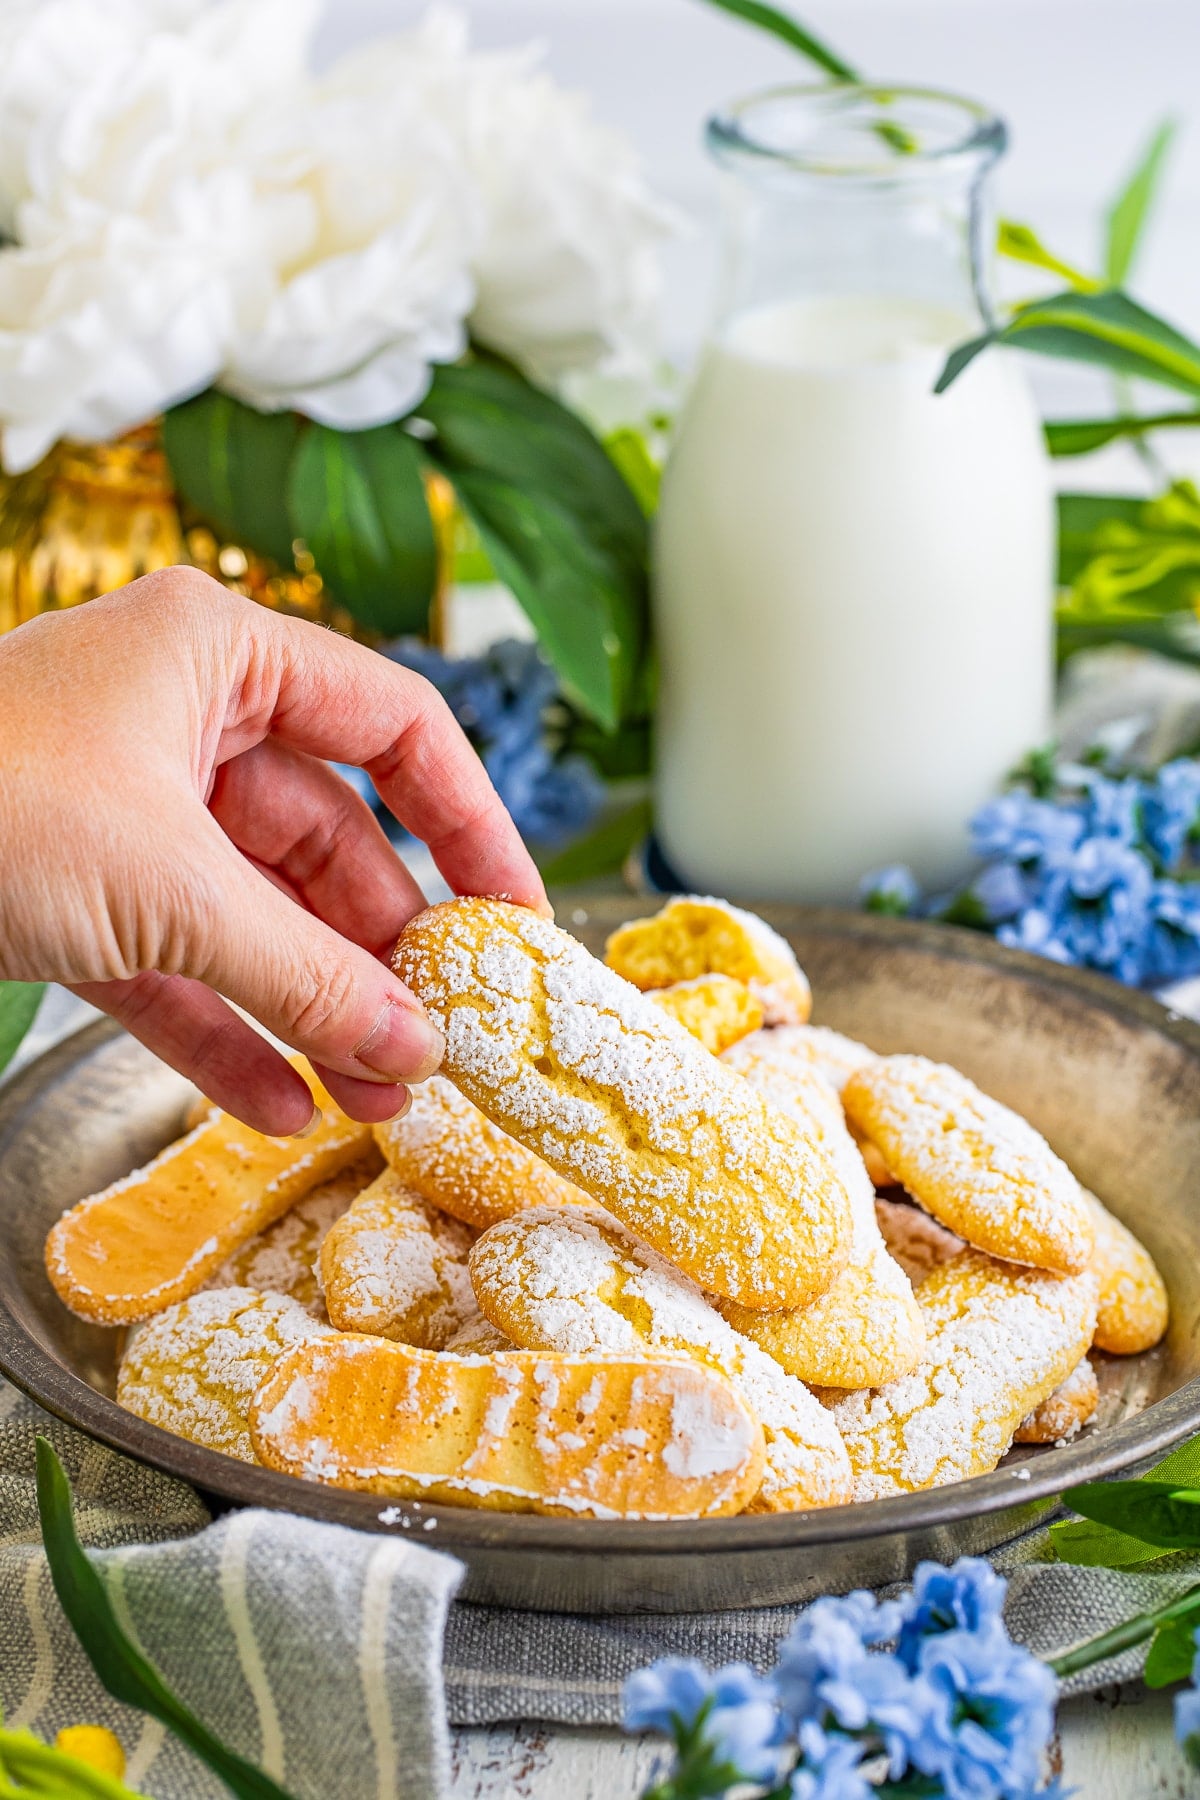
The classic way to serve Lady Finger Cookies Recipe is layered into our tiramisu pie, dunked briefly in espresso and Marsala then stacked with mascarpone cream for the full Italian dessert spread.
And if you want one more idea for the table, our easter sugar cookies never misses.
For gifting, stack the cooled cookies in a tin lined with parchment paper or pack into clear cellophane bags tied with ribbon, they hold up well in transit and make a beautiful homemade gift.
Lady Finger Cookies Recipe FAQs
Ladyfingers (also called savoiardi or biscotti savoiardi) are light Italian sponge cookies piped into long oval shapes and dusted with powdered sugar. They have the same airy structure as a sponge cake but are baked into individual cookie shapes with a crisp dry exterior, which is what lets them absorb espresso and liqueur in tiramisu without falling apart.
Most well-stocked grocery stores carry imported Italian ladyfingers in the international or Italian foods aisle, usually labeled savoiardi. Whole Foods, Trader Joes, and most Italian markets stock them year-round. Online, they are widely available on Amazon and Italian specialty sites.
Authentic Italian tiramisu uses ladyfingers briefly dunked in a mixture of cooled espresso (or strong brewed coffee) and Marsala wine or dark rum. Do not soak the cookies, a quick dip (about 1 second per side) is enough or they will fall apart. Our Lady Finger Cookies Recipe is sturdy enough to handle the dunk without crumbling.
The 165 degree Fahrenheit step pasteurizes the raw eggs so the cookies are food-safe to eat without further heating concerns, and it dissolves the sugar fully into the egg mixture which is what gives the cookies their signature smooth crisp shell. Skipping this step gives you flat dense cookies and an undissolved sugar grit.
Store the cooled cookies in an airtight container at room temperature for up to a full week. The flavor and texture actually improve overnight as the cookies dry out slightly, which is exactly what you want for tiramisu. Do not refrigerate, the cookies absorb fridge moisture and turn soft.
Yes, freeze the cooled cookies in a single layer on a sheet tray for 1 hour, then transfer to a freezer-safe airtight container with parchment paper between layers. They keep up to 2 months frozen. Thaw at room temperature for 30 minutes before serving, no need to re-bake.
Other Recommended Copycat Recipes

If you tried this Lady Finger Cookies Recipe, please leave a star rating and a comment below to let us know how your family liked them. We love hearing your baking wins, and your reviews help other home cooks find this recipe too.
Round out your Italian dessert spread with our Easy Creamy Tiramisu Pie Recipe.
Love an easy, elegant cookie? Try our melt-in-your-mouth almond flour cookies next.
Love an easy cookie? Our soft and chewy mini monster cookies are loaded with candy and ready in 20 minutes.


Homemade Lady Finger Cookies Recipe
Ingredients
- 1 cup all-purpose flour sifted
- 2 tablespoons cornstarch sifted
- 3 large eggs
- 2/3 cup granulated sugar
- 1/4 teaspoon kosher salt
- 1/2 teaspoon vanilla extract
- 1/4 cup powdered sugar for dusting
Instructions
- Preheat the oven to 350°F—line sheet trays with parchment paper and set aside.
- Whisk together the sifted flour and cornstarch until combined in a medium bowl.
- Whisk the eggs, sugar, and salt well in a heatproof medium-sized bowl.
- Place the bowl over a double boiler over medium heat, whisking constantly and scraping the sides and bottom.
- Continue to do this until the internal temperature of the mixture reaches 165°F. This is a very important step; it can take 5-15 minutes for the eggs to reach the correct temperature.
- Add the egg mixture and vanilla to the body of a stand mixer with the whisk attachment.
- Whip the egg mixture on high until light and fluffy and making medium peaks. You know it is ready when a dollop of it stays for a second and then sinks back into the mixture. This step will take 5-8 minutes.
- Fold in the sifted flour and cornstarch until just combined; do not over-mix.
- Using a piping bag with a 1/2-inch tip, pipe cookies onto parchment paper about 3 x 1/2 inches in size and one inch apart. You can also make them as long as you like.
- Generously sift powdered sugar on top. Bake for 12 minutes, until they are very lightly golden around the edge.
- Let them cool for 2 minutes on the baking sheet, then transfer to a wired rack to cool completely.
Notes
- These can be frozen, read my storing tips above.
- Vanilla bean paste can be hard to find, you can swap out with regular vanilla for this recipe.
- Make sure you constantly whisk your egg mixture, this will keep it from overcooking.
- Make sure you do not over mix the batter of this recipe, it will dry them out, gently fold in until you see no more dry patches.
- If you do not own a piping tip, just cut off the tip of your bag so they can reach the 1/2″ wide thickness.
- These will spread slightly while cooking, this is normal.
- Do not worry about dusting more powdered sugar on the pan, this will not burn.
Nutrition
Love This Recipe?
Follow @ThisSillyGirlsKitchen on Instagram and @ThisSillyGirlsKitchen on Pinterest for more!









My girlfriend had some of these cookies that she had bought at the store we were coming home from the grocery store and she said would you like to try one of these and I said sure I couldn’t stop eating them I’ve had a lot of cookies in my lifetime but I’ve never in my life had a cookie and I’m going on 70 years old that tasted is good as that one did that’s the best cookie I ever ate in my life I’ve been looking for him but I can’t find them I sure would love to have some of them cookies sincerely Debbie Seegers
I am so excited to get started with these. I’m a celiac, all my goodies have to be gluten free, these are going to be amazing.. And shared widely. Thank you! Thank you!
I would never have thought to make homemade ladyfinger cookies! That is such a good idea!
I’ve never actually made lady fingers but I may just give them a try after reading your recipe. They look so much better than the store bought variety and when you mentioned using them for a cheesecake crust I got all excited. Now I just wish I had some lady fingers to have with my morning coffee.