Quick and flavorful this Blackened Shrimp is the perfect summertime recipe to serve over rice for lunch or dinner an easy meal that everyone will love.
I’m a shrimp lover, a real seafood lover actually. Being from Florida and living by the coast we really get to have the luxuries of having fresh seafood around when we want.
That has given me a really big love for any and all types of seafood, especially shrimp. Shrimp has to be one of my favorites around because there is so much to do with it.
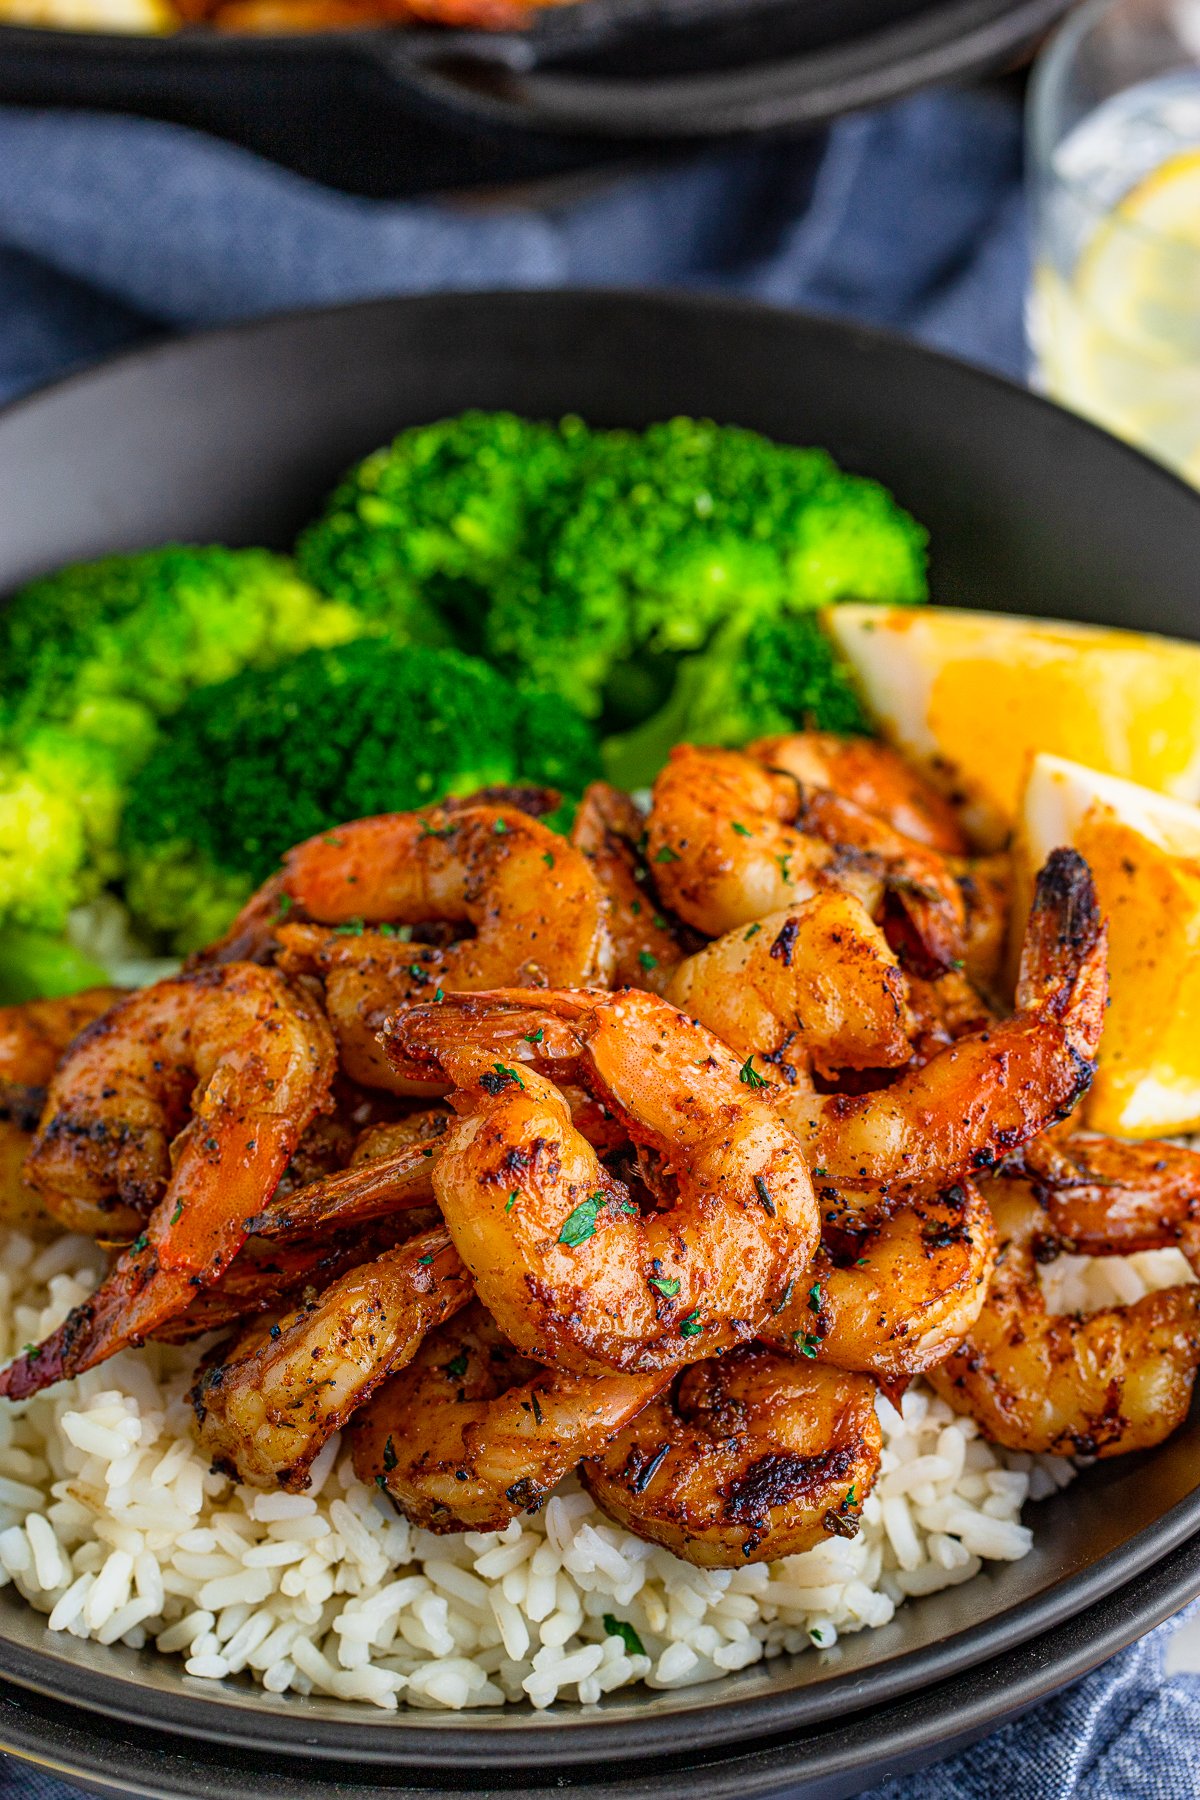
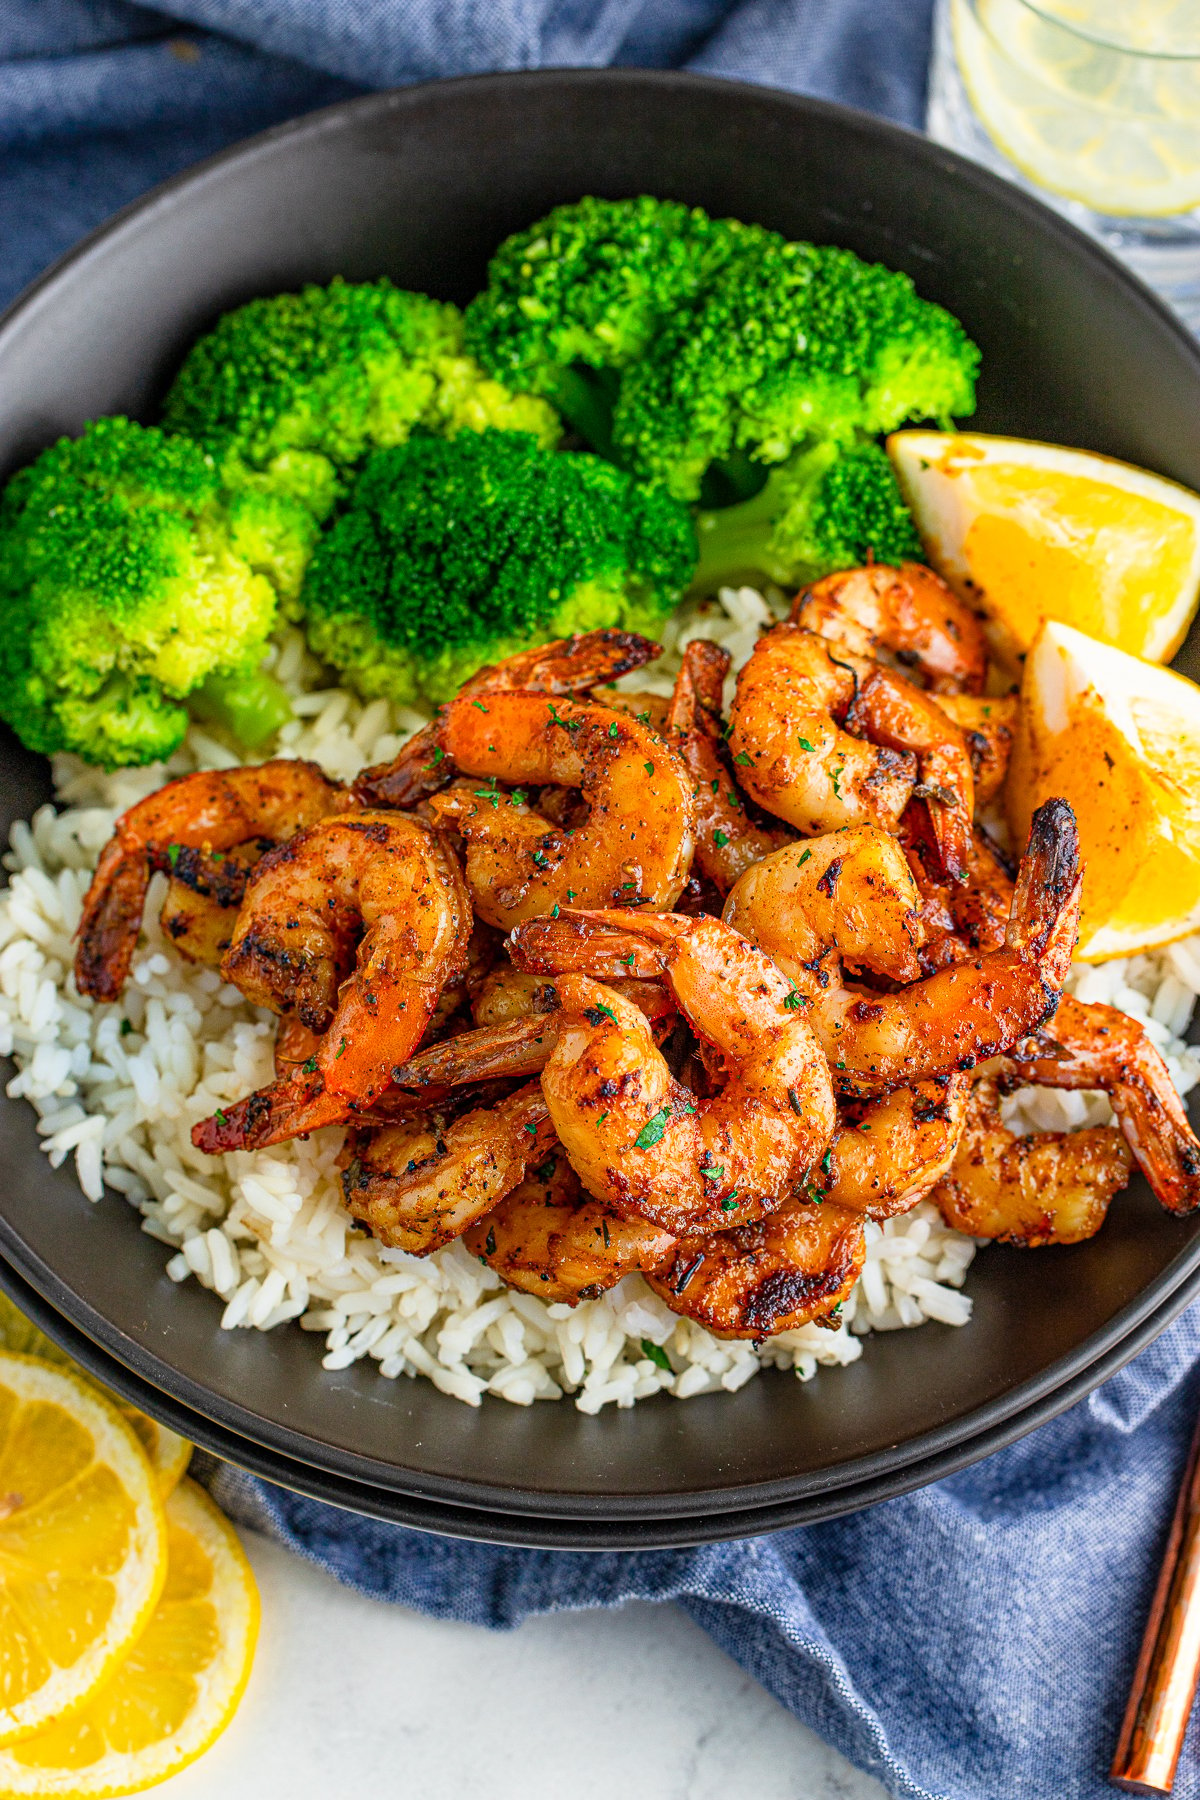
For this Blackened Shrimp recipe I kept it easy and just served it over a bed of rice with a side of broccoli, this is one of my favorite ways of eating it.
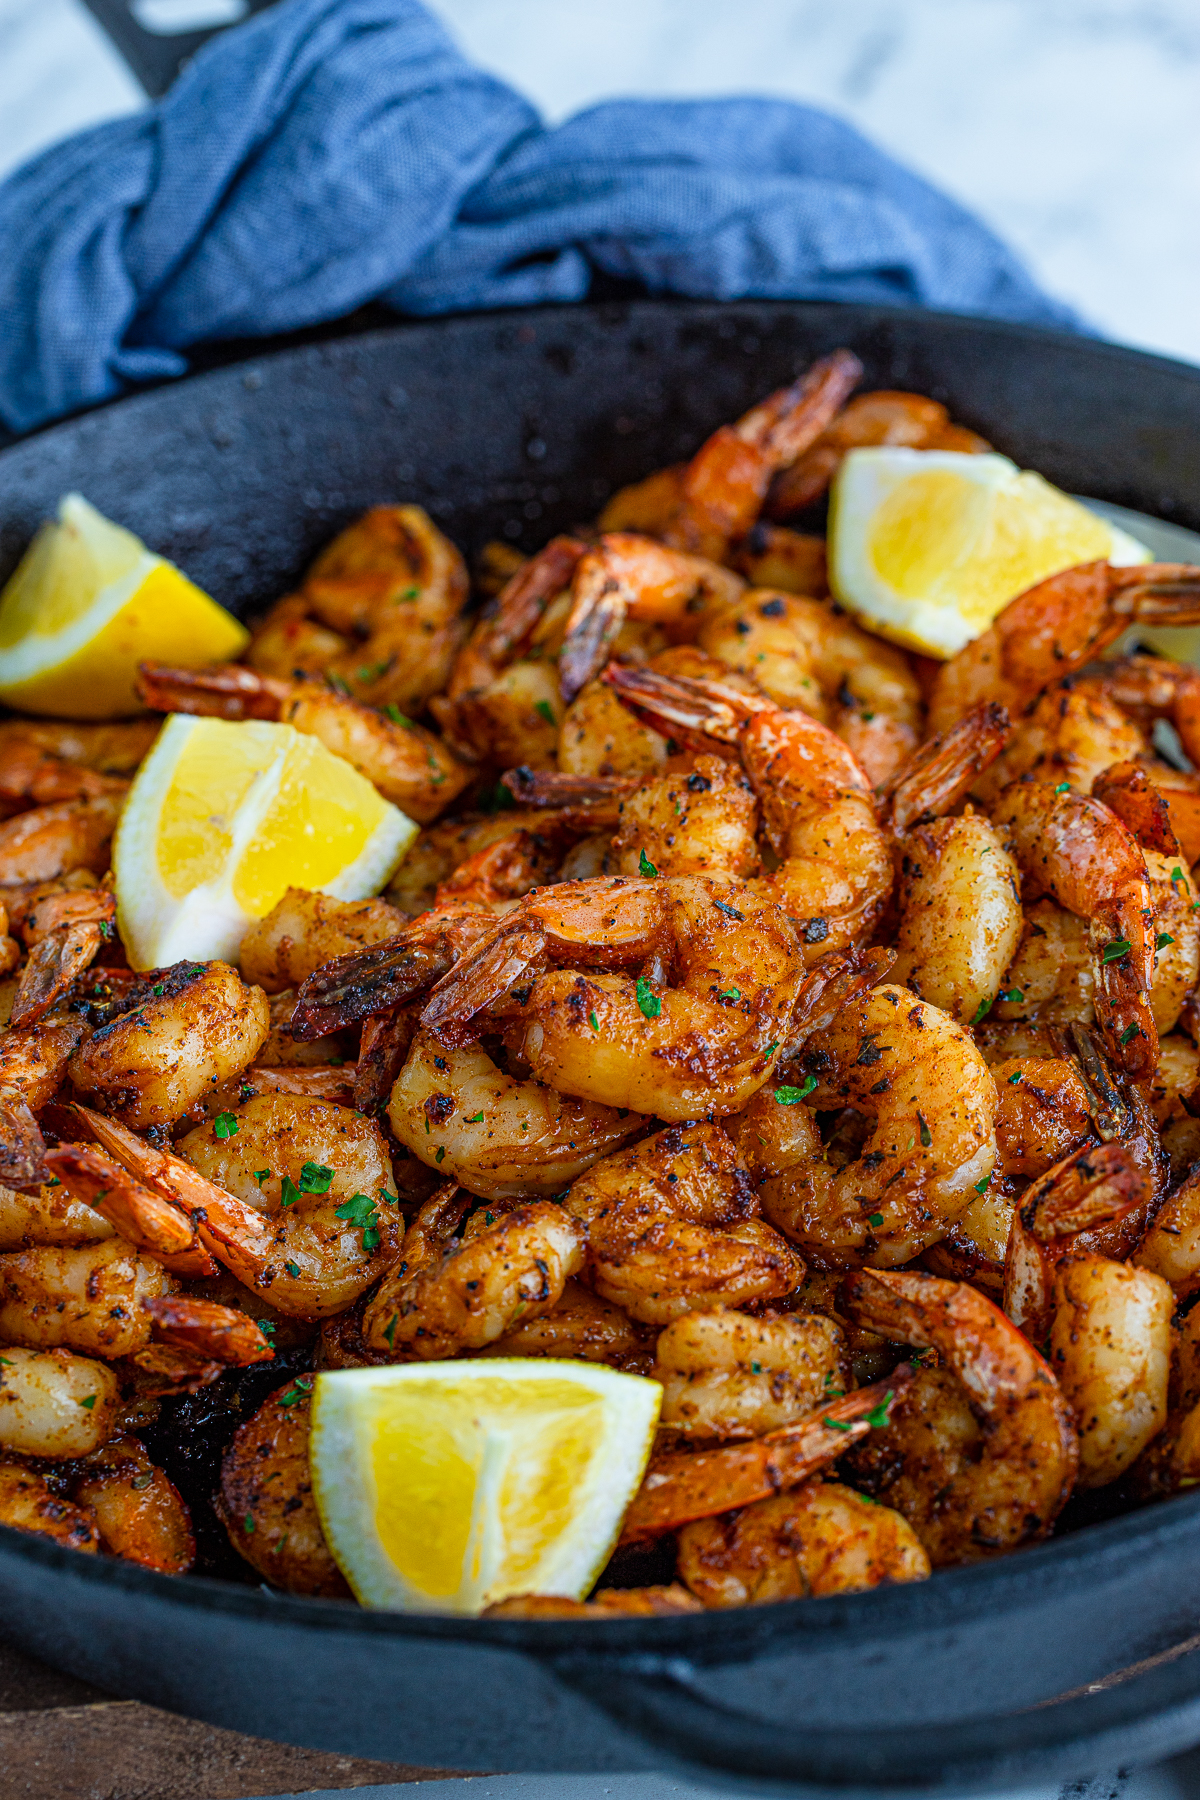
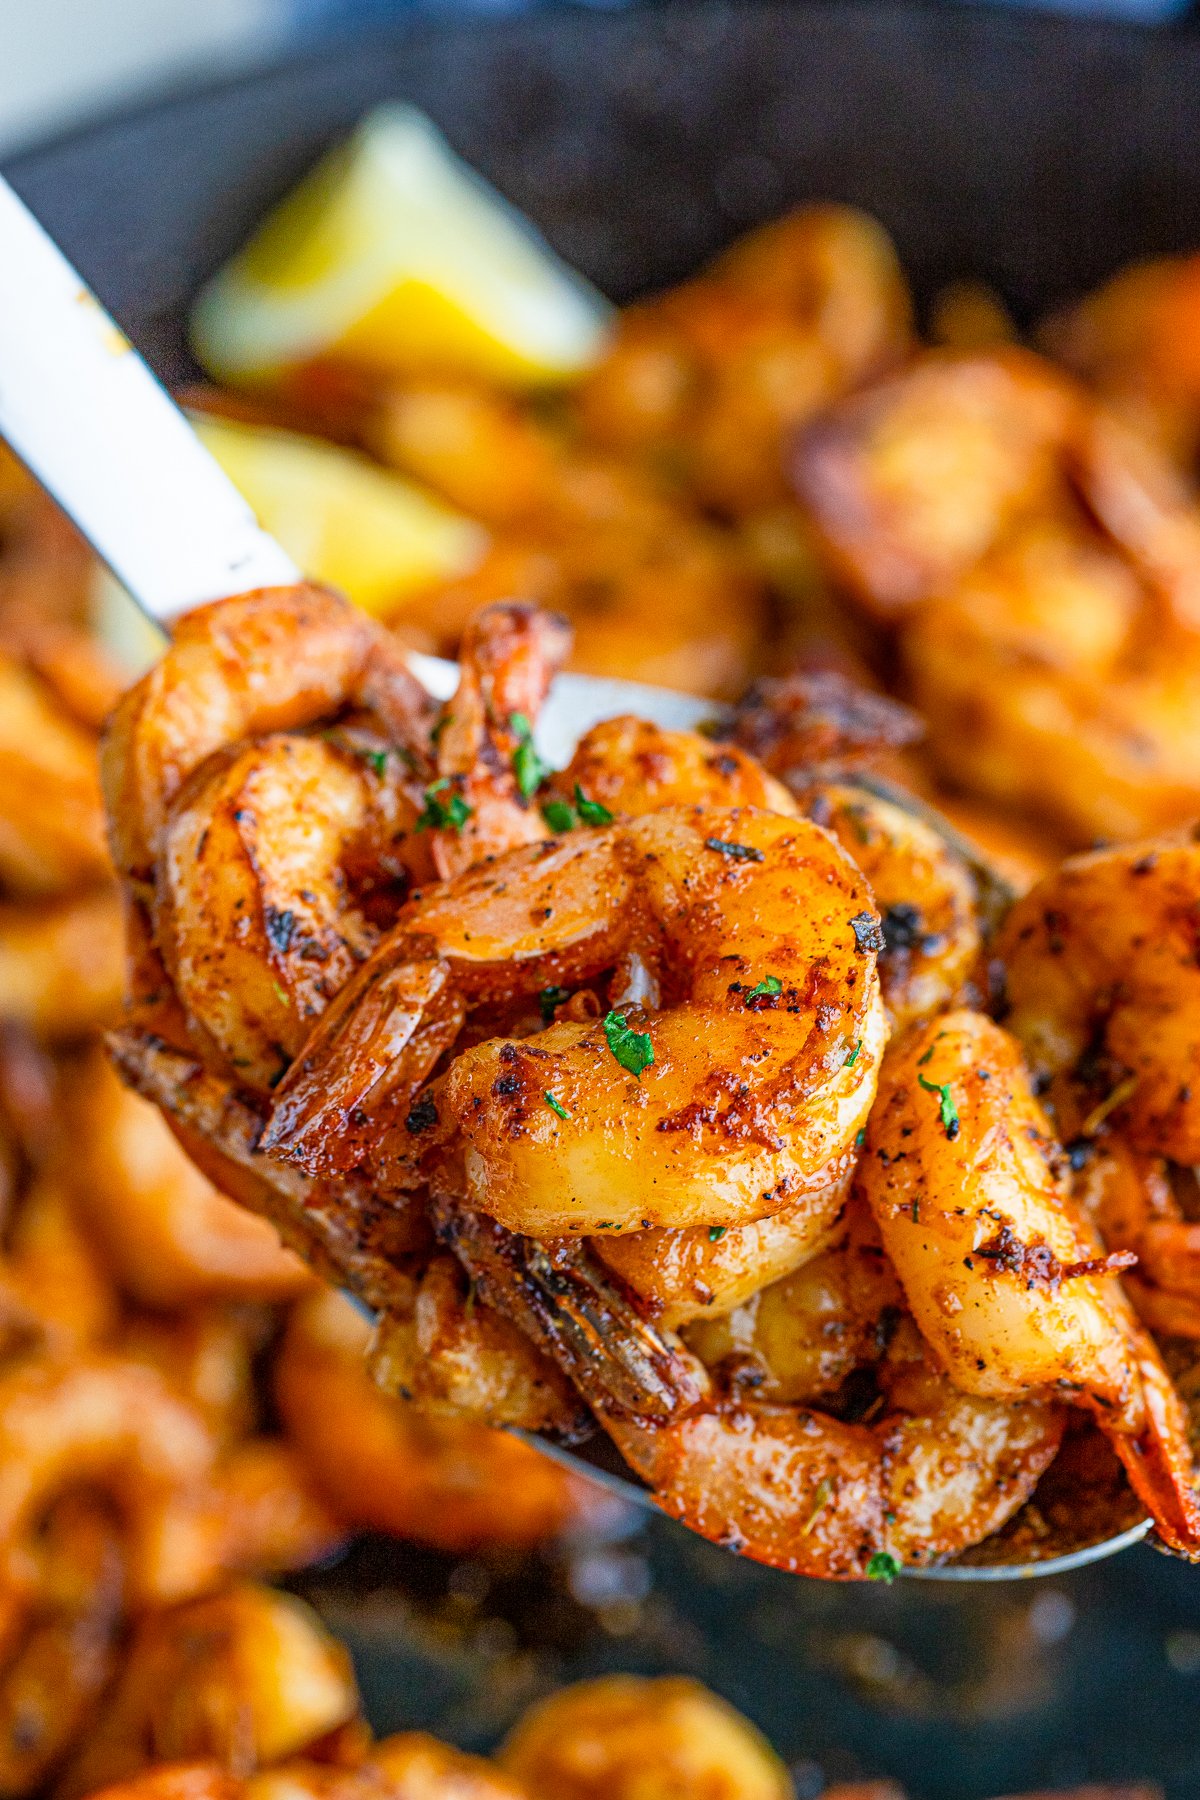
With a delicious spice mixture and it being cooked in a cast-iron skillet over the grill, we cannot get enough of this deliciously easy recipe.
During the summer we love using the grill as much as possible and I find that cooking it this way not only gives me the results I want but delicious flavor as well.
Some of my other favorite shrimp recipes we have on our site include Roasted Shrimp Cocktail, Bruschetta Grilled Shrimp and Creamy Lemon Shrimp.
WHY THIS RECIPE WORKS:
- This is a deliciously easy recipe that takes minimal prep and time.
- You can use my seasoning or your own favorite blackening seasoning.
- Guests love this recipe so it is easy to double to make a larger batch.
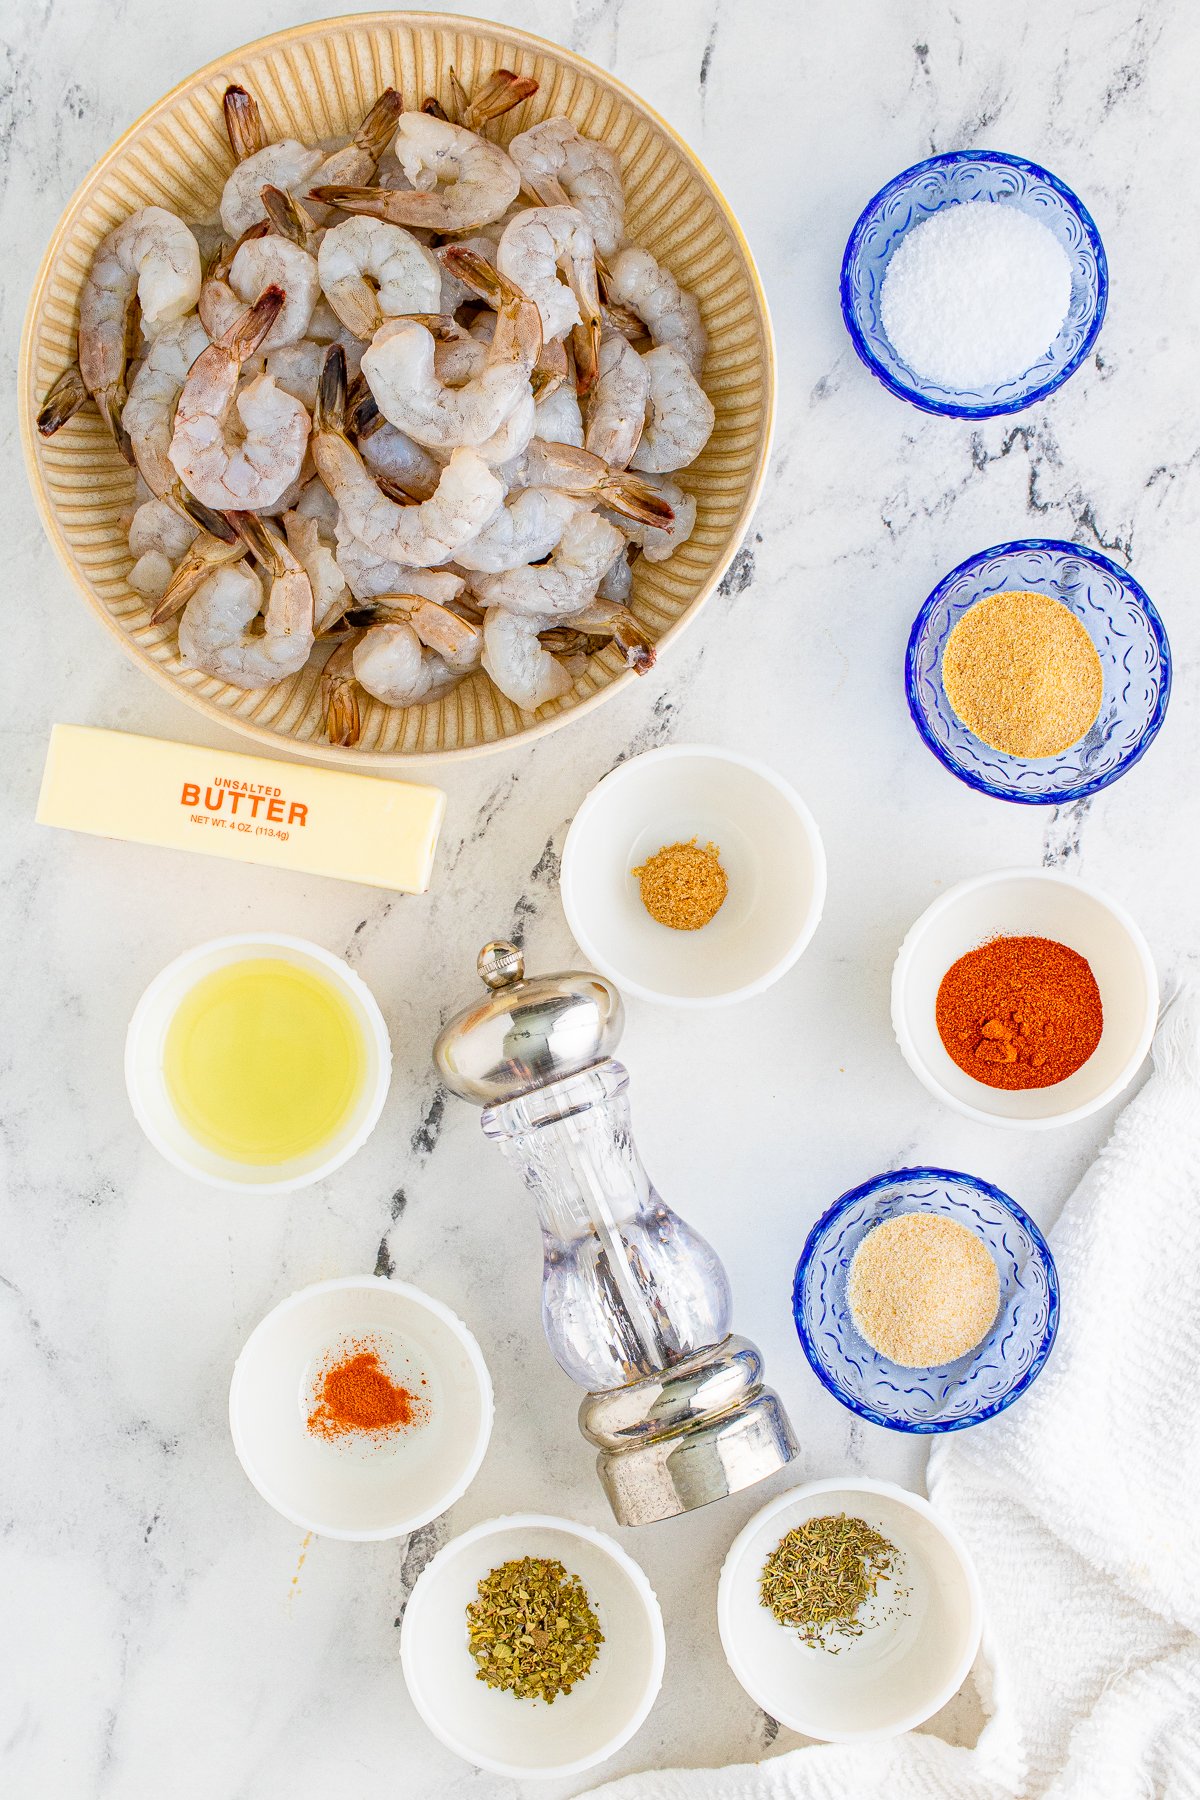
INGREDIENTS NEEDED (FULL RECIPE BELOW):
Large shrimp
Vegetable oil
Unsalted butter
Parsley
Smoked paprika
Garlic powder
Onion powder
Light brown sugar
Oregano
Thyme
Salt
Pepper
Cayenne pepper
HOW TO MAKE BLACKENED SHRIMP:
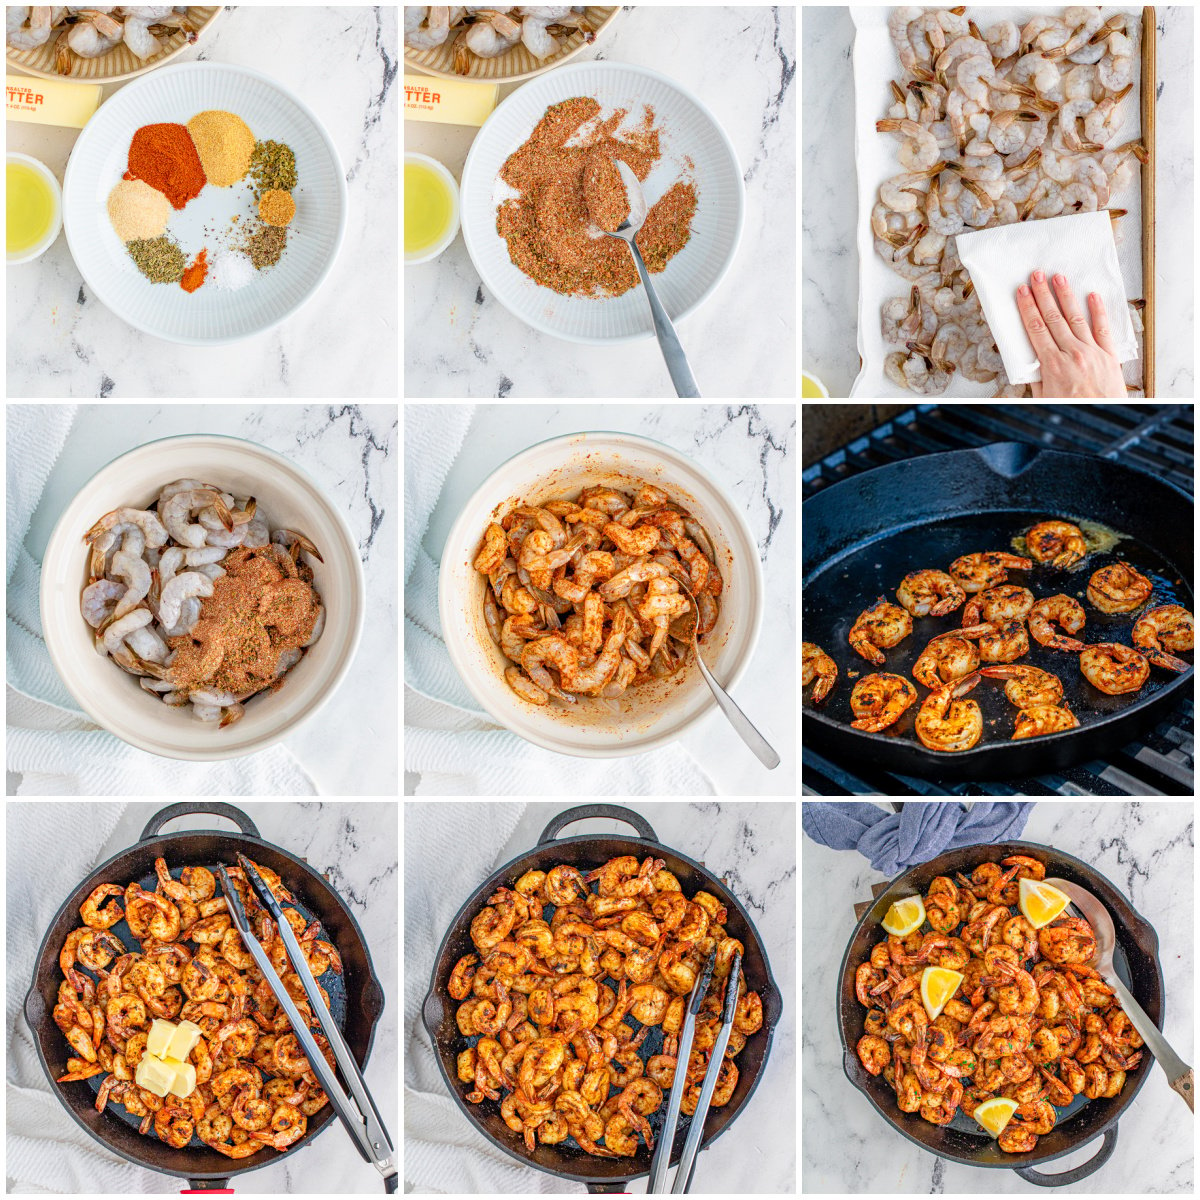
- In a medium-sized bowl, make the blackening seasoning by mixing together the smoked paprika, garlic powder, onion powder, brown sugar, oregano, thyme, salt, pepper, and cayenne, set aside.
- Before seasoning the shrimp, pat them well with paper towels to make sure they are dry. The shrimp will sear better when dry.
- Place the shrimp in a large bowl, add the 2 tablespoons of vegetable oil, and then add the spice mix, toss everything so the shrimp are well coated in the seasonings and oil, set aside.
- Preheat the grill at high heat. Place a cast-iron skillet directly on the grates and close the top, let it heat up for 5-8 minutes until super hot.
- You will now sear the shrimp in batches. Add about 2 teaspoons of oil to the skillet and swirl it around until it is evenly coated. Add a layer of shrimp, not touching into the skillet, and sear until charred, about 1-2 minutes. Flip the shrimp and sear the other side. Take the shrimp out and place it on a plate. Sear the remaining shrimp in batches, adding more oil if needed. If you notice the cast iron skillet is starting to lose some of the heat, you can close the grill lid again and let it heat for a few more minutes in between batches.
- Once all the shrimp is seared, add them back to the pan, add the butter and toss to coat. Garnish with optional parsley and serve immediately.
See this Blackened Shrimp Recipe really is super easy and it is hard to go wrong with this! That is one reason why we make it so often and love it so much.
The flavors from the seasoning are really what sets it off. It is an all-around easy and flavorful dish that the whole family loves.
DO I HAVE TO LEAVE THE TAILS ON?
No, you don’t. Cooking with the tails on saves time while actually preparing and cooking the shrimp but it is more for aesthetics than anything as you will be removing the tail once eating.
If you want to take that extra step and remove the tail right away before cooking you can do that as well. It is more a personal preference as to how you want to serve this dish.
WHAT DO I SERVE WITH BLACKENED SHRIMP?
We like to serve it with a variety of things but mainly we serve it over a bed of rice. Some other ideas include grilled or sautéed vegetables such as broccoli, cauliflower, onions, peppers, Brussel sprouts.
This also would be good over a pasta that has a light butter sauce too if you want to make it a more hearty meal. Also, it can be served inside tacos too!
HOW TO STORE:
Blackened Shrimp can be stored in an airtight container in the refrigerator for up to 3 days. You can reheat by popping them into the microwave quickly until heated through. They also taste great cold!
TIPS AND TRICKS:
- Cooking the shrimp in the skillet on the grill is optional. You can cook them the same way inside on the stove over high heat. But, this can then make the entire house very smokey from searing.
- The spice mix is very mild, add more cayenne for more of a kick!
- We like to cook these with the tail on, but you can remove the tail before cooking if you desire.
- Large shrimp are preferred for this recipe, but you can use any size that you like, cooking time will vary.
- You can use a store-bought blackening seasoning you can do that besides making the one we use for this recipe.
If you want a fun, flavorful, and quick meal that is bursting with flavor then you need to make this Blackened Shrimp ASAP!
If you like this recipe you might also like:
If you’ve tried this BLACKENED SHRIMP let me know in the comments how it turned out! You can follow me over on PINTEREST, INSTAGRAM OR FACEBOOK to find some more of our mouthwatering recipes!
Blackened Shrimp
Ingredients
- 2 pounds large shrimp peeled and deveined, tails on
- 2 tablespoons vegetable oil plus more for cooking
- 4 tablespoons unsalted butter
- chopped parsley for garnish optional
For the spice mix:
- 1 tablespoon smoked paprika
- 1 1/2 teaspoons garlic powder
- 1 teaspoon onion powder
- 1 teaspoon light brown sugar packed
- 1/2 teaspoon dried oregano
- 1/2 teaspoon dried thyme
- 1/2 teaspoon kosher salt
- 1/2 teaspoon black pepper
- 1/8 teaspoon cayenne pepper or more to taste
Instructions
- n a medium-sized bowl, make the blackening seasoning by mixing together the smoked paprika, garlic powder, onion powder, brown sugar, oregano, thyme, salt, pepper, and cayenne, set aside.1 tablespoon smoked paprika, 1 1/2 teaspoons garlic powder, 1 teaspoon onion powder, 1 teaspoon light brown sugar, 1/2 teaspoon dried oregano, 1/2 teaspoon dried thyme, 1/2 teaspoon kosher salt, 1/2 teaspoon black pepper, 1/8 teaspoon cayenne pepper
- Before seasoning the shrimp, pat them well with paper towels to make sure they are dry. The shrimp will sear better when dry.2 pounds large shrimp
- Place the shrimp in a large bowl, add the 2 tablespoons of vegetable oil, and then add the spice mix, toss everything so the shrimp are well coated in the seasonings and oil, set aside.2 tablespoons vegetable oil
- Preheat the grill at high heat. Place a cast-iron skillet directly on the grates and close the top, let it heat up for 5-8 minutes until super hot.
- You will now sear the shrimp in batches. Add about 2 teaspoons of oil to the skillet and swirl it around until it is evenly coated. Add a layer of shrimp, not touching into the skillet, and sear until charred, about 1-2 minutes. Flip the shrimp and sear the other side. Take the shrimp out and place it on a plate. Sear the remaining shrimp in batches, adding more oil if needed. If you notice the cast iron skillet is starting to lose some of the heat, you can close the grill lid again and let it heat for a few more minutes in between batches.
- Once all the shrimp is seared, add them back to the pan, add the butter and toss to coat. Garnish with optional parsley and serve immediately.4 tablespoons unsalted butter, chopped parsley for garnish




Leave A Reply!