This post may contain affiliate links.
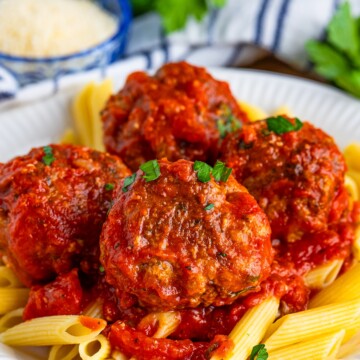
Lasagna Roll Ups give you all the cheesy, saucy comfort of classic lasagna in tidy, individual rolls that are so much easier to serve. I started making them on busy weeknights when my family wanted lasagna but I did not want to wrestle with messy square slices, and now they are a regular request. They are right at home next to our Italian meatballs.
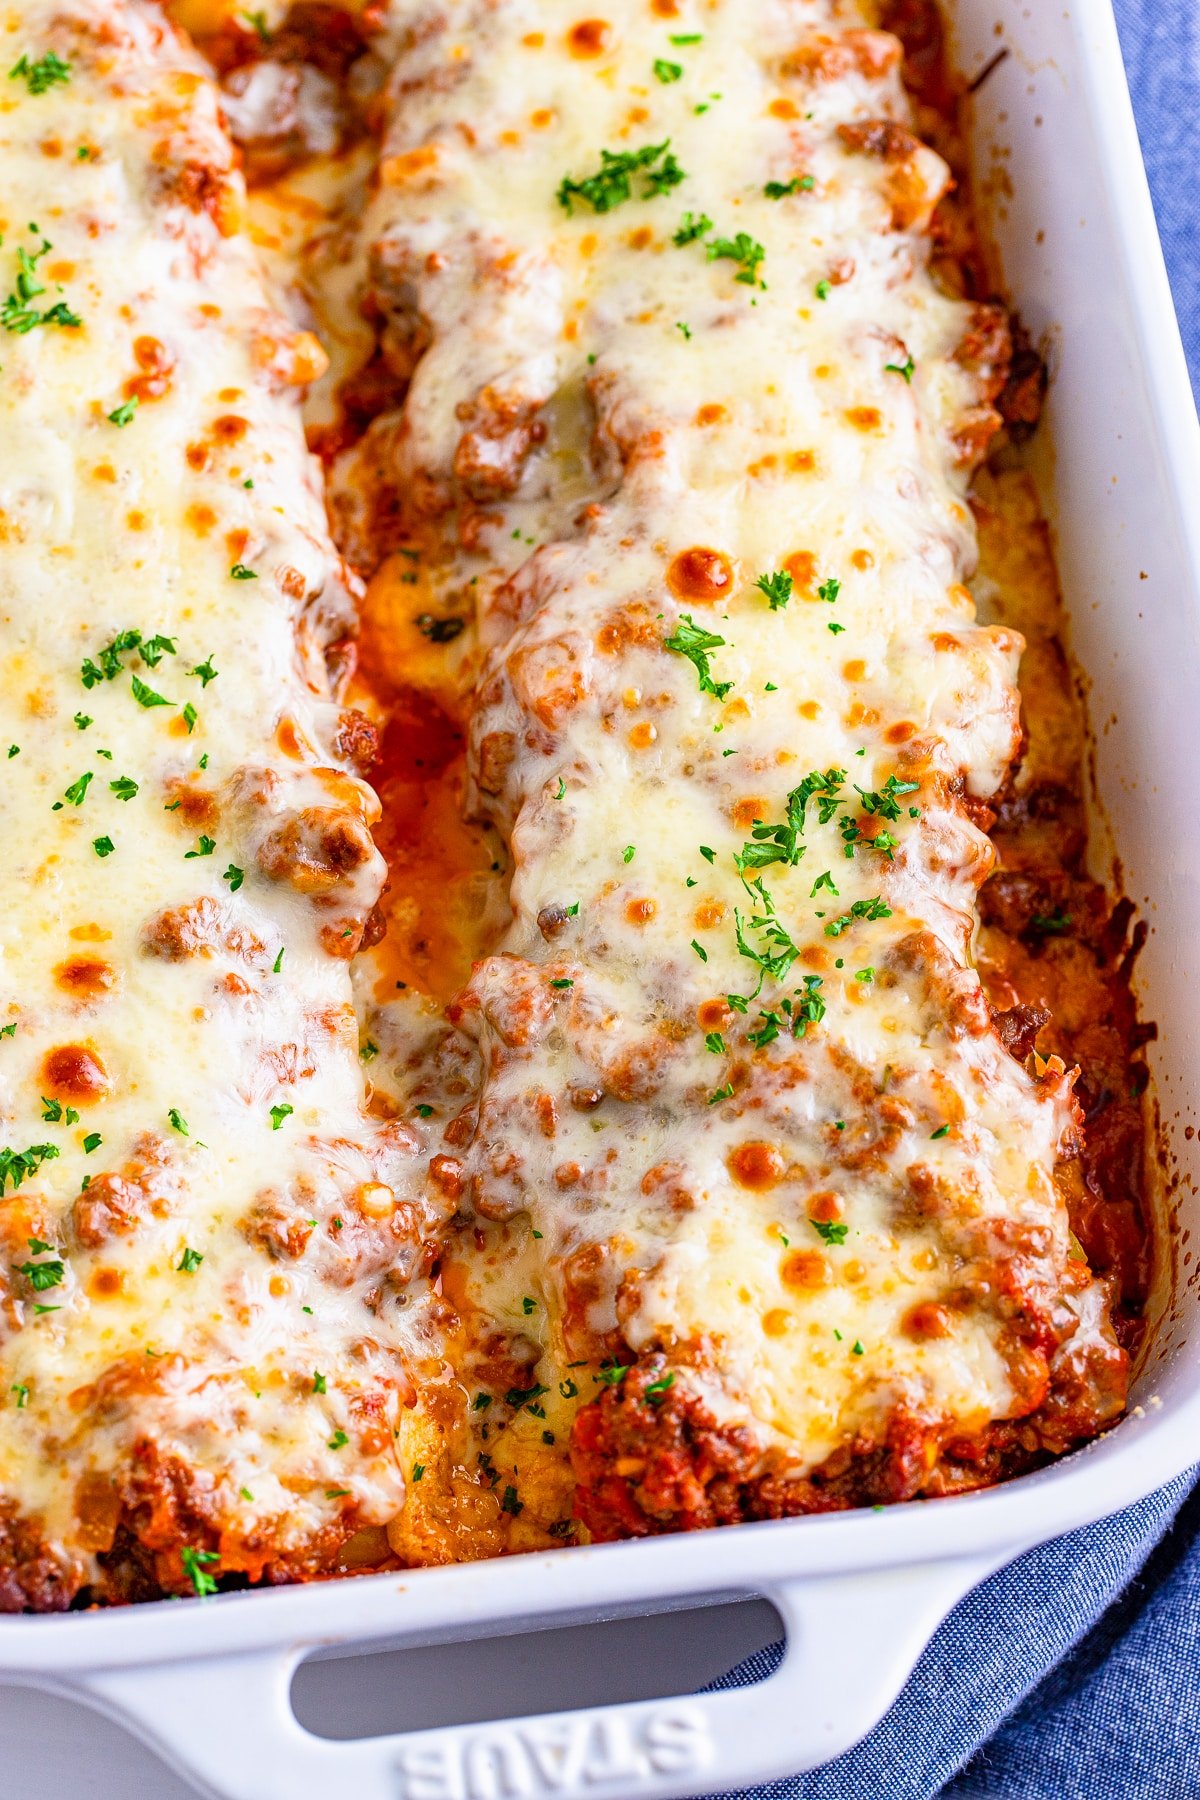
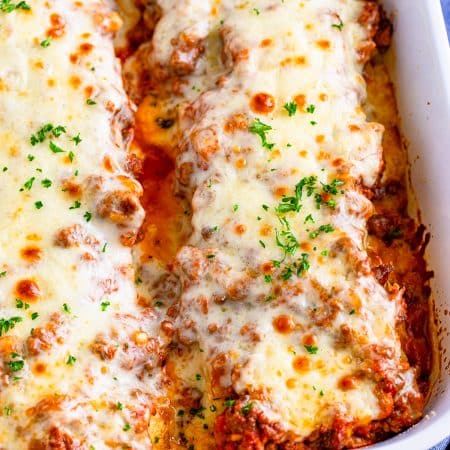
Tender lasagna noodles are spread with a five-cheese ricotta filling, rolled into pinwheels, nestled in meat sauce, and baked until bubbly and golden.
Lasagna Roll Ups Quick Look
- 🕒 Prep Time: 30 minutes
- 🌡️ Cook Time: 60 minutes
- ⏳ Total Time: 90 minutes
- 🍽️ Serving: 12 servings
- ⚡ Calories: 397kcal
- 🌶️ Flavor Profile: Cheesy ricotta-filled noodles baked in a hearty beef marinara
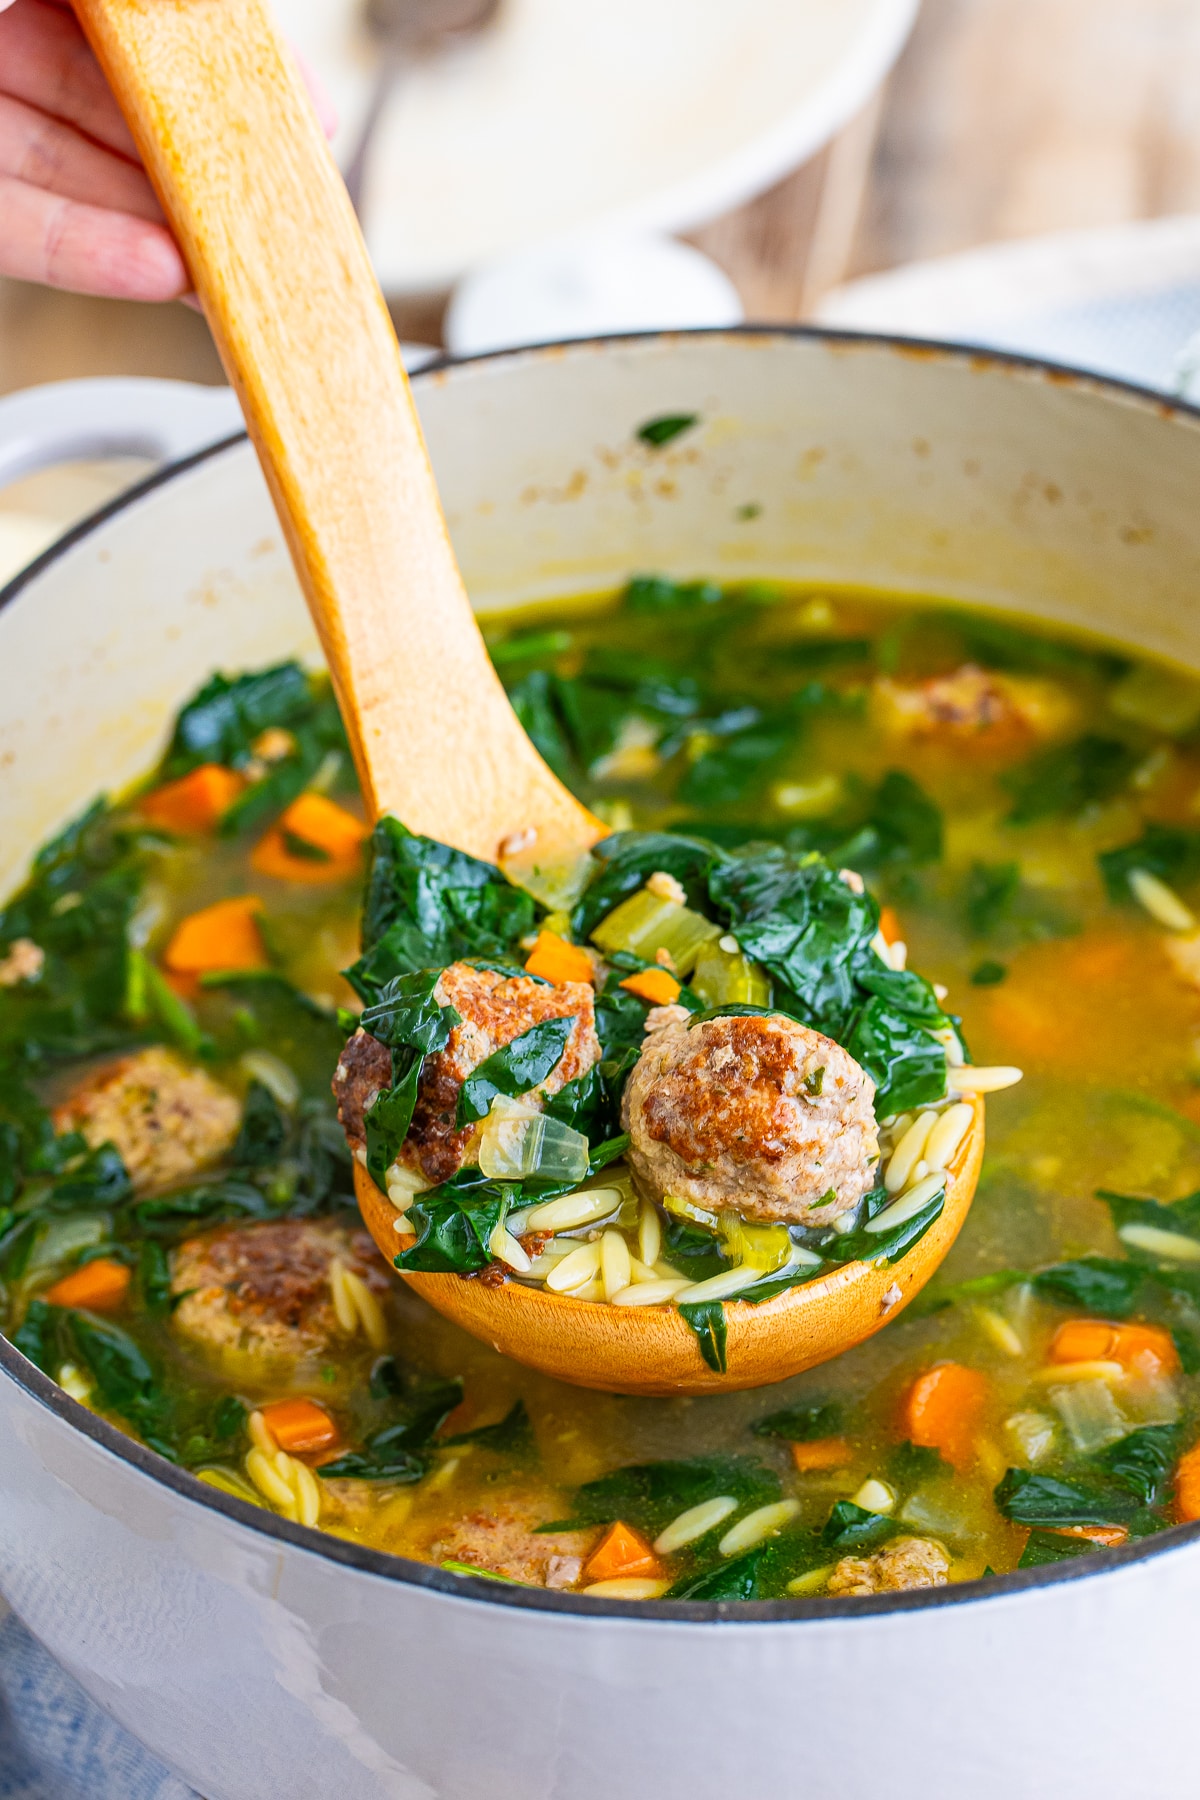
- ✋ Difficulty: Moderate, an easy crowd-pleaser like our Italian wedding soup
Quick Answer
Brown ground beef with onion and garlic, then simmer it with marinara, parmesan, and Italian seasoning to make a quick meat sauce. Boil lasagna noodles and lay them flat. Stir together a ricotta, mozzarella, parmesan, and egg filling, spread it over each noodle, and roll them up. Set the rolls seam side down in a sauced baking dish, top with the remaining sauce and cheese, and bake covered until bubbly, then uncovered to brown the cheese.
Jump to:
- Lasagna Roll Ups Quick Look
- Quick Answer
- Why This Recipe Works
- Why You’ll Love This Recipe
- Key Ingredients
- Variations and Substitutions
- How to Make Lasagna Roll Ups
- Recipe Tips & Tricks
- Serving Ideas and Suggestions
- Lasagna Roll Ups FAQs
- Other Recommended Easy Italian Recipes
- Best Lasagna Roll Ups with Meat Sauce Recipe
Why This Recipe Works
Click to see the technique science
- Easy individual portions. Rolling the noodles means neat, single-serving portions that hold their shape, no messy slicing required.
- A quick homemade meat sauce. Browned beef simmered with marinara tastes from-scratch but comes together in minutes.
- Five-cheese filling. Ricotta, mozzarella, and parmesan bound with an egg make a rich, creamy filling that stays put inside each roll.
- Even baking. The rolls sit upright in the sauce so every one bakes through and gets bubbly and golden on top.
- Make-ahead friendly. Assemble the dish ahead and bake when you are ready, perfect for busy weeknights and entertaining.
- Crowd-pleasing comfort food. It delivers all the cozy, cheesy flavor of classic lasagna in a fun, easy-to-serve format.
Why You’ll Love This Recipe
- They have all the cheesy, saucy comfort of classic lasagna in easy, individual rolls.
- The quick beef marinara tastes homemade and pairs perfectly with our bruschetta as a starter.
- They are make-ahead and freezer friendly, so they are a lifesaver on busy nights.
- It is the kind of no fuss win that pairs beautifully with our lasagna roll ups on a busy week.
- It is the kind of no fuss win that pairs beautifully with our apple cinnamon cream cheese roll ups on a busy week.
- It earns a spot in the rotation right next to our ground turkey meat sauce.
- It is the kind of no fuss win that pairs beautifully with our crescent roll cinnamon rolls on a busy week.
Key Ingredients

Here is what you need for lasagna roll ups. See the recipe card below for exact amounts.
- Lasagna noodles: Boiled until pliable so they roll up easily without cracking.
- Ground beef and marinara: Simmered together into a hearty meat sauce. A good jarred marinara keeps it easy.
- Ricotta cheese: The creamy base of the filling that makes each roll rich and tender.
- Mozzarella and parmesan: Melty mozzarella and salty parmesan go in the filling and on top.
- Egg and Italian seasoning: The egg binds the filling so it stays put, and the seasoning ties the flavors together.
See recipe card for exact quantities.
Variations and Substitutions
These lasagna roll ups are easy to customize. Here are a few ideas.
- Make them meatless: Skip the beef and stir sauteed spinach or mushrooms into the filling.
- Use Italian sausage: Swap the ground beef for sweet or hot Italian sausage in the sauce.
- Add veggies: Fold chopped spinach, zucchini, or roasted red pepper into the ricotta.
- Spice it up: Add a pinch of red pepper flakes to the meat sauce for a little heat.
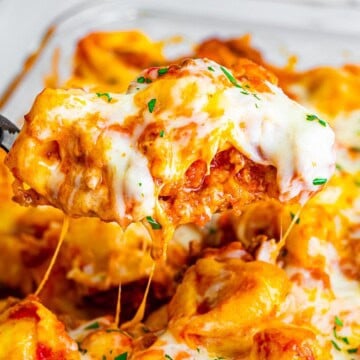
- Serve with more pasta: Love Italian comfort food? Try our baked tortellini next.
- For another spin on this idea, try our monterey chicken roll ups next time.
- For another spin on this idea, try our chicken pitas next time.
- In the mood for something different? Our chicken alfredo bake scratches a similar itch.
- For another spin on this idea, try our lobster roll next time.
How to Make Lasagna Roll Ups
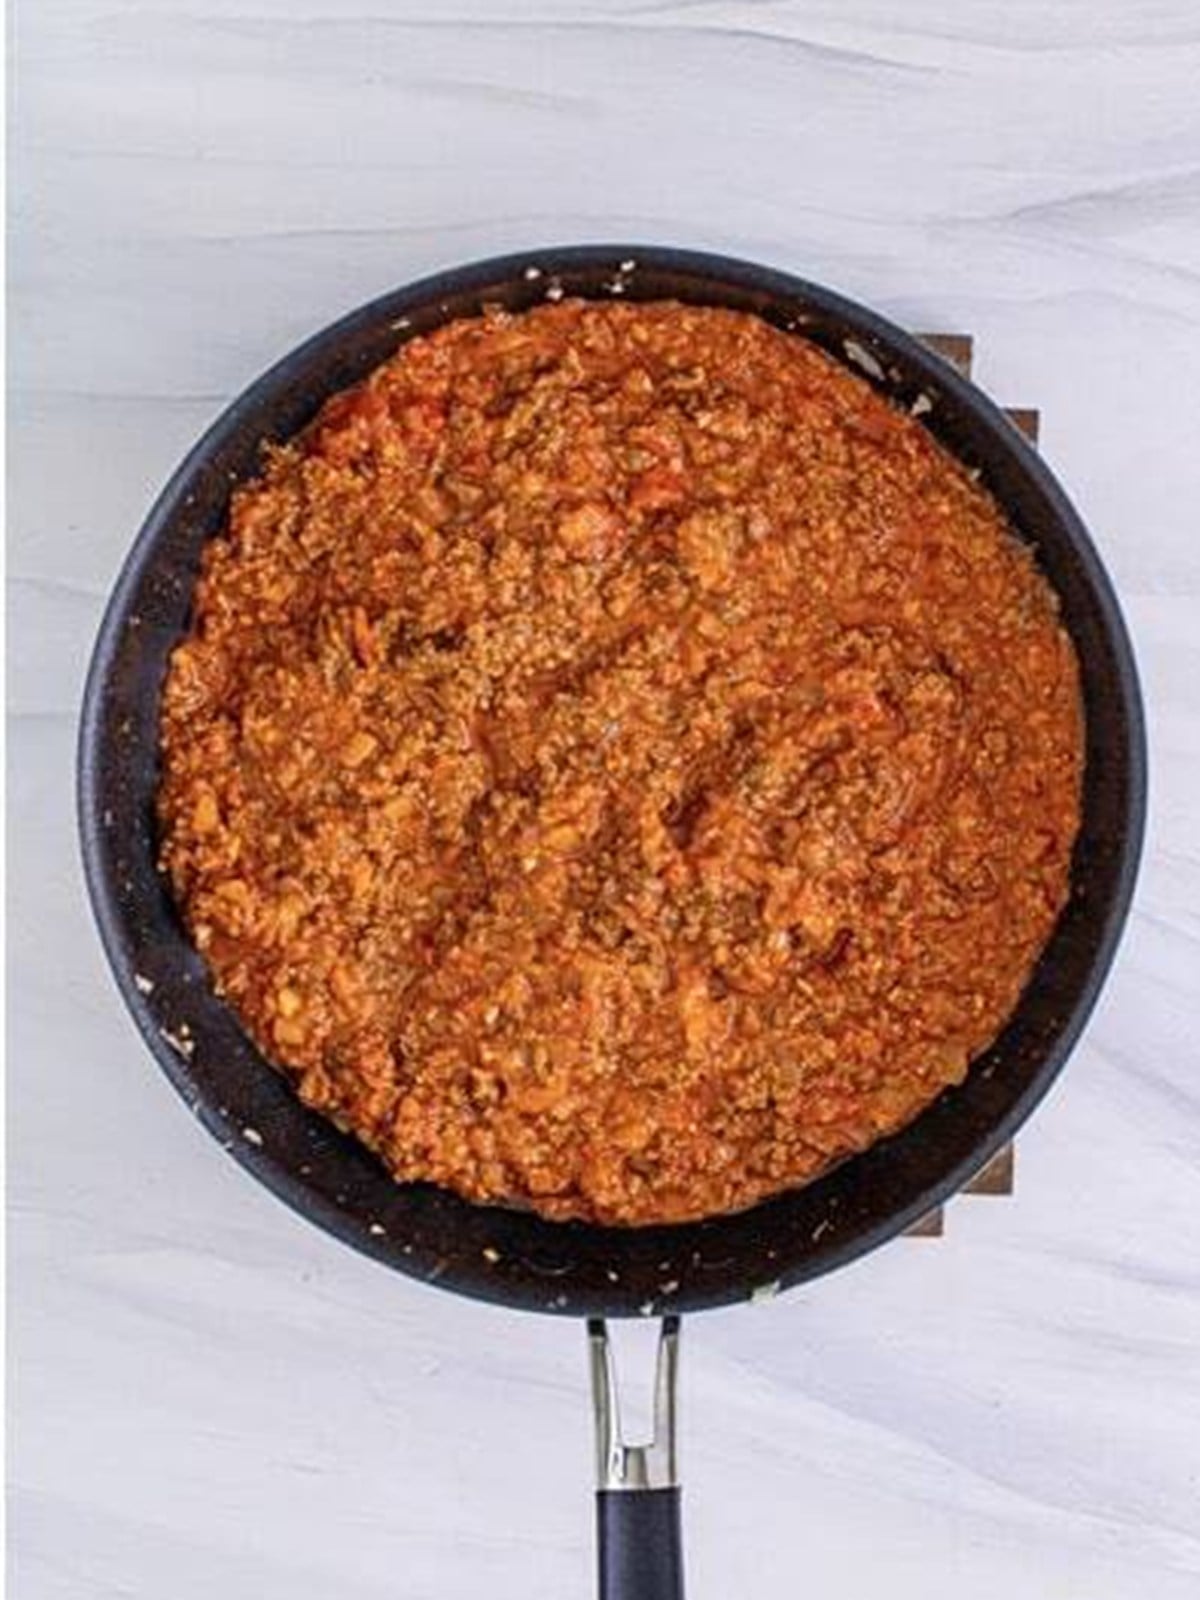
- Preheat the oven to 350 degrees F. Brown the ground beef with the onion and garlic, then drain. Stir in the marinara, parmesan, and Italian seasoning and simmer 5 minutes.
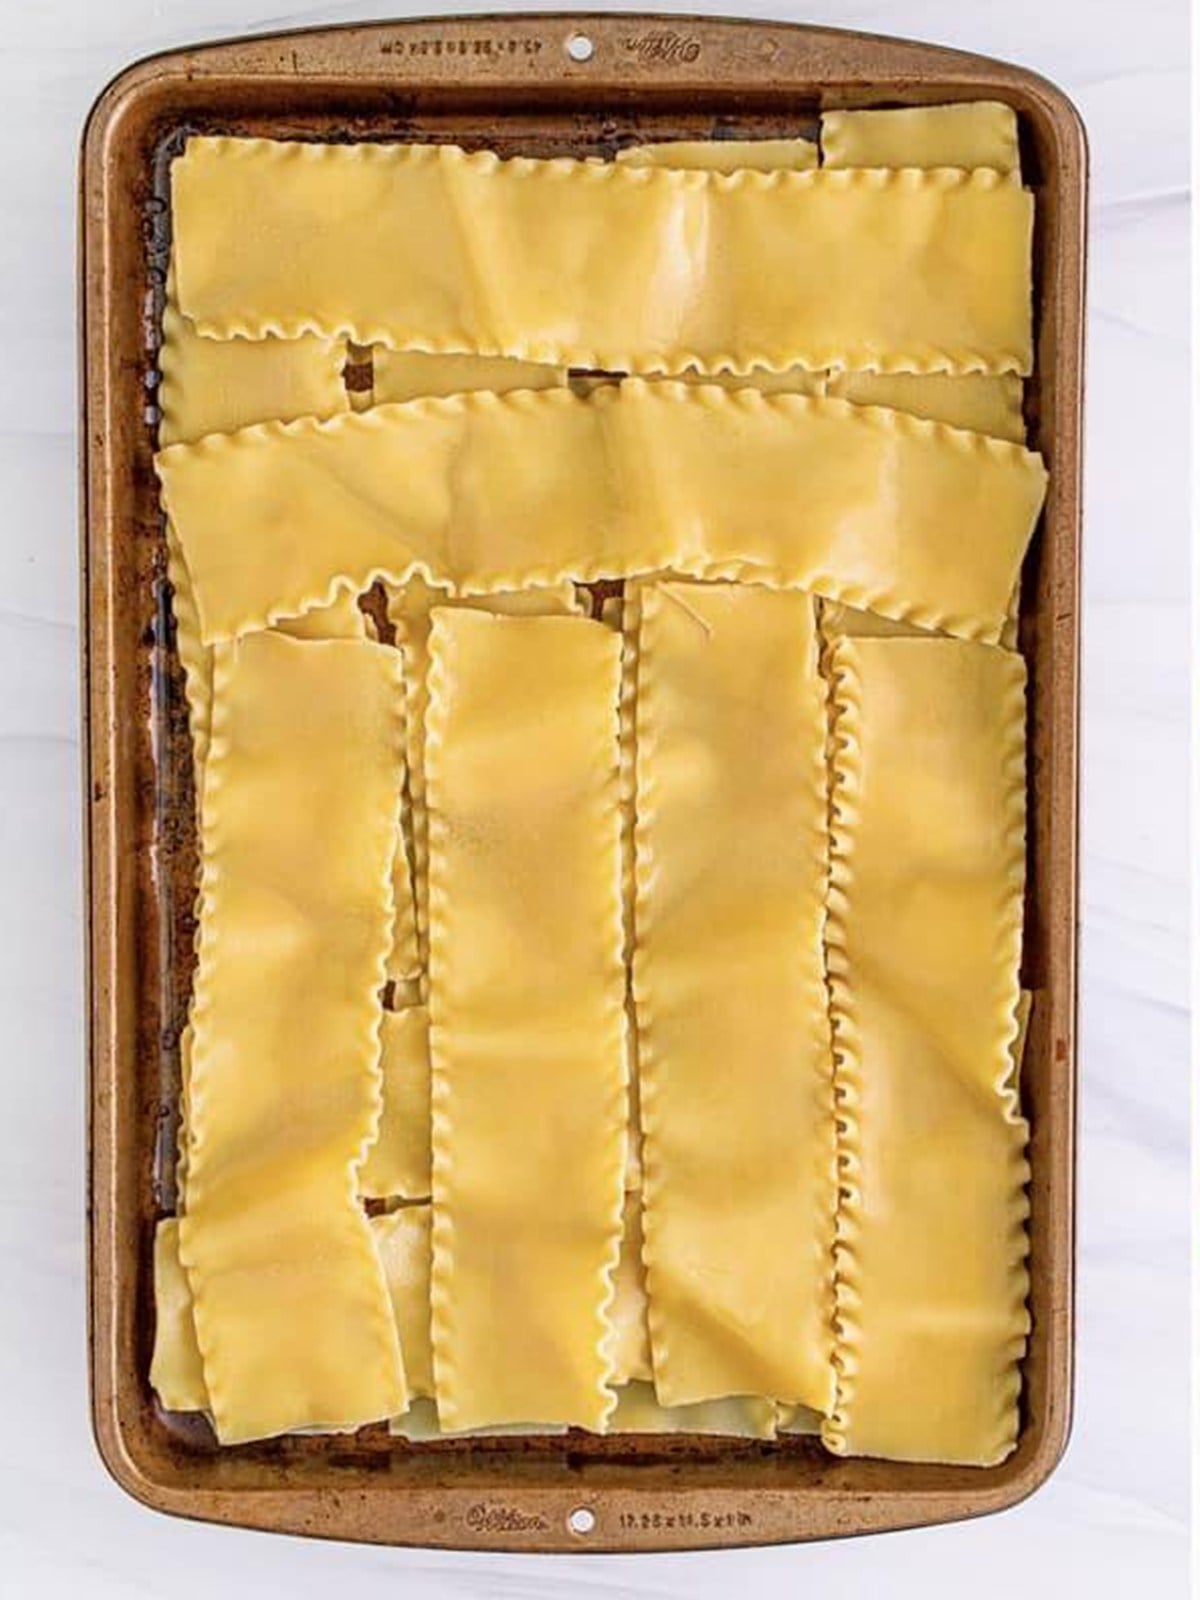
- Boil the lasagna noodles per the package directions. Drain, rinse with cold water, and lay them flat on a lightly greased tray.
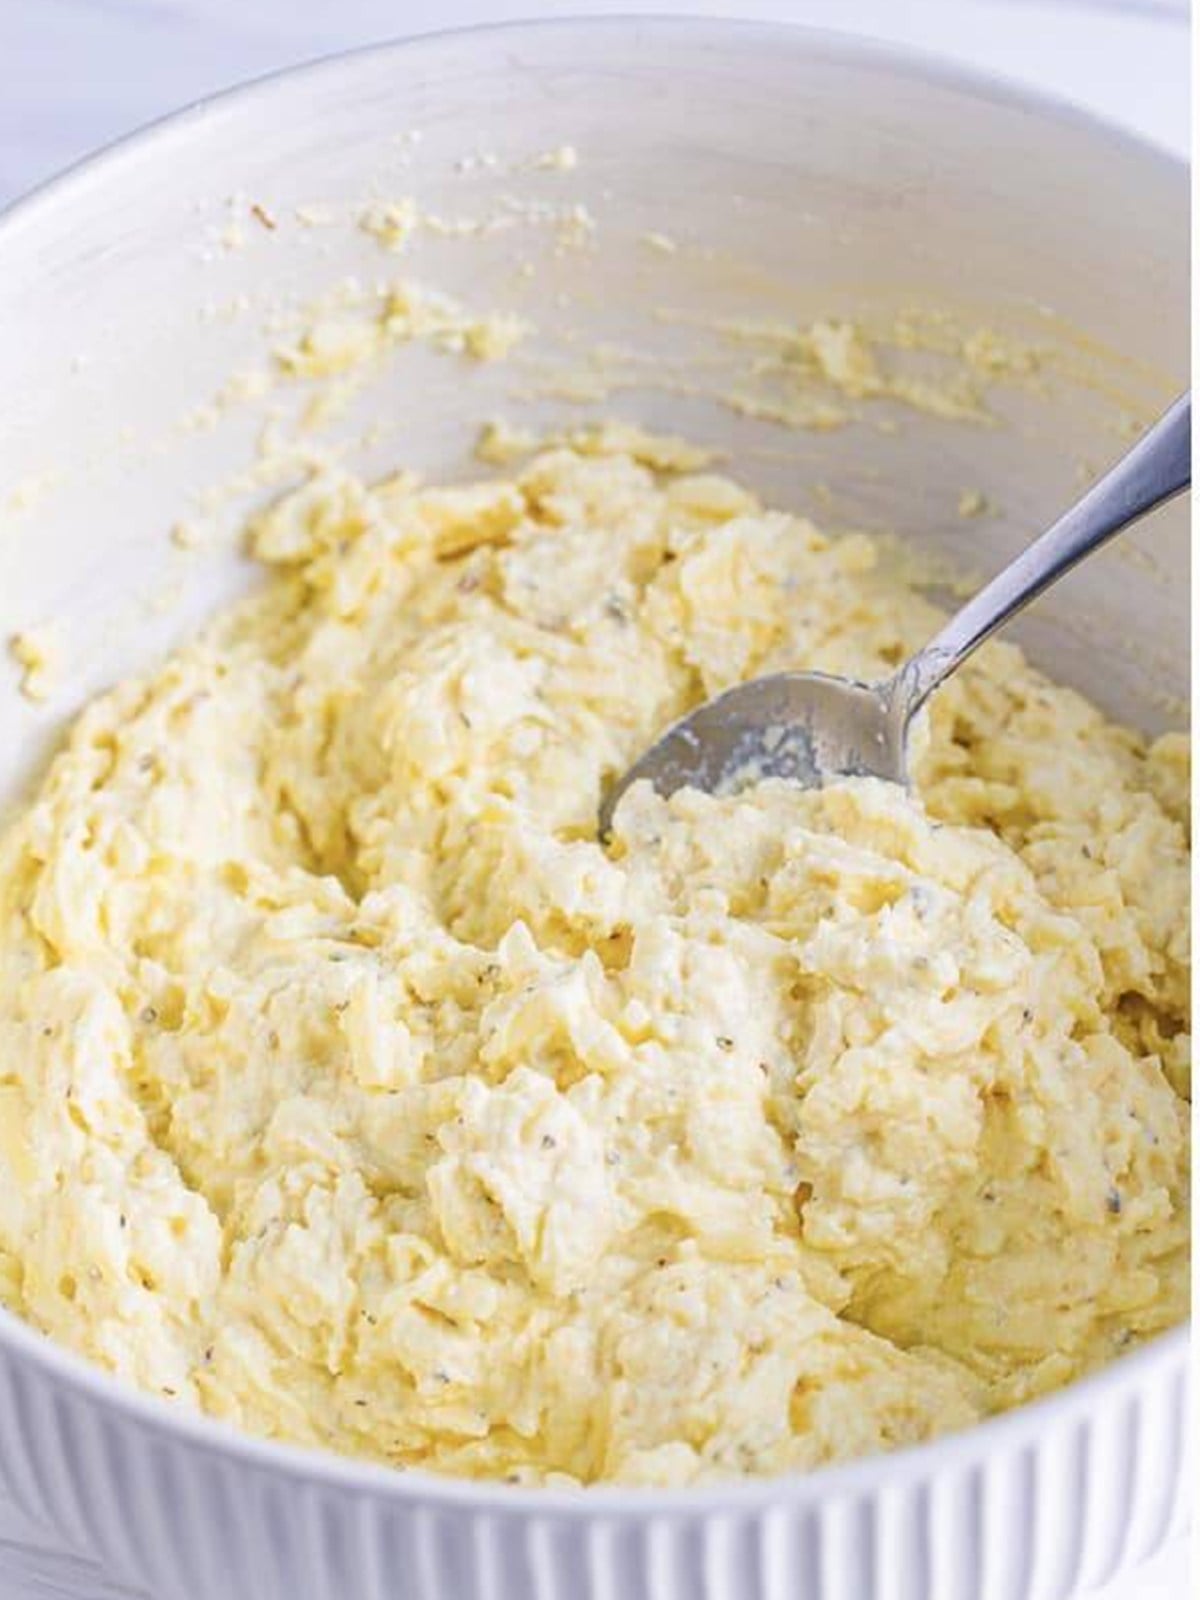
- Stir together the ricotta, 2 cups mozzarella, 1/4 cup parmesan, egg, and Italian seasoning until well combined.
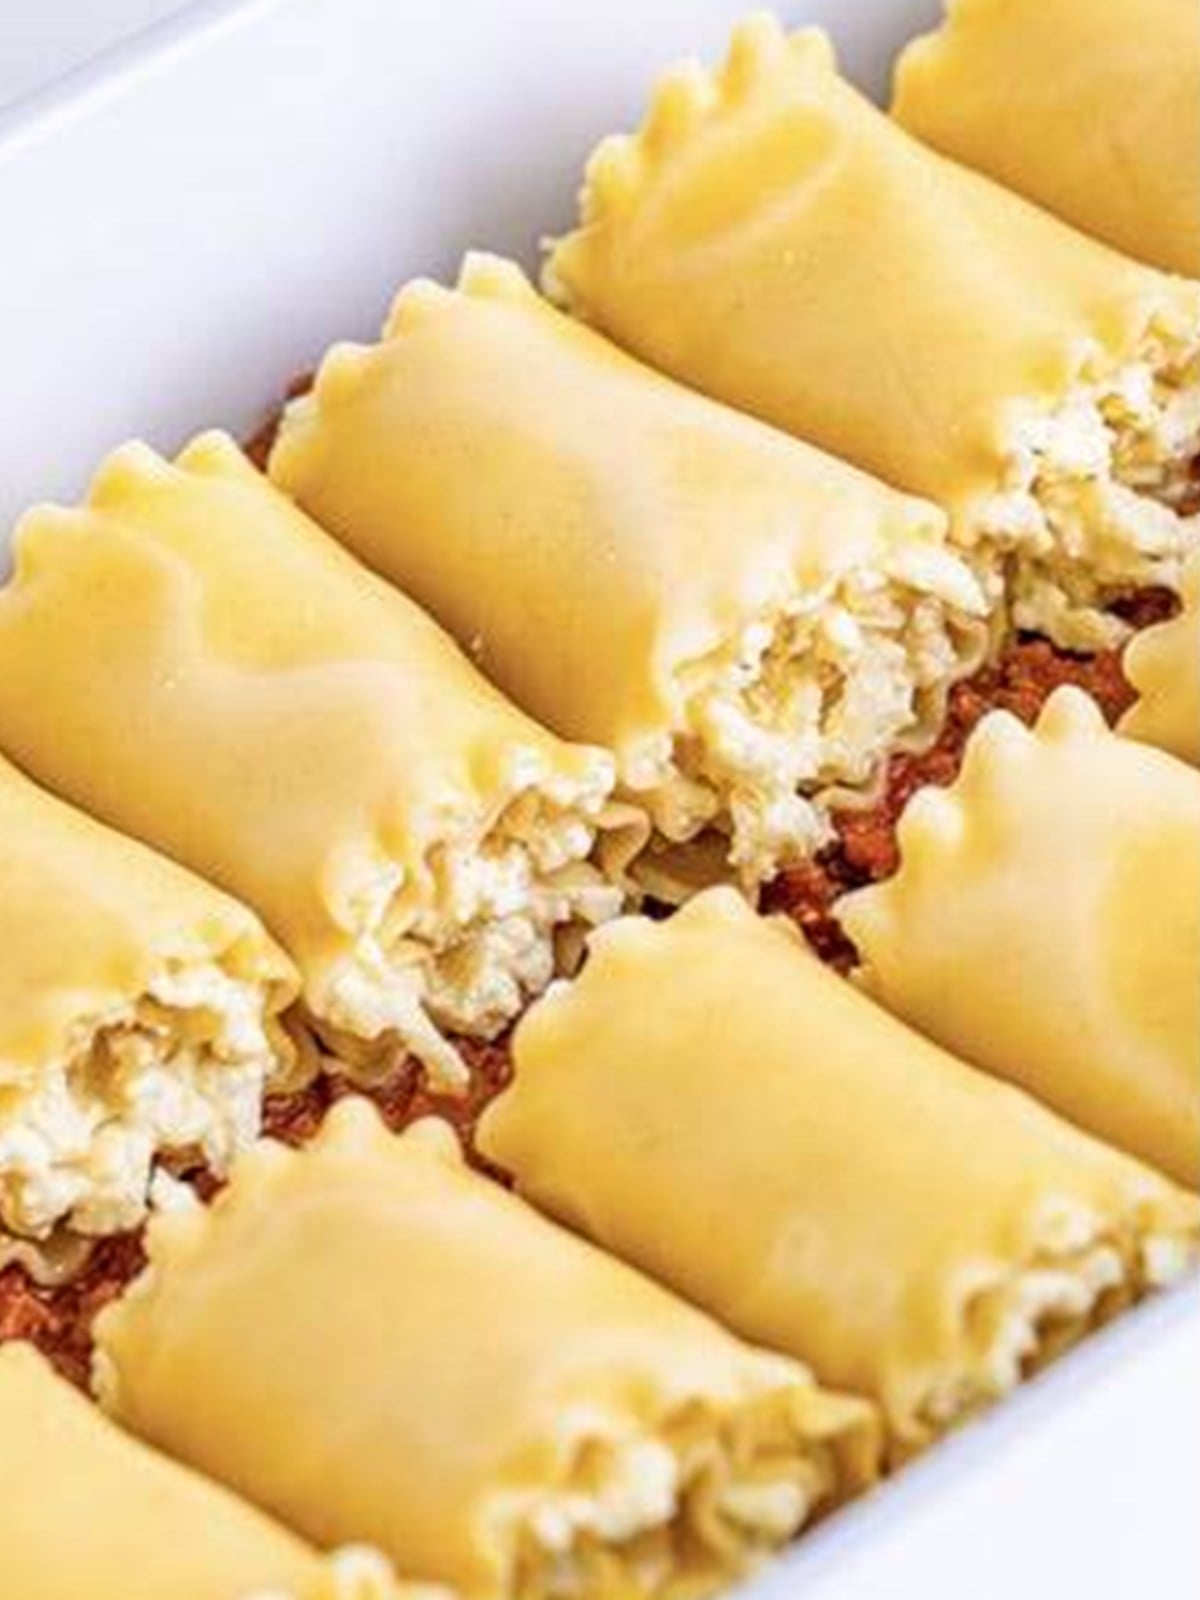
- Spread about 3 tablespoons of the ricotta filling over each noodle, then roll it up into a pinwheel.
- Spread some sauce over the bottom of a 9×13 baking dish and arrange the rolls seam side down on top.
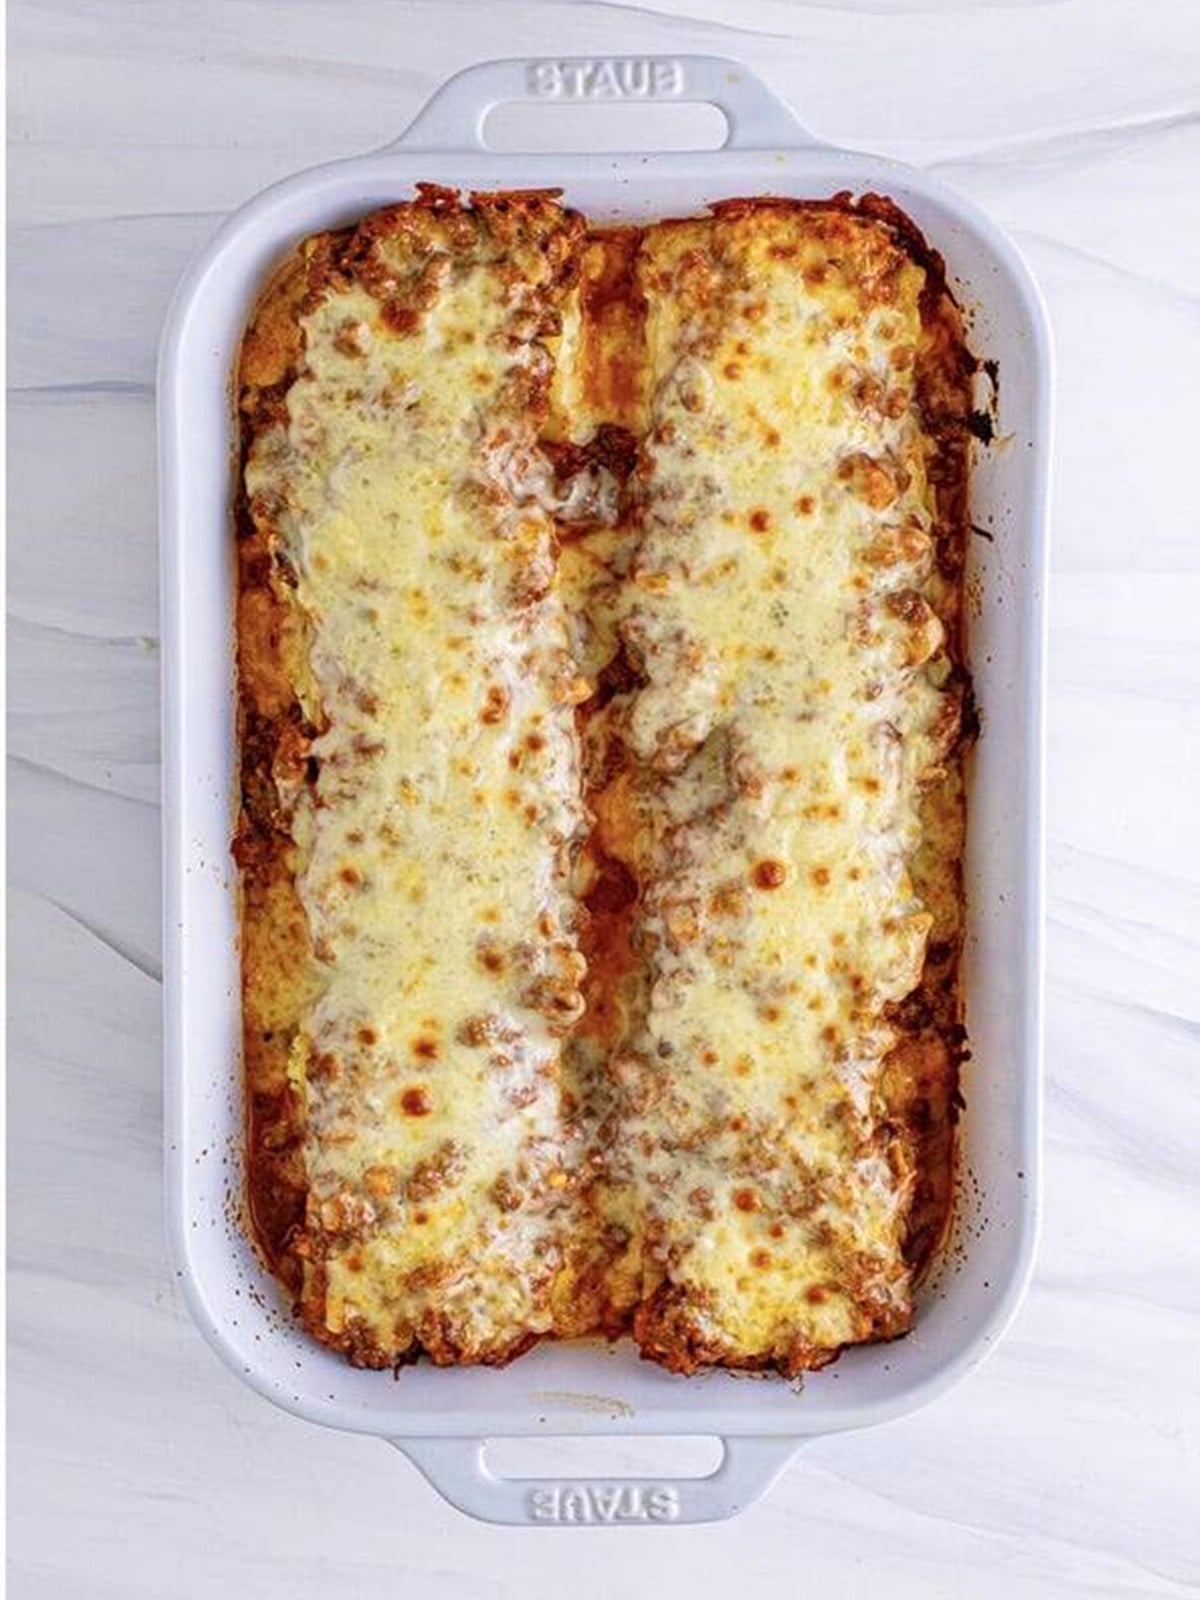
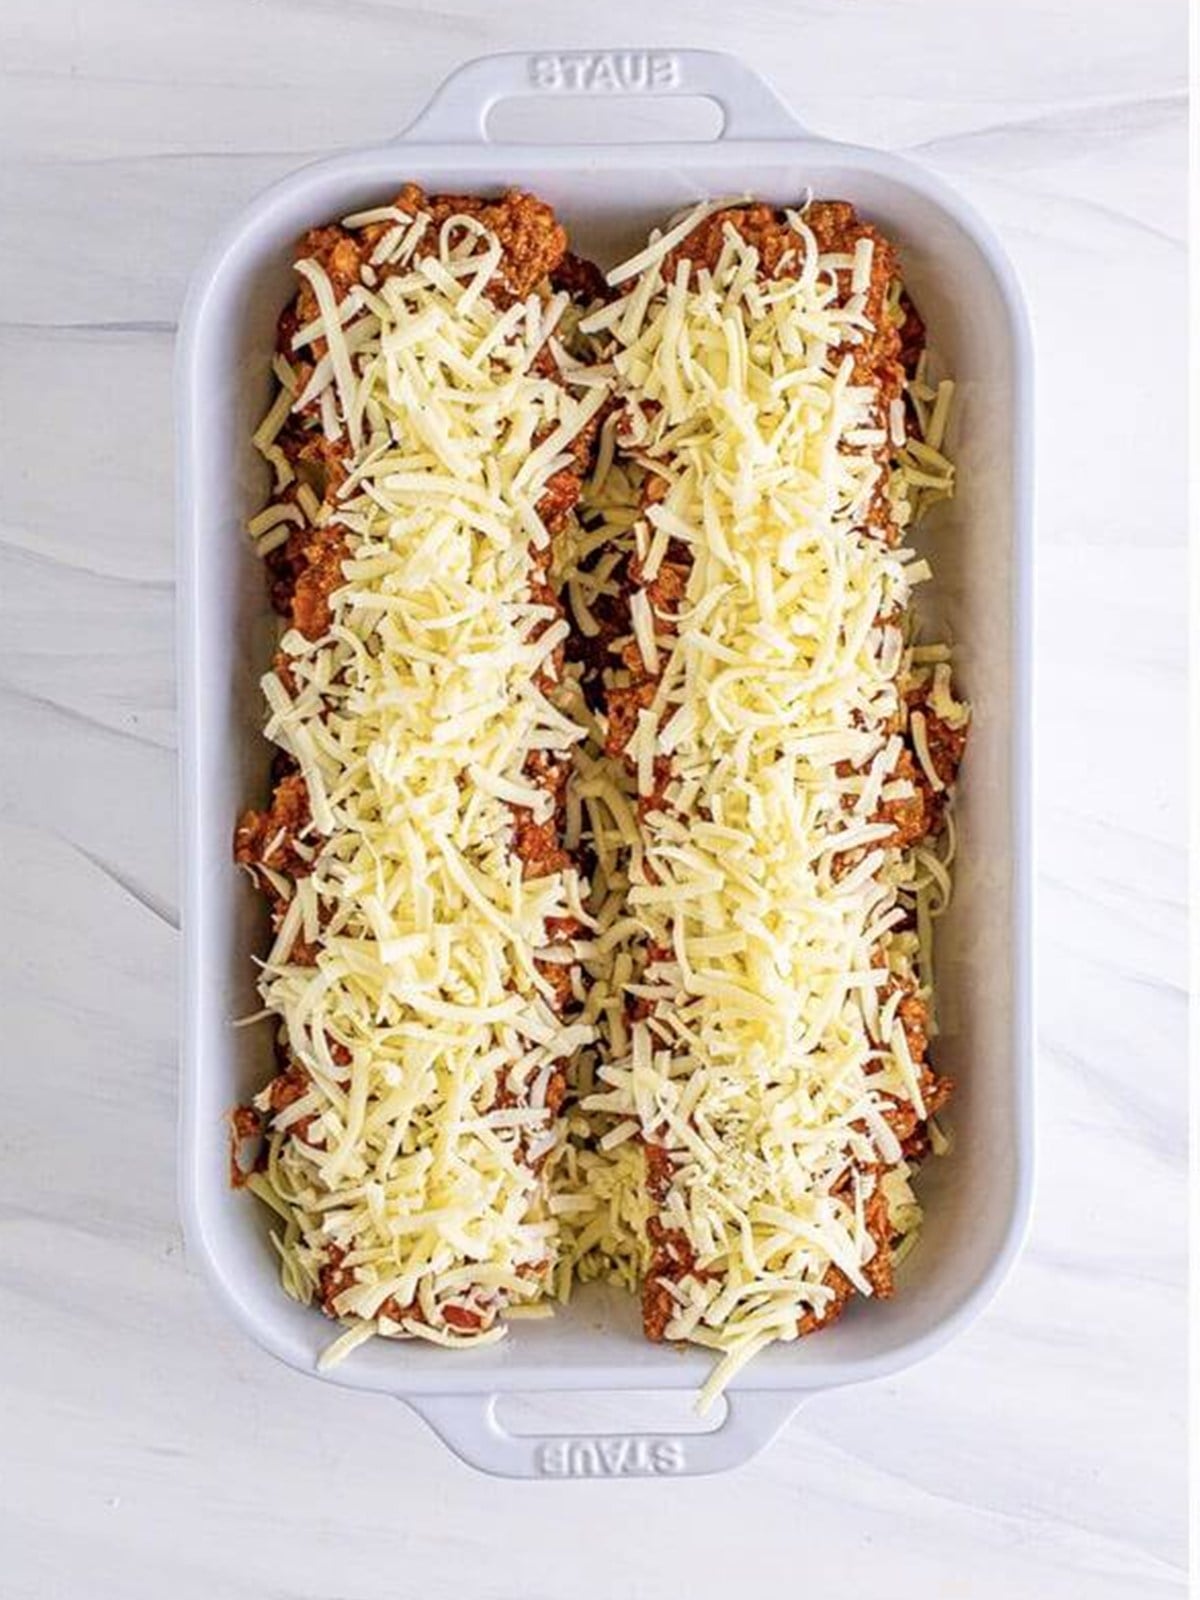
- Top with the remaining sauce, mozzarella, and parmesan. Cover and bake 45 minutes, then uncover and bake 10 to 15 minutes more to brown the cheese.
Recipe Tips & Tricks
- Do not overcook the noodles. Boil them just until pliable so they roll without tearing and finish cooking in the oven.
- Rinse the noodles. A cold-water rinse stops the cooking and keeps them from sticking together.
- Spread the filling thin. About 3 tablespoons per noodle is plenty, so the rolls are not overstuffed.
- Seam side down. Place each roll seam side down so it stays tightly wrapped while baking.
- Cover then uncover. Baking covered keeps everything moist, then uncovering browns the cheese on top.
- Let them rest. A few minutes out of the oven helps the rolls set so they lift out cleanly.
- Double up for gatherings. Serve it alongside our homemade meat sauce and watch both disappear.
- Double up for gatherings. Serve it alongside our mini cinnamon rolls and watch both disappear.
- Make it a full spread. Our white chocolate sauce recipe rounds out the table.
Serving Ideas and Suggestions
Lasagna roll ups are a hearty main on their own, but they shine with a simple green salad and warm garlic bread to soak up the extra sauce.
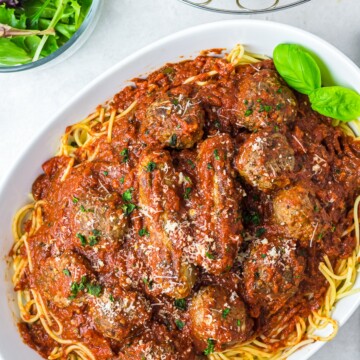
And if you want one more idea for the table, our spaghetti and meatballs never misses.
Lasagna Roll Ups FAQs
Lasagna roll ups are individual portions of lasagna made by spreading a cheesy ricotta filling over cooked lasagna noodles, rolling them into pinwheels, and baking them in meat sauce with more cheese on top. They have all the flavor of classic lasagna but are easier to assemble and serve.
Yes. Assemble the dish completely, cover it tightly, and refrigerate for up to 2 days. Add a few extra minutes to the covered baking time since it will be going into the oven cold. This makes them perfect for entertaining.
Absolutely. Freeze the assembled, unbaked dish wrapped well for up to 3 months, or freeze leftover baked rolls individually. Thaw in the refrigerator overnight before baking or reheating until hot and bubbly.
Boil the noodles just until flexible, not fully soft, then rinse them with cold water and lay them flat on a greased tray. Working with one at a time keeps them from sticking together and tearing as you roll.
Italian sausage, ground turkey, or ground chicken all work well in the sauce. For a vegetarian version, leave out the meat and bulk up the sauce with mushrooms, spinach, or zucchini.
Store leftover lasagna roll ups in an airtight container in the refrigerator for up to 4 days. Reheat individual rolls in the microwave, or cover and warm a dish in a 350 degree oven until heated through.
Craving more cozy pasta? Try our easy alfredo pasta next.

Best Lasagna Roll Ups with Meat Sauce Recipe
Ingredients
For the sauce:
- 1 & 1/2 pounds lean ground beef
- 1 small onion small-diced
- 4 cloves garlic minced
- 24 ounces marinara sauce
- 1/4 cup grated parmesan cheese
- 1 teaspoon dried Italian seasoning
For the rolls:
- 12 dried lasagna noodles
- 15 ounces ricotta cheese
- 4 cups shredded mozzarella cheese
- 1/4 cup + 2 tablespoons grated parmesan cheese
- 1 large egg
- 1 teaspoon dried Italian seasoning
- Fresh chopped parsley for garnish optional
Instructions
- Preheat the oven to 350°F. Add the ground beef, onion, and garlic to a large skillet over medium heat. Cook, breaking up the meat until there is no pink left and the onions are softened for about 10 minutes. Drain any excess fat/liquid.1 & 1/2 pounds lean ground beef, 1 small onion, 4 cloves garlic
- Add the marinara sauce, parmesan cheese, and Italian seasoning to the pan, mix it in well. Bring to a simmer and simmer for 5 minutes, stirring occasionally, take off the heat, and set aside.24 ounces marinara sauce, 1/4 cup grated parmesan cheese, 1 teaspoon dried Italian seasoning
- Boil the lasagna noodles per the package directions. Drain and run cold water over the noodles to stop the cooking process. Place the noodles on a lightly greased sheet tray, spray the tops lightly with cooking spray as well. Cover with a clean kitchen towel and set aside.12 dried lasagna noodles
- In a large bowl stir together the ricotta, 2 cups of the mozzarella cheese, ¼ cup of the parmesan cheese, egg, and Italian seasoning until well combined.15 ounces ricotta cheese, 4 cups shredded mozzarella cheese, 1/4 cup + 2 tablespoons grated parmesan cheese, 1 large egg, 1 teaspoon dried Italian seasoning
- Add ½ -1 cup of the sauce on the bottom of a 9×13 baking dish, making sure to cover the bottom of the dish.
- On a clean work surface place a lasagna noodle. Smear about 3 tablespoons of the ricotta filling over the length of the noodle. Roll the noodle over the filling to form a package. Place the roll seam side down into the prepared baking dish. Repeat with the remaining noodles and cheese filling.
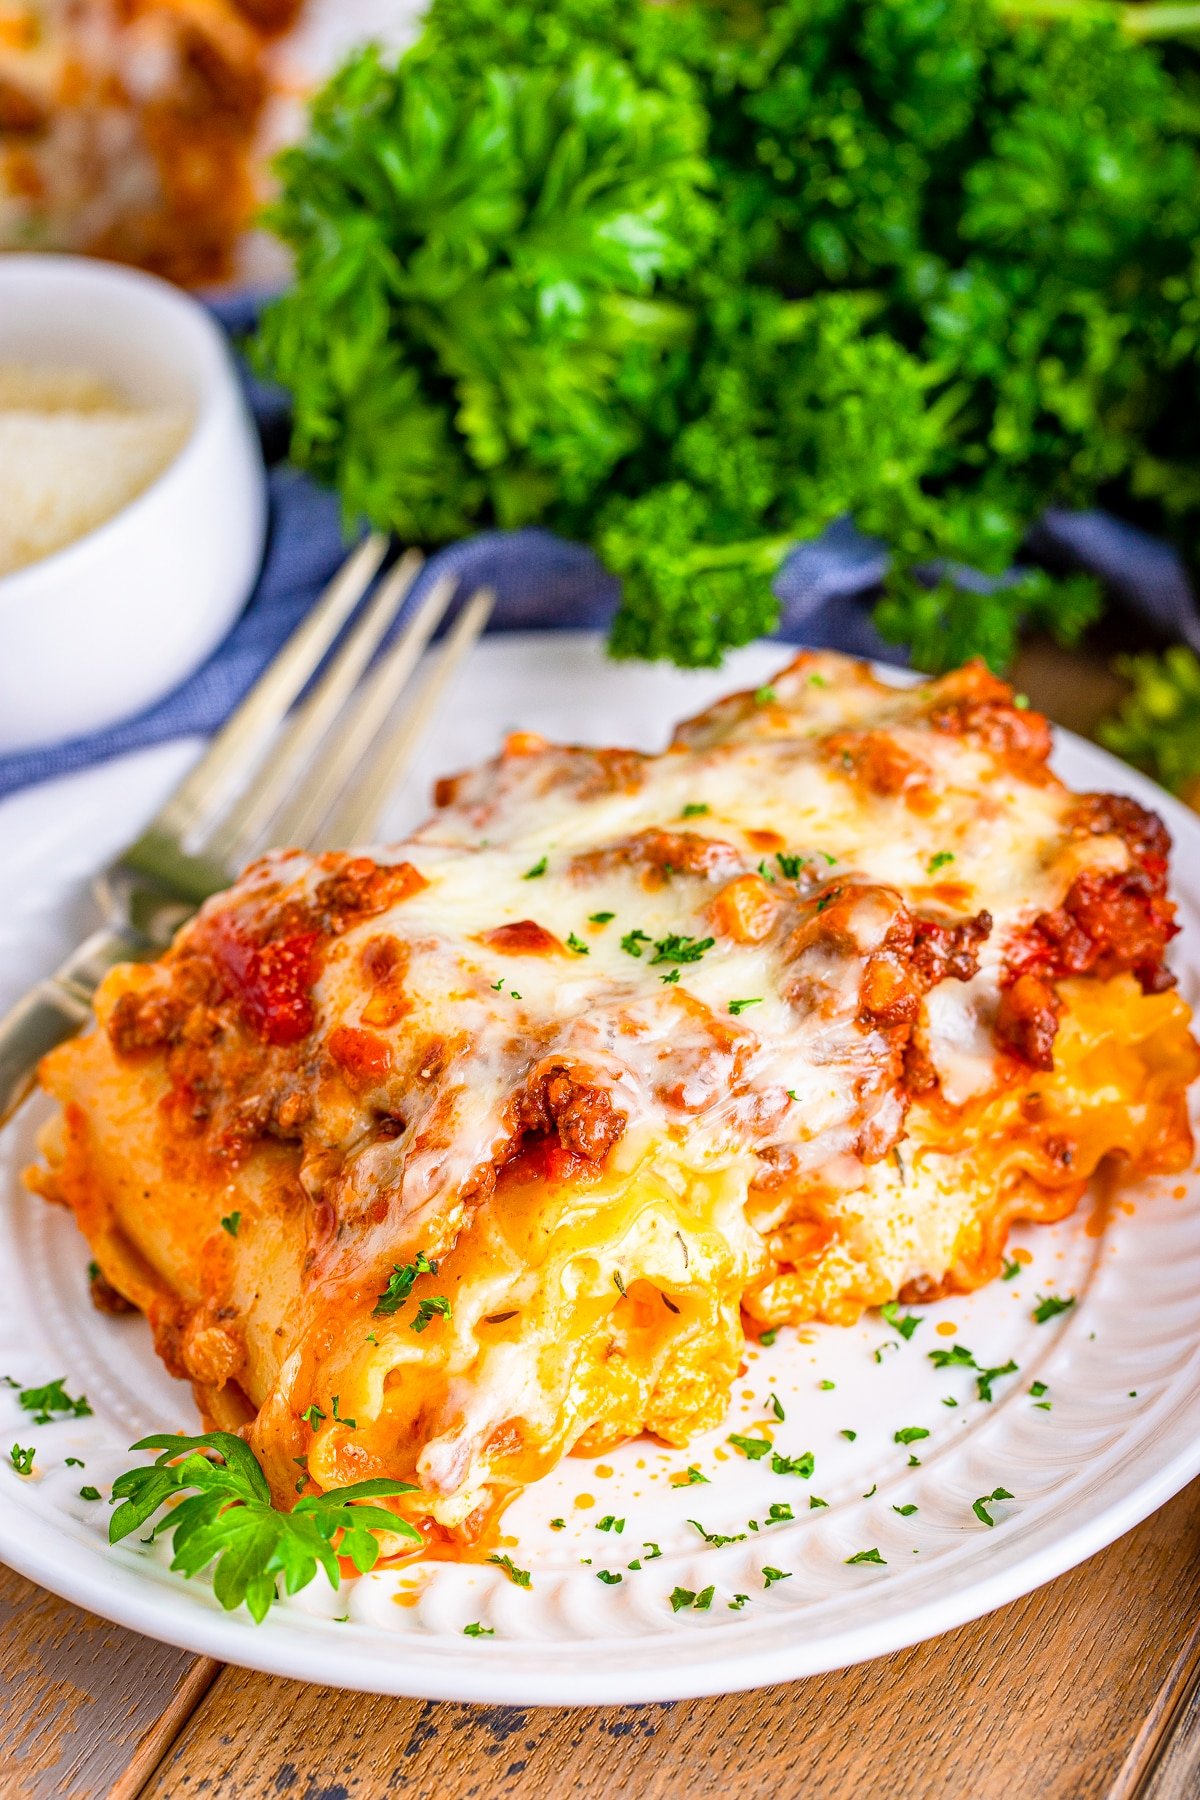
- Top the rolls with the remaining sauce. Add the remaining mozzarella cheese and parmesan. Cover with nonstick foil or spray a piece of foil with cooking spray and cover the dish. Bake for 45 minutes or until bubbly. Take the foil off and bake for an additional 10-15 minutes to lightly brown the cheese. Serve with a garnish of fresh chopped parsley, optional.Fresh chopped parsley for garnish
Notes
- Boil noodles just until they’re al dente, or firm to the bite to ensure they don’t get soggy.
- For the best results, use a good quality marinara sauce or make your own at home, just keep the ratios the same.
- Be sure to drain your ground beef well to avoid a greasy sauce.
- Spraying the lasagna noodles with a little cooking spray prevents them from sticking together.
- Don’t overfill the rolls; it might seem like a small amount of filling, but it’s the perfect amount.
- Let the roll-ups rest for a few minutes after coming out of the oven. This allows the filling to set and makes serving easier.
Nutrition
Love This Recipe?
Follow @ThisSillyGirlsKitchen on Instagram and @danadevolk on Pinterest for more!


