This post may contain affiliate links.
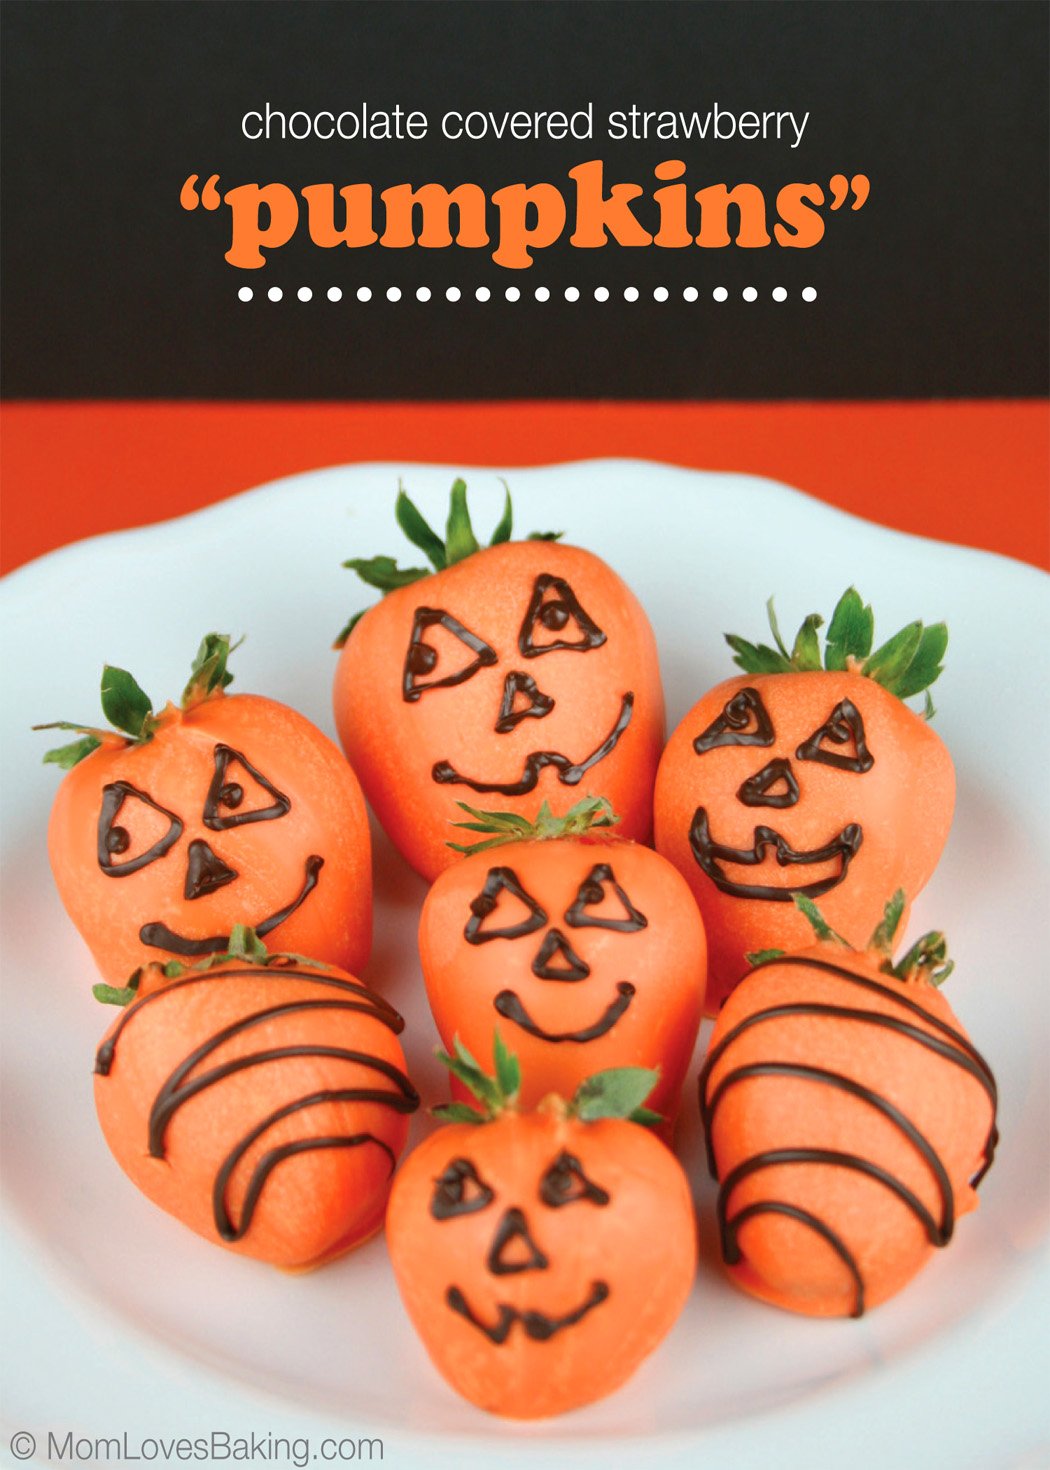
Halloween chocolate covered strawberries turn three simple ingredients into the cutest little jack-o-lantern pumpkins on the party table. Fresh berries get dipped in bright orange candy melts, then piped with goofy chocolate faces, and they come together in about fifteen minutes of hands-on time. My girls fight over decorating duty every October. If you love a no-bake treat like our candied grapes, these pumpkin strawberries are about to become a new tradition.

All you need is a carton of strawberries, a bag of orange candy melts, and a handful of chocolate chips to make a whole tray of grinning little pumpkins.
Halloween Chocolate Covered Strawberries Quick Look
- 🕒 Prep Time: 15 minutes
- 🌡️ Cook Time: 0 minutes
- ⏳ Total Time: 35 minutes
- 🍽️ Serving: 10 servings
- ⚡ Calories: 115kcal
- 🌶️ Flavor Profile: Sweet, juicy strawberries in a crisp orange candy shell
- ✋ Difficulty: Easy, no oven required, as simple as our chocolate covered pretzels
Quick Answer
Rinse and dry strawberries very well, then dip each one in melted orange candy melts using the leaves as a handle. Set them on parchment and chill until the shell hardens. Melt semisweet chocolate chips in a piping bag, snip a tiny corner, and pipe jack-o-lantern faces and stem lines onto each pumpkin. Chill again until set and serve.
Jump to:
- Halloween Chocolate Covered Strawberries Quick Look
- Quick Answer
- Why This Recipe Works
- Why You’ll Love This Recipe
- Key Ingredients
- Variations and Substitutions
- How to Make Halloween Chocolate Covered Strawberries
- Recipe Tips & Tricks
- Serving Ideas and Suggestions
- Halloween Chocolate Covered Strawberries FAQs
- Other Recommended Easy Halloween Treats
- Halloween Chocolate Covered Strawberries
Why This Recipe Works
Click to see the technique science
- Dry strawberries are everything. Candy melts seize up around any moisture, so berries that are rinsed and patted completely dry give you a smooth, even orange shell that actually sticks.
- The leaves become a built-in handle. Holding each berry by its green top lets you dip cleanly all the way down without fingerprints in the candy, and the leaves double as the pumpkin stem.
- Candy melts set firm and glossy. Unlike plain melted chocolate, orange candy melts harden into a crisp, snappy shell at room temperature and in the fridge, so the pumpkins hold their shape on the tray.
- A piping bag makes tidy faces. Melting the chocolate chips right in a bag and snipping a tiny corner gives you fine control for triangle eyes and a jagged grin without any special tools.
- A quick chill locks it all in. Fifteen minutes in the fridge between dipping and decorating keeps the shell firm so the piped faces sit on top instead of sinking in.
- Three ingredients, zero baking. With just berries, candy melts, and chocolate chips, this is a no-bake project kids can help with start to finish.
Why You’ll Love This Recipe
- They are an adorable, no-bake Halloween treat that comes together in minutes with only three ingredients.
- Kids love helping dip and decorate, which makes them a perfect rainy-October-afternoon activity.
- They look impressive on a party spread next to other easy treats like our dirt cupcakes, with almost no effort.
Key Ingredients
Just three ingredients stand between you and a tray of pumpkin strawberries. Quality and dryness matter more than quantity here.
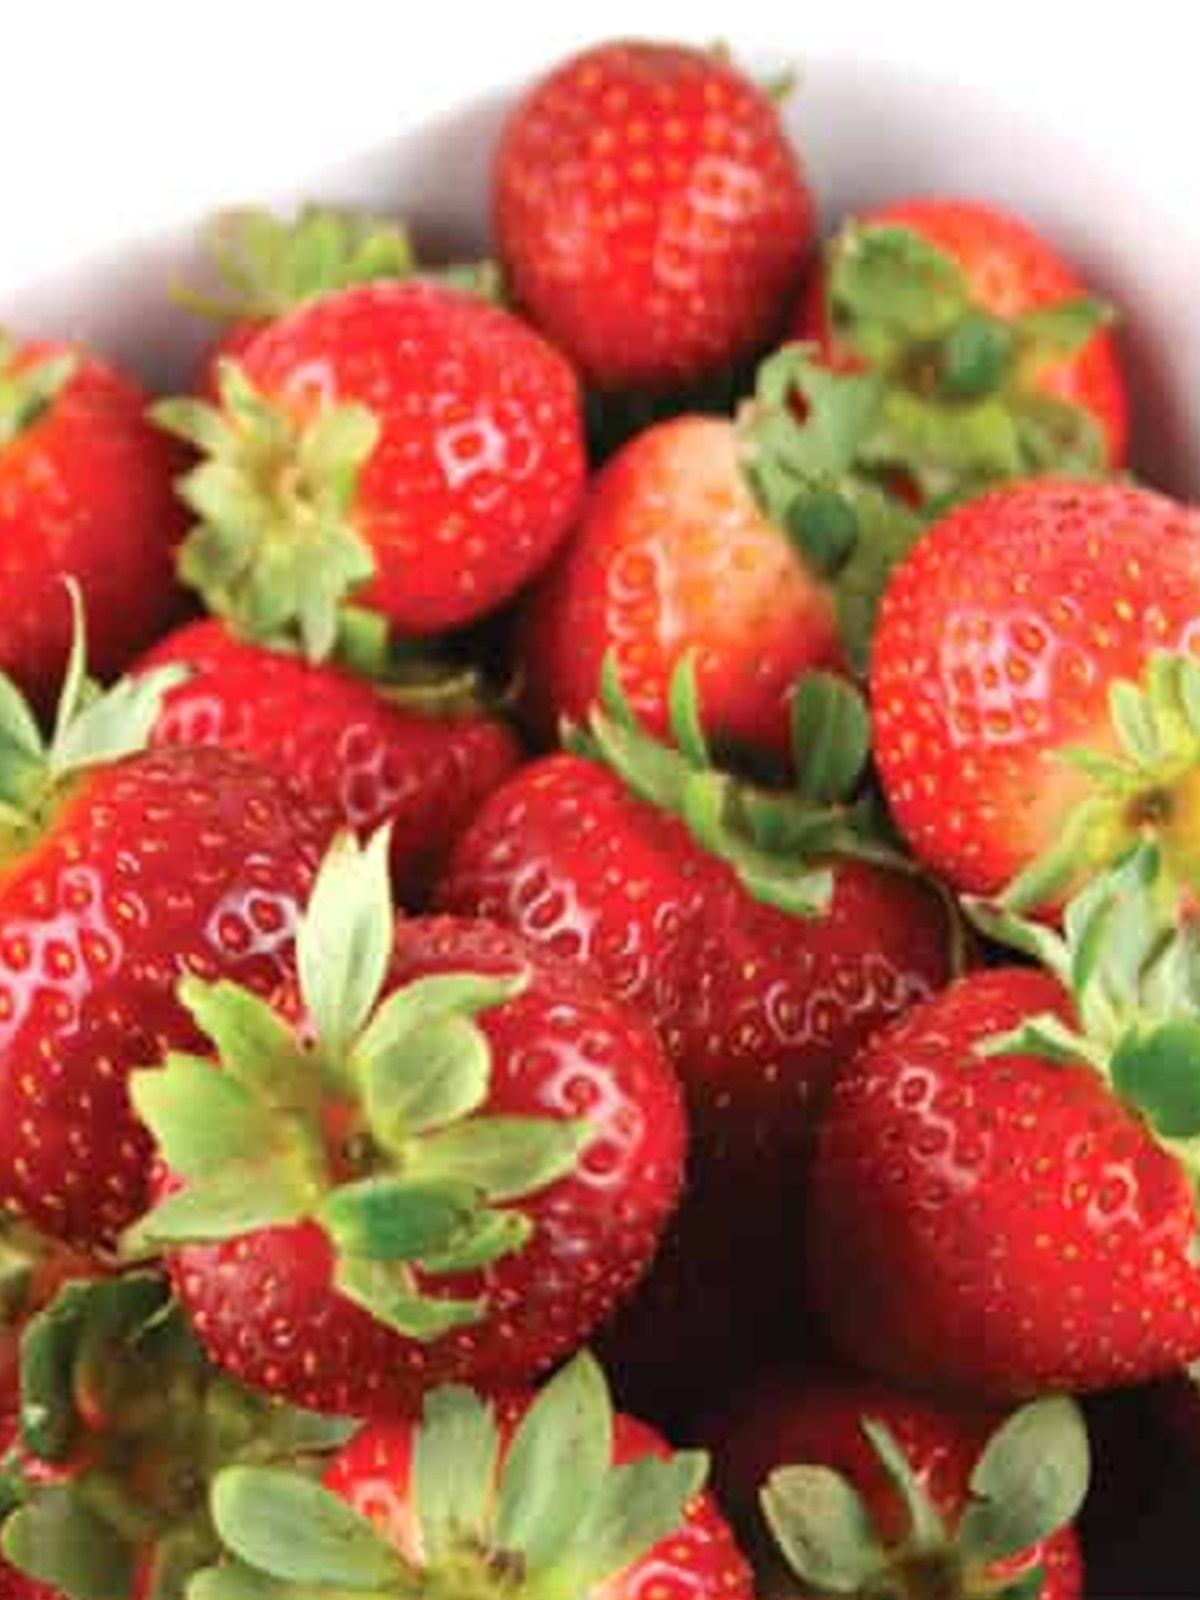
- Strawberries: Choose firm, dry, similar-sized berries with fresh green leaves still attached. The leaves become the stem and handle.
- Orange candy melts: These give the smooth, vibrant pumpkin-orange shell that sets firm at room temperature. Wilton candy melts work great.
- Semisweet chocolate chips: A small amount, melted in a piping bag, draws the jack-o-lantern faces and stem details on top.
See recipe card for exact quantities.
Variations and Substitutions
These pumpkin strawberries are easy to dress up. Here are a few fun spins.
- Add a green stem: Pipe a little green candy melt at the top for a more realistic pumpkin look.
- Try other shapes: Use white candy melts and black chocolate for ghost strawberries, or red for spooky apples.
- Sprinkle them: Dip the wet candy shell in orange sanding sugar for extra sparkle before it sets.
- Make ghosts too: Dip a few berries in white candy melts and add chocolate eyes for a mixed Halloween tray.
- Go simple: Skip the faces and just leave them as smooth orange pumpkins, the way we keep our candied grapes fuss-free.
How to Make Halloween Chocolate Covered Strawberries
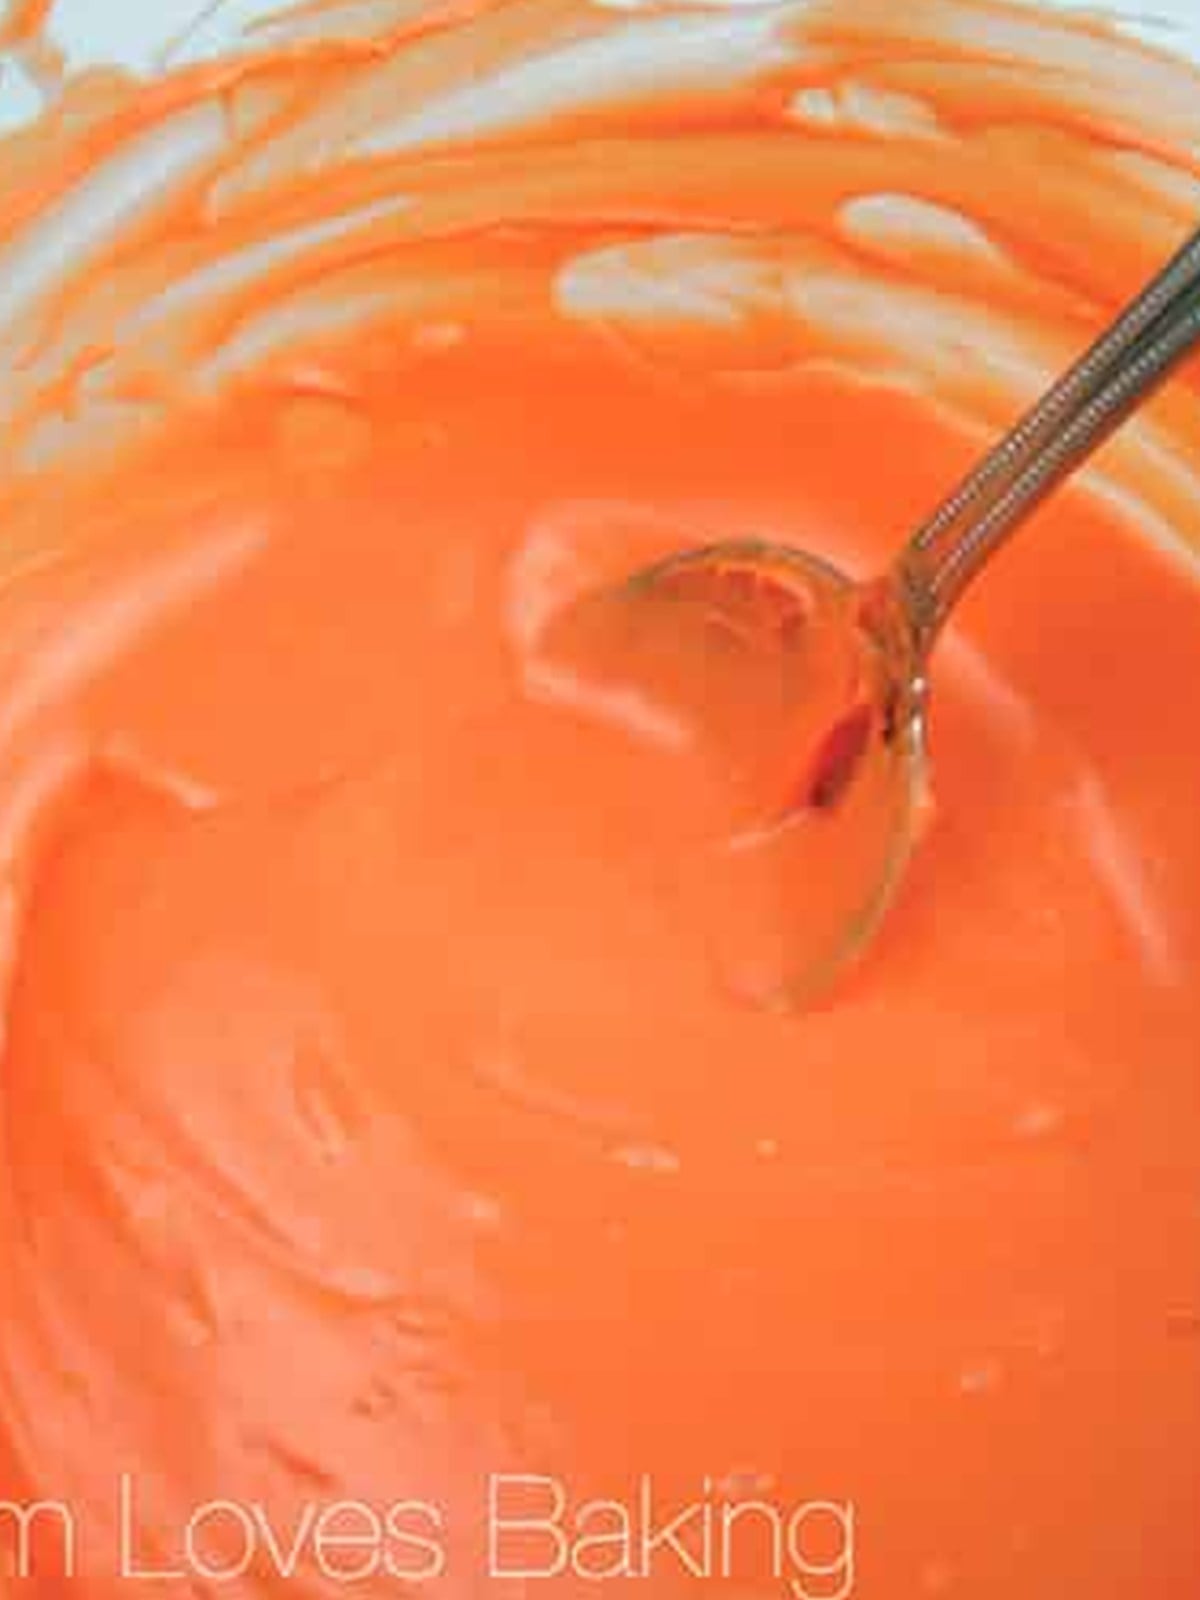
- Line a large cookie sheet with parchment or wax paper. Place the orange candy melts in a microwave-safe bowl and microwave on high for 1 minute, then stir. Microwave 30 seconds more and stir until completely smooth.
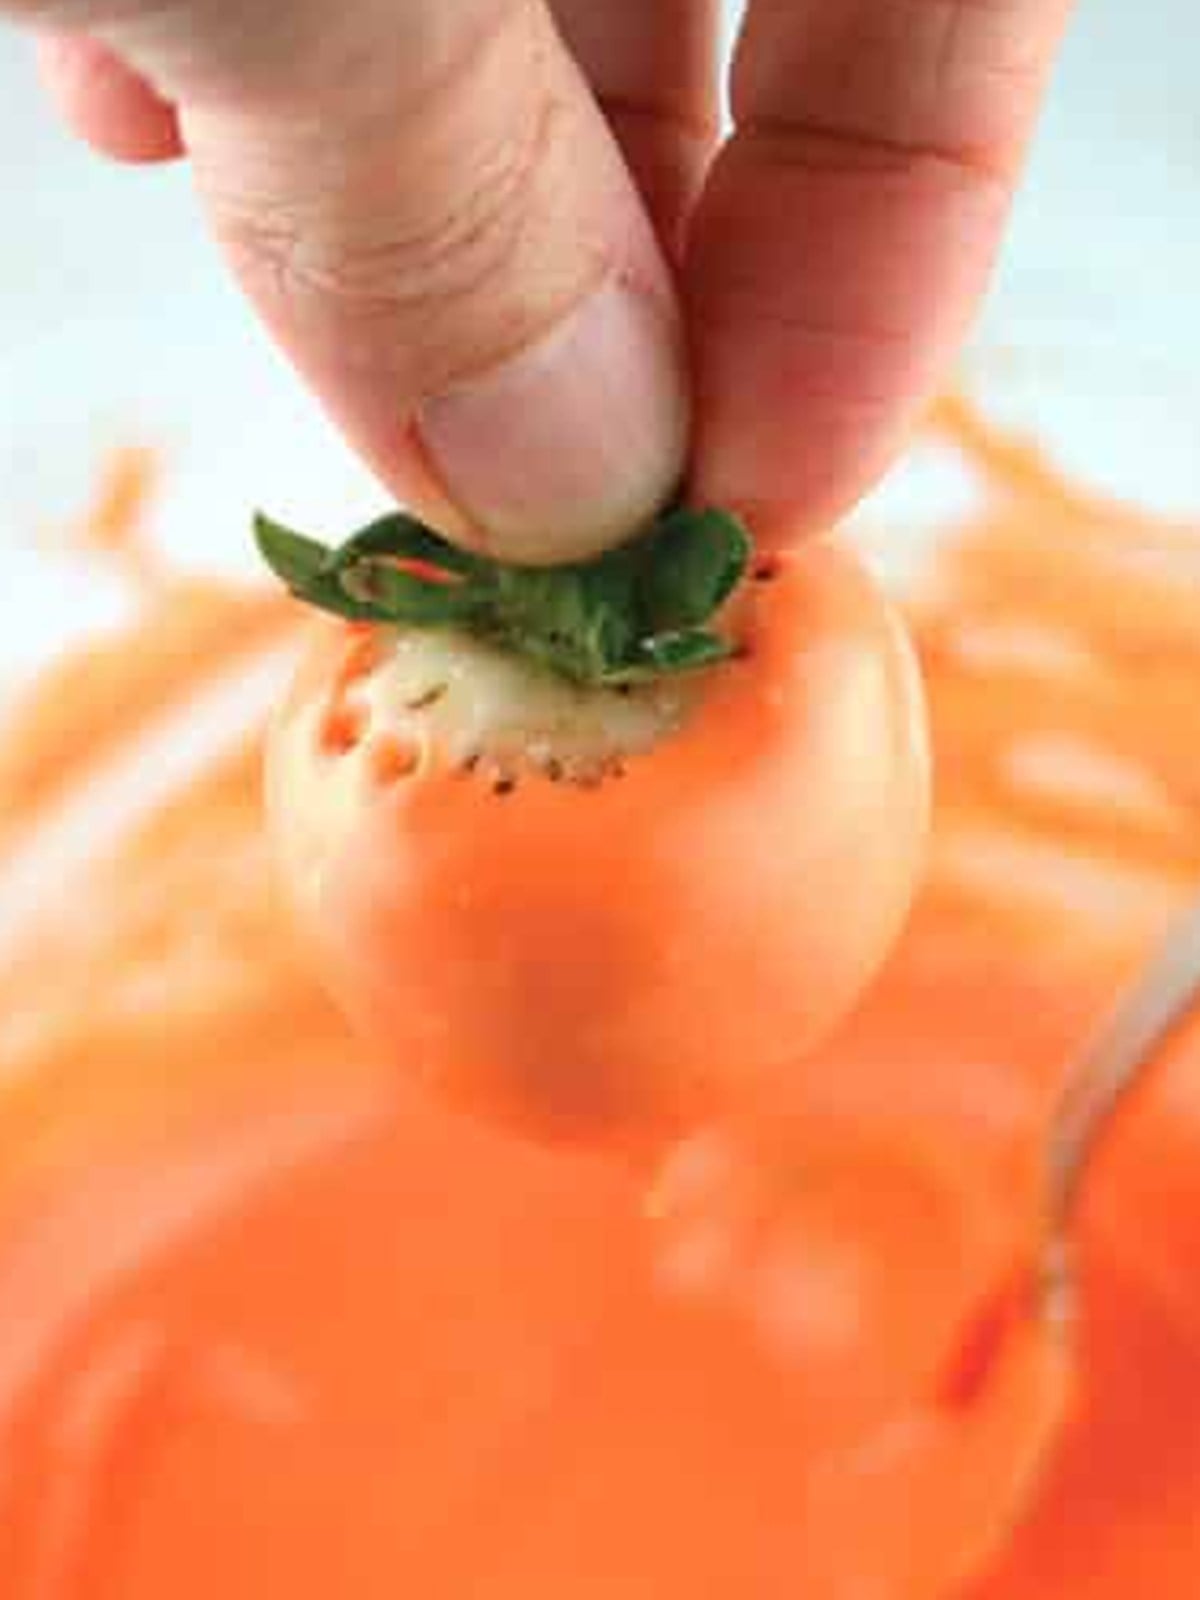
- Dip each strawberry into the melted candy using the green leaves as a handle, covering the whole berry except the leaves. Let the excess drip off and set the dipped berries on the prepared sheet. Refrigerate for 15 to 20 minutes until the shells are firm.
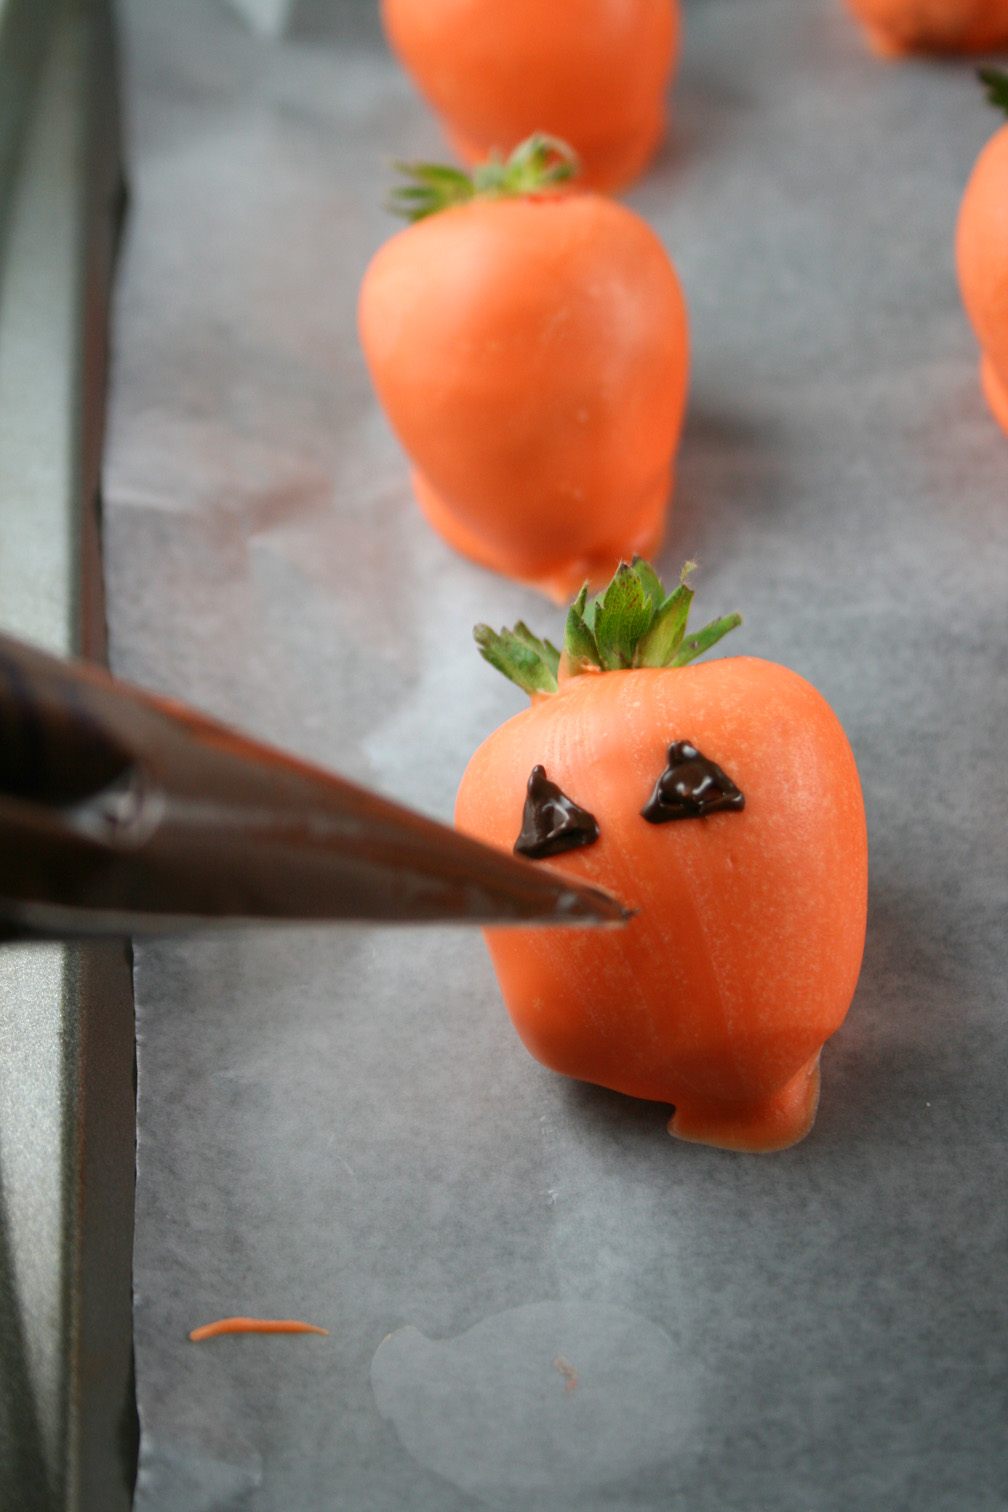
- Pour the chocolate chips into a piping bag and microwave on high for 1 minute, then massage the bag until the chocolate is fully melted. Snip a tiny corner off the tip and pipe jack-o-lantern faces or stripes onto each chilled pumpkin.

- Return the decorated strawberries to the refrigerator for another 15 to 20 minutes, or until the chocolate faces are completely set. Serve right away or keep chilled until your Halloween party.
Recipe Tips & Tricks
- Dry the berries thoroughly. Rinse them, then pat each one completely dry with paper towels. Any water will make the candy melts seize and turn grainy.
- Work with room-temperature berries. Cold, condensation-covered strawberries fresh from the fridge can cloud the candy shell, so let them come to room temperature first.
- Do not overheat the candy melts. Microwave in short bursts and stir often. Scorched candy gets thick and lumpy and will not coat smoothly.
- Tap off the excess. Gently tap your wrist after dipping so a thin, even coat sets up instead of a thick puddle at the base.
- Let the shell set before piping. A firm orange shell gives the chocolate faces a surface to sit on so they do not smear.
- Make them the same day you serve. Dipped strawberries are best within a day, since the berries release moisture over time.
Serving Ideas and Suggestions
These pumpkin strawberries are the star of any Halloween dessert table. Pile them on a white platter so the orange really pops, and tuck a few leaves or fake spiderwebs around the base for a spooky touch. They look right at home next to other handheld treats and disappear fast at class parties and trick-or-treat gatherings.
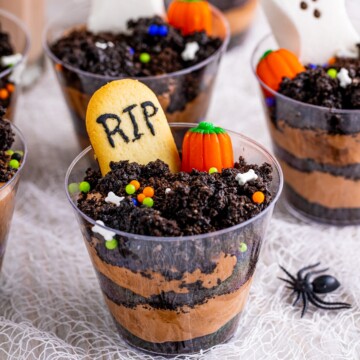
Build a whole no-bake Halloween spread by serving them alongside our graveyard dirt cups and a bowl of chocolate covered pretzels so there is a fruity option in the mix of sweets.
They also make a thoughtful homemade gift. Nestle a few in a small treat box lined with orange tissue and hand them out to teachers and neighbors. Keep them refrigerated until the last possible minute so the berries stay fresh and the candy shell stays crisp.
Halloween Chocolate Covered Strawberries FAQs
For the best texture, make them the same day you plan to serve. Dipped strawberries are good for up to a day or two in the refrigerator, but the berries slowly release moisture, which can soften the candy shell over time.
Candy melts seize when they touch water or get overheated. Make sure your bowl, spoon, and strawberries are completely dry, and microwave in short bursts, stirring between each, instead of all at once. A teaspoon of coconut oil can also help loosen thick candy.
Candy melts give you the bright pumpkin-orange color and a firm shell that sets at room temperature. You can dip in regular melted chocolate, but you will lose the orange color and may need to keep them chilled so the shell stays firm.
Store them in a single layer in an airtight container in the refrigerator for up to two days. Avoid stacking them so the faces and shells do not smudge, and let them sit out for a few minutes before serving.
Freezing is not recommended. Strawberries release a lot of water as they thaw, which makes the candy shell weep and slide off. These are best made fresh and enjoyed within a day or two.
Rinse them gently, then lay them on a clean kitchen towel or paper towels and pat each one dry, including around the leaves. Let them air dry for a few minutes so there is zero moisture before they meet the candy melts.
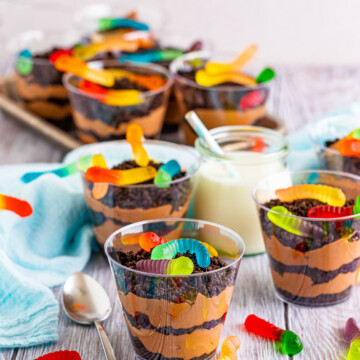

Looking for more spooky fun? Try our dirt cupcakes with gummy worms next.

Halloween Chocolate Covered Strawberries
Ingredients
Instructions
- Line a large cookie sheet with wax paper or parchment paper. Set aside. Place
- candy melts in a microwave safe bowl and microwave on high for 1 minute. Stir
- well. Microwave for 30 seconds more. Stir until smooth.
- Dip strawberries into melted candy by using the leaves as a handle. Completely
- cover all of the berry except the leaves. Place on the prepared cookie sheet.
- Once you have dipped all of the strawberries, place them in the refrigerator for
- 15-20 minutes.
- Meanwhile, pour chips in the pastry bag. Microwave on high for 1 minute. Massage
- bag until chips are completely melted. Cut a tiny corner at the tip of the
- pastry bag. Remove “pumpkins” from the refrigerator and decorate by piping
- chocolate faces on strawberries or you can also do stripes. Refrigerate for
- another 15-20 minutes or until completely set. Serve immediately or store in
- refrigerator for up to 2 days.
Nutrition
Love This Recipe?
Follow @ThisSillyGirlsKitchen on Instagram and @danadevolk on Pinterest for more!


Hi! I have chosen these adorable strawberries as my favorite & feature on this week’s Snickerdoodle Sunday Link Party!! Congrats! Please come back at 5:00 EST tomorrow to link up your latest makes and bakes.
🙂
Sarah (Sadie Seasongoods)
Just too cute… pinned. Thanks for coming to Weekend Bites (formally Foodie Friday).
Totally just pinned this for an upcoming Halloween party!!! Now I’m terrified mine won’t come out this cute, but I’m going to give it a try. 🙂 Thank you again for linking up at Snickerdoodle Sunday…I hope you’ll come back later this week with your latest makes & bakes!
Sarah (Sadie Seasongoods)
OMG!! Those are so cute. The pictures are just as adorable. The orange color adds to the Fall-feel 😀
Thank you for linking up with us on Wake-Up Wednesdays. I am Tanya from Kreative Korner, a co-host for the party.
http://TANYAANURAG.BLOGSPOT.COM/
This is brilliant! Pinning. And loving. So so much. Thank you for sharing this on SITS!
Hi, Dana! These are adorable!!! Pinned. 🙂
How adorable! I love these. I am visiting from Katherine’s Corner.
Those are adorable! I’ll have to remember this the next time we have a Halloween party. Pinning!
Thanks for sharing!
What an absolutely ingenious idea!!! I would make them… but I know I would eat them ALL!!! I bet they’d be the most favorite at a kids halloween party! Good work!
This is so cute! Even though it’s simple, this is one of the most creative Halloween treats I have seen! Wow!
These are just darling! How awesome to make pumpkins out of strawberries. My little ones would love it!
Love this idea! I’ll be pinning it to my fall inspired board.
How cute!!! These little “pumpkins” are adorable!!! Love it!