This post may contain affiliate links.
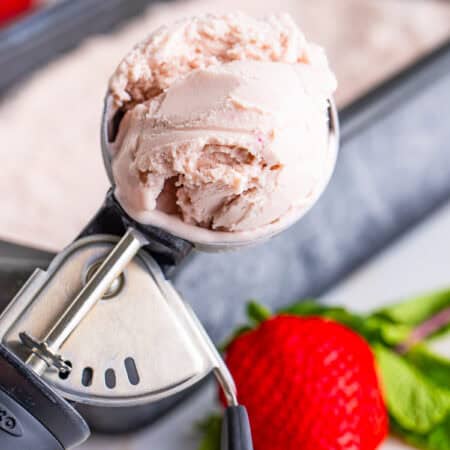
Strawberry Ice Cream made from scratch with real berries is creamier and fresher than anything from the store, and this no churn version needs just five ingredients and zero special equipment, which is why it is my go to on hot summer weekends when Maddie and Lizzie are begging for something cold. If you love easy freezer desserts, our no churn cookie dough ice cream uses the same trick.
Real strawberry puree gets folded into sweet whipped cream, and the freezer does all the work.
Strawberry Ice Cream Quick Look
- 🕒 Prep Time: 10 minutes
- 🌡️ Cook Time: 20 minutes
- ⏳ Total Time: 6 hours 30 minutes
- 🍽️ Serving: 6 servings
- ⚡ Calories: 508kcal
- 🌶️ Flavor Profile: Sweet, creamy, and bursting with fresh strawberry in every bite
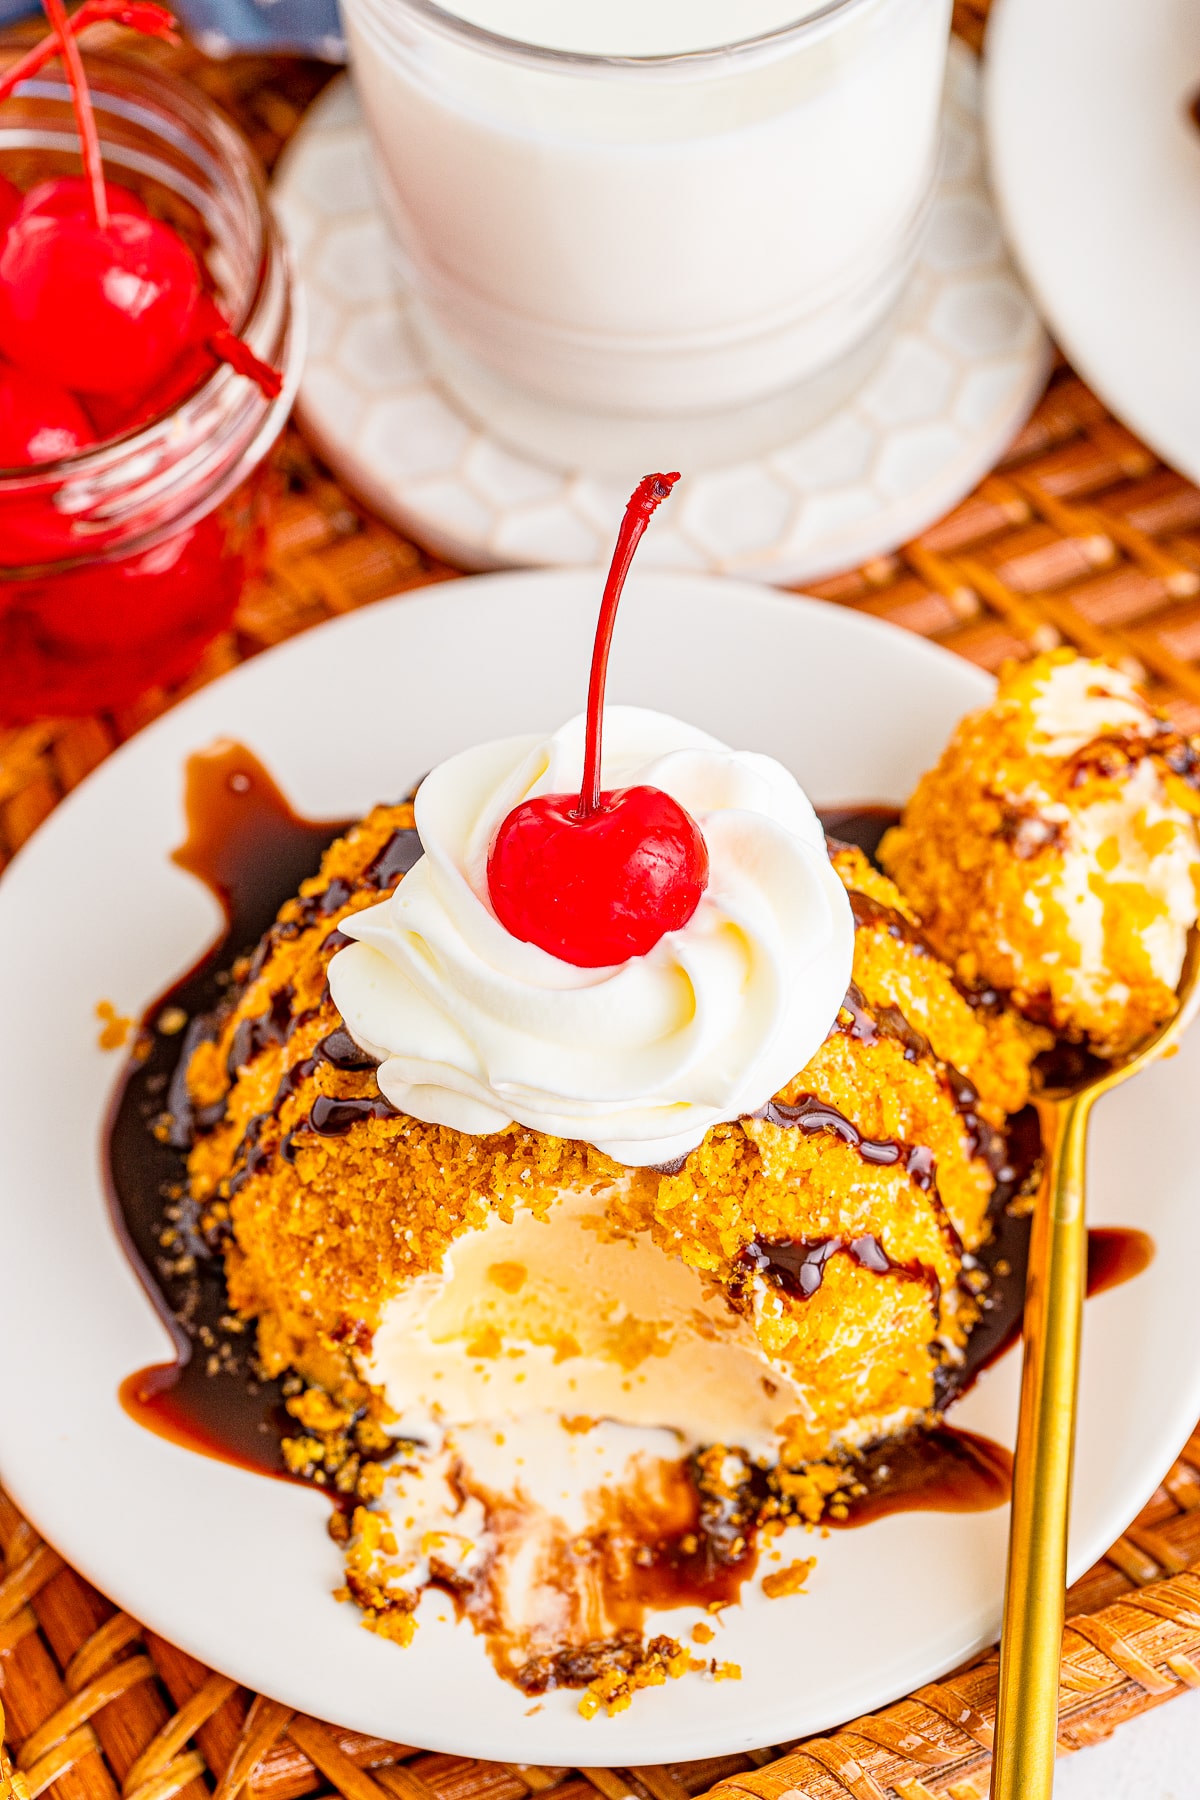
- ✋ Difficulty: Easy, on par with our homemade fried ice cream
Quick Answer
Puree a pound of fresh strawberries and press the puree through a fine mesh sieve to remove the seeds. Simmer the puree until it reduces to about half a cup, cool it, then whisk in sweetened condensed milk and vanilla. Whip heavy cream to soft peaks, slowly stream in the strawberry mixture, pour it into a 9×5 pan, and freeze for at least 6 hours until scoopable.
Jump to:
- Strawberry Ice Cream Quick Look
- Quick Answer
- Why This Recipe Works
- Why You’ll Love This Recipe
- Key Ingredients
- Variations and Substitutions
- How to Make Strawberry Ice Cream
- Recipe Tips & Tricks
- Serving Ideas and Suggestions
- Strawberry Ice Cream FAQs
- Other Recommended Frozen Dessert Recipes
- Strawberry Ice Cream
Why This Recipe Works
Click to see the technique science
- Reducing the puree concentrates flavor. Simmering the strawberries down to a half cup drives off water, so you get intense berry flavor without icy crystals in the finished ice cream.
- Straining makes it silky. Pressing the puree through a fine mesh sieve removes the seeds so every spoonful is completely smooth and creamy.
- Condensed milk replaces a custard base. Sweetened condensed milk brings sugar and rich milky body with no eggs to cook and no churning required.
- Soft peaks are the secret. Whipping the cream to soft or medium peaks traps air, which keeps the ice cream scoopable straight from the freezer.
- Streaming keeps the air in. Slowly adding the strawberry base with the mixer on low blends it evenly without deflating the whipped cream.
- A loaf pan freezes it evenly. The shallow 9×5 shape lets the ice cream freeze through in about 6 hours instead of overnight in a deep container.
Why You’ll Love This Recipe
- No ice cream machine, no churning, no custard base, just 5 simple ingredients.
- Real strawberry flavor from a full pound of fresh berries, not syrup or extract.
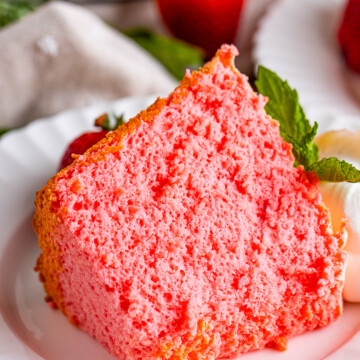
- It is the perfect partner for warm desserts like our strawberry earthquake cake.
- It delivers that same everyone asks for seconds energy as our cookies and cream ice cream.
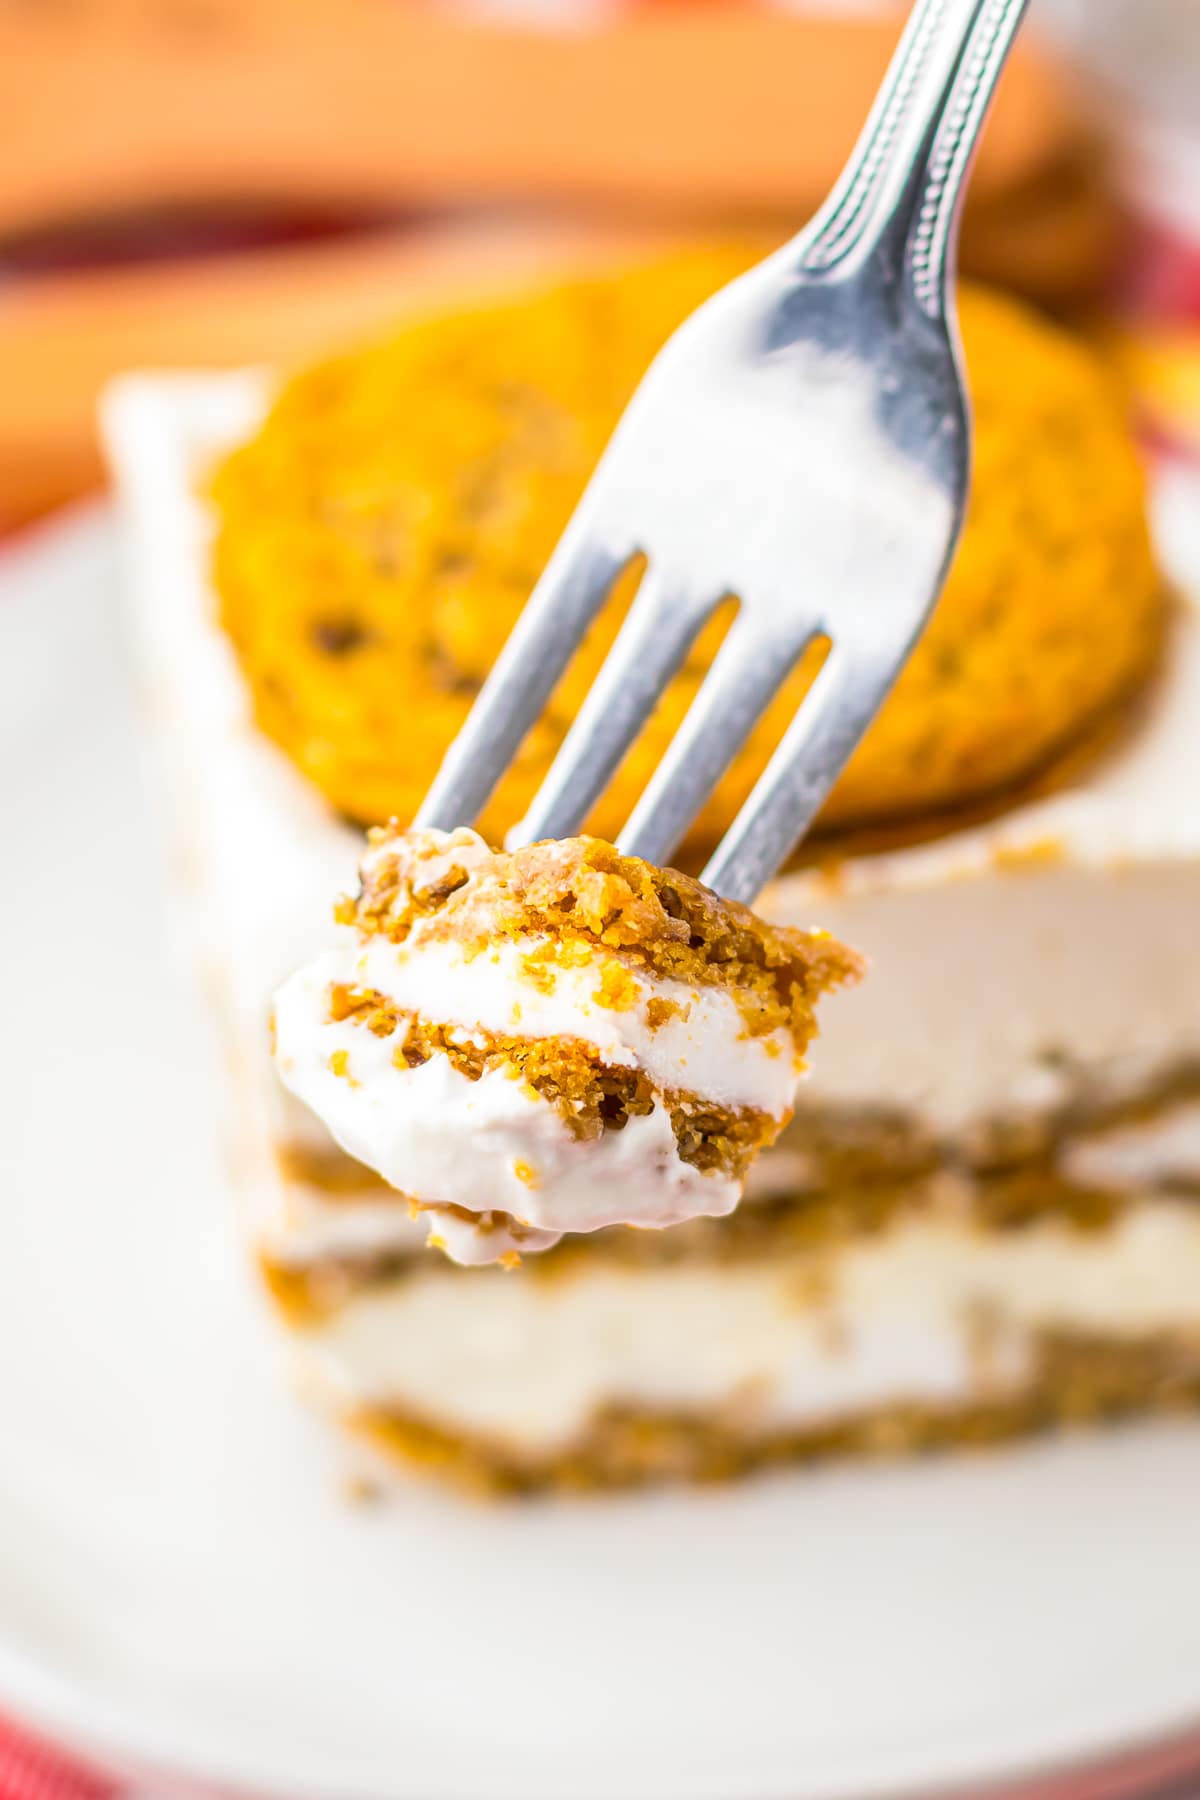
- It earns a spot in the rotation right next to our strawberry jello cake.
Key Ingredients
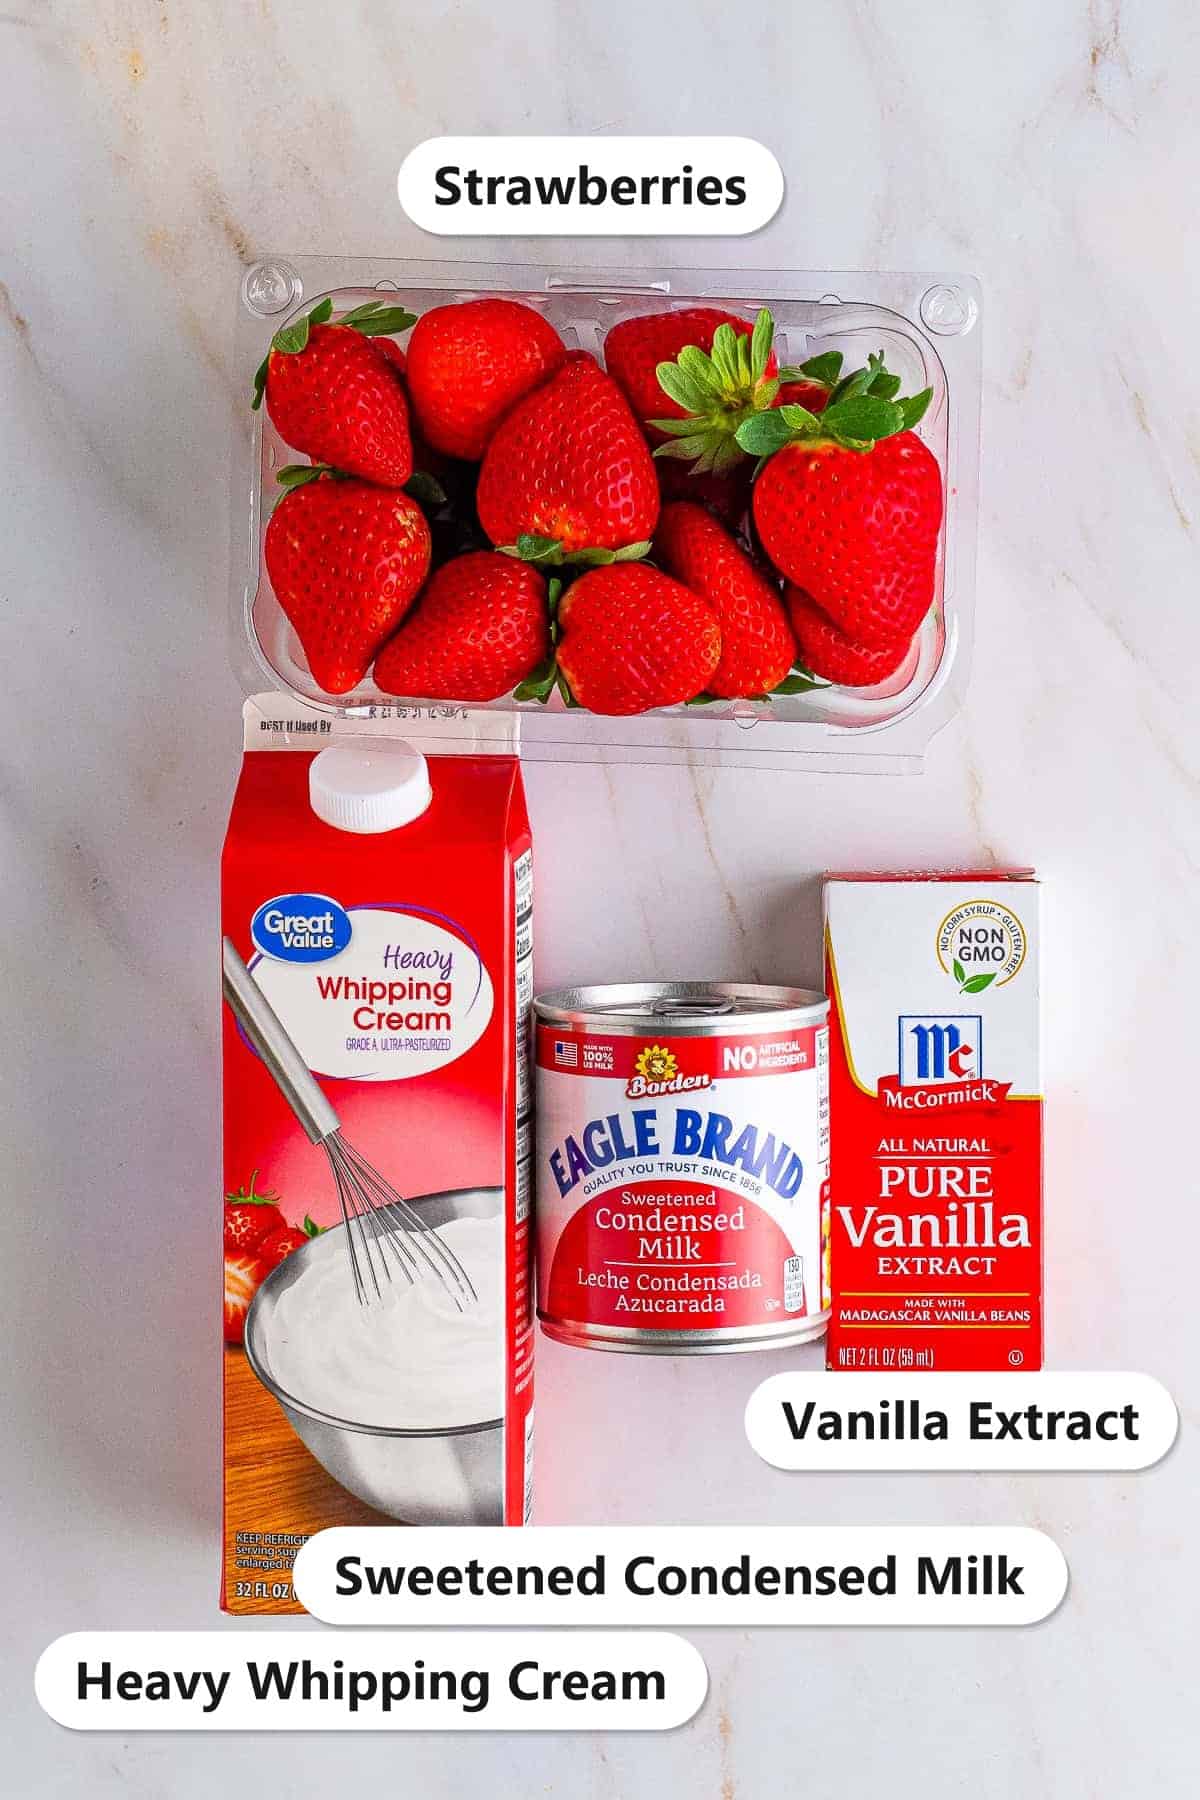
Five simple ingredients are all it takes.
- Strawberries: A full pound of fresh, ripe berries is the star. The redder and more fragrant they are, the better the flavor.
- Sweetened condensed milk: Brings the sugar and rich, creamy body that makes no churn ice cream work without a custard base.
- Heavy whipping cream: Whipped to soft peaks, it gives the ice cream its light, scoopable texture.
- Vanilla extract: A teaspoon rounds out the berry flavor and adds warmth.
- Pink food coloring: Totally optional, a drop or two deepens that classic strawberry pink shade.
See recipe card for exact quantities.
Variations and Substitutions
This base recipe loves a good twist.
- Fold in a cup of diced fresh strawberries at the end for chunky strawberry ice cream.
- Swirl in crushed golden sandwich cookies for a strawberry shortcake vibe.
- Add a ribbon of chocolate fudge sauce before freezing for a chocolate covered strawberry version.
- Swap the strawberries for another berry, or layer scoops over our strawberry angel food cake for a double berry dessert.
- If you want to switch things up, our no churn vanilla ice cream plays on similar flavors in a whole new way.
- In the mood for something different? Our yogurt bark scratches a similar itch.
How to Make Strawberry Ice Cream
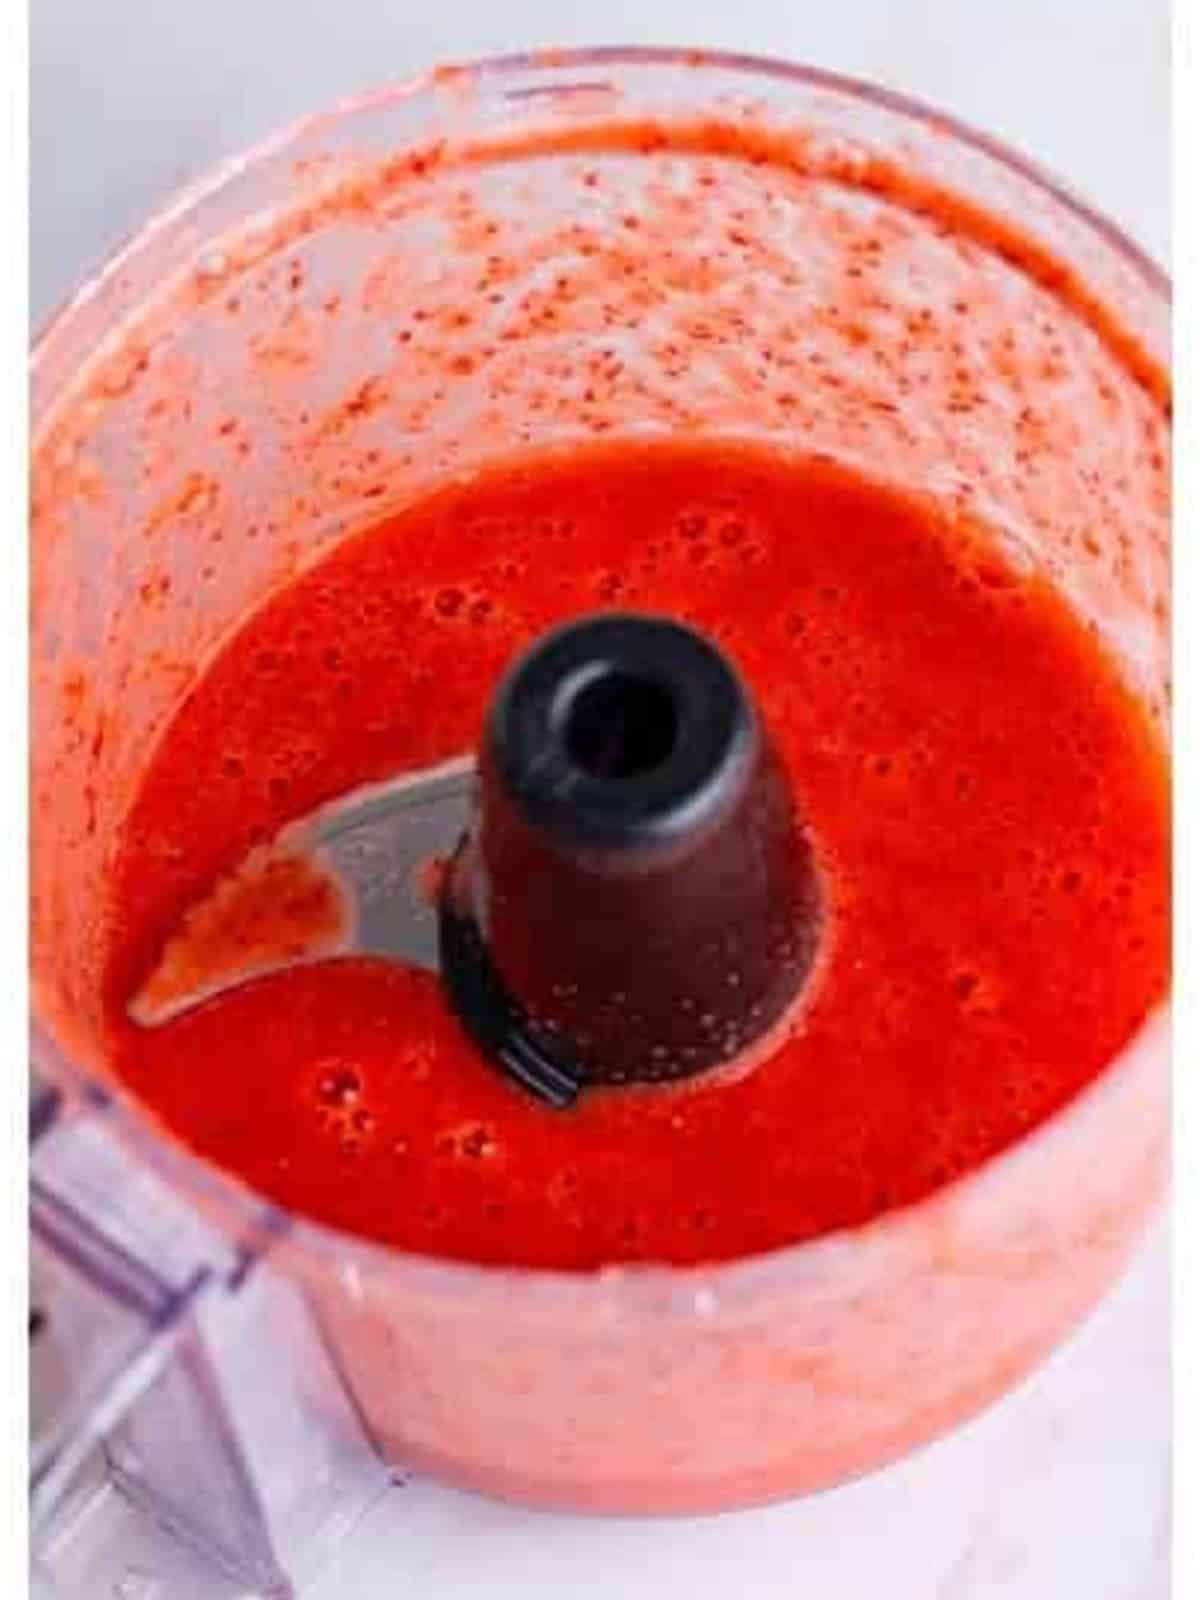
- Place the strawberries in a food processor and process until completely smooth.
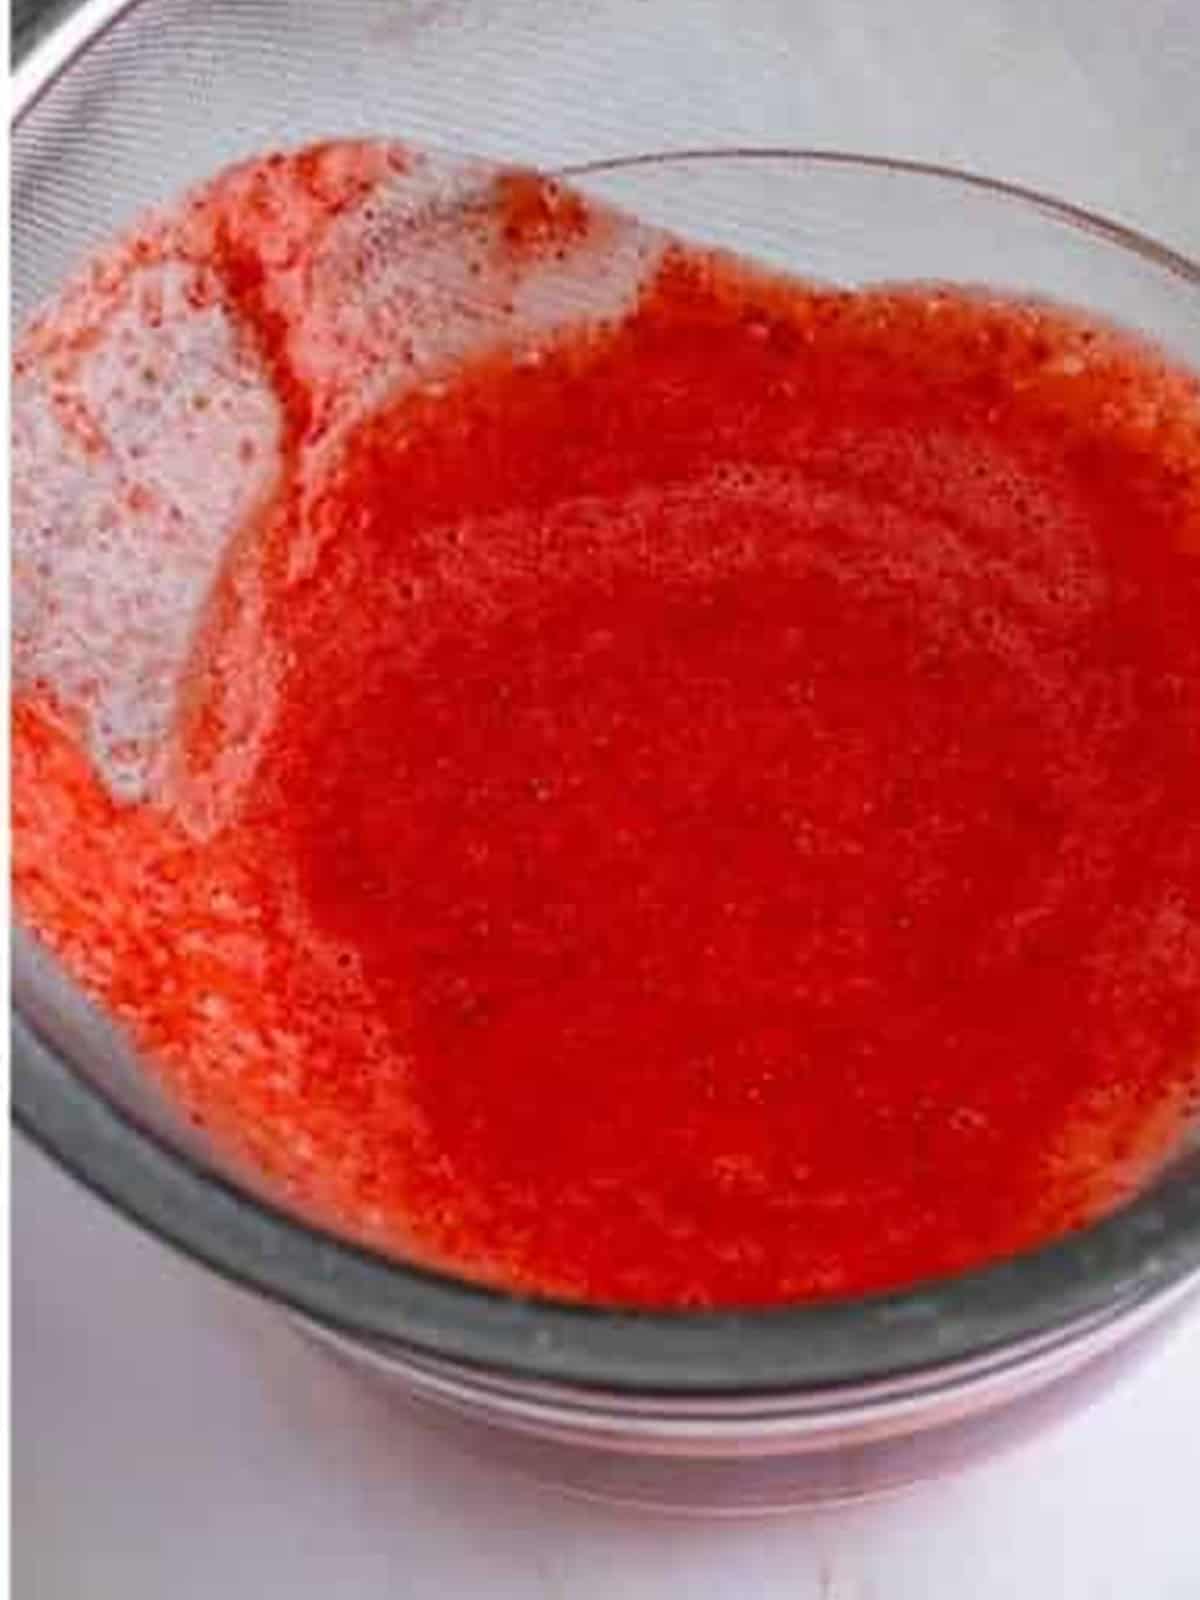
- Press the puree through a fine mesh sieve over a large bowl to remove the seeds, scraping the bottom of the sieve to get every bit of puree.
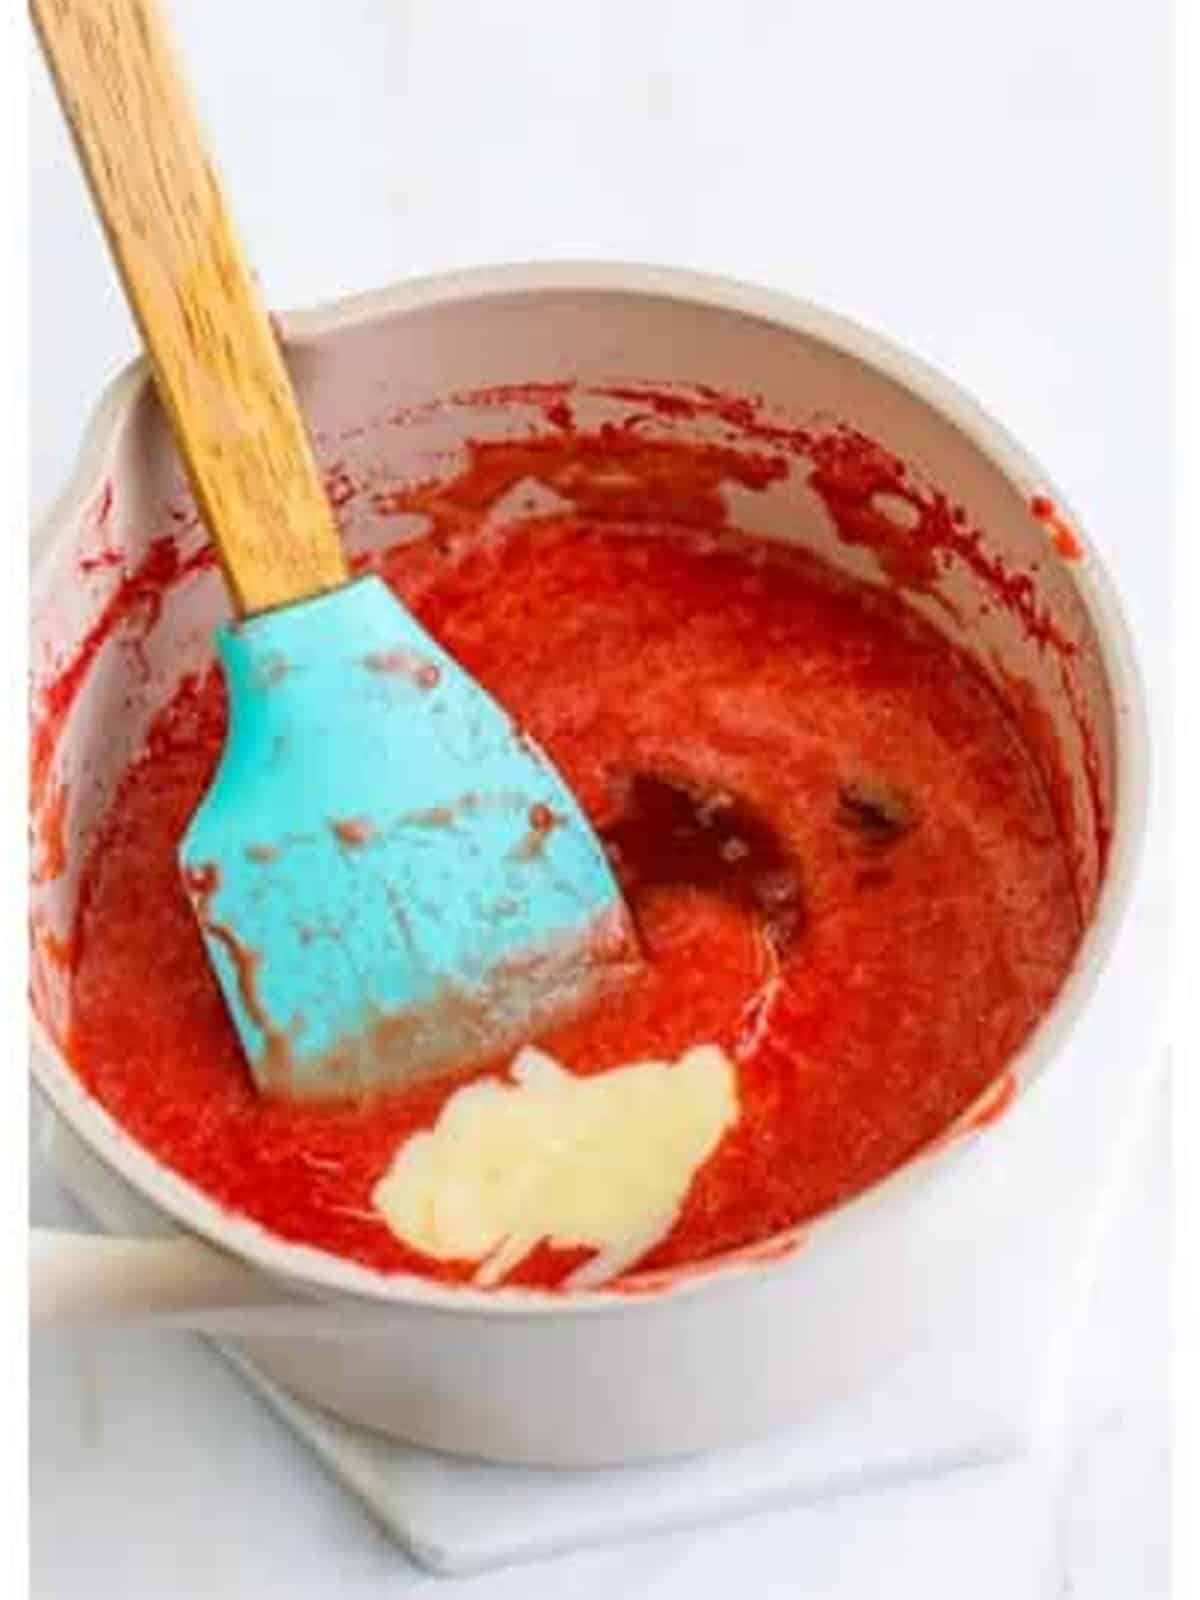
- Pour the puree into a small saucepot over medium heat and simmer, stirring constantly, until reduced to about 1/2 cup, 15 to 20 minutes. Cool to room temperature, then whisk in the condensed milk and vanilla.
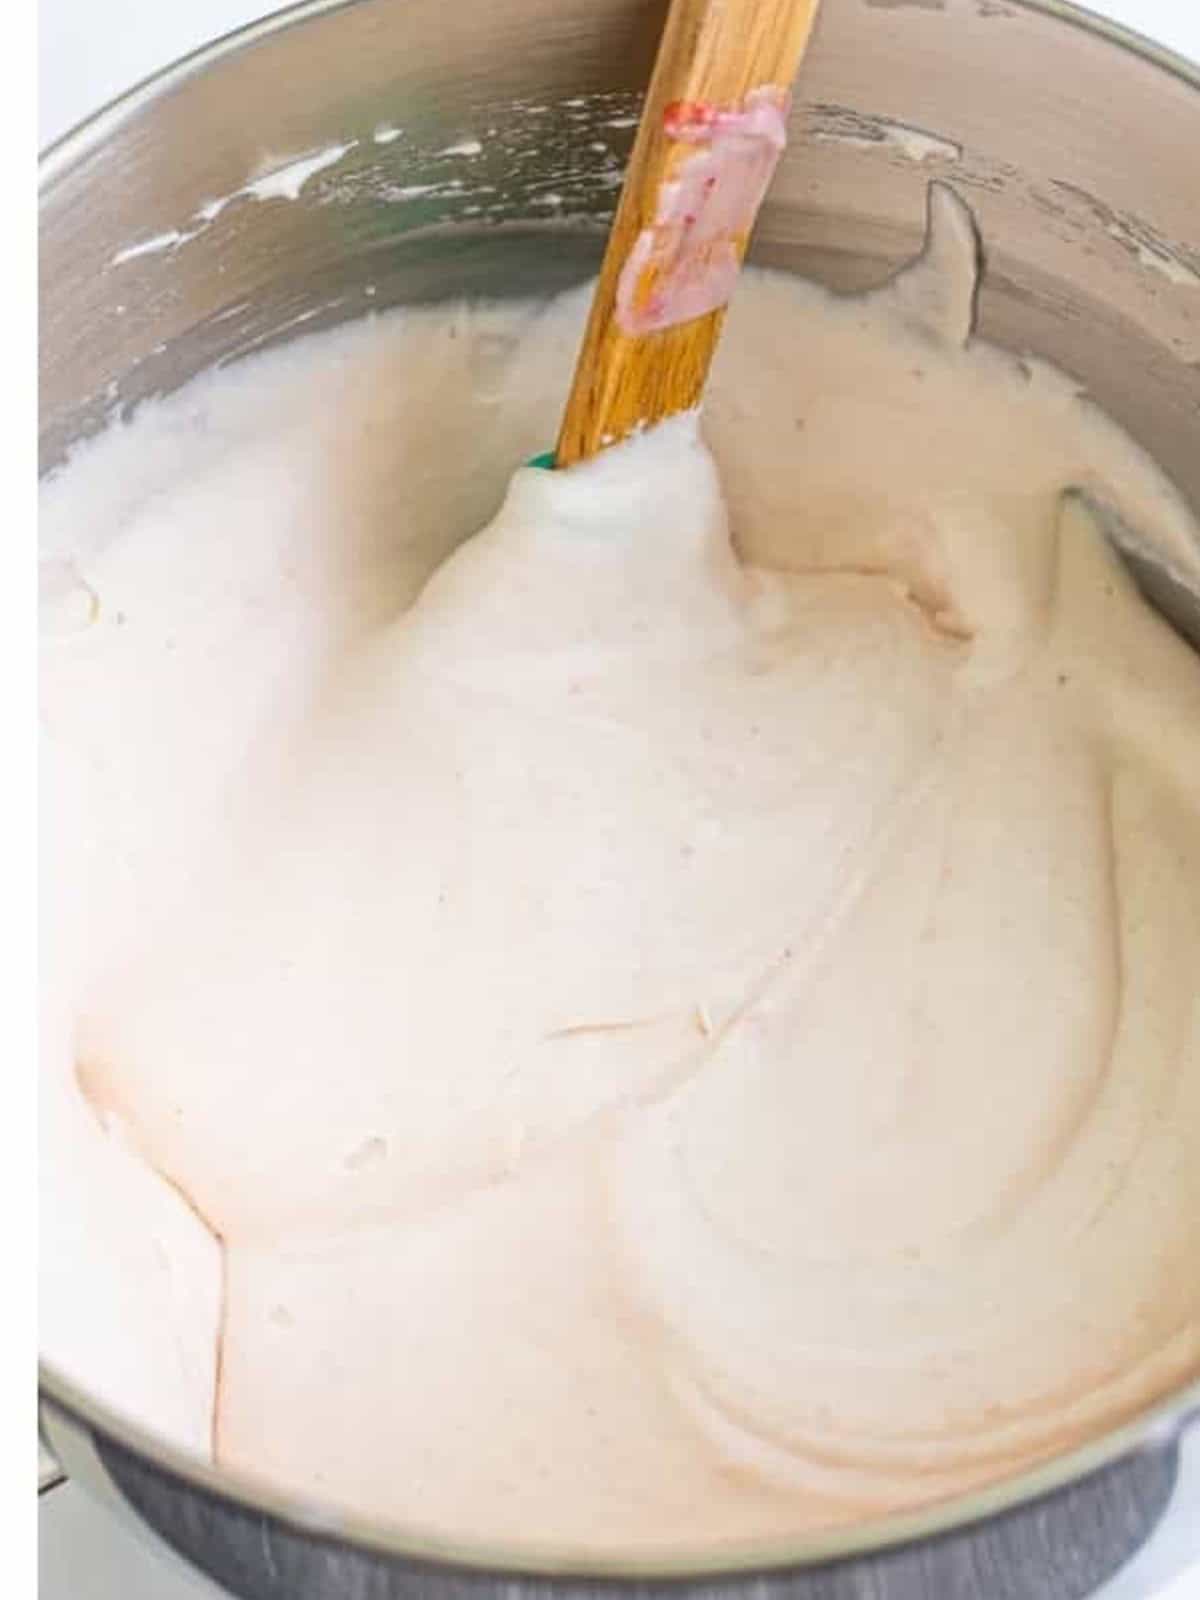
- Whip the heavy cream in a large bowl with a hand mixer or stand mixer until soft to medium peaks form.
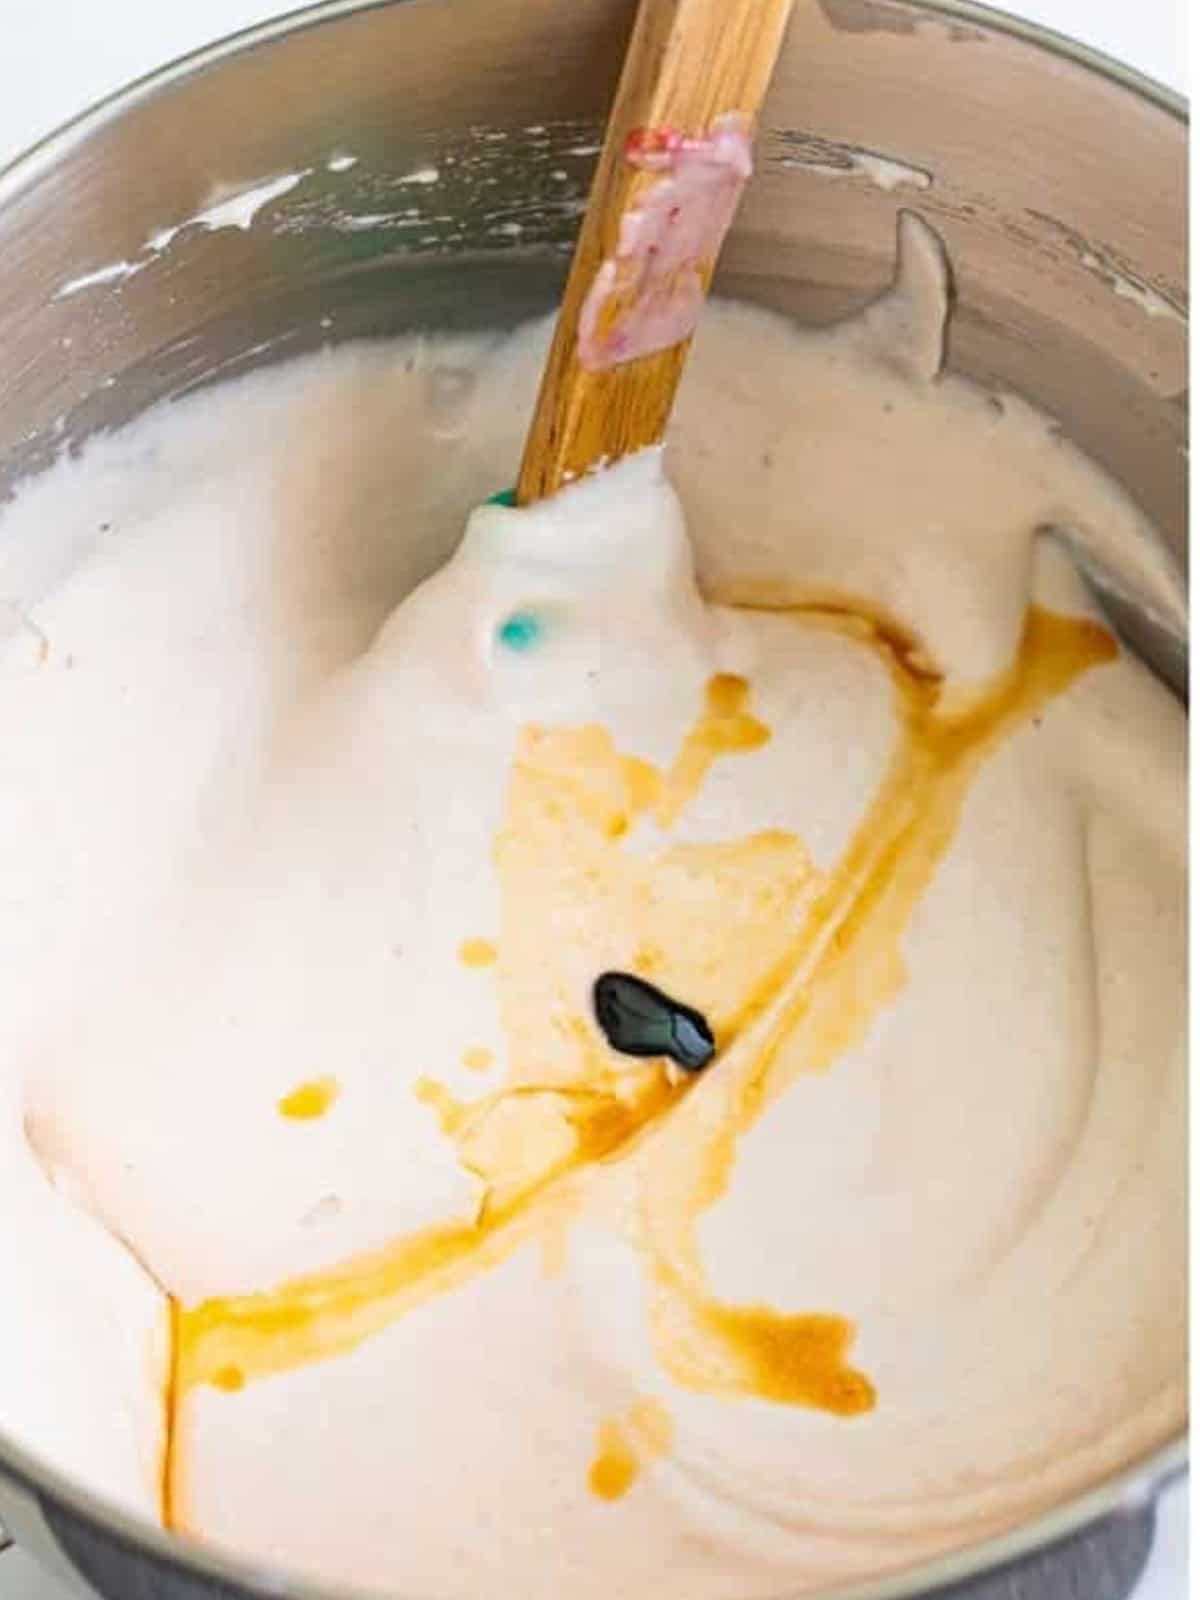
- With the mixer on low, slowly stream in the strawberry mixture until fully incorporated, then stir in pink food coloring if using.
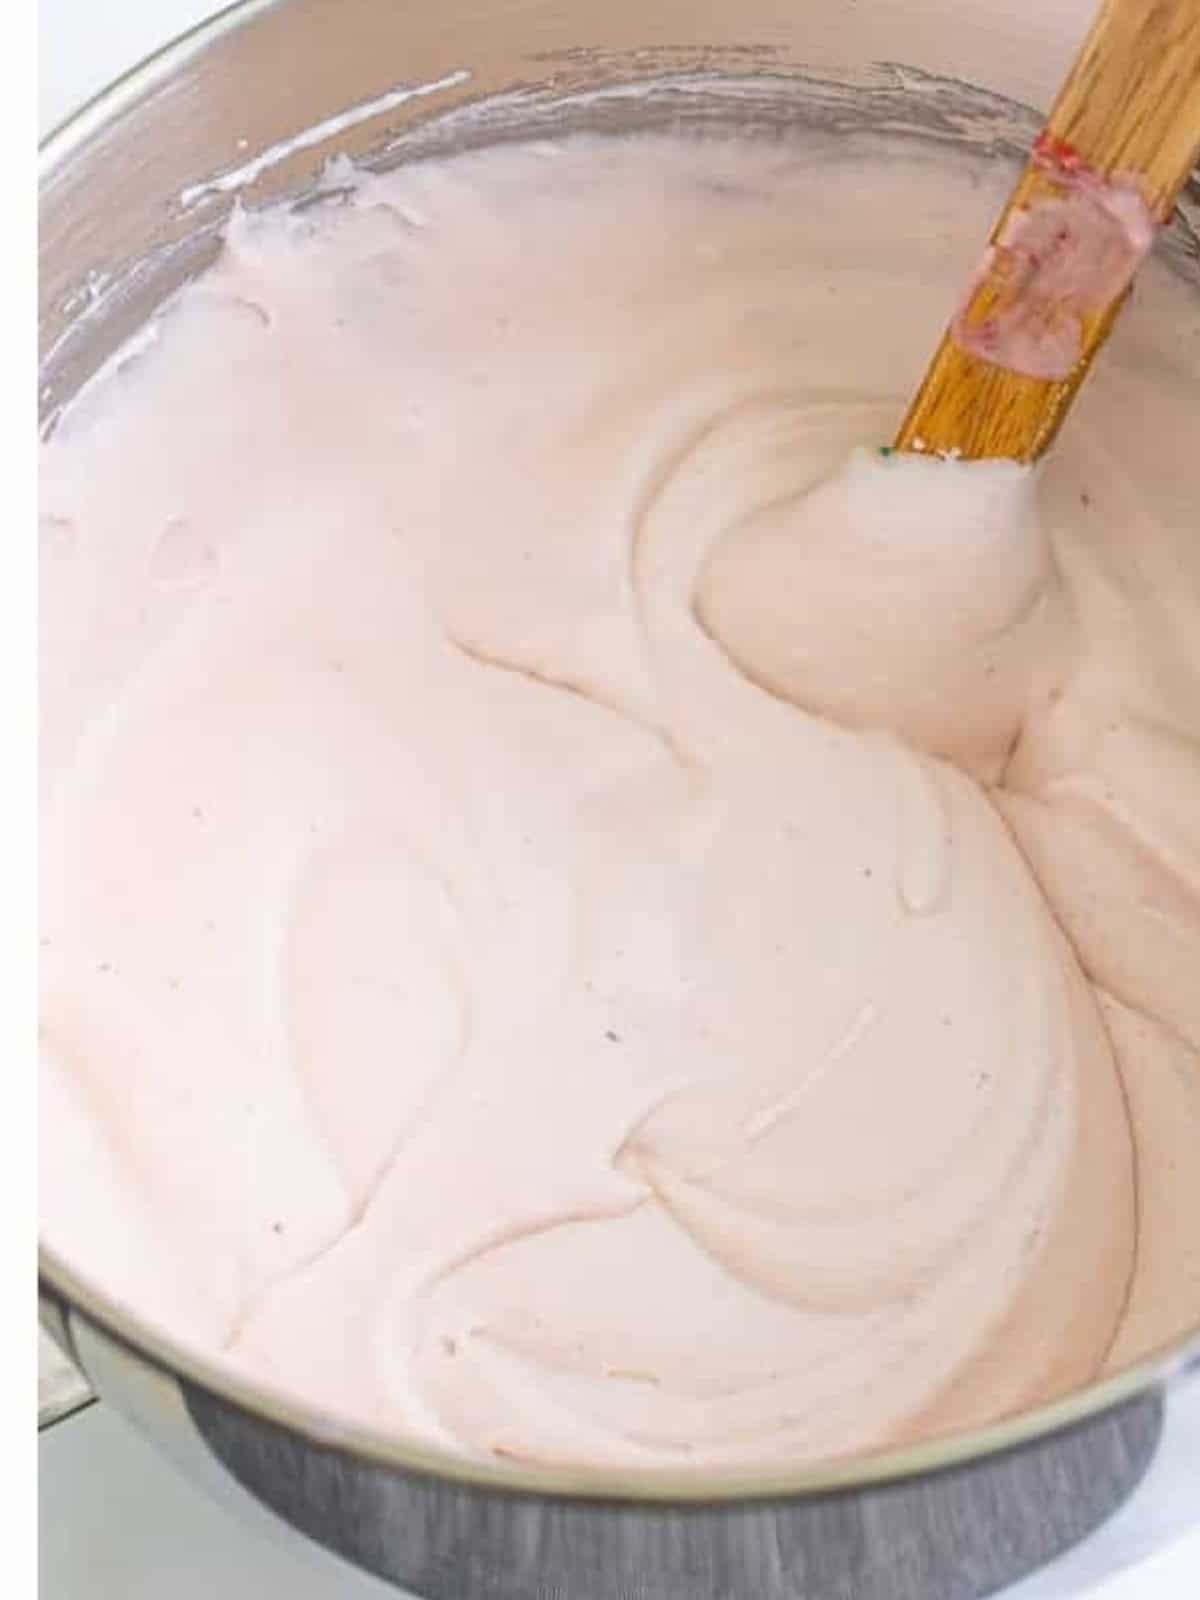
- Pour the mixture into a 9×5 pan, smooth the top, and freeze for at least 6 hours or overnight before scooping.
Recipe Tips & Tricks
- Use the ripest berries you can find. The flavor of the ice cream is only as good as the strawberries going in.
- Do not skip the reduction. Simmering the puree down removes water, which is what keeps the ice cream creamy instead of icy.
- Cool the puree completely before whisking in the condensed milk, warm puree will deflate the whipped cream later.
- Stop at soft to medium peaks. Overwhipped cream turns grainy once the strawberry base streams in.
- Press plastic wrap onto the surface before freezing to keep ice crystals from forming on top.
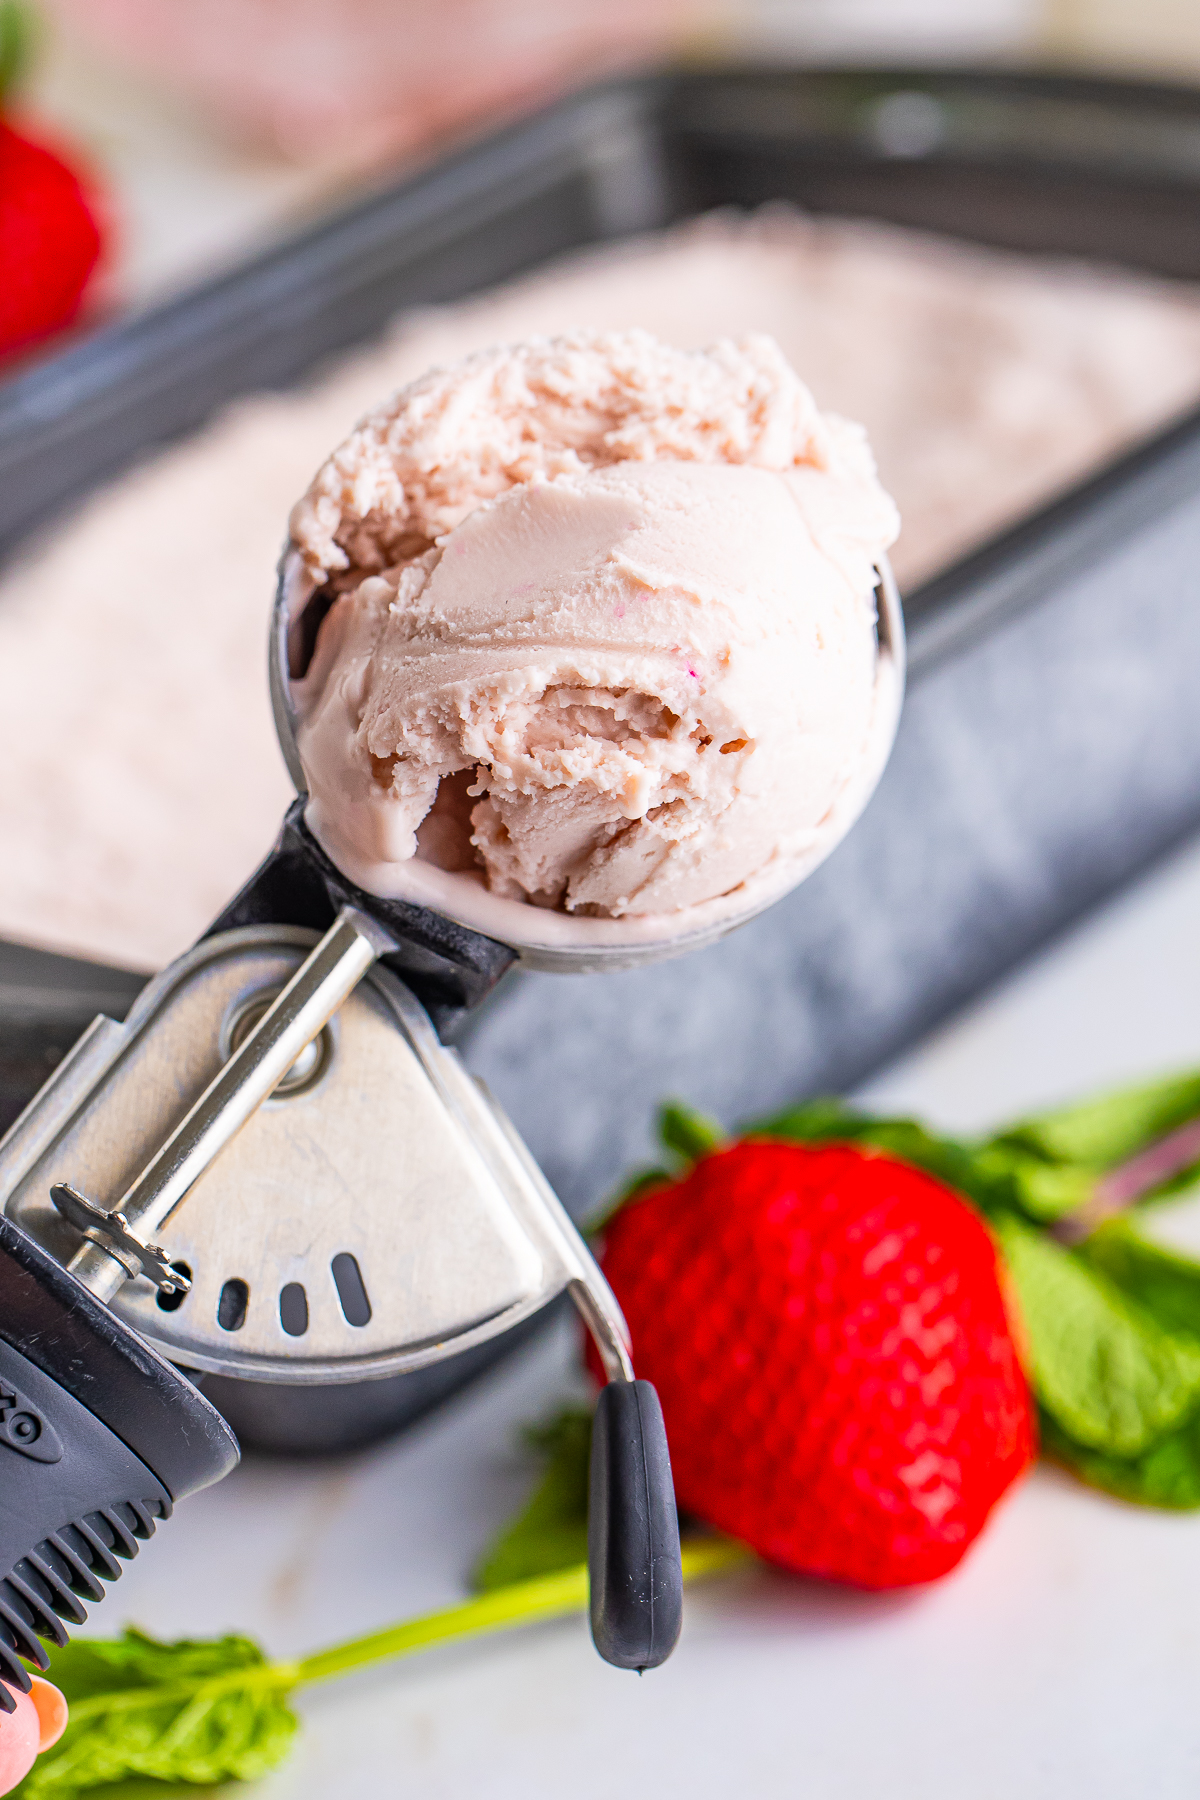
- Let it sit 5 minutes before scooping. A few minutes on the counter makes perfect scoops without bending your spoon.
- Plan the whole menu. This pairs effortlessly with our butterscotch ice cream when company is coming.
- Make it a full spread. Our mixed berry pie rounds out the table.
Serving Ideas and Suggestions
Scoop this strawberry ice cream into chilled bowls or cones on a hot afternoon, or sandwich it between cookies for the easiest ice cream sandwiches ever.
Store the ice cream tightly covered in the freezer for up to 2 weeks. After that it is still safe to eat, but the texture starts getting icier, not that it ever lasts that long around here.

Strawberry Ice Cream FAQs
Two things matter most, reducing the strawberry puree and whipping the cream properly. Simmering the puree down to about a half cup removes the extra water that would freeze into ice crystals, and whipped cream folded in traps air that keeps the texture smooth and scoopable.
Yes. Thaw them completely first, then puree and reduce exactly as written. Frozen berries release more liquid, so the reduction step is even more important, keep simmering until you are down to about a half cup of thick puree.
It usually means the cream was underwhipped or the mixture was overfolded and lost its air. Whip to soft or medium peaks and stream the strawberry base in slowly on low speed. Letting the pan sit at room temperature for 5 minutes before scooping also helps.
Tightly covered, it is at its creamy best for about 2 weeks. It stays safe longer, but without commercial stabilizers the texture slowly gets icier. Press plastic wrap directly on the surface before covering to slow that down.
Not for this recipe. The no churn method uses whipped cream for air and sweetened condensed milk for sugar and body, which is exactly what churning normally accomplishes. A hand mixer and a freezer are all the equipment you need.
Diced fresh strawberries, crushed cookies, a fudge or caramel swirl, white chocolate chips, or a splash of lemon juice to brighten the berry flavor. Fold add ins in gently at the very end so you do not deflate the whipped cream.

Made this Strawberry Ice Cream? I would love to hear how it turned out, leave a comment and a star rating below!
Still filling out the menu? Readers love pairing this one with our no churn caramel ice cream, banana pudding pie, funnel cake, and no churn mint chocolate chip ice cream.
And when you are planning next week’s dinners, our strawberry cheesecake dump cake and stabilized whipped cream keep the same easy comfort going.

Strawberry Ice Cream
Ingredients
- 1 pound strawberries
- 14 ounces sweetened condensed milk
- 1 teaspoon vanilla extract
- 2 cups heavy whipping cream
- Pink food coloring optional
Instructions
- Place the strawberries in a food processor and process until it is completely smooth.1 pound strawberries
- Place a fine mash sieve over a large bowl and press the strawberry puree through the sieve to get as much puree out as possible while discarding the seeds. Make sure to scrape the bottom of the sieve for any excess puree. (This is optional; if you don’t mind the seeds, then proceed as written.)
- Pour the puree into a small saucepot over medium heat.
- Stir constantly until it simmers and simmer until reduced to about ½ cup of puree, 15-20 minutes; take off the heat and allow to cool to room temperature.
- Whisk in the condensed milk and vanilla extract, and set aside.14 ounces sweetened condensed milk, 1 teaspoon vanilla extract
- Whip the cream in a large bowl with an electric hand mixer or the body of a stand mixer with the whisk attachment until soft to medium peaks form.2 cups heavy whipping cream
- Slowly stream the strawberry mixture with the mixer at low speed until fully incorporated.
- Stir in pink food coloring to your desired shade if using.Pink food coloring
- Pour the mixture into a 9×5 baking dish and smooth out the top.
- Place in the freezer for at least 6 hours or overnight is best.
- Serve immediately.
Notes
- Use berries at peak season – That’s when they’re the sweetest!
- Strain the puree – This step is optional, but it makes the texture extra smooth.
- Scrape with the back of a spoon – To get every last bit of puree through the strainer.
- Cool the puree – Don’t mix it in while hot or it may affect the whipped cream.
- Let it freeze overnight – That gives it time to firm up to the perfect texture.
- Use a zip-top freezer bag – For easy portioning and less mess when scooping.
Nutrition
Love This Recipe?
Follow @ThisSillyGirlsKitchen on Instagram and @danadevolk on Pinterest for more!


These were so much fun to make and tasted delicious.