This post may contain affiliate links.
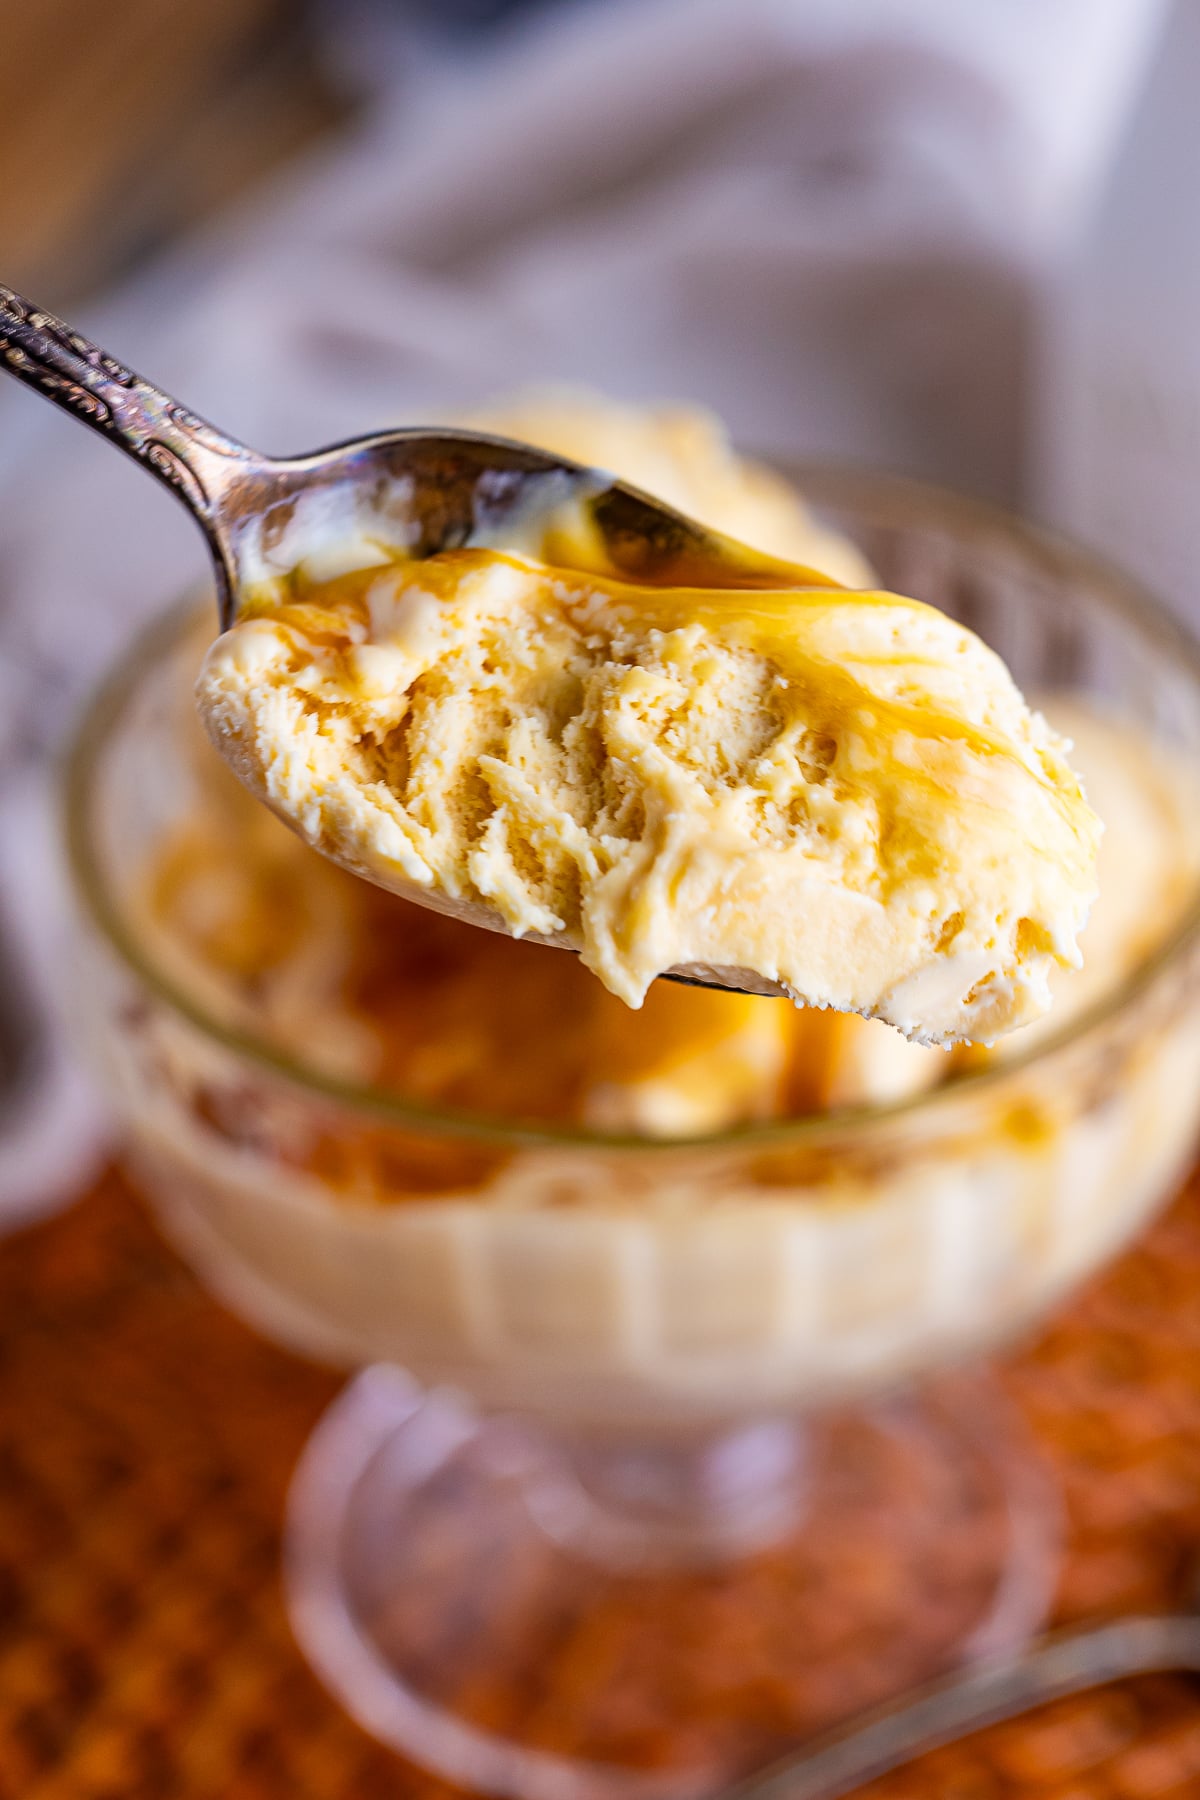
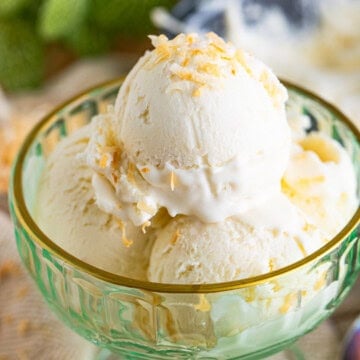
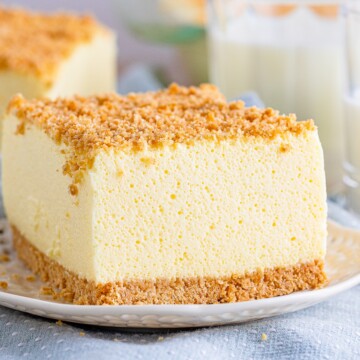
This no-churn Butterscotch Ice Cream is unbelievably rich and creamy, swirled with ribbons of butterscotch and made with just five ingredients and zero special equipment. I make it on hot summer afternoons and the girls line up at the freezer waiting for it to set. If you love easy frozen treats, try our dreamy coconut ice cream next.
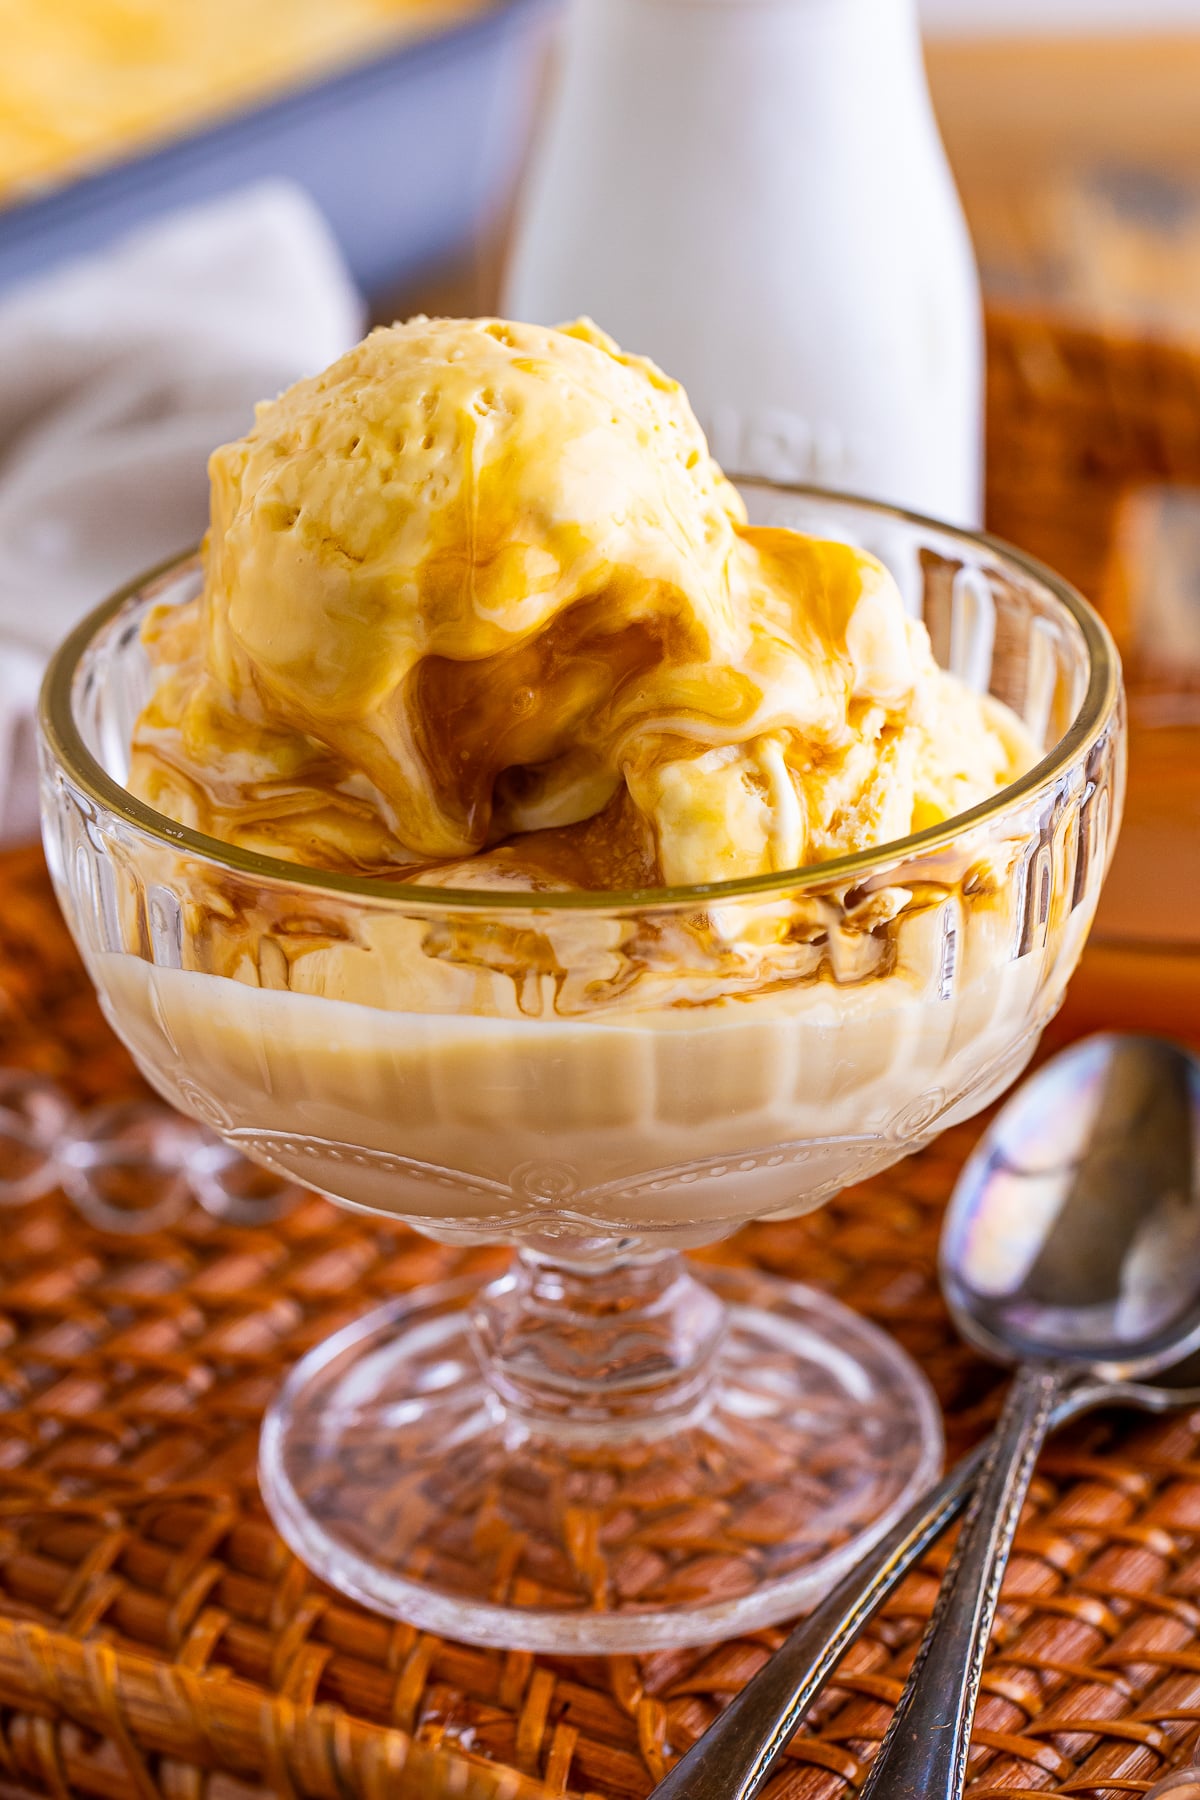
No ice cream maker required, just whip, swirl, and freeze for the creamiest homemade butterscotch ice cream you have ever had.
Butterscotch Ice Cream Quick Look
- 🕒 Prep Time: 10 minutes
- 🌡️ Cook Time: 0 minutes
- ⏳ Total Time: 6 hours 10 minutes
- 🍽️ Serving: 6 servings
- ⚡ Calories: 789kcal
- 🌶️ Flavor Profile: Rich, creamy, and sweet with ribbons of butterscotch
- ✋ Difficulty: Easy, totally no churn like our coconut ice cream
Quick Answer
Whip heavy cream to soft peaks, then mix in sweetened condensed milk, half the butterscotch syrup, vanilla, and a pinch of salt. Layer the mixture in a loaf pan with extra butterscotch syrup, swirling figure-8s through the top with a knife for a pretty marble. Cover and freeze for at least 6 hours until firm, then scoop and serve.
Jump to:
- Butterscotch Ice Cream Quick Look
- Quick Answer
- Why This Recipe Works
- Why You’ll Love This Recipe
- Key Ingredients
- Variations and Substitutions
- How to Make Butterscotch Ice Cream
- Recipe Tips & Tricks
- Serving Ideas and Suggestions
- Butterscotch Ice Cream FAQs
- Other Recommended Frozen Treats
- Homemade Butterscotch Ice Cream (No Churn)
Why This Recipe Works
Click to see the technique science
- Whipped cream gives it body. Whipping the cream to soft peaks adds air so the no-churn base freezes light and scoopable instead of icy.
- Condensed milk prevents ice crystals. Sweetened condensed milk keeps the ice cream creamy and smooth without an ice cream maker.
- Layering the syrup. Adding butterscotch in layers means ribbons of flavor in every scoop, not just on top.
- The figure-8 swirl. Dragging a knife in figure-8s marbles the butterscotch through for a pretty, even swirl.
- A pinch of salt. Salt balances the sweetness and makes the butterscotch flavor pop.
Why You’ll Love This Recipe
- It is completely no churn with just 5 ingredients and no special equipment.
- It is rich, creamy, and swirled with butterscotch in every single bite.
- It is the easiest homemade ice cream, just like our no churn moose tracks ice cream.
- It has earned a permanent spot in our rotation, right up there with our cookies and cream ice cream.
- It has earned a permanent spot in our rotation, right up there with our no churn pistachio ice cream.
- It earns a spot in the rotation right next to our bananas foster.
Key Ingredients
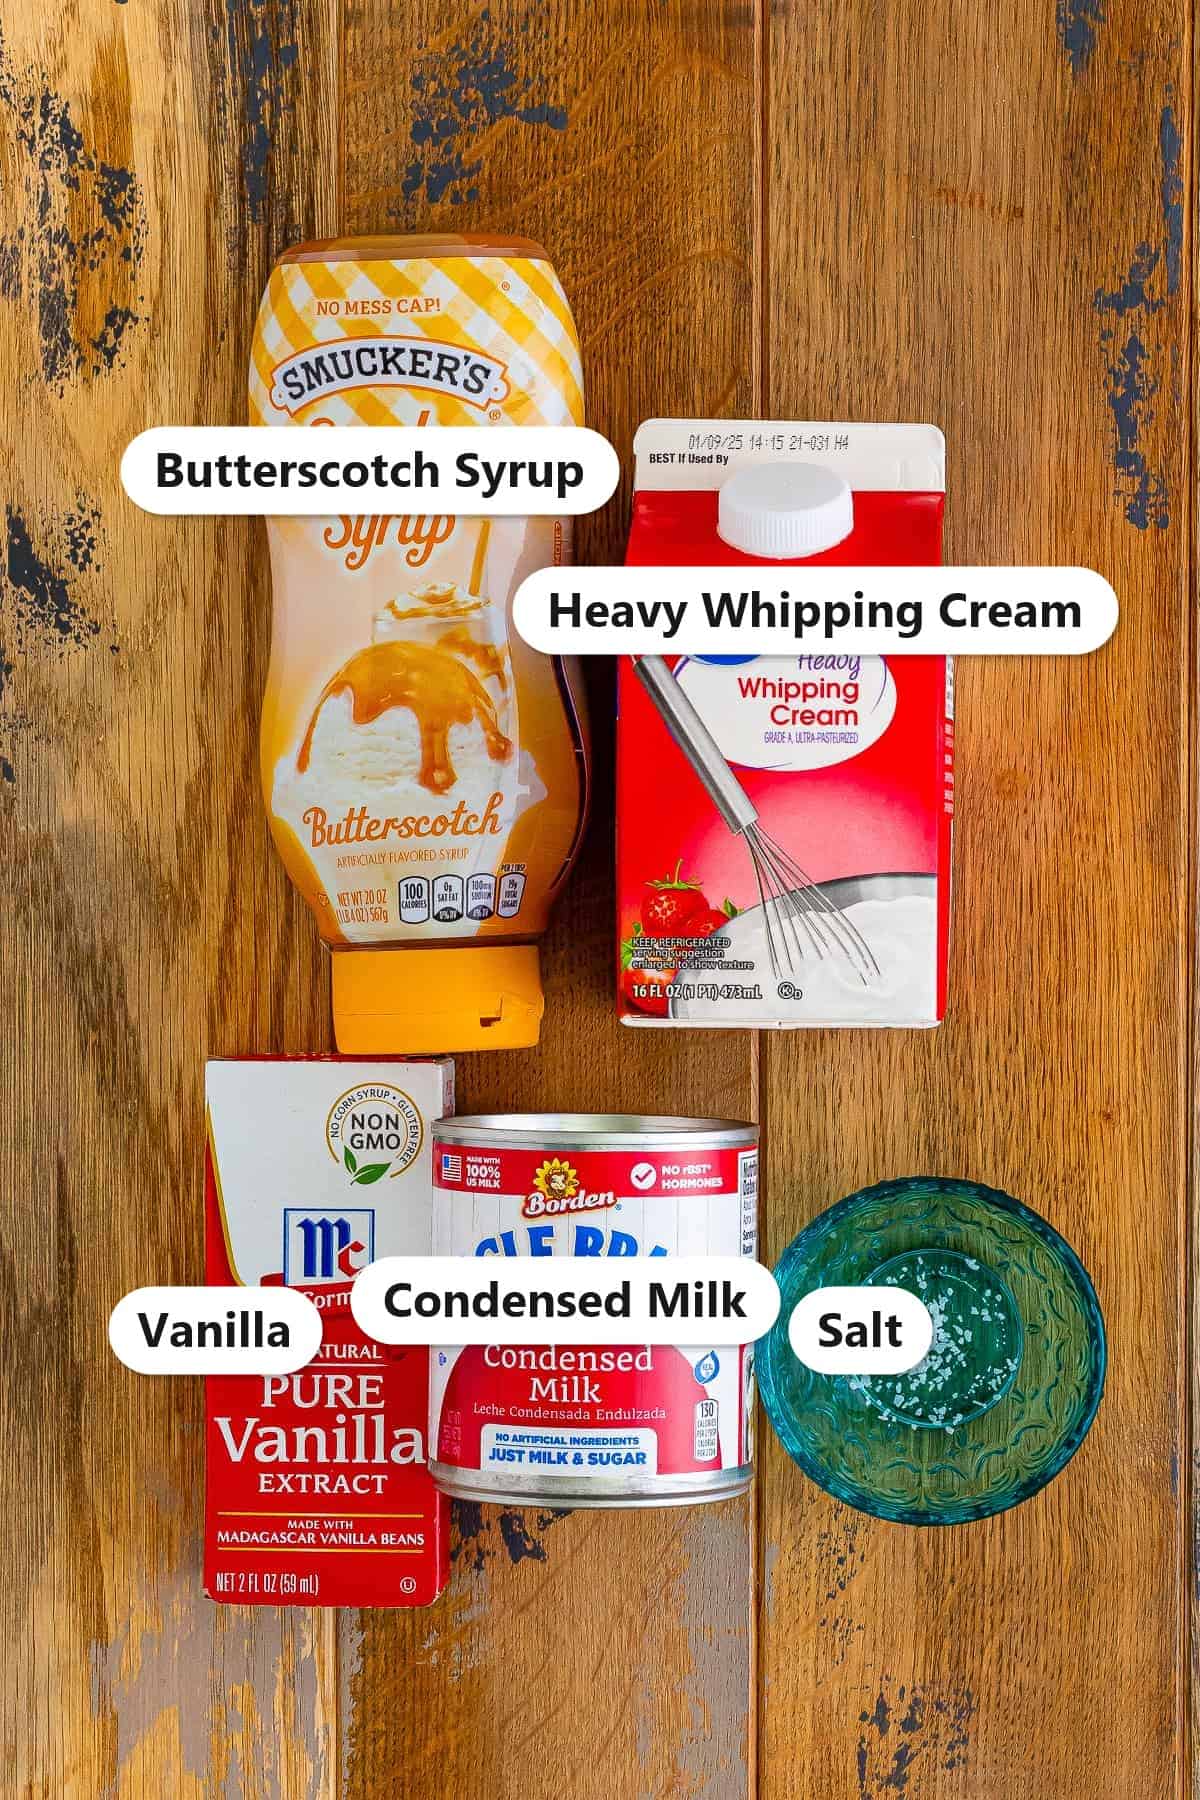
Just five simple ingredients make this rich, creamy no-churn butterscotch ice cream.
- Heavy Whipping Cream: Whipped to soft peaks, it gives the ice cream its light, scoopable body.
- Sweetened Condensed Milk: The secret to creamy no-churn ice cream that never turns icy.
- Butterscotch Syrup: The star flavor, mixed in and swirled through for ribbons of butterscotch.
- Vanilla and Salt: Vanilla rounds out the flavor while a pinch of salt balances the sweetness.
- That is it: Five pantry staples and no ice cream maker needed.
See recipe card for exact quantities.
Variations and Substitutions
This butterscotch ice cream is easy to customize. Try one of these ideas.
- Add crunch: Fold in toffee bits, chopped pecans, or crushed pretzels.
- Swap the swirl: Use caramel, salted caramel, or dulce de leche in place of butterscotch.
- Make it salted: Add a little more flaky salt for a salted butterscotch version.
- Add chocolate: Swirl in hot fudge or fold in chocolate chips.
- Top it off: Serve with extra butterscotch like our coconut ice cream.
- Craving a different flavor next time? Our no churn mint chocolate chip ice cream delivers the same easy comfort with its own twist.
- Craving a different flavor next time? Our no churn caramel ice cream delivers the same easy comfort with its own twist.
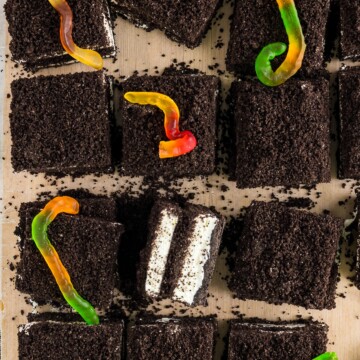
- In the mood for something different? Our frozen dirt cake bars scratches a similar itch.
How to Make Butterscotch Ice Cream

- In the bowl of a stand mixer or with a hand mixer, whip the heavy cream on high until it forms soft peaks and nearly doubles in volume.
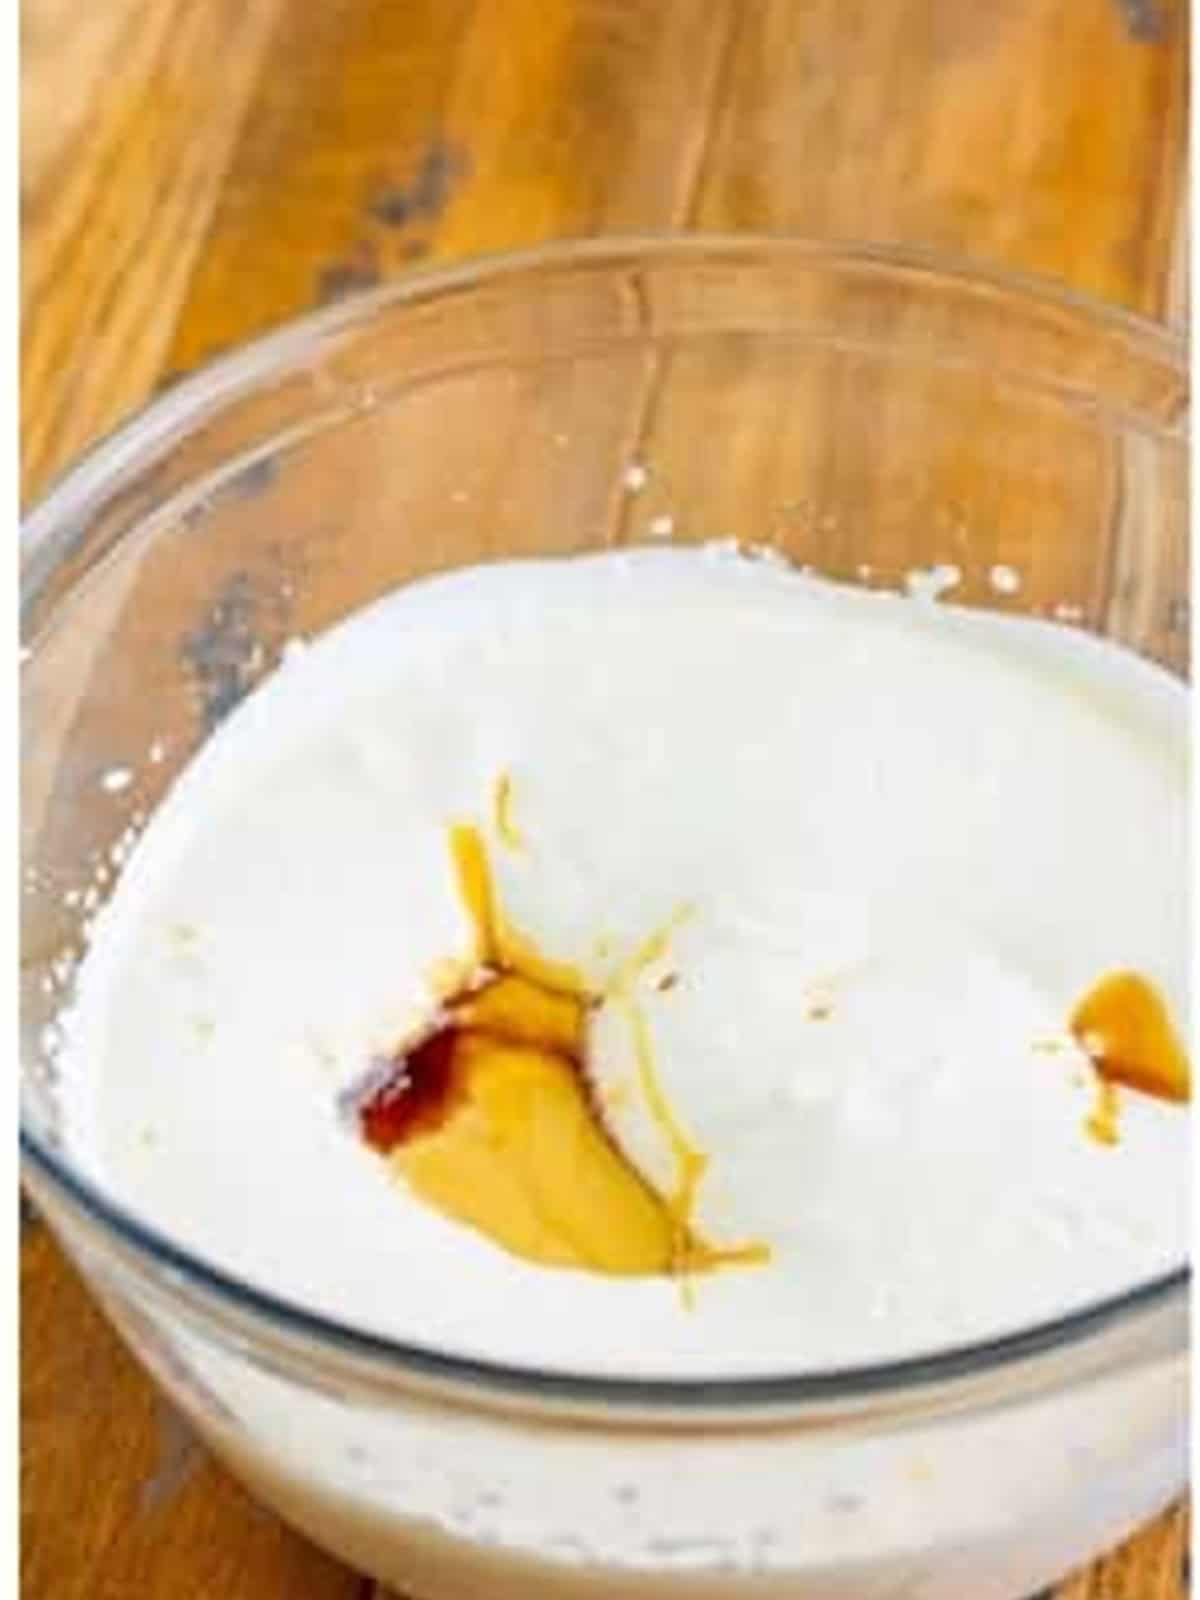
- Add the sweetened condensed milk and mix to combine, then add half of the butterscotch syrup, the vanilla, and a pinch of salt.
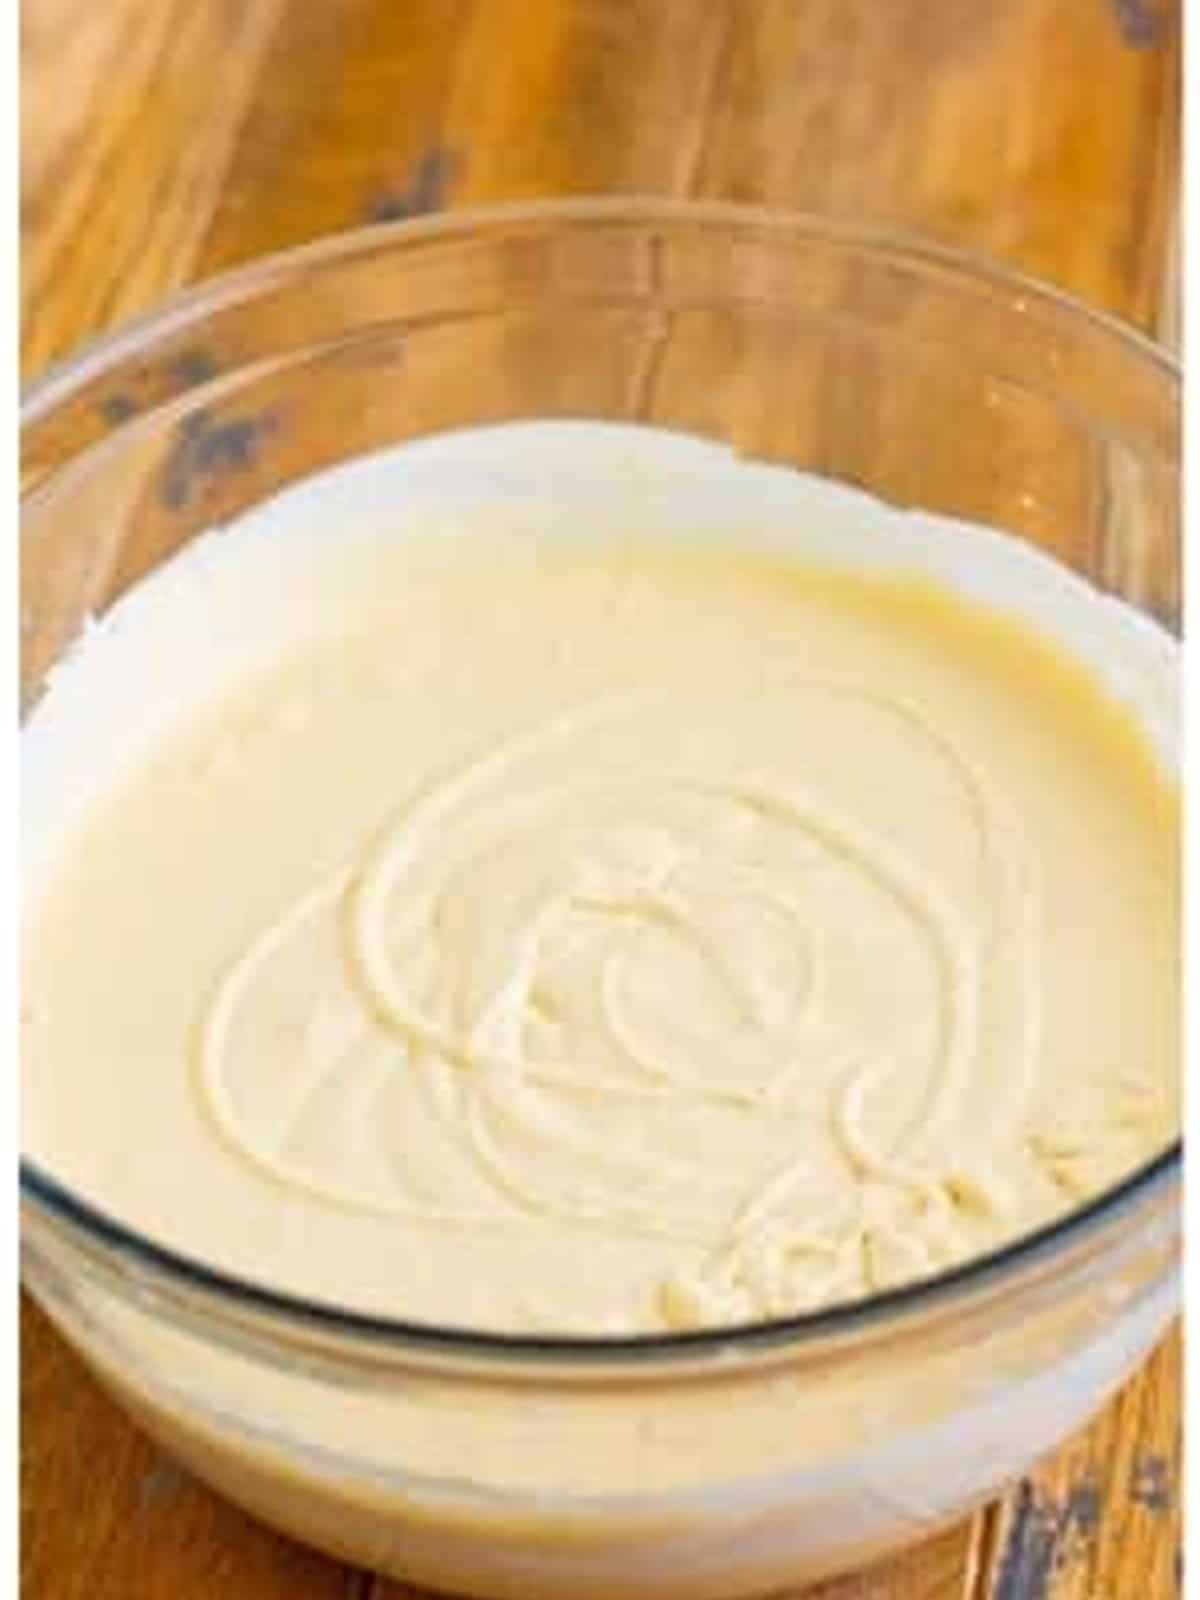
- Mix until everything is smooth and fully incorporated.
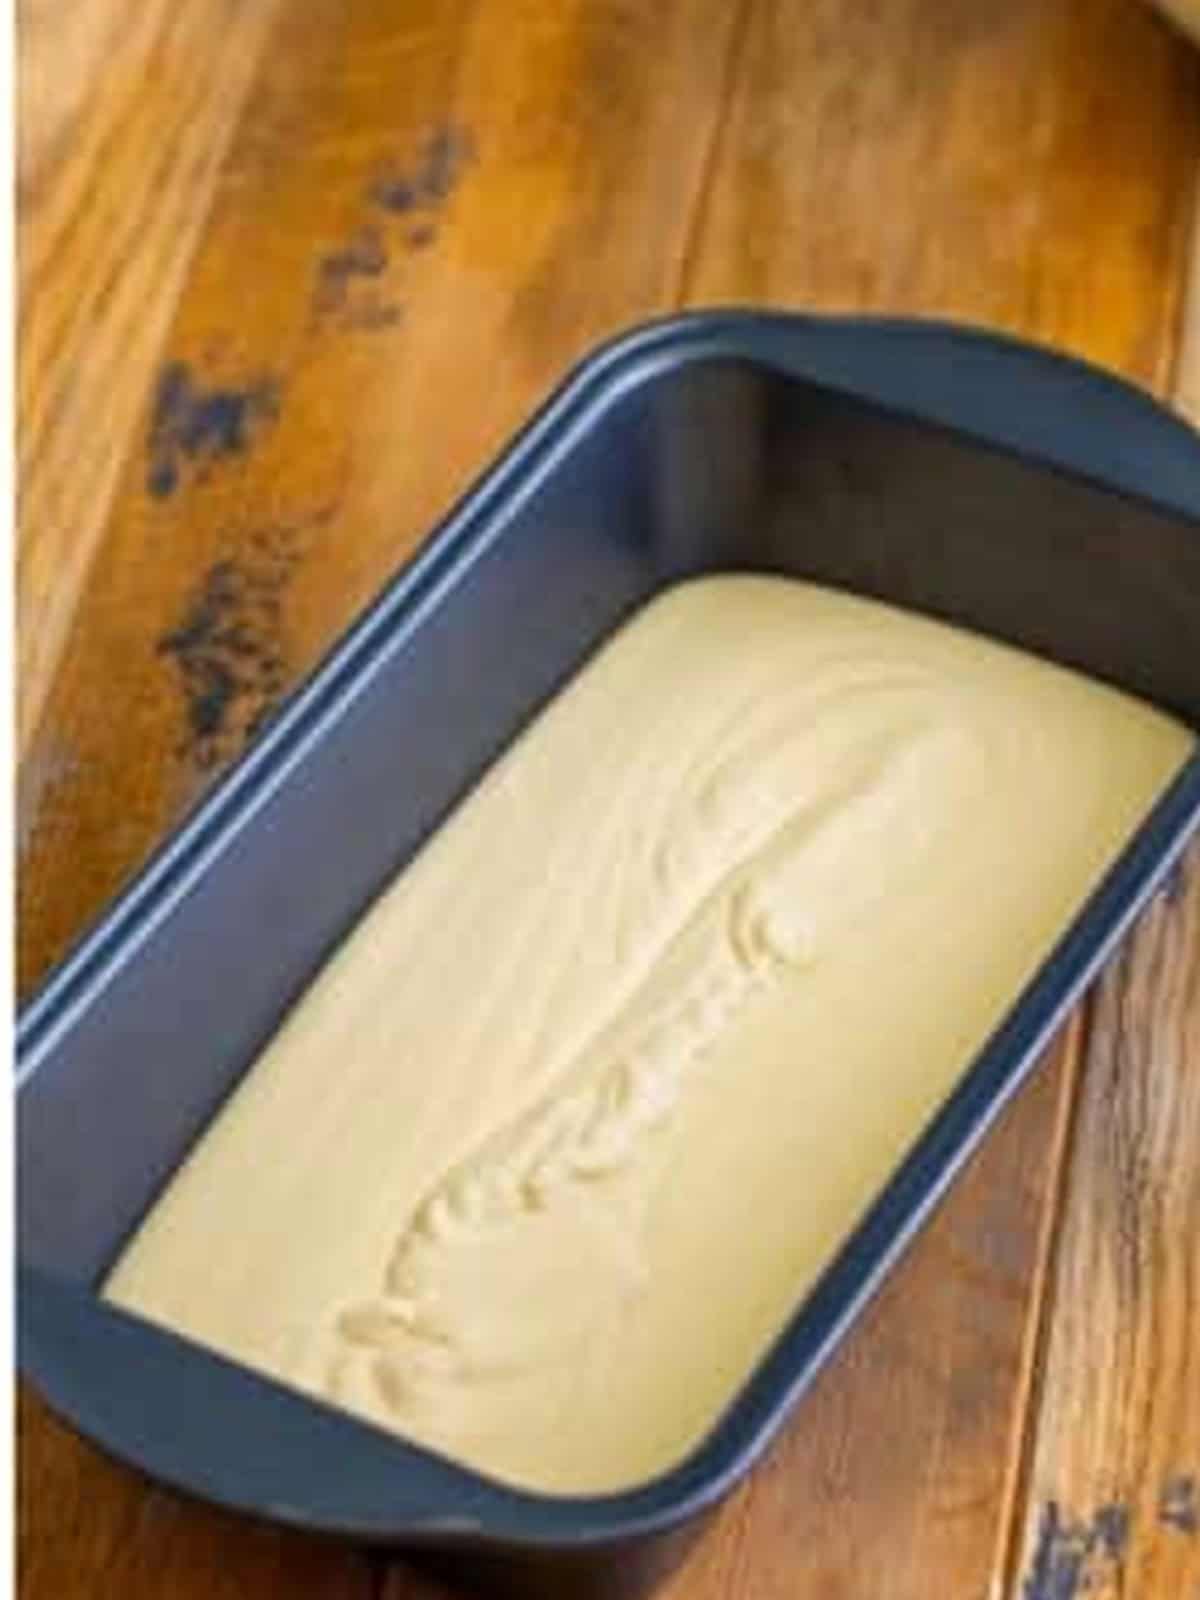
- Pour half of the mixture into a 9×5 inch loaf pan.
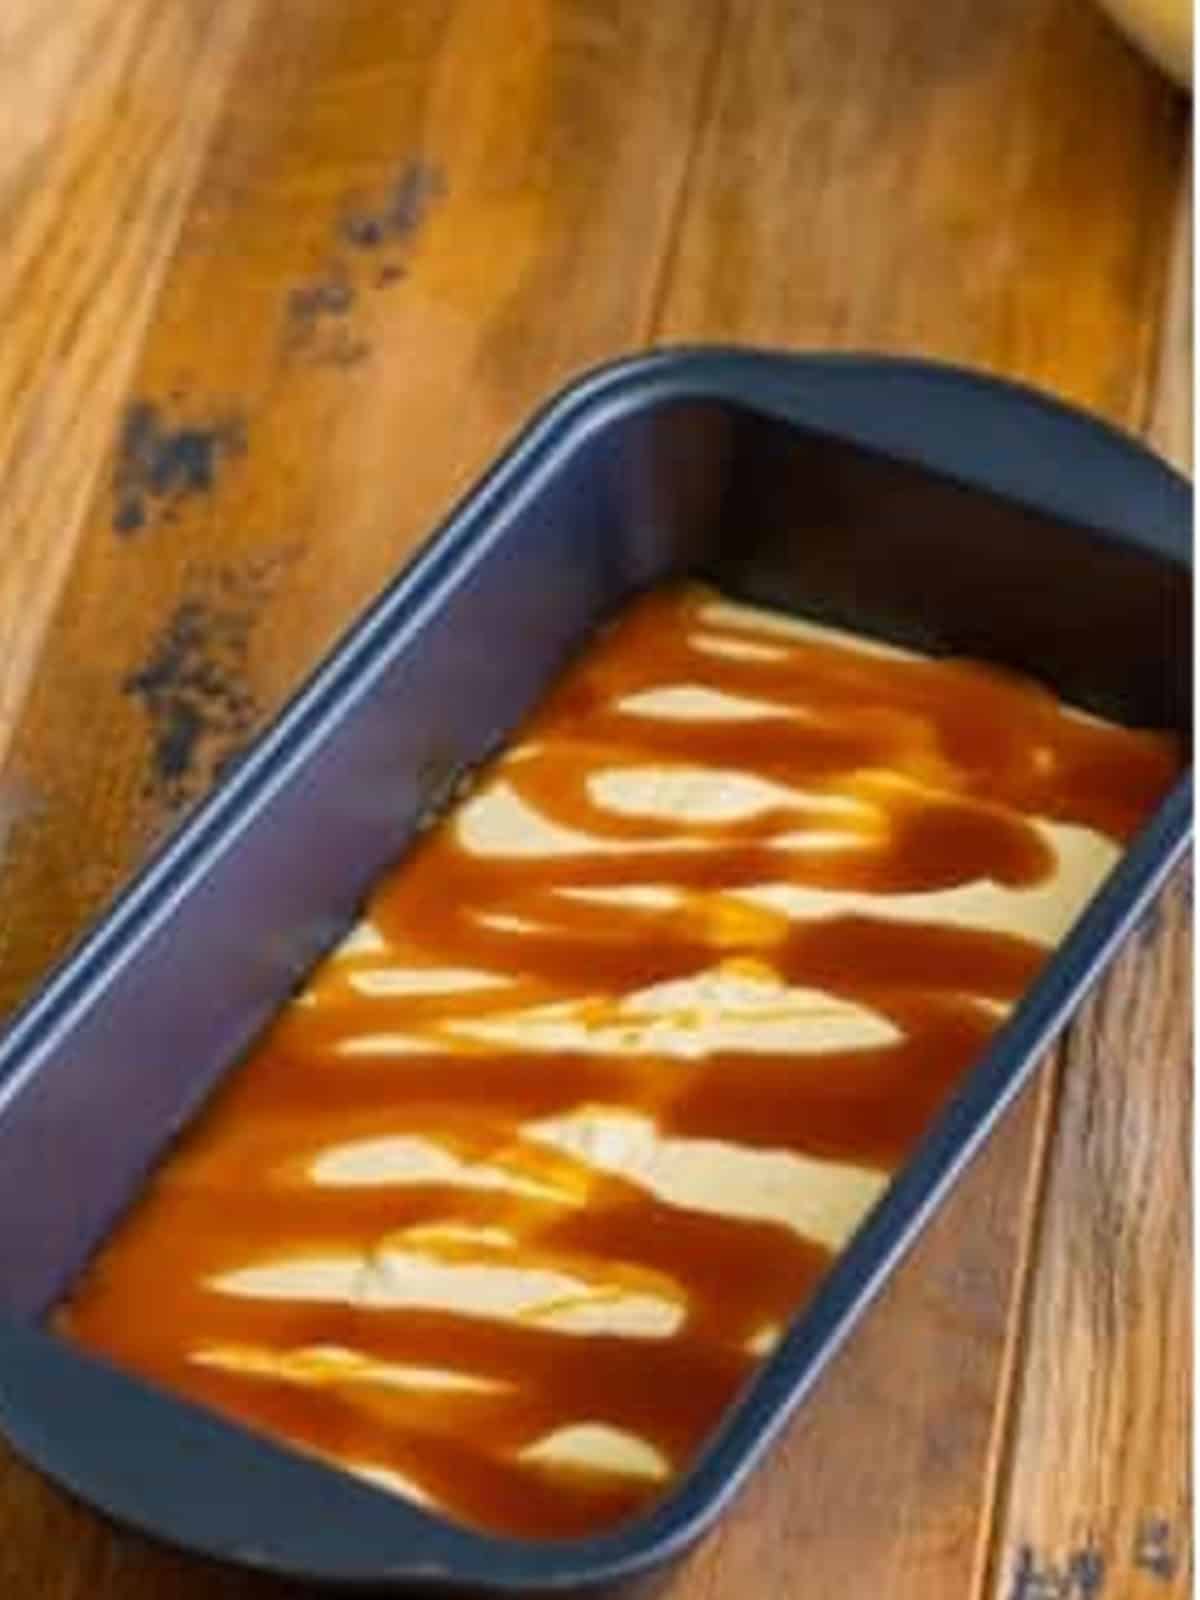
- Drizzle half of the remaining butterscotch syrup over the ice cream layer.
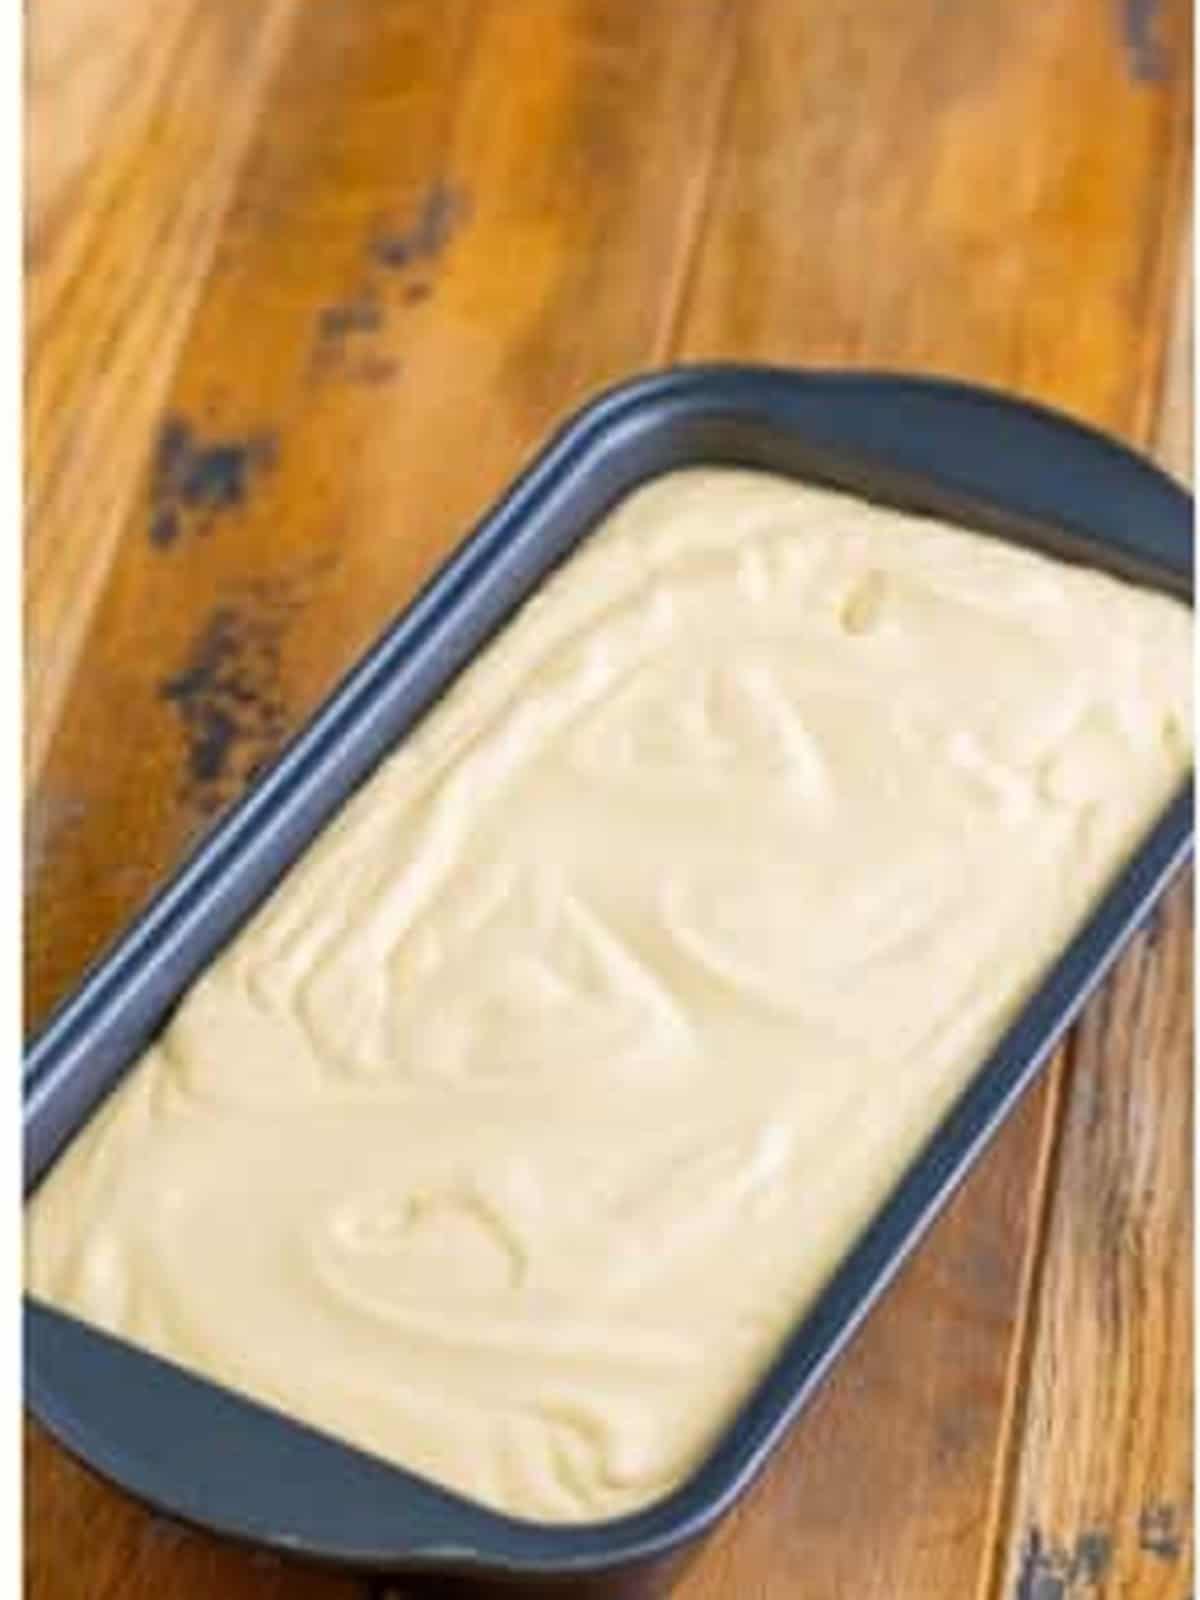
- Pour the remaining ice cream mixture on top.
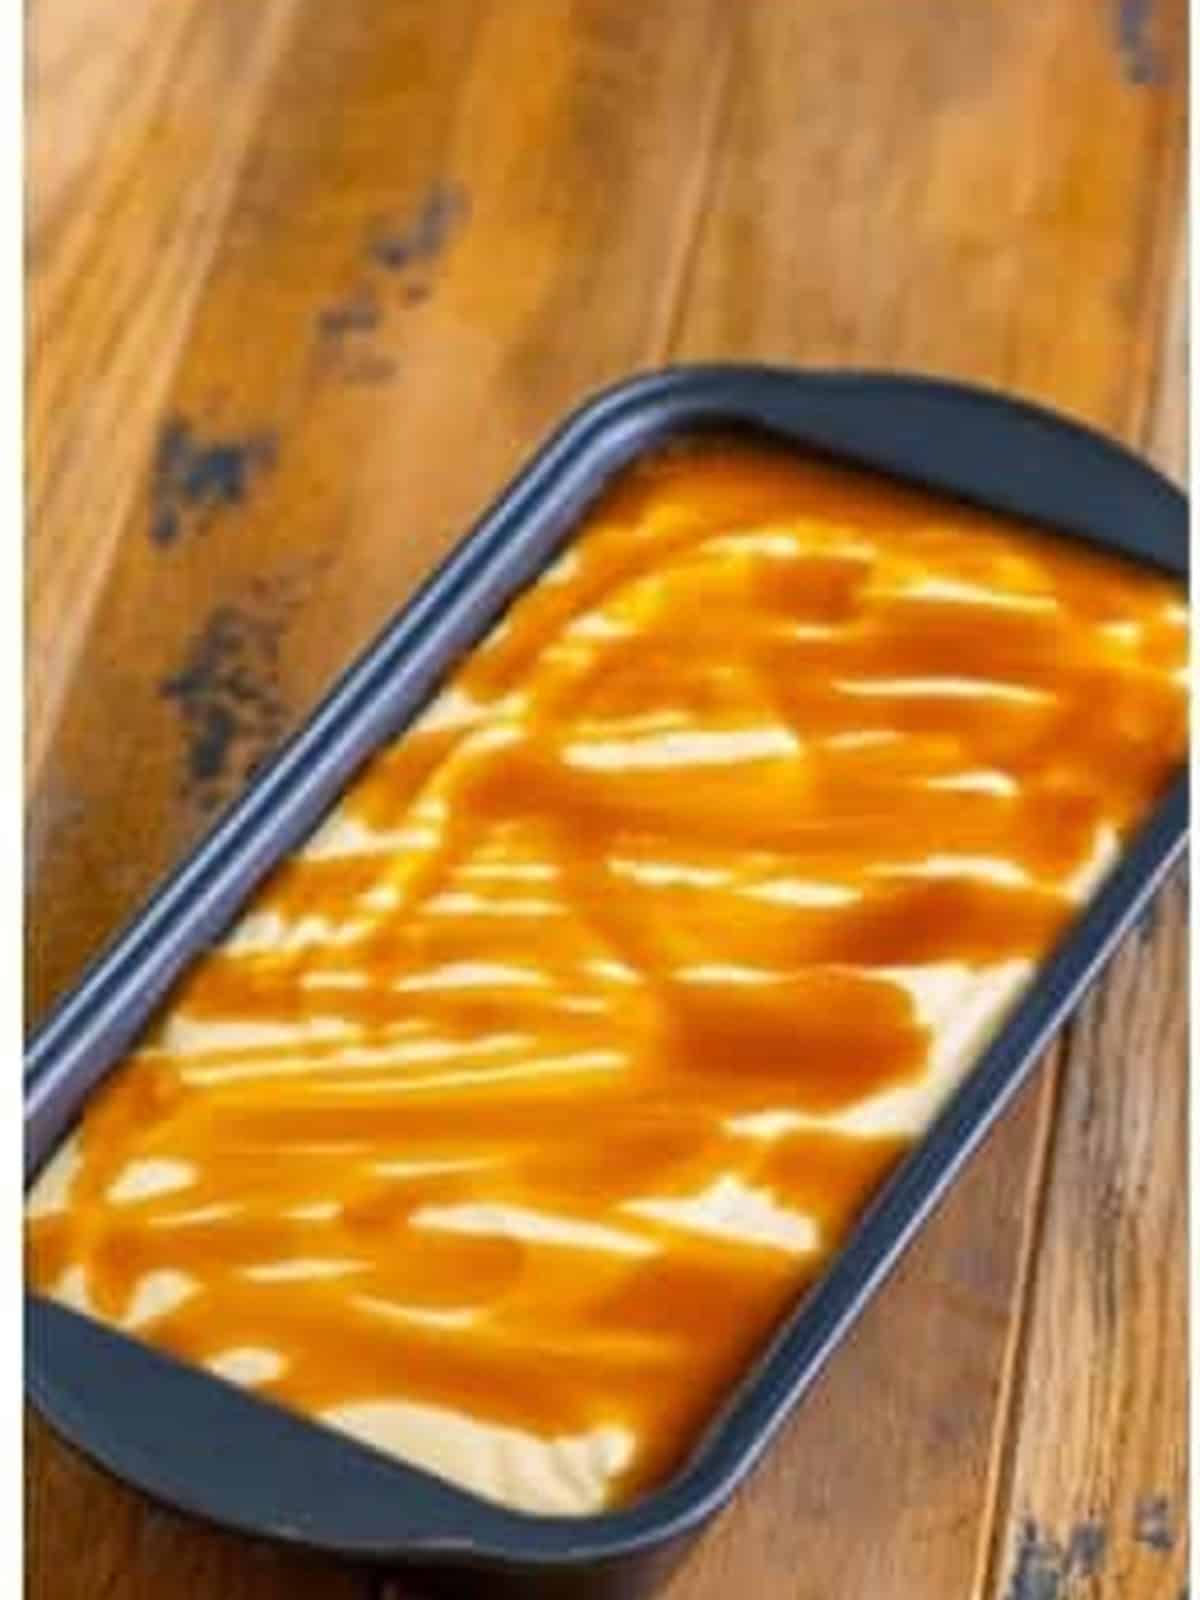
- Add the remaining butterscotch syrup over the top.
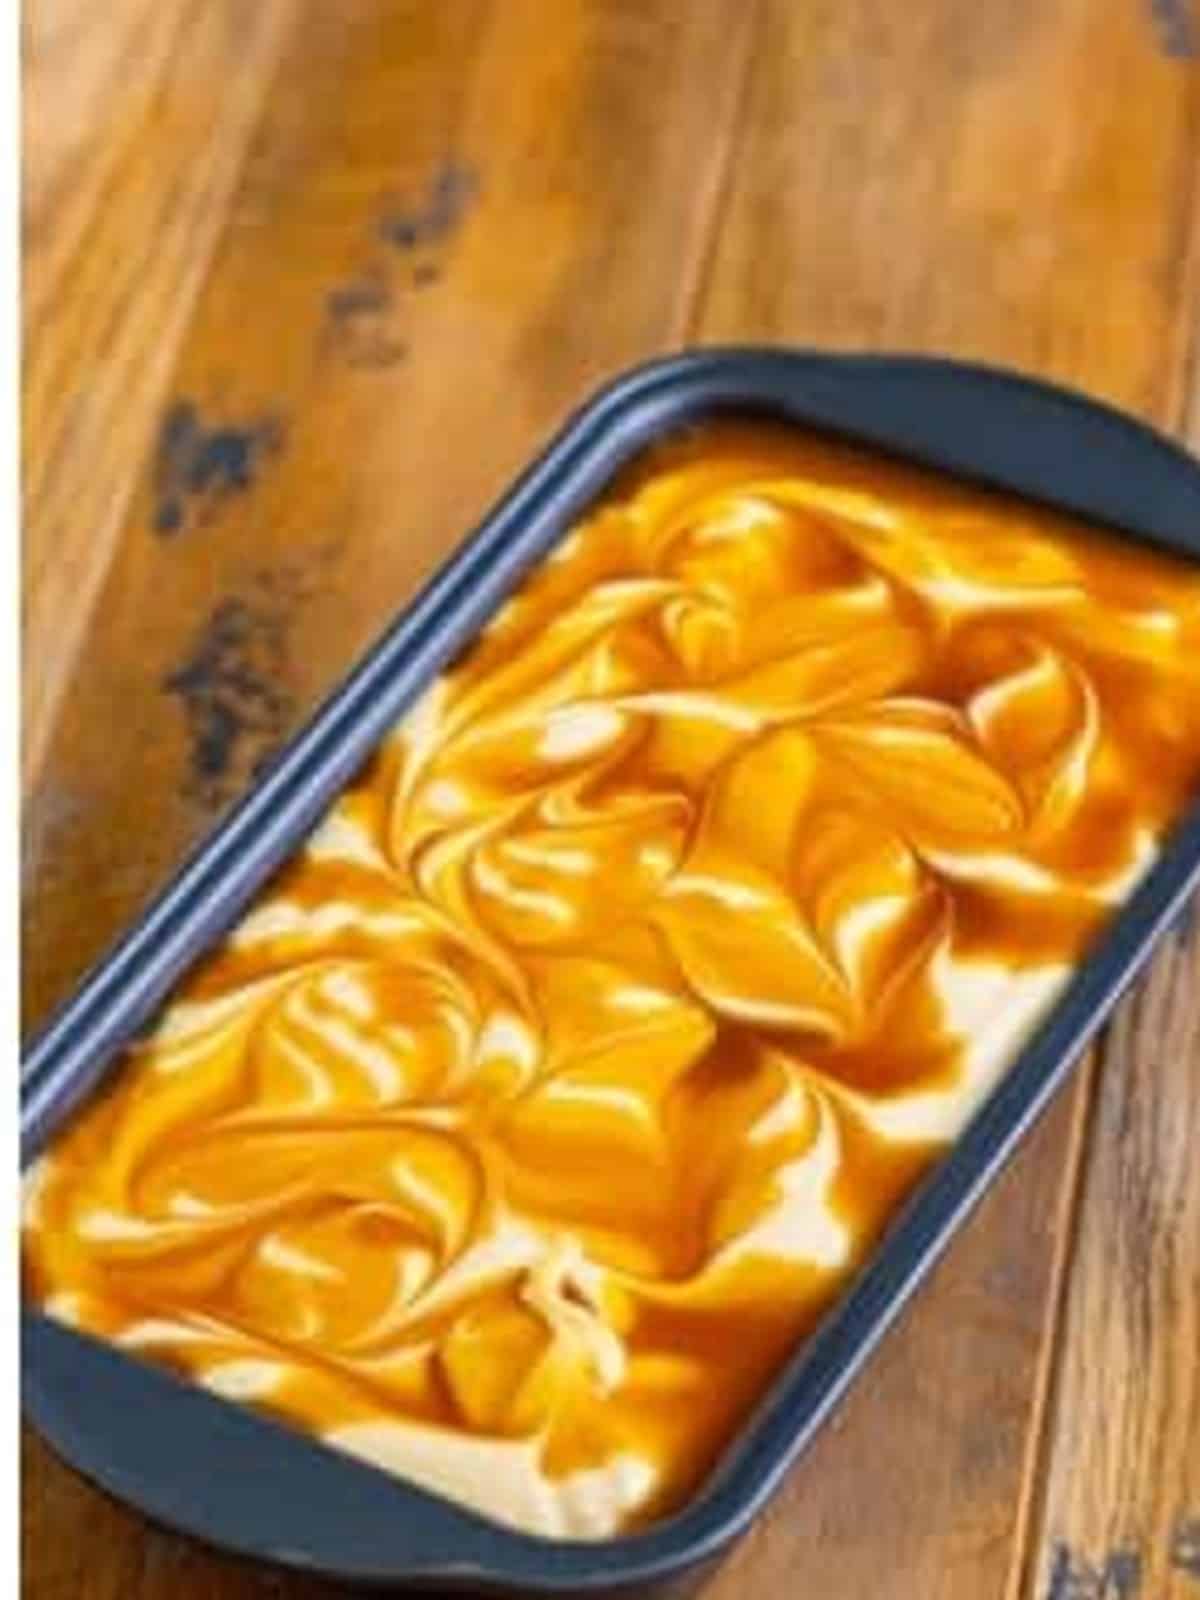
- Using a butter knife or skewer, make figure-8s through the ice cream for a pretty swirl. Cover with foil and freeze for 6 hours, up to overnight, until firm.
Recipe Tips & Tricks
- Use cold heavy cream. Well-chilled cream whips faster and holds more air for a lighter ice cream.
- Do not overwhip. Stop at soft peaks. Overwhipped cream turns grainy and the ice cream will be dense.
- Layer the syrup. Adding butterscotch in layers gives you ribbons of flavor throughout, not just on top.
- Swirl gently. A few figure-8s marble the syrup. Too much stirring blends it in and you lose the swirl.
- Freeze fully. Give it the full 6 hours, or overnight, so it sets firm enough to scoop.
- Let it soften. Set the pan out for a few minutes before scooping for the creamiest texture.
- Make it a spread. When you are feeding a crowd, round out the table with our no churn vanilla ice cream.
- Make it a spread. When you are feeding a crowd, round out the table with our strawberry ice cream recipe.
- Make it a full spread. Our no churn cereal milk ice cream rounds out the table.
Serving Ideas and Suggestions
This butterscotch ice cream is rich and creamy enough to enjoy all on its own, scooped into a bowl or cone with an extra drizzle of butterscotch on top. Add a sprinkle of toffee bits or chopped pecans for a little crunch.
Keep the ice cream covered tightly in the freezer for up to two weeks. Press plastic wrap directly onto the surface to keep it creamy and prevent ice crystals.
Butterscotch Ice Cream FAQs
This butterscotch ice cream is no churn. You whip heavy cream to soft peaks, fold in sweetened condensed milk and butterscotch, then freeze it in a loaf pan. No ice cream maker needed.
Freeze the butterscotch ice cream for at least 6 hours, or overnight, until it is firm enough to scoop. Covering it with foil helps it freeze evenly.
Icy no churn ice cream usually means the cream was underwhipped or the condensed milk was skipped. Whip the cream to soft peaks and use the full amount of condensed milk for a smooth, creamy texture.
Store butterscotch ice cream tightly covered in the freezer for up to two weeks. Press plastic wrap onto the surface to prevent ice crystals from forming.
Yes. This recipe works beautifully with caramel, salted caramel, or dulce de leche in place of the butterscotch syrup for a different but equally delicious swirl.
Fold in toffee bits, chopped pecans, crushed pretzels, or chocolate chips before freezing for extra texture and flavor in your butterscotch ice cream.

Still filling out the menu? Readers love pairing this one with our no churn chocolate ice cream, chocolate fudge, and cookie dough ice cream.
easy chocolate ice cream


Homemade Butterscotch Ice Cream (No Churn)
Ingredients
- 2 cups heavy whipping cream
- 14 ounces sweetened condensed milk
- 12 ounces butterscotch syrup
- ½ teaspoon vanilla extract
- pinch salt
Instructions
- In the bowl of a stand mixer or a large bowl with an electric hand mixer, whip the whipping cream on high until it forms soft peaks. The cream will almost double in size and will leave a ribbon behind for soft peaks.2 cups heavy whipping cream
- Add the sweetened condensed milk to the bowl and mix to combine.14 ounces sweetened condensed milk
- Add half of the butterscotch syrup, vanilla, and salt and mix until incorporated.12 ounces butterscotch syrup, ½ teaspoon vanilla extract, pinch salt
- Pour 1/2 of the mixture into a 9×5″ loaf pan.
- Add ½ of the remaining butterscotch syrup over the ice cream and then pour the remaining ice cream mixture on top.
- Add the remaining butterscotch syrup and, using a butter knife or skewer, make figure 8’s through the ice cream for a pretty presentation.
- Cover with foil, and place in the freezer for 6 hours, up to overnight, until frozen.
Notes
- Pop your large bowl and hand mixer beaters in the fridge for 10 minutes before starting.
- Whip the cream to soft peaks, not stiff, or you’ll end up with butter.
- Use the back of a spoon or a knife to make pretty figure 8’s with the butterscotch mixture.
- Keep your loaf pan level in the freezer for an even set.
- Dip your spoon in hot water for smooth scoops every time.
Nutrition
Love This Recipe?
Follow @ThisSillyGirlsKitchen on Instagram and @danadevolk on Pinterest for more!


