This post may contain affiliate links.
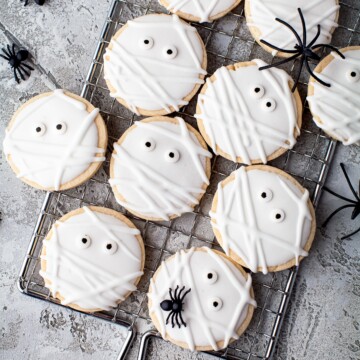
Mummy Cookies are soft cut out sugar cookies wrapped head to toe in royal icing bandages with little candy eyes peeking through the wrapping. Maddie and Lizzie decorated a whole batch with me on a chilly October Sunday, and every single mummy came out with its own personality. If your monster squad prefers savory, my mummy pretzel dogs are their dinner counterpart.
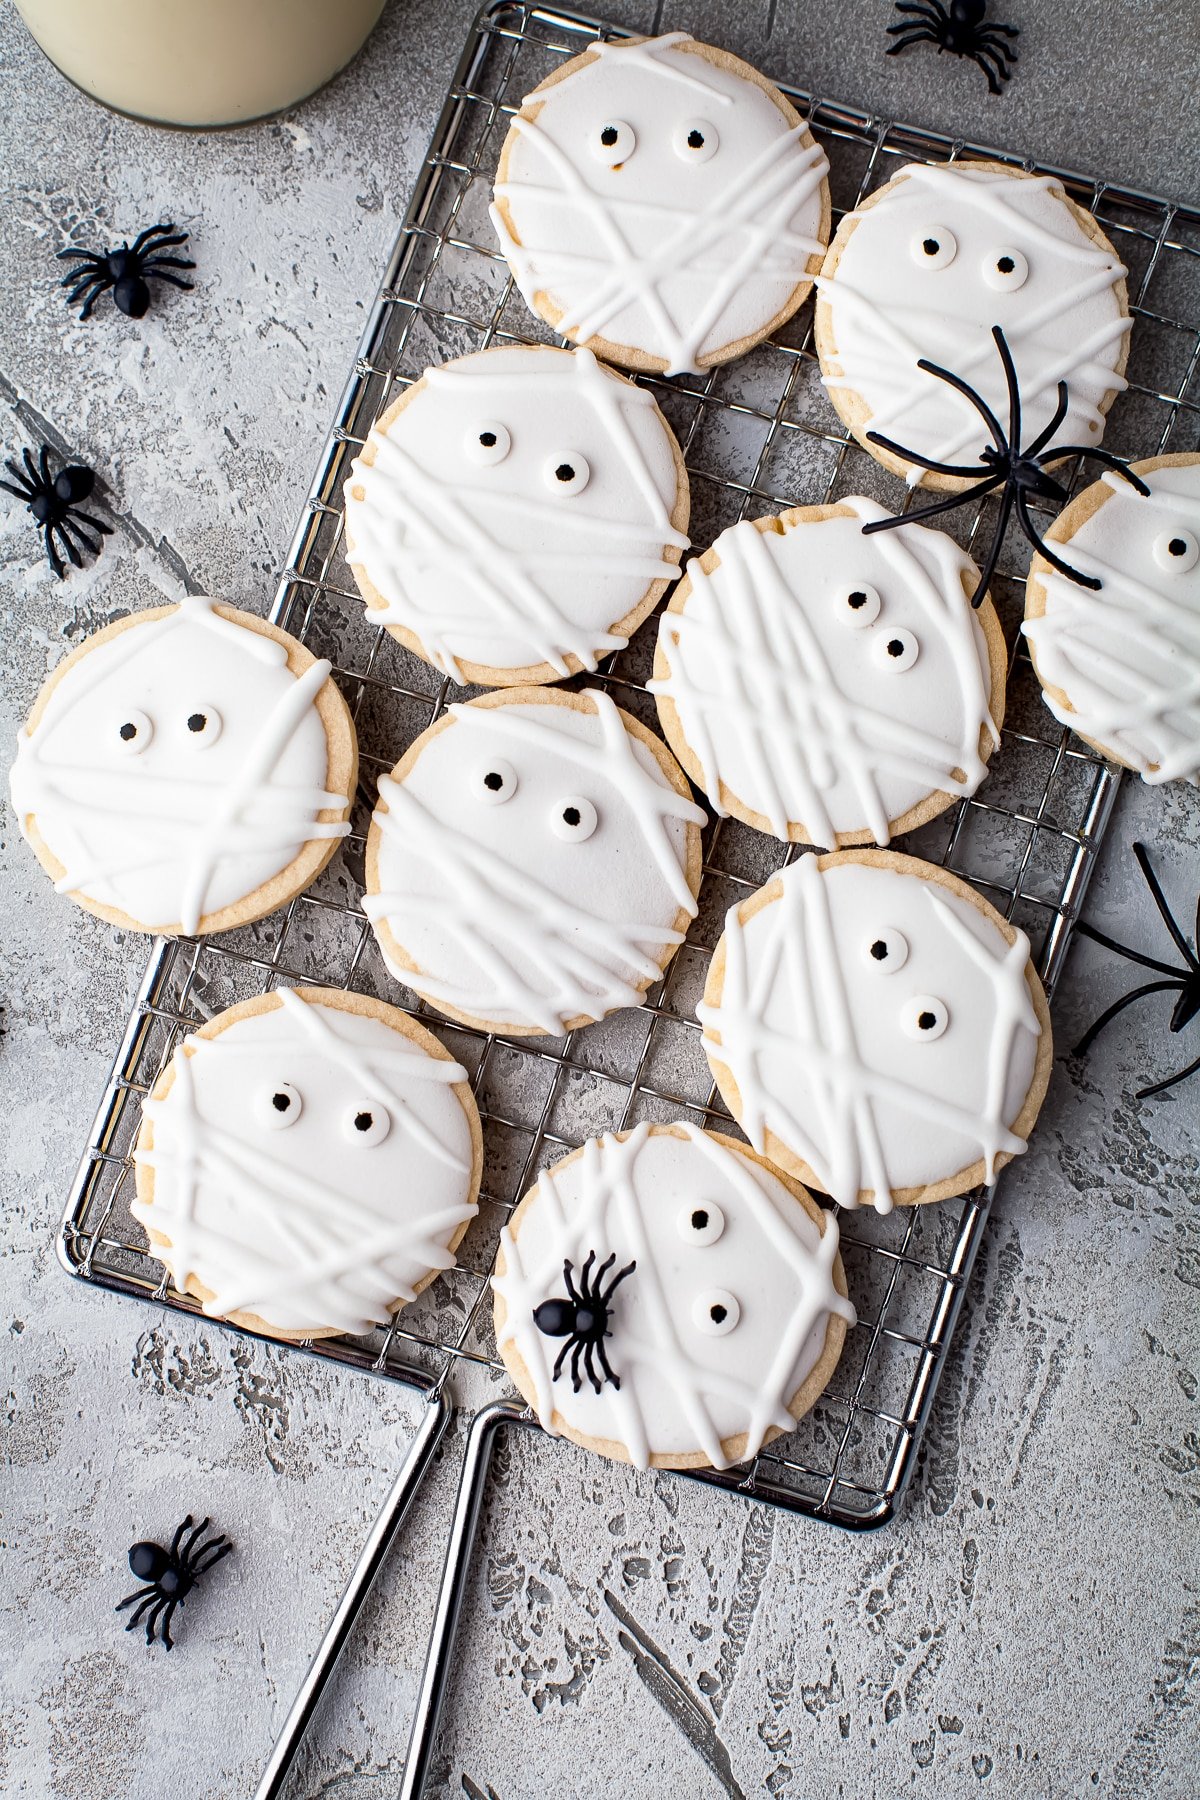
Buttery sugar cookies, swoops of royal icing, and googly candy eyes turn into the cutest monsters on the block.
Mummy Cookies Quick Look
- 🕒 Prep Time: 60 minutes
- 🌡️ Cook Time: 12 minutes
- ⏳ Total Time: 1 hour 12 minutes
- 🍽️ Serving: 36 cookies
- ⚡ Calories: 118kcal
- 🌶️ Flavor Profile: Buttery vanilla sugar cookie under sweet, crisp royal icing
- ✋ Difficulty: Medium, the decorating takes patience but the dough is as simple as my pumpkin chocolate chip cookies
Quick Answer
Cream butter and powdered sugar, mix in the eggs and vanilla, then add the whisked flour, salt, and cornstarch to form a dough. Roll it a quarter inch thick, chill for 30 minutes, then cut circles and bake at 350 degrees Fahrenheit for 12 to 15 minutes. Whip powdered sugar, meringue powder, water, and extract into a medium consistency royal icing. Outline and flood each cooled cookie, press on two candy eyes, let it set, then drizzle icing lines across each cookie so it looks like mummy wrapping.
Jump to:
Why This Recipe Works
Click to see the technique science
- Powdered sugar makes a tender crumb. Using powdered sugar in the dough instead of granulated gives these cookies a soft, melt away texture that holds a clean cut edge.
- Cornstarch is the secret softener. A third of a cup tenderizes the flour, so the cookies stay pillowy under the crisp icing shell.
- Chilled dough keeps its shape. Thirty minutes in the refrigerator firms the butter so the circles bake into circles instead of puddles.
- Small eggs matter here. The dough is balanced for less liquid, so small eggs keep it rollable instead of sticky.
- Medium consistency icing does both jobs. A fifteen second icing floods smoothly for the base coat and still holds a line for the bandage drizzles, so you only mix one batch.
- Setting between steps keeps the layers crisp. Letting the flood coat firm up before the eyes and wrapping lines means the details sit on top instead of sinking in.
Why You’ll Love This Recipe
- Every cookie comes out with its own goofy mummy face, which makes this the most fun decorating project of the season.
- The cookies underneath are genuinely great, soft and buttery, not just a canvas for icing.
- They star on the Halloween treat table right next to my poison apples.
- It has earned a permanent spot in our rotation, right up there with our cookies and cream cookies.
- It has earned a permanent spot in our rotation, right up there with our butterscotch cookies.
- It earns a spot in the rotation right next to our graveyard dirt cups.
Key Ingredients
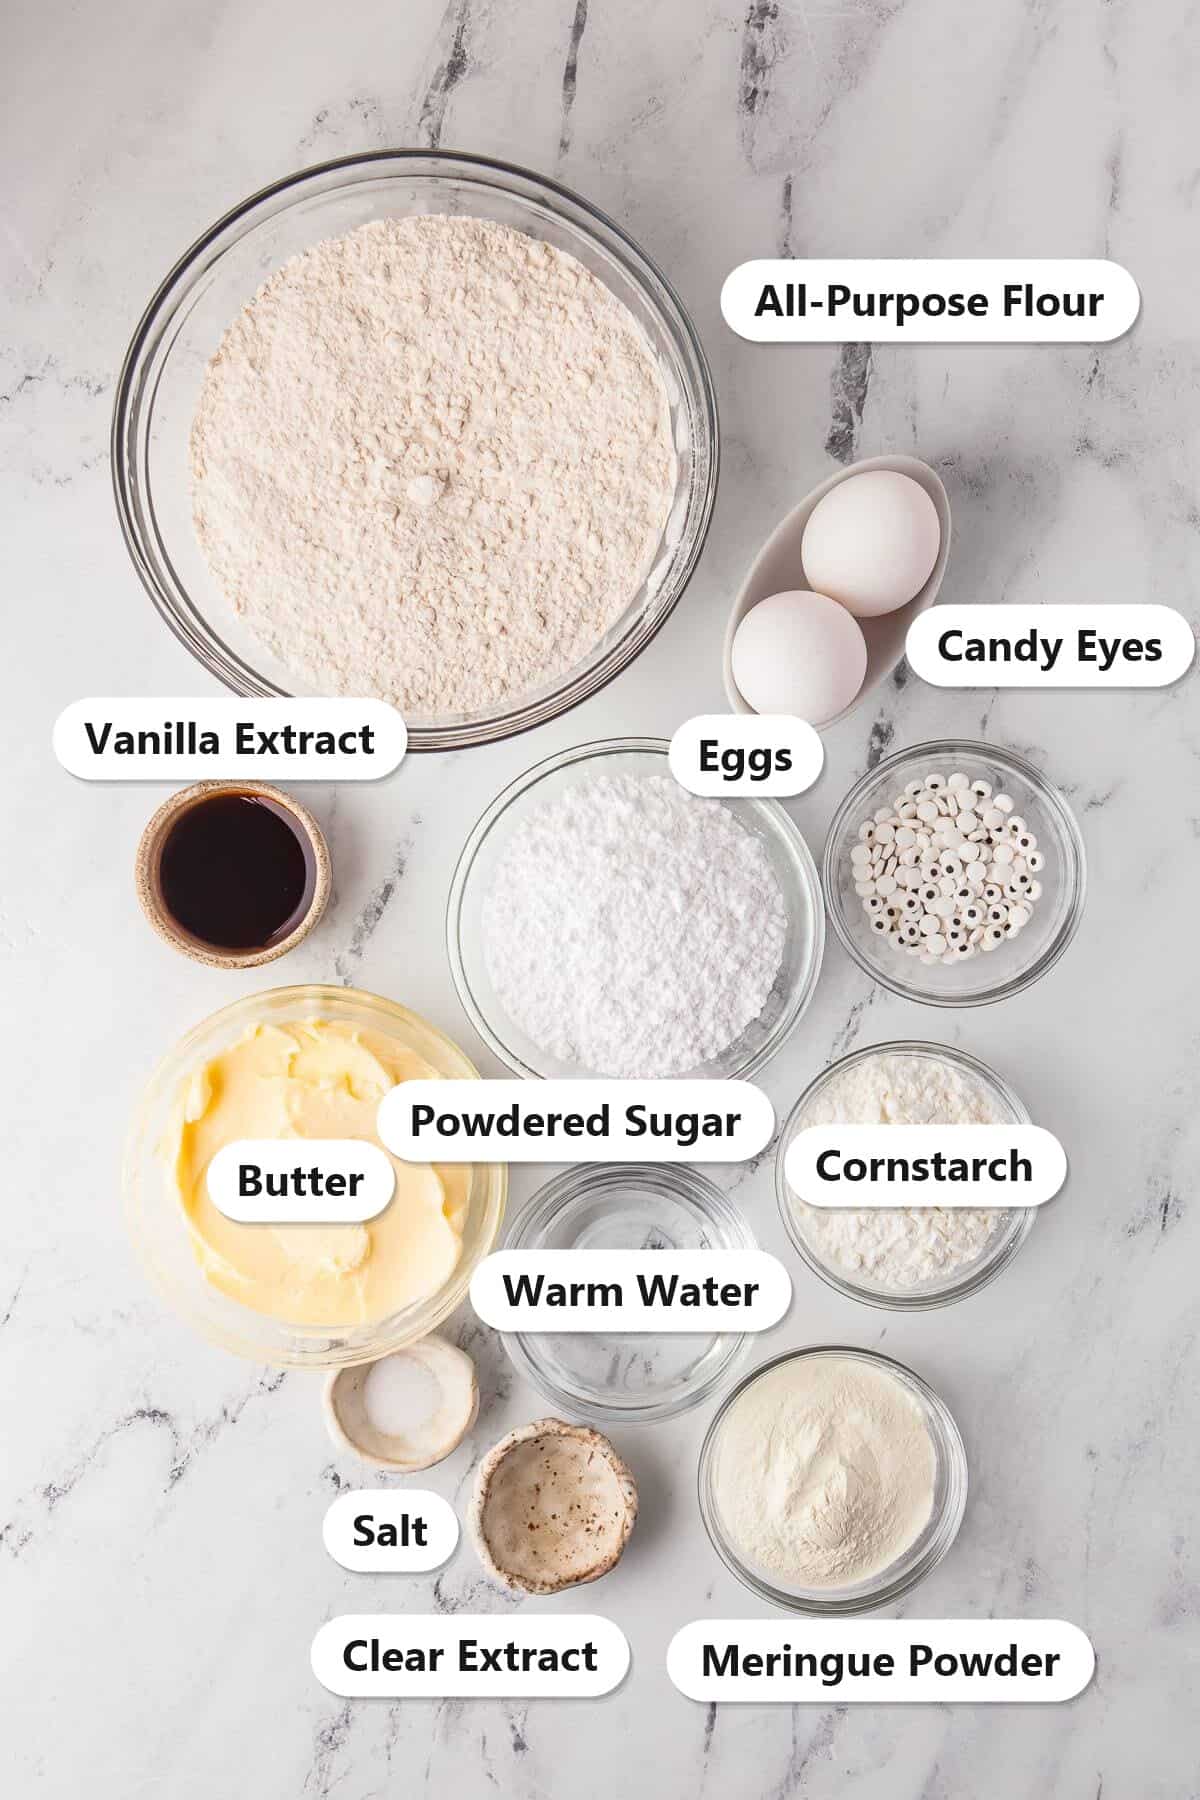
Simple baking staples build the cookie, and three icing ingredients do the wrapping.
- Unsalted Butter: The rich base. Creamed with powdered sugar, it gives the cookies their soft, tender bite.
- Powdered Sugar: The double duty sweetener. It keeps the dough tender and whips into the royal icing bandages.
- Cornstarch: The tenderizer. It softens the flour so the cut outs bake up pillowy instead of snappy.
- Meringue Powder: The icing muscle. It whips the royal icing into a glossy coat that sets firm enough to stack.
- Candy Eyes: The personality. Two eyes pressed into the wet icing turn a plain cookie into a mummy with attitude.
See recipe card for exact quantities.
Variations and Substitutions
Once the mummies are wrapped, the same cookie takes on all kinds of looks.
- Chocolate mummies: Drizzle melted white chocolate for the bandages instead of royal icing for a faster finish.
- Spooky color base: Flood the cookies in purple or green icing and wrap white lines over it.
- Googly eye party: Use different sizes of candy eyes, or three eyes, for extra silly monsters.
- Almond mummies: Use almond extract in the icing for a bakery style flavor.
- Serve them with cups of my spooky Halloween punch for the full haunted party effect.
- Craving a different flavor next time? Our cookies and cream blossom cookies delivers the same easy comfort with its own twist.
- Craving a different flavor next time? Our vanilla meringue cookies delivers the same easy comfort with its own twist.
- In the mood for something different? Our confetti cake cookies scratches a similar itch.
How to Make Mummy Cookies
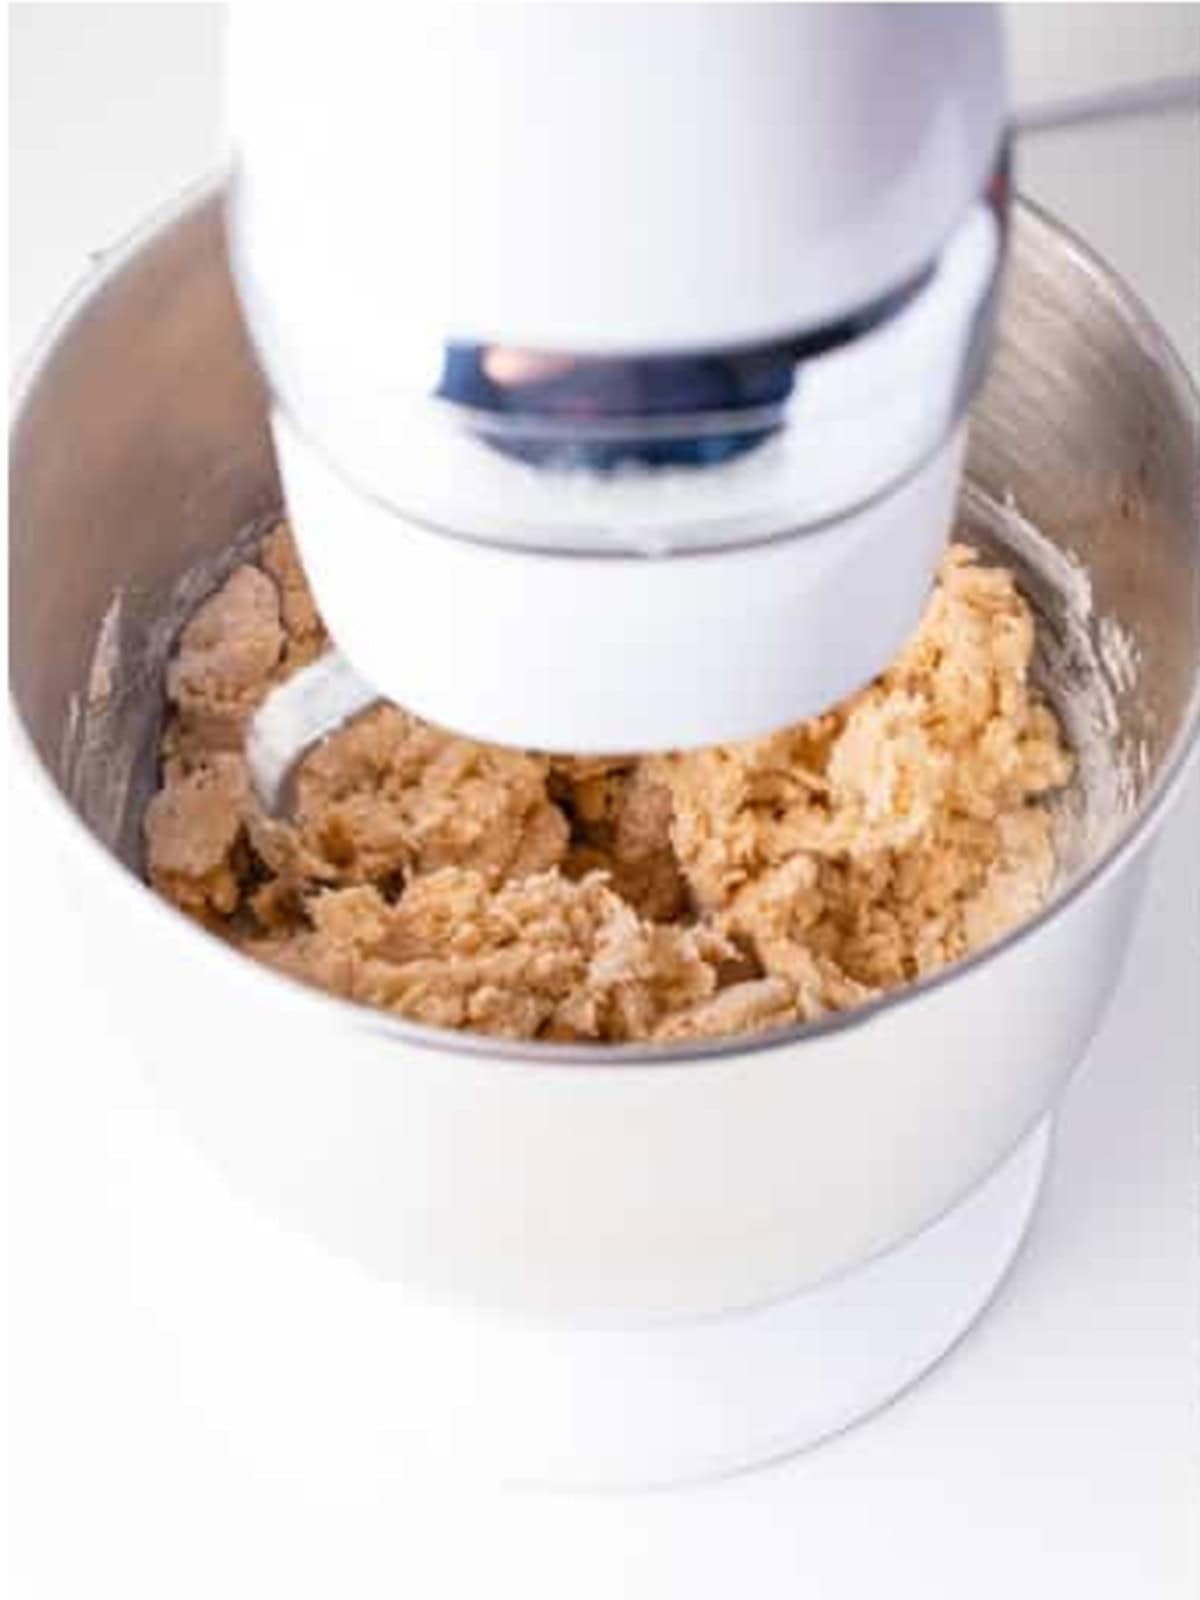
- Cream the butter and powdered sugar in a stand mixer until smooth, then mix in the eggs and vanilla. Whisk the flour, salt, and cornstarch in a separate bowl and add it to the wet ingredients a little at a time, scraping the bowl, until a soft dough forms.
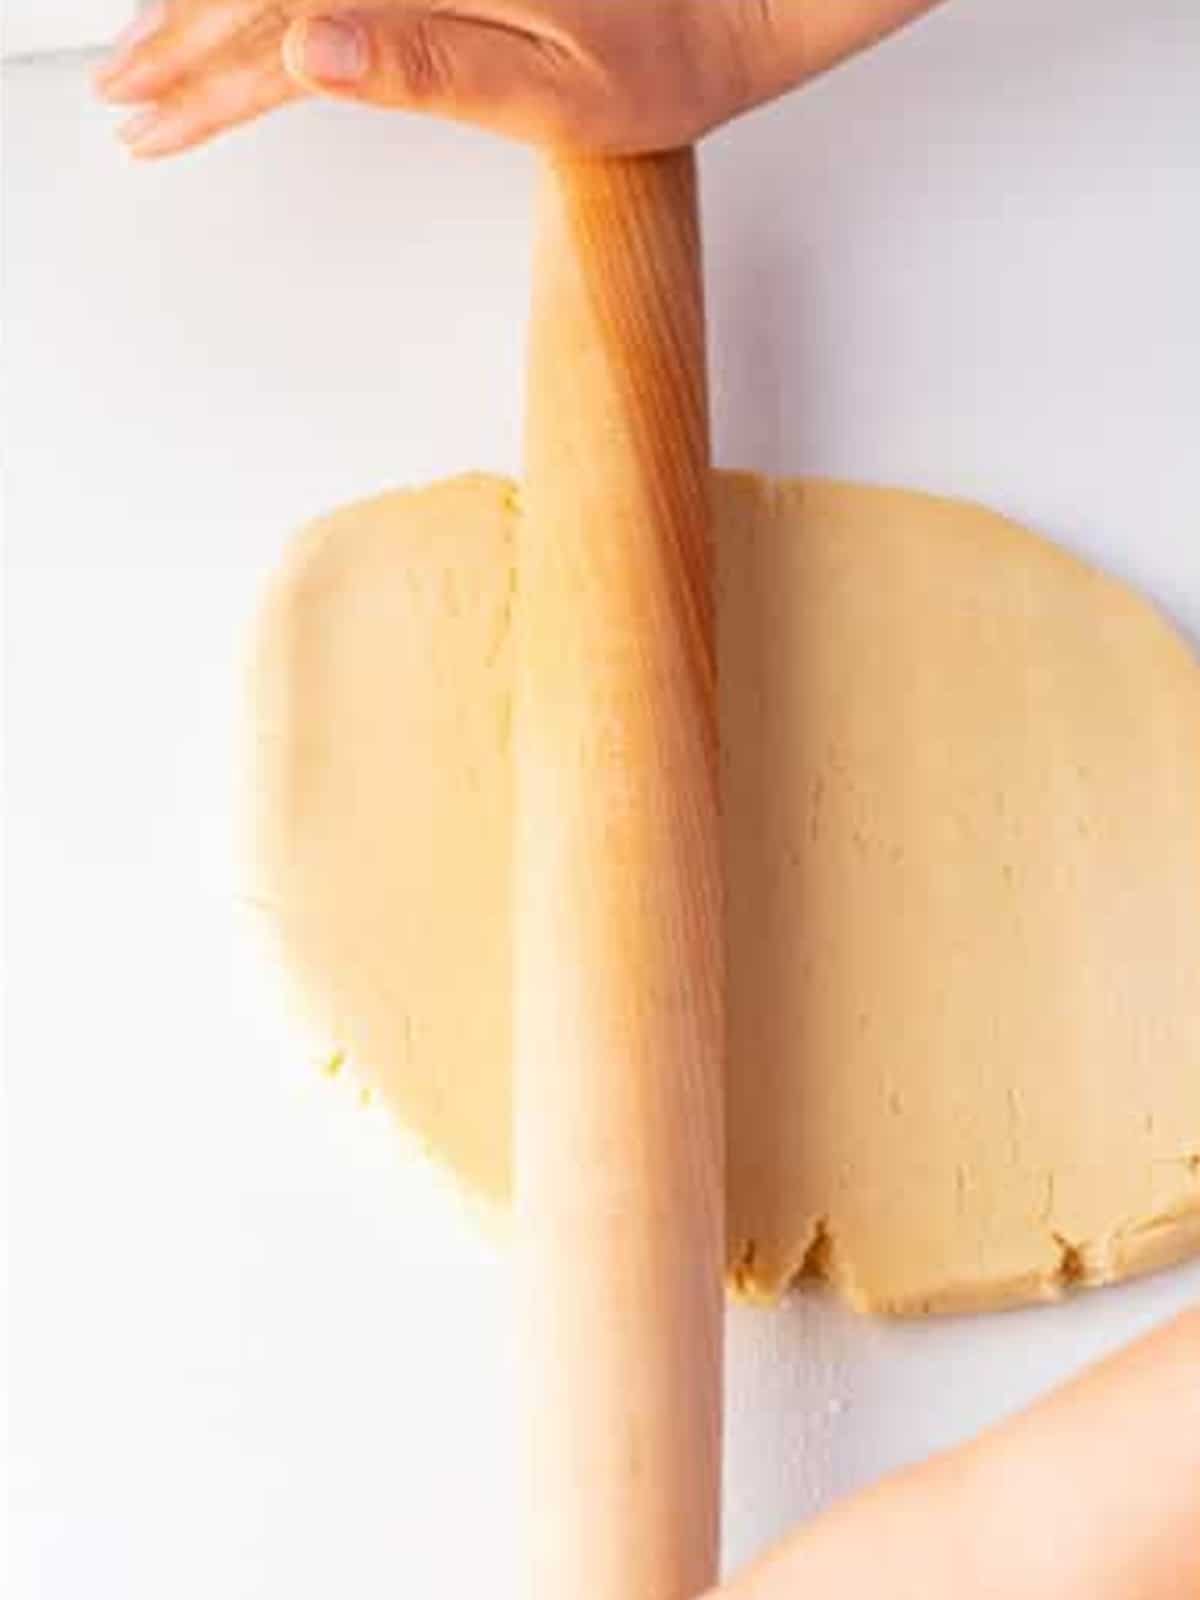
- Roll the dough into a sheet about a quarter inch thick on parchment paper, then chill it in the refrigerator for 30 minutes.
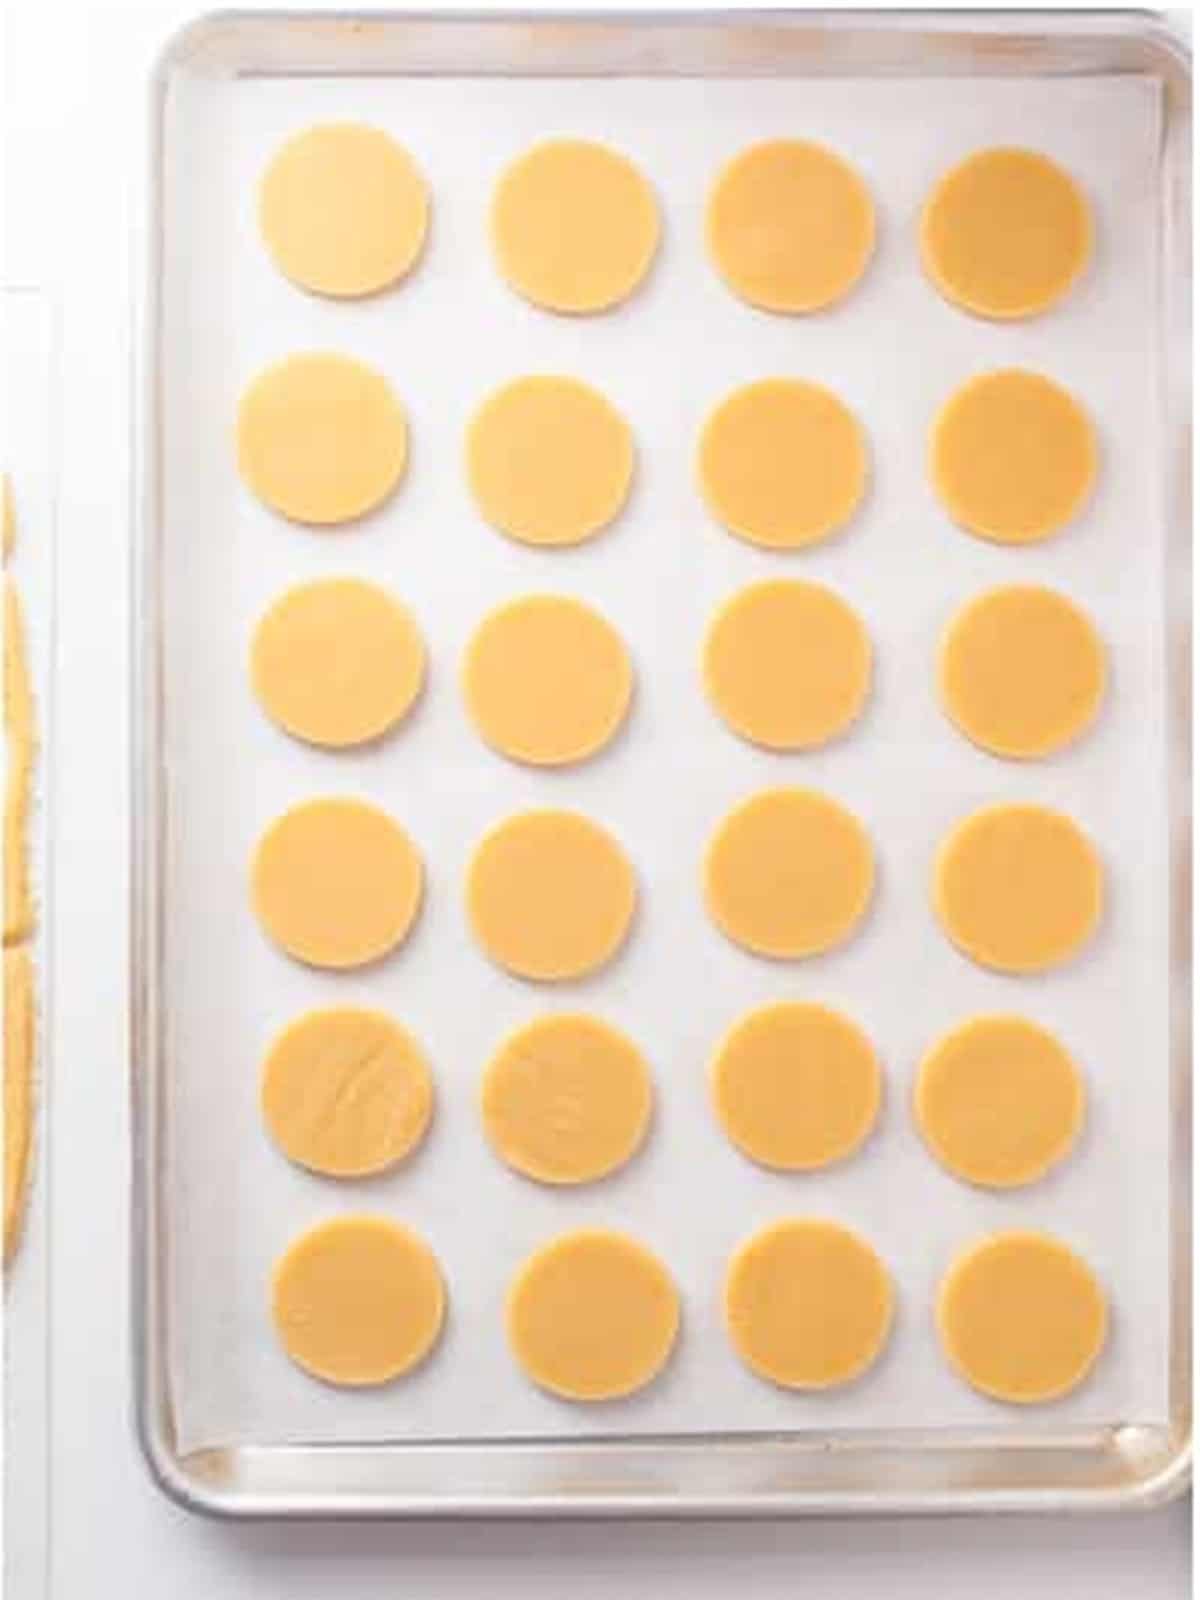
- Preheat the oven to 350 degrees Fahrenheit. Cut circles from the chilled dough, place them on a greased baking sheet, and bake for 12 to 15 minutes, until the edges are just golden. Cool the cookies completely, at least an hour.
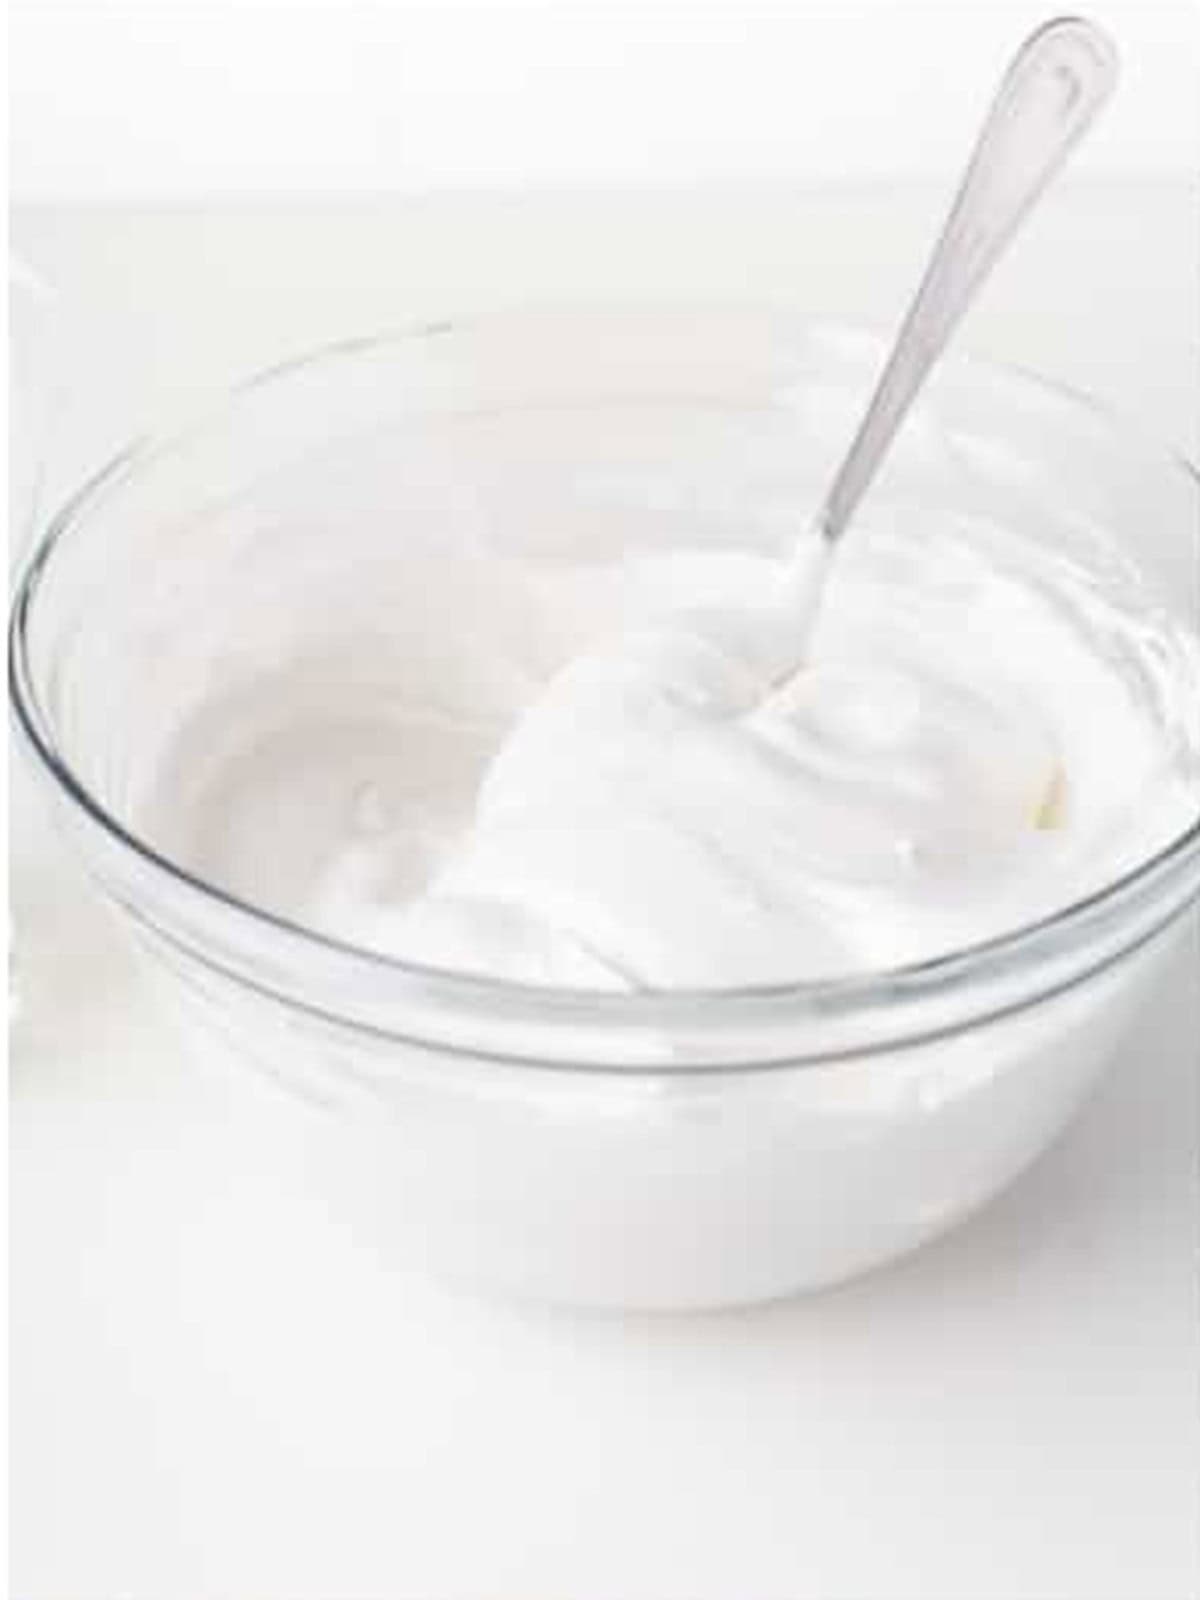
- For the royal icing, whip the powdered sugar, meringue powder, warm water, and extract on medium high speed for 4 to 5 minutes until fluffy with peaks. Adjust with tiny splashes of water until a ribbon of icing disappears back into the bowl in about 15 seconds.
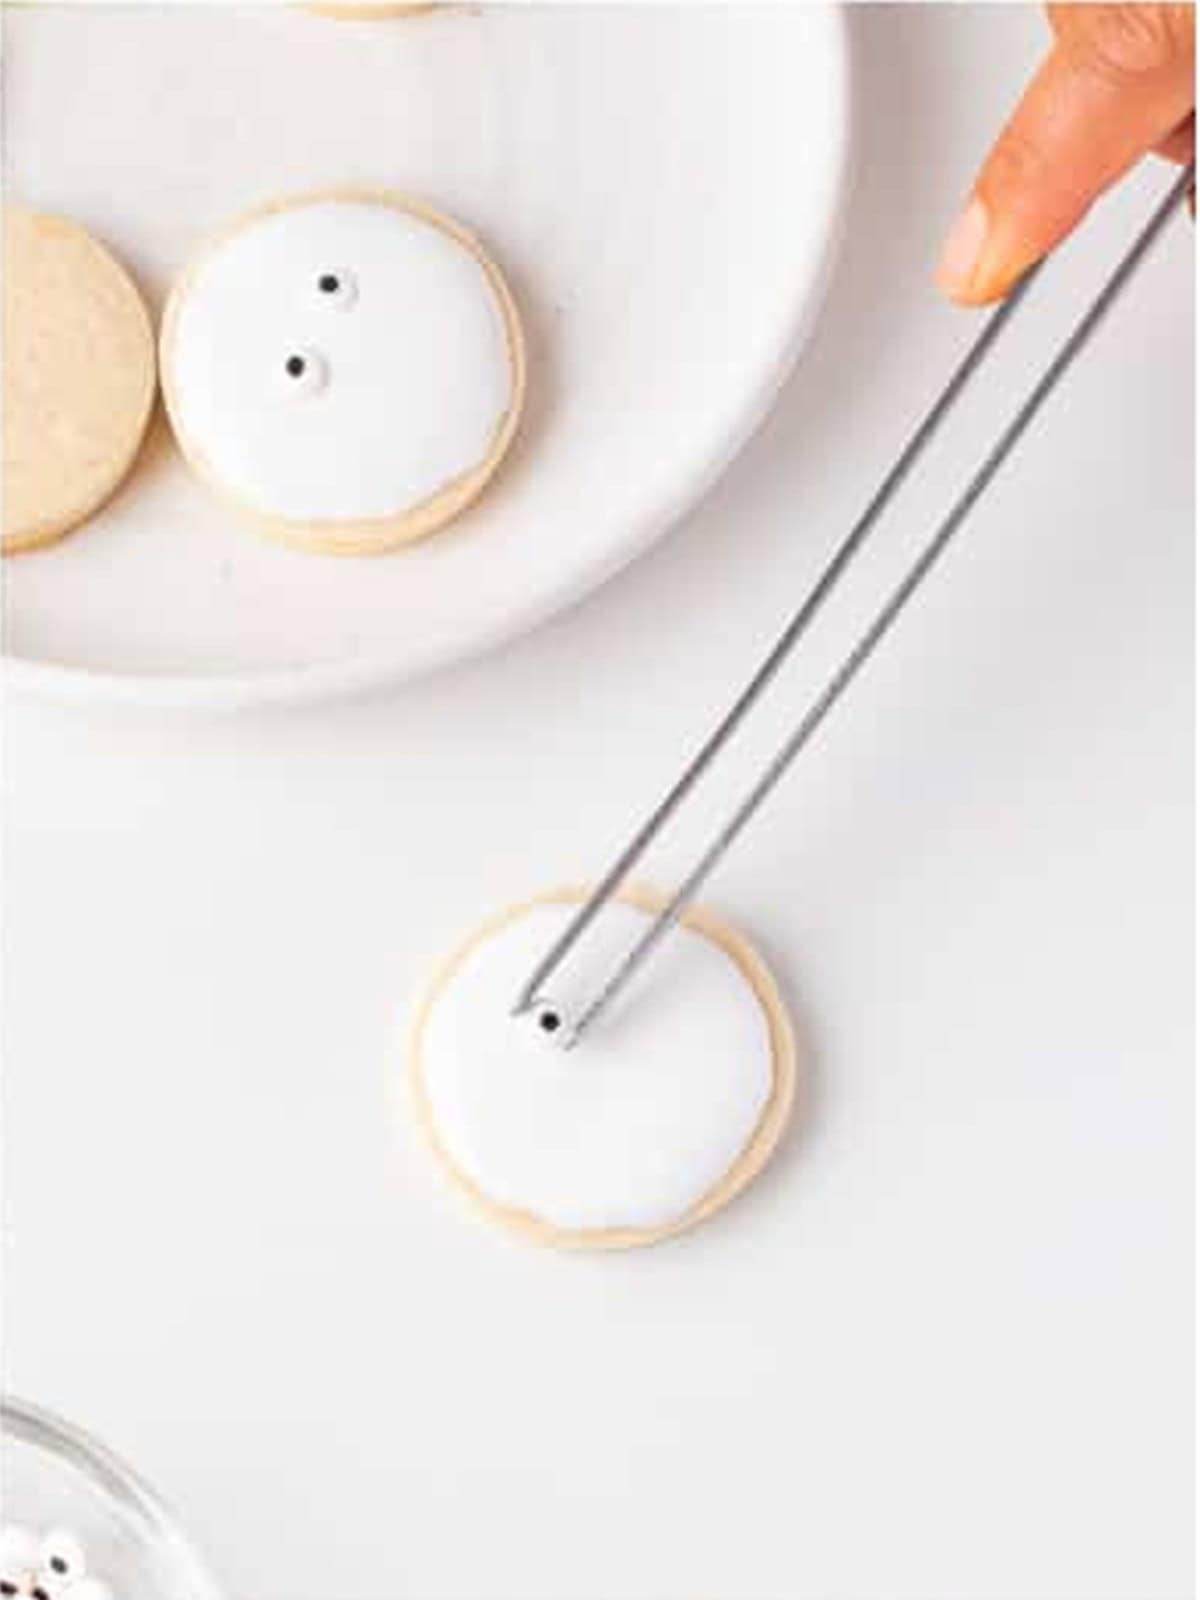
- Pipe an outline around each cookie, spiral the icing inward, and smooth it with a toothpick. Press two candy eyes into the wet icing and let the base coat set.
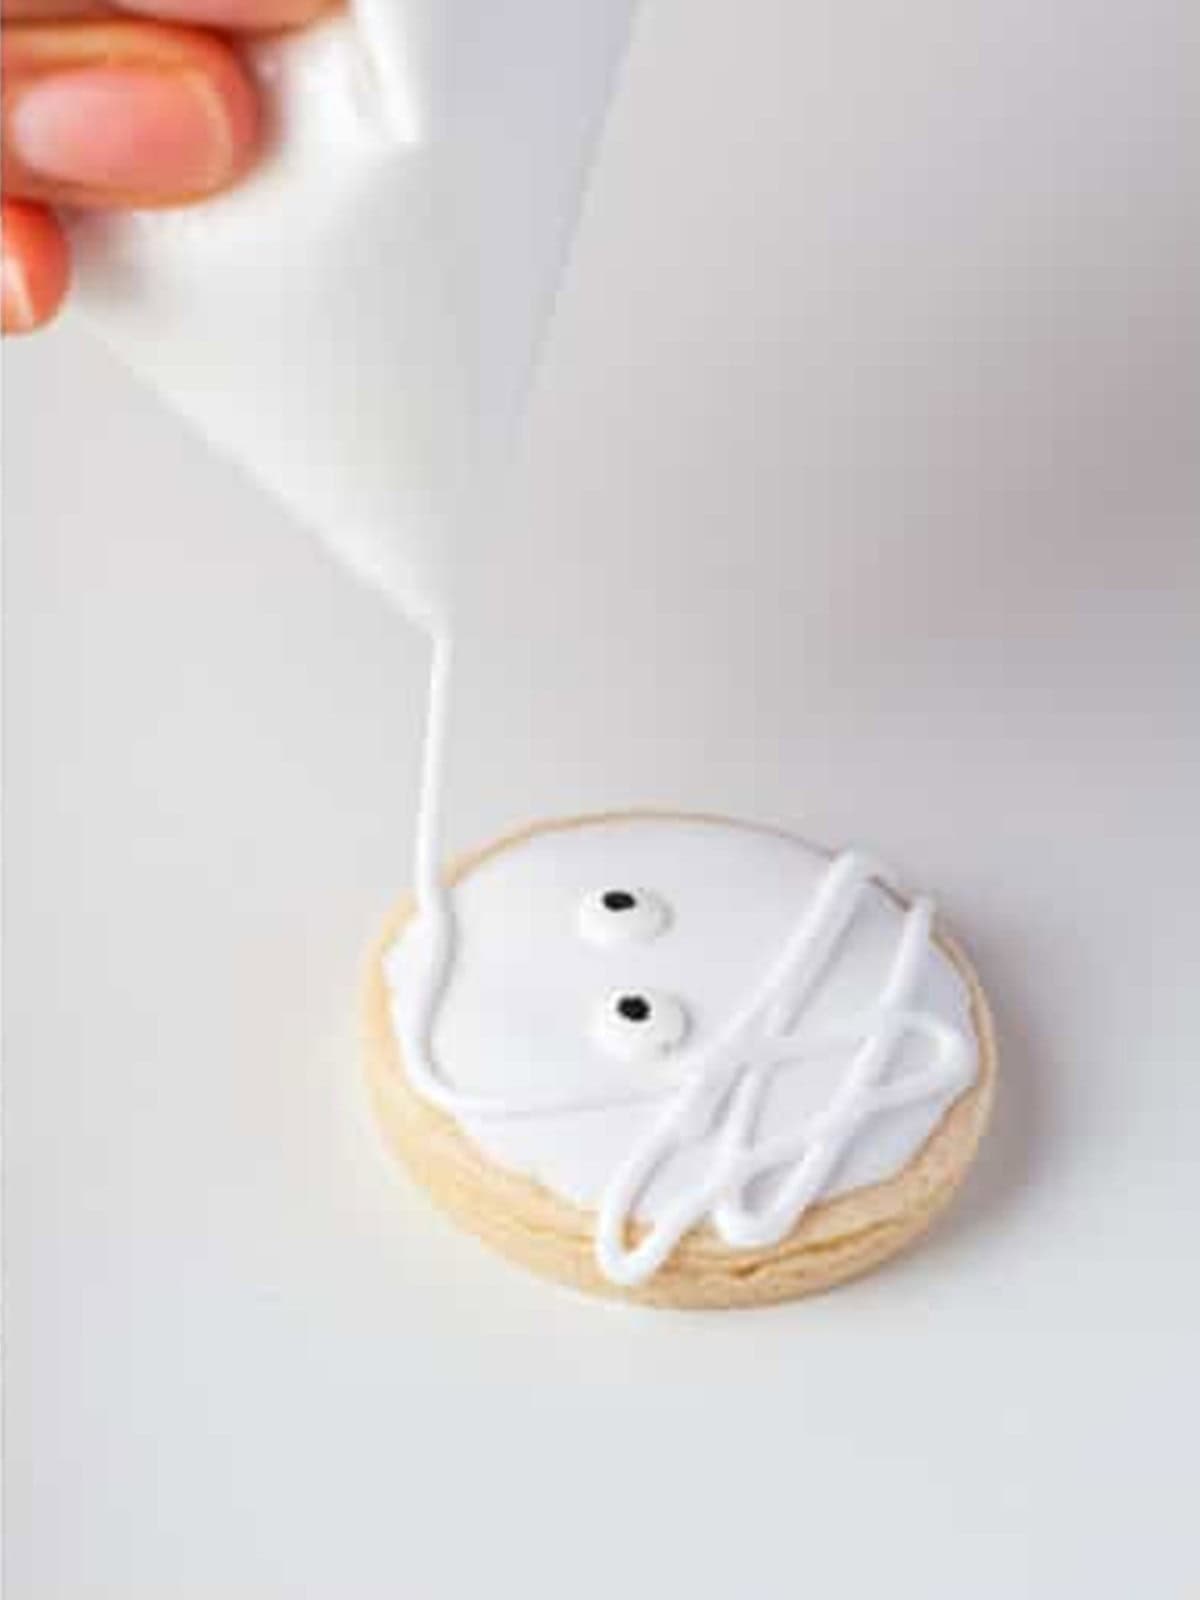
- Drizzle icing lines back and forth across each cookie so it looks like mummy wrapping, keeping the eyes uncovered. Let the mummy cookies set completely before stacking or serving.
Recipe Tips & Tricks
- Use small eggs like the recipe says. Bigger eggs add liquid and turn a rollable dough sticky.
- Roll before you chill. Rolling the dough into its sheet first, then chilling, is much easier than fighting a cold block.
- Cool the cookies at least an hour. Even slightly warm cookies melt royal icing into a puddle.
- Test the 15 second rule. Drag a knife through the icing, and if the line vanishes in about 15 seconds, it is flood and detail ready.
- Let the base coat set before wrapping. The bandage lines only stay crisp on a firmed up flood layer.
- Vary the wrapping angles. Crisscrossing the lines differently on each cookie is what gives every mummy its own personality.
- Make it a spread. When you are feeding a crowd, round out the table with our sprinkle cookies recipe.
- Make it a spread. When you are feeding a crowd, round out the table with our lady finger cookies.
- Make it a full spread. Our jalapeno popper mummies rounds out the table.
Serving Ideas and Suggestions
Still filling out the menu? Readers love pairing this one with our easter sugar cookies and our candied grapes.

Mummy Cookies FAQs
Mummy cookies are a great make ahead project. The baked, undecorated cookies keep airtight for 3 days or freeze for 3 months, and fully decorated cookies stay fresh in an airtight container for up to a week once the royal icing sets hard. You can even split the work, baking one day and decorating the next, which makes them perfect for party prep.
Medium consistency, often called 15 second icing, is the sweet spot for mummy cookies. Drag a knife through the bowl, and the line should smooth back out in about 15 seconds. That thickness floods the base coat smoothly but still holds the drizzled bandage lines without them melting flat, so one batch of icing handles the whole cookie.
Yes, you have two options. Swap the meringue powder and water for pasteurized egg whites to make a traditional royal icing, or skip royal icing entirely and drizzle the cooled cookies with melted white chocolate or candy melts. The candy melt version sets faster but is a little harder to pipe in fine lines, so its mummies look extra rustic.
Spreading almost always means the dough went into the oven too warm. Chill the rolled dough the full 30 minutes, and if the cut circles sit out while you work, give the tray a quick 10 minute chill before baking. Overly soft butter at the creaming stage and extra large eggs are the other usual suspects, since both loosen the dough.
Press the candy eyes into the royal icing while it is still wet, right after flooding each cookie. As the icing sets, it locks the eyes in place permanently. If you missed the window and the icing dried, dot a tiny bit of leftover icing on the back of each eye like glue and hold it in place for a few seconds.
These mummy cookies are soft. The dough uses powdered sugar and a generous scoop of cornstarch, which keep the crumb tender and melt away rather than snappy. The royal icing adds a thin, crisp shell on top, so you get a gentle crunch from the wrapping and a pillowy vanilla cookie underneath.



Made these mummy cookies? Leave a comment and a star rating below, and tell me which mummy had the best personality!
My Halloween muddy buddies are the make ahead snack that feeds the whole monster mash.

Mummy Cookies
Ingredients
Cookies:
- 1 cup unsalted butter softened
- 1 cup of powdered sugar
- 2 small eggs important that, they are small
- 1 ½ teaspoons vanilla extract
- ½ teaspoon salt
- ⅓ cup cornstarch
- 3 ½ cups all-purpose flour
Royal Icing:
- 1 ½ cups powdered sugar
- 2 ¼ Tablespoons warm water
- 1 Tablespoon Meringue Powder
- ¼ teaspoon clear flavor extract your favorite flavor
Instructions
- Mix butter and sugar in a stand mixer fitted with a paddle attachment at medium speed until well combined and creamy.
- Add the eggs and vanilla and combine.
- Whisk flour, salt, and cornstarch together in a separate bowl.
- Add the flour mixture to the wet ingredients little by little. Mix at low speed until well combined. Make sure you clean the sides of the bowl, so it is all mixed.
- Extend the dough into a sheet that is 1/4” inch thick. Place it on a sheet of parchment paper or an acrylic sheet.
- Place the dough in the refrigerator for 30 minutes.
- Preheat the oven to 350 degrees F. Spray some non-stick spray on a baking sheet and set it aside.
- Cut the shapes and place them on a baking sheet.
- Bake for 12 to 15 minutes, or until the edges are golden.
- Let them cool for at least an hour. They must be completely cool before you add the icing.
- To make the icing, in a stand mixer, whisk powdered sugar, extract, water, and meringue powder until it’s fluffy and has peaks in it on medium to high speed. This could take anywhere from 4 to 5 minutes.
- Check the consistency of your icing. If it’s too thick add more water, very little at a time. For these cookies, you should have a medium consistency. It should take about 15 seconds to disappear. This should work for flooding and details so it should not be runny, to make sure it does not fall through the sides. (Medium royal icing is slightly thinner than piping icing.)
- Once you have the consistency you want, place it into a piping bag or you can also use a ziploc bag. Cut a tiny edge of the bottom of the bag to use.
- To decorate, outline each cookie with your icing, and continue making a spiral inwards. Then immediately with a toothpick or a tool spread the icing evenly, smooth it out.
- Place the eyes on the cookie. Allow it to set before adding the lines. This consistency should allow you to fill in large areas of a cookie surface quickly. Repeat the step of adding it into a piping bag and finish all the cookies.
- Continue with your icing and drizzle each cookie with a bit of icing to make it look like the mummy wrapping. Be careful not to cover the eyes.
Nutrition
Love This Recipe?
Follow @ThisSillyGirlsKitchen on Instagram and @danadevolk on Pinterest for more!