
This post may contain affiliate links.
These Mini Monster Cookies are soft, chewy, and loaded with peanut butter, oats, and colorful candies, and they have been a family favorite in our house for years, right alongside our maple bacon cookies. They are a no-chill, one-bowl cookie that comes together fast and disappears even faster.
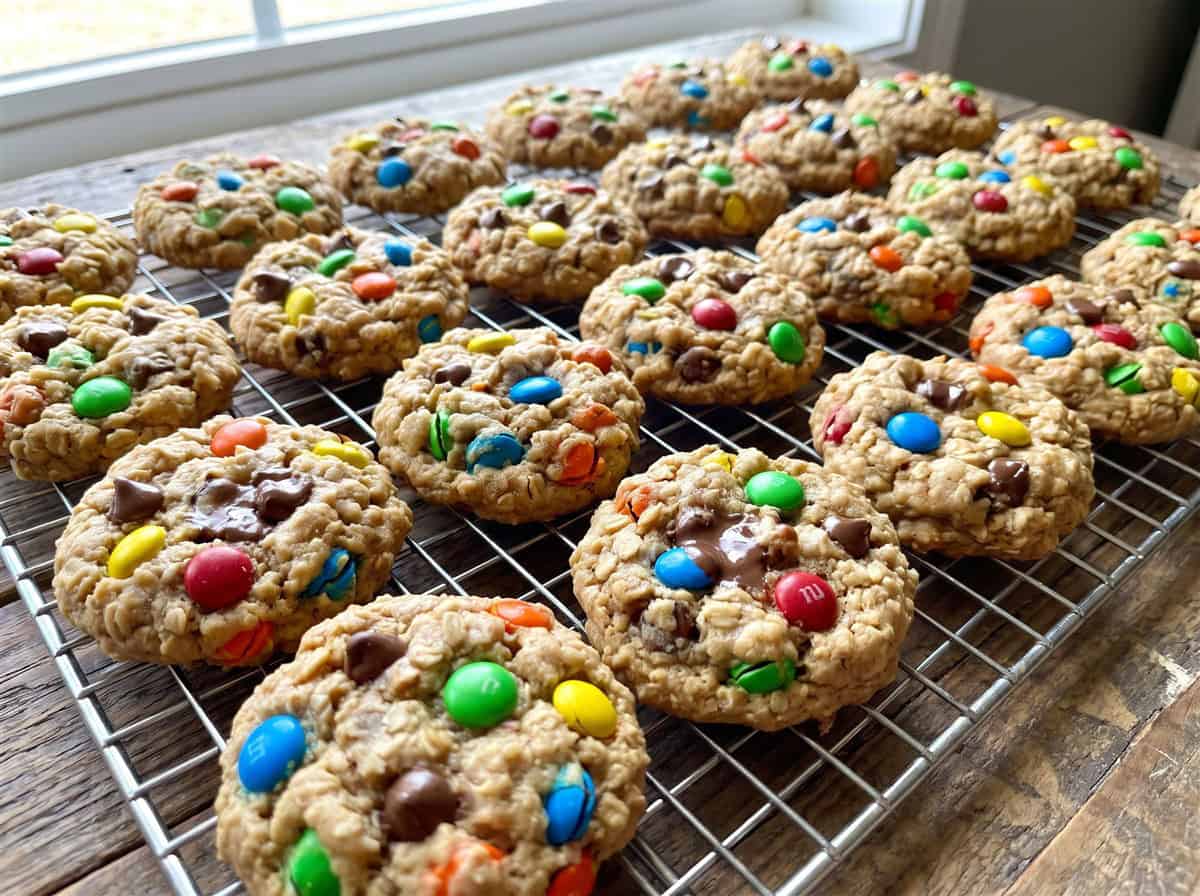
Made bite-sized so you can pop a few at a time, these are pure nostalgic, kid-friendly fun in every batch.
Monster Cookies Quick Look
- 🕒 Prep Time: 15 minutes
- 🌡️ Cook Time: 7 minutes
- ⏳ Total Time: 22 minutes
- 🍽️ Serving: 24 cookies
- ⚡ Calories: 160kcal
- 🌶️ Flavor Profile: Sweet and nutty with peanut butter, oats, and chocolate candy
- ✋ Difficulty: Easy, on par with our chocolate shortbread bites
Quick Answer
Cream butter and sugars, then beat in peanut butter, egg, and vanilla. Mix in flour and baking soda, then stir in quick oats and mini candy-coated chocolates by hand. Scoop the dough into balls, flatten the tops, and bake at 350 degrees for 6 to 7 minutes. Let them cool to set up into soft, chewy Monster Cookies loaded with candy.
Jump to:
Why This Recipe Works
Click to see the technique science
- No chilling required. This dough goes straight from the bowl to the oven, so you can satisfy a cookie craving fast.
- Peanut butter keeps them soft. Creamy peanut butter gives these cookies their rich flavor and tender, chewy texture.
- Underbaking is the secret. Pulling them at 6 to 7 minutes, before they look done, keeps the centers soft and chewy.
- Stir candies in by hand. Mixing the candies in gently with a spoon keeps them whole and colorful instead of crushed and muddy.
- Mini size, big fun. Small cookies mean more colorful candy in every bite and a perfect portion for little hands.
Why You’ll Love This Recipe
- They come together in about 20 minutes with no chilling, just like our maple bacon cookies.
- Soft, chewy, and loaded with peanut butter, oats, and colorful candy in every bite.
- The mini size makes them perfect for parties, lunchboxes, and snacking by the handful.
- It is the kind of no fuss win that pairs beautifully with our cookie monster ice cream on a busy week.
- It is the kind of no fuss win that pairs beautifully with our cookies and cream cookies on a busy week.
- It earns a spot in the rotation right next to our homemade ladyfinger cookies.
Key Ingredients
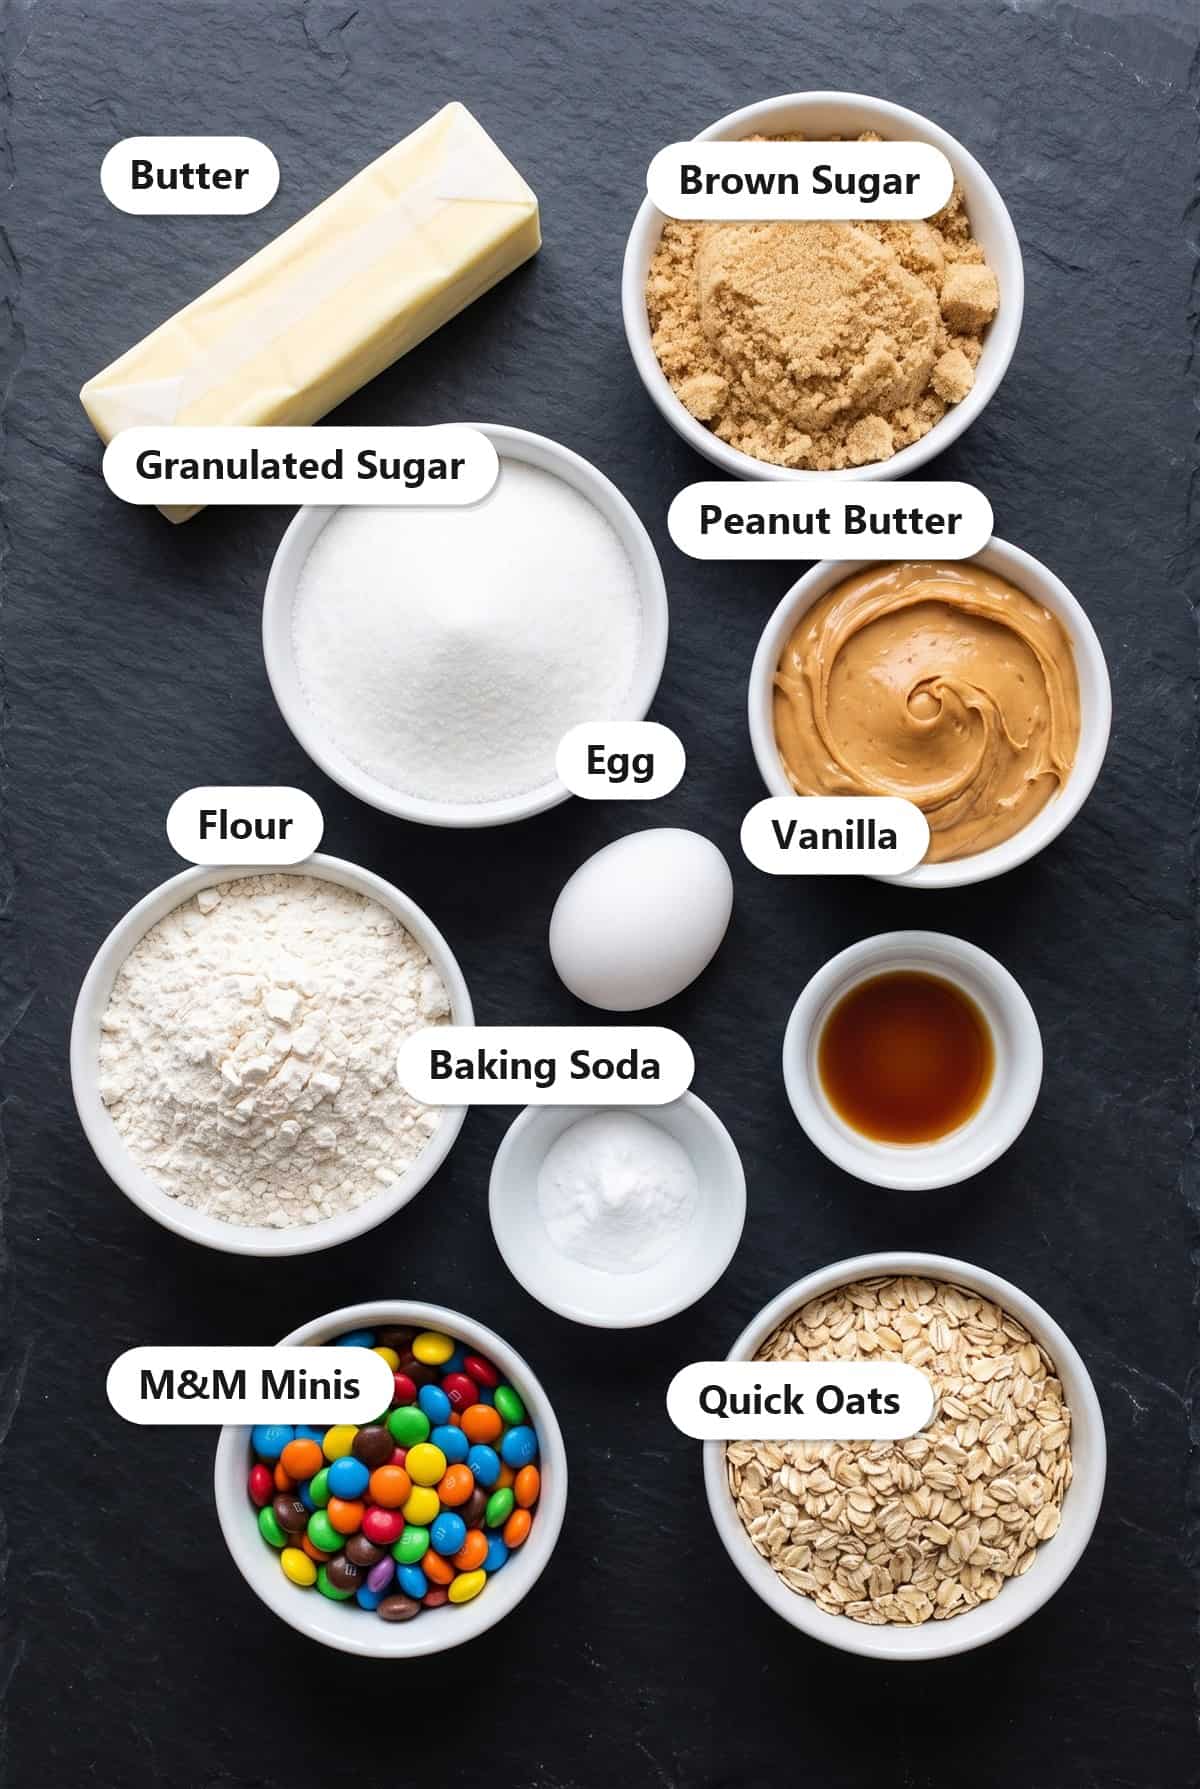
A handful of pantry staples come together for these loaded Monster Cookies. Here is what each one does.
- Peanut Butter: Creamy peanut butter is the heart of monster cookies, giving them a rich, nutty flavor and irresistibly soft, chewy texture.
- Butter and Sugars: Butter with a mix of brown and granulated sugar creates that perfect soft-and-chewy bite with caramel notes.
- Quick Oats: Oats add heartiness and a little chew, just like the cozy texture in our
- maple bacon cookies
- .
- Mini Candy-Coated Chocolates: The signature pop of color and chocolate in every monster cookie. The minis distribute beautifully through the dough.
- Flour and Baking Soda: Just enough flour holds it all together, while baking soda gives the cookies a gentle lift.
See recipe card for exact quantities.
Variations and Substitutions
These Monster Cookies are easy to customize. Here are a few ways to switch them up.
- Stir in chocolate chips, peanut butter chips, or chopped peanuts along with the candies.
- Use seasonal colored candies to match any holiday, like our $lSand.
- Make them gluten free by using certified gluten free oats and a 1-to-1 gluten free flour blend.
- Press a few extra candies on top before baking for the prettiest cookies, like our soft Easter sugar cookies.
- For another spin on this idea, try our monster cookie cupcakes next time.
- For another spin on this idea, try our sprinkle cookies recipe next time.
- In the mood for something different? Our thick and chewy monster cookie bars scratches a similar itch.
How to Make Monster Cookies
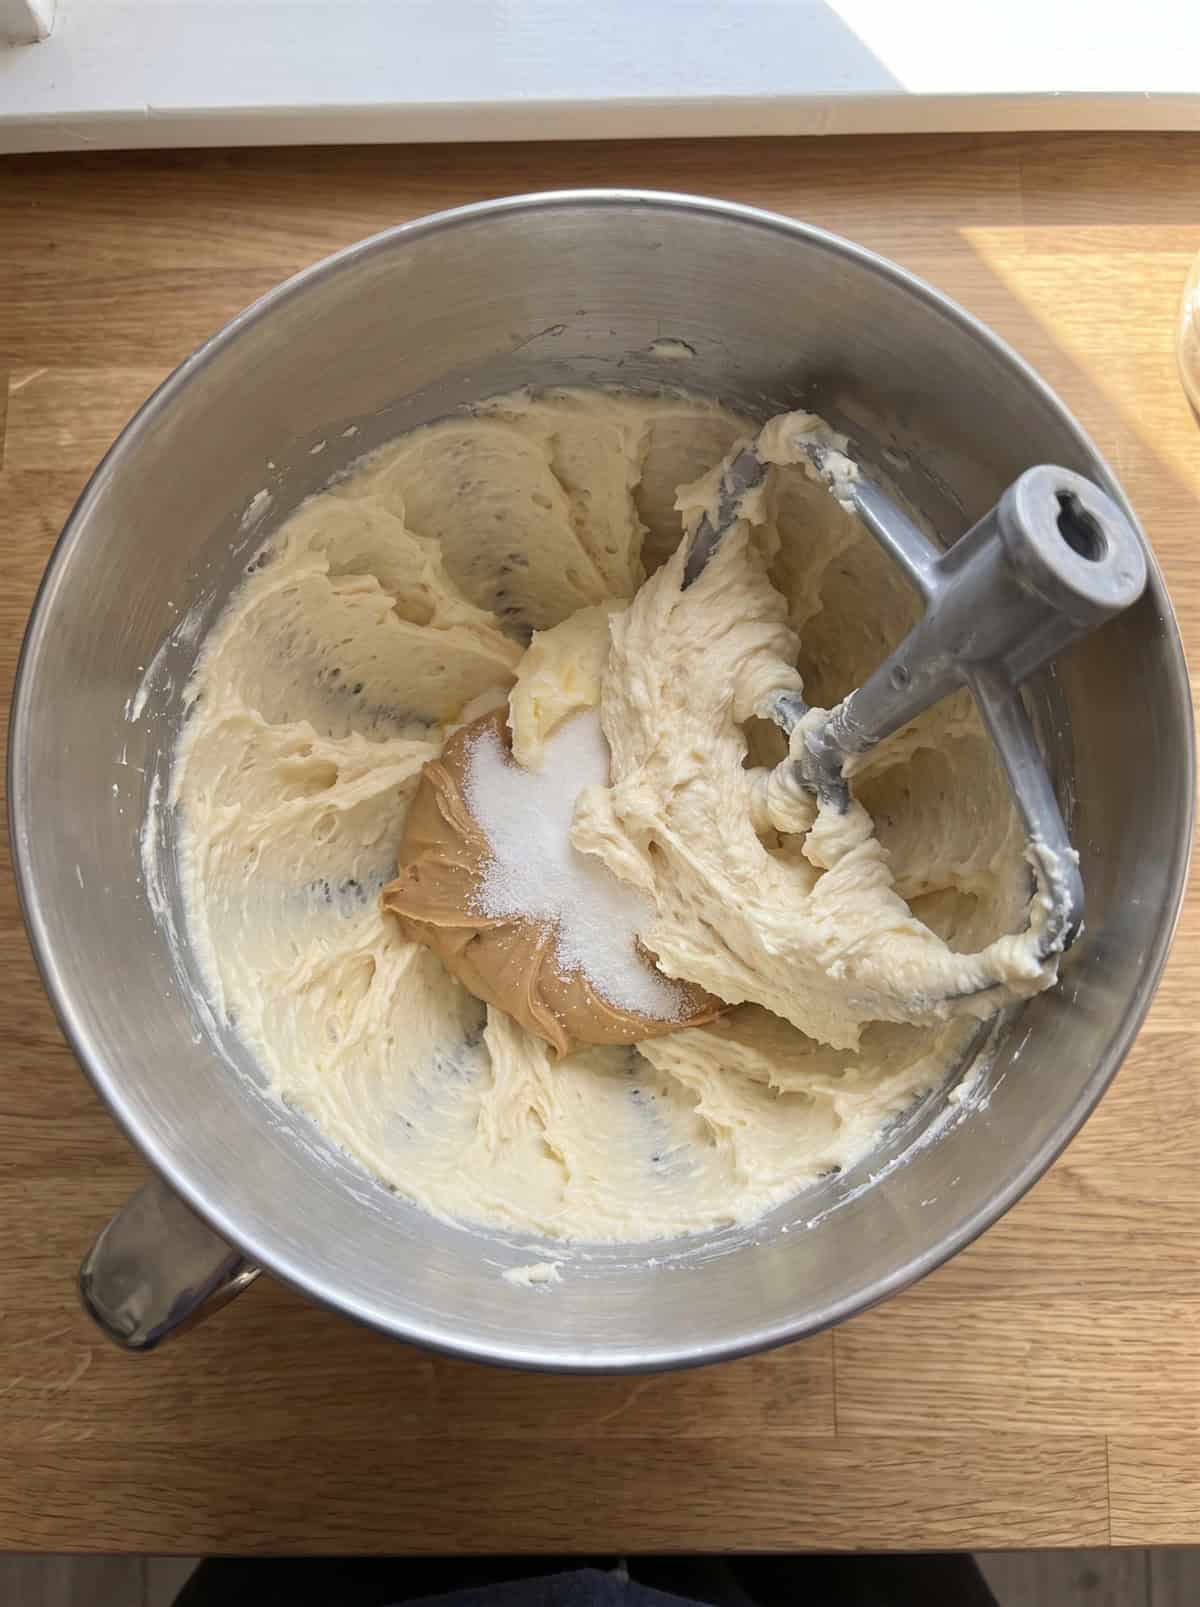
- Preheat the oven to 350 degrees. Cream the butter and both sugars together for about 3 minutes, then beat in the peanut butter, egg, and vanilla. Mix in the flour and baking soda until just combined.
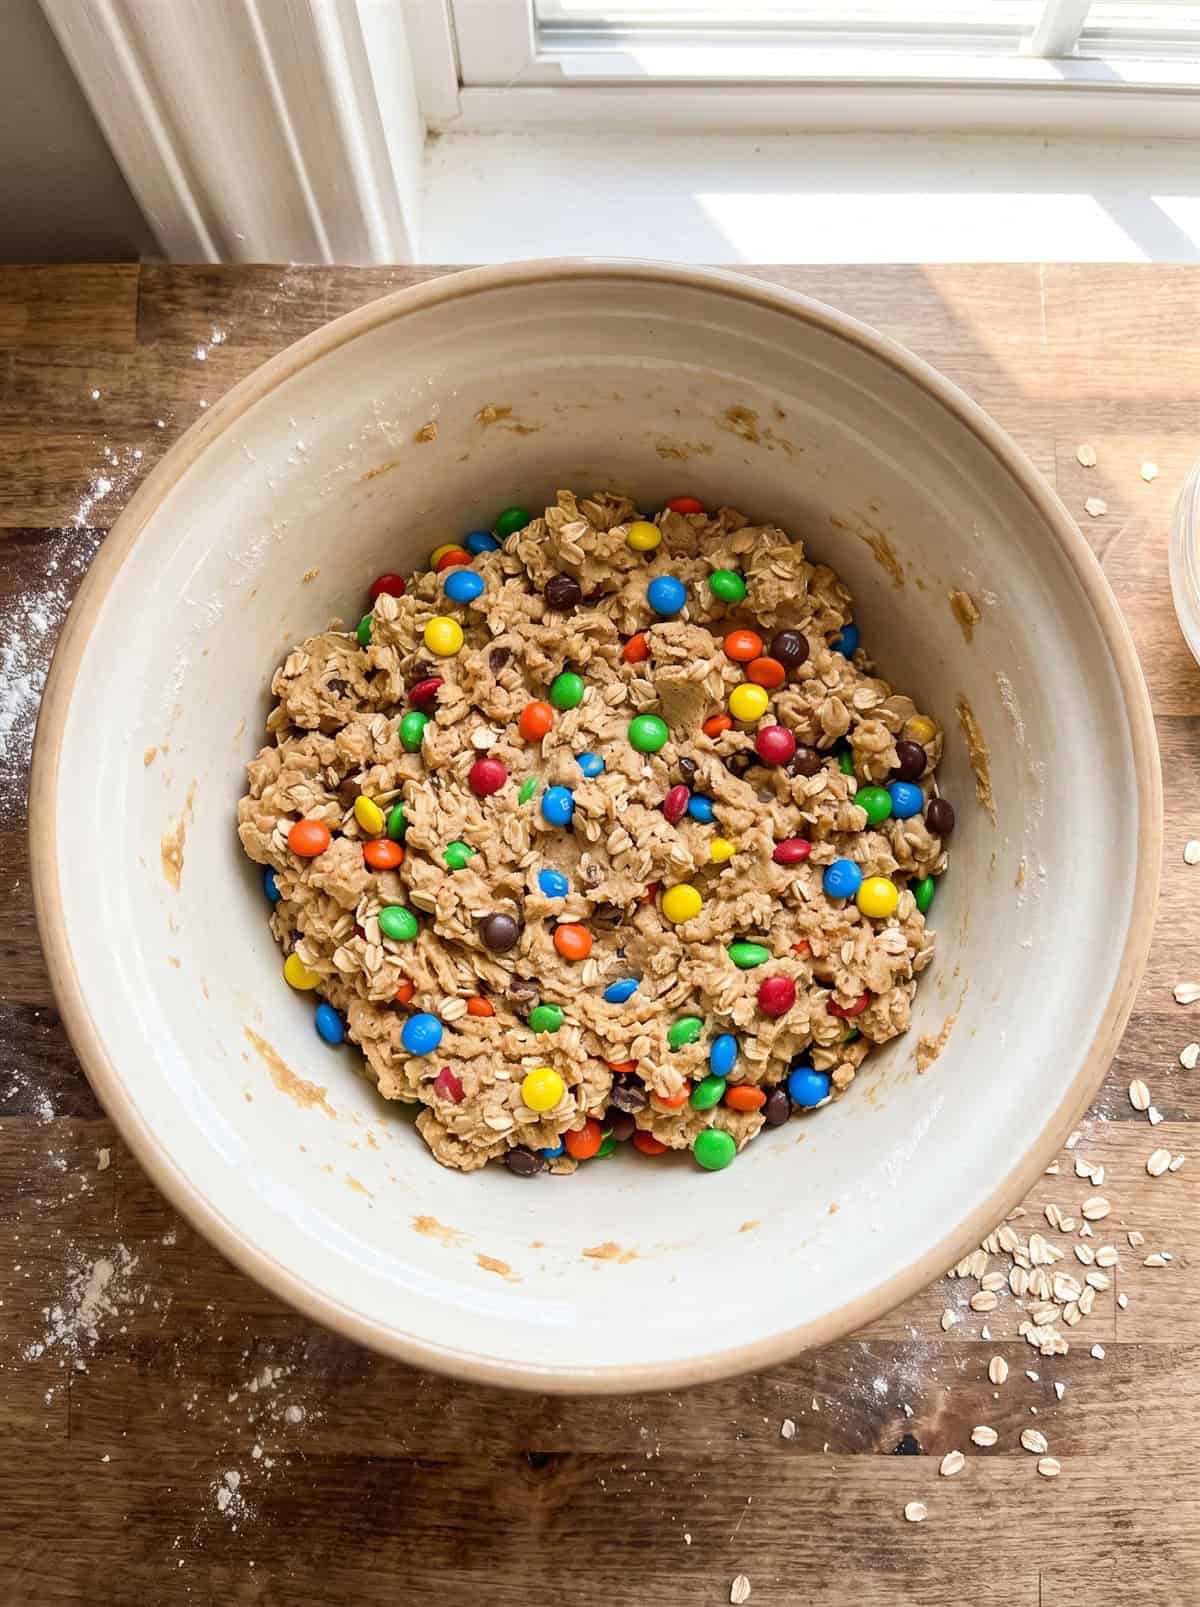
- Stir in the quick oats and mini candy-coated chocolates by hand with a spoon, so you do not crush the candies, until they are evenly distributed through the dough.
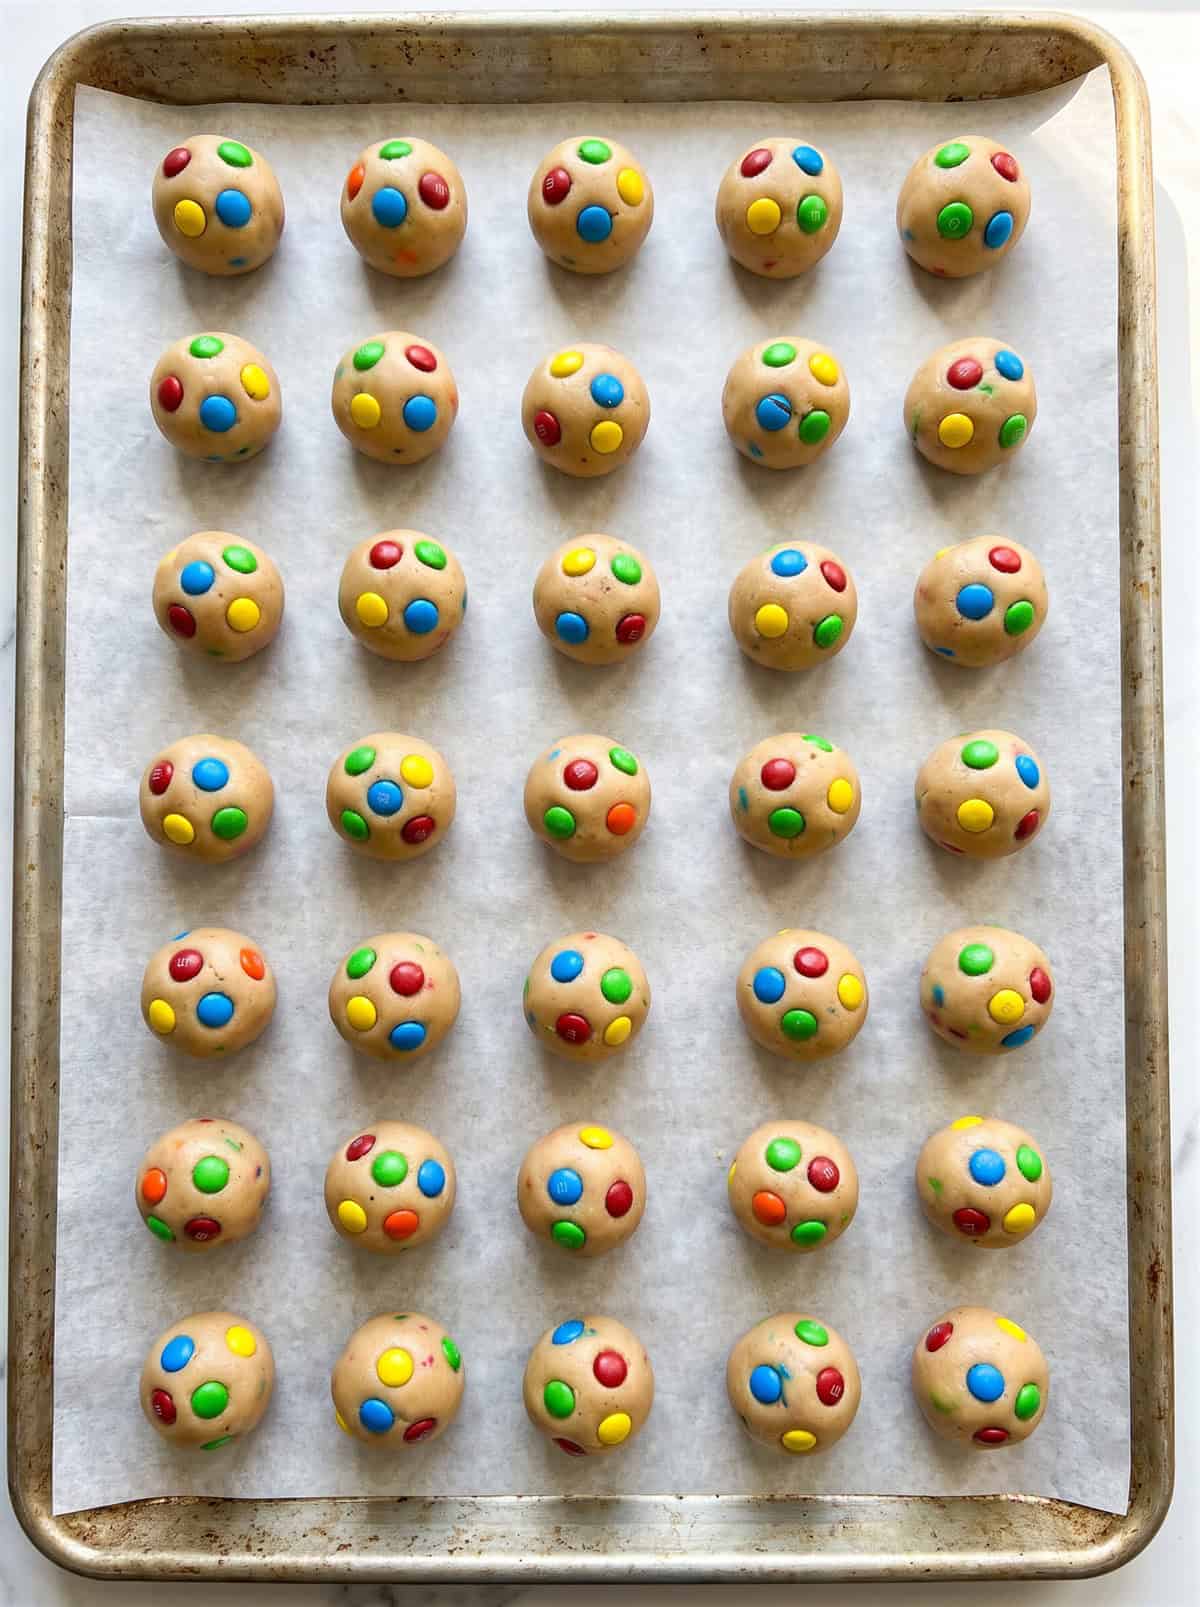
- Line baking sheets with parchment paper. Using a teaspoon-sized scoop, roll the dough into balls, place them on the sheet, and gently flatten the tops. Add a few extra candies on top for looks if you like.
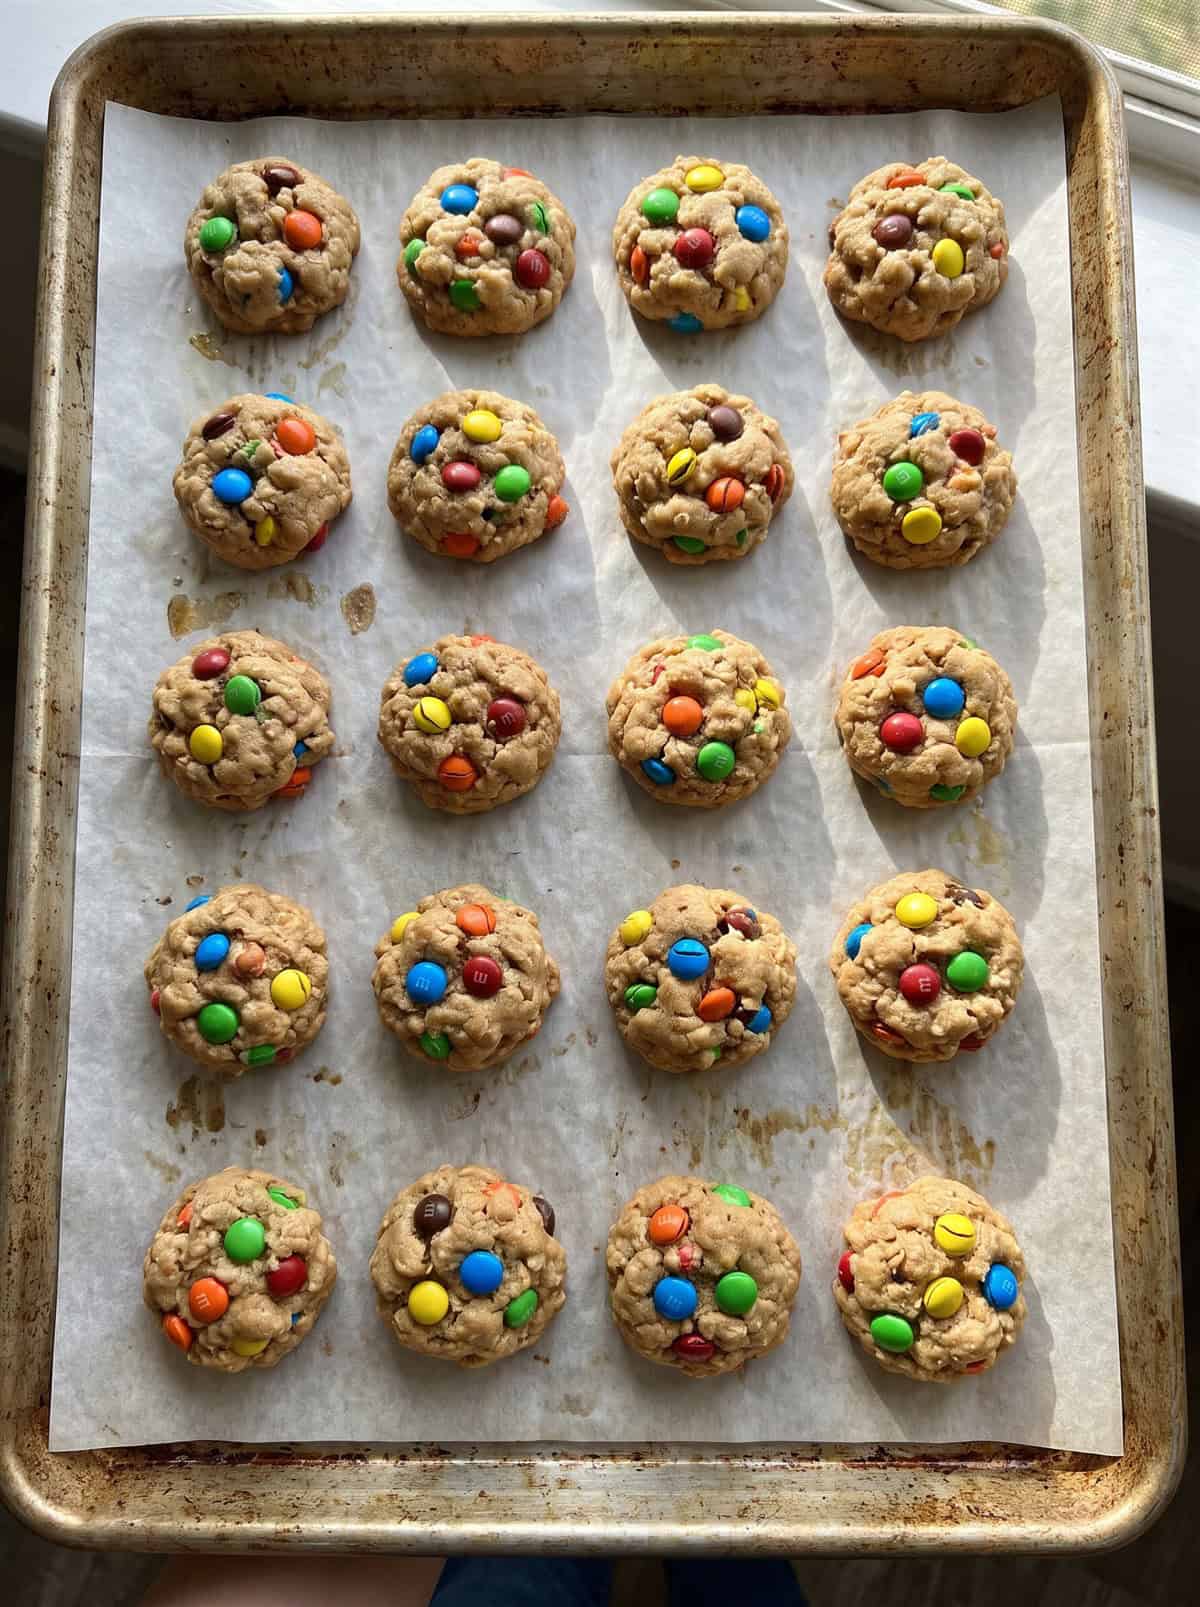
- Bake for 6 to 7 minutes. They will not look fully done, but they are. Gently flatten them with the back of a spoon, let them sit for a few minutes, then transfer to a wire rack to cool completely.
Recipe Tips & Tricks
- Do not overbake. Pull them at 6 to 7 minutes; they finish setting up as they cool on the pan.
- Flatten after baking. A gentle press with a spoon right out of the oven gives them that classic round shape.
- Stir candies in by hand. A spoon keeps the candies whole so the dough stays bright and colorful.
- Use quick oats. They blend into the dough better than old fashioned oats for a softer cookie.
- Scoop evenly. A small cookie scoop keeps the minis uniform so they bake at the same rate.
- Let them cool fully. They are delicate warm and firm up into perfectly chewy cookies once cooled.
- Double up for gatherings. Serve it alongside our oreo banana bread and watch both disappear.
- Make it a full spread. Our cookies and cream blossom cookies rounds out the table.
Serving Ideas and Suggestions
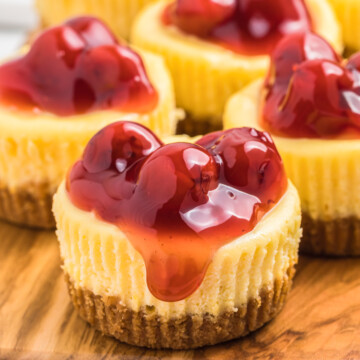
And if you want one more idea for the table, our mini cheesecakes never misses.
Store the cooled cookies in an airtight container at room temperature for up to a week, or freeze the baked cookies or dough balls for up to 3 months for fresh cookies any time.
Monster Cookies FAQs
Classic monster cookies are made with peanut butter, butter, brown and white sugar, an egg, vanilla, a little flour and baking soda, quick oats, and colorful candy-coated chocolates. Many versions are made with little to no flour, but this one uses just enough for structure.
Some monster cookie recipes are flourless and rely on oats and peanut butter for structure. This recipe uses a small amount of flour for a sturdier, more traditional cookie, but you can find flourless versions if you prefer.
Overbaking is the most common culprit. Pull them at 6 to 7 minutes while they still look slightly underdone. Also make sure your butter is softened, not melted, and measure the flour correctly so the dough is not too wet.
Yes. Use certified gluten free oats and a 1-to-1 gluten free flour blend in place of the all-purpose flour. Check that your candies and peanut butter are gluten free, and the cookies turn out great.
Keep them in an airtight container at room temperature for up to a week. To freeze, store baked cookies or scooped dough balls in a freezer bag for up to 3 months and bake or thaw as needed.
Absolutely. Scoop the dough into balls, freeze them on a tray until solid, then transfer to a freezer bag. Bake straight from frozen, adding a minute or two to the bake time, for fresh cookies any time.


Looking for your next bake? Try our maple bacon cookies for another easy, crowd-pleasing cookie.
Need a fall treat? Our caramel apple cheesecake bars disappear fast.


Mini Monster Cookies
Ingredients
- 1 stick butter unsalted softened
- 1/2 Cup light brown sugar
- 1/4 Cup granulated sugar
- 3/4 Cup creamy peanut butter
- 1 egg
- 1 tsp vanilla extract
- 1 1/4 Cup all purpose flour
- 1/2 tsp baking soda
- 1 1/4 Cup m&m minis
- 1/2 Cup quick oats
Instructions
- Preheat oven to 350 degrees. Cream together the butter and sugars with a hand mixer or stand mixer on medium speed for 3 minutes. Add in the peanut butter, egg and vanilla, mixing to combine after each addition. In a separate bowl, combine the baking soda and flour. Gradually add in the dry mixture to the wet mixture until thoroughly combined. Scrap down the sides as needed, add in the m&ms and oats. Mix in the m&ms and oats with a spoon so you don’t break up the candies.
- Line baking sheets with parchment paper or silicone mat. Using a teaspoon sized scoop or spoon, scoop out the cookies and roll into a ball. Flatten the tops of the cookies so they spread evenly, add more m&ms on top for looks if desired.
- Bake for 6-7 minutes, they will not look fully done but they are. When they come out of the oven, use the back of a spoon and gently flatten out the cookies. Let sit on try for about 3 minutes then transfer to wired rack to cool completely. Serve and enjoy!
Nutrition
Love This Recipe?
Follow @ThisSillyGirlsKitchen on Instagram and @ThisSillyGirlsKitchen on Pinterest for more!










Looks really good! thanks
After school, after work, snack time, breakfast time…..yeah you could eat these all day 🙂 Thanks for sharing with us!