
This post may contain affiliate links.
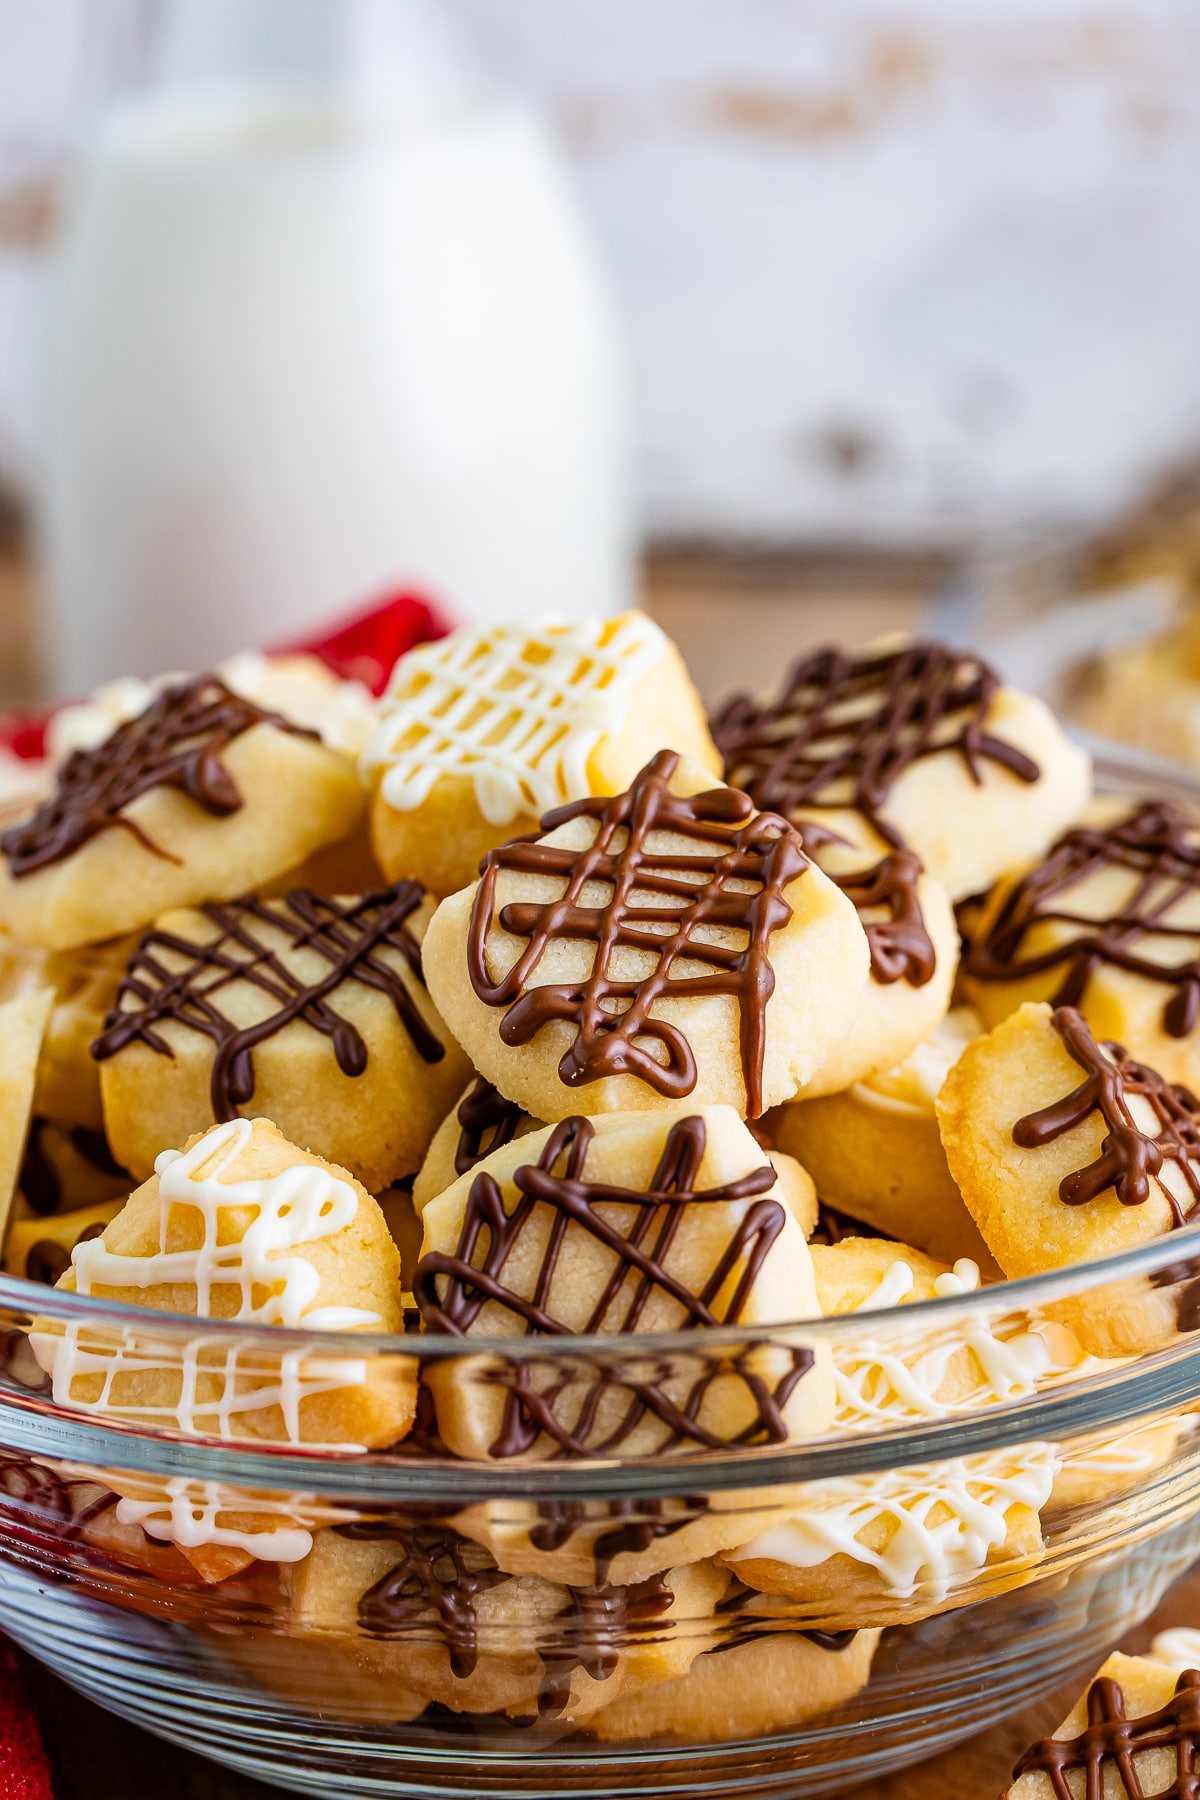
Christmas tree cookies made from light, crisp meringue are the cutest, most festive treat on the holiday cookie tray, and they could not be simpler. We pipe a batch every December, and my girls fight over who gets to add the star sprinkles on top. It is one of our favorite slow snowy afternoon projects, right alongside our chocolate Christmas shortbread bites.
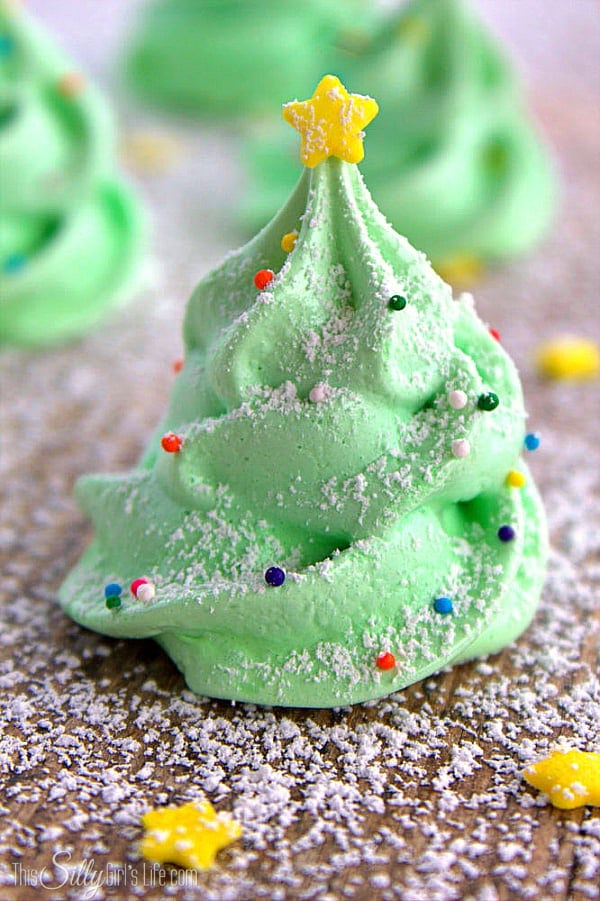
A glossy green meringue gets piped into little trees, dotted with sprinkles, and baked low and slow until crisp and melt-in-your-mouth light.
Christmas Tree Cookies Quick Look
- 🕒 Prep Time: 10 minutes
- 🌡️ Cook Time: 2 hours
- ⏳ Total Time: 2 hours 10 minutes
- 🍽️ Serving: 24 cookies
- ⚡ Calories: 34kcal
- 🌶️ Flavor Profile: Lightly sweet and crisp with a delicate marshmallowy center and a hint of almond
- ✋ Difficulty: Easy but patient, a fun holiday project like our Christmas blossom cookies
Quick Answer
Whisk egg whites, sugar, and cream of tartar over a pot of boiling water until the sugar dissolves, then beat the mixture to stiff, glossy peaks and tint it green with gel food coloring. Pipe little tree shapes onto a parchment-lined baking sheet using a star tip, add sprinkles, and bake at 200 degrees F for 2 hours. Turn off the oven and let them dry inside for another 2 hours, then top each one with a star. These Christmas tree cookies are crisp, light, and adorable.
Jump to:
- Christmas Tree Cookies Quick Look
- Quick Answer
- Why This Recipe Works
- Why You’ll Love This Recipe
- Key Ingredients
- Variations and Substitutions
- How to Make Christmas Tree Cookies
- Recipe Tips & Tricks
- Serving Ideas and Suggestions
- Christmas Tree Cookies FAQs
- Other Recommended Christmas Cookie Recipes
- Christmas Tree Cookies
Why This Recipe Works
Click to see the technique science
- Dissolving the sugar over heat makes them smooth. Whisking the sugar into the egg whites over boiling water melts the granules completely, so the meringue bakes up silky and crisp instead of grainy.
- Cream of tartar keeps them standing tall. That little pinch of acid stabilizes the egg whites so your trees hold their piped shape through the long bake.
- Gel food coloring protects the meringue. Gel adds vivid color without the extra liquid of regular food coloring, which can deflate a delicate meringue.
- Low and slow baking dries the meringue instead of cooking it. Meringue cookies bake at 200 degrees F for 2 hours, which is really just drying them out in a warm oven. High heat would brown the outside while leaving the inside sticky and chewy. The low temperature evaporates the moisture slowly and evenly, leaving a completely dry, crispy, melt-in-your-mouth cookie. The oven door stays closed during the bake. Then you turn the oven off, crack the door slightly, and leave the cookies inside to cool slowly. Pulling them out too early lets them pick up moisture and turn sticky.
- Resting in the oven finishes the job. Leaving them in the cooling oven for two more hours draws out the last of the moisture so the centers are perfectly crisp.
- The star tip creates the tree shape naturally. Use a large open star tip (Wilton 1M or 2D) and pipe in a circular motion, starting with a wide base and getting smaller as you go up. The star tip ridges create the branch texture automatically. No decorating skill needed beyond steady pressure and a spiral motion. Add sprinkles, star-shaped sprinkles for the tree topper, or a dusting of powdered sugar for snow after baking.
Why You’ll Love This Recipe
- They are almost fat-free and only about 34 calories each, so they are a guilt-free way to enjoy the cookie tray.
- They are absolutely adorable and festive, instantly dressing up any holiday dessert table or cookie box.
- They are a fun, hands-on project for kids, who love piping and decorating, just like our holiday Oreo truffles.
- It delivers that same everyone asks for seconds energy as our christmas tree christmas cupcakes.
- It delivers that same everyone asks for seconds energy as our christmas tree pull apart bread.
Key Ingredients
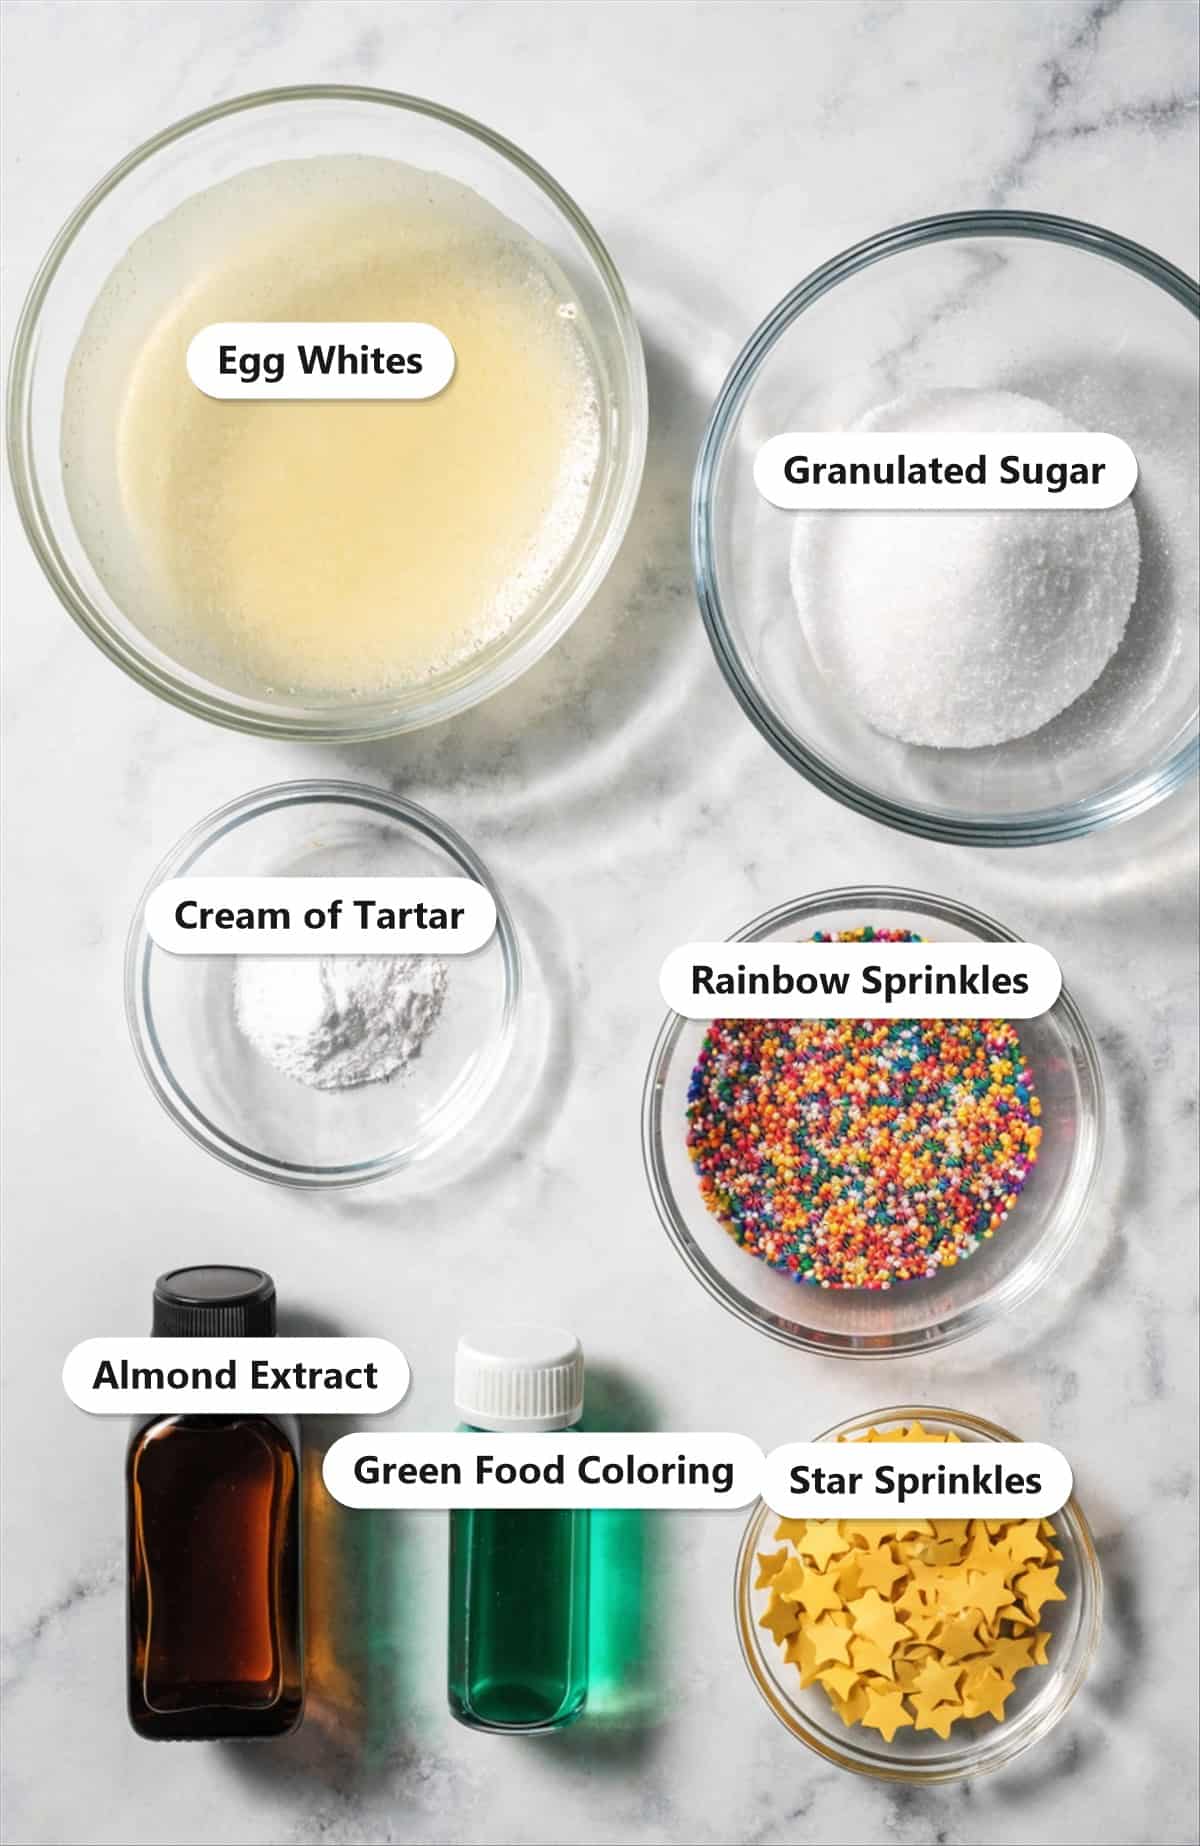
These adorable trees come together with just a few simple ingredients. Here is what each one does.
- Egg Whites: The base of the meringue. Make sure they are at room temperature and your bowl is squeaky clean for the best, most stable whip.
- Granulated Sugar: Whisked in over heat until dissolved, it gives the meringue its glossy structure and crisp, sweet shell.
- Cream of Tartar: A pinch stabilizes the egg whites so they whip up tall and hold their shape while baking.
- Almond Extract: Just a little adds a lovely, subtle flavor. Peppermint or vanilla work beautifully too.
- Green Food Coloring and Sprinkles: Gel food coloring keeps the meringue stiff, and sprinkles plus a star turn each one into a little tree.
See recipe card for exact quantities.
Variations and Substitutions
Make these Christmas tree cookies your own with a few easy twists.
- Peppermint: Swap the almond extract for peppermint to make them taste like the holidays.
- Different colors: Tint the meringue red, white, or blue for other occasions, or leave them plain white as snowy trees.
- Chocolate dipped: Dip the bottoms in melted chocolate once they are cool and crisp.
- Mini trees: Pipe them smaller for bite-sized cookies that are perfect for gifting.
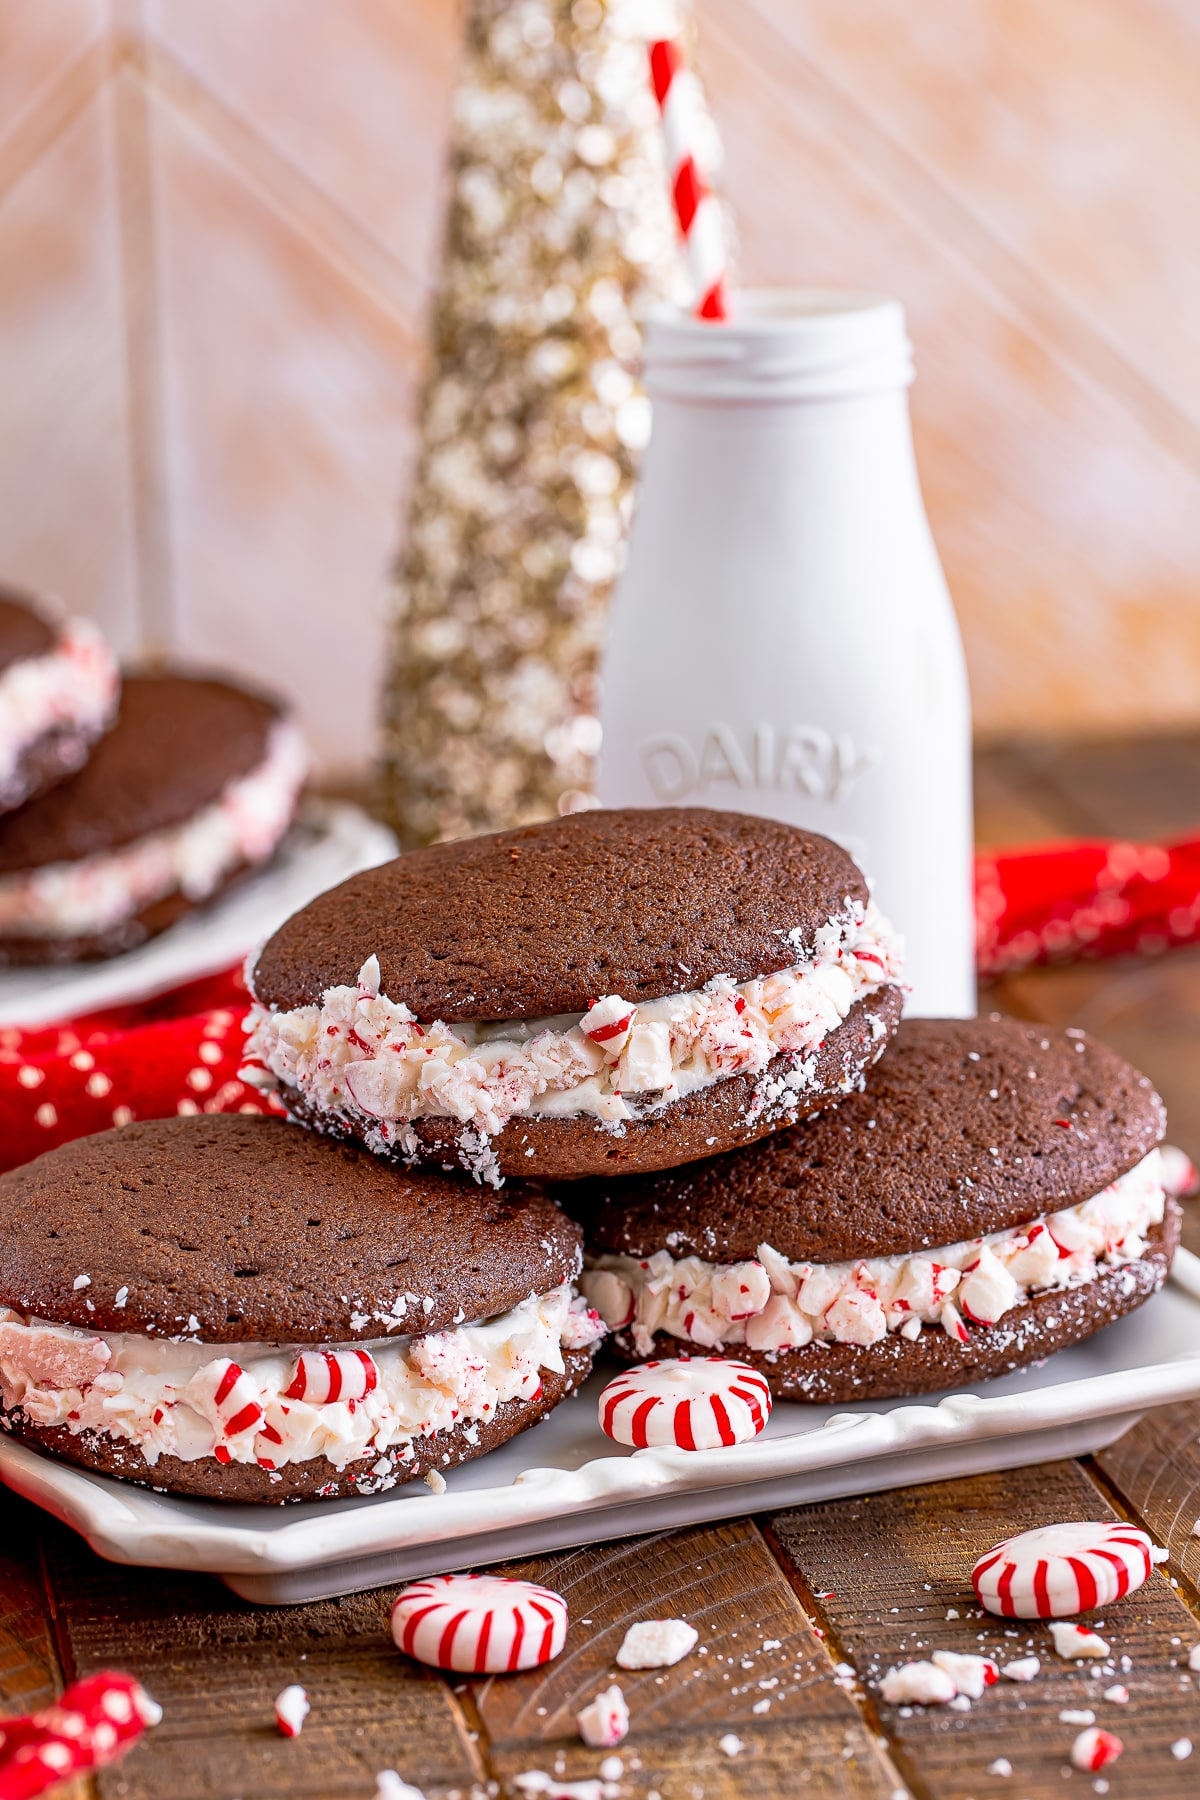
- Cocoa swirl: Add a light dusting of cocoa for a flavor twist, much like our chocolate peppermint whoopie pies.
- If you want to switch things up, our cherry vanilla meringue cookies plays on similar flavors in a whole new way.
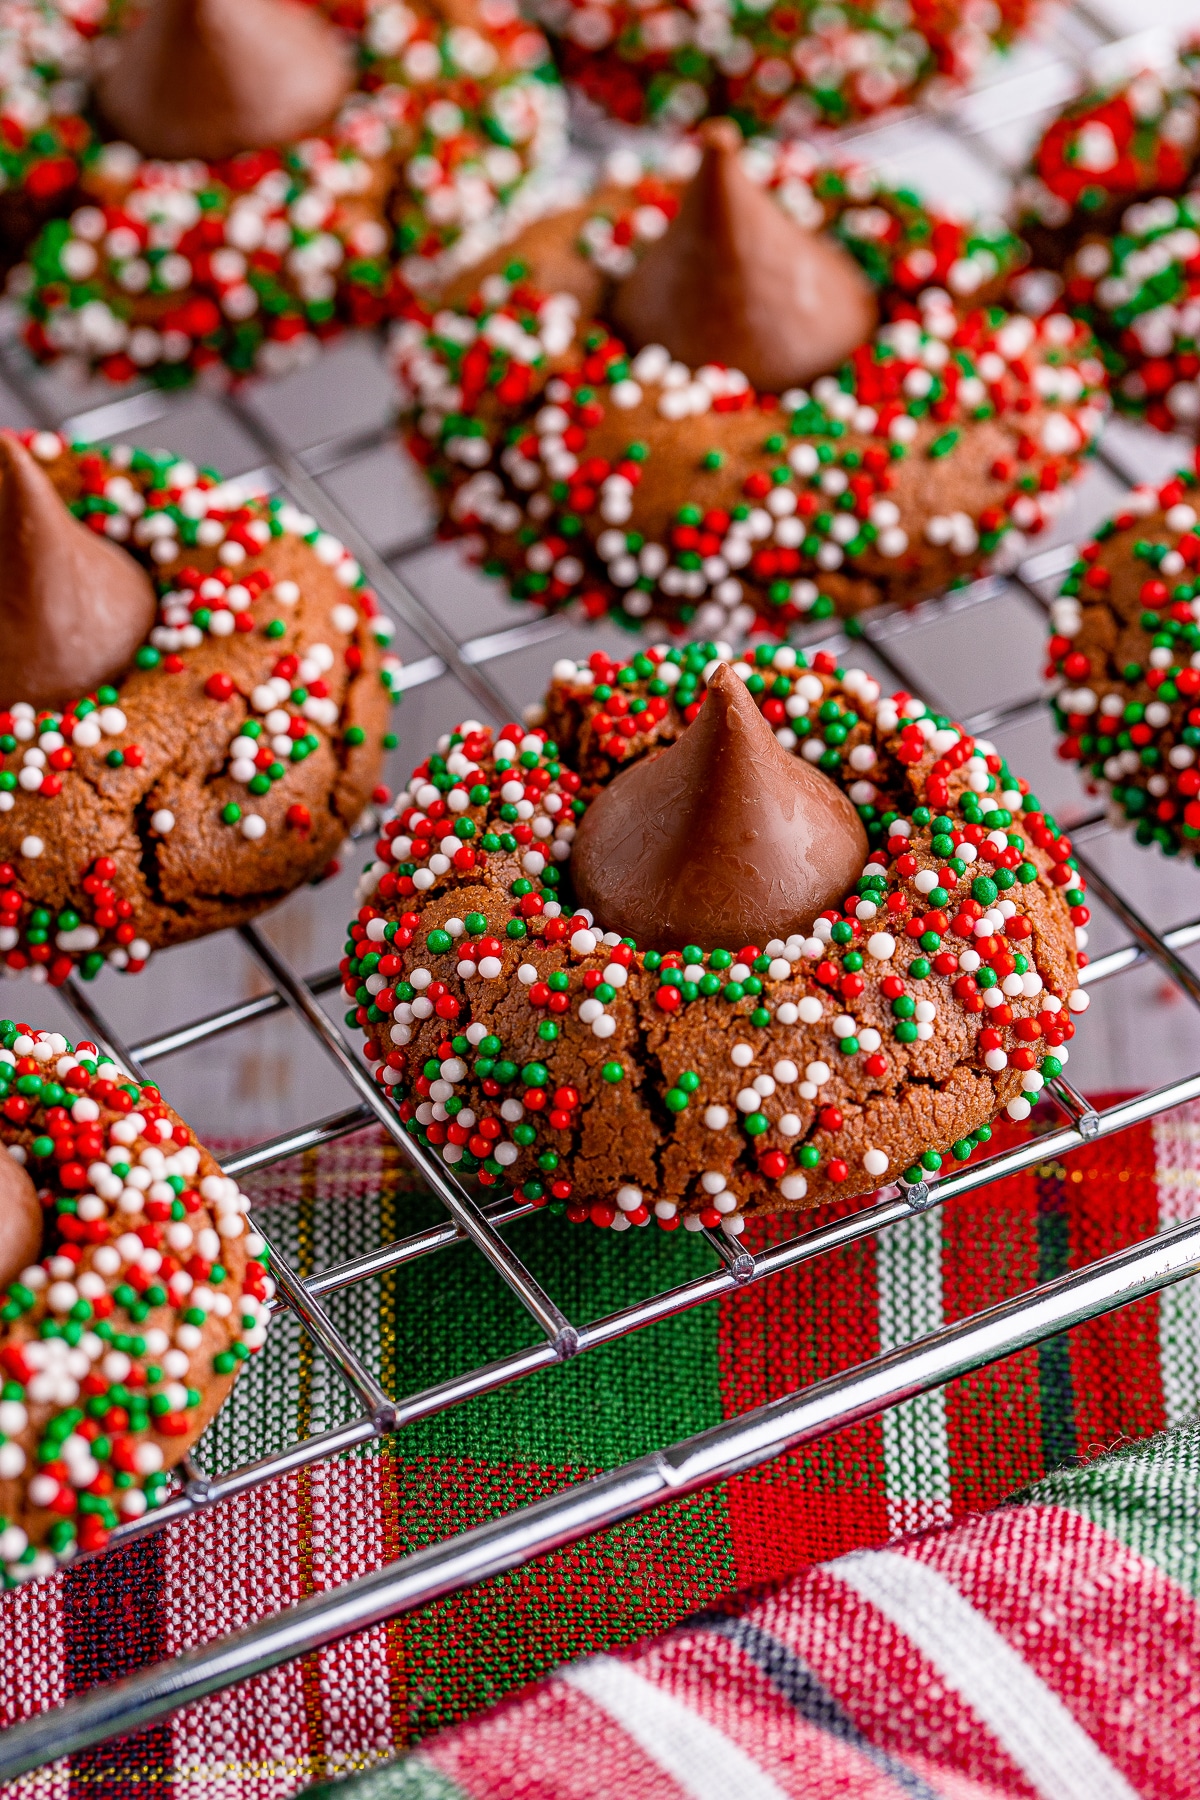
- If you want to switch things up, our cookies and cream blossom cookies plays on similar flavors in a whole new way.
How to Make Christmas Tree Cookies
- Heat the oven to 200 degrees F. Combine the egg whites, sugar, and cream of tartar in the bowl of a stand mixer and set it over a pot of boiling water. Whisk constantly until the sugar fully dissolves and you no longer feel any granules, then remove from the heat and whisk in the almond extract.
- Using the whisk attachment, beat on medium-high until the egg whites turn bright white but are still runny. Add the green gel food coloring and continue beating to stiff, glossy peaks.
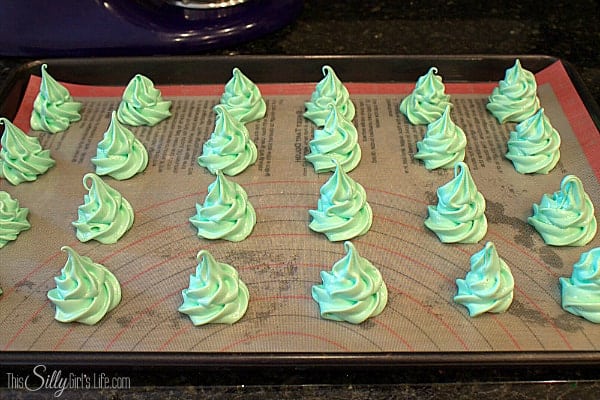
- Transfer the meringue to a piping bag fitted with a large star tip. Pipe trees about 1 inch wide, 2 inches tall, and 1 inch apart onto a parchment-lined baking sheet. Sprinkle with the multi-color sprinkles.
- Bake for 2 hours. Turn off the oven, crack the door slightly, and let the cookies sit inside for another 2 hours to dry out completely.
- Top each tree with a star sprinkle using a tiny dab of frosting to hold it in place. Serve and enjoy.
Recipe Tips & Tricks
- Start with a spotless bowl. Any grease or yolk will keep the whites from whipping up, so wipe your bowl and whisk with a little vinegar first.
- Use room temperature egg whites. They whip higher and more stable than cold ones.
- Do not rush the bake. The low and slow oven is what makes them crisp, so resist turning up the heat.
- Leave them in the oven. The two-hour rest in the cooling oven is essential for fully dry, crisp cookies.
- Bake on a dry day. Humidity is the enemy of meringue, so save these for a clear day if you can.
- Store them airtight. Once crisp, keep them in a sealed container to protect them from softening in the air.
- Plan the whole menu. This pairs effortlessly with our vanilla meringue cookies when company is coming.
- Plan the whole menu. This pairs effortlessly with our sprinkle cookies recipe when company is coming.
Serving Ideas and Suggestions
These Christmas tree cookies are a showstopper on any holiday dessert table. Arrange them in a little forest on a cake stand, dust the platter with powdered sugar snow, and let them be the centerpiece. They are light enough to enjoy after a big holiday meal without feeling heavy.
And if you are anything like our family, our christmas sandwich cookies will be on the menu soon after.
For a table that feels like a celebration, add our christmas tree cupcakes to the lineup.
Arrange on a holiday cookie tray alongside our Cinnamon Cream Cheese Cookies and our Reindeer Chow. Package in clear cellophane bags for holiday gifts. They look stunning on a dessert table because the green trees and sprinkles are immediately festive.
For a full cookie box or tray, pair them with something rich to balance their airy texture. They look gorgeous next to our chocolate Christmas shortbread bites and a few holiday Oreo truffles, giving you a mix of crisp, fudgy, and creamy in every bite.
They also make a thoughtful homemade gift. Nestle a few in a cellophane bag or a small box lined with tissue, tie on a ribbon, and add a batch of our gingerbread bars for a sweet, festive care package friends and neighbors will love.
Christmas Tree Cookies FAQs
Three causes. First, the oven temperature was too high. Stay at 200 degrees. Second, you opened the oven door during the bake or pulled them out too soon. Keep the door closed while they bake, then turn the oven off, crack the door, and let them dry inside for 2 more hours. Third, humidity. Meringues absorb moisture from the air. Make them on a dry day if possible and store in an airtight container immediately after cooling.
The bowl or whisk had grease on it. Even a tiny amount of fat (from a drop of egg yolk, a greasy bowl, or residue from butter) prevents egg whites from whipping. Wipe the bowl and whisk with a paper towel dipped in vinegar before starting. Make sure no yolk got into the whites during separation. Start over with a clean bowl if the whites will not stiffen.
Yes, they are a wonderful make-ahead treat. Once fully crisp, store them in an airtight container at room temperature for up to two weeks. Keep them sealed tightly and away from any humidity, and add the star sprinkles right before serving so they look freshly decorated.
A large open star tip (Wilton 1M or 2D) works best. The ridges create the branch texture automatically. Pipe in a spiral starting with a wide base circle and getting smaller as you stack upward. You do not need decorating experience. If you can squeeze a piping bag in a circle, you can make these trees.
Absolutely. Peppermint, vanilla, or even a touch of lemon all work in place of almond. For color, gel food coloring is best because it tints the meringue without adding liquid that could deflate it. Try red and white for candy canes or leave them plain white for snowy trees.
Cream of tartar stabilizes the egg whites so the trees hold their shape, but if you do not have any, you can substitute a half teaspoon of white vinegar or lemon juice per cup of egg whites. It does the same job of strengthening the meringue so it whips up tall and stays put.
This recipe makes about 24 to 30 small trees, depending on how large you pipe them. Piping them smaller will yield more bite-sized cookies, which are perfect for gifting or for a big holiday cookie tray. The meringue is very light, so a batch goes a long way.
Yes. Use a zip-top bag with a corner cut off. The shapes will not have the star tip ridges but they will still be tree-shaped if you pipe in a spiral. The star tip makes them look more professional with almost no extra effort, so it is worth picking one up at the store if you can.

Christmas Tree Cookies
Ingredients
Instructions
- Heat oven to 200 degrees. Place egg whites, sugar, and cream of tartar in a bowl of your stand mixer. Place bowl over boiling water on the stove. Whisk vigorously until sugar dissolved and there are no more sugar granules visible. Remove from heat and whisk in extract.4 egg whites at room temp
- Using the whisk attachment on stand mixer, mix on medium high until egg whites become bright white but still runny. Add in food coloring to the color you want and continue to beat to form stiff peaks.4 egg whites at room temp
- Place mixture into piping bag with large star tip. Pipe cookies onto baking sheet lined with parchment paper or silicone mat. Make cookies about 1 inch in width, 2 inches high and place 1 inch apart on baking sheet. Sprinkle with the multi color sprinkles.4 egg whites at room temp
- Cook for 2 hours. After 2 hours, turn off oven, open door slightly and let sit in oven an additional 2 hours.4 egg whites at room temp
- Place the star sprinkles on top with a tiny dab of frosting. Serve and enjoy!4 egg whites at room temp
Nutrition
Love This Recipe?
Follow @ThisSillyGirlsKitchen on Instagram and @ThisSillyGirlsKitchen on Pinterest for more!









How long can t stay edible?
Sounds easy enough. Going to make today.
I don’t know what happened! They look adorable, but they’re super sticky and chewy. Not the typical texture of a meringue. I made them for my son’s school Christmas party, but I couldn’t send them. I followed the recipe to a T. Where did I go wrong? Please help!
I’m planning on making these on the 23rd. How do I store them for my Christmas party on Christmas Eve?
This recipe has become a hit with our grandchildren. We have modified it to make Easter nests and flowers , using jelly beans for the eggs. We all love them
These were a hit at my holiday party! So adorable and fun 🙂 The only thing I have to figure out is the texture because stickier throughout the day and the cookie ended up becoming a toffee-like consistency in my mouth later in the day. I stored them in an airtight container so I’m thinking either I needed to bake them a little longer or I added too much green gel food coloring…any thoughts on what the texture should be and what may have caused mine to come out so sticky (and eventually toffee like texture later in the day?).