This post may contain affiliate links.
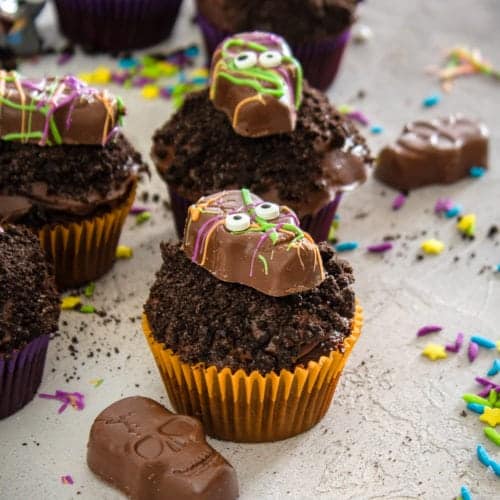
Halloween Cupcakes do not need piping skills or fancy tools, these start with a box of chocolate cake mix and end with cookie crumb dirt, googly candy eyes, and chocolate candy skulls splattered in neon candy melts, and decorating them on a crisp October afternoon is Maddie and Lizzie”s favorite spooky season tradition. If your crowd loves a creepy crawly dessert, our dirt cupcakes with gummy worms are the perfect partner in crime.
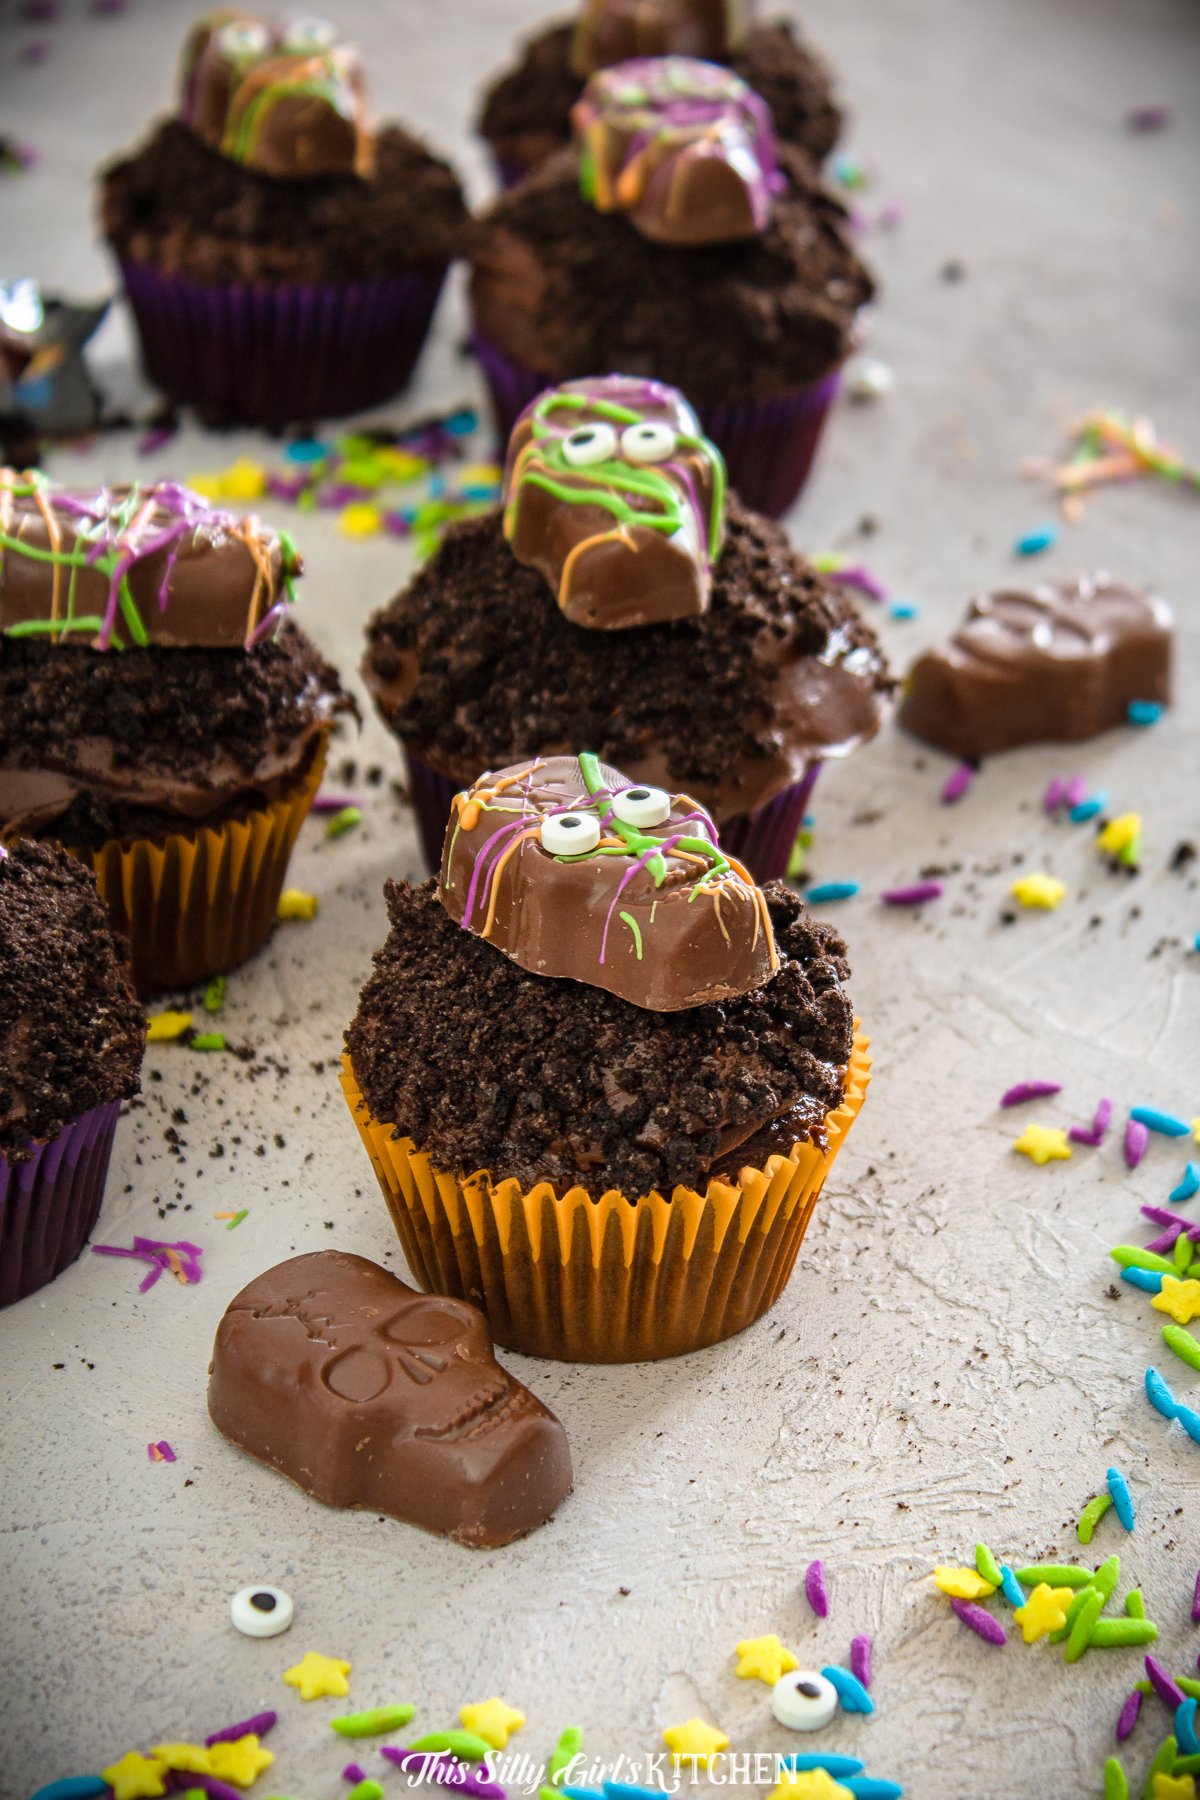
Bake, frost, dip, splatter, done, the monsters practically decorate themselves.
Halloween Cupcakes Quick Look
- 🕒 Prep Time: 20 minutes
- 🌡️ Cook Time: 15 minutes
- ⏳ Total Time: 35 minutes
- 🍽️ Serving: 24 servings
- ⚡ Calories: 258kcal
- 🌶️ Flavor Profile: Rich chocolate with crunchy cookie crumbs and peanut butter candy
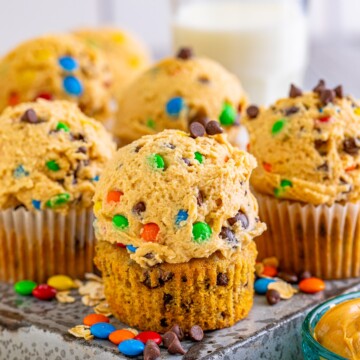
- ✋ Difficulty: Easy, same skill level as our monster cookie cupcakes
Quick Answer
Bake chocolate cupcakes from a devil’s food cake mix and cool them completely, about an hour. Spread a thin layer of chocolate frosting on each cupcake and dip the tops into crushed chocolate sandwich cookies. Melt colored candy wafers and splatter them over peanut butter cup candy skulls, chill the skulls for 2 minutes to set, then press one onto each cupcake and finish with candy eyes.
Jump to:
Why This Recipe Works
Click to see the technique science
- Cake mix keeps the focus on the fun. The decorating is the star here, so a reliable boxed devil’s food base saves an hour without costing any flavor.
- Frosting works as glue. A thin layer of chocolate frosting is exactly sticky enough to hold a thick coat of cookie crumbs in place.
- Cookie crumbs hide imperfections. Dipping the tops in crushed cookies covers any messy frosting job completely, there is zero pressure to frost neatly.
- The splatter is foolproof by design. Random drips and flicks of melted candy are the whole look, the messier the splatter, the better the monster.
- Two minutes in the fridge sets the candy. Chilling the splattered skulls briefly hardens the candy melts so they handle cleanly when you top the cupcakes.
- Candy eyes bring the monsters alive. A pair of mismatched googly eyes turns a candy skull into a character kids fight over.
Why You’ll Love This Recipe
- No piping bags, no decorating skills, the splatter look is supposed to be messy.
- Kids can do almost every step, it is a Halloween activity and a dessert in one.
- They steal the show on a party table next to our chocolate Halloween bark.
- It delivers that same everyone asks for seconds energy as our christmas tree christmas cupcakes.
- It delivers that same everyone asks for seconds energy as our dr pepper cupcakes.
- It earns a spot in the rotation right next to our mummy pretzel dogs.
Key Ingredients
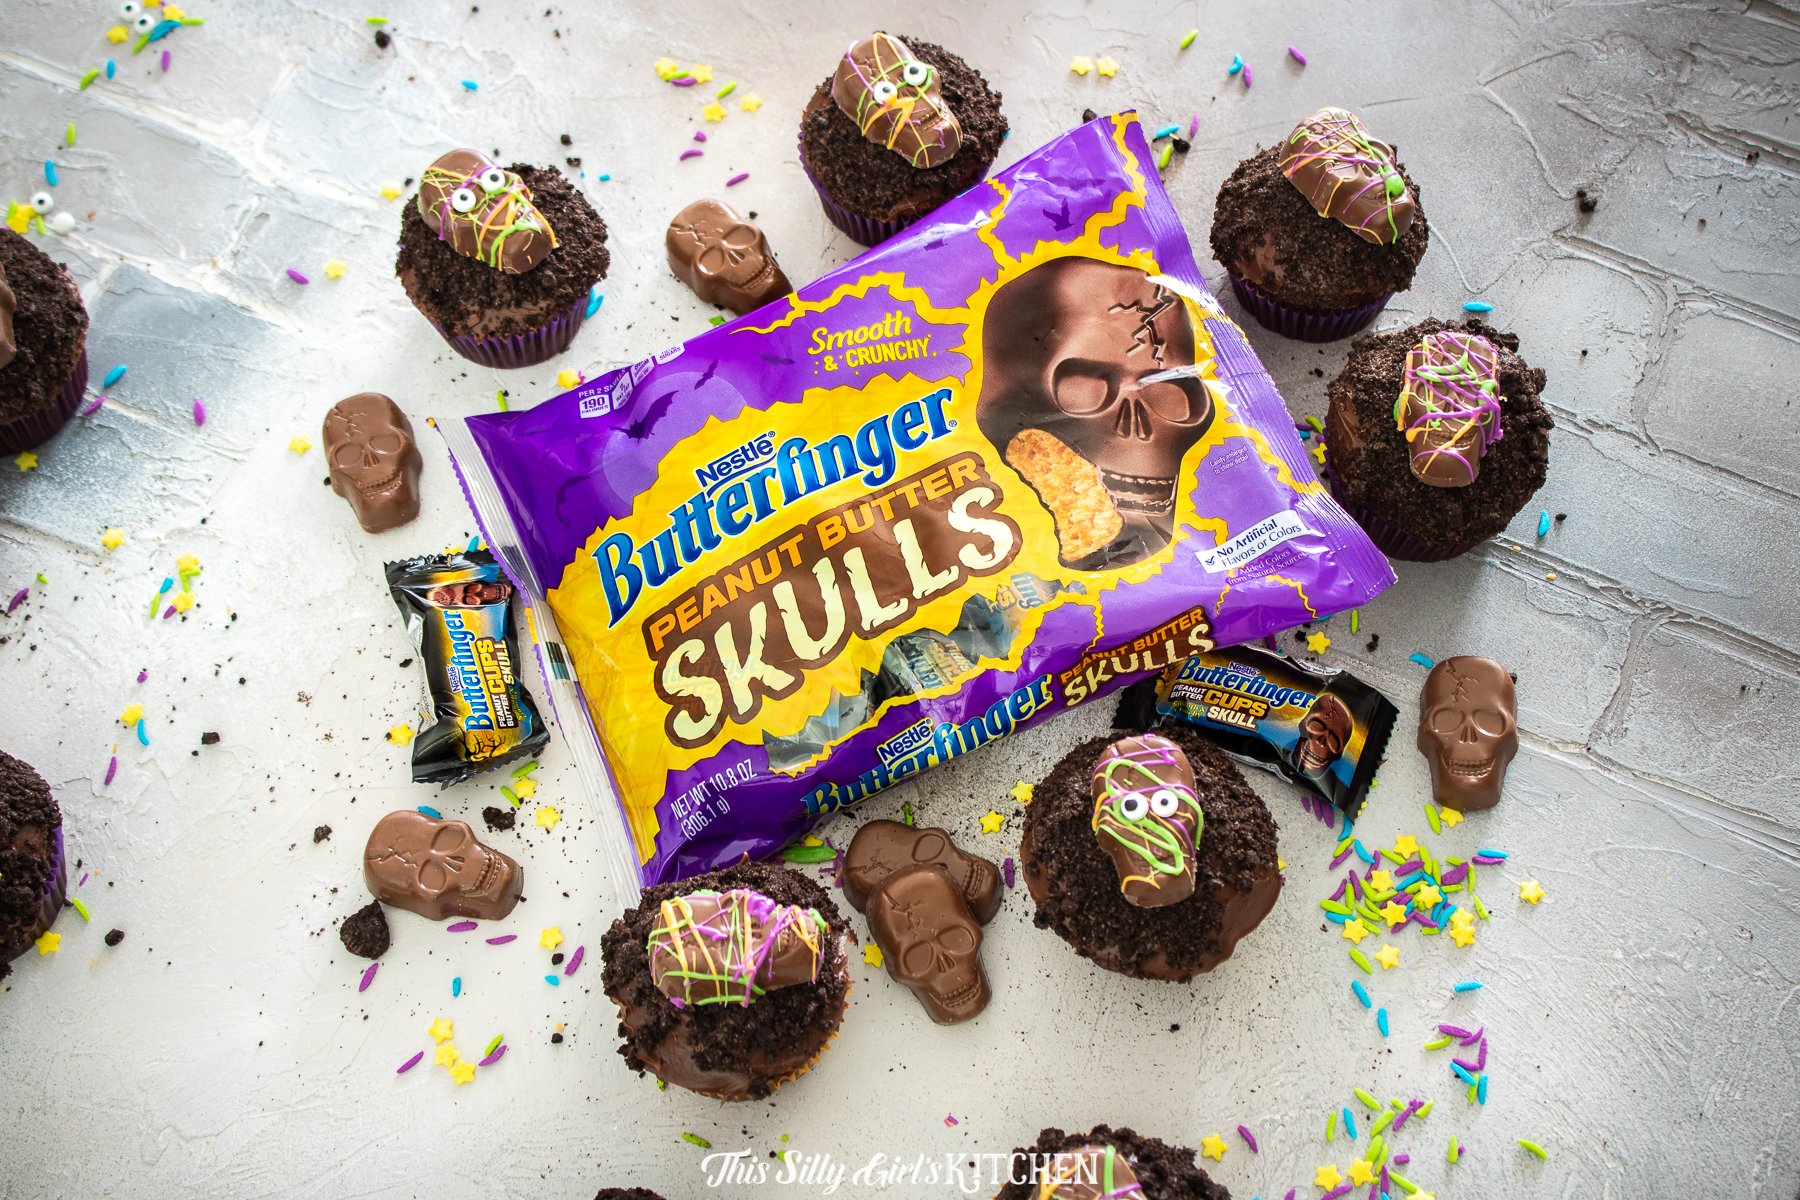
Store bought shortcuts do the heavy lifting so you can focus on the fun part.
- Devil’s food cake mix: The deep chocolate base, made per the box with water, oil, and eggs. Any chocolate mix works.
- Chocolate frosting: Your favorite tub or homemade batch, it doubles as the glue for the cookie crumbs.
- Chocolate sandwich cookies: Crushed into dirt like crumbs that coat every cupcake top.
- Peanut butter cup candy skulls: The monster centerpiece. Seasonal skull shaped peanut butter cups show up every fall, regular peanut butter cups work all year.
- Colored candy melts and candy eyes: Melted and splattered over the skulls for that mad monster lab look.
See recipe card for exact quantities.
Variations and Substitutions
Make these monsters your own.
- No candy skulls in stores? Regular peanut butter cups splattered the same way look just as spooky.
- Swap the cookie crumbs for orange or purple sanding sugar for a brighter monster.
- Use white candy melts and drizzle in red for a creepy blood splatter effect.
- Turn the same trick on cookies, our Halloween chocolate pretzel rods use the candy melt drizzle too.
- If you want to switch things up, our oreo cupcakes with cookies and cream frosting plays on similar flavors in a whole new way.
- If you want to switch things up, our margarita cupcakes recipe plays on similar flavors in a whole new way.
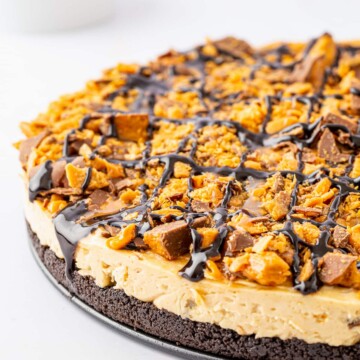
- In the mood for something different? Our no bake Butterfinger cheesecake scratches a similar itch.
How to Make Halloween Cupcakes
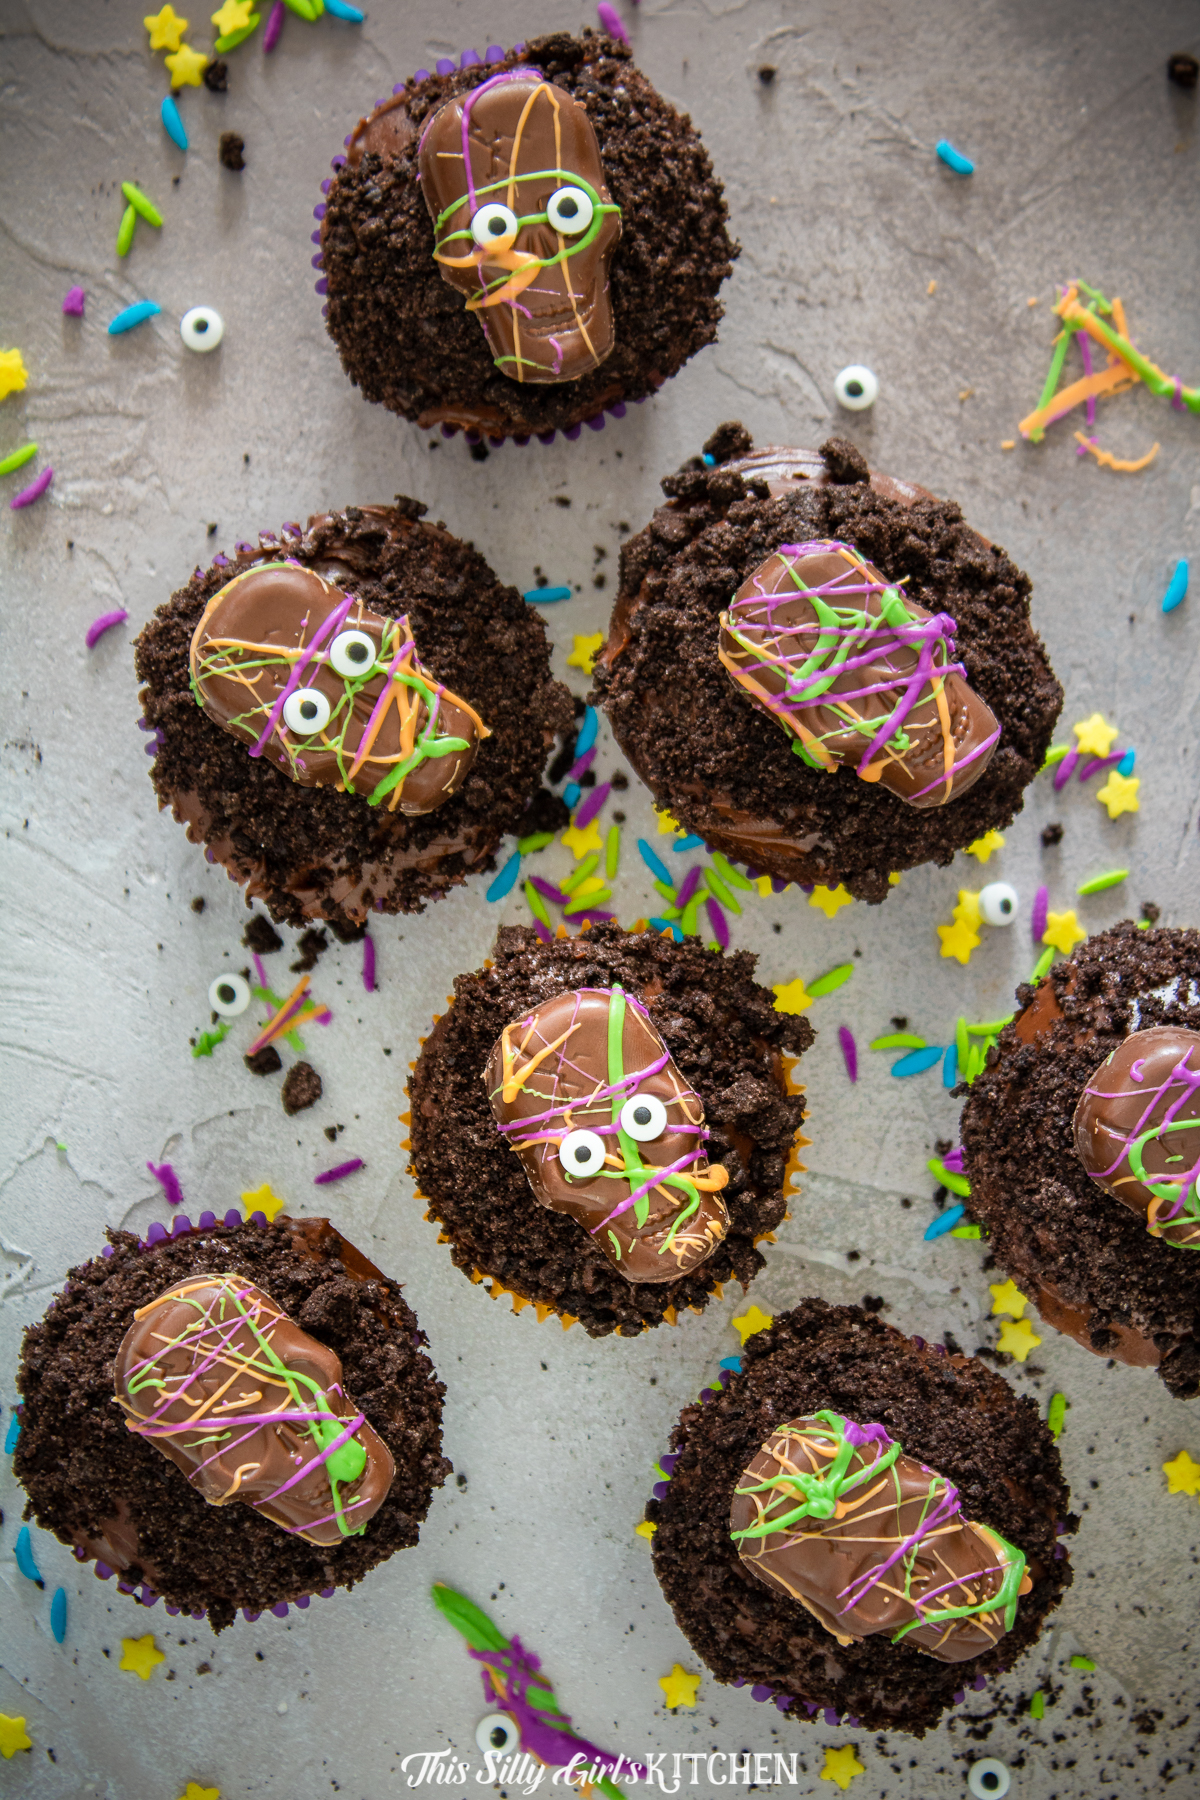
- Make the chocolate cupcakes per the directions on the back of the box using the water, oil, and eggs. Let them cool completely, about 1 hour.
- Frost each cupcake with a thin layer of chocolate frosting using a butter knife, then dip the frosted tops into the crushed chocolate sandwich cookies. Set aside.
- Lay the candy skulls on a parchment lined sheet tray. Melt the colored candy wafers per the package directions, then splatter the candy coating over the skulls. Chill in the refrigerator until set, about 2 minutes.
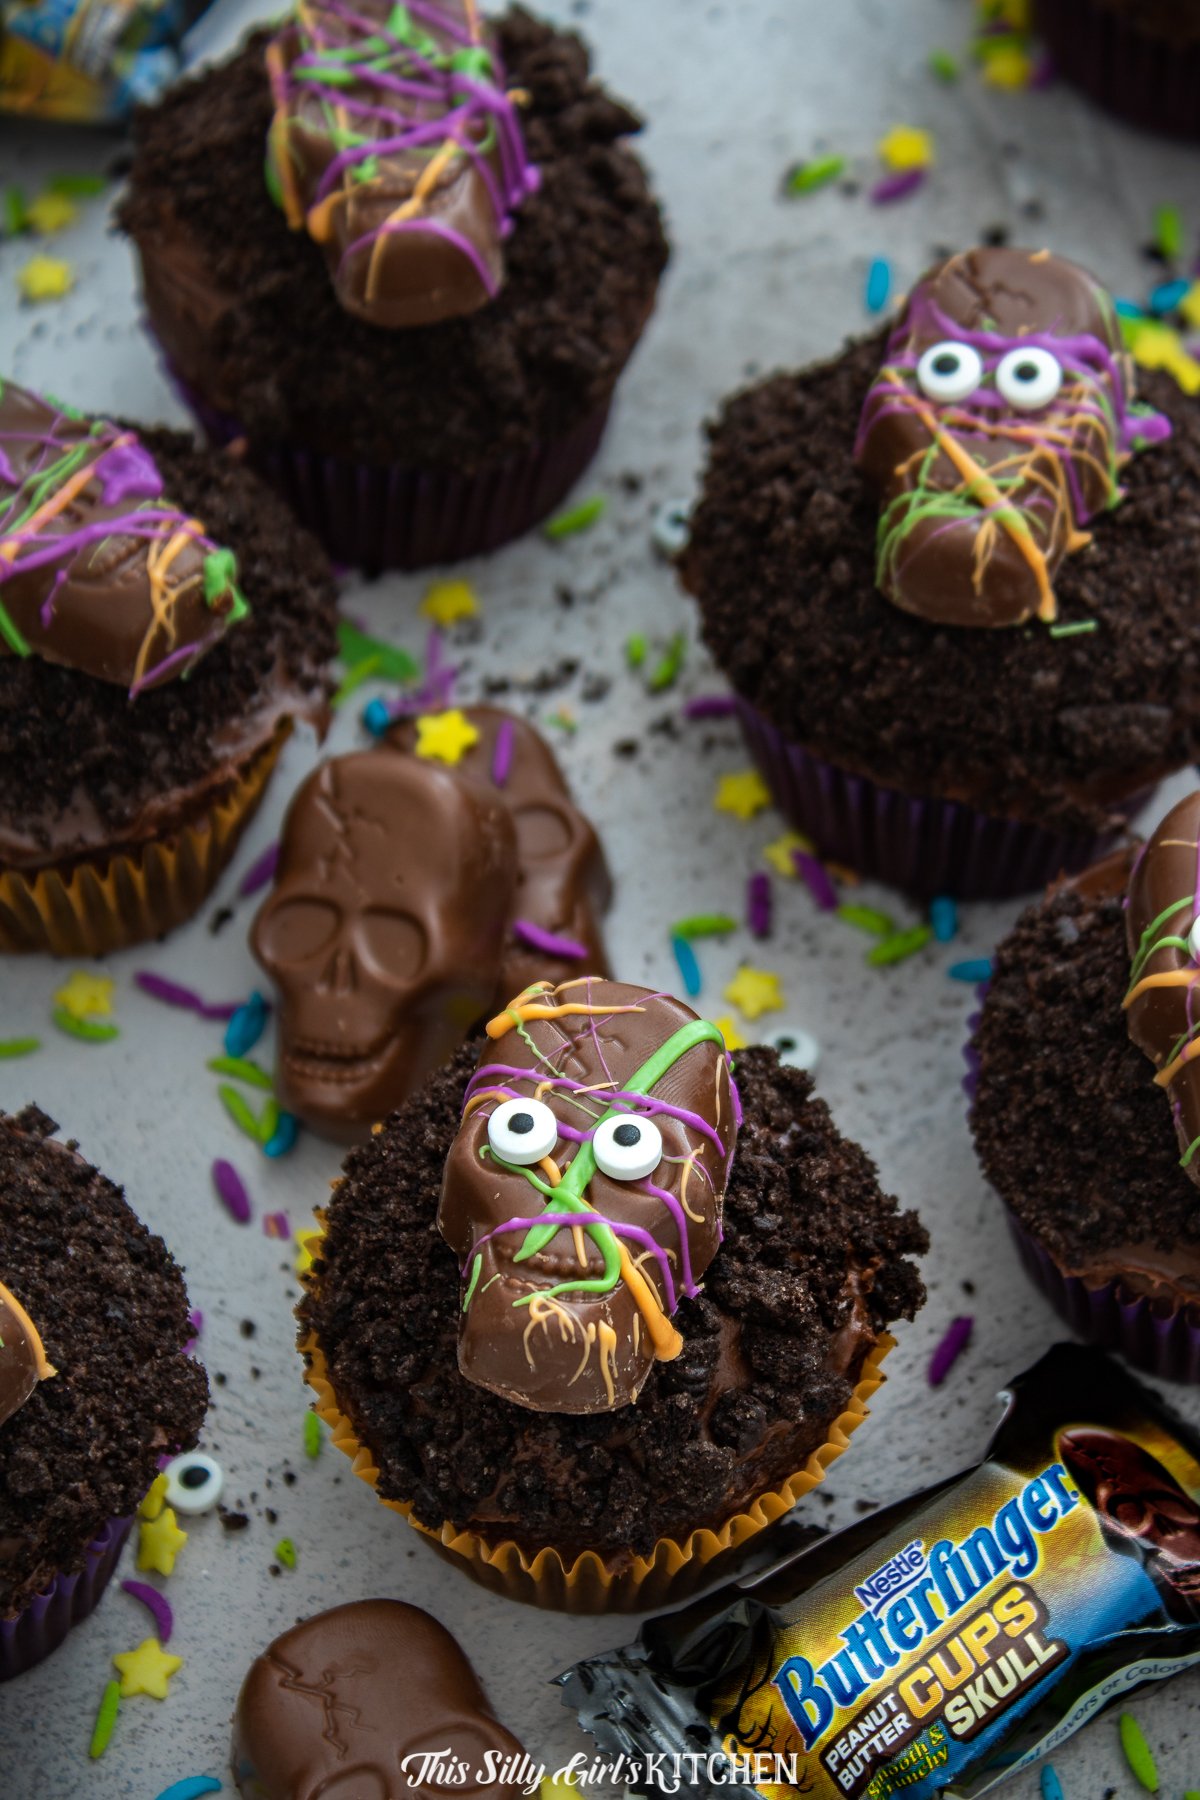
- Top each cupcake with a splattered skull, add candy eyes, and enjoy the monster mayhem.
Recipe Tips & Tricks
- Cool the cupcakes completely. Warm cupcakes melt the frosting and the cookie crumbs slide right off.
- Crush the cookies to different sizes. A mix of fine crumbs and bigger chunks looks more like monster dirt.
- Thin the candy melts if needed. A tiny bit of coconut oil makes them flick and splatter in cleaner streaks.
- Splatter over parchment. The overspray peels right off once it sets, and the scraps are a cook’s treat.
- Chill the skulls, not the cupcakes. Two minutes in the refrigerator sets the splatter without sweating the cake.
- Add the candy eyes last. Press them into a dab of frosting or melted candy so they stay put.
- Plan the whole menu. This pairs effortlessly with our christmas tree cupcakes when company is coming.
- Plan the whole menu. This pairs effortlessly with our cherry cupcakes recipe when company is coming.
- Make it a full spread. Our spooky Halloween punch with eyeballs rounds out the table.
Serving Ideas and Suggestions
Line these Halloween cupcakes up on a black platter or a tiered stand and watch them become the centerpiece of the party table, no other decoration needed.
Still filling out the menu? Readers love pairing this one with our valentine cupcakes, valentine’s day cupcakes, and lemon angel food cupcakes.
Store the cupcakes in an airtight container at room temperature for up to 3 days. If you are making them ahead, keep the splattered skulls separate and top the cupcakes the day of the party so the candy stays glossy and the crumbs stay crunchy.
Halloween Cupcakes FAQs
Bake the cupcakes up to 2 days ahead and store them unfrosted in an airtight container, and splatter the skulls up to a week ahead. Frost, crumb, and assemble the day of the party for the freshest look. Fully decorated, they hold up about 3 days at room temperature.
Regular peanut butter cups take the candy melt splatter beautifully, and mini chocolate bars, chocolate covered sandwich cookies, or even large marshmallows work too. The splatter and candy eyes are what sell the monster look, the base candy is flexible.
Melt the colored wafers per the package, then load a spoon or fork and flick it over the candy skulls on a parchment lined tray. Work one color at a time and let each layer set for a minute before the next. Thin thick candy melts with a little coconut oil for cleaner streaks.
Of course. Any chocolate cupcake recipe that yields about 24 cupcakes slides right into this decorating method. The box mix just keeps the project kid friendly and gets you to the fun splatter part faster.
Room temperature in an airtight container for up to 3 days. Skip the refrigerator if you can, chilling can make the candy coating sweat when it comes back to room temperature. Keep them out of direct sun so the candy melts stay set.
Any chocolate frosting works because it hides under the cookie crumbs, canned frosting is genuinely fine here. You only need a thin, even layer to act as glue, so one tub covers all 24 cupcakes with room to spare.

Made these Halloween Cupcakes? I would love to hear how they turned out, leave a comment and a star rating below!
Our Biscoff cupcakes bring the cookie butter magic to any party table.

Halloween Cupcakes
Ingredients
- 1 box Devil’s Food Cake Mix
- 1 & 1/4 cup water
- 1/2 cup vegetable oil
- 3 eggs
- chocolate frosting of your choice
- 20 chocolate sandwich cookies crushed
- 24 BUTTERFINGER® Peanut Butter Cup Skulls
- Colored chocolate candy wafers melted, your choice of colors, optional
- candy eyes optional
Instructions
- Make chocolate cupcakes per the directions on the back of the box using the water, oil, and eggs, unless otherwise noted on the box. Let cool completely, about 1 hour.1 box Devil’s Food Cake Mix
- Frost each cupcake with the chocolate frosting, using a butter knife to add a small layer of frosting per cupcake. Dip cupcakes, frosting side down into the crushed cookies. Set aside.1 box Devil’s Food Cake Mix
- Lay our desired amount of skulls you wish to decorate on a parchment paper lined sheet tray. Melt* the colored chocolate per the directions on the back of the bag. Splatter the candy coating on each of the skulls. Place into the fridge until set, about 2 minutes.1 box Devil’s Food Cake Mix
- Decorate each cupcake with a BUTTERFINGER® skull on top, enjoy!1 box Devil’s Food Cake Mix
Notes
Nutrition
Love This Recipe?
Follow @ThisSillyGirlsKitchen on Instagram and @ThisSillyGirlsKitchen on Pinterest for more!