This post may contain affiliate links.
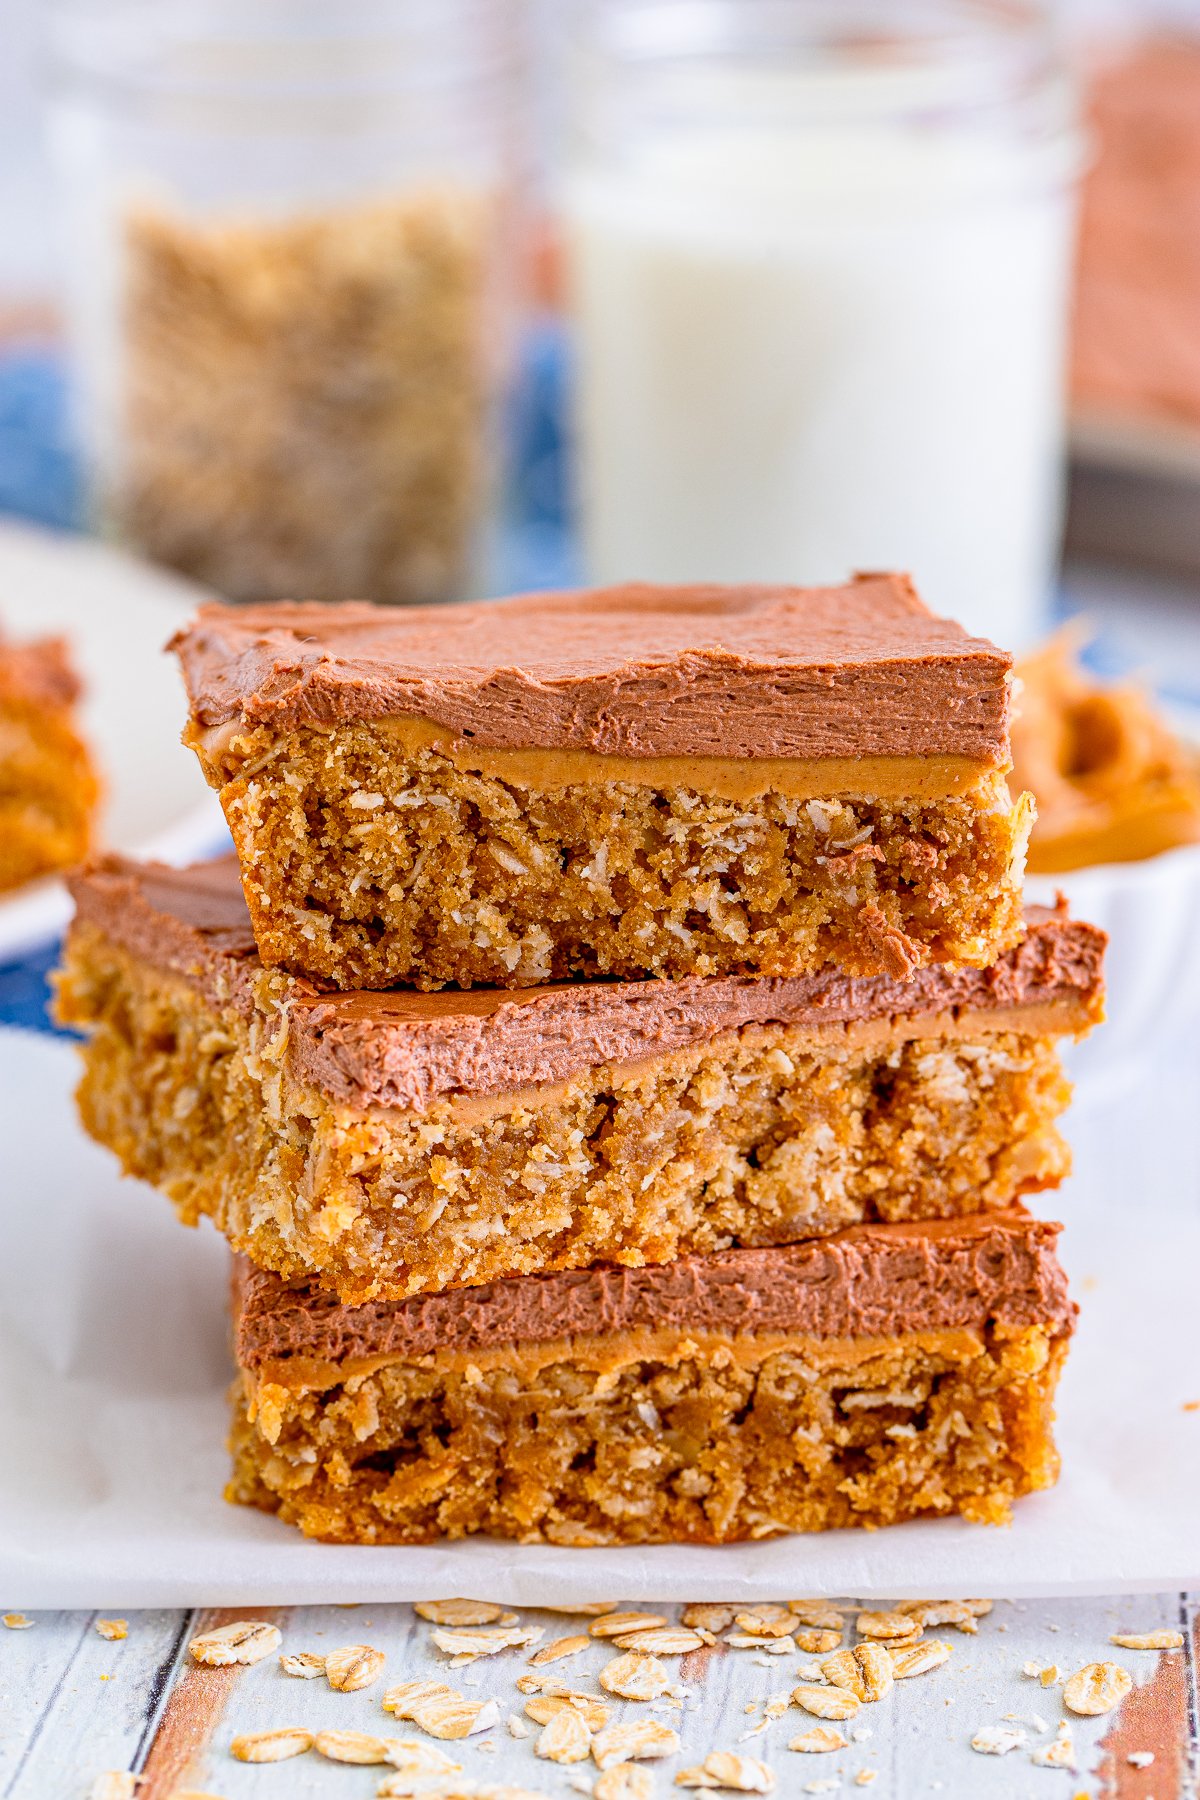
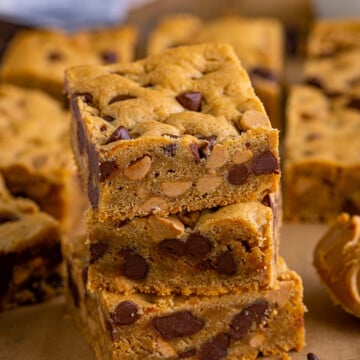
Lunch Lady Peanut Butter Bars are the nostalgic school-cafeteria treat done right: a chewy oatmeal peanut butter base, a layer of melty peanut butter, and a fudgy chocolate frosting on top. One bite and I am right back in the lunch line in grade school. If you love a PB and chocolate bar, they are cousins to our peanut butter chocolate chip cookie bars.
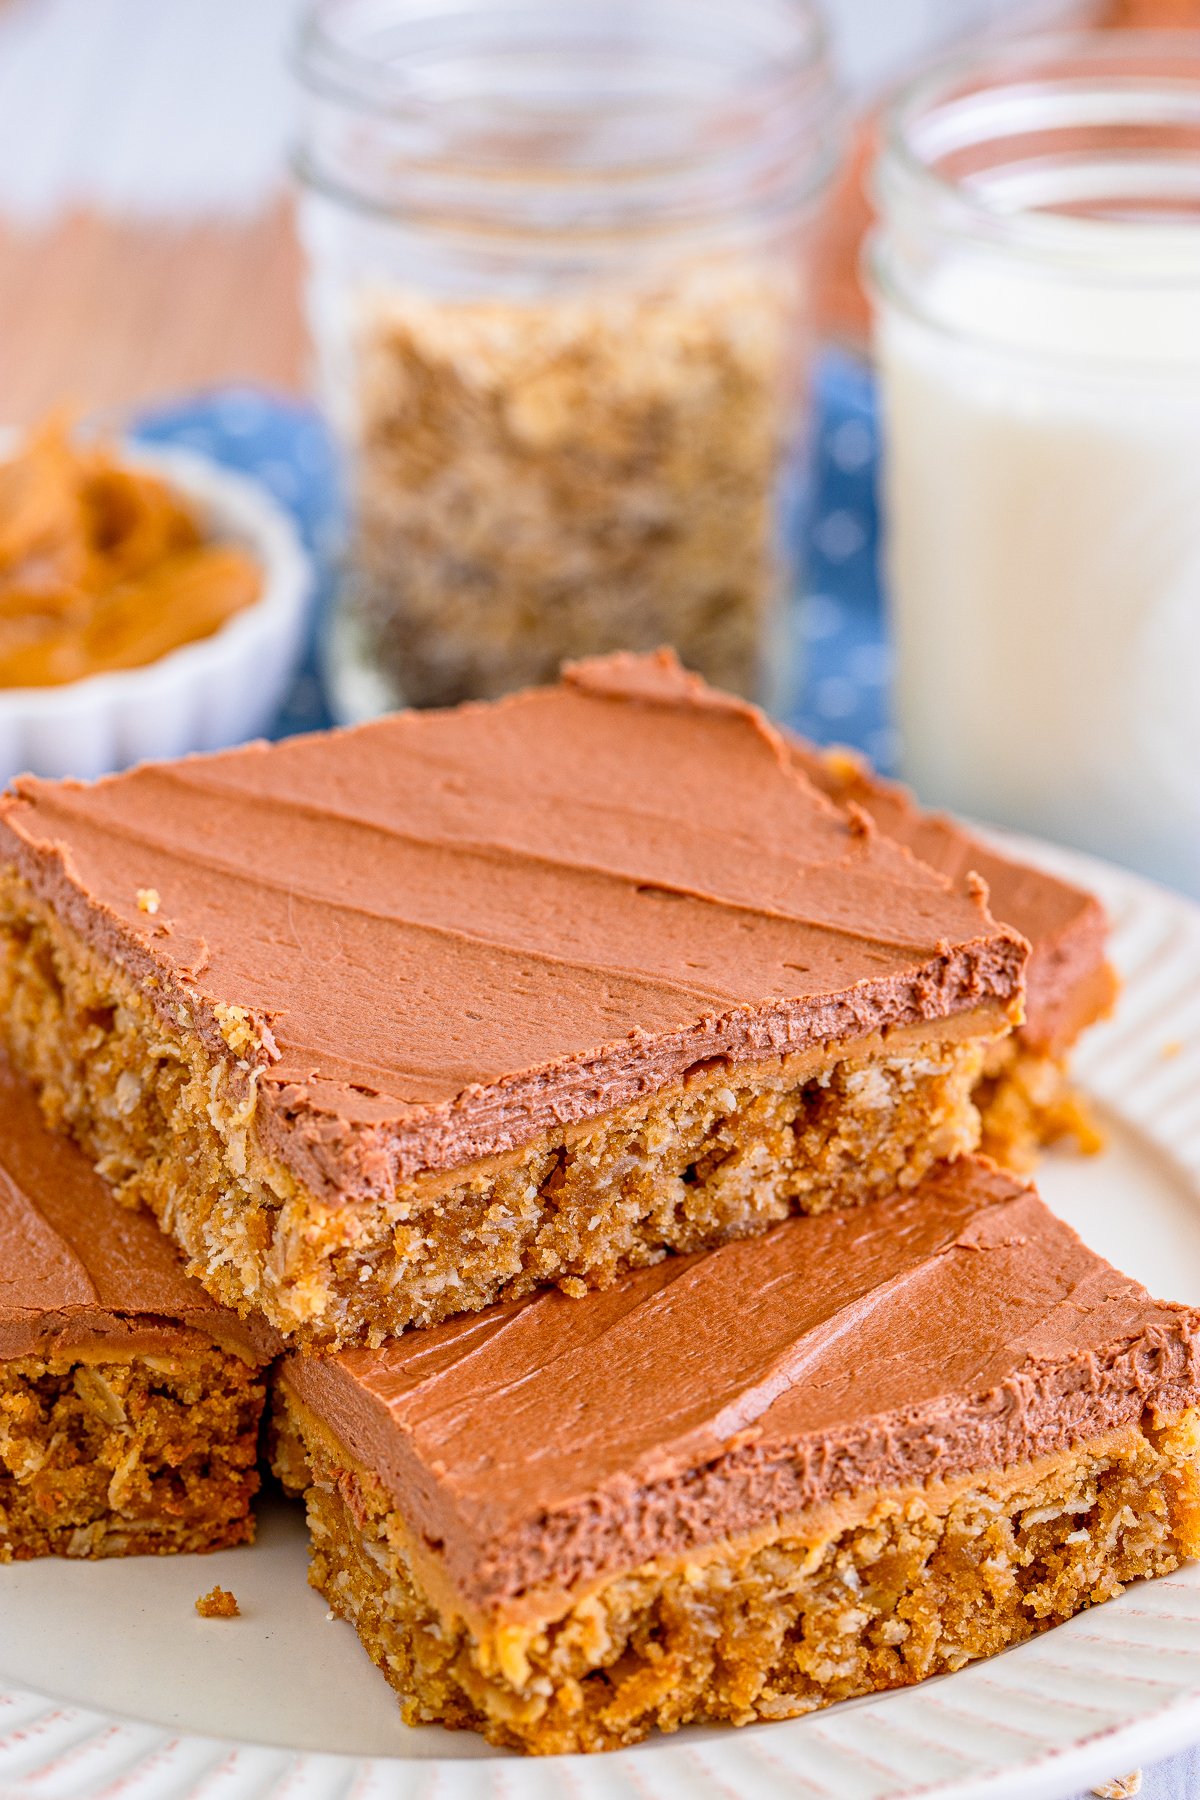
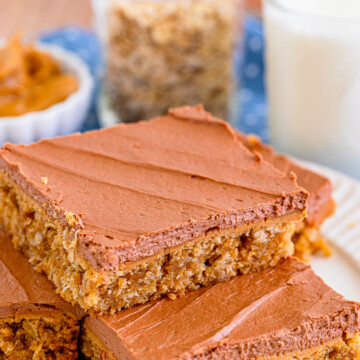
A soft, oaty peanut butter cookie base topped with a smooth peanut butter layer and rich chocolate frosting makes these copycat cafeteria bars impossible to resist.
Lunch Lady Peanut Butter Bars Quick Look
- 🕒 Prep Time: 15 minutes
- 🌡️ Cook Time: 18 minutes
- ⏳ Total Time: 33 minutes
- 🍽️ Serving: 15 bars
- ⚡ Calories: 551kcal
- 🌶️ Flavor Profile: Chewy peanut butter oat base with a PB layer and fudgy chocolate frosting
- ✋ Difficulty: Easy, a simple sheet-pan bar like our peanut butter cookie bars
Quick Answer
To make lunch lady peanut butter bars, cream butter with brown and granulated sugar, then beat in peanut butter, eggs, and vanilla. Mix in oats, flour, salt, and baking soda, press the dough into a sheet pan, and bake. Spread softened peanut butter over the warm bars, let them cool, then top with a fudgy chocolate frosting before slicing.
Jump to:
- Lunch Lady Peanut Butter Bars Quick Look
- Quick Answer
- Why This Recipe Works
- Why You’ll Love This Recipe
- Key Ingredients
- Variations and Substitutions
- How to Make Lunch Lady Peanut Butter Bars
- Recipe Tips & Tricks
- Serving Ideas and Suggestions
- Lunch Lady Peanut Butter Bars FAQs
- Other Recommended Easy Bar Recipes
- Lunch Lady Peanut Butter Bars
Why This Recipe Works
Click to see the technique science
- Oats make the base chewy. Old fashioned oats give the peanut butter base that signature soft, chewy cafeteria texture.
- Peanut butter in two layers. Peanut butter in the dough and spread over the warm bars doubles the rich, nutty flavor.
- Warm bars melt the PB. Dolloping peanut butter on the hot bars lets it soften so it spreads into a smooth, even layer.
- A fudgy chocolate frosting. A cocoa and powdered sugar frosting whips up rich and fudgy, the perfect contrast to the peanut butter.
- Sheet pan makes a crowd. Baked in a big pan, this recipe makes 15 or more bars, ideal for parties and potlucks.
- Easy pantry ingredients. Everything comes together from simple staples you likely already have on hand.
Why You’ll Love This Recipe
- They taste just like the nostalgic peanut butter bars from the school cafeteria.
- They feed a crowd from one easy sheet pan, like our peanut butter chocolate chip cookie bars.
- That combination of chewy peanut butter base and fudgy chocolate frosting is pure comfort.
- It has earned a permanent spot in our rotation, right up there with our crispy peanut butter cookies.
- It has earned a permanent spot in our rotation, right up there with our baked banana donuts with peanut butter glaze.
- It earns a spot in the rotation right next to our caramel corn.
- It has earned a permanent spot in our rotation, right up there with our mandm peanut butter fudge.
Key Ingredients
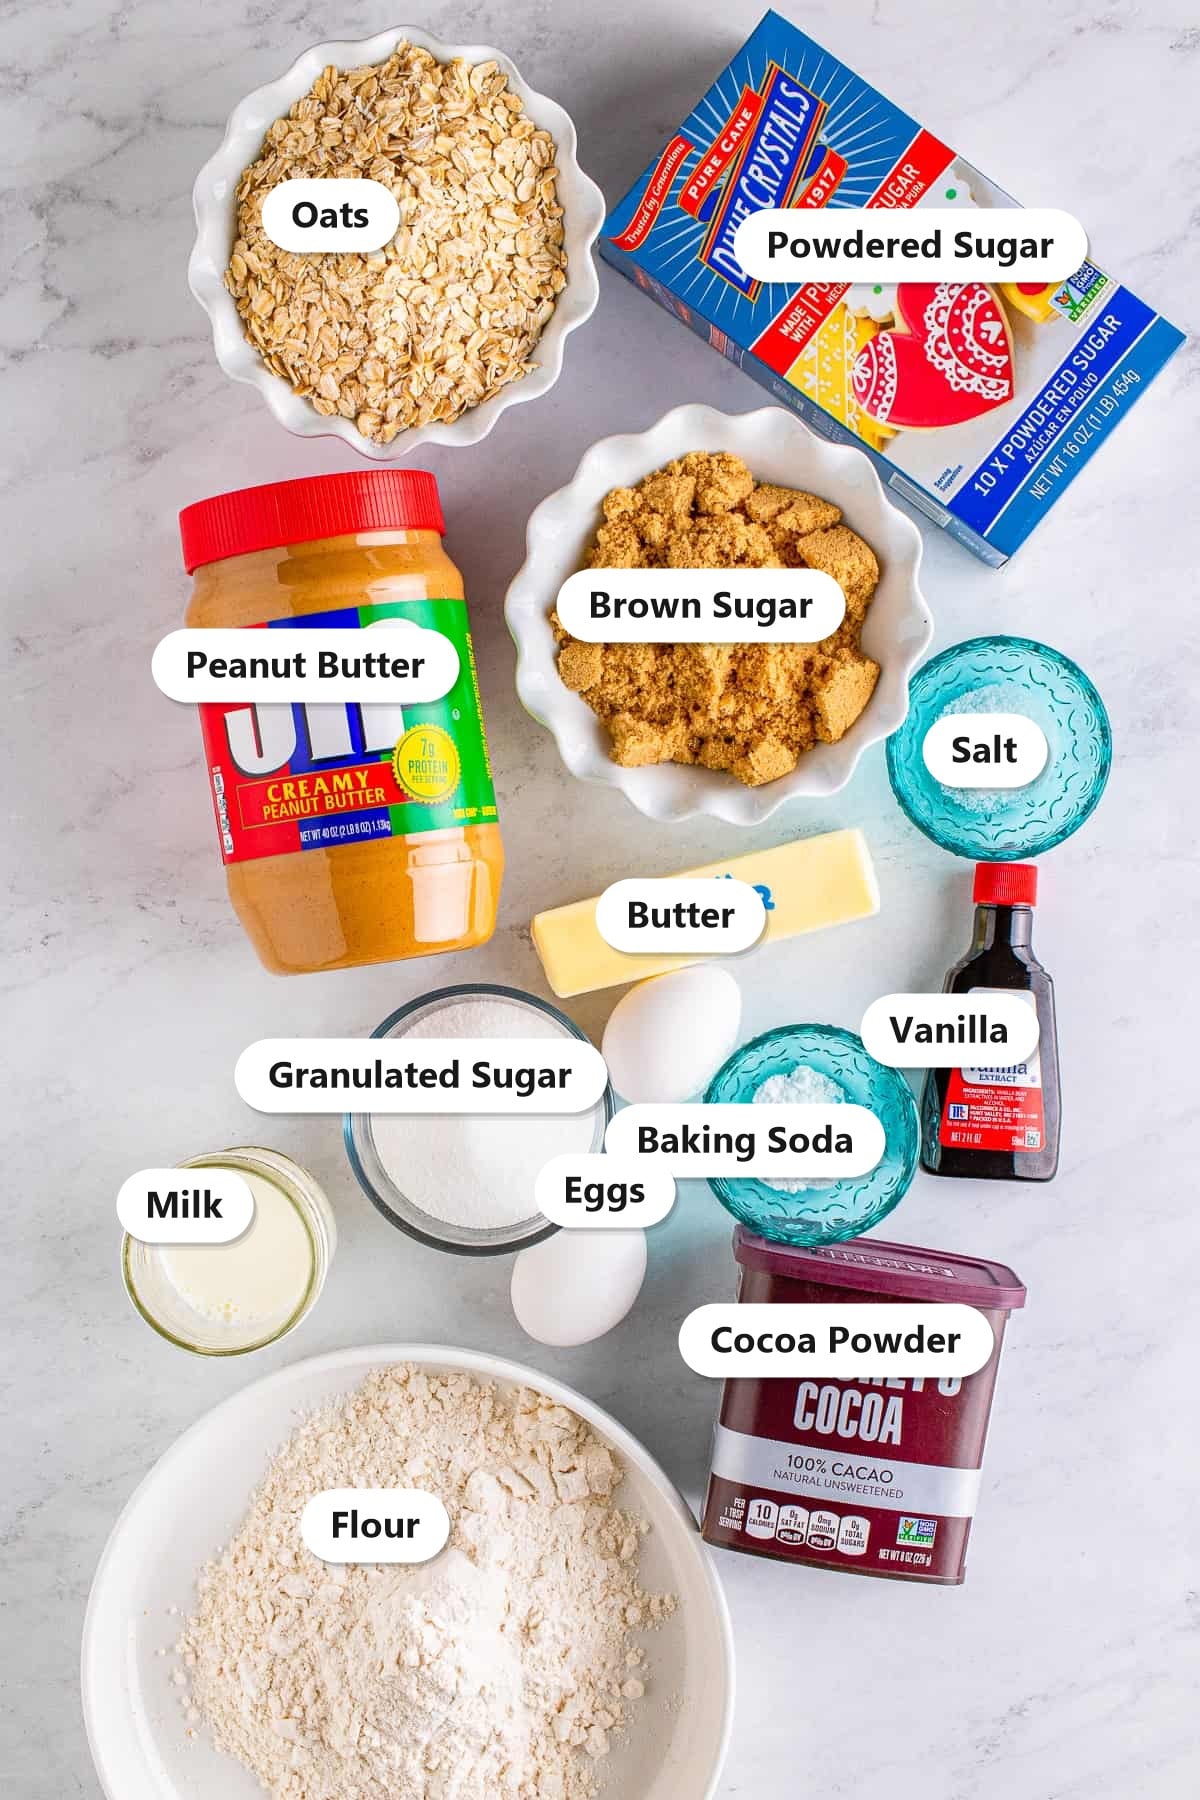
Here is what you need for the bars and the chocolate frosting. See the recipe card below for exact amounts.
- Peanut butter: Creamy peanut butter goes in the dough and gets spread over the warm bars. Use a no-stir brand for the best texture.
- Old fashioned oats: They give the base its chewy, hearty cafeteria texture.
- Brown and granulated sugar: The mix adds sweetness with a hint of caramel depth.
- Cocoa powder: Whipped into the frosting for a rich, fudgy chocolate top.
- Powdered sugar: The base of the smooth chocolate frosting, like the one on our cookie bars.
See recipe card for exact quantities.
Variations and Substitutions
These bars are easy to make your own. Here are a few ideas.
- Use crunchy PB: Swap in crunchy peanut butter for extra texture.
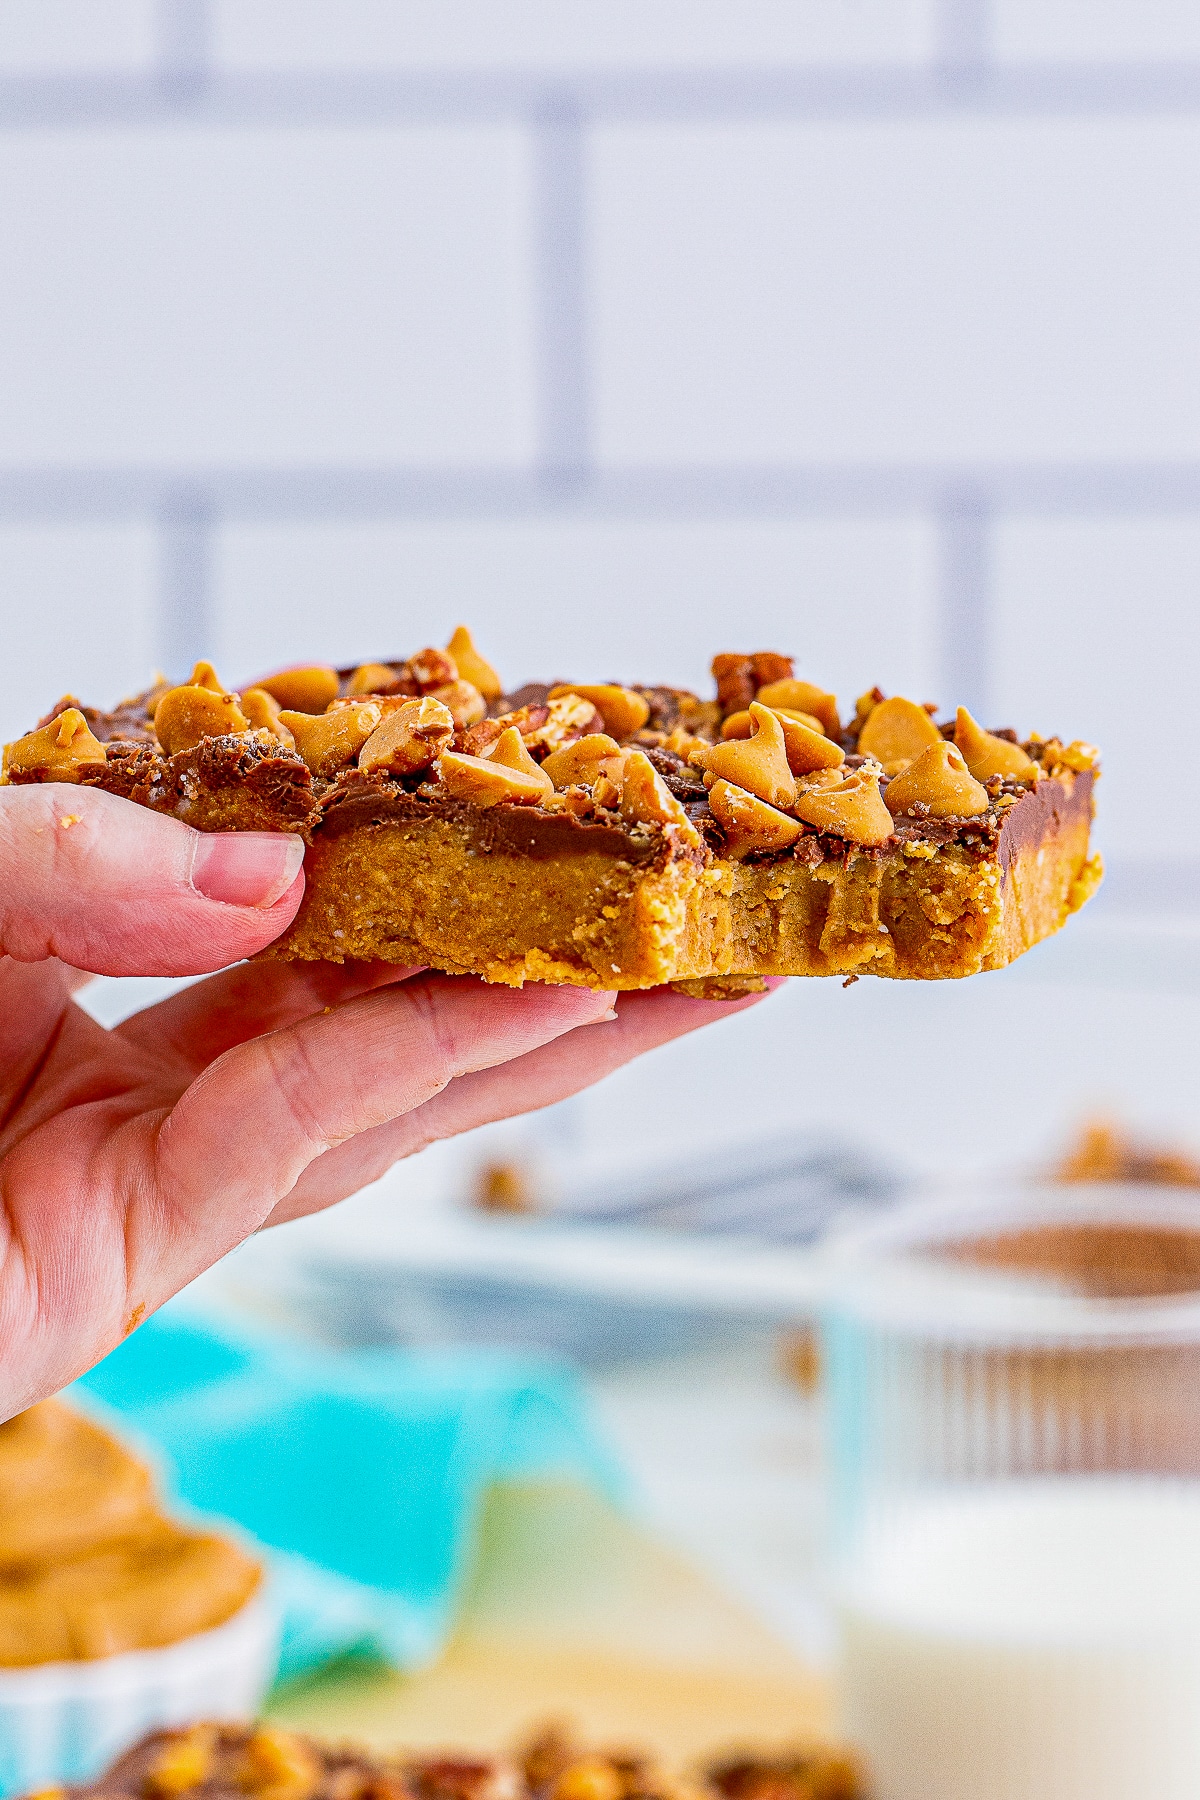
- Add chips: Fold chocolate or peanut butter chips into the dough.
- Make them gluten free: Use a 1-to-1 gluten free flour and certified gluten free oats.
- Try a PB frosting: Swap the chocolate frosting for a peanut butter frosting.
- Sprinkle on top: Add chopped peanuts or flaky salt over the frosting.
- Craving a different flavor next time? Our no-bake peanut butter bars delivers the same easy comfort with its own twist.
- Craving a different flavor next time? Our moist peanut butter cake delivers the same easy comfort with its own twist.
- In the mood for something different? Our Lunch Lady peanut butter bars scratches a similar itch.
- Craving a different flavor next time? Our reese’s peanut butter cup cookies delivers the same easy comfort with its own twist.
How to Make Lunch Lady Peanut Butter Bars
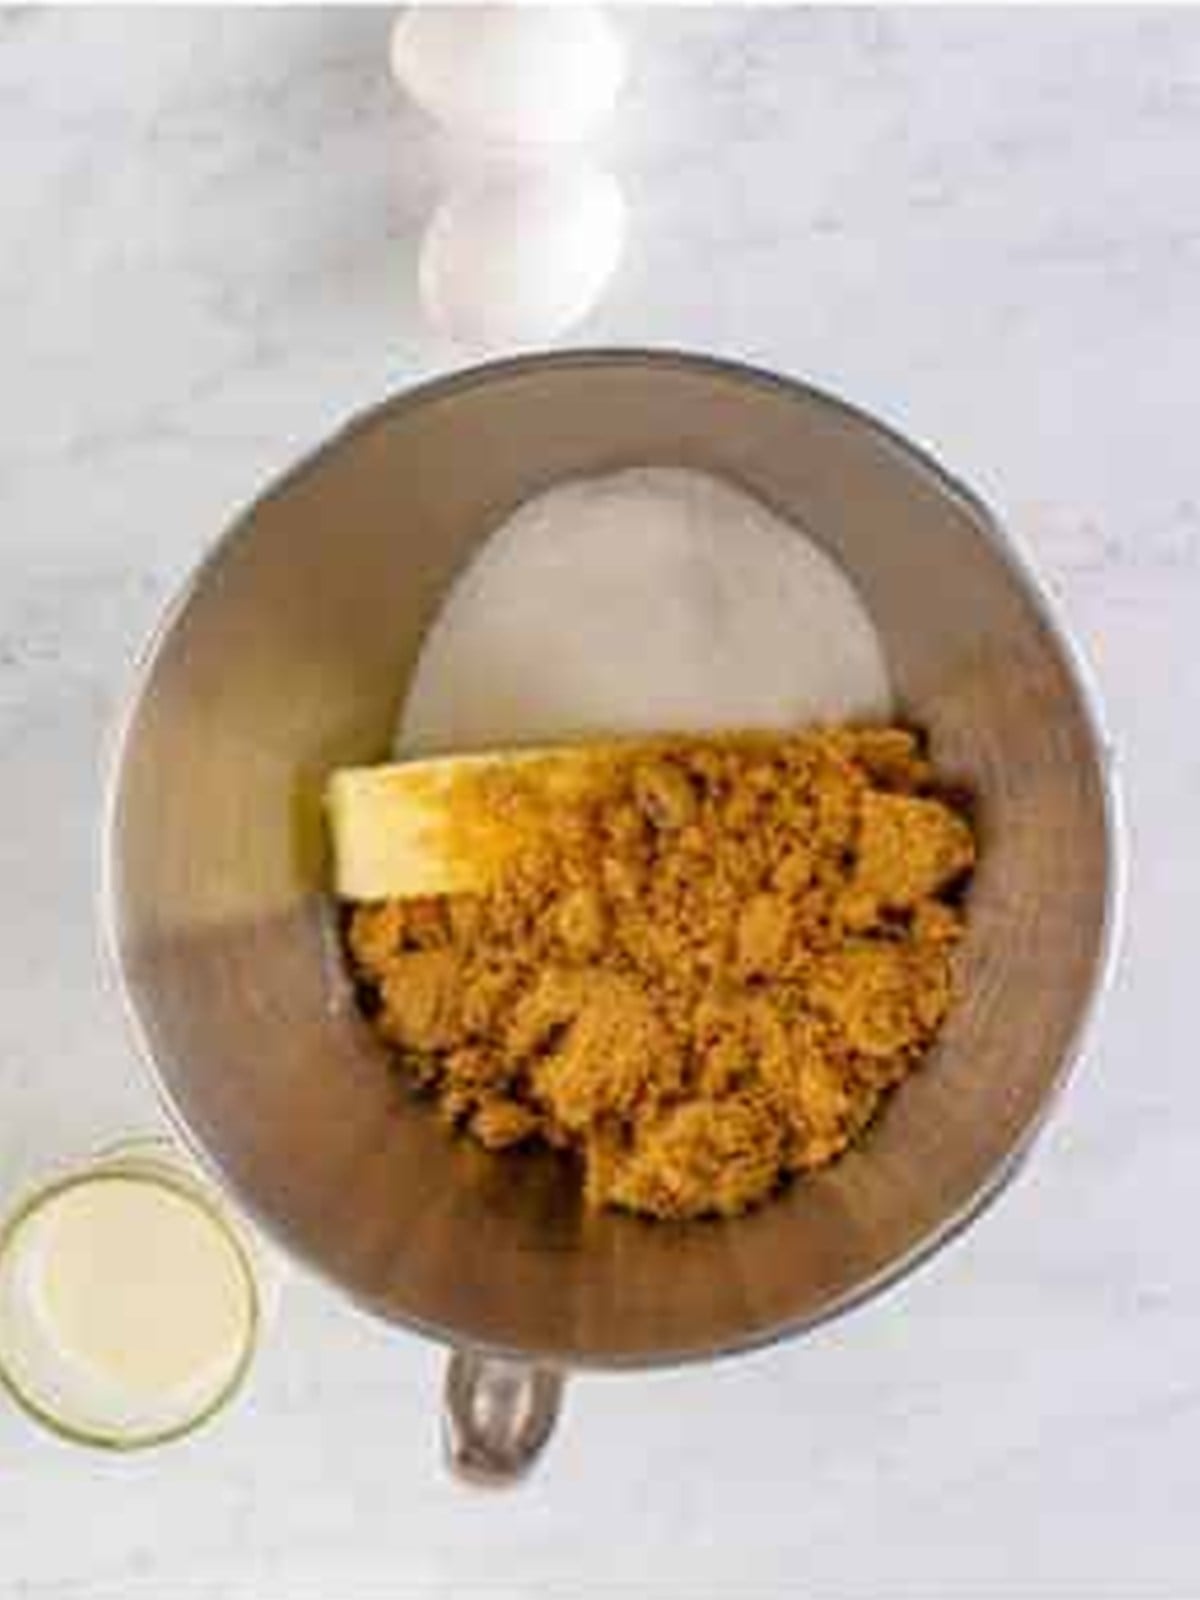
- Preheat the oven to 350 degrees. Cream the butter, brown sugar, and granulated sugar in a stand mixer for 2 minutes.
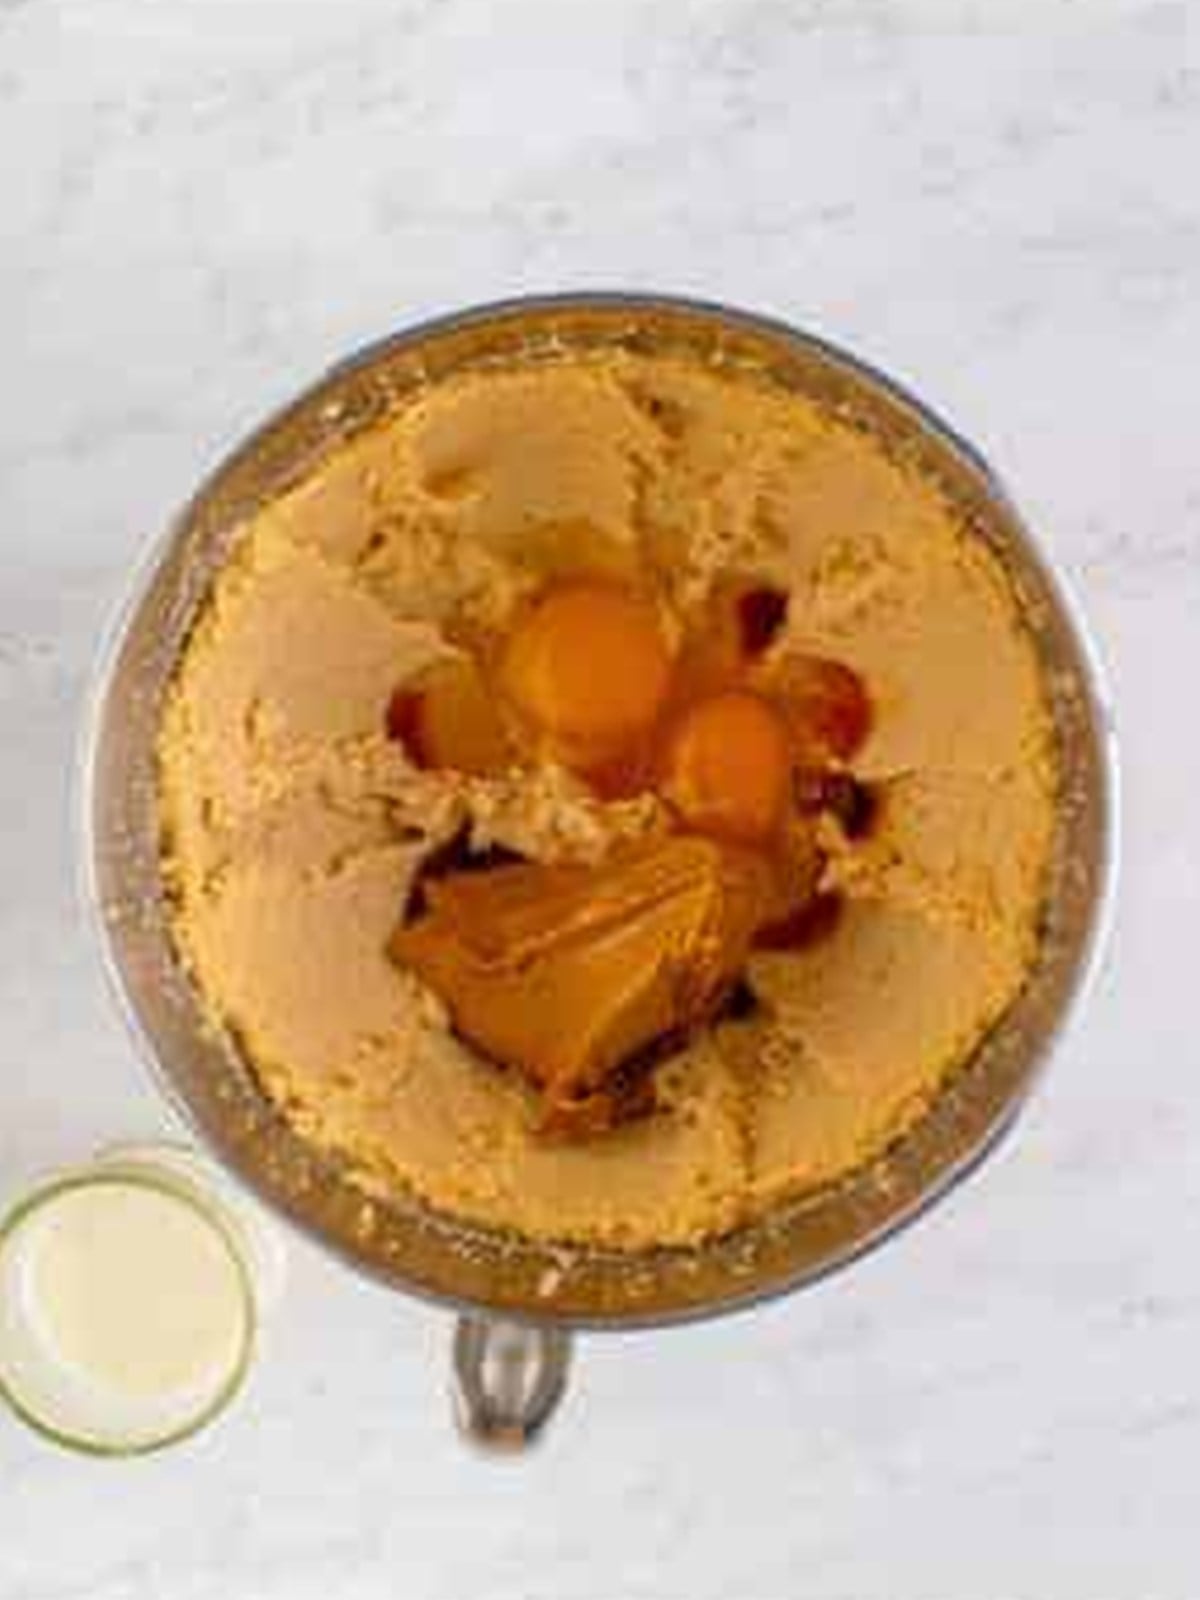
- Add half a cup of peanut butter, the eggs, and vanilla, and mix until combined.
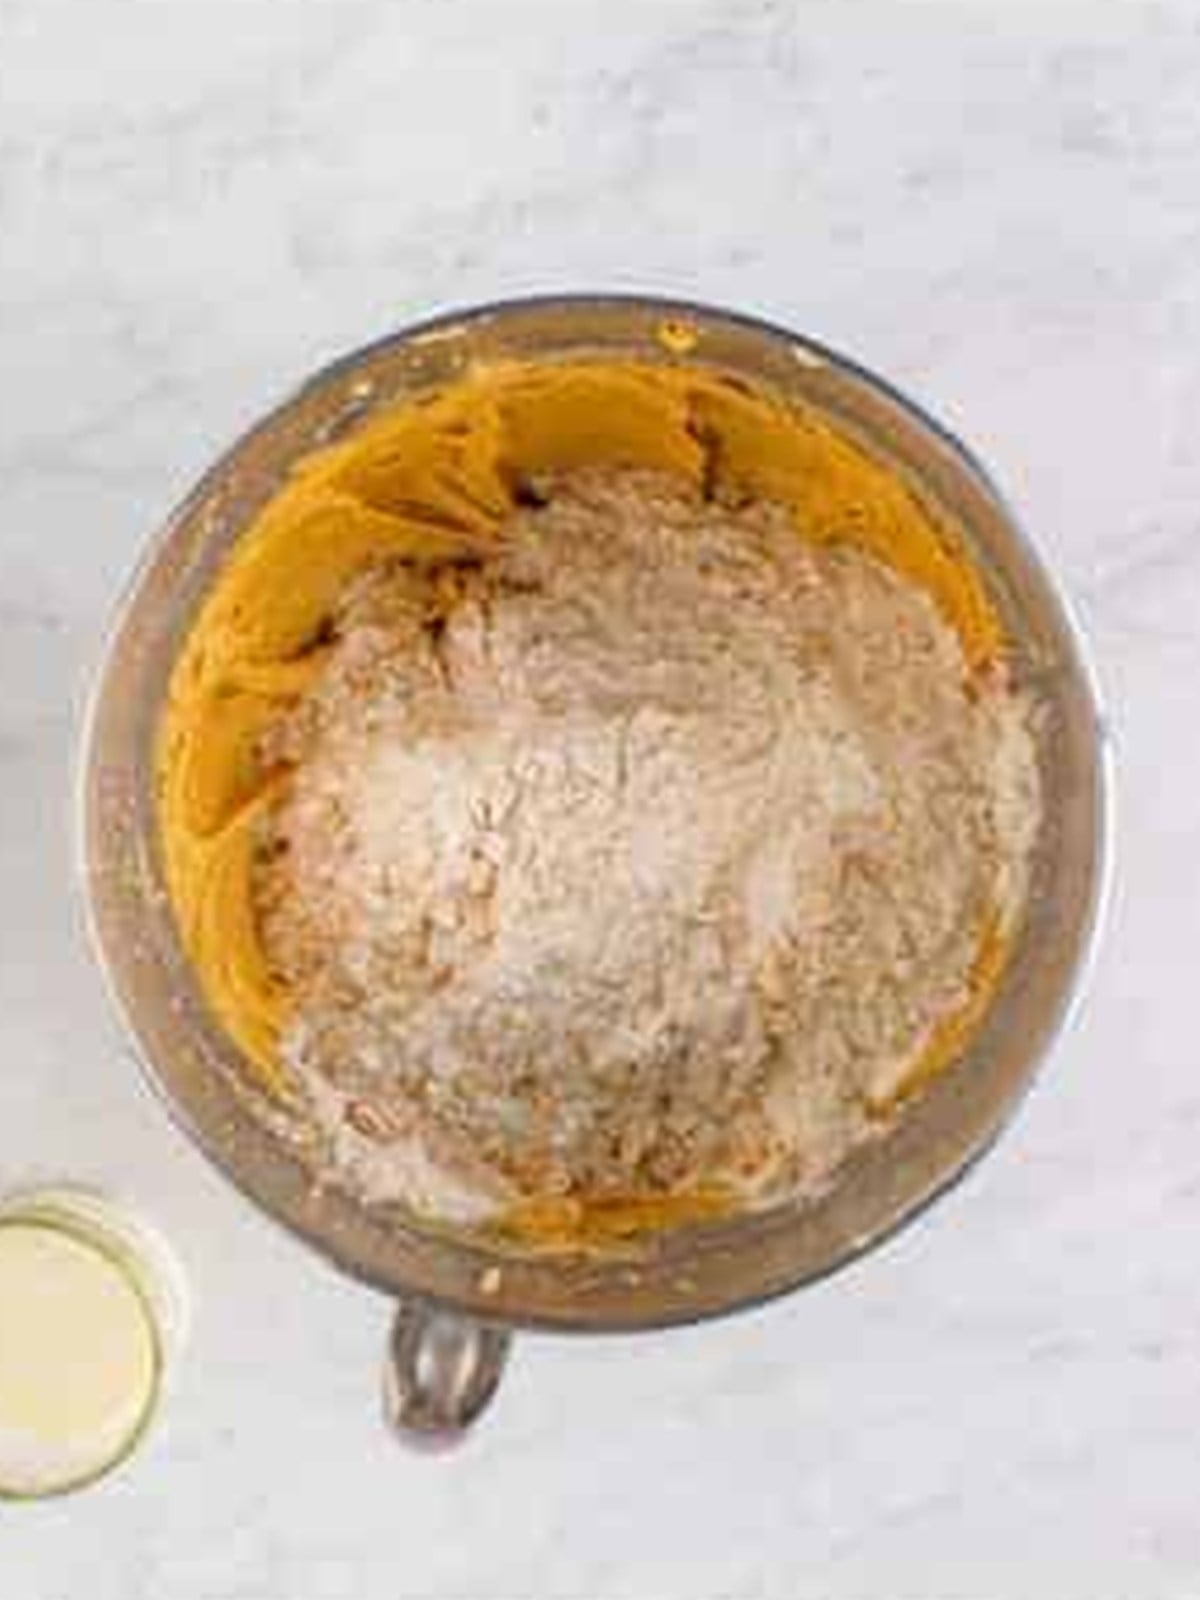
- Stir together the oats, flour, salt, and baking soda, then add to the dough and mix just until combined.
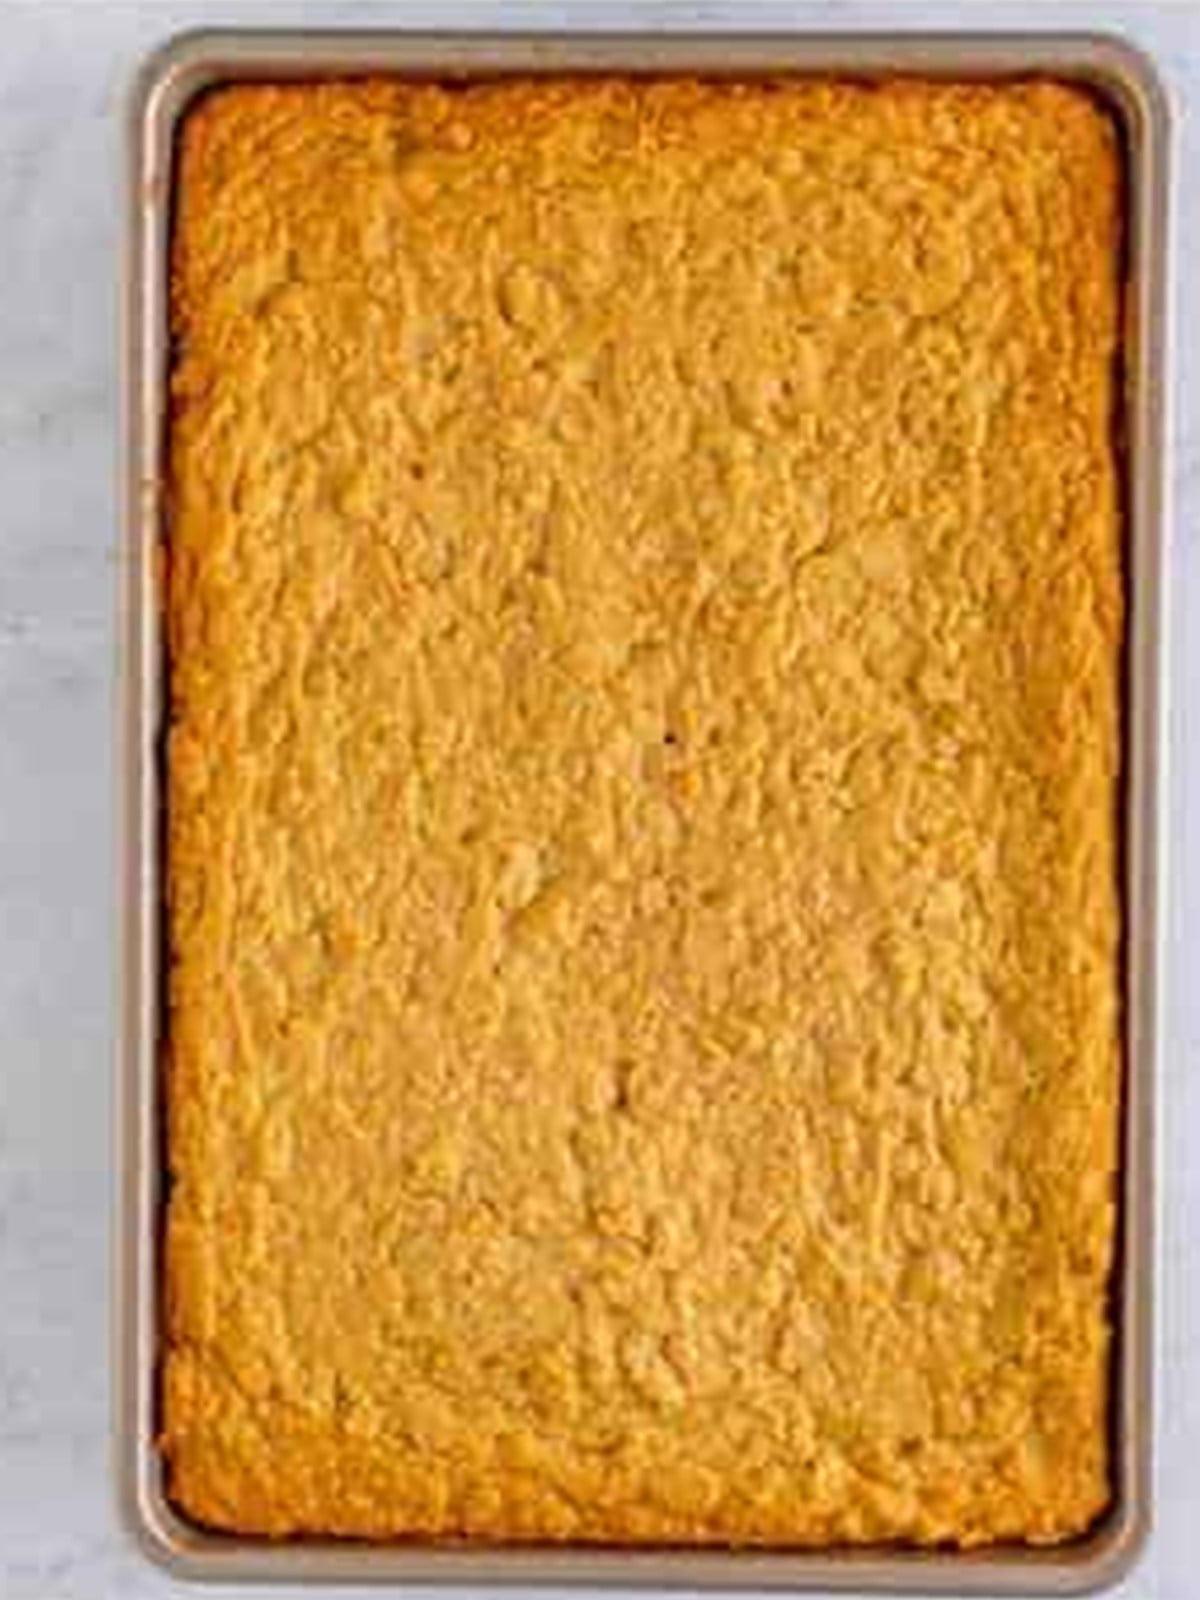
- Press the dough into a greased 11×15 inch pan and bake for 15 to 18 minutes until a toothpick comes out clean.
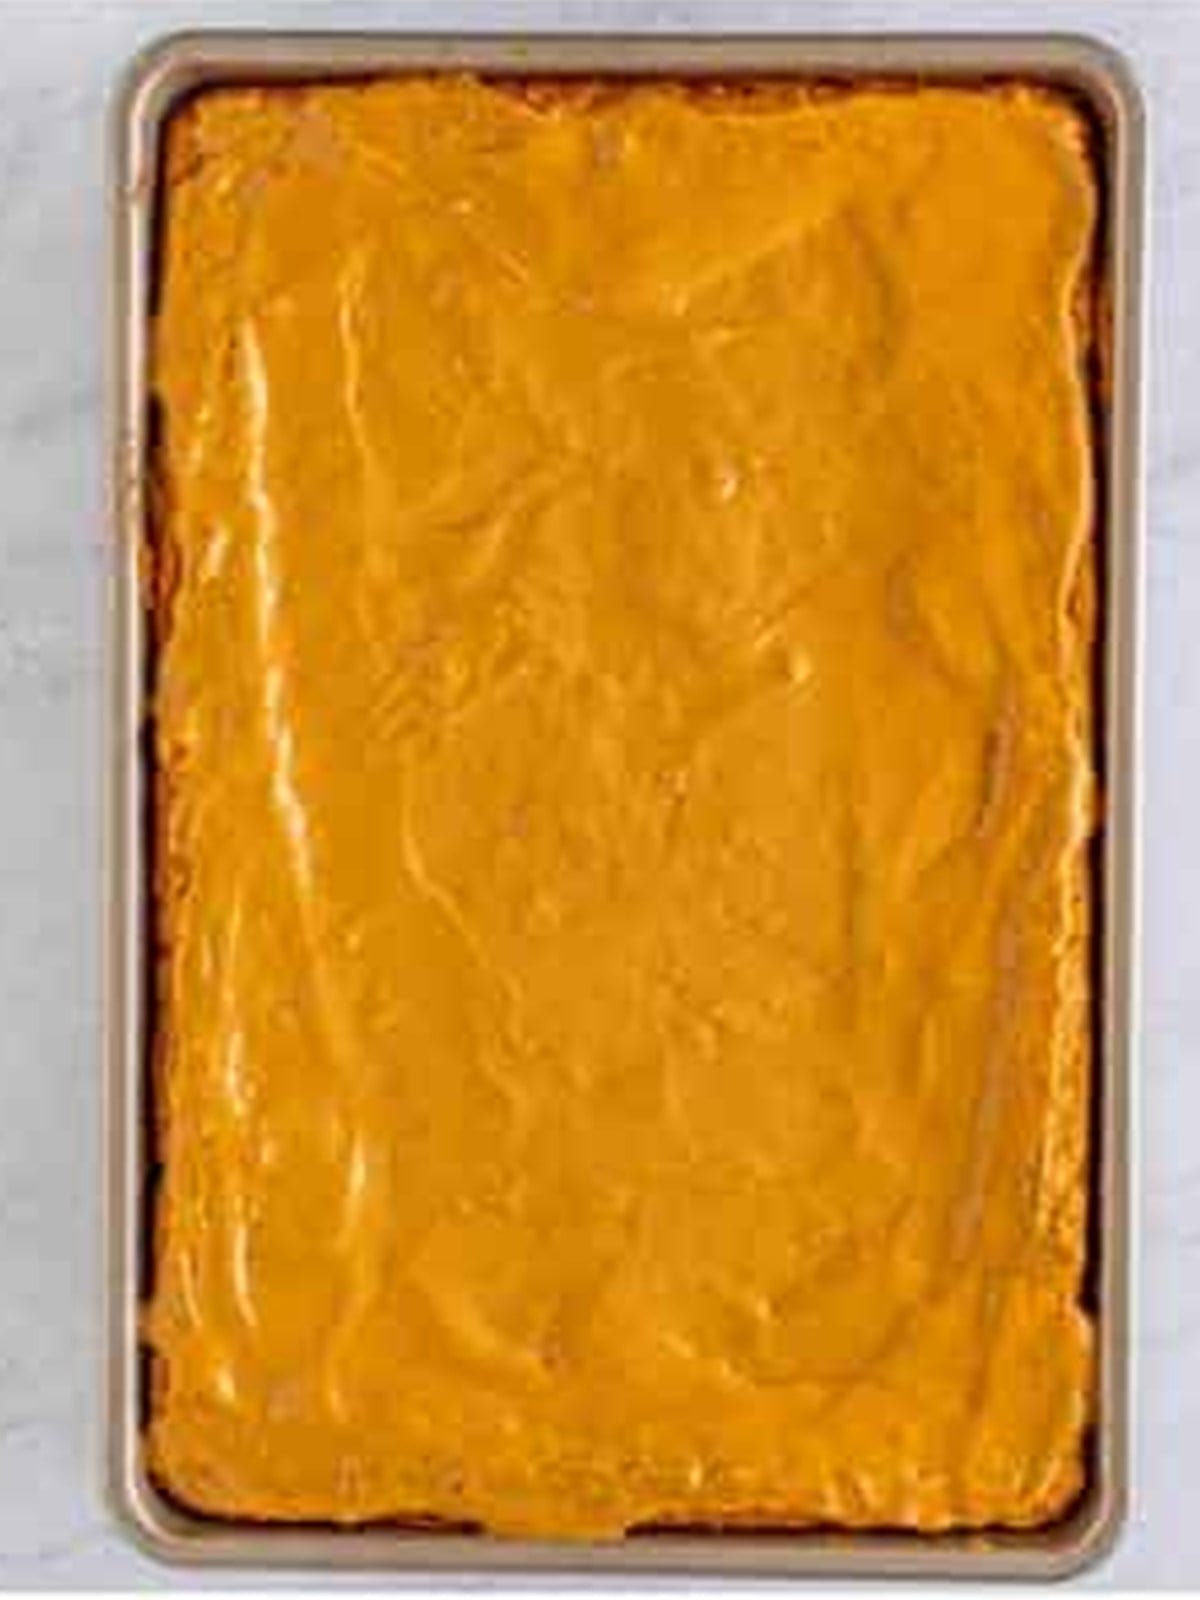
- Dollop the remaining peanut butter over the warm bars, wait 10 minutes, then spread it into an even layer. Let cool completely.
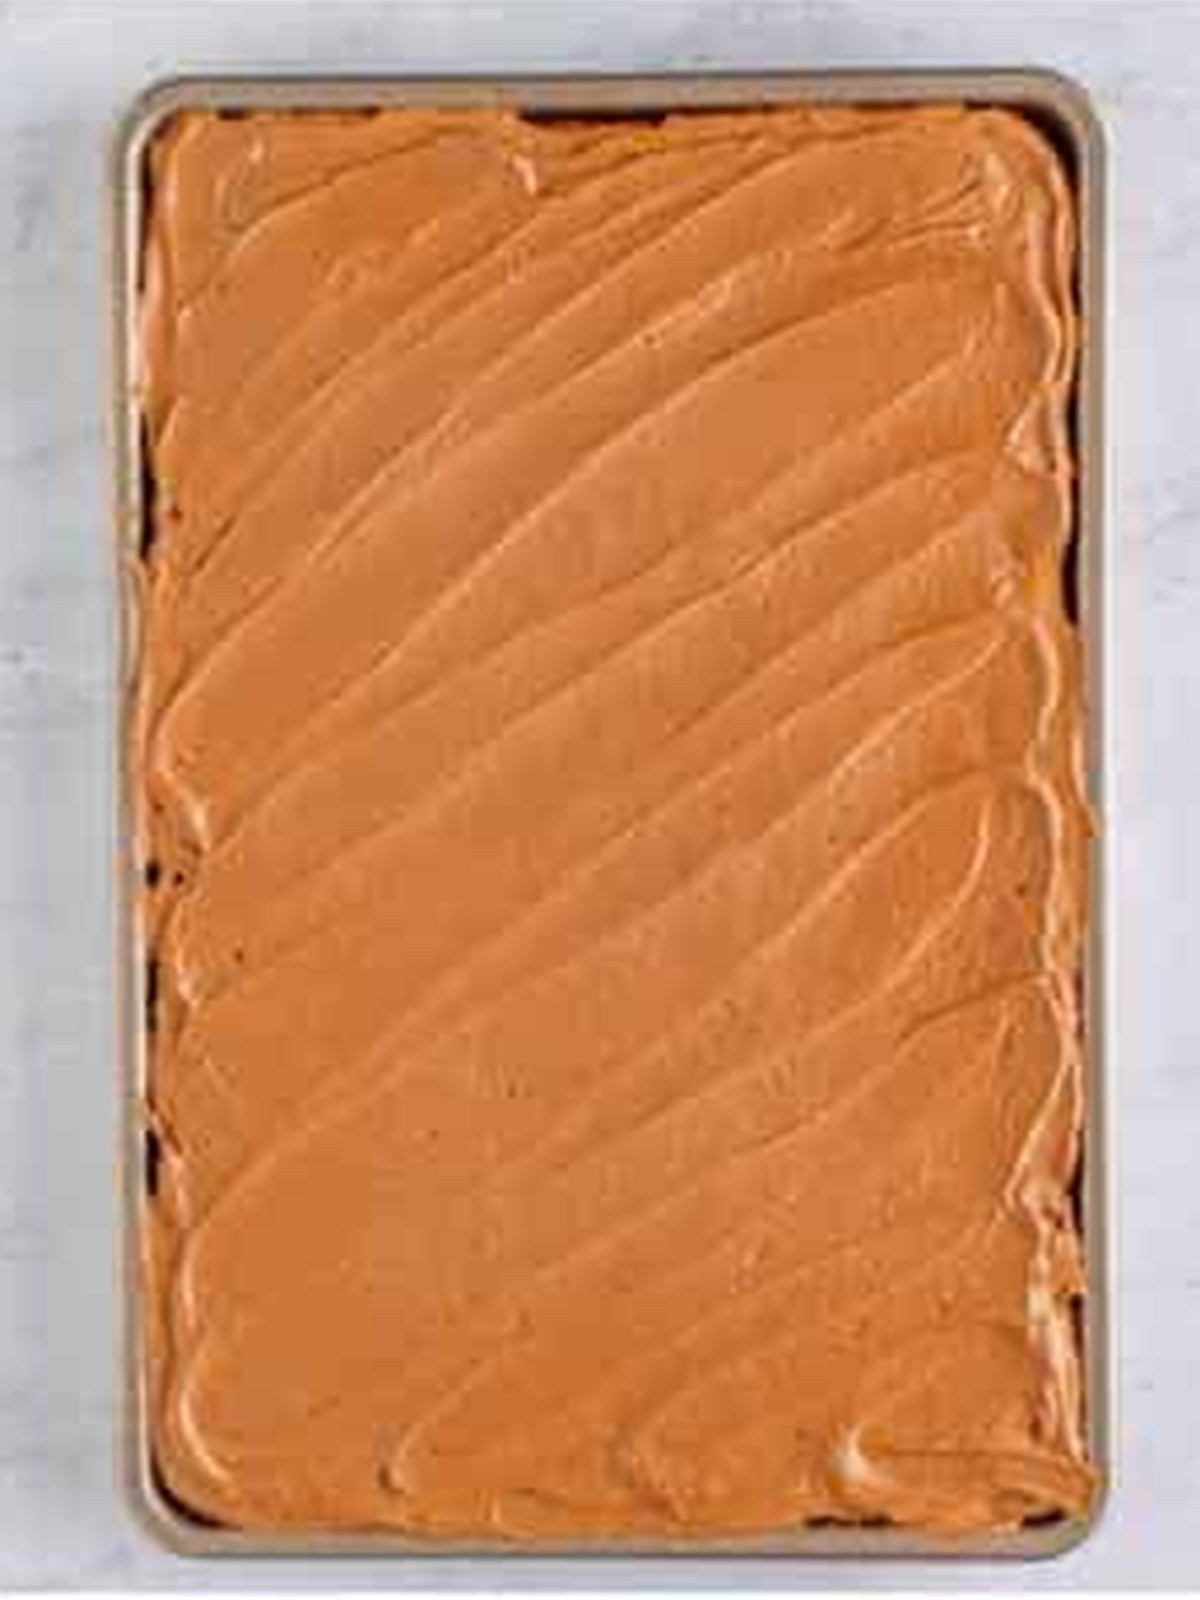
- Whip the butter, then beat in the cocoa, powdered sugar, salt, vanilla, and milk into a fluffy chocolate frosting. Spread over the cooled bars, let set, then slice.
Recipe Tips & Tricks
- Do not over bake. Pull the bars when a toothpick is just clean so the base stays soft and chewy.
- Spread the PB while warm. The heat from the bars melts the peanut butter so it spreads smoothly.
- Cool before frosting. Let the bars cool completely so the chocolate frosting does not melt.
- Use room temperature butter. Softened butter creams smoothly for a light, fluffy frosting.
- Adjust the frosting. Add an extra splash of milk if the frosting is too thick to spread.
- Line the pan. Parchment makes it easy to lift and cut clean bars, like our peanut butter cookie bars.
- Make it a spread. When you are feeding a crowd, round out the table with our peanut butter dip with nutella.
- Make it a full spread. Our peanut butter brownies rounds out the table.
- Make it a spread. When you are feeding a crowd, round out the table with our peanut butter blossoms.
Serving Ideas and Suggestions
Lunch lady peanut butter bars are a nostalgic crowd-pleaser. Cut them into squares and serve with an ice-cold glass of milk for the full cafeteria experience.
Lunch Lady Peanut Butter Bars FAQs
Lunch lady peanut butter bars are a copycat of the classic peanut butter bars served in school cafeterias. They have a chewy oatmeal peanut butter cookie base, a layer of melted peanut butter spread on top, and a fudgy chocolate frosting. They are cut into squares and beloved for their nostalgic flavor.
They are named after the lunch ladies who served them in school cafeterias for decades. The peanut butter bar with chocolate frosting was a popular lunch dessert that many people remember fondly, so the homemade copycat version kept the nostalgic name.
A no-stir, processed creamy peanut butter like Jif gives the best texture for these bars. Natural peanut butter that separates can make the dough and topping oily or crumbly. If you only have natural peanut butter, stir it very well before using.
Store the bars in an airtight container at room temperature for up to 4 days, or in the refrigerator for up to a week. Layer parchment between them so the frosting does not stick. Let refrigerated bars sit out a few minutes before serving for the best texture.
Yes. Freeze the cut and frosted bars in a single layer until firm, then transfer to a freezer container with parchment between layers for up to 3 months. Thaw at room temperature before serving. They hold their texture and flavor well.
Absolutely. These bars are great for making ahead. Bake, fill, and frost them a day or two before you need them and store covered at room temperature or in the fridge. They are a perfect make-ahead dessert for parties and potlucks.

Still filling out the menu? Readers love pairing this one with our no bake chocolate lasagna and our cookies and cream cookies.

Lunch Lady Peanut Butter Bars
Ingredients
- 1 ½ cup old fashioned oats
- 1 ½ cup all-purpose flour
- 1 teaspoon fine sea salt
- ¾ teaspoon baking soda
- ¾ cup unsalted butter softened
- 1 cup light brown sugar packed
- ½ cup granulated sugar
- 1 ¾ cup creamy peanut butter divided
- 2 large eggs
- 2 teaspoons vanilla extract
For the frosting:
- 2 cups powdered sugar
- ¼ cup unsweetened cocoa powder
- pinch of fine sea salt
- ½ cup unsalted butter softened
- 1 teaspoon vanilla extract
- 3-4 tablespoons whole milk
Instructions
- Preheat the oven to 350°F. Spray an 11×15-inch baking dish with cooking spray, set aside.
- In a medium-sized bowl, stir together the oats, flour, salt, and baking soda, set aside.1 ½ cup old fashioned oats, 1 ½ cup all-purpose flour, 1 teaspoon fine sea salt, ¾ teaspoon baking soda
- In the body of a stand mixer with the paddle attachment, cream together the butter, brown sugar, and granulated sugar for 2 minutes.¾ cup unsalted butter, 1 cup light brown sugar, ½ cup granulated sugar
- Add ¾ cup of the peanut butter, the eggs, and vanilla, mix until combined. Scrape down the sides as needed.1 ¾ cup creamy peanut butter, 2 large eggs, 2 teaspoons vanilla extract
- Add the dry ingredients and mix until just combined.
- Press the dough into the prepared baking dish. Bake for 15-18 minutes until a toothpick inserted into the center comes out clean.
- Place small dollops of the remaining 1 cup peanut butter on top. Wait 10 minutes to warm the peanut butter and carefully spread the peanut butter all over. Let cool completely.
- While the bars are cooling, make the frosting. Place the powdered sugar, cocoa powder, and salt in a medium-sized bowl and stir to combine.2 cups powdered sugar, ¼ cup unsweetened cocoa powder, pinch of fine sea salt
- In a large bowl with an electric hand mixer, whip the butter until smooth.½ cup unsalted butter
- Start adding the powdered sugar mixture a little at a time until fully incorporated.
- Add the vanilla and 3 tablespoons of the milk, stir it in.1 teaspoon vanilla extract, 3-4 tablespoons whole milk
- Place the mixer on medium-high and whip the frosting for 3 minutes until light and fluffy. If it seems a little too thick to spread, add an additional 1 tablespoon of milk.
- Once the bars are cool, spread the frosting on top. Let them sit for 30 minutes to give the frosting time to crust, or cut and serve immediately.
Notes
- Make sure you are using old fashioned oats, do not try using quick cooking oats.
- This makes a large batch you can cut it in half and make in a 9×13-inch pan if desired, they may be thicker.
- You can use this frosting or canned frosting.
- If you do not LOVE peanut butter, you can leave the peanut butter layer out.
- These can be frozen, see my tips above.
Nutrition
Love This Recipe?
Follow @ThisSillyGirlsKitchen on Instagram and @danadevolk on Pinterest for more!


The layout of you recipe is so great. Not only do you get an ingredient list you also get a step by step picture one as well. I love this as I am a visual person so makes this easier an know you are getting it right. And also where the ingredients are you have a tick box if you want to double or triple it. Perfect