This post may contain affiliate links.
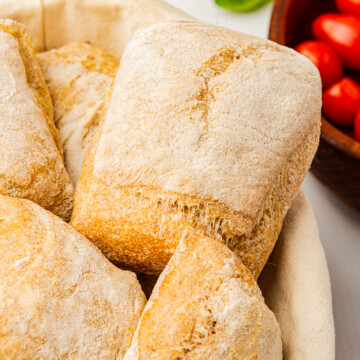
Bakery-style ciabatta bread with a crackly golden crust and an airy, open crumb is absolutely doable in your own kitchen, no bread machine required. This rustic Italian loaf, shaped here into eight handy rolls and seasoned with rosemary and garlic, comes together with just a handful of pantry staples and a little patience. Slice them for Italian sub sandwiches or tear them warm alongside soup.
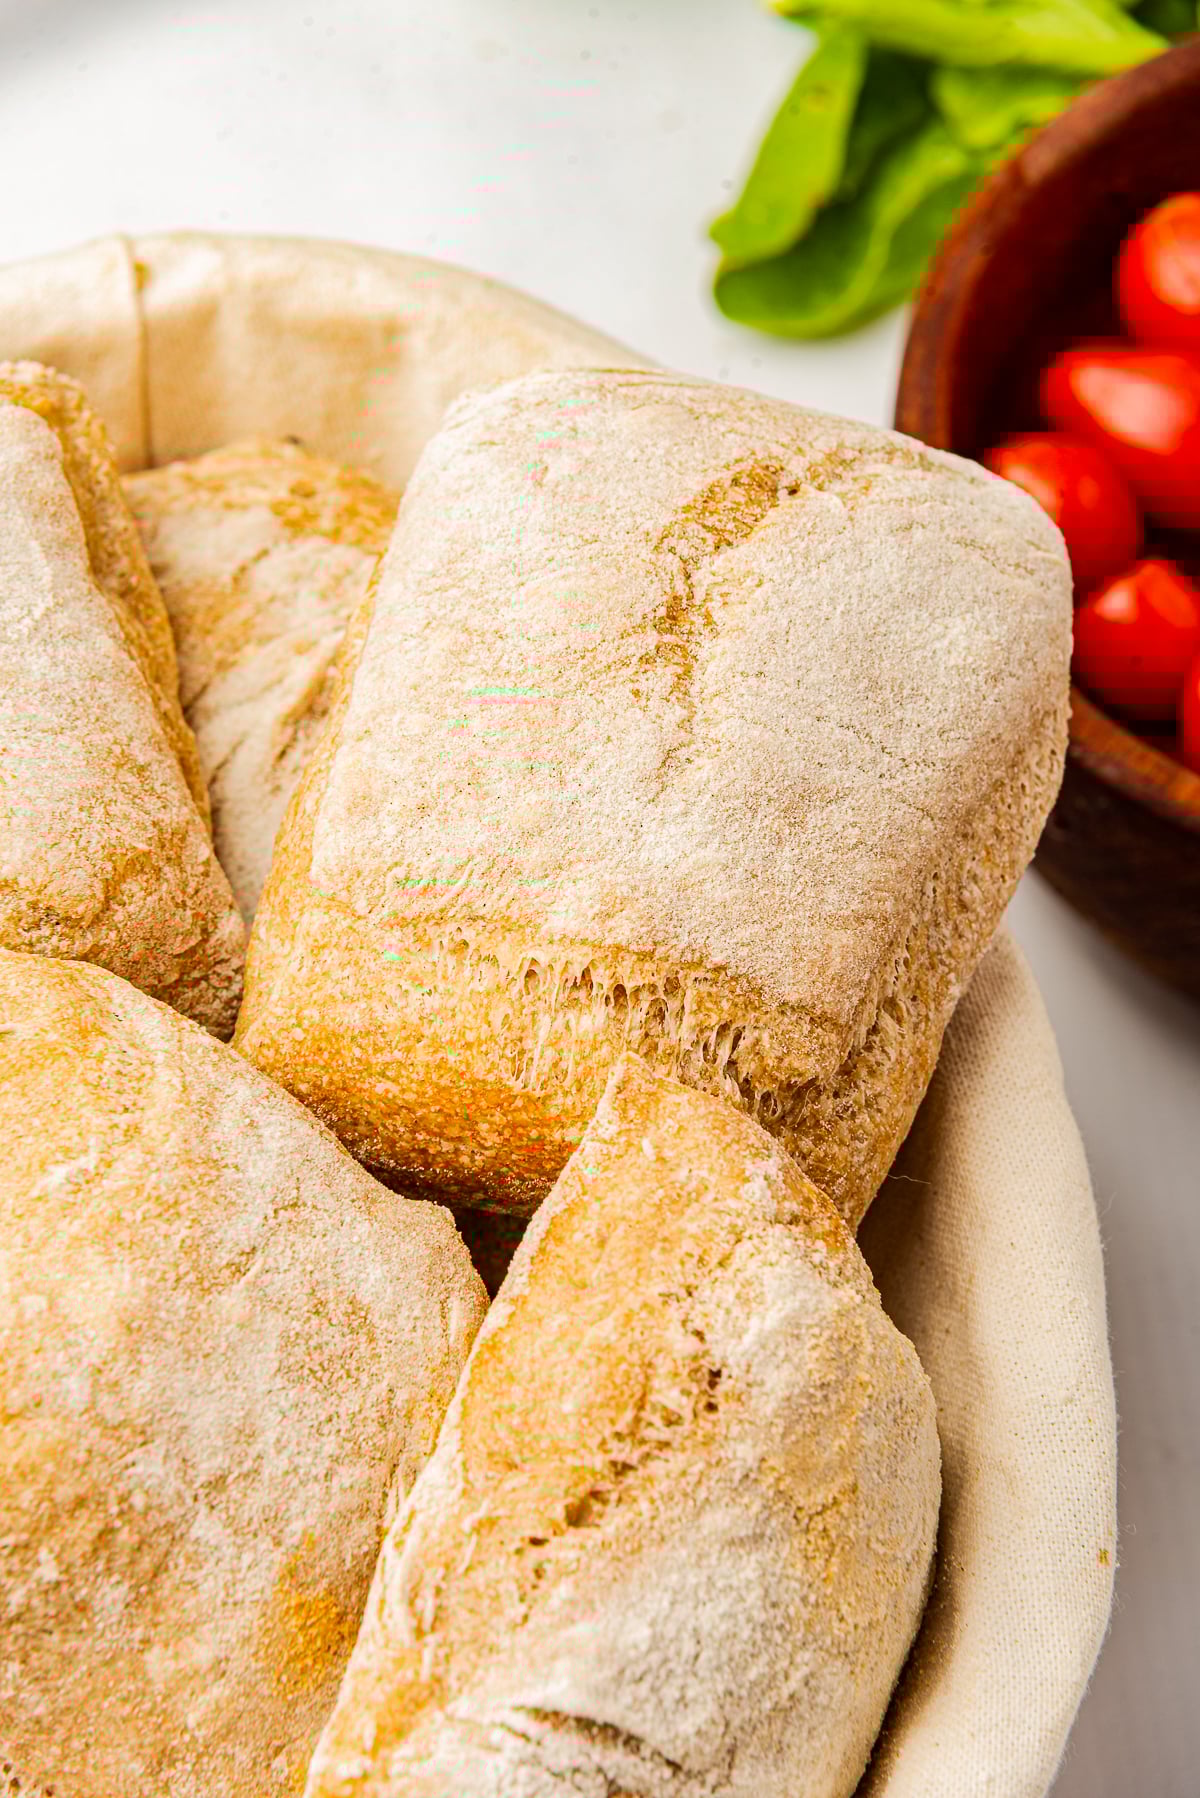
That signature chewy, hole-filled texture comes from a wet dough and a steamy oven, and I will show you exactly how to get it.
Ciabatta Bread Quick Look
- 🕒 Prep Time: 20 minutes
- 🌡️ Cook Time: 20 minutes
- ⏳ Total Time: About 2.5 hours with rising
- 🍽️ Serving: 8 rolls
- ⚡ Calories: 233 per roll
- 🌶️ Flavor Profile: Savory, herby, rustic
- ✋ Difficulty: Intermediate
Quick Answer
Ciabatta is defined by its very wet, high-hydration dough and minimal shaping, which create its hallmark open, hole-filled crumb and crisp, rustic crust. The name means slipper in Italian, a nod to its flat, irregular shape.
Jump to:
Why This Recipe Works
Click to see the technique science
- A wet dough builds the open crumb. High hydration is what gives ciabatta those big, irregular holes; the sticky dough is supposed to be hard to handle.
- Stretch-and-fold replaces hard kneading. Gently stretching and folding develops gluten and strength without deflating the air you are working to build.
- A tray of water creates steam. Steam in the first minutes of baking keeps the crust soft enough to expand, then sets it into a crackly, golden shell.
- Rosemary and garlic add savory depth. Dried rosemary and garlic powder mixed right into the flour season the bread all the way through.
Why You’ll Love This Recipe
- Just eight everyday ingredients, no special equipment or bread machine needed.
- The wet-dough, no-fuss method is far more forgiving than it looks.
- Shaped into rolls, they are perfect for sandwiches, paninis, and sopping up sauce.
- Rosemary and garlic make them taste like a fancy bakery loaf.
- They turn any bowl of Italian wedding soup into a complete, cozy meal.
- It earns a spot in the rotation right next to our fig jam.
Key Ingredients
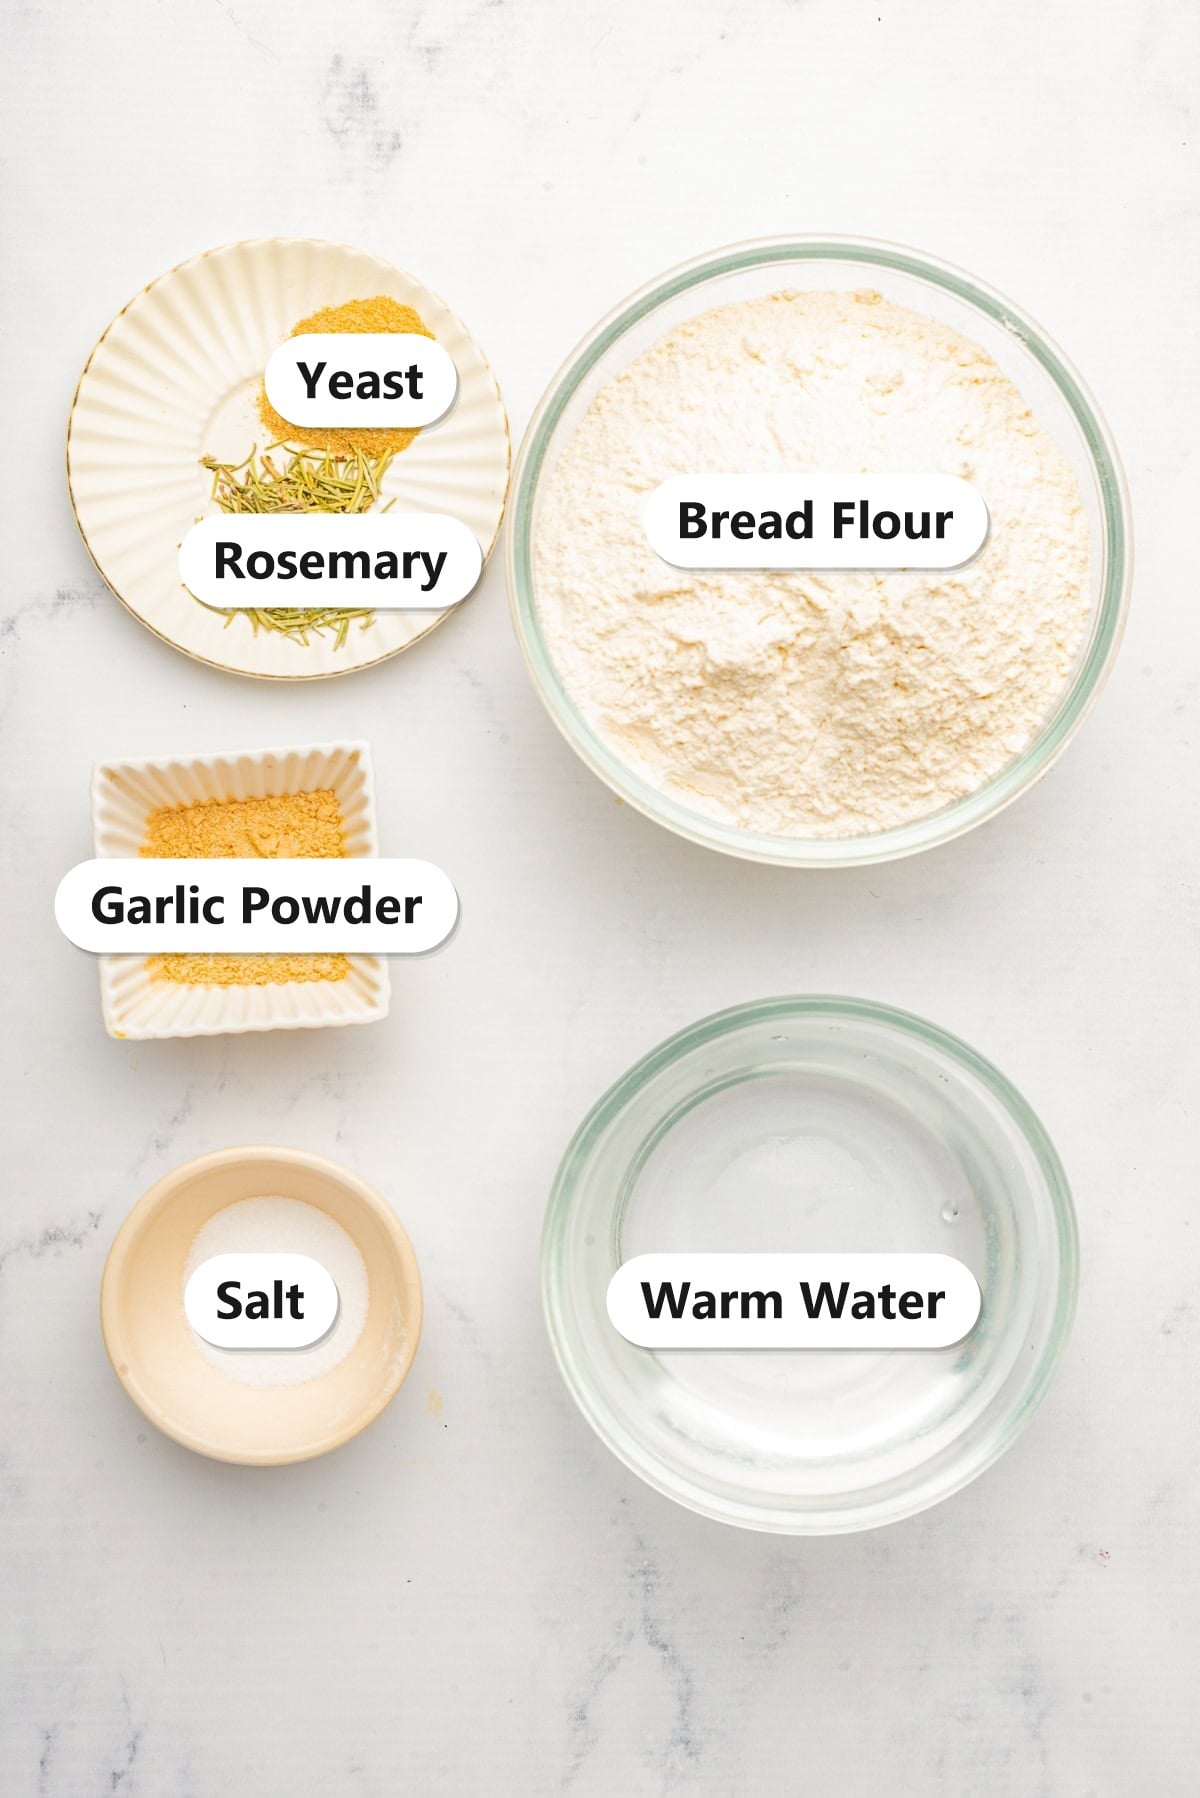
A short, simple ingredient list is all it takes for rustic Italian bread at home.
- Bread flour: High-protein flour (12 to 14 percent) gives ciabatta its chew and structure.
- Yeast: Active dry or instant yeast for a strong, even rise.
- Warm water: The high amount of water is what creates the signature open crumb.
- Salt: Essential for flavor and to control the yeast.
- Rosemary and garlic powder: Mixed into the flour for savory, herby depth.
- Olive oil and flour: For the bowl and work surface, plus dusting the rolls.
See recipe card for exact quantities.
Variations and Substitutions
Ciabatta is a wonderful base to customize.
- Plain classic: Leave out the rosemary and garlic for a neutral loaf that goes with anything.
- Cheese ciabatta: Fold shredded Parmesan or Asiago into the dough.
- Olive and herb: Add chopped Kalamata olives and Italian seasoning.
- Make one large loaf: Shape the dough into a single slipper shape instead of rolls and bake a few minutes longer.
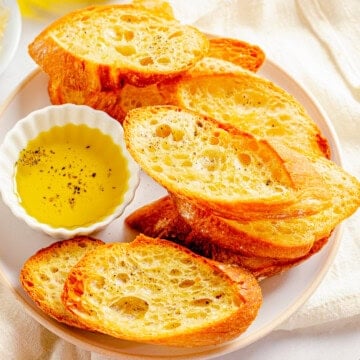
- Garlic bread: Split, butter, and broil the rolls like in my crostini.
- In the mood for something different? Our popovers scratches a similar itch.
How to Make Ciabatta Bread
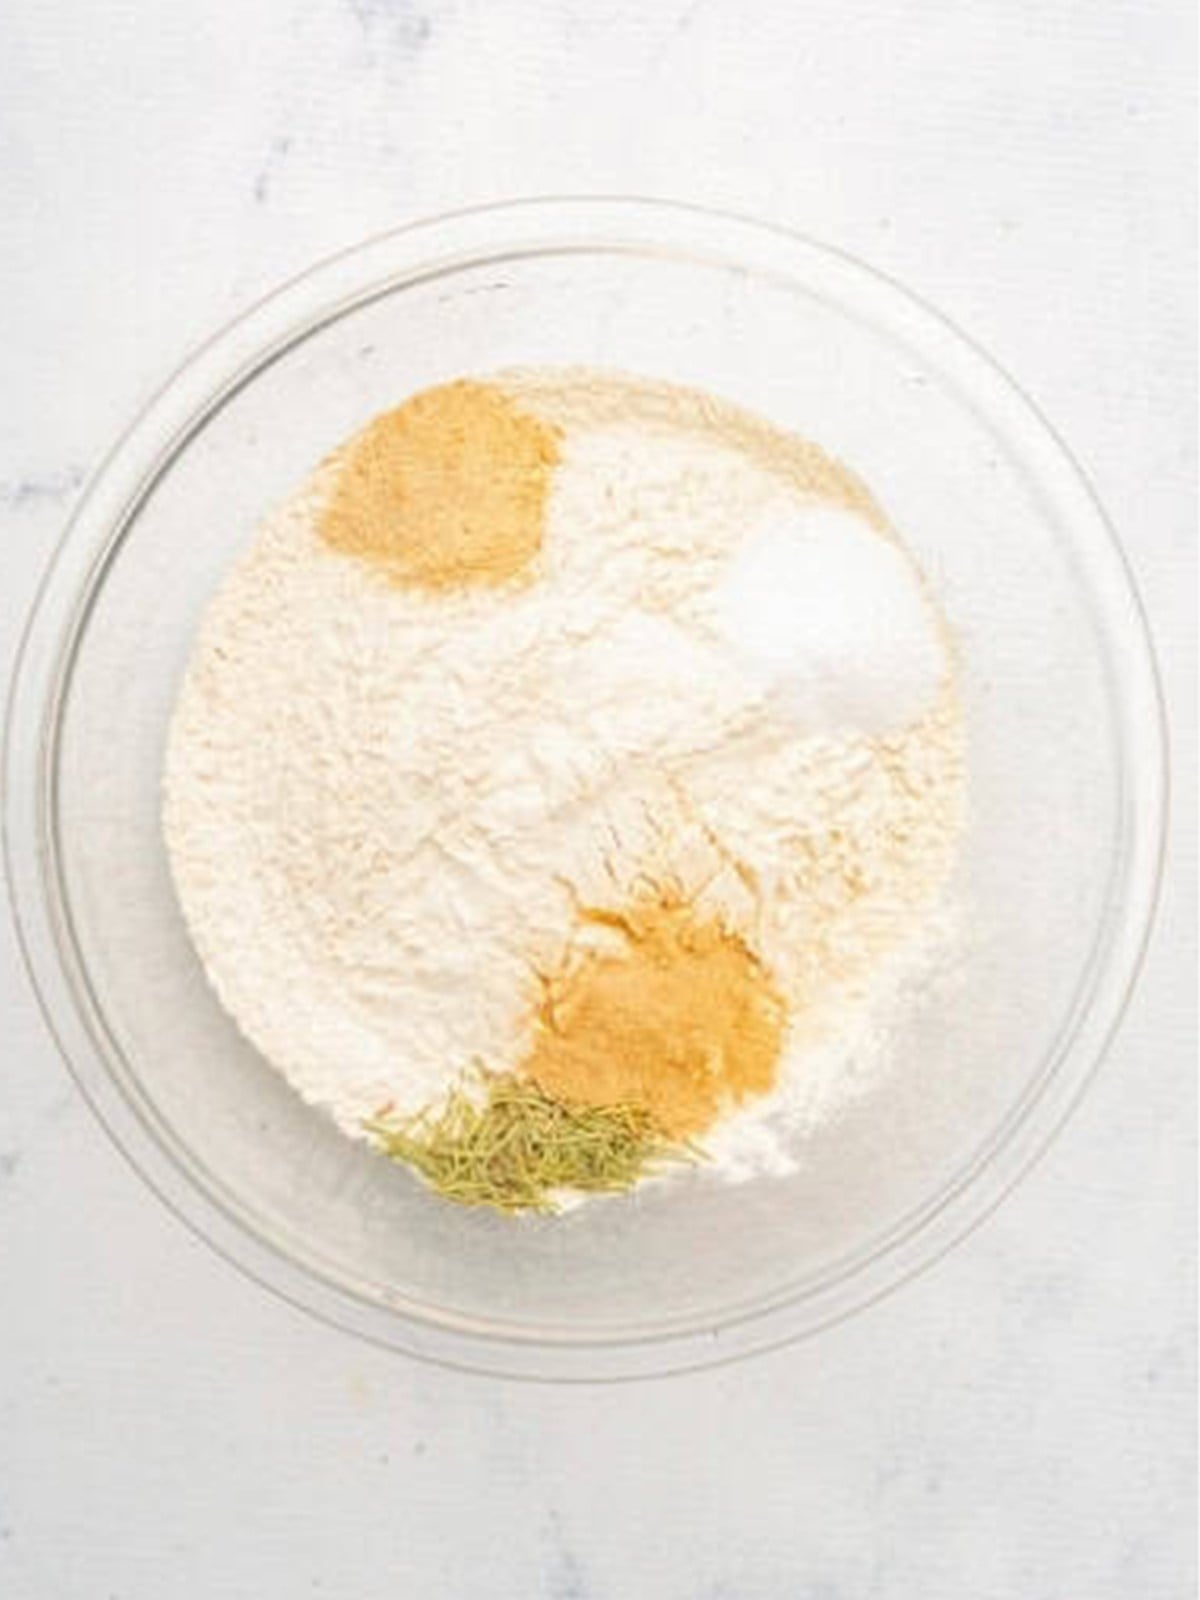
- Mix the bread flour, salt, dried rosemary, and garlic powder together in a large bowl.
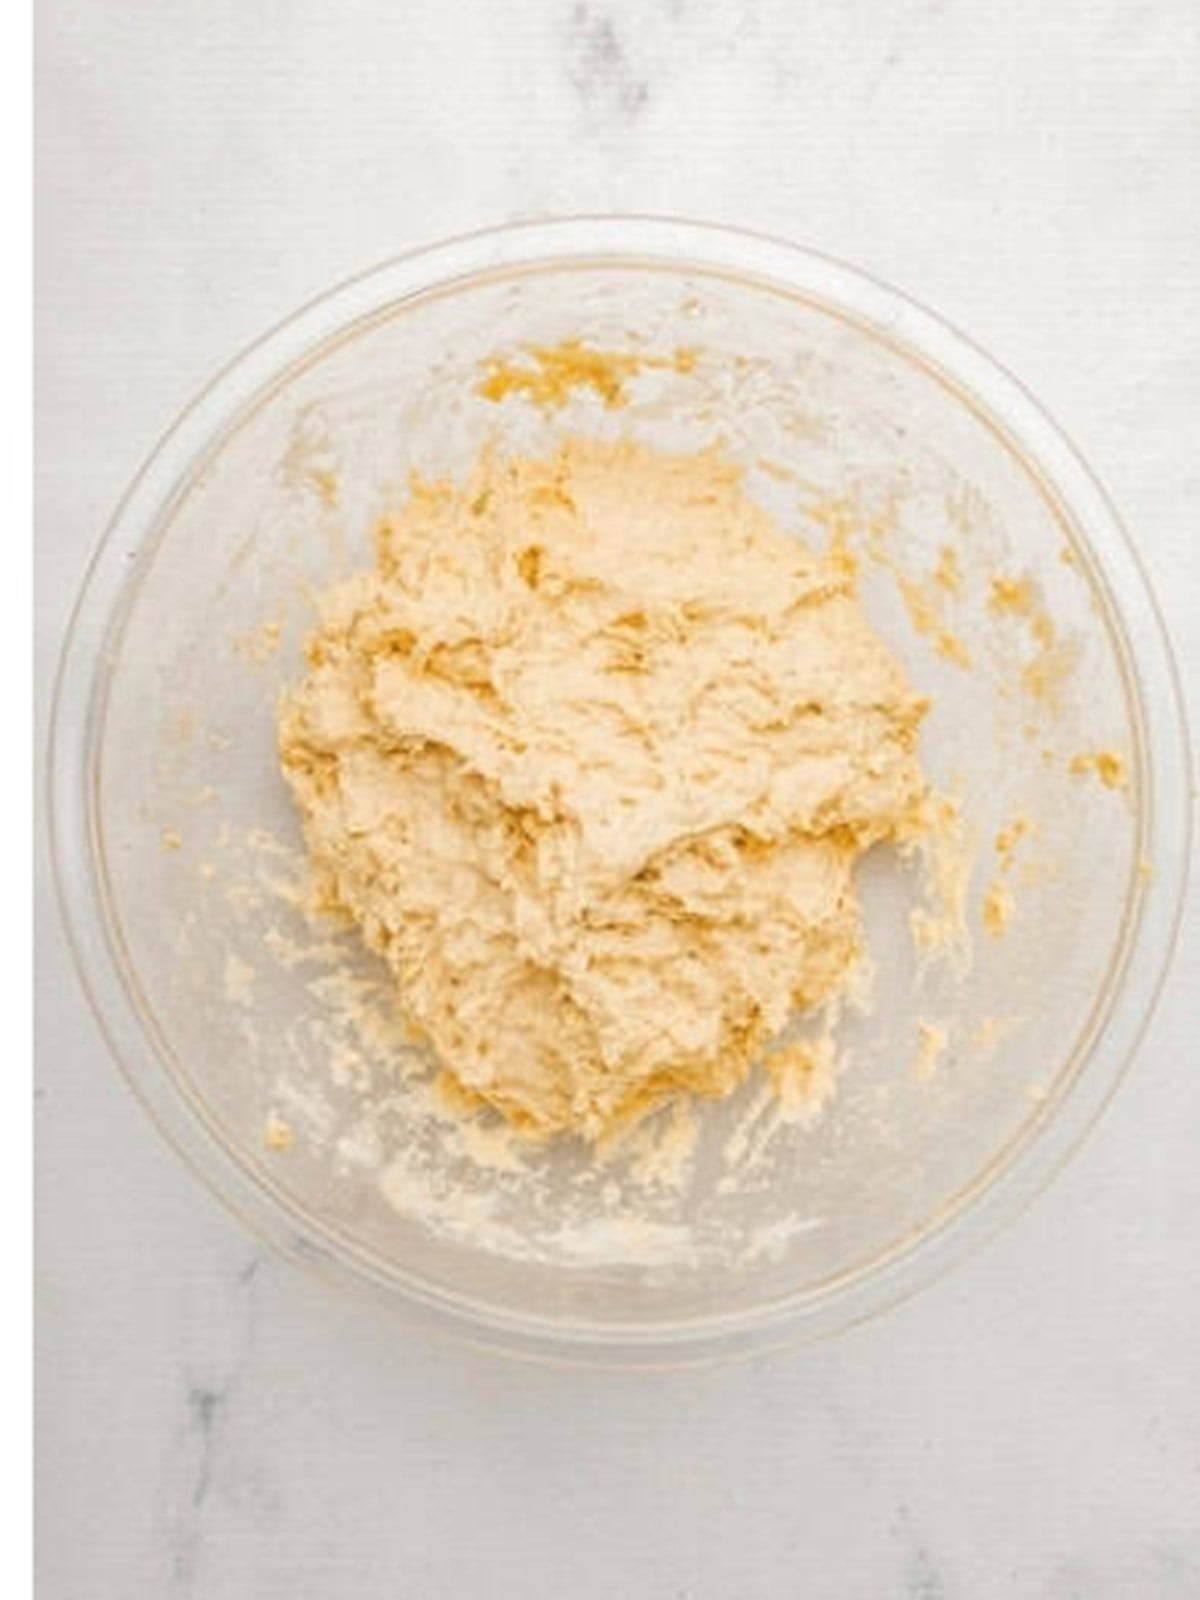
- Add the yeast and warm water and mix into a very wet, shaggy dough; it should look sticky.
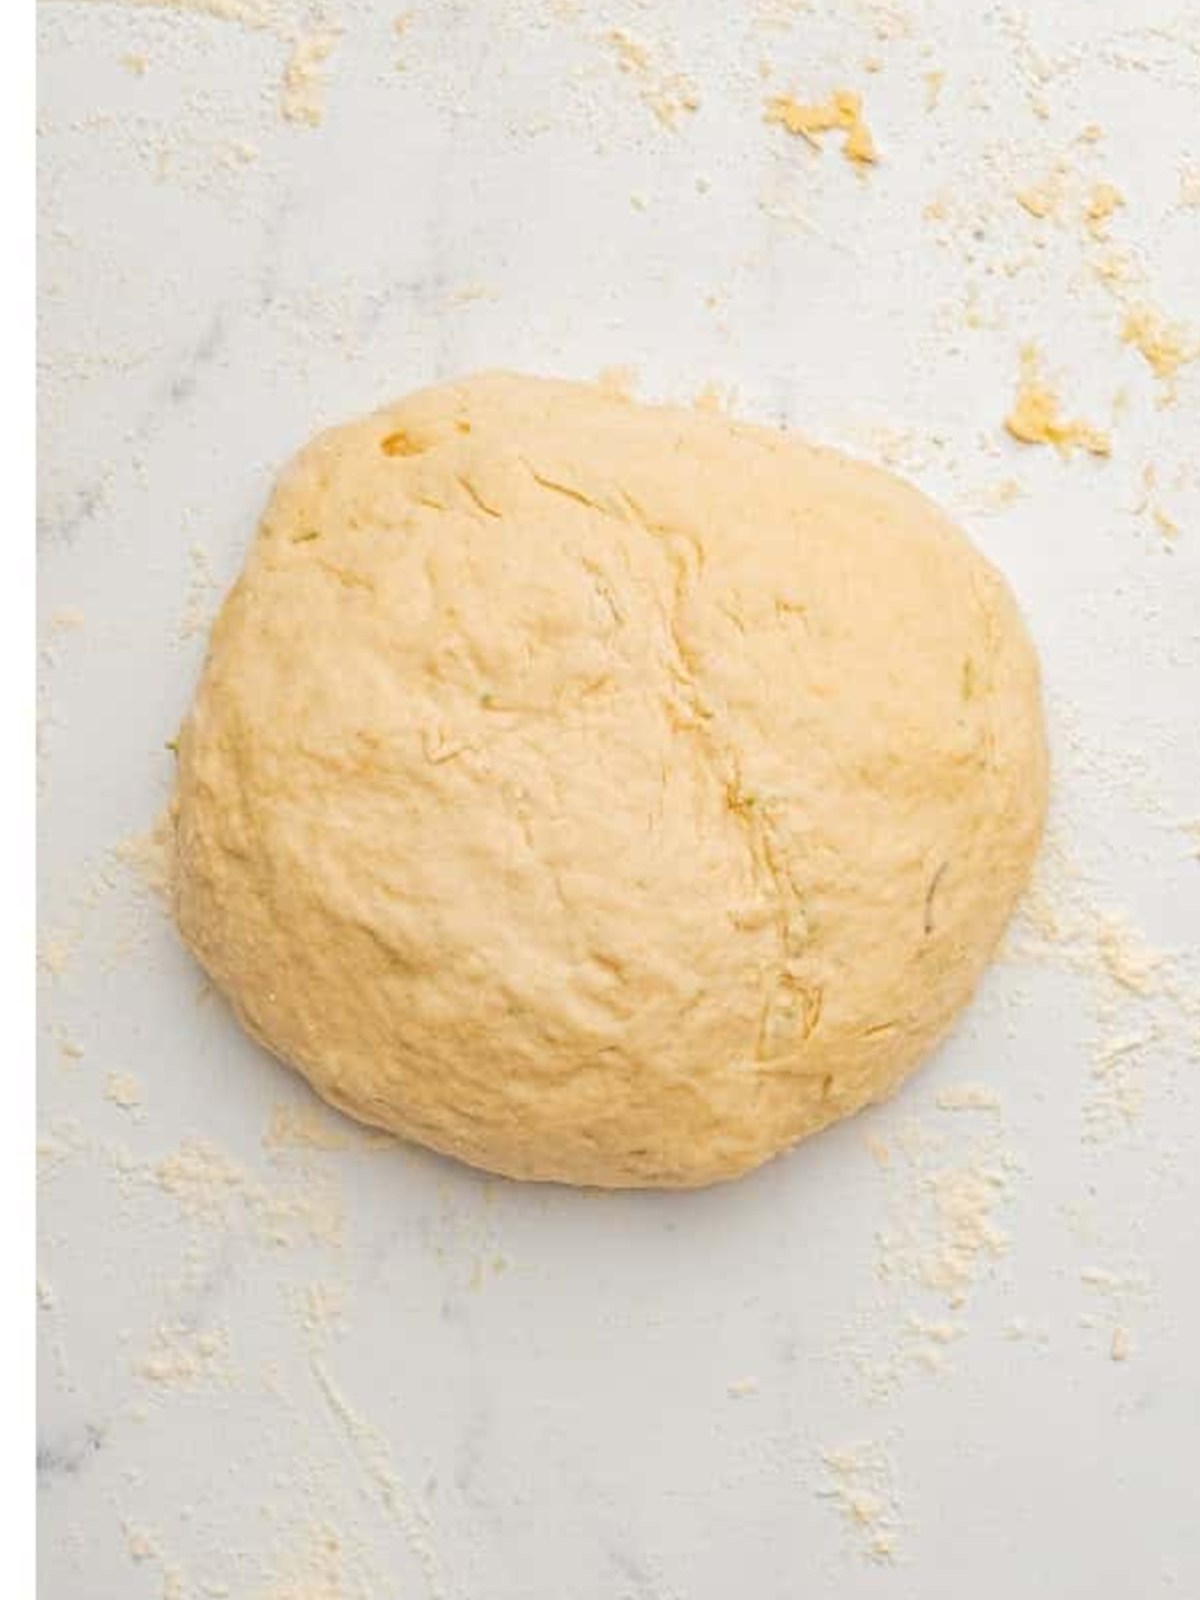
- Knead with the stretch-and-fold technique for 10 to 15 minutes until smooth and elastic.
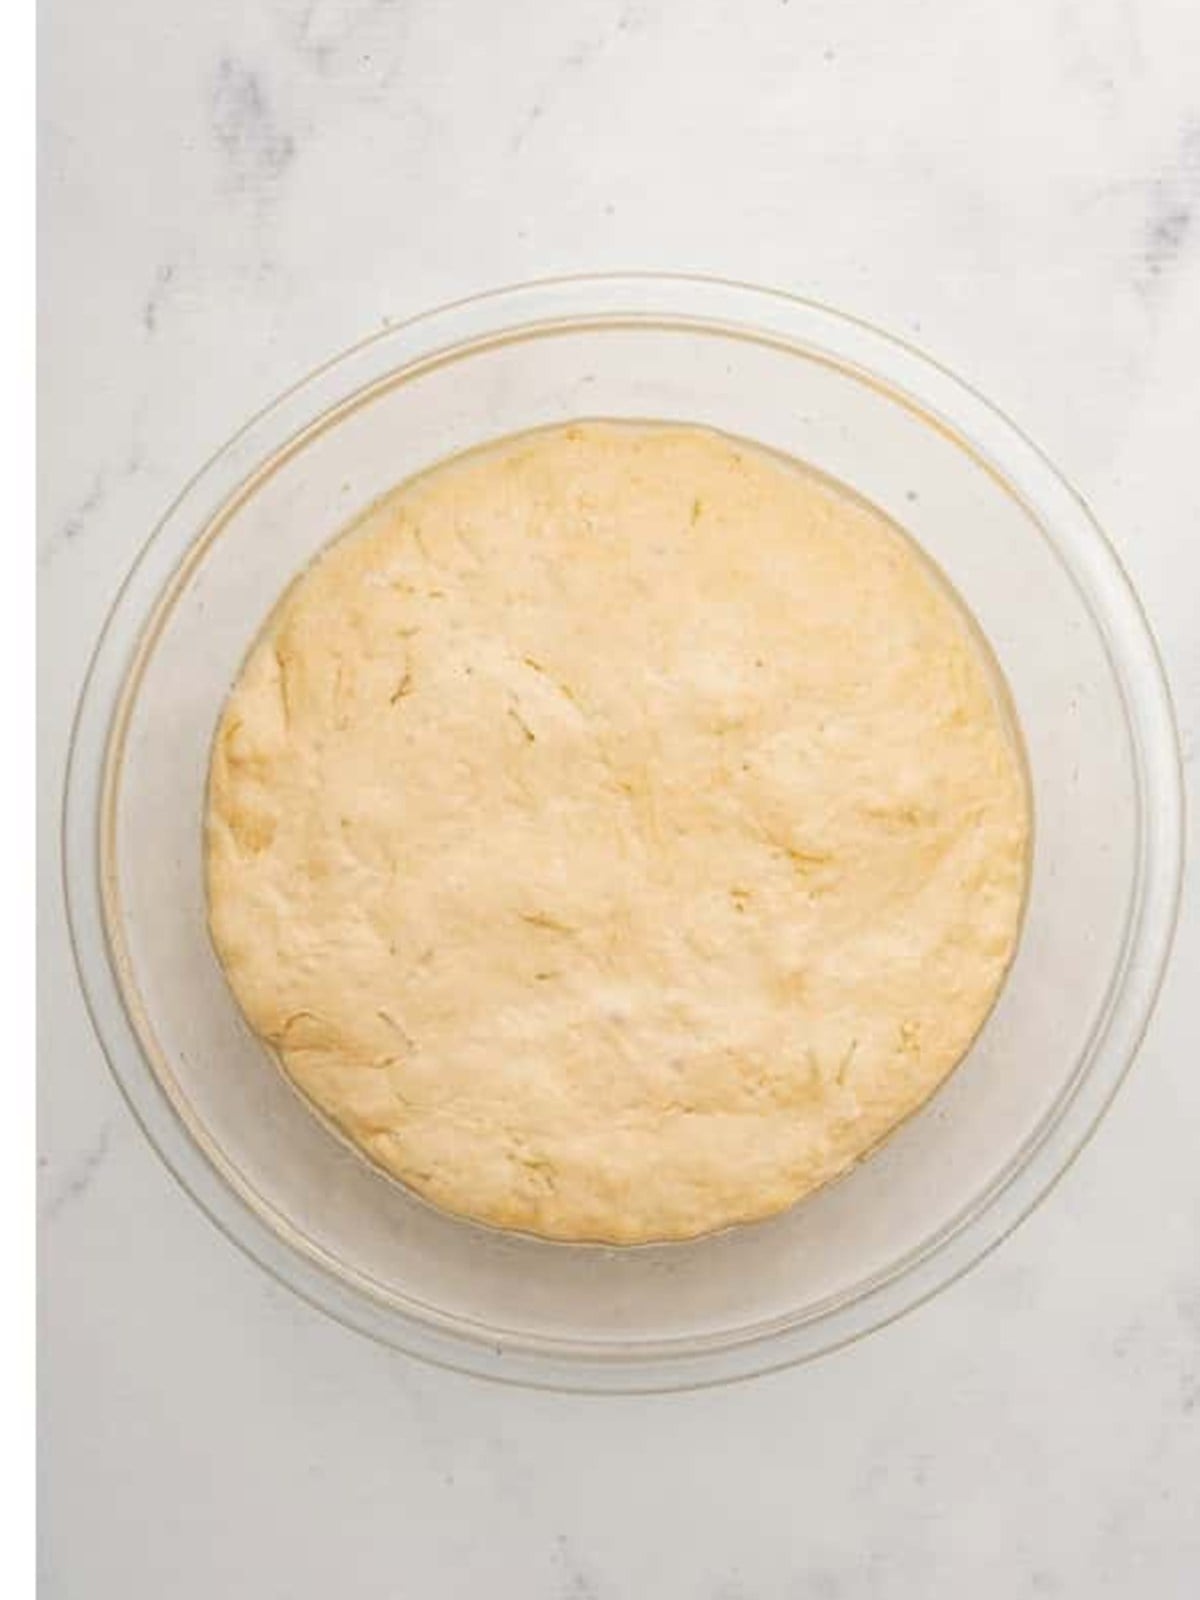
- Place in an oiled bowl, cover, and let rise at room temperature 1 to 1.5 hours until doubled.
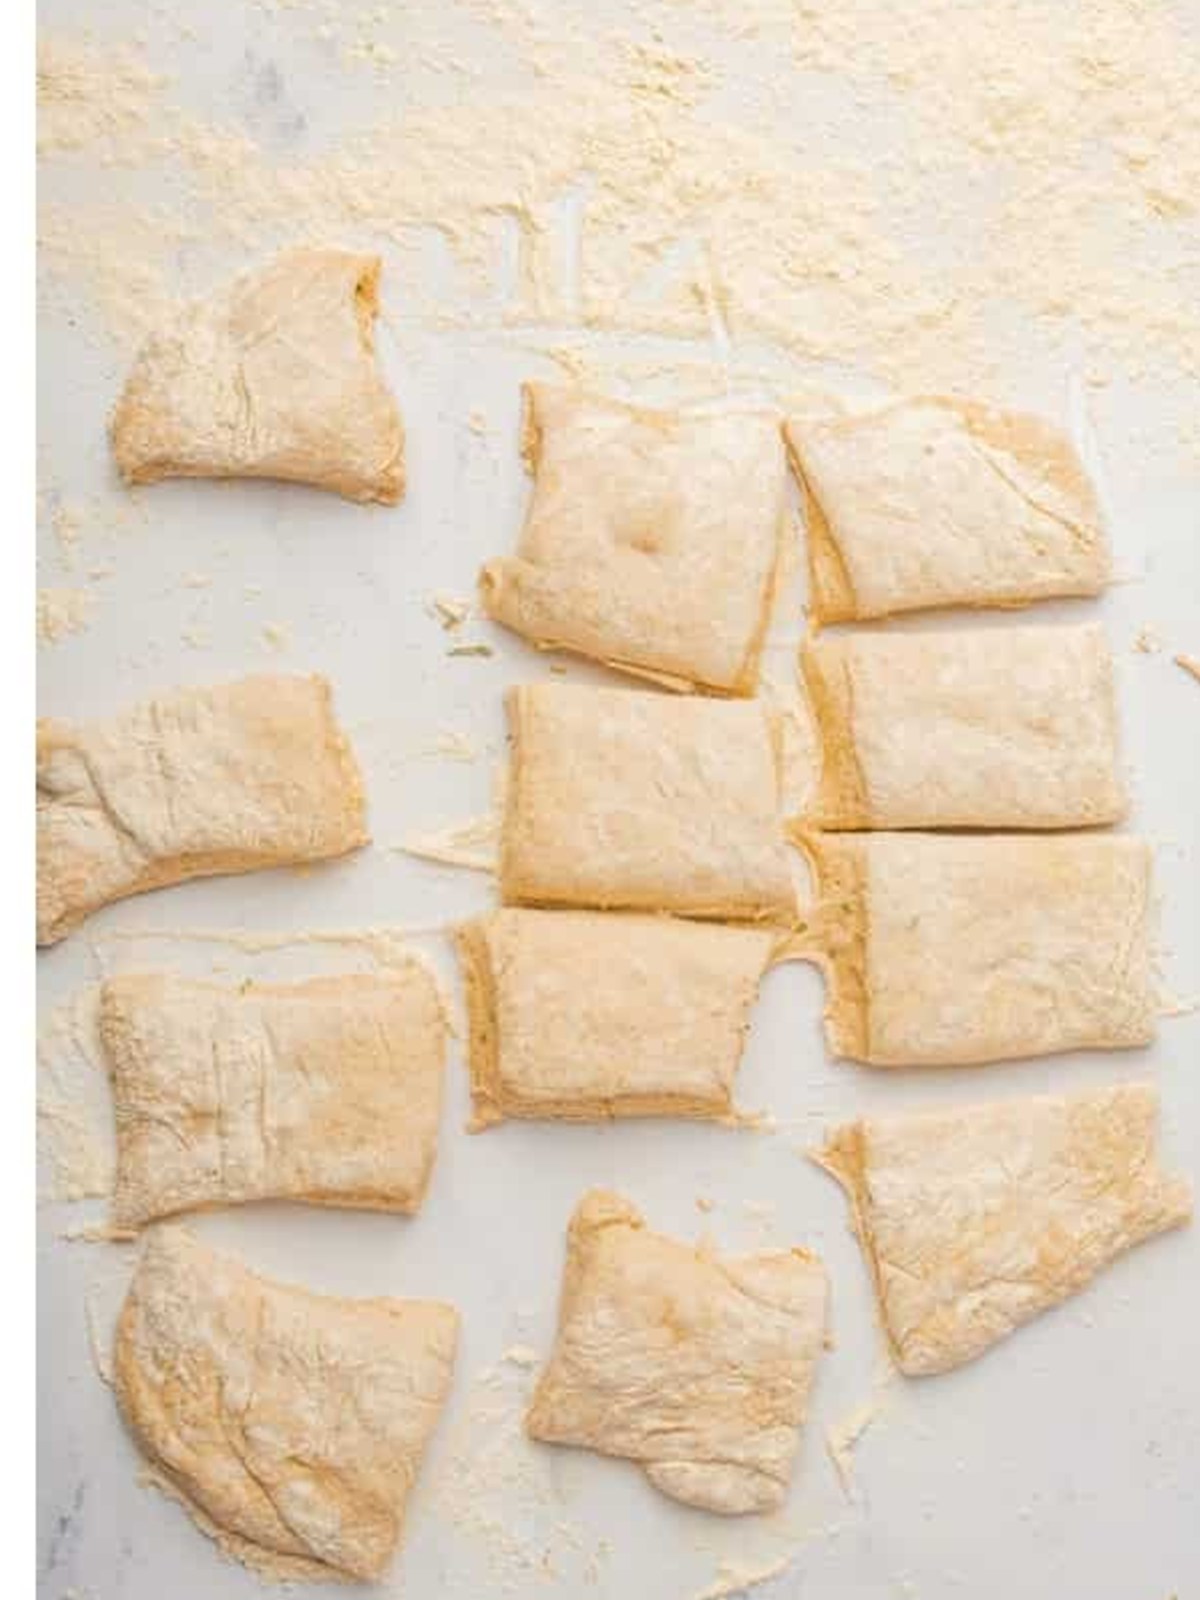
- Gently turn out the dough, divide into 8 portions, and shape each into a small slipper.
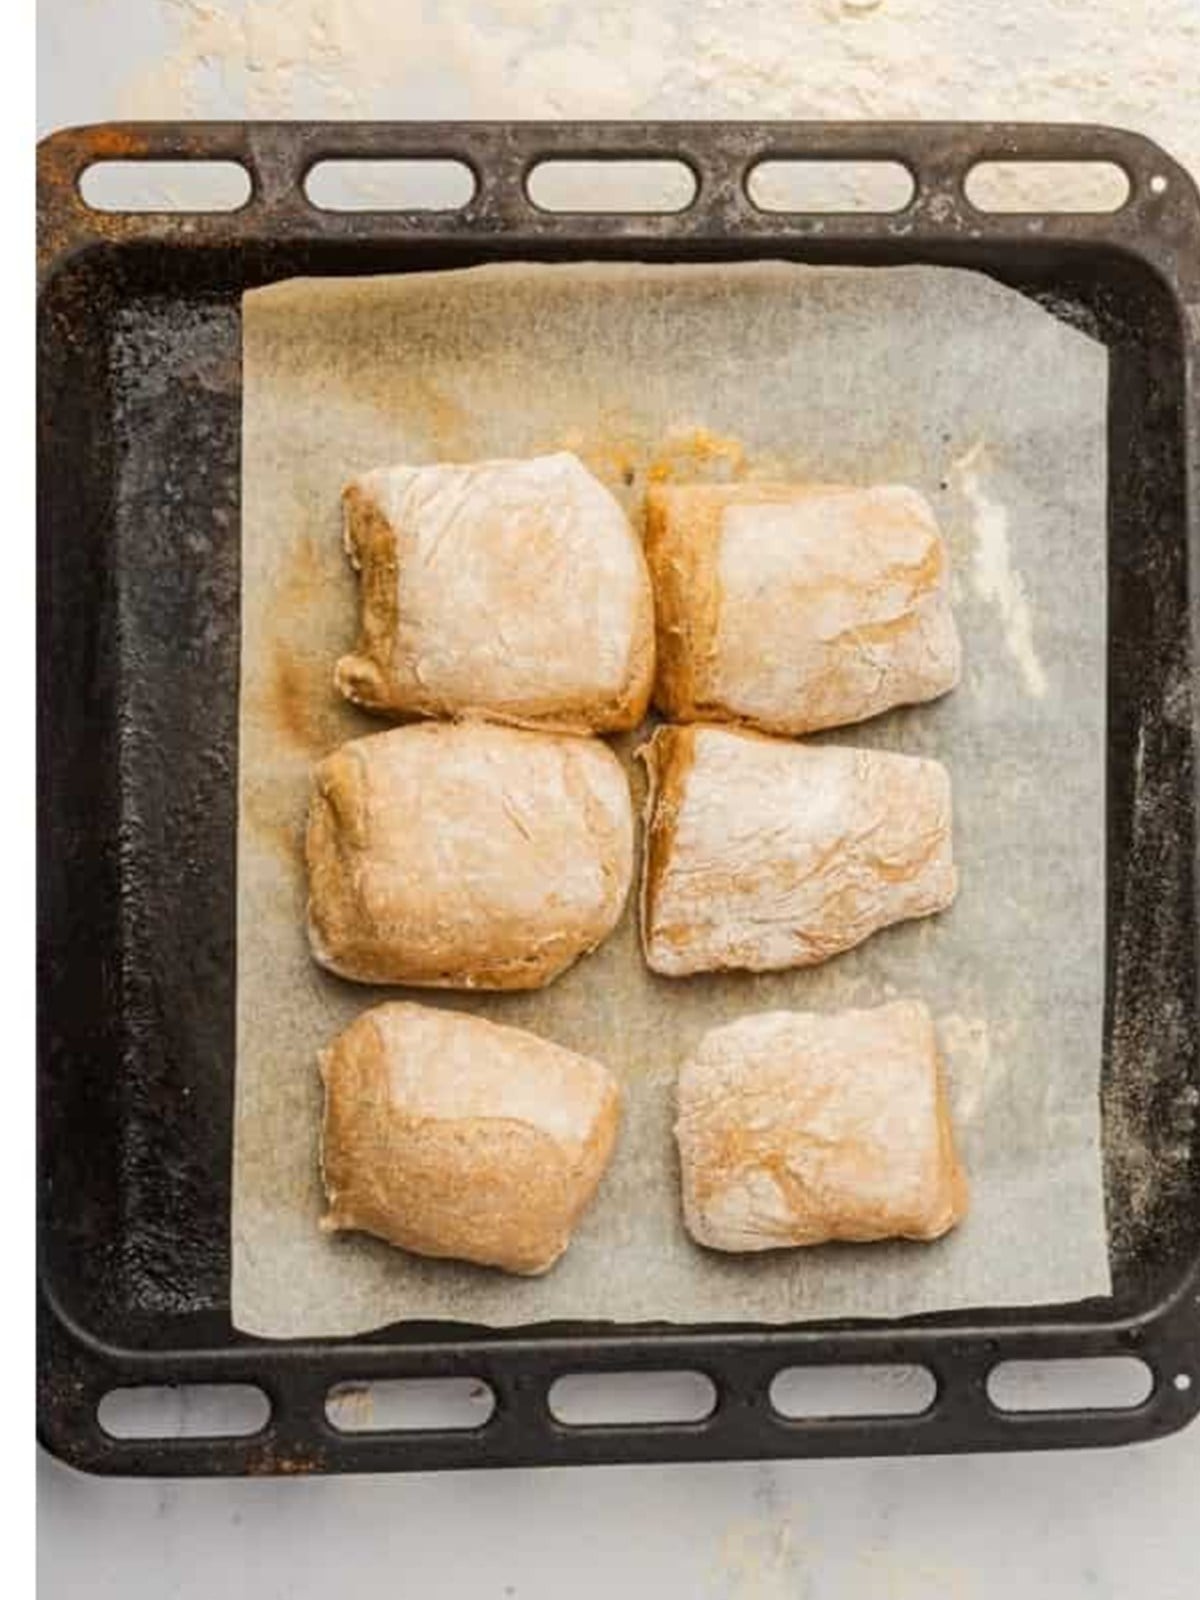
- Proof on a parchment tray 30 to 45 minutes, then bake at 425F with a tray of water for steam until golden and hollow-sounding, 18 to 20 minutes.
Recipe Tips & Tricks
- Embrace the wet dough; resist adding extra flour, which deadens the open crumb.
- Use bread flour, not all-purpose, for the chew and structure ciabatta needs.
- A tray of water on the bottom rack creates the steam that makes the crust crackle.
- Tap the bottom of a roll; a hollow sound means it is fully baked.
- Cool the rolls on a wire rack so the crust stays crisp instead of steaming soft.
- Make it a full spread. Our garlic cheese bread rounds out the table.
Serving Ideas and Suggestions
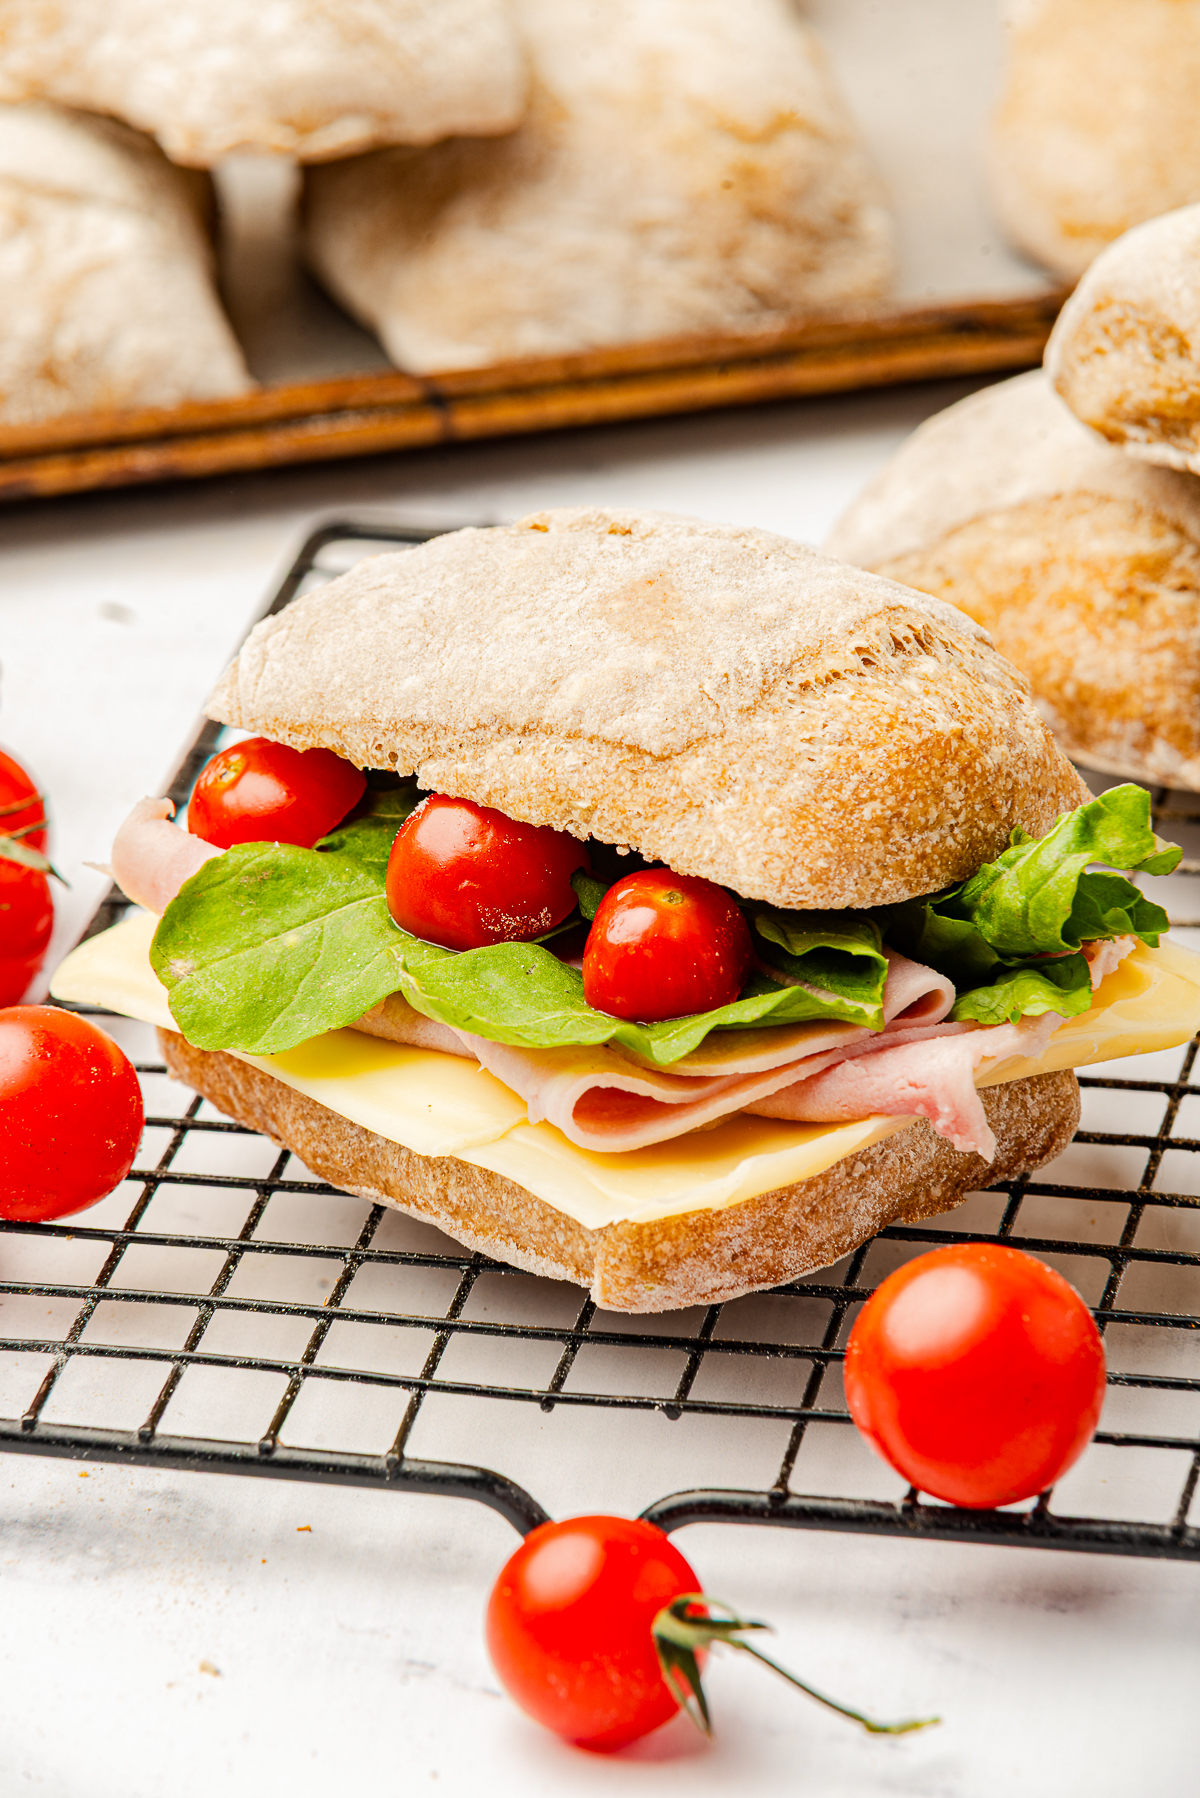
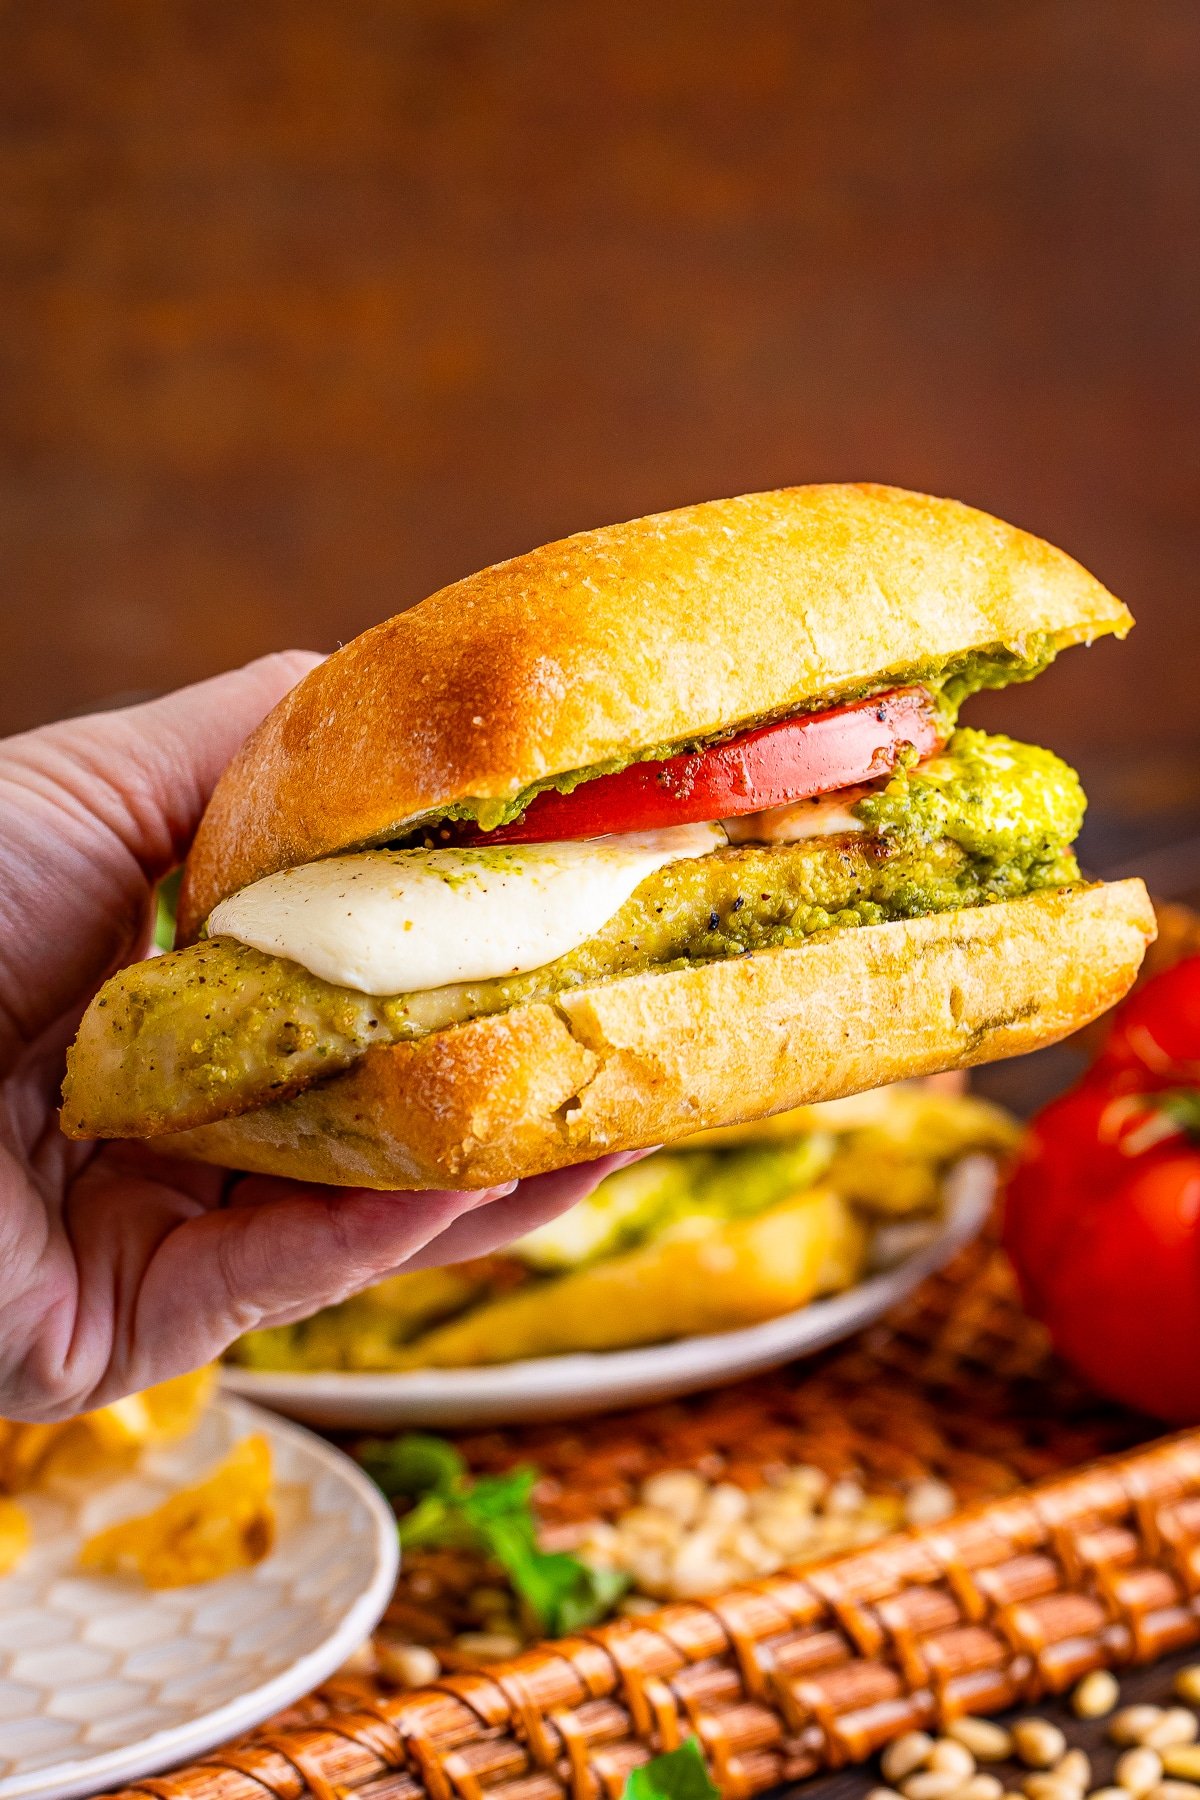
Ciabatta is the ultimate sandwich bread. Split the rolls for Italian sub sandwiches, pressed paninis, or a simple caprese with fresh mozzarella and tomato.
Warm from the oven, they are made for dunking. Serve them with minestrone, Italian wedding soup, or a swipe of good olive oil and balsamic. They also make excellent garlic bread or the base for pesto toast.
Store cooled rolls in a paper bag at room temperature for up to two days, or freeze in a zip-top bag for up to three months. Refresh in a hot oven for a few minutes to bring back the crisp crust.
Ciabatta Bread FAQs
It is supposed to be. Ciabatta is a high-hydration dough, and that wetness is exactly what creates the open, airy crumb. Use wet or floured hands and a bench scraper instead of adding more flour.
Yes. This recipe uses the stretch-and-fold method by hand, which builds gluten without a mixer. It takes a little more time but works beautifully.
Three things: a wet dough, gentle handling so you do not deflate the air, and a hot, steamy oven. Avoid pressing or over-shaping the dough before baking.
Bread flour with 12 to 14 percent protein gives the best chew and structure. Bread flour or even a tipo 00 flour works far better than all-purpose here.
Absolutely. Shape the dough into one or two flat slipper shapes instead of dividing into eight, and add a few minutes to the bake time.
Keep cooled rolls in a paper bag at room temperature up to two days. For longer storage, freeze in a sealed bag up to three months and reheat in a hot oven to re-crisp.


sourdough starter
homemade white bread
homemade white bread
Still filling out the menu? Readers love pairing this one with our savory cheese muffins, Tortellini Pasta Salad, apple bread, and pizza night.
And when you are planning next week’s dinners, our challah bread keeps the same easy comfort going.

Easy Homemade Ciabatta Bread
Ingredients
- 500 g 4 cups bread flour (high-protein flour, 12-14% protein).
- 1 1/2 teaspoons salt
- 2 1/4 teaspoon dry yeast instant or active dry yeast
- 350-400 ml warm water
- 1 tablespoon dried rosemary
- 1 tablespoon garlic powder
Instructions
Step 1: Prepare the dough
- In a large bowl, mix the bread flour and salt.500 g 4 cups bread flour (high-protein flour, 12-14% protein)., 1 1/2 teaspoons salt
- If using active dry yeast, dissolve it in 100 ml of warm water and let it sit for 5-10 minutes until frothy. If using instant yeast, you can add it directly to the flour.2 1/4 teaspoon dry yeast, 350-400 ml warm water
- Add the dried rosemary and garlic powder to the flour mixture and mix well.1 tablespoon dried rosemary, 1 tablespoon garlic powder
- Pour the yeast mixture (or instant yeast) and the remaining warm water into the flour. Mix until a sticky dough forms.
Step 2: Knead and develop gluten
- Knead the dough on a floured surface for 10-15 minutes. Use the stretch-and-fold technique:Flour
- Stretch the dough with one hand and fold it over itself.
- Rotate the dough 90° and repeat.
- The dough should become smooth, elastic, and less sticky (though it will still be quite wet).
Step 3: First fermentation (bulk fermentation)
- Place the dough in a lightly oiled bowl.Olive oil
- Cover with a clean kitchen towel or plastic wrap.
- Let it rise at room temperature (20-25°C) for 1-1.5 hours, or until it doubles in size.
Step 4: Shape the rolls
- Lightly flour your work surface and gently transfer the dough (try not to deflate it too much).
- Divide the dough into 8-10 portions (depending on the size you want).
- Shape each portion into an oval or rectangular shape, like a small ciabatta.
- Place the rolls on a baking tray lined with parchment paper and dust them lightly with flour.
Step 5: Second fermentation (proofing)
- Cover the rolls with a clean kitchen towel.
- Let them proof for 30-45 minutes, or until they look puffy and slightly risen.
Step 6: Bake
- Preheat the oven to 425°F for at least 20 minutes.
- For a crispier crust, place a tray of water on the bottom rack of the oven to create steam.
- Bake the rolls for 18-20 minutes, or until they are golden brown and sound hollow when tapped on the bottom.
- Remove from the oven and let them cool on a wire rack.
Notes
- Use wet hands to handle the dough—it’s sticky but that’s what makes it light and airy!
- A floured work surface and a bench scraper will help you shape the dough without sticking.
- Let the dough rest during shaping if it keeps bouncing back—this helps it relax.
- Use parchment paper on your baking tray to prevent sticking.
- For a crispier crust, toss a few ice cubes on a pan at the bottom of the oven when baking.
- Don’t add too much flour! This is a high-hydration dough—the stickiness is a good thing!
Nutrition
Love This Recipe?
Follow @ThisSillyGirlsKitchen on Instagram and @danadevolk on Pinterest for more!


Absolutely delicious – highly recommend