This post may contain affiliate links.
This quick Snow Peas Recipe turns a bag of crisp green pods into a glossy, garlicky side dish that disappears faster than the main course, and it only takes about 20 minutes. I started making it on busy weeknights when we wanted takeout flavor without the wait, and it is now the official sidekick to our easy chow mein with ramen noodles.

Crisp blanched snow peas get tossed in a quick garlic, ginger, and soy sauce with a touch of honey and gentle chili heat for the easiest side dish of the week.
Snow Peas Recipe Quick Look
- 🕒 Prep Time: 15 minutes
- 🌡️ Cook Time: 6 minutes
- ⏳ Total Time: 21 minutes
- 🍽️ Serving: 4 servings
- ⚡ Calories: 94kcal
- 🌶️ Flavor Profile: Savory and garlicky with gentle heat (soy, ginger, and chili garlic sauce)
- ✋ Difficulty: Easy, on par with our wonton soup recipe
Quick Answer
Pull the strings off the snow peas, then blanch them in boiling water for just 30 seconds until bright green and drain. In the same pan, heat a little oil and cook the white parts of the scallions with garlic, ginger, and chili garlic sauce until fragrant, about 1 minute. Stir in soy sauce and honey, add the snow peas back, and toss until warmed through. Garnish with the green scallion tops and serve right away, the whole thing takes about 20 minutes.
Jump to:
- Snow Peas Recipe Quick Look
- Quick Answer
- Why This Recipe Works
- Why You’ll Love This Recipe
- Key Ingredients
- Variations and Substitutions
- How to Make Snow Peas Recipe
- Recipe Tips & Tricks
- Serving Ideas and Suggestions
- Snow Peas Recipe FAQs
- Other Recommended Takeout Style Recipes
- Quick Snow Peas Recipe with Garlic and Ginger
Why This Recipe Works
Click to see the technique science
- A 30 second blanch keeps the snap. Snow peas overcook in a flash. A quick dip in boiling water sets that bright green color and crisp tender bite without turning them soft.
- Draining immediately stops the cooking. Pulling the peas out the moment they turn bright green means the residual heat cannot push them past crisp into mushy.
- Aromatics bloom in the oil. Cooking the garlic, ginger, and scallion whites in oil for one minute wakes up their flavor and seasons the oil that coats every pod.
- Honey balances the soy. A half tablespoon of honey rounds out the salty soy sauce and helps the glaze cling to the peas instead of pooling in the pan.
- Chili garlic sauce adds gentle heat. One teaspoon brings warmth and depth without overpowering the fresh green flavor of the snow peas.
- Strings come off first. Pulling the strings from both seams before cooking means every bite is tender instead of stringy, a 5 minute prep step that makes the dish.
Why You’ll Love This Recipe
- Takeout flavor in 20 minutes. This snow peas recipe delivers that glossy restaurant style side without leaving the house.
- It keeps the crunch. A quick blanch plus a fast toss in the sauce means crisp, snappy pods every single time, never mushy.
- It pairs with everything. Serve it next to our better than takeout beef and broccoli for a full homemade takeout night.
Key Ingredients
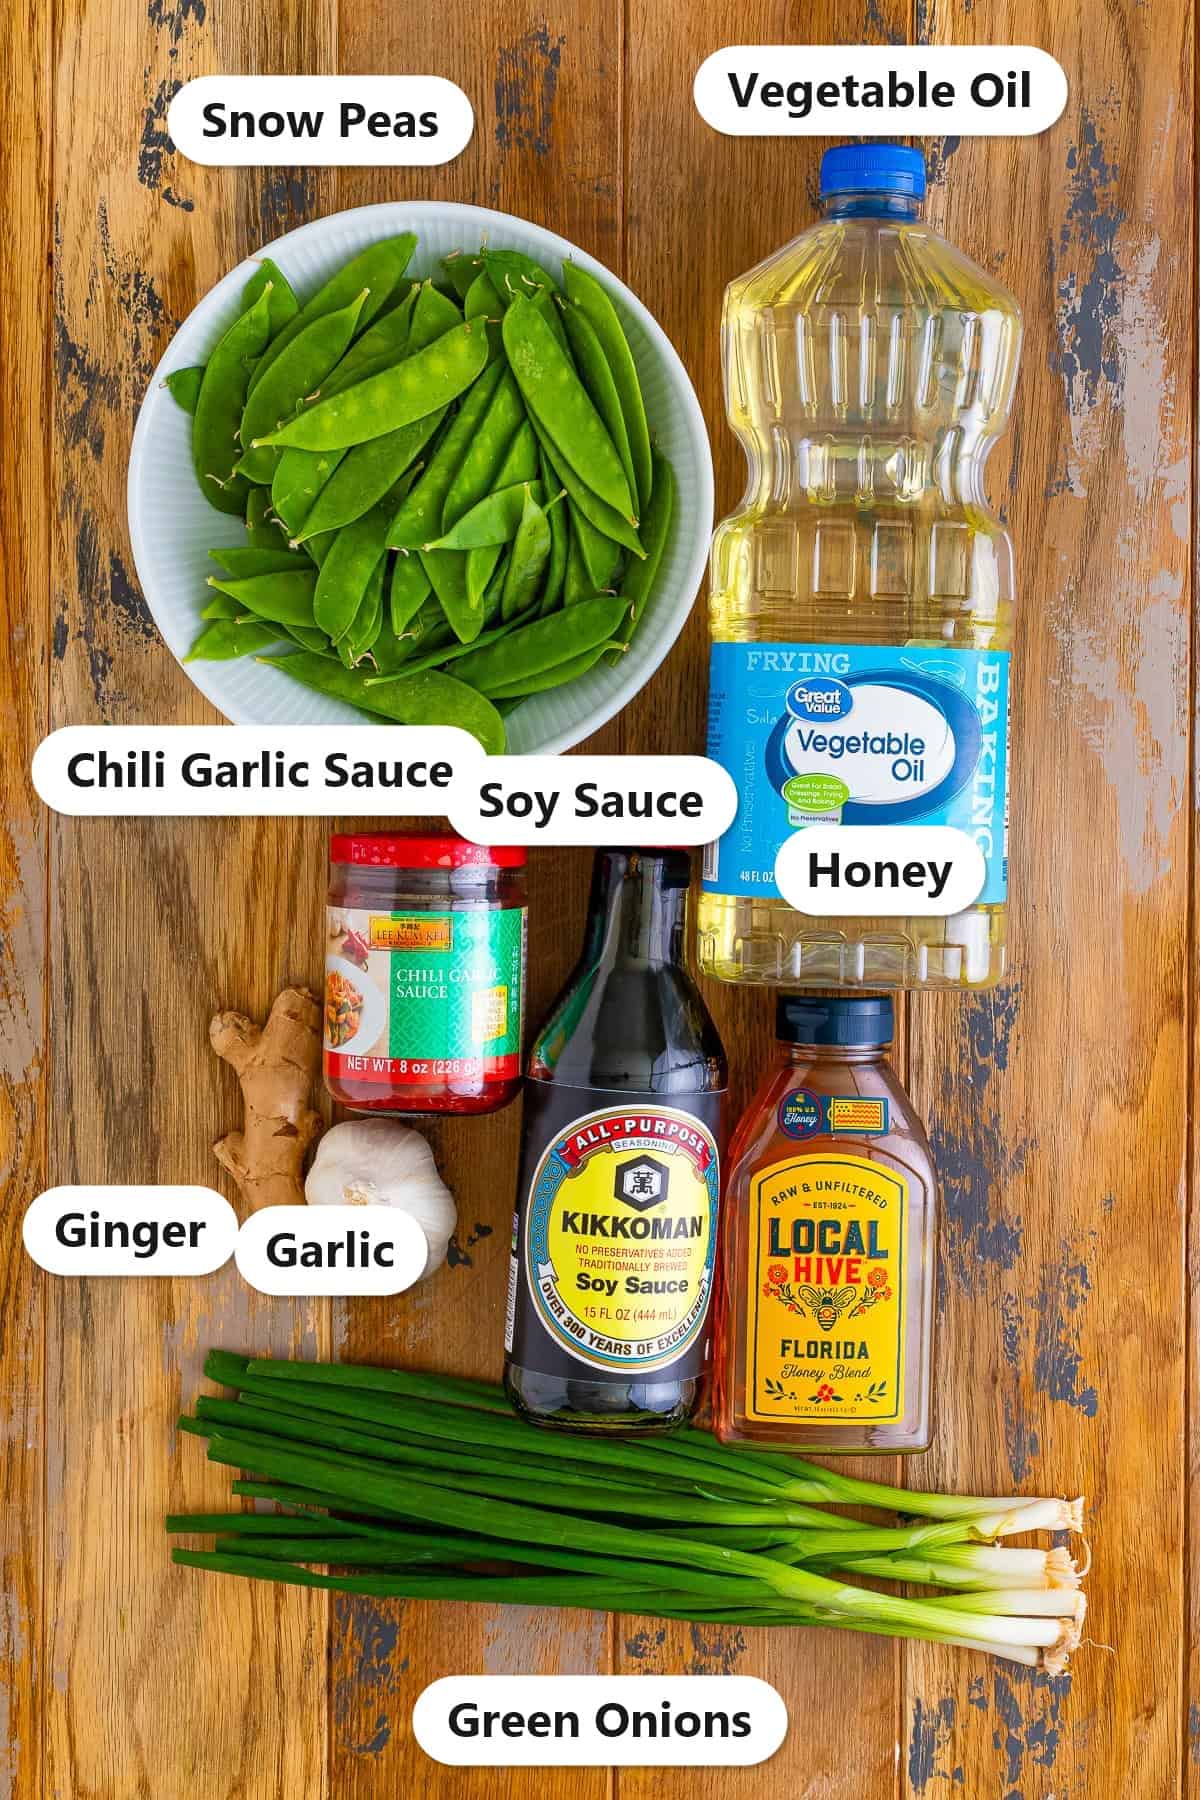
A short, simple ingredient list is all it takes for this snow peas recipe. Quantities are in the recipe card below; here is why each one earns its spot.
- Snow peas. The star of the show. Look for firm, flat, bright green pods. Pull the strings off both seams so every bite is tender and snappy.
- Garlic and fresh ginger. The aromatic backbone. Mincing the garlic and grating the ginger fresh gives the sauce that unmistakable takeout fragrance.
- Chili garlic sauce. One teaspoon adds gentle heat and savory depth. You will find it near the soy sauce at the store, and it is the same jar we love in our sweet and sour sauce pairings.
- Soy sauce and honey. The salty sweet glaze. The honey balances the soy and helps the sauce cling to every pod instead of sliding off.
- Green onions. The white parts cook with the aromatics for flavor, and the green tops finish the dish with a fresh, mild bite.
See recipe card for exact quantities.
Variations and Substitutions
This snow peas recipe is easy to adapt to whatever is in your pantry.
- Make it spicier. Double the chili garlic sauce or add a pinch of red pepper flakes for real heat.
- Add sesame. Finish with a drizzle of toasted sesame oil and a sprinkle of sesame seeds for a nutty, fragrant twist.
- Toss in protein. Stir in leftover shredded chicken or a few of our Asian marinated grilled shrimp to turn this side into a light dinner.
- Swap the sweetener. Brown sugar or maple syrup work in place of honey if that is what you have on hand.
- Use sugar snap peas. They are thicker, so blanch them for 45 to 60 seconds instead of 30, then cook the recipe exactly the same way.
How to Make Snow Peas Recipe
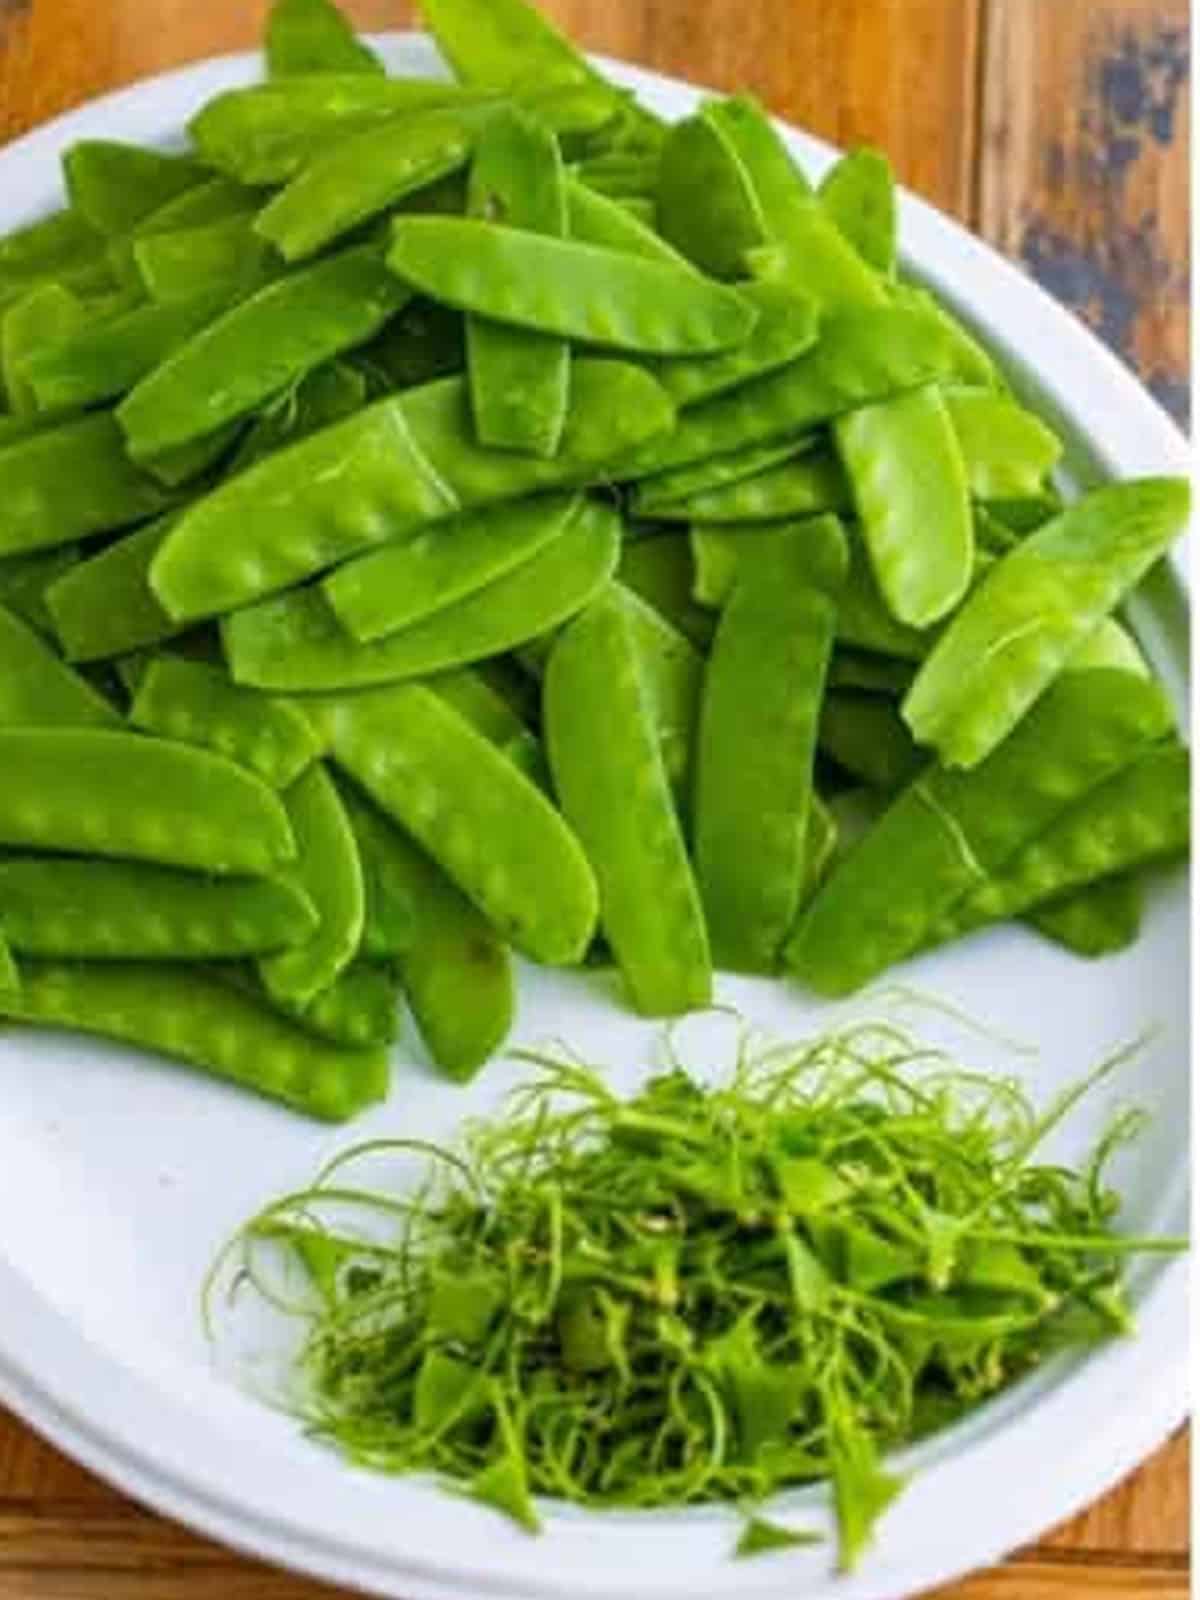
- Clean the snow peas by pulling the strings off the top and bottom seams of each pod.

- Bring 2 quarts of water to a boil, add the snow peas, and stir for 30 seconds until bright green. Drain immediately and set aside.
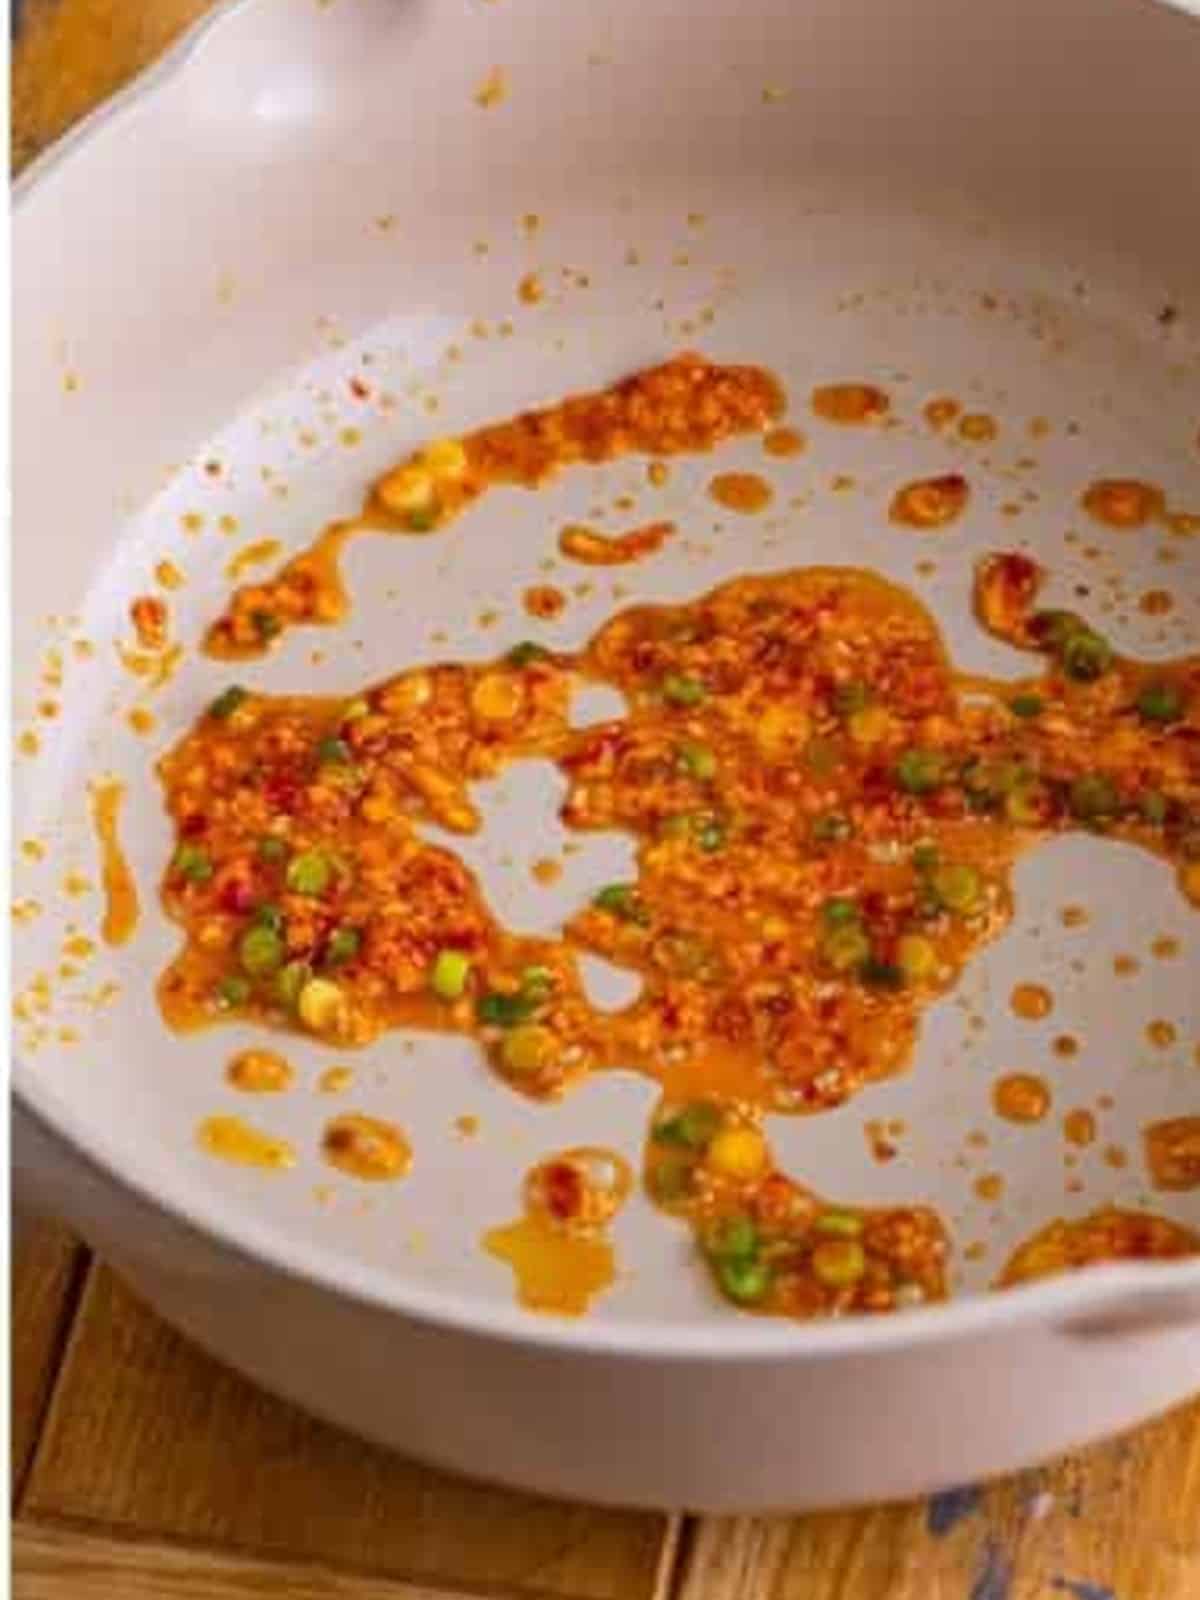
- Wipe out the pan, then heat the oil over medium. Add the white parts of the green onions, the garlic, chili garlic sauce, and ginger, and cook, stirring constantly, until fragrant, about 1 minute.
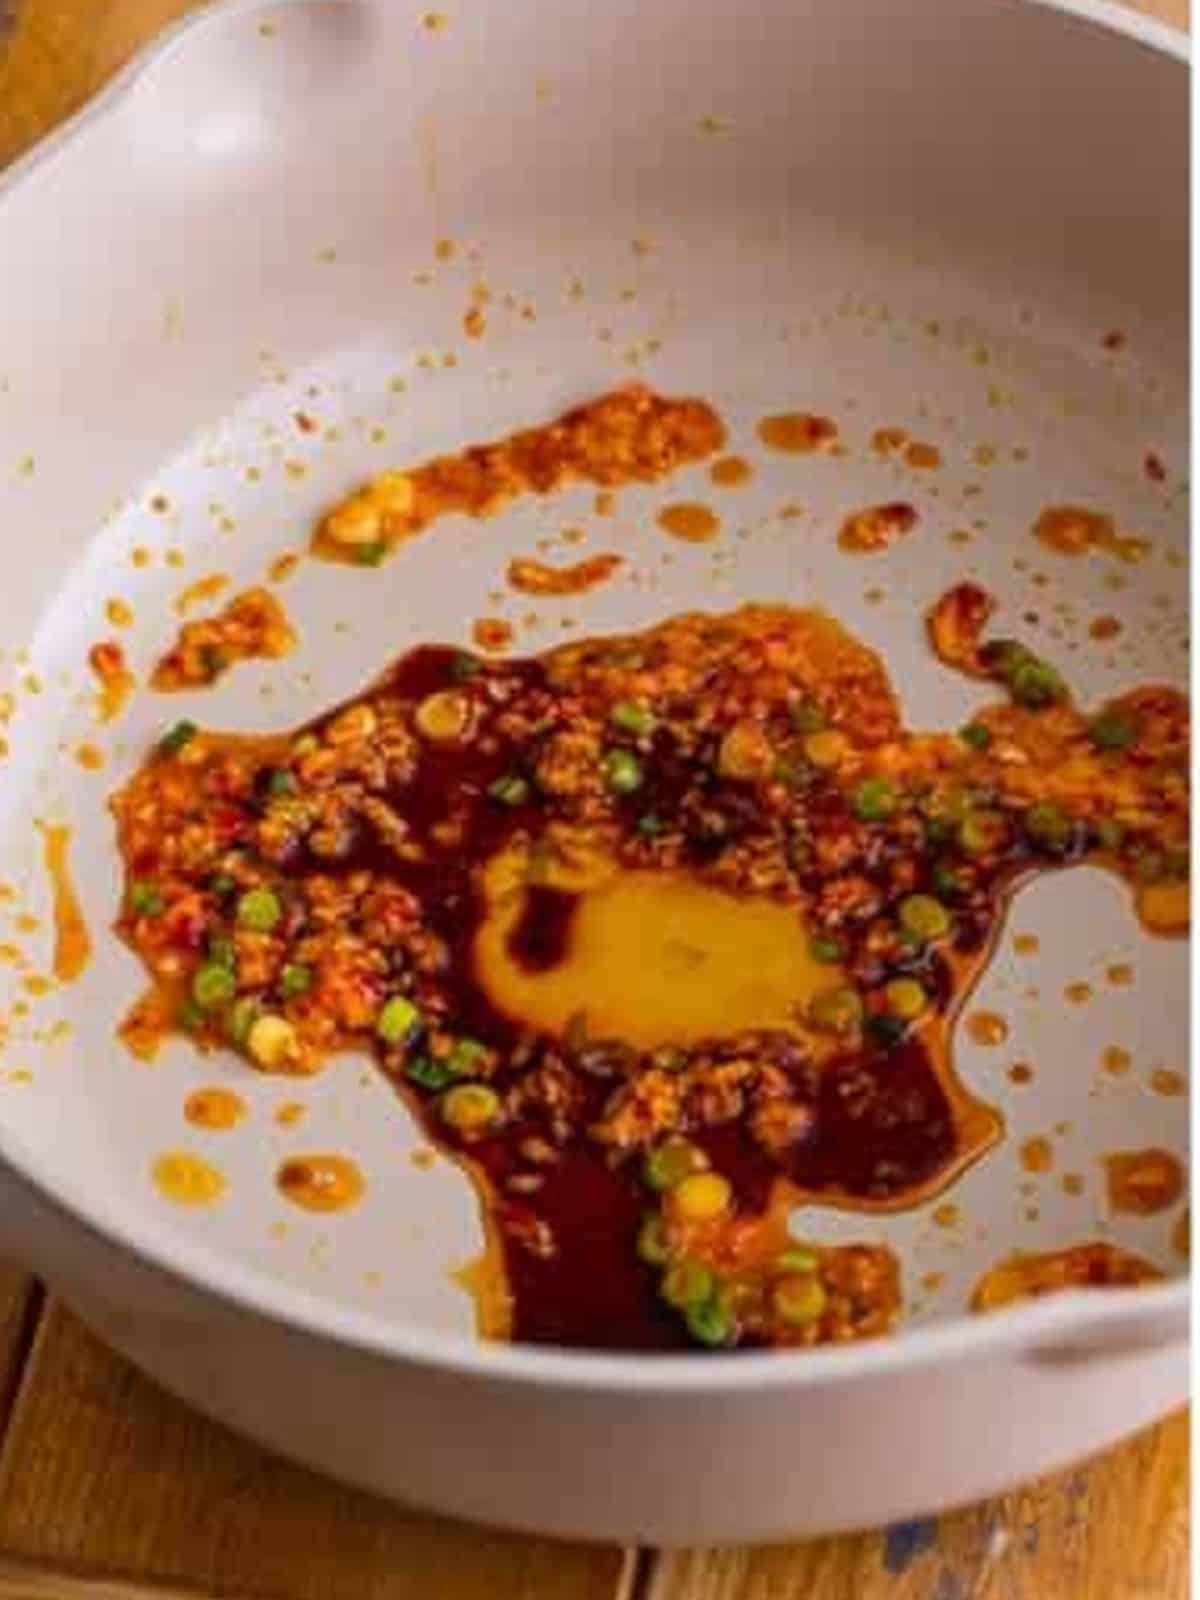
- Add the soy sauce and honey and stir constantly until combined into a glossy sauce.
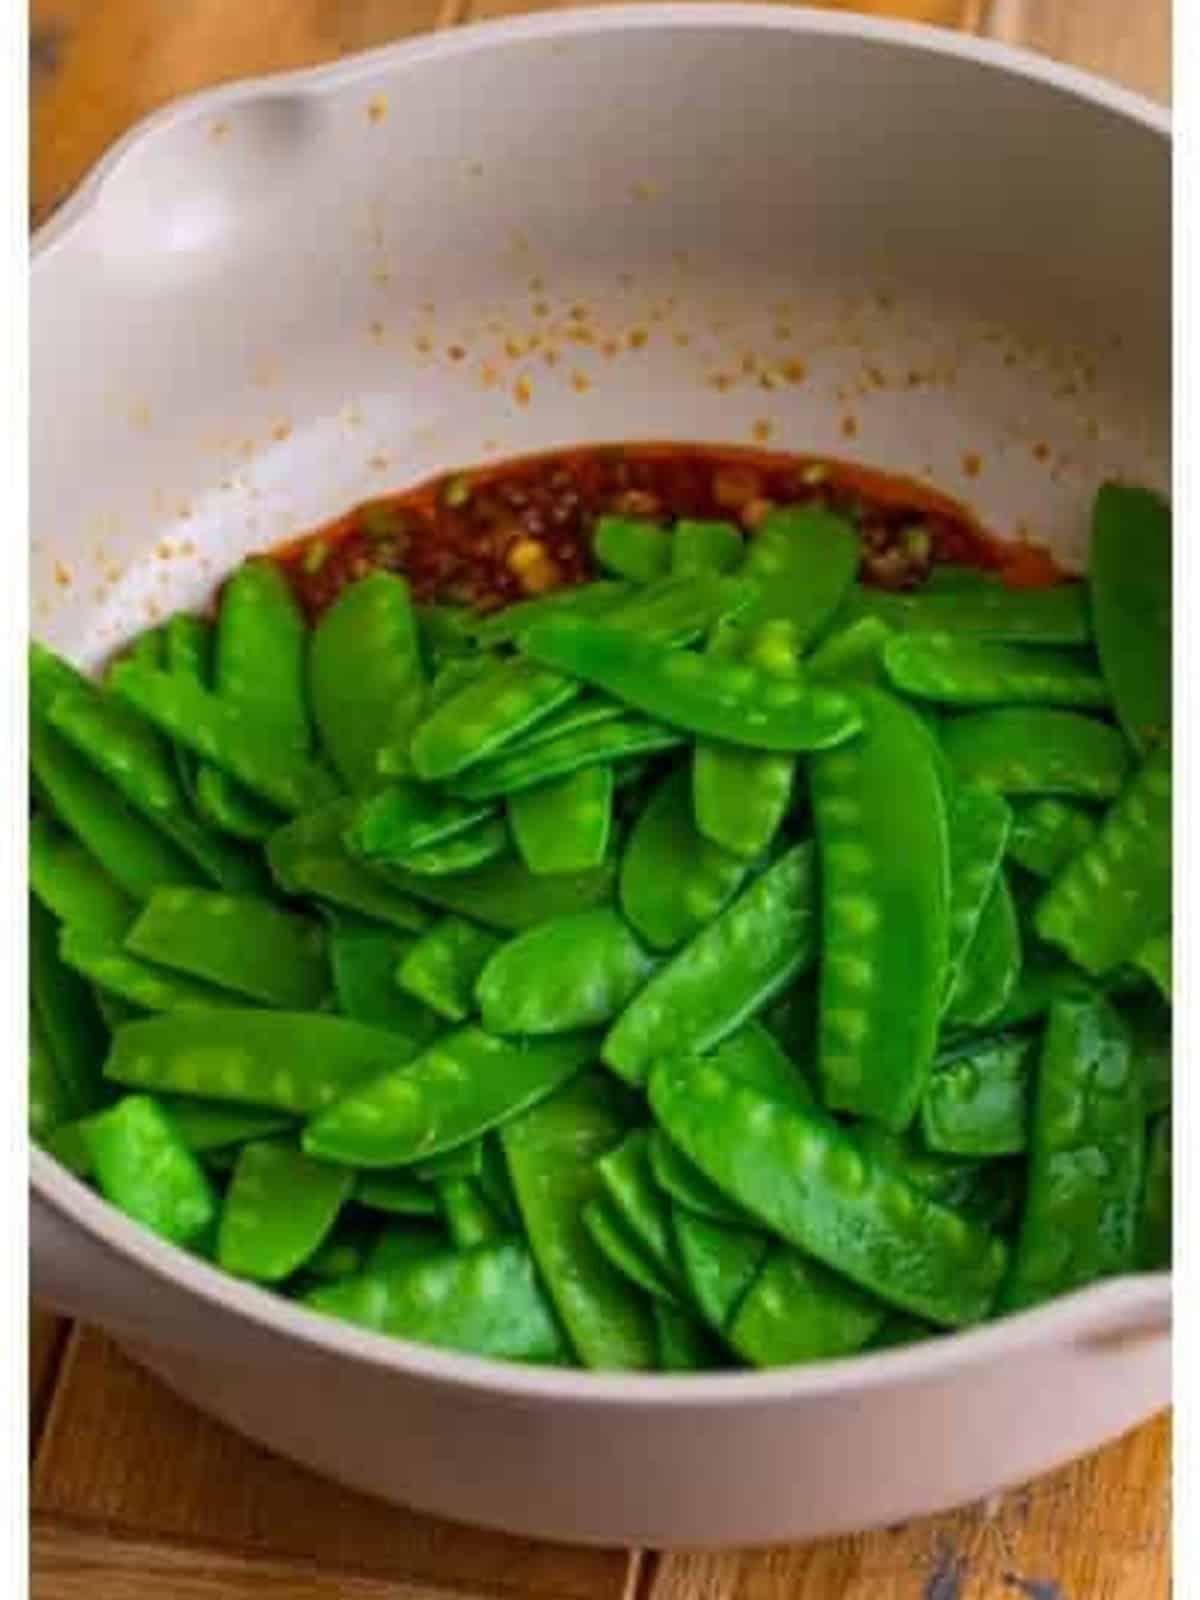
- Add the blanched snow peas and toss until coated and warmed through.
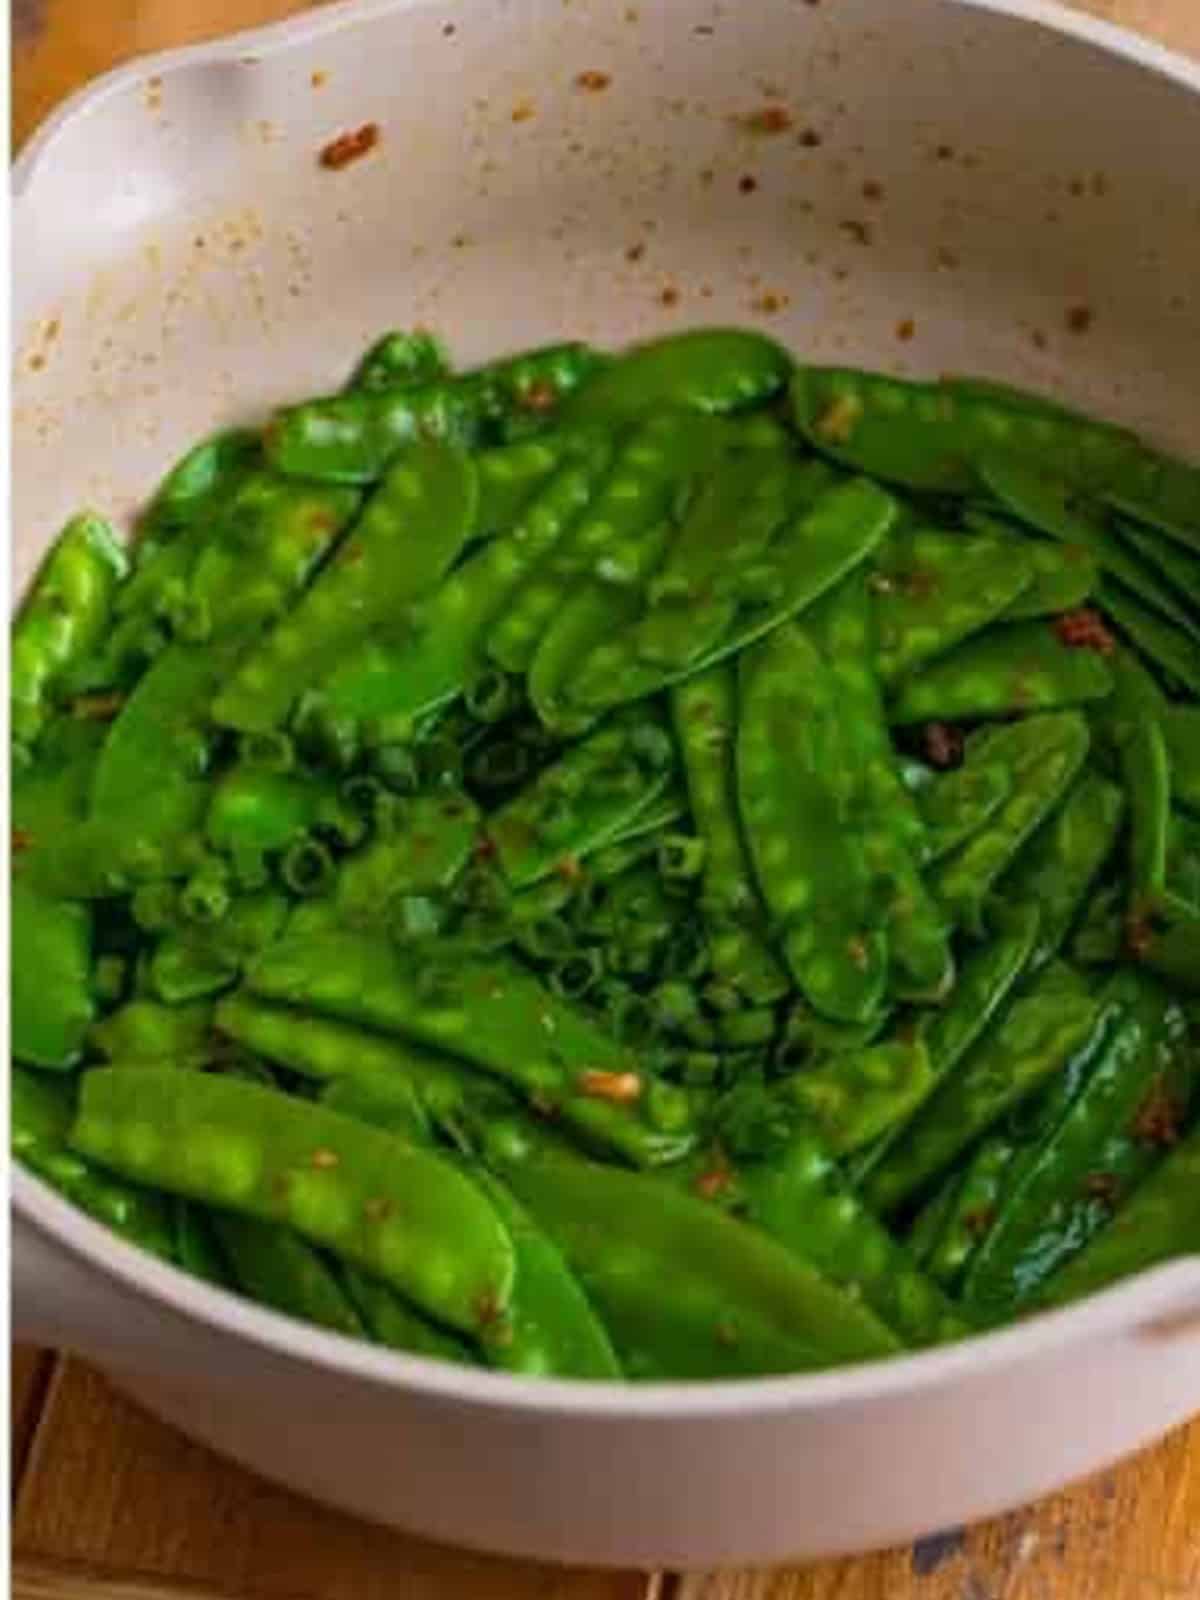
- Serve immediately, garnished with the green parts of the scallions.
Recipe Tips & Tricks
- Do not skip stringing the peas. The seam strings turn chewy when cooked. Pulling them off takes a few minutes and makes every bite tender.
- Watch the blanch like a hawk. 30 seconds is genuinely all it takes. The peas should be bright green and still snap when you bend them.
- Dry the pan before the oil goes in. Wiping out the blanching water keeps the oil from spitting and lets the aromatics fry instead of steam.
- Keep the aromatics moving. Garlic and ginger go from fragrant to burnt fast. Stir constantly for that single minute.
- Serve it right away. The glaze is at its glossy best straight out of the pan, just like our egg foo young is best fresh off the stove.
- Leftovers keep 3 days. Store in an airtight container in the fridge and reheat in a hot pan for 1 to 2 minutes so they stay crisp.
Serving Ideas and Suggestions
This snow peas recipe was born to ride alongside homemade takeout night. Serve it with our Chinese chicken or copycat Panda Express teriyaki chicken and a scoop of steamed rice for a dinner that beats delivery to the table.
It also rounds out noodle nights beautifully. Pile it next to our easy chow mein, or start the meal with a bowl of wonton soup and let the snow peas play the fresh, crunchy counterpoint.
Hosting? Double the batch. The pods stay crisp on a platter, and the glossy glaze makes them one of the first sides to disappear, right up there with our beef and broccoli.

Snow Peas Recipe FAQs
Blanching is the secret to the texture. The 30 second dip in boiling water sets the bright green color and crisp tender bite, and the quick drain stops the cooking. If you skip it and only stir fry, the peas need longer in the hot pan and can scorch before they soften.
Two things: a short blanch and a fast finish. Pull the peas from the boiling water at 30 seconds, drain them immediately, and only toss them back into the sauce long enough to warm through. They should still snap when you bite them.
You can string and blanch the peas up to a day ahead and store them in the fridge, then make the sauce and toss everything together in about 5 minutes before dinner. The finished dish is best fresh, but leftovers keep for 3 days and reheat well in a hot pan.
Snow peas are flat with tiny peas inside the pod, while sugar snap peas are plump and rounder. Both are eaten pod and all, and both work in this snow peas recipe; just blanch the thicker sugar snaps for 45 to 60 seconds instead of 30.
It has gentle warmth from 1 teaspoon of chili garlic sauce, but it is family friendly as written. Leave the chili garlic sauce out completely for a mild garlic ginger version, or double it if your crowd loves heat.
Anything you would order with takeout. It is fantastic next to teriyaki chicken, beef and broccoli, grilled shrimp, or a simple seared salmon. The glossy soy ginger glaze plays well with almost any main dish.


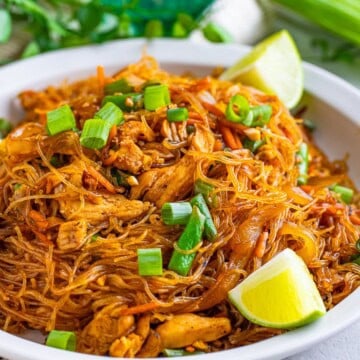
Want more better than takeout dinners? Our pancit recipe is another fast, veggie loaded favorite.
Serve these snow peas alongside our pan seared salmon for a healthy plate.
Serve these alongside our sticky teriyaki salmon for an easy dinner.
Serve these alongside our quick cauliflower fried rice.
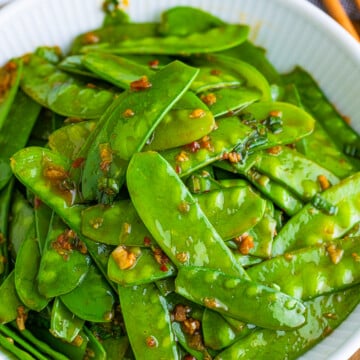

Quick Snow Peas Recipe with Garlic and Ginger
Ingredients
- 1 pound snow peas cleaned
- 2 quarts water
- 1 tablespoon vegetable oil
- 2 green onions thinly sliced, green part and white part separated
- 2 cloves garlic minced
- 1 teaspoon chili garlic sauce
- 1/2 teaspoon grated fresh ginger
- 1 tablespoon soy sauce
- 1/2 tablespoon honey
Instructions
- Clean the snow peas first by pulling the strings off the top and bottom seams.1 pound snow peas
- Get 2 quarts of water boiling in a medium saucepan with deep sides.2 quarts water
- Once to a boil, add the snow peas and stir for 30 seconds until bright green. Immediately drain the snow peas and set aside.
- Place the pan back on the stove and wipe out any excess water.
- Over medium heat, add the oil.1 tablespoon vegetable oil
- Stir in the white part green onions, garlic, chili sauce, and ginger. Cook, stirring constantly until fragrant, 1 minute.2 green onions, 2 cloves garlic, 1 teaspoon chili garlic sauce, 1/2 teaspoon grated fresh ginger
- Add the soy sauce and honey and stir constantly until combined.1 tablespoon soy sauce, 1/2 tablespoon honey
- Add the snow peas and toss until warmed through.
- Serve immediately with the rest of the green part scallions as garnish.
Notes
- Trim the tough string from each snow pea.
- Don’t skip the blanching—it keeps that vibrant green color and crisp bite.
- Use medium-high heat when stir-frying to avoid overcooking.
- Stir constantly once you add the sauce for best results.
- Always separate the white and green parts of the green onions—they cook differently!
- Serve this dish immediately for maximum flavor and crunch.
Nutrition
Love This Recipe?
Follow @ThisSillyGirlsKitchen on Instagram and @danadevolk on Pinterest for more!


This recipe is good and good for you.