This post may contain affiliate links.
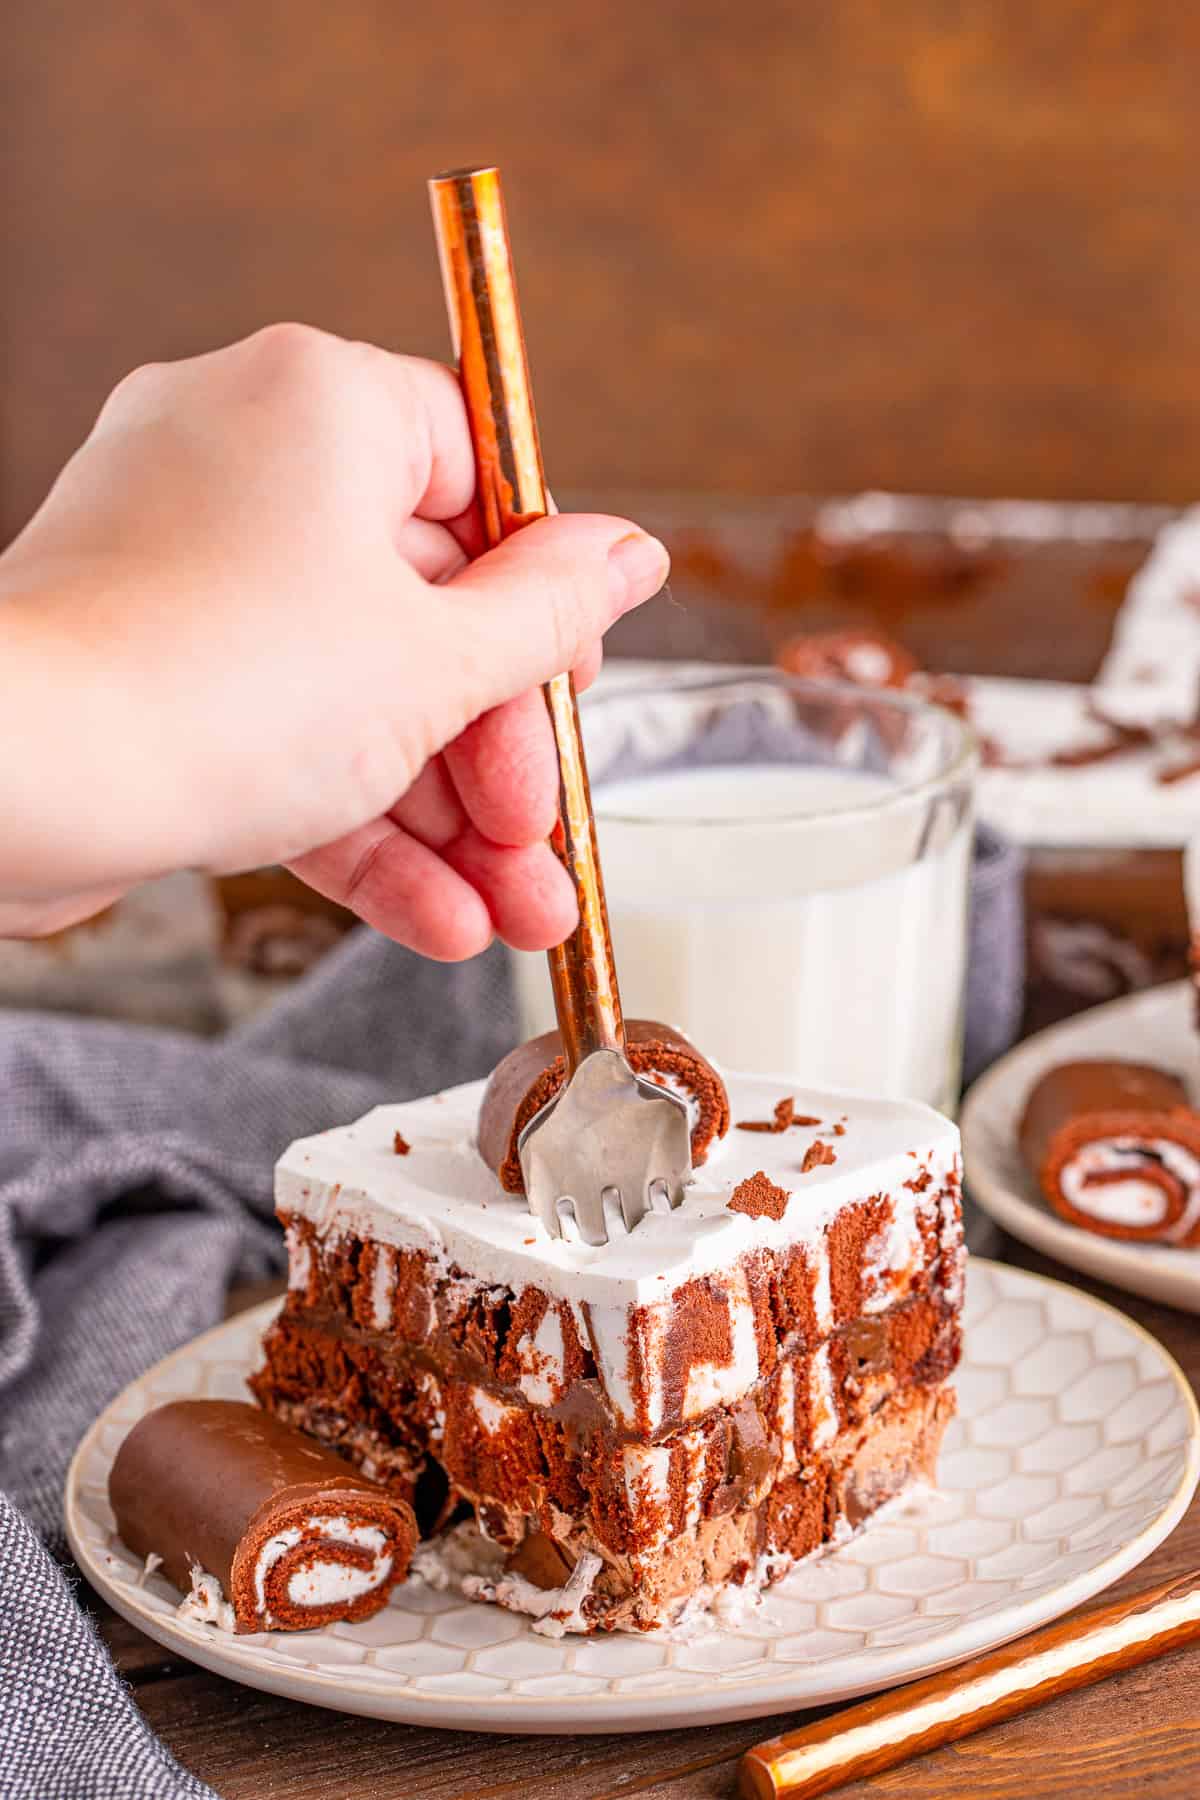
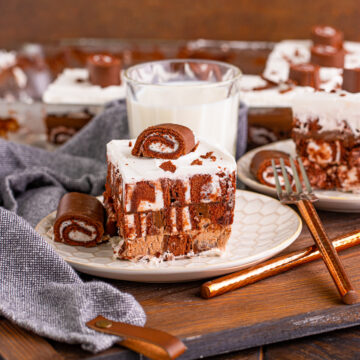
Swiss Roll Cake is the ultimate no-bake lush dessert, layering store-bought chocolate Swiss cake rolls with creamy chocolate pudding and fluffy whipped topping into the easiest showstopper around. I made this for a last-minute potluck and Maddie could not believe something this impressive came from four ingredients. If you love an easy icebox dessert, you will also love our strawberry banana jello pie.
With no oven and just four ingredients, it is a fun, kid-friendly dessert that looks like a bakery creation.
Swiss Roll Cake Quick Look
- 🕒 Prep Time: 20 minutes
- 🌡️ Cook Time: 0 minutes
- ⏳ Total Time: 6 hours 20 minutes
- 🍽️ Serving: 12 servings
- ⚡ Calories: 322kcal
- 🌶️ Flavor Profile: Rich chocolate and vanilla cream in soft, layered bites
- ✋ Difficulty: Very easy, a no-bake layered lush, like our strawberry banana jello pie
Quick Answer
Whisk instant chocolate pudding with cold milk and chill briefly. Spread a layer of cool whip in the bottom of a 9×13 dish, then layer in cut chocolate Swiss cake rolls. Spread on a mixture of cool whip and pudding, add another layer of rolls, top with the remaining pudding, and finish with more rolls and a final layer of cool whip. Cover and refrigerate at least 6 hours or overnight so it sets into clean, sliceable layers.
Jump to:
Why This Recipe Works
Click to see the technique science
- Swiss cake rolls do the work. Store-bought rolls bring the cake and chocolate filling already made, so there is no baking at all.
- Pudding and cool whip layer up fast. A quick chocolate pudding and whipped topping create rich, creamy layers in minutes.
- The chill sets it. Resting overnight lets everything meld and firm into neat, sliceable layers.
- It looks impressive. Lining the dish with the pretty swirled rolls makes a gorgeous reveal when you slice in.
- Only four ingredients. Pudding mix, milk, cool whip, and Swiss rolls are all you need for a crowd-pleasing dessert.
Why You’ll Love This Recipe
- It is a no-bake dessert made with just four simple ingredients.
- The layers of chocolate Swiss rolls, pudding, and cream look bakery-fancy with zero effort.
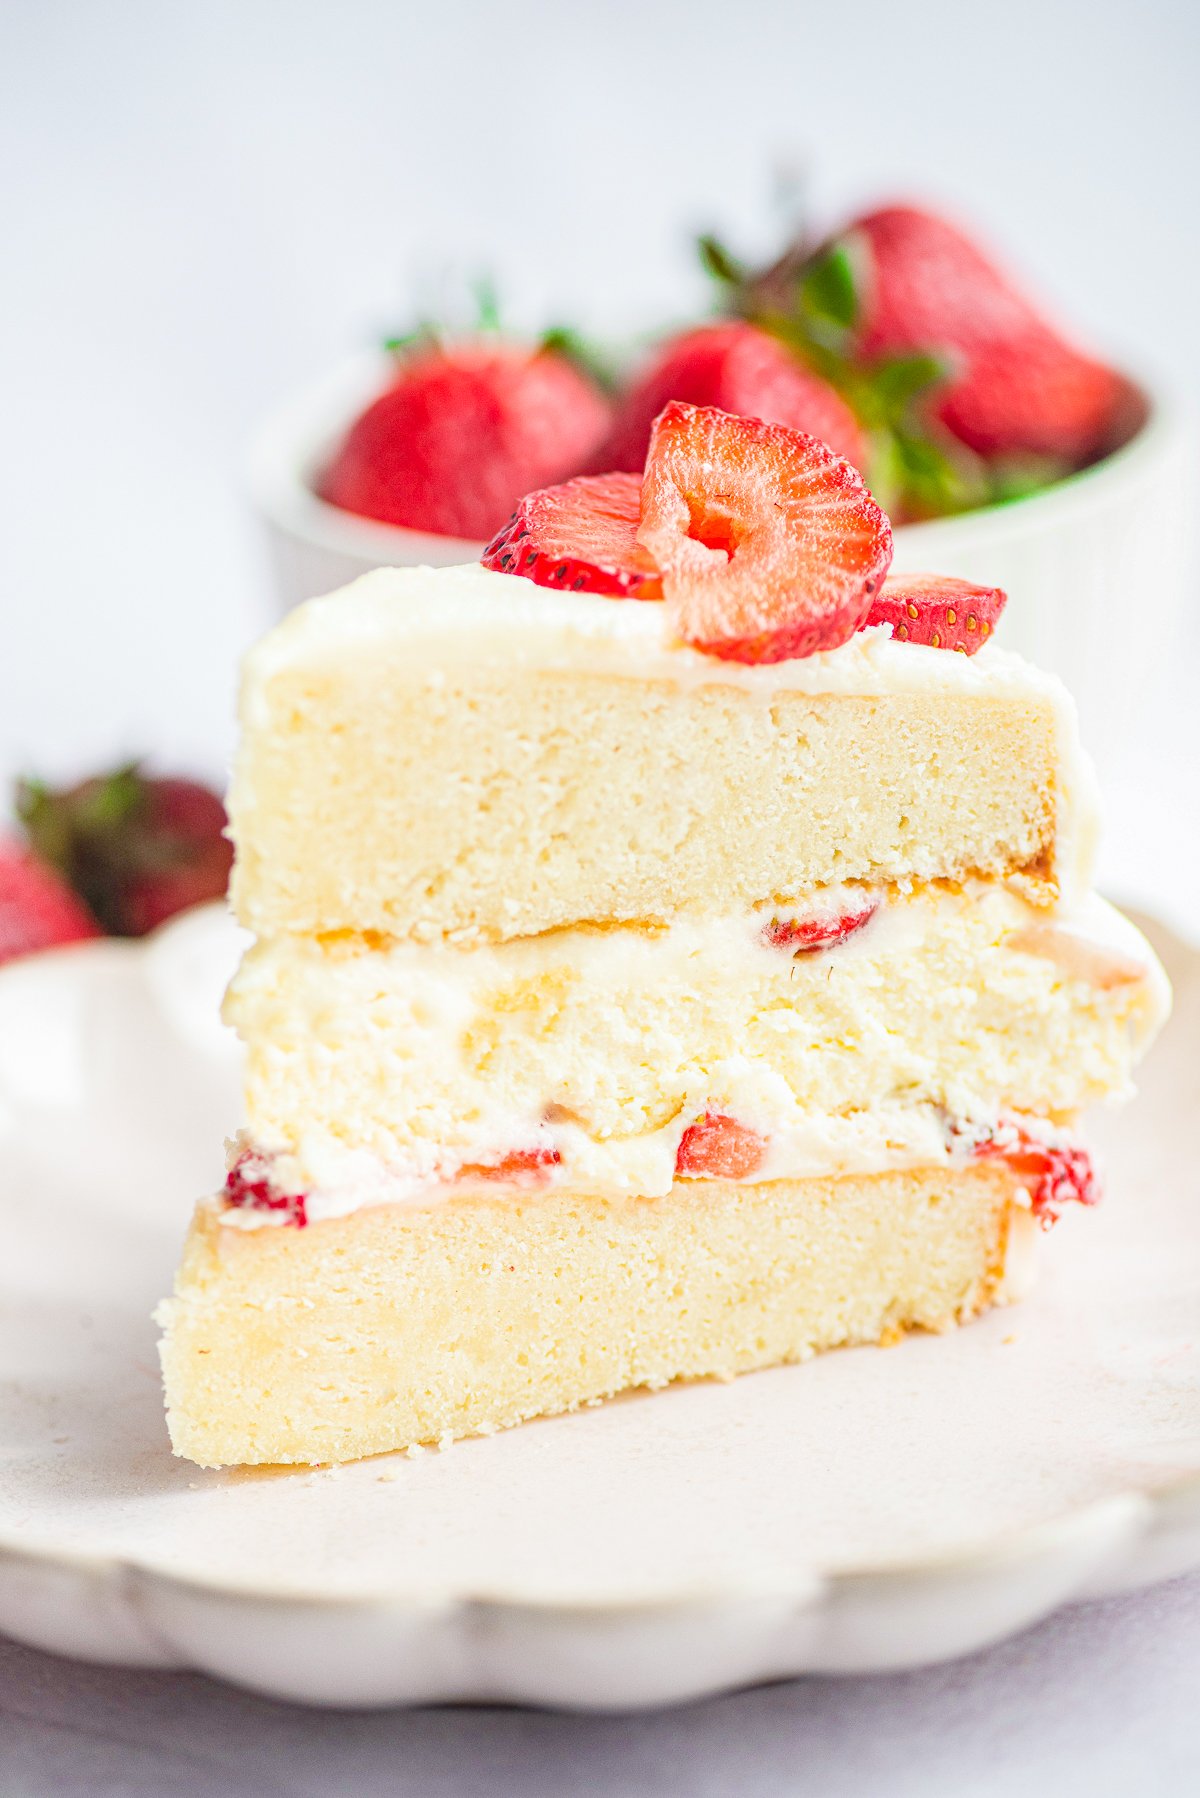
- It is a perfect make-ahead potluck treat, right alongside our strawberry shortcake cheesecake cake.
- It delivers that same everyone asks for seconds energy as our mini cinnamon rolls.
- It delivers that same everyone asks for seconds energy as our crescent roll cinnamon rolls.
- It earns a spot in the rotation right next to our brown sugar frosting.
- It delivers that same everyone asks for seconds energy as our strawberry jello cake.
Key Ingredients
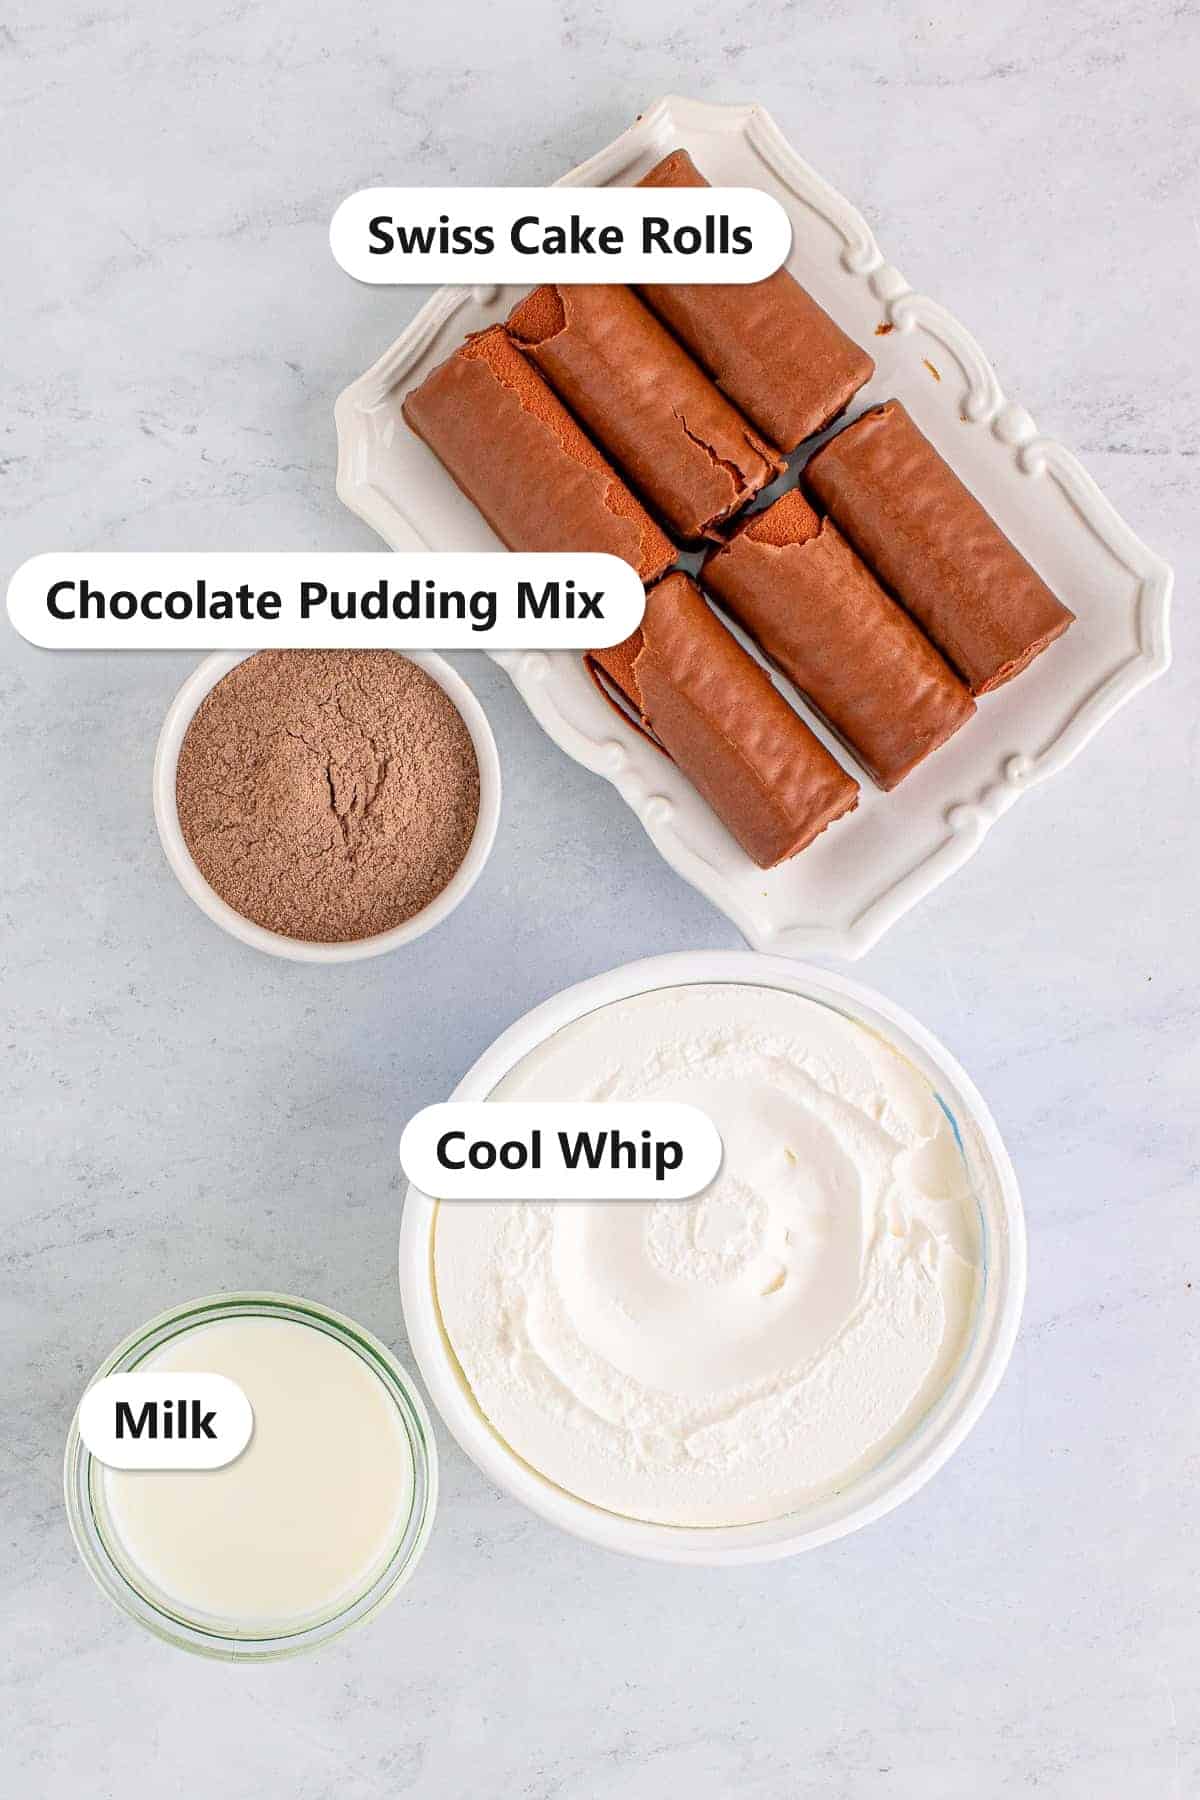
You only need four things for this Swiss roll cake. See the recipe card below for exact amounts.
- Swiss cake rolls: Store-bought chocolate Swiss cake rolls are the star, bringing cake and cream filling in one. Cut them into fifths for layering.
- Chocolate pudding mix: Instant pudding whisked with milk makes a quick, rich chocolate layer.
- Cool whip: Whipped topping forms the creamy layers and the smooth top.
- Whole milk: Cold whole milk sets the pudding to the perfect thick, spoonable texture.
See recipe card for exact quantities.
Variations and Substitutions
This Swiss roll cake is easy to make your own. Here are a few ideas.
- Switch the pudding: Use vanilla, white chocolate, or cookies and cream pudding for a different flavor.
- Try other rolls: Use strawberry or vanilla Swiss rolls in place of chocolate.
- Add crunch: Sprinkle mini chocolate chips or crushed cookies between layers.
- Make it mocha: Stir a teaspoon of instant espresso into the pudding.
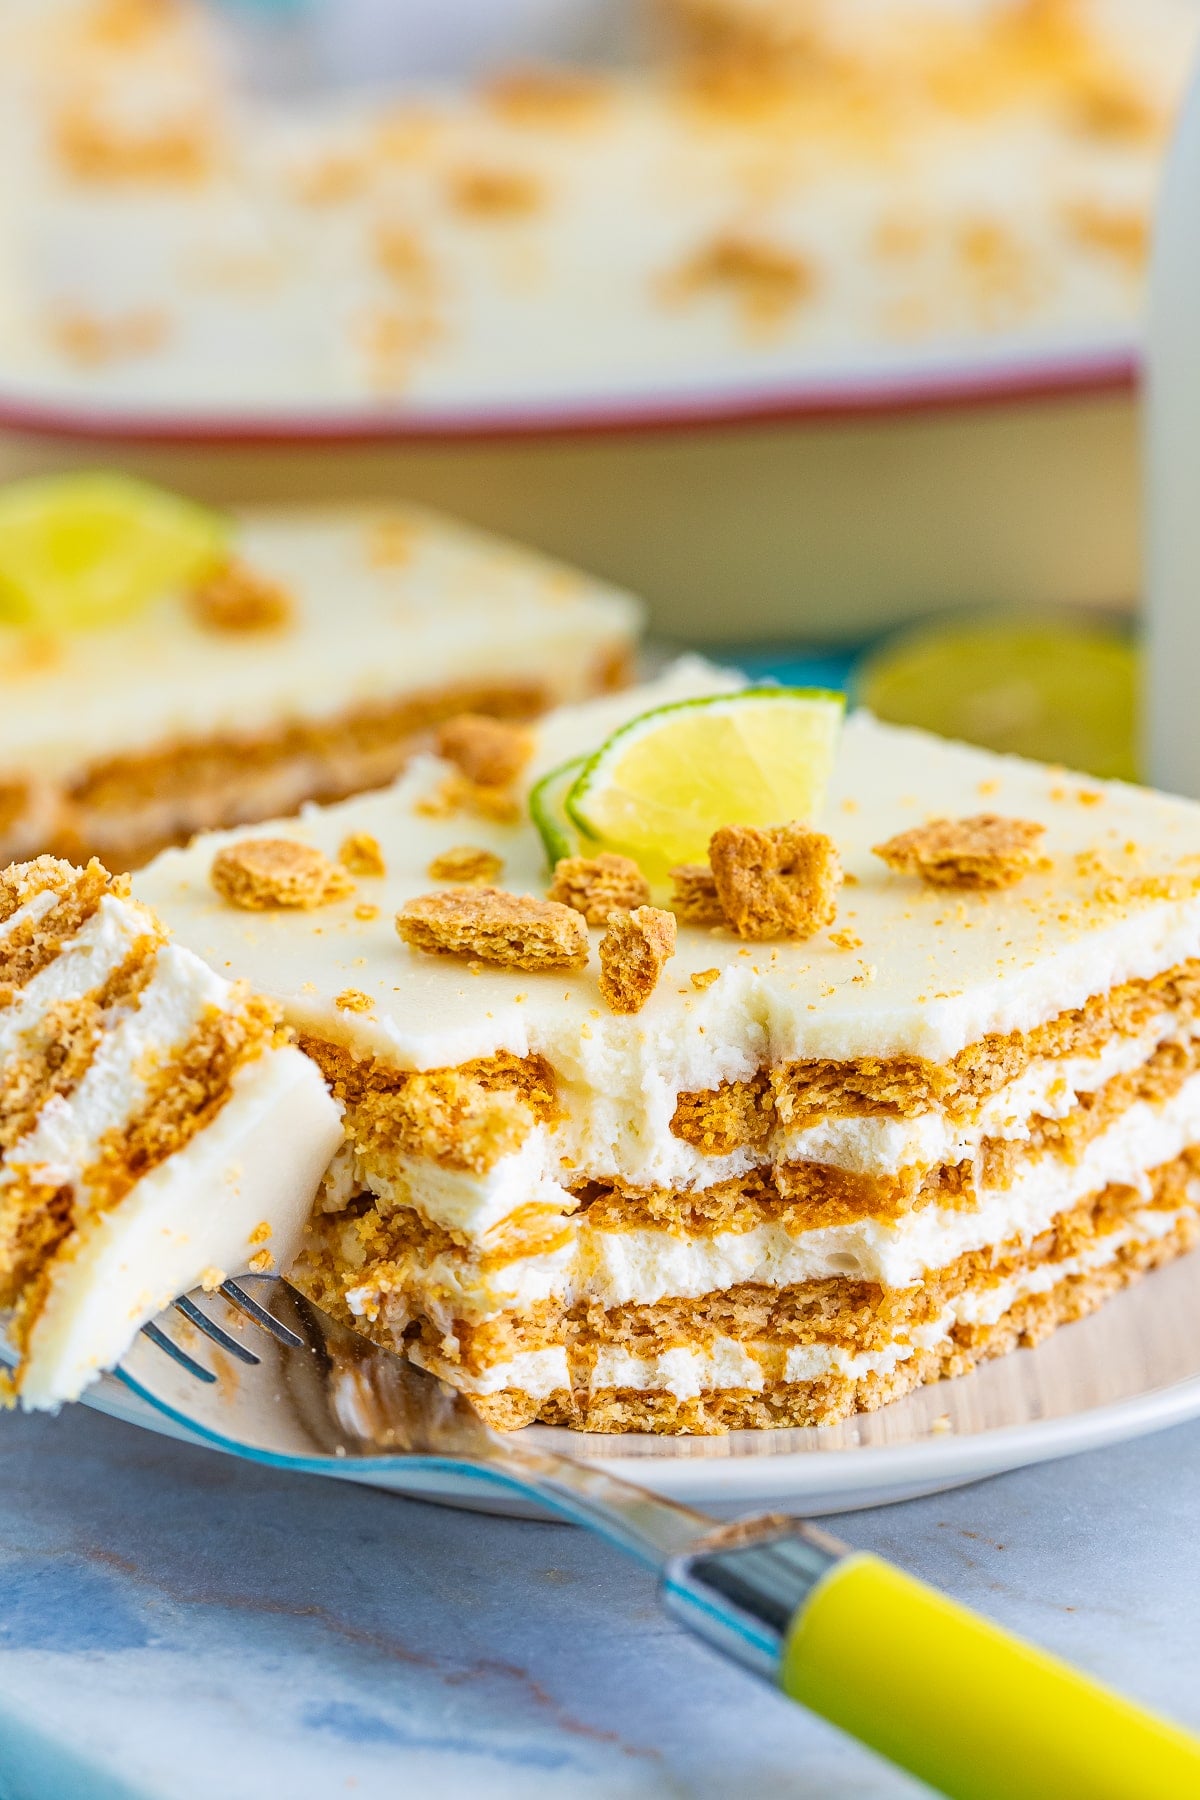
- For another easy layered dessert, try our key lime eclair cake.
- If you want to switch things up, our fairy cakes plays on similar flavors in a whole new way.
- If you want to switch things up, our crescent rolls plays on similar flavors in a whole new way.
- In the mood for something different? Our chocolate chip pound cake scratches a similar itch.
- If you want to switch things up, our almond cake plays on similar flavors in a whole new way.
How to Make Swiss Roll Cake
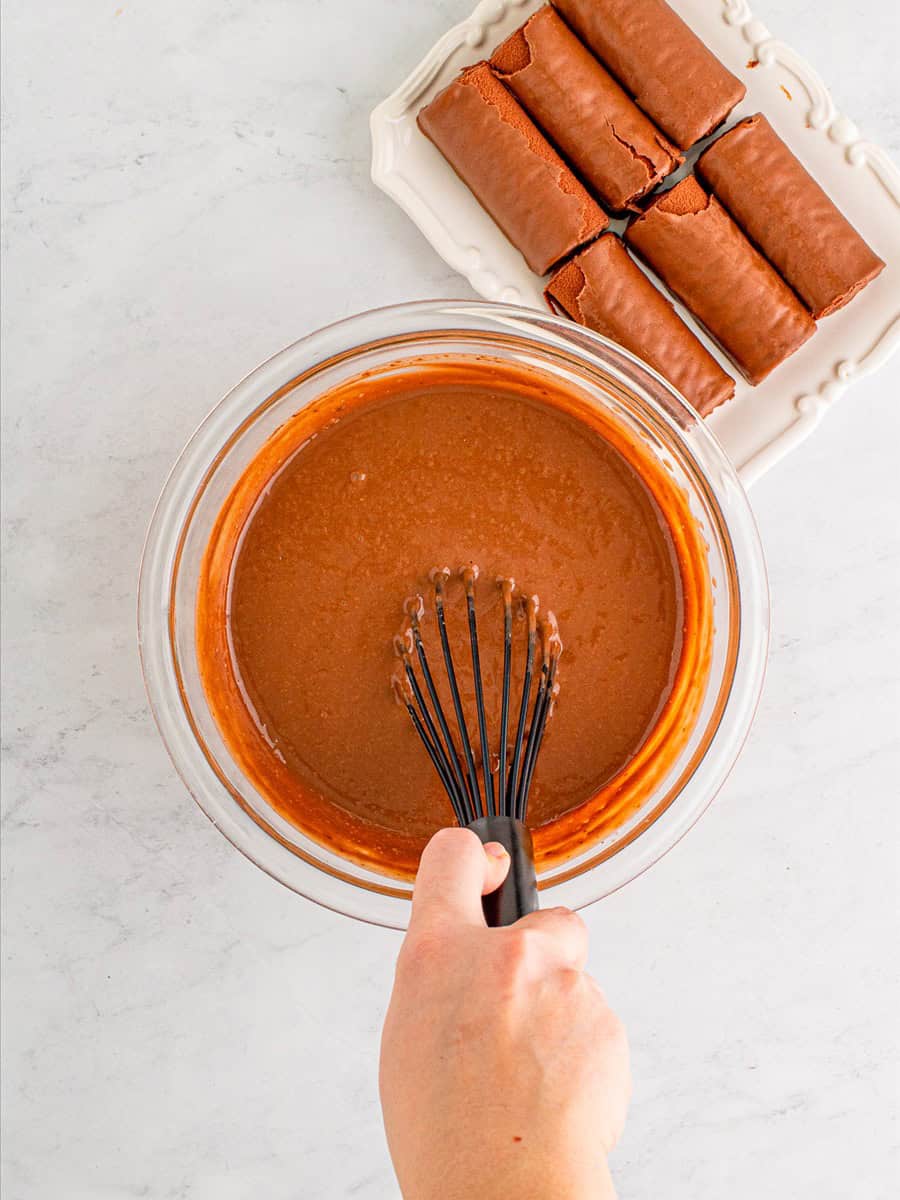
- Make the pudding. Whisk the instant chocolate pudding mix with cold milk for 2 minutes until it thickens, then chill 5 minutes.
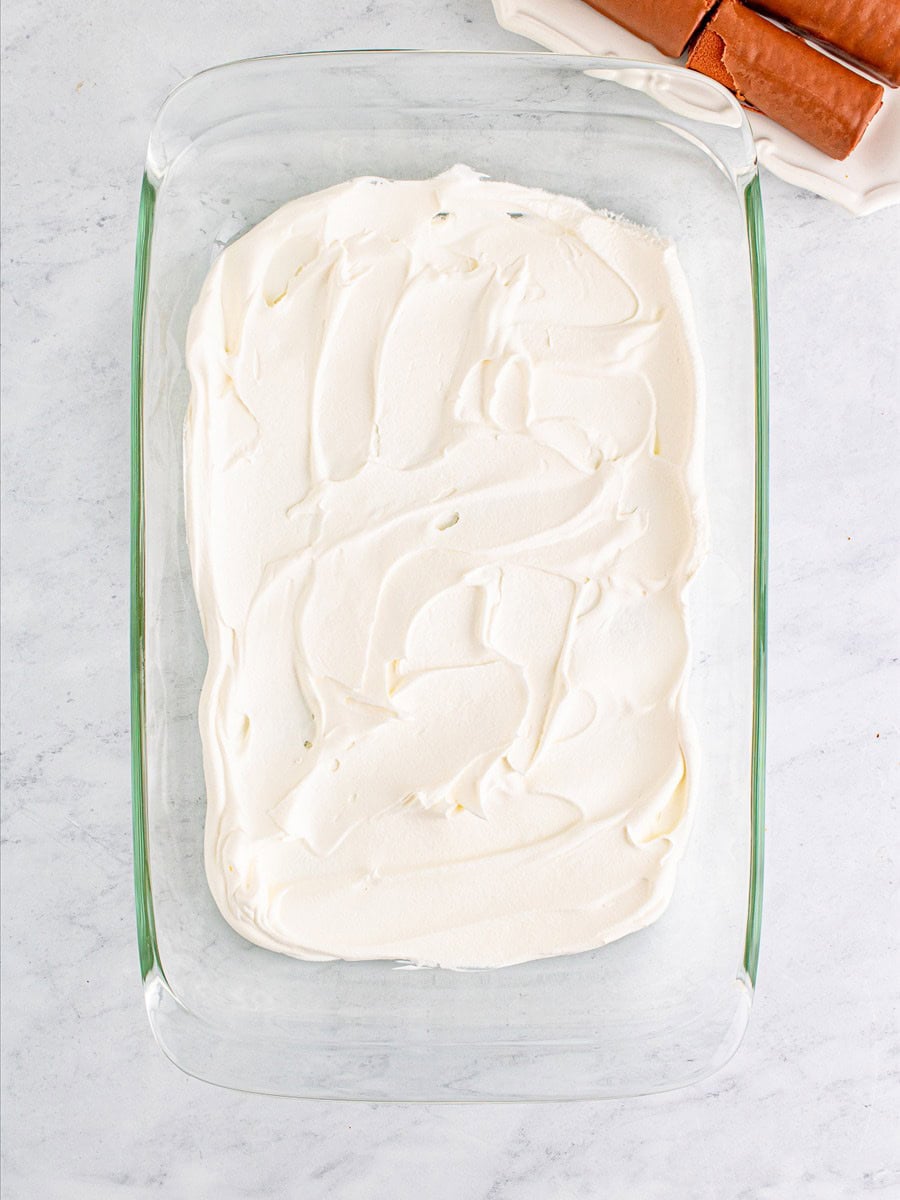
- Spread the cool whip. Spread a quarter of the cool whip across the bottom of a 9×13 baking dish.
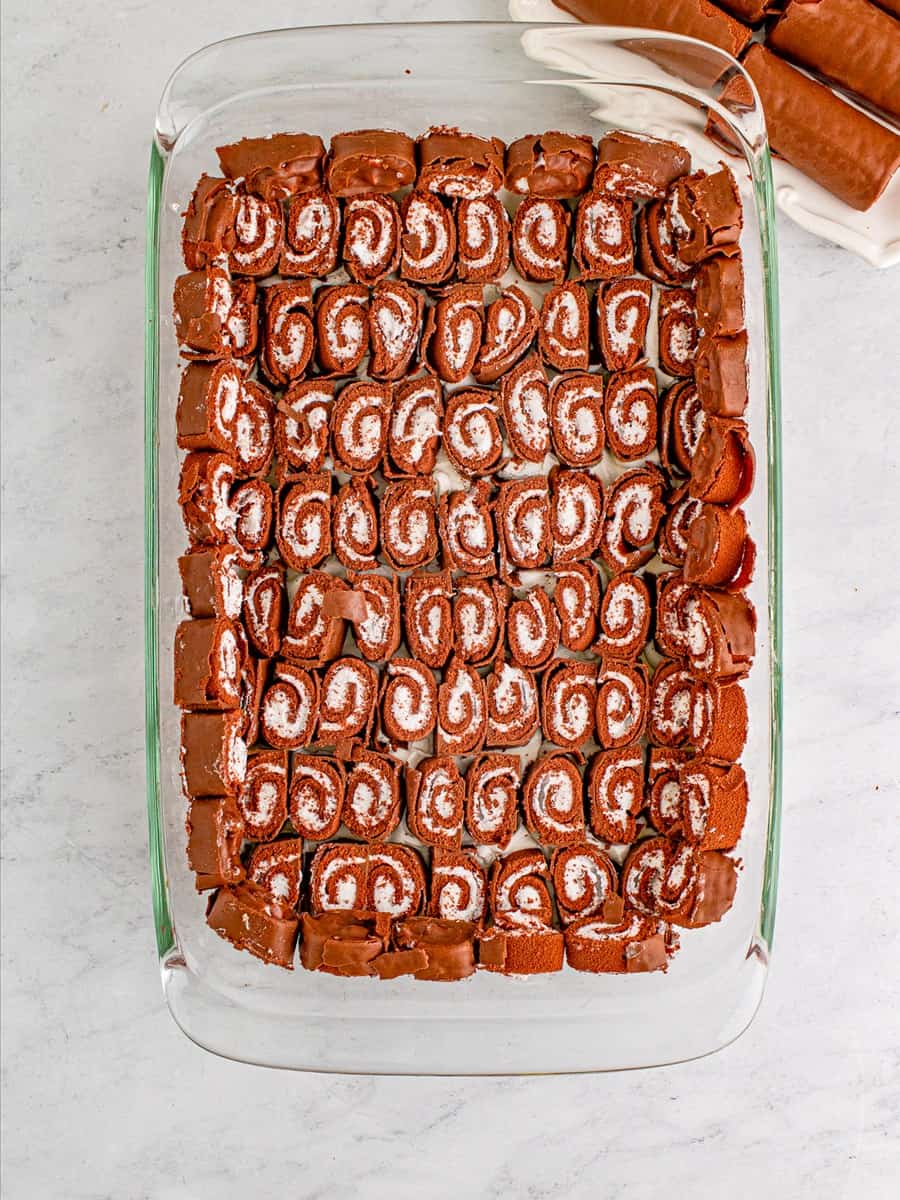
- Layer the Swiss rolls. Arrange the cut Swiss rolls cut-side up, pressing them gently into the cool whip, with a row around the edge cut-side out.
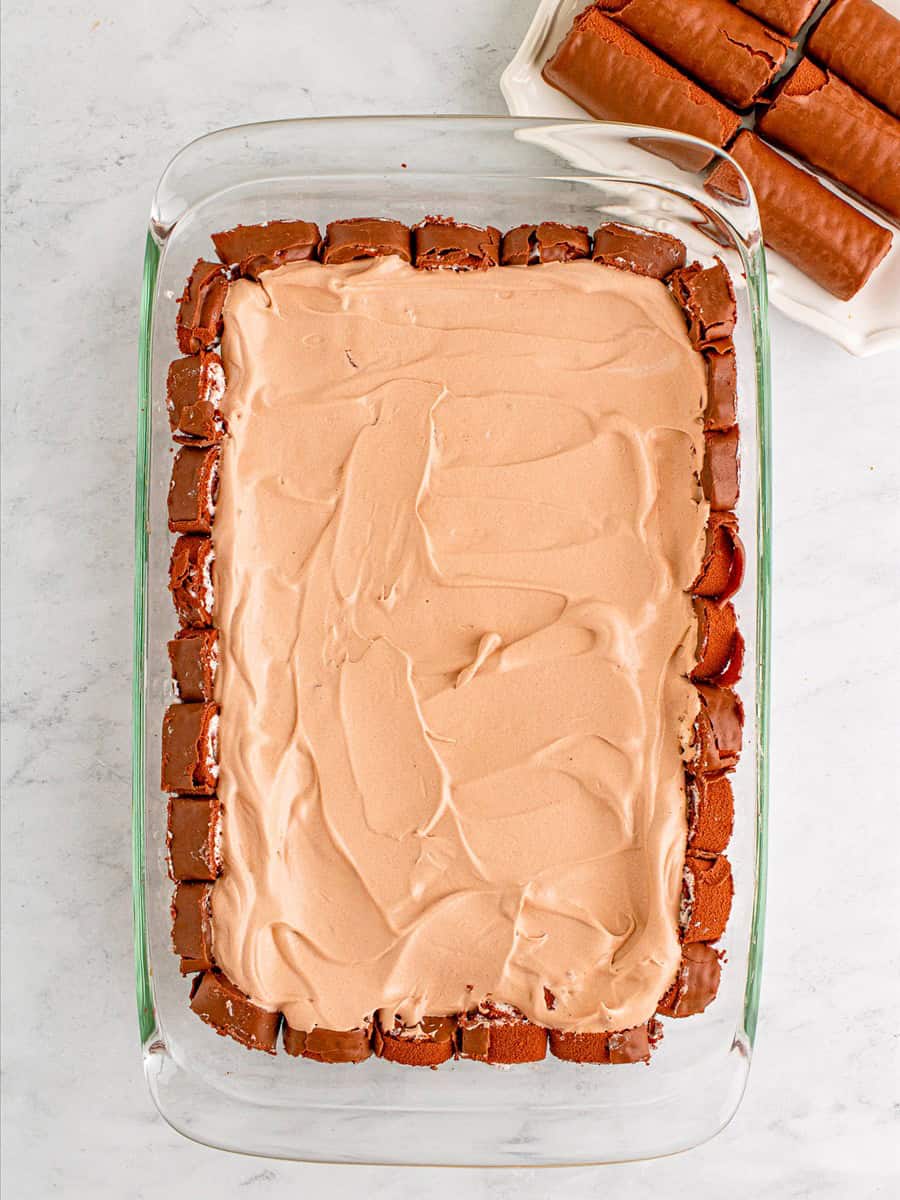
- Add a pudding layer. Mix some cool whip with pudding, spread it over the rolls, then smooth it out.
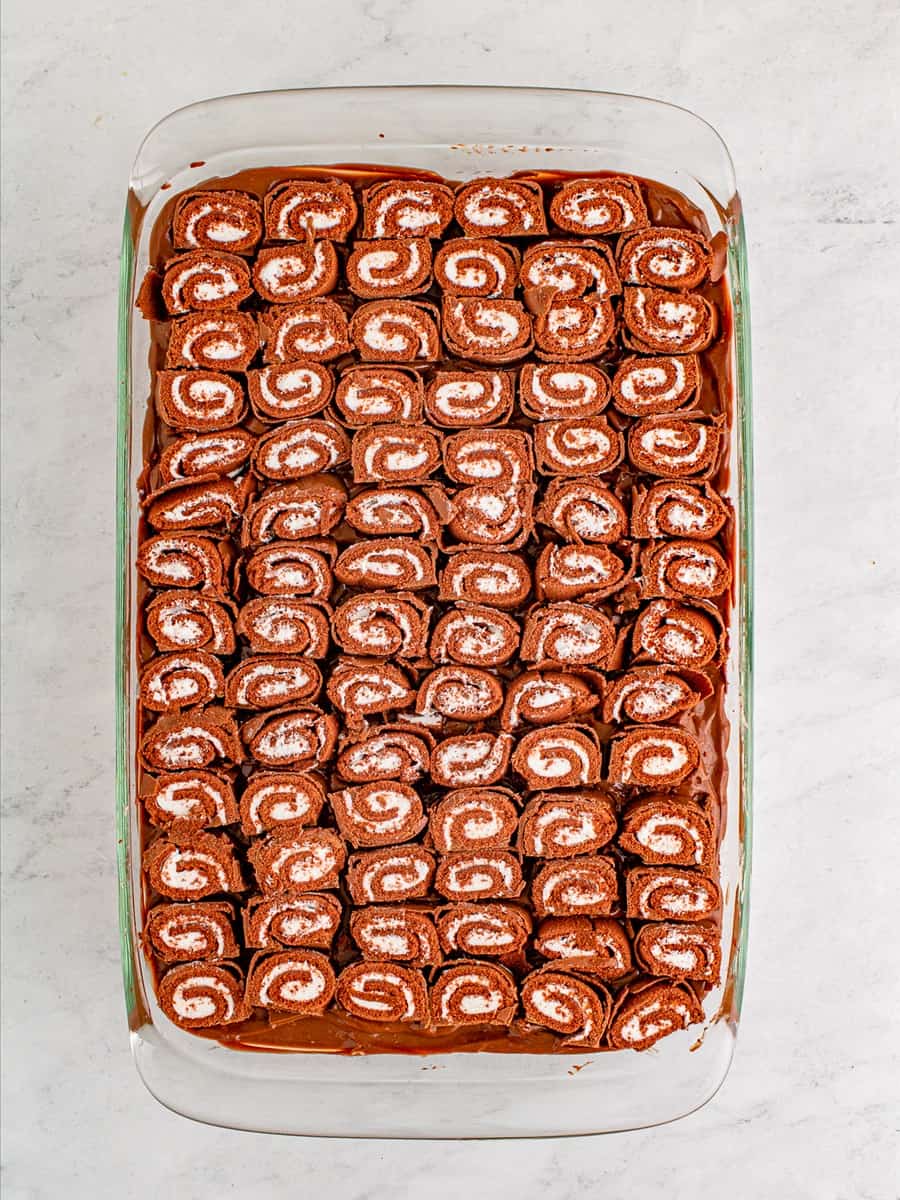
- Repeat the layers. Add another layer of Swiss rolls and the remaining pudding, then a final layer of rolls.

- Top and chill. Spread the remaining cool whip on top, cover, and refrigerate at least 6 hours or overnight. Garnish and serve.
Recipe Tips & Tricks
- Use a clear dish. A glass 9×13 lets the pretty swirled rolls show through the sides.
- Chill overnight. The longer it sets, the cleaner and more stable the slices.
- Cut rolls into fifths. Smaller pieces pack tightly for neat, even layers.
- Press gently. Pressing the rolls into each layer helps the cake hold together when sliced.
- Save crumbs for garnish. The chocolate that flakes off while cutting makes a pretty topping.
- Keep it cold. Serve straight from the fridge so the layers stay firm.
- Plan the whole menu. This pairs effortlessly with our snickerdoodle cake when company is coming.
- Plan the whole menu. This pairs effortlessly with our lobster roll when company is coming.
- Make it a full spread. Our 7up cake rounds out the table.
- Plan the whole menu. This pairs effortlessly with our hummingbird cake when company is coming.
Serving Ideas and Suggestions
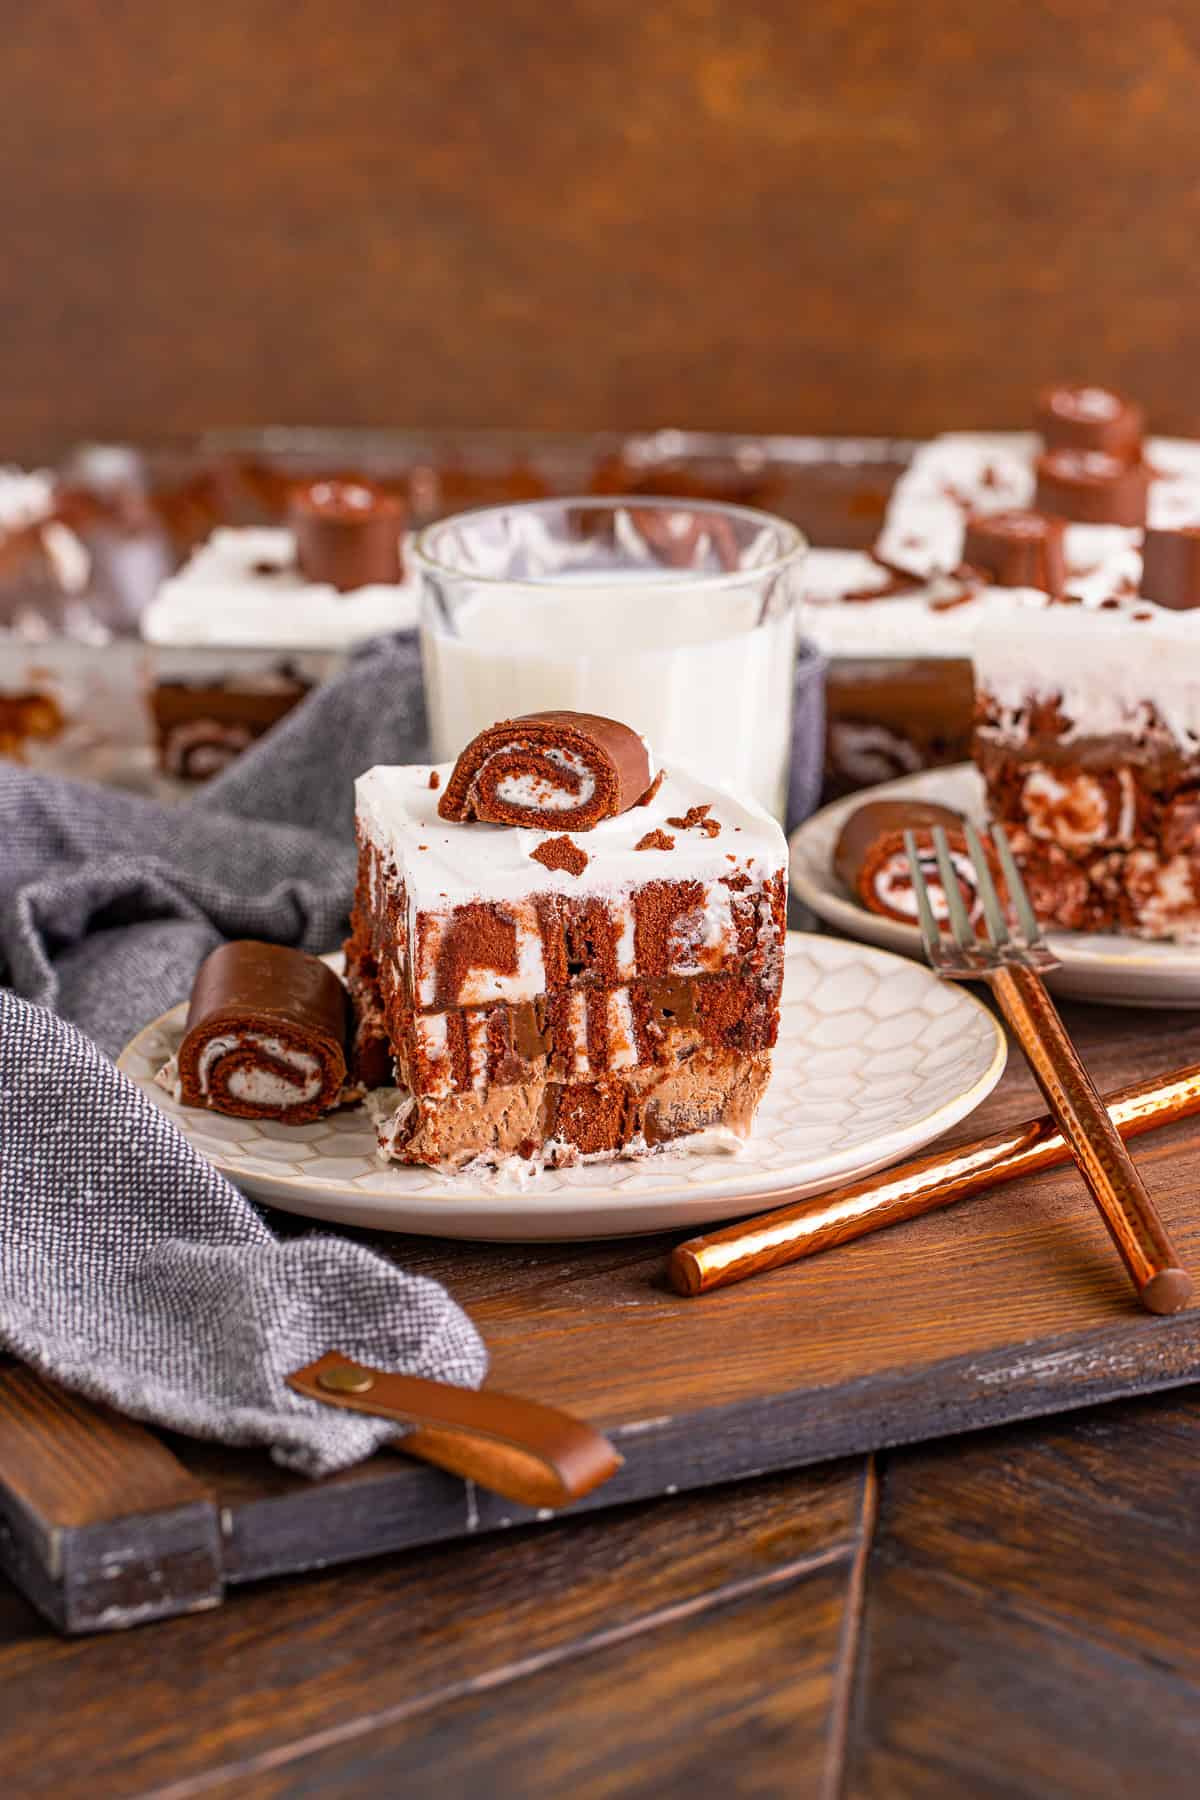
This Swiss roll cake is a fun, nostalgic dessert that is always a hit at parties and potlucks. Slice it into squares and serve cold, garnishing each piece with extra whipped topping or chocolate curls.
Store leftovers covered in the fridge for up to four days. The rolls soften beautifully over time, so it is just as good on day two. It does not freeze well due to the whipped topping.
Swiss Roll Cake FAQs
Swiss cake rolls are store-bought snack cakes made of a thin chocolate sponge rolled around a cream filling, like Little Debbie Swiss Rolls. They form the cake layers in this no-bake dessert.
Chill it for at least 6 hours, but overnight is best. The time in the fridge lets the layers firm up so the cake slices cleanly.
Yes. Homemade chocolate pudding and stabilized whipped cream both work, though the instant pudding and cool whip keep it fast and foolproof.
Absolutely. It is designed to be made ahead. Assemble it a day before serving and keep it covered in the fridge until ready to slice.
Freezing is not recommended because the whipped topping can become watery when thawed. It is best stored in the fridge and enjoyed within a few days.
You will need about 48 individual Swiss cake rolls, cut into fifths, to build the layers in a 9×13 dish. Grab a couple extra for garnish.

And if you want one more idea for the table, our brownie cake never misses.

Swiss Roll Cake
Ingredients
- 3.9 ounce instant chocolate pudding mix
- 2 cups cold whole milk
- 16 ounces cool whip divided
- 48 swiss cake rolls cut into 5ths
Instructions
- Place the pudding mix and cold milk in a large bowl, whisk for 2 minutes until it starts to thicken. Place in the fridge for 5 minutes.3.9 ounce instant chocolate pudding mix, 2 cups cold whole milk
- Spread 1/4th of the cool whip on the bottom of a 9×13 baking dish.16 ounces cool whip
- Layer the cut swiss rolls on top (cut side up), gently pressing them into the cool whip, this will help the cake to stabilize. Add a row of the swiss rolls around the edge of the baking dish, cut side out. I like to use a clear glass baking dish because you can see the pretty rolls from the outside.48 swiss cake rolls
- In a medium-sized bowl, stir together another 1/4th of the cool whip with ⅓ of the chocolate pudding until smooth.
- Spoon this on top of the swiss rolls and smooth out the top.
- Add another layer of swiss rolls, cut side up. Gently press them down.
- Add the remaining chocolate pudding on top and smooth it out.
- Add another layer of swiss rolls, cut side up, there should be none left after this. Gently press them down.
- Top with the remaining cool whip, and smooth it out.
- Cover with plastic wrap and place in the fridge for at least 6 hours to set or even better overnight.
- Garnish with more swiss rolls or some of the chocolate that flakes off the swiss rolls while cutting them.
Notes
- We use cool whip for this recipe but you can make your own regular whipped cream if you’d like, I would recommend using my Stabilized Whipped Cream.
- You can half this recipe and use a 9″x9″ baking pan instead, but you will have leftover pudding, but you can eat that as is.
- This can be frozen, see my tips above.
- This needs to be refrigerated for at least 6 hours before serving for it to set up, do not skip that step.
Nutrition
Love This Recipe?
Follow @ThisSillyGirlsKitchen on Instagram and @danadevolk on Pinterest for more!


