
This post may contain affiliate links.
Pinata Cake is the birthday trick that makes grown adults gasp, two simple cake layers hiding a secret well of candy that spills across the plate with the very first slice, and when we cut into one at Maddie’s end of summer birthday dinner, the squeal could be heard two houses down. It uses a box mix shortcut, so all the effort goes into the surprise, and it frosts up as pretty as our yellow cake with chocolate frosting.
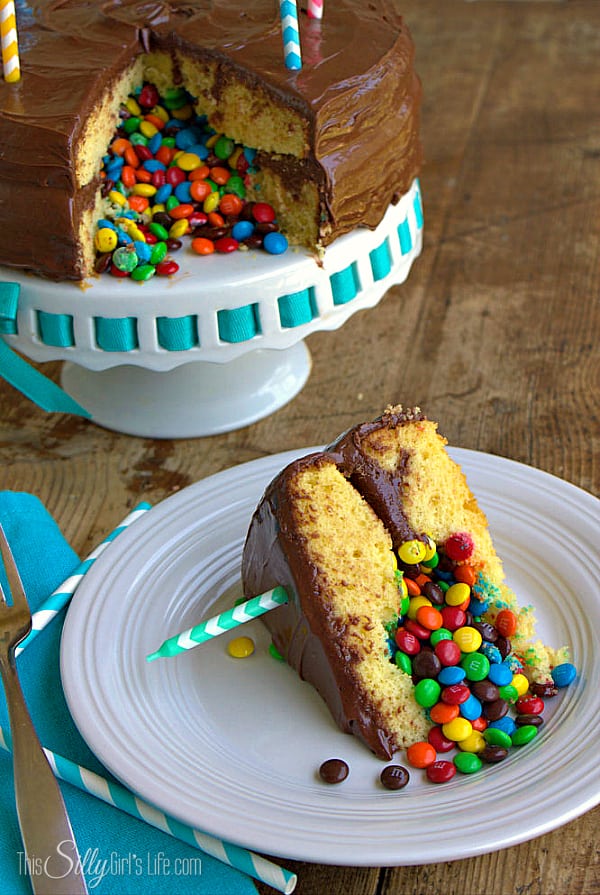
A box of cake mix, a can of frosting, a bag of candy, and one unforgettable reveal.
Pinata Cake Quick Look
- 🕒 Prep Time: 30 minutes
- 🌡️ Cook Time: 30 minutes
- ⏳ Total Time: 1 hour
- 🍽️ Serving: 12 servings
- ⚡ Calories: 158kcal
- 🌶️ Flavor Profile: Buttery yellow cake, fudgy chocolate frosting, candy surprise
- ✋ Difficulty: Easy, box mix simple like our earthquake cake
Quick Answer
Bake a yellow cake mix in two 8 or 9 inch round pans and cool completely. Level the first layer on a cake stand, then hollow out the center with a spoon, stopping about 3 inches from the sides and not cutting through the bottom. Fill the well with candy, frost around the top edge, mound a little more candy in the center, then place the second leveled layer cut side down on top. Frost the whole cake and slice to reveal the spill.
Jump to:
Why This Recipe Works
Click to see the technique science
- The hollow stays hidden. Digging the well only in the bottom layer and capping it with a solid layer means the outside looks like an ordinary frosted cake, which is exactly what makes the reveal land.
- Box mix keeps the focus on the fun. The cake itself is a reliable box bake, so all your effort and attention go into the candy engineering, which is the part people remember.
- A 3 inch wall prevents collapse. Leaving that much cake around the well keeps the structure strong enough to hold the top layer and survive slicing without caving.
- Warmed frosting spreads without tearing. Ten seconds in the microwave, foil off, loosens canned frosting so it glides over the cut cake surface instead of pulling crumbs.
- Cut side down seals the deal. Placing the top layer cut side down gives a flat, crumb free dome for frosting and presses gently onto the candy mound to close the chamber.
- Small candies pour best. Mini chocolate candies tumble out in a dramatic spill, big or sticky candies wedge in place and ruin the waterfall moment.
Why You’ll Love This Recipe
- The reveal moment is pure birthday magic, and nobody sees it coming from the outside.
- It is a box mix build, if you can bake a cake and wield a spoon, you can build a pinata cake.
- The hidden surprise formula is the same joy as our strawberry earthquake cake, dessert with a secret.
- It has earned a permanent spot in our rotation, right up there with our valentine cupcakes.
- It has earned a permanent spot in our rotation, right up there with our snickerdoodle cake.
- It earns a spot in the rotation right next to our mexican tres leches cake.
Key Ingredients
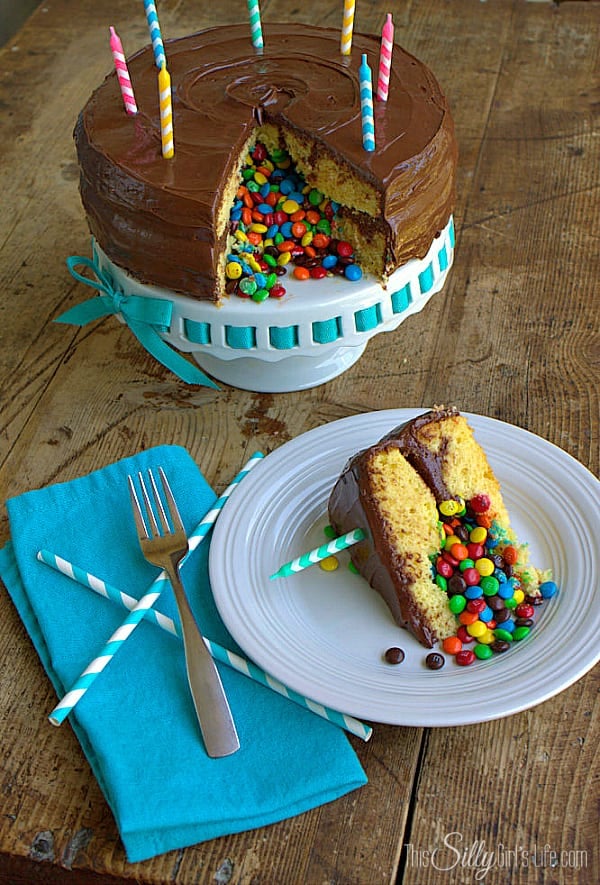
Three store bought players, one showstopper.
- Yellow cake mix: One box bakes the two sturdy layers, follow the back of the box for two 8 or 9 inch rounds.
- Chocolate frosting: One can covers the whole cake, a 10 second microwave with the foil off makes it spread like silk.
- Mini chocolate candies: The surprise itself, about 2 cups of small candies that pour freely when the cake is cut.
See recipe card for exact quantities.
Variations and Substitutions
Change the candy, change the party.
- Match the candy colors to the theme, reds and greens at Christmas, pastels at Easter, orange and black for Halloween.
- Use chocolate cake mix and vanilla frosting for a reverse color scheme with the same reveal.
- Fill the well with a mix of candy and sprinkles for an extra confetti effect when it spills.
- Hide gummy bears or jelly beans instead of chocolate for a fruity version that will not melt in a warm room.
- Want the surprise baked INTO the crumb instead? Our better than sex cake hides its magic in the layers.
- Craving a different flavor next time? Our 7up cake delivers the same easy comfort with its own twist.
- Craving a different flavor next time? Our burnt almond torte cake delivers the same easy comfort with its own twist.
- In the mood for something different? Our layered carrot cake scratches a similar itch.
How to Make Pinata Cake
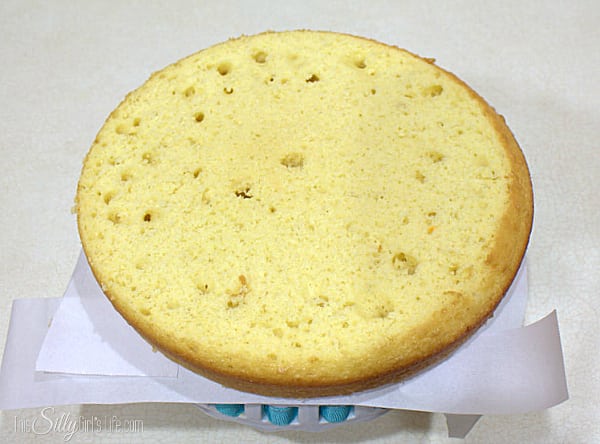
- Prepare the yellow cake mix according to the directions on the box using two 8 or 9 inch round cake pans. Let the layers cool completely on a wire rack, then place the first layer on your cake stand and carefully cut off the top so you have a flat surface. A few strips of wax paper under the edges keep the stand clean while you frost.
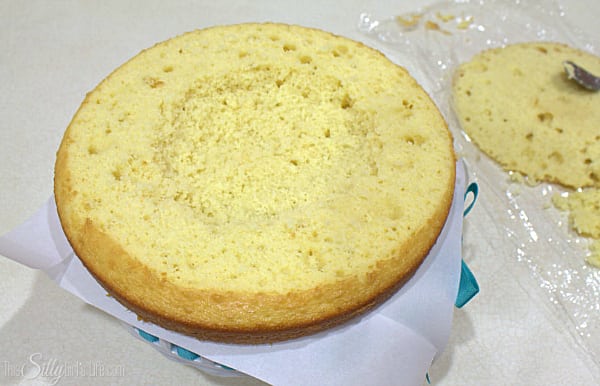
- Hollow out the inside of the cake with a spoon, staying about 3 inches from the sides and being careful not to cut through to the bottom.
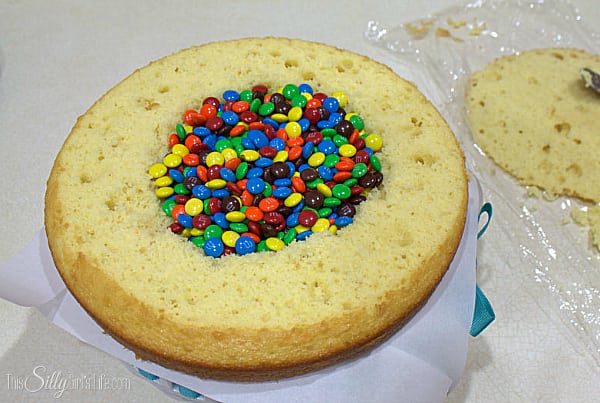
- Fill the well of the cake with the candy of your choice.
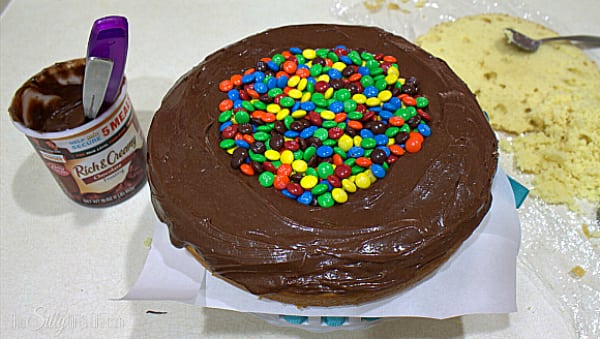
- Frost the cake ring around the candy, mound a little extra candy in the center, then level the second layer and place it cut side down on top. Frost the entire cake with the remaining frosting, slide out the wax paper strips, and get ready for the reveal.
Recipe Tips & Tricks
- Cool the layers completely. A warm cake crumbles when you hollow it and melts the candy inside, give it the full cooling rack wait.
- Save the scooped cake. The spoonfuls you dig out are baker treats, or crumble them over ice cream like our other cake trimmings.
- Warm the frosting 10 seconds, foil OFF. Canned frosting spreads twice as easily with a brief microwave and a stir.
- Do not overfill the well. Fill to just below the rim, an over stuffed chamber pushes the top layer into a dome that cracks the frosting.
- Chill 20 minutes before slicing. A short chill firms the frosting so the first cut is clean and the candy spill gets its dramatic moment.
- Use a long serrated knife for the reveal cut. Score the top first, then cut straight down, the first wedge should free the candy in one motion.
- Make it a spread. When you are feeding a crowd, round out the table with our swiss roll cake.
- Make it a spread. When you are feeding a crowd, round out the table with our triple pineapple luau cake.
- Make it a full spread. Our black forest cake rounds out the table.
Serving Ideas and Suggestions
Still filling out the menu? Readers love pairing this one with our german chocolate cake, marble cake, fairy cakes, and brownie cake.
Store leftovers under a cake dome at room temperature for 2 days or covered in the refrigerator for up to 5. The candy chamber keeps its crunch best at room temperature, so let chilled slices sit out 20 minutes before serving.
Pinata Cake FAQs
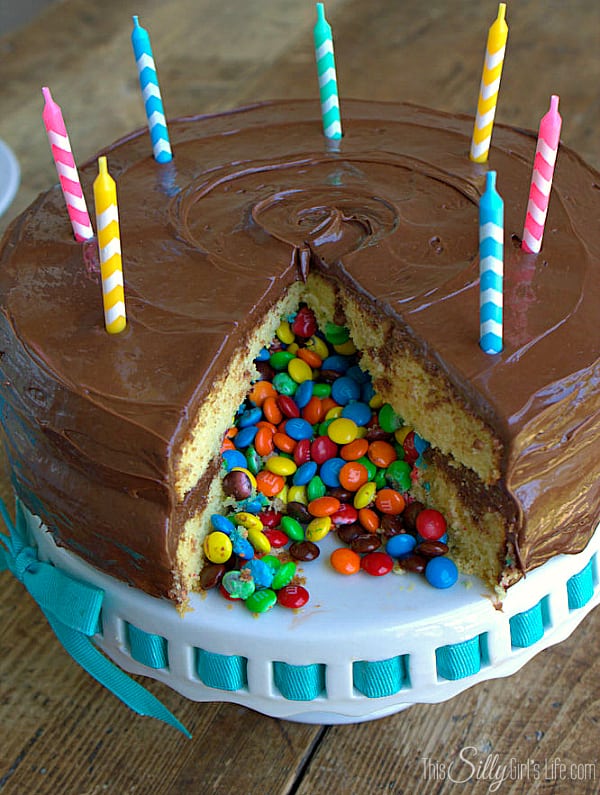
A pinata cake is a layer cake with a hollow center packed with candy, so when you cut the first slice the candy spills out like a pinata breaking open. This version builds it from a yellow box mix, canned chocolate frosting, and mini chocolate candies, so the technique is the star and the shopping list is three items long.
The candy chamber only opens when the first slice is cut. Keep the well 3 inches from the edges, do not cut through the bottom, and cap it with a solid leveled layer placed cut side down. Frost the seam where the layers meet and the chamber is completely sealed until the big moment.
Small, hard shelled, free flowing candies give the best spill, mini chocolate candies, chocolate covered sunflower seeds, jelly beans, or sprinkles mixed with any of them. Avoid anything sticky like caramels or gummies stacked in a warm kitchen, they clump and stay wedged in the cake instead of pouring.
Yes, it is a great day ahead cake. Build and frost it, then store it under a cake dome at room temperature or loosely covered in the refrigerator. The candy stays crisp inside the sealed chamber overnight. If you refrigerate it, let the cake sit at room temperature for 20 to 30 minutes before the reveal slice.
Absolutely, any sturdy two layer 8 or 9 inch cake works. A from scratch yellow or chocolate layer cake holds the hollow beautifully, just make sure the layers are completely cool and use a cake that is firm enough to hold its wall, very soft delicate crumbs can slump around the chamber.
A two layer 8 or 9 inch pinata cake serves about 12 party slices. Because the center of the bottom layer is hollow, the middle slices are a little lighter on cake and heavier on candy, which, if you ask the kids at the table, is exactly the point.
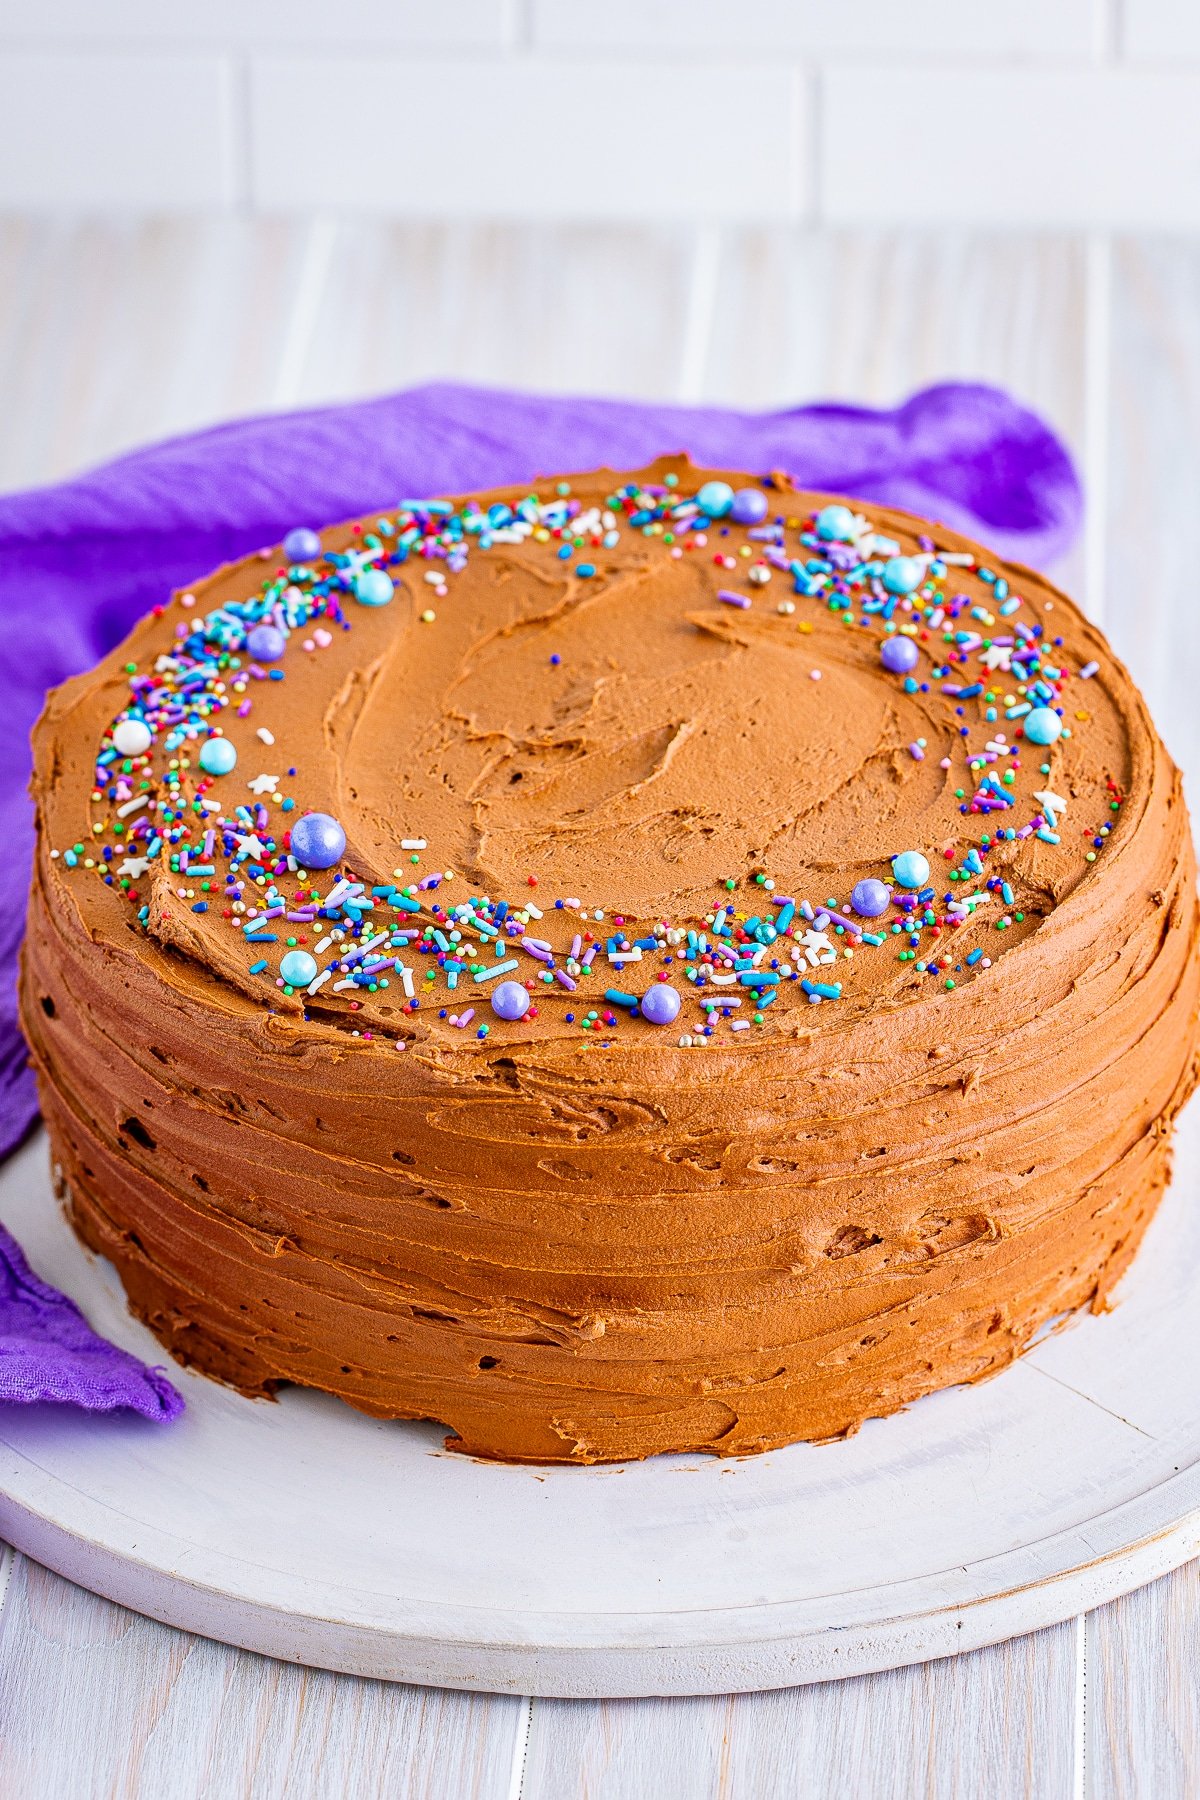
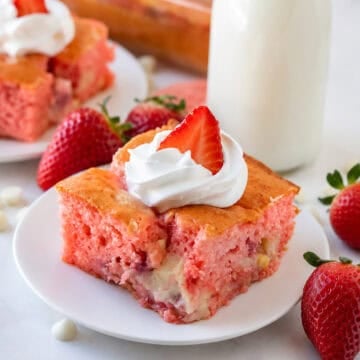
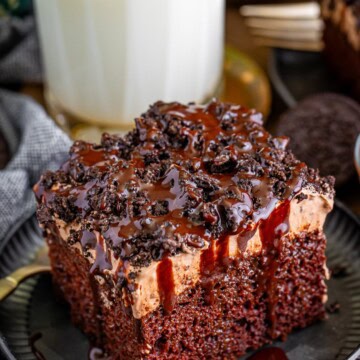
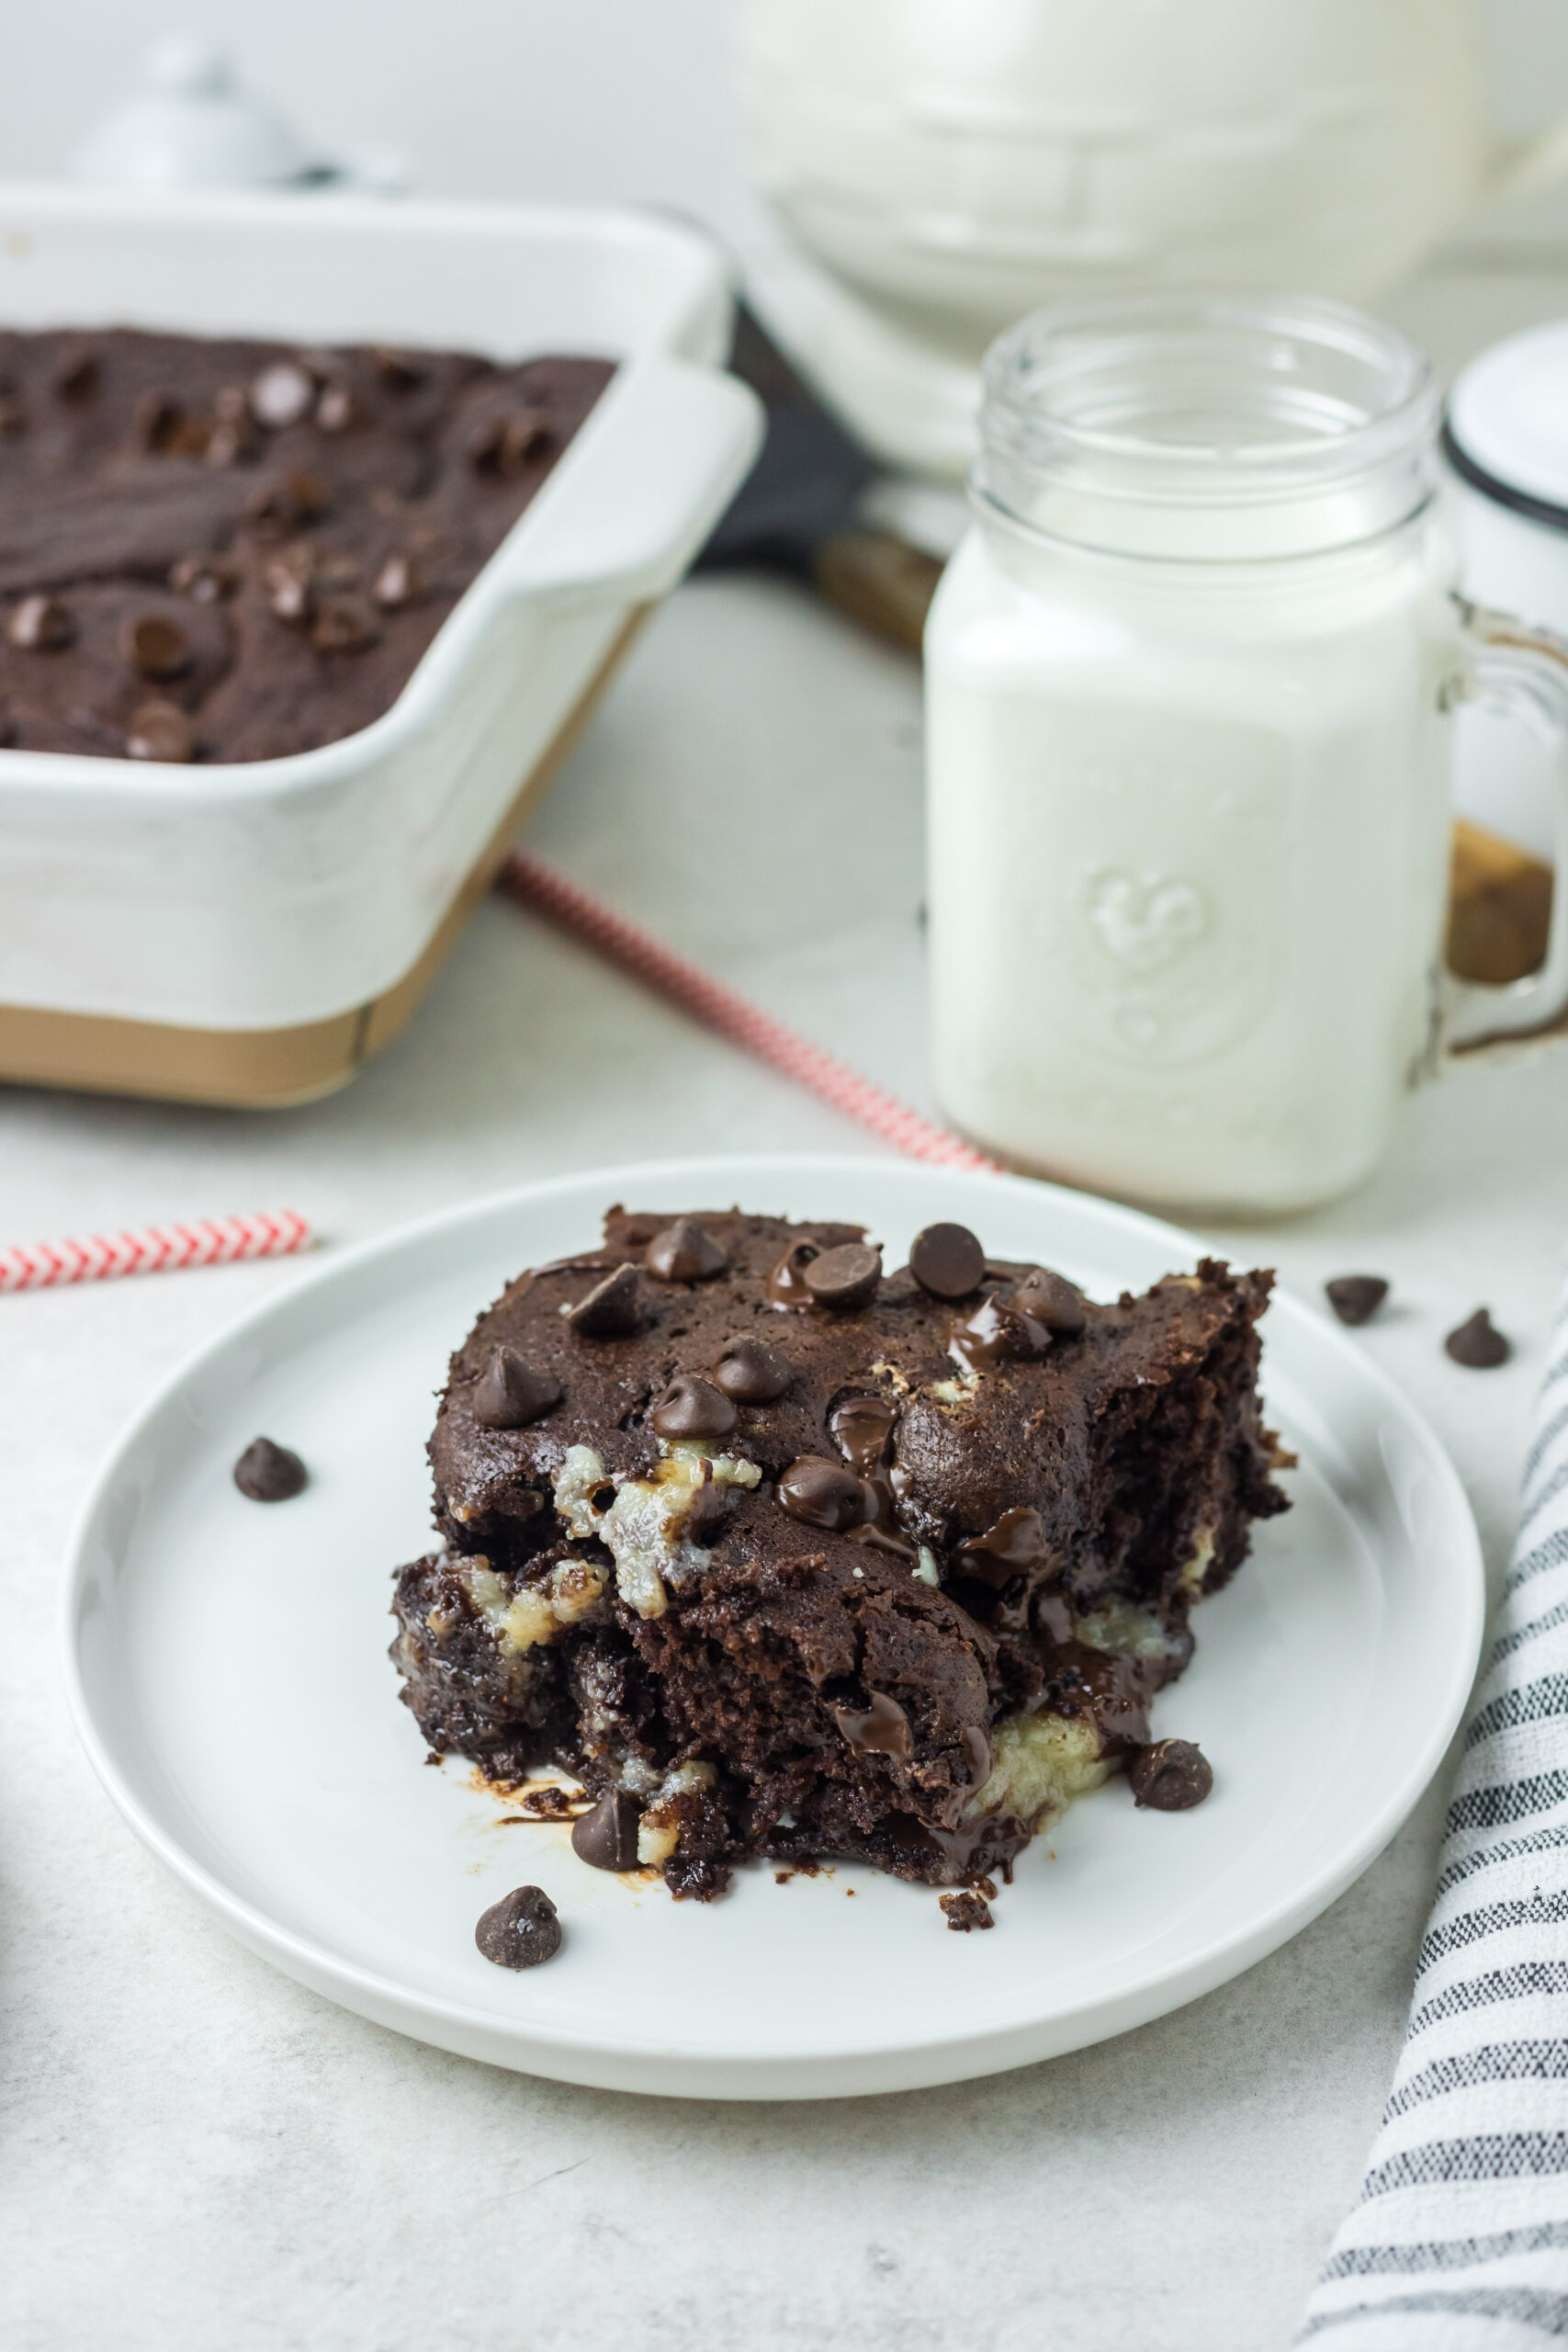
Made this Pinata Cake? Leave a comment and a star rating below, and tell me what candy came pouring out!

Pinata Cake
Ingredients
- 1 box Yellow Cake Mix
- 1 can Chocolate Frosting
- Candy of choice I used mini chocolate candies!
Instructions
- Prepare the Yellow Cake Mix to directions on the back of the box using either 2 8 or 2 9 inch round cake pans. Let cool completely on wired rack.
- Place the bottom of one of the cakes on cake stand of your choice. Carefully cut off the top of the cake so you have a flat surface. (Quick Tip: if you are concerned about getting your cake stand dirty, cut small strips of wax paper to line the bottom of the plate, later you can slide them off and boom! no mess.)
- Hollow out the inside of the cake, to about 3 inches from the sides. Make sure not to cut all the way through to the bottom. Using a spoon makes this easy. Fill the inside of the cake with the candy of your choice. Carefully frost the cake part of this bottom layer. The frosting is more easily spreadable if you microwave it with the foil wrapper OFF for 10 seconds. Mix frosting with a spoon or spatula and spread on a thick layer. Add more candy in the center so it fills in the hole. Repeat the process of cutting off the top of the second layer of cake to make a flat surface. Place second layer CUT SIDE DOWN onto the candy and frosting.
- Frost entire cake with remaining frosting. Cut to serve and surprise! Enjoy.
Nutrition
Love This Recipe?
Follow @ThisSillyGirlsKitchen on Instagram and @ThisSillyGirlsKitchen on Pinterest for more!









This would be adorable to make for my niece! What a fun idea! I can only imagine their surprise when cutting into the cake. It’s like a surprise! Great idea, thanks for sharing!
What a cute idea! I bet kids would just love this!
Such a lovely idea!
I LOVE THIS!!! What a fun idea for a birthday party, or any kind of party of that matter. I’ve got to try this