This post may contain affiliate links.
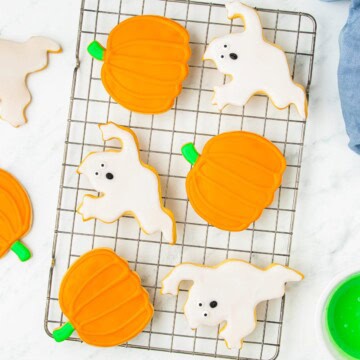
Halloween Sugar Cookies are the soft, buttery cutouts that turn a bag of flour into a tray of grinning ghosts and glossy pumpkins, and the simple icing means kids can decorate right alongside you. We made these on a rainy October Sunday and Lizzie appointed herself head of ghost faces, quality control was intense. If my sugar cookies are already your holiday go to, this is the same soft center magic in costume.
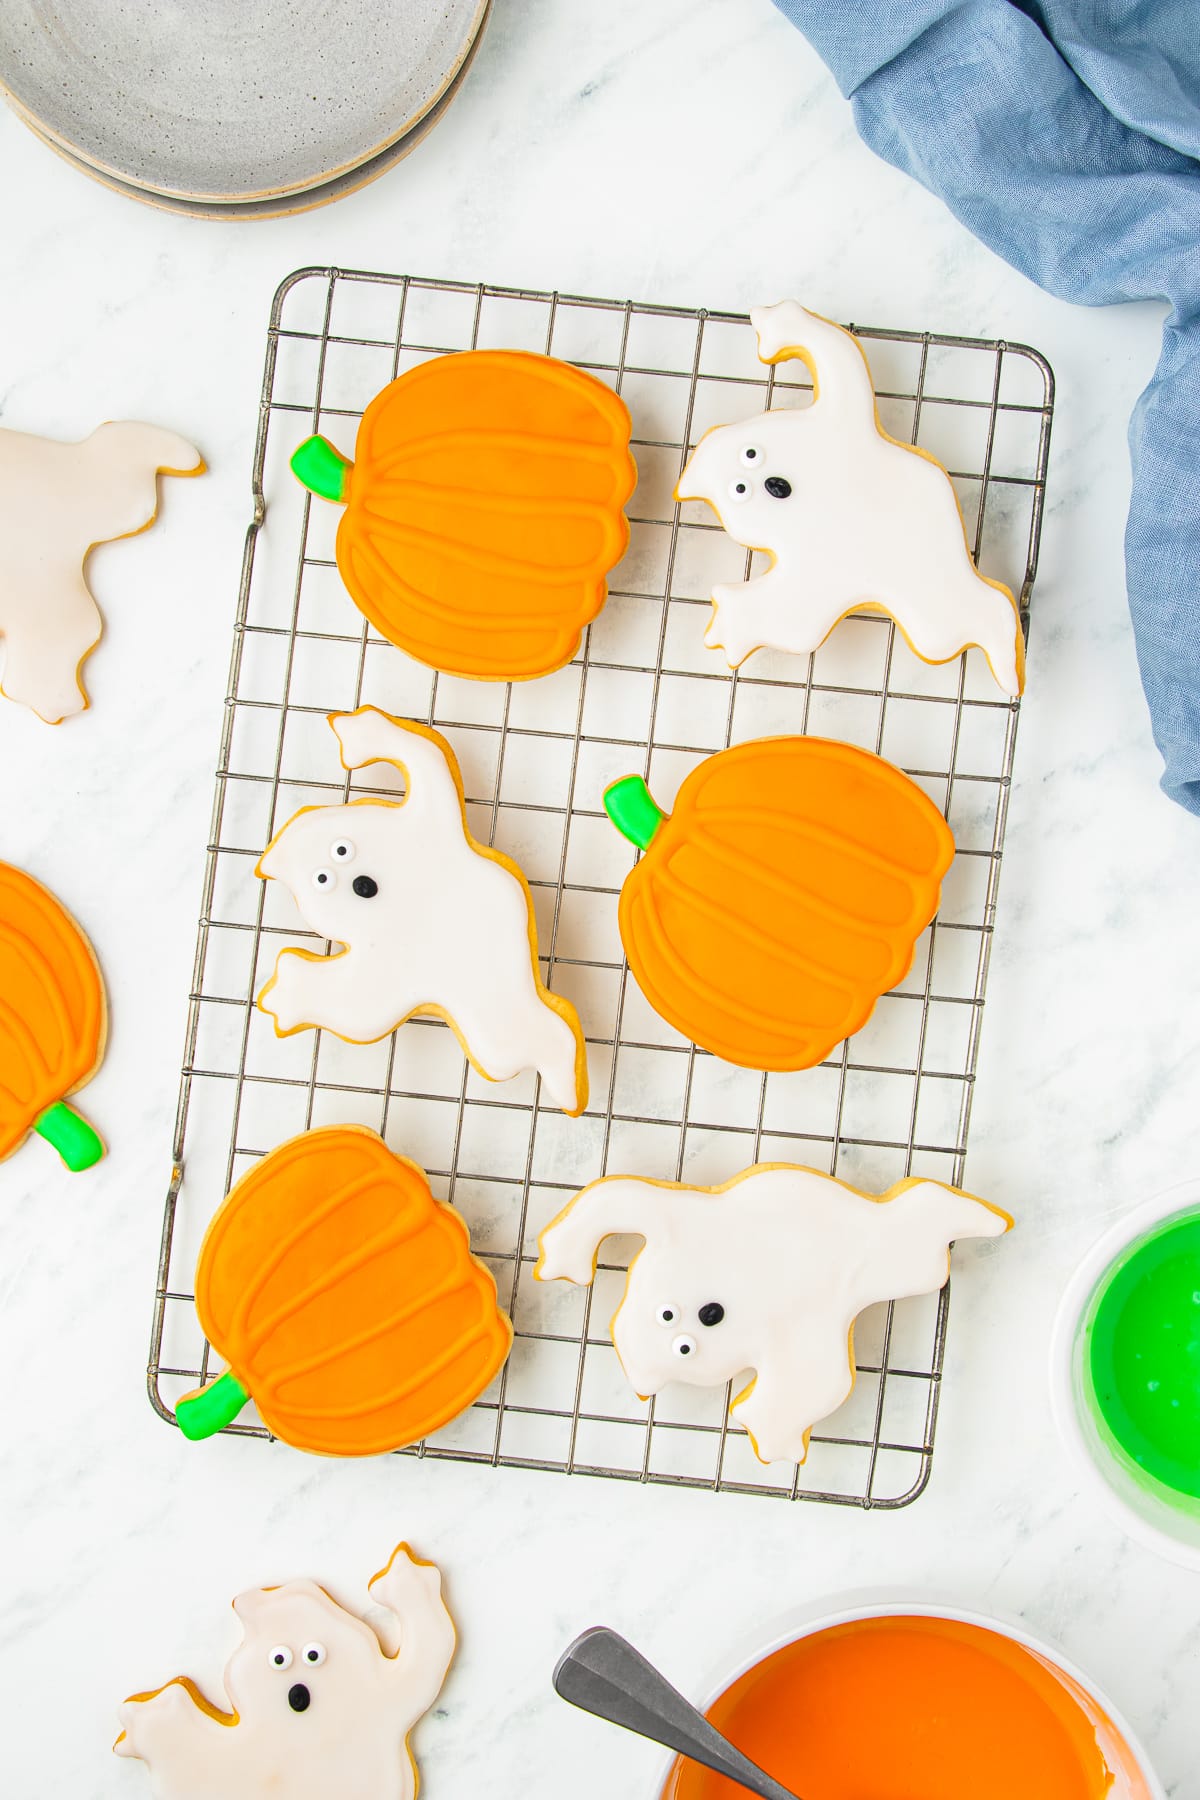
The dough rolls like a dream and the icing needs exactly two skills, stir and spread.
Halloween Sugar Cookies Quick Look
- 🕒 Prep Time: 45 minutes
- 🌡️ Cook Time: 10 minutes
- ⏳ Total Time: 1 hour 45 minutes
- 🍽️ Serving: 12 servings
- ⚡ Calories: 285kcal
- 🌶️ Flavor Profile: Buttery vanilla cookie under sweet, smooth icing
- ✋ Difficulty: Easy, a roll, cut, bake, and decorate project
Quick Answer
Cream softened butter with granulated sugar, then beat in an egg and vanilla. Whisk flour, baking powder, cornstarch, and salt separately, mix it into the wet ingredients, and chill the dough for about 30 minutes. Roll it out to a quarter inch, cut ghost and pumpkin shapes, and bake at 350 degrees Fahrenheit for 9 to 10 minutes until the edges just set. Cool completely, then decorate with a powdered sugar and milk icing tinted orange and green, adding candy eyes and black icing details.
Jump to:
- Halloween Sugar Cookies Quick Look
- Quick Answer
- Why This Recipe Works
- Why You’ll Love This Recipe
- Key Ingredients
- Variations and Substitutions
- How to Make Halloween Sugar Cookies
- Recipe Tips & Tricks
- Serving Ideas and Suggestions
- Halloween Sugar Cookies FAQs
- Other Recommended Cookie Recipes
- Halloween Sugar Cookies
Why This Recipe Works
Click to see the technique science
- Cornstarch keeps the cookies soft. A tablespoon of cornstarch in the dry mix shortens the gluten and gives the baked cookie that soft, almost shortbread bite while the edges stay crisp.
- Chilled dough holds its shape. Thirty minutes in the fridge firms the butter so the ghosts keep their arms and the pumpkins keep their curves instead of spreading into blobs.
- A short bake protects the texture. Pulling the cookies when the edges are set but the centers still look slightly underdone is what keeps them tender, they finish setting on the hot pan.
- Powdered sugar icing is self smoothing. The milk and powdered sugar glaze floods and levels itself on the cookie, so you get that smooth bakery finish without ever touching royal icing or piping consistency math.
- Decorations go on in two stages. Letting the base color set before adding faces and stems means the black details sit crisp on top instead of bleeding into the wet icing.
Why You’ll Love This Recipe
- One dough makes the whole spooky cast, ghosts, pumpkins, and whatever else your cutter drawer is hiding.
- The icing is powdered sugar and milk, no meringue powder, no piping bags required, a zip top bag with the corner snipped works fine.
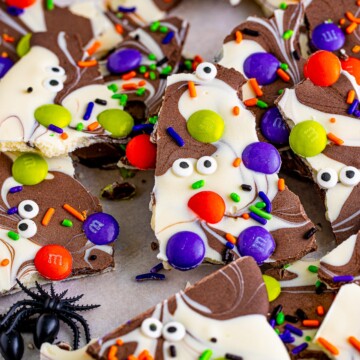
- The icing sets firm enough to stack, so they travel to class parties as well as my Halloween bark.
Key Ingredients
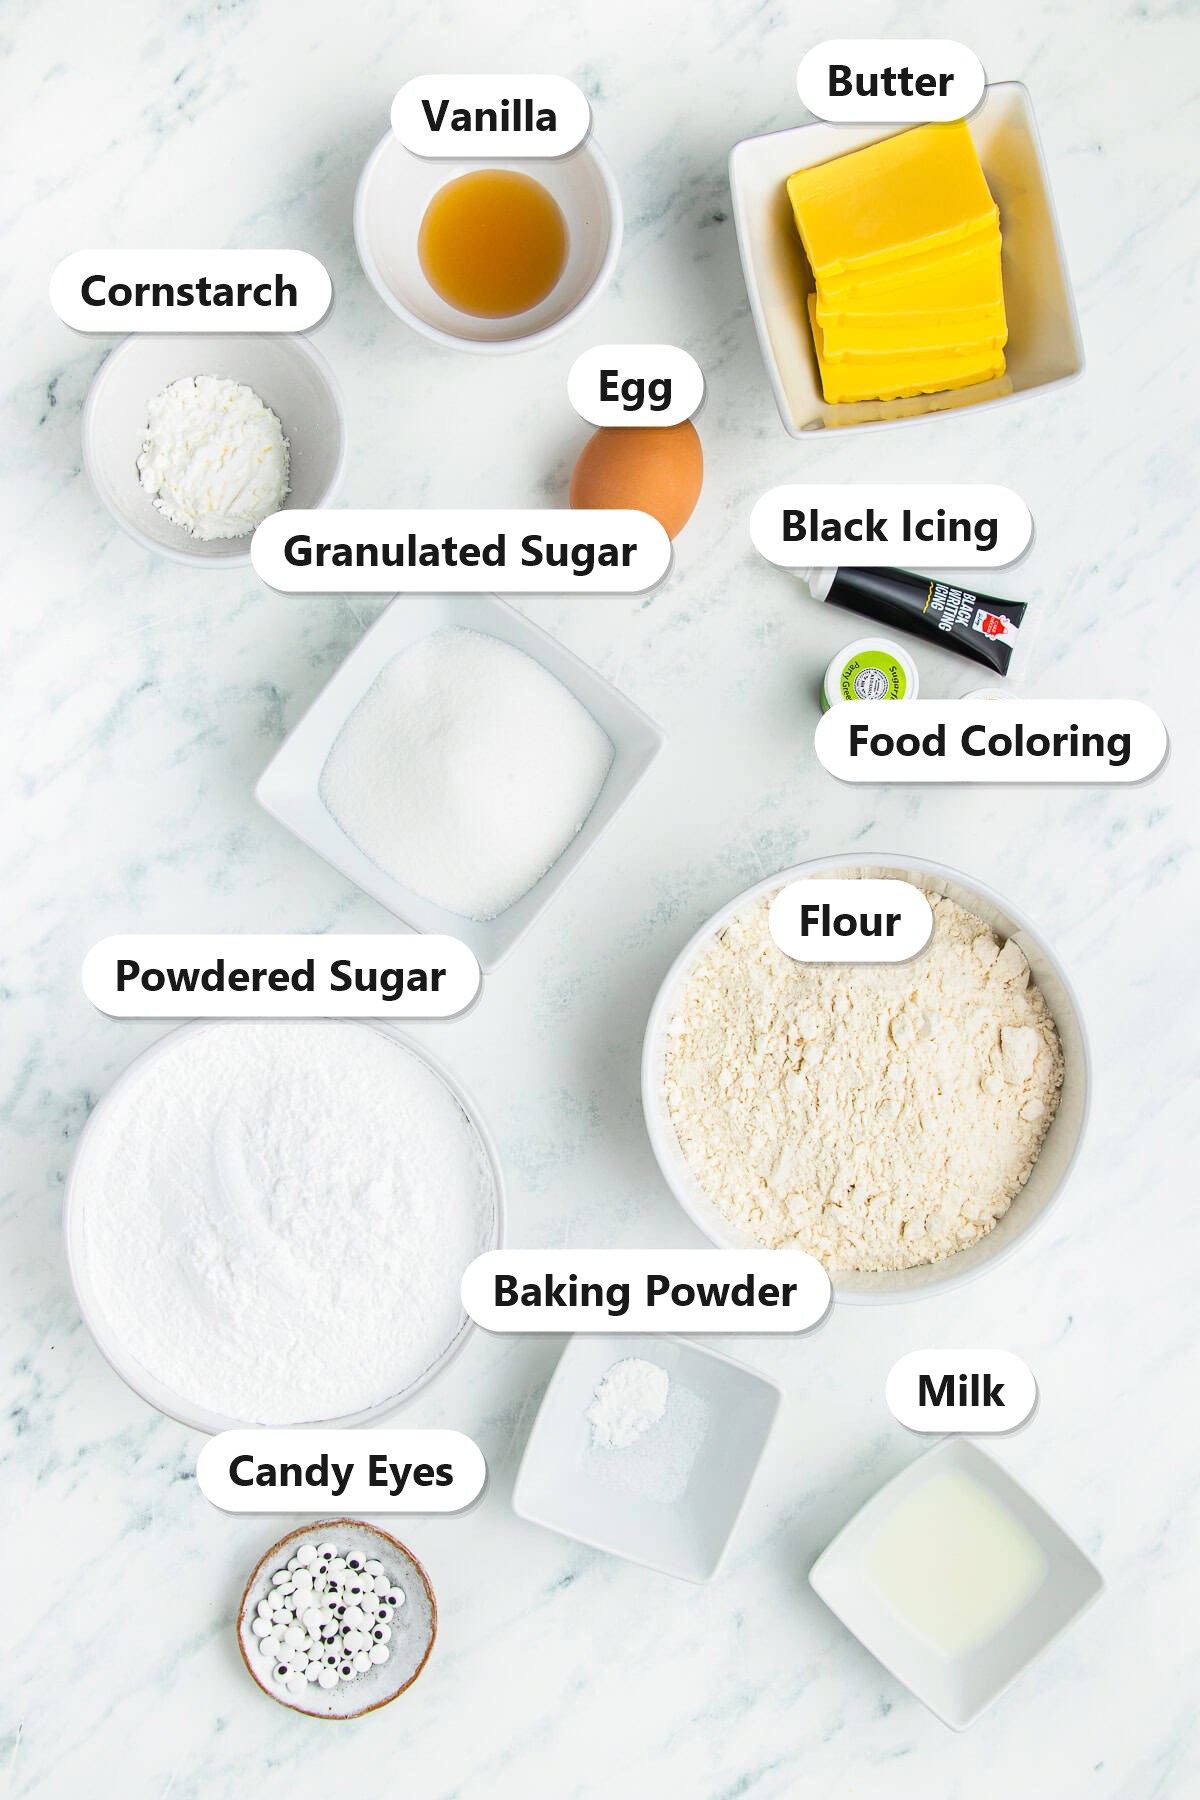
Pantry basics build the cookies, and the decorating kit is three little extras.
- Butter: Softened, not melted, it creams with the sugar to give the cookies their tender crumb and buttery flavor.
- Granulated and powdered sugar: Granulated sweetens the dough, powdered builds the smooth decorating icing.
- Flour, cornstarch, and baking powder: The structure team. The cornstarch is the secret to the soft centers.
- Egg and vanilla: Richness and flavor in the dough, one of each is all it takes.
- Food coloring, black icing, and candy eyes: Orange and green gel color for pumpkins, a black writing tube and candy eyes for the ghost faces.
See recipe card for exact quantities.
Variations and Substitutions
Same dough, endless costume changes.
- Cut bats and cats instead and ice them solid black with the same glaze technique.
- Add a half teaspoon of almond extract to the dough for a bakery style flavor twist.
- Sandwich two plain baked cookies with chocolate frosting for a spooky sandwich cookie.
- Trade the icing for a chocolate drizzle inspired by my chocolate M&M cookies for a less sweet finish.
- Skip the shapes entirely, cut circles, and let kids free hand jack o lantern faces with the black icing.
How to Make Halloween Sugar Cookies
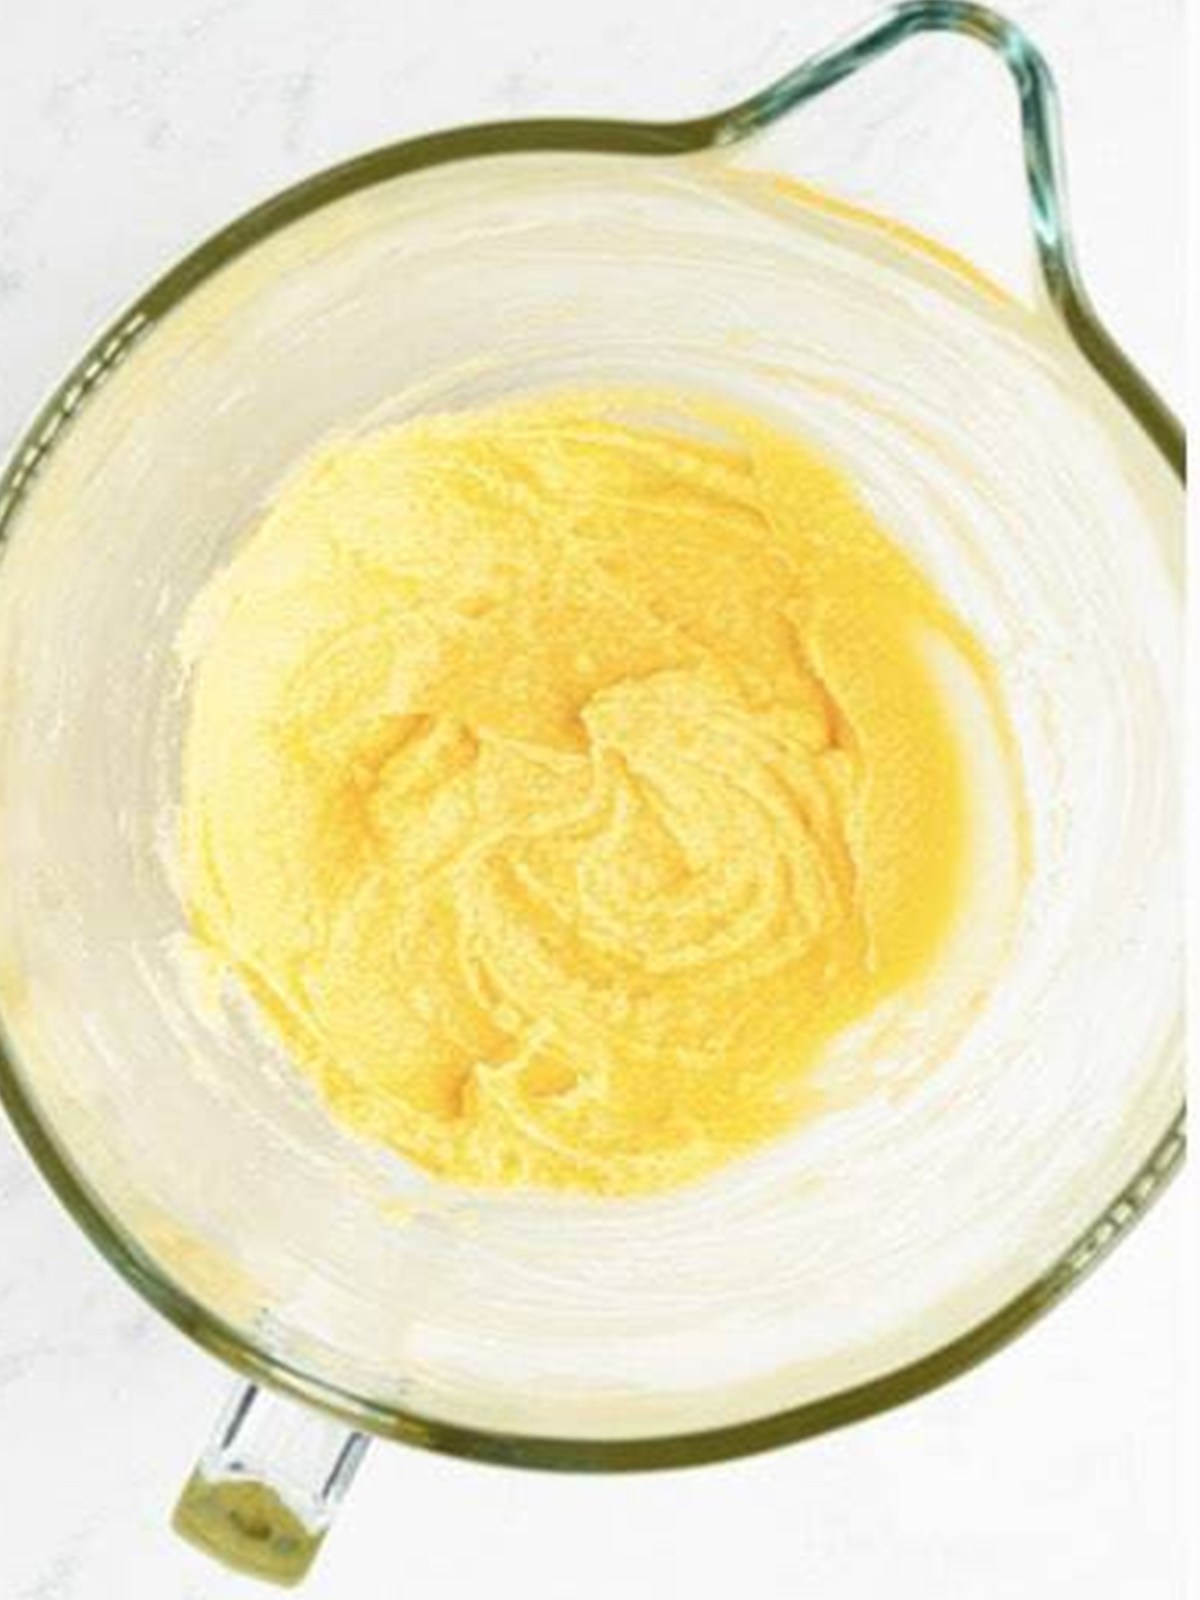
- In a large bowl, cream the softened butter and granulated sugar together until light and fluffy, about 2 minutes with a hand mixer. Beat in the egg and vanilla until combined.
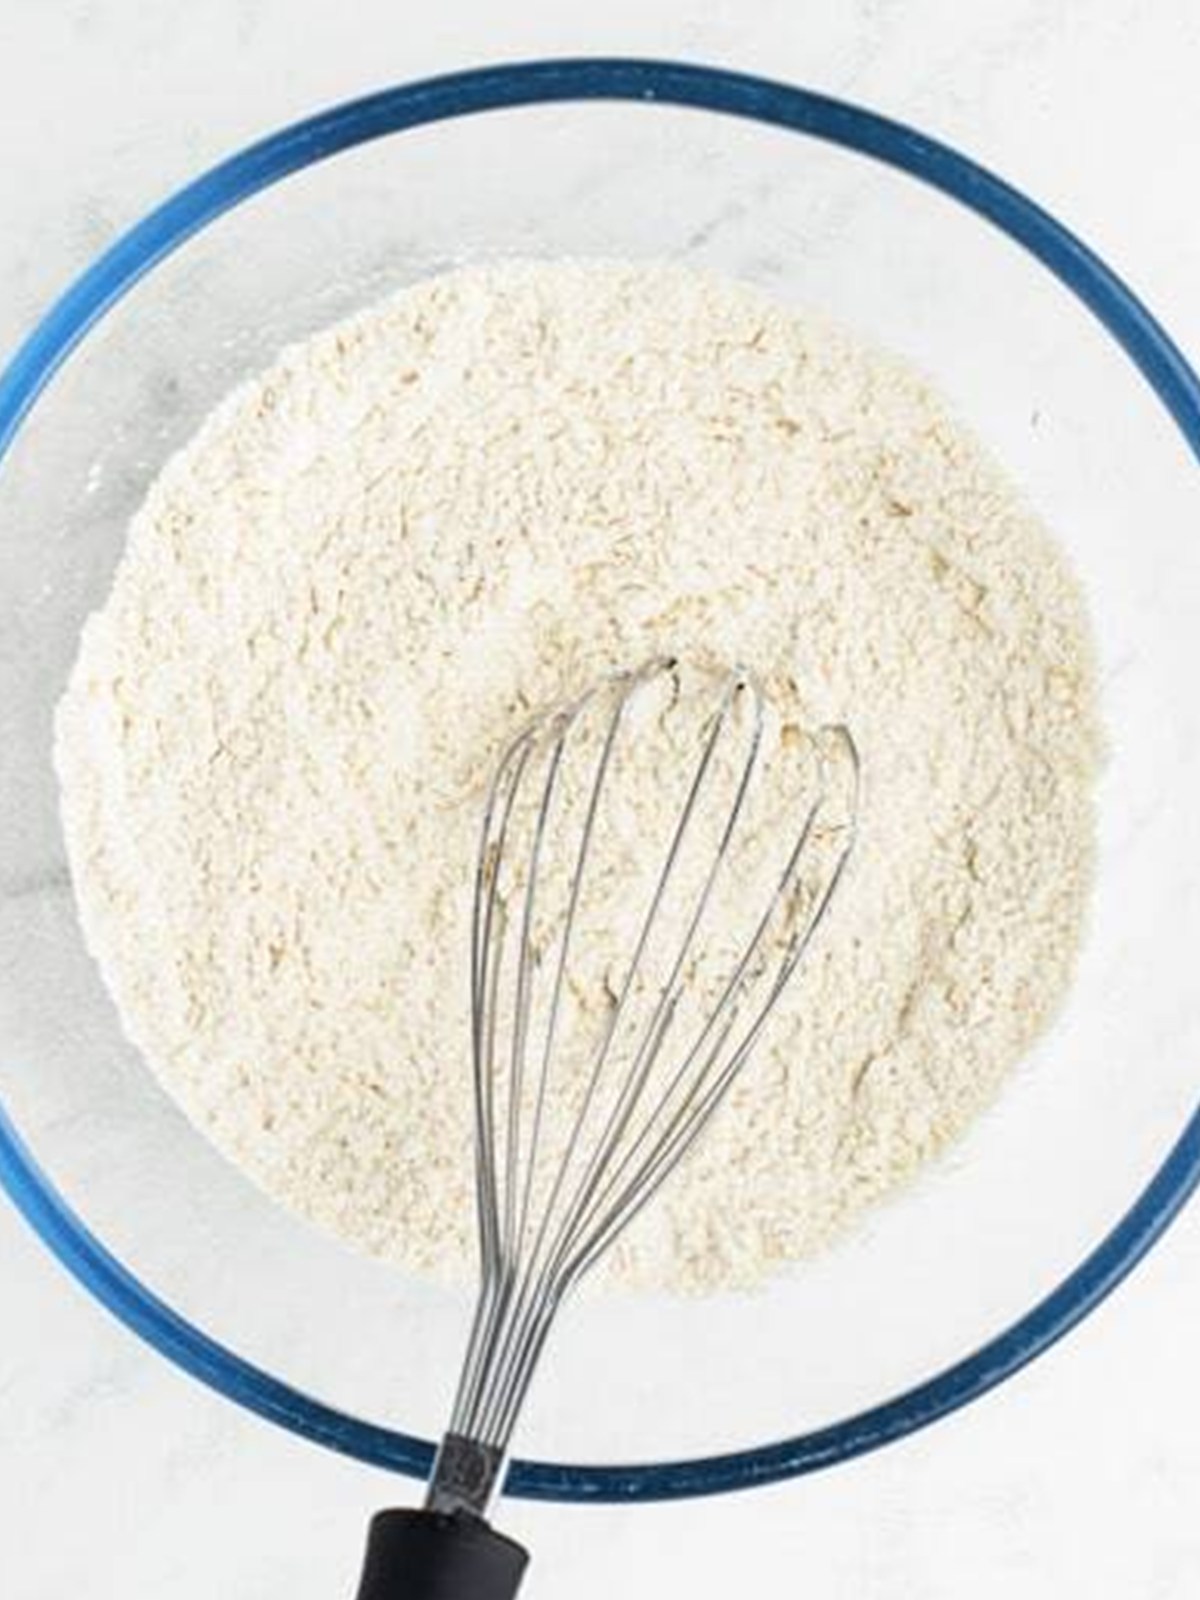
- In a separate bowl, whisk together the flour, baking powder, cornstarch, and salt so the leavening is evenly distributed.
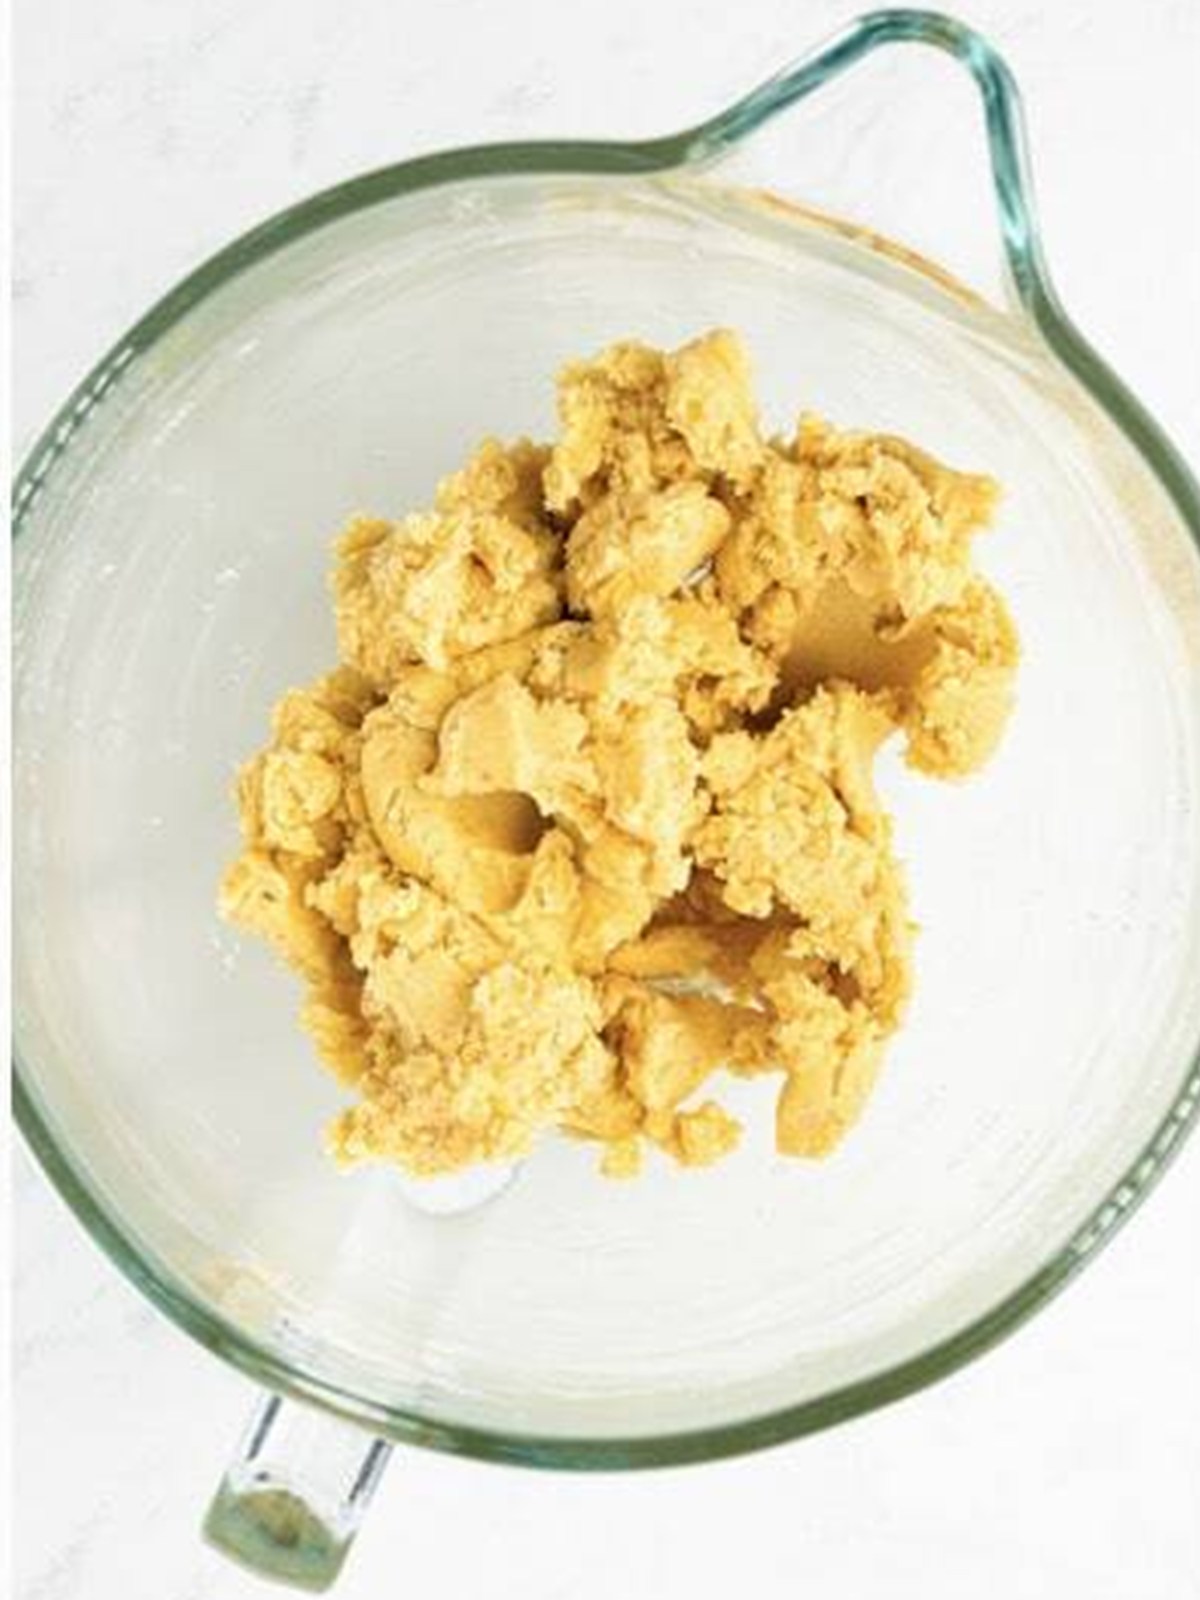
- Add the dry ingredients to the butter mixture and mix on low just until a shaggy dough forms, it will look crumbly before it comes together.
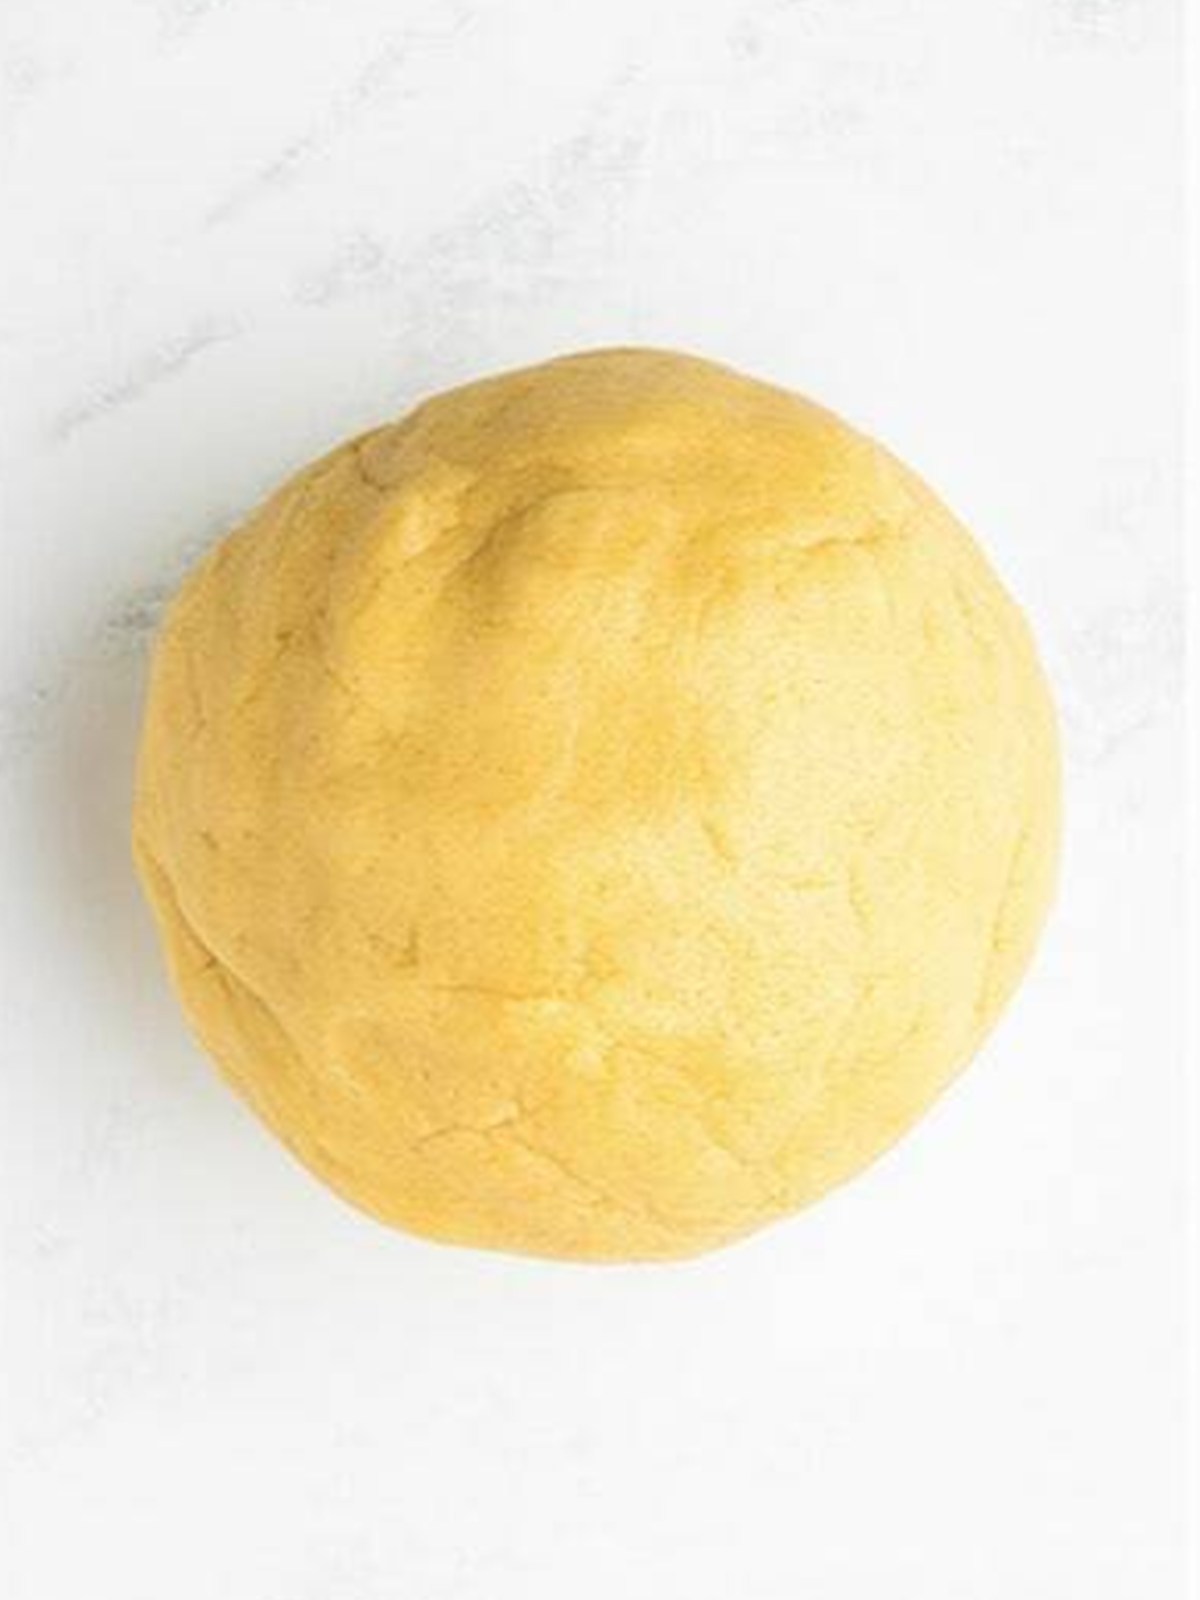
- Gather the dough into a smooth ball, wrap it, and chill for 30 minutes so the butter firms up and the cutouts hold their shape.
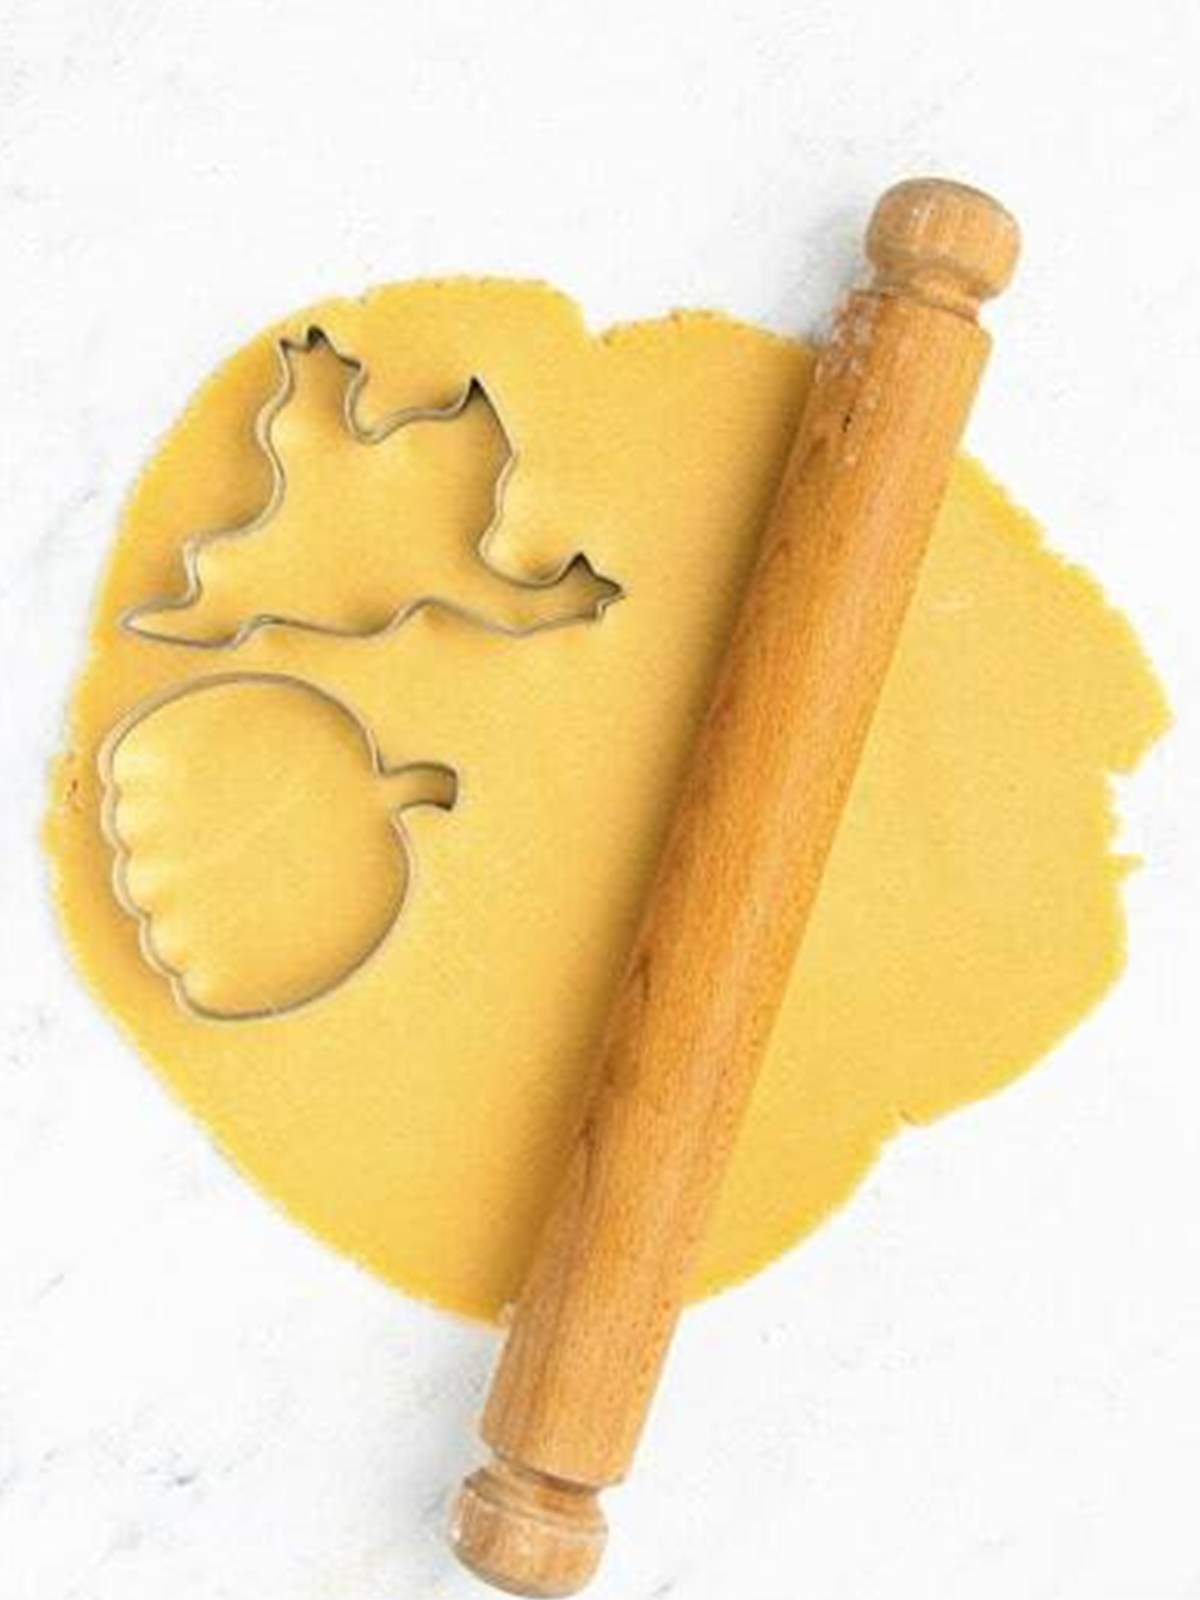
- Roll the chilled dough out to about a quarter inch thick on a lightly floured surface and cut ghosts and pumpkins, rerolling the scraps once.
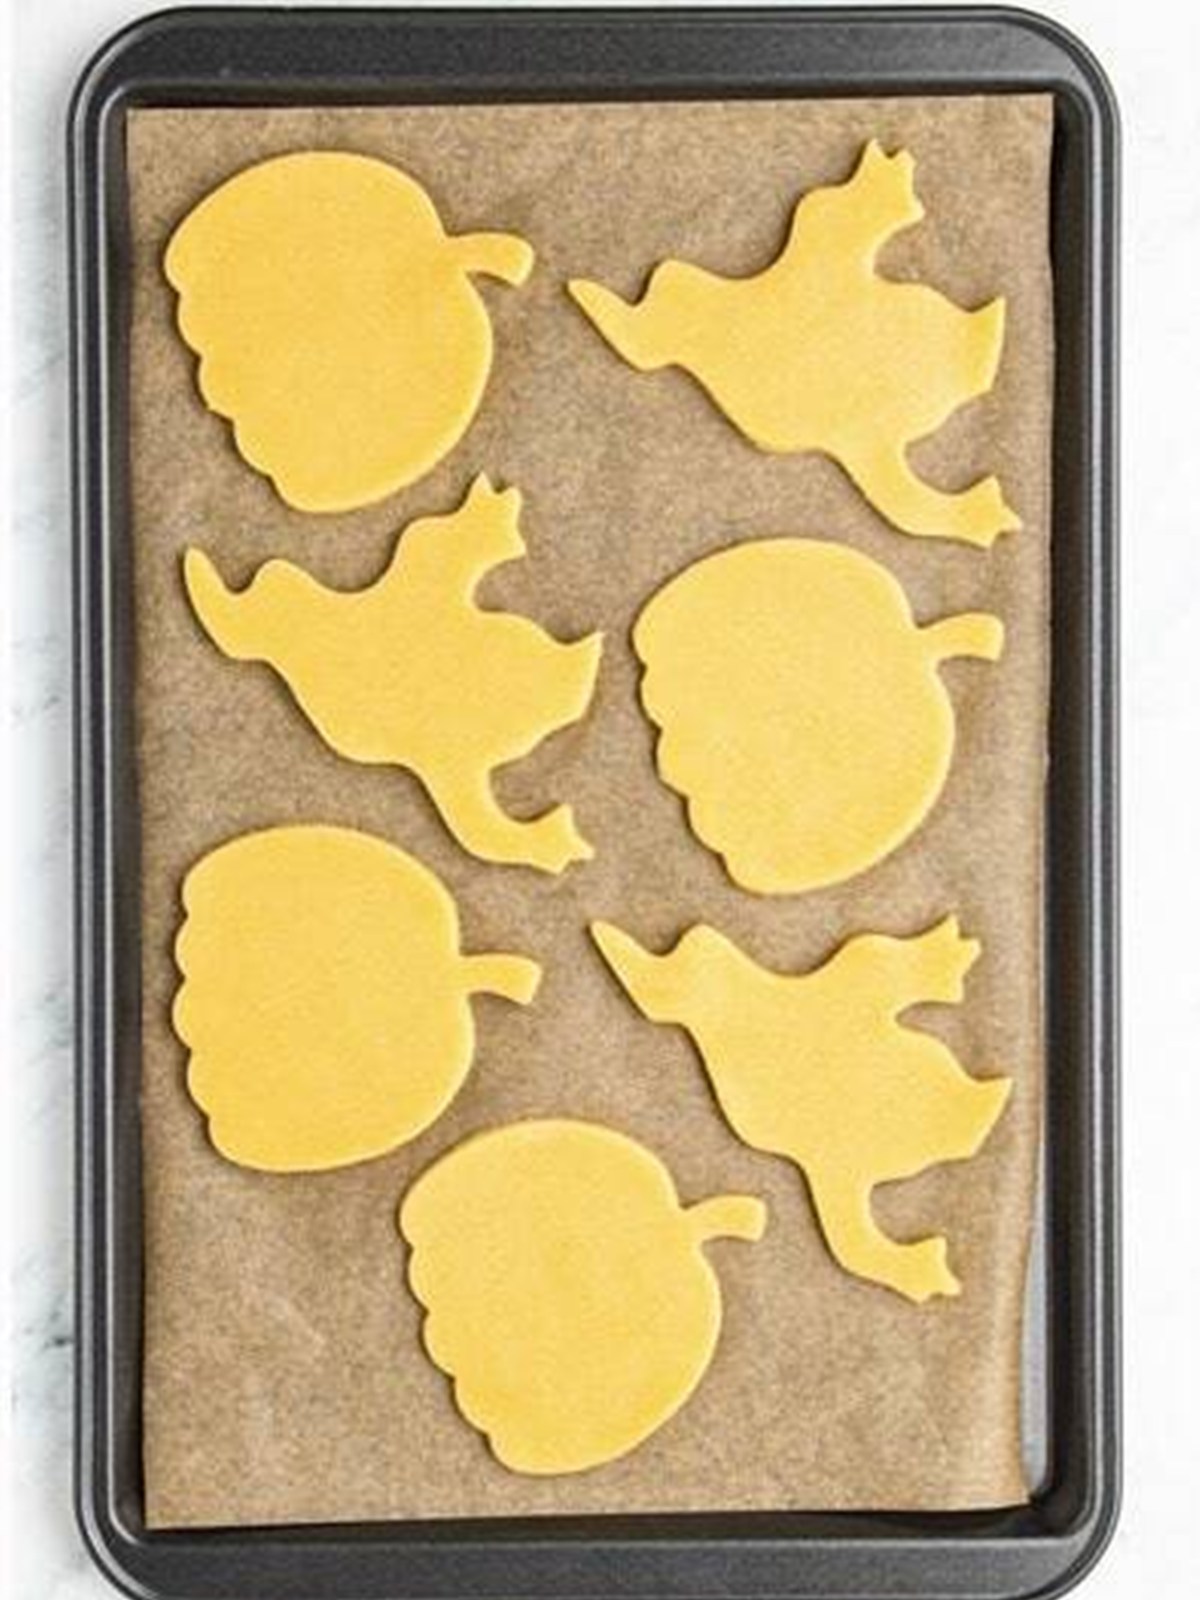
- Arrange the cutouts on a parchment lined baking sheet and bake at 350 degrees Fahrenheit for 9 to 10 minutes, until the edges are set. Cool completely, then flood with tinted icing, let the base set, and add candy eyes, ghost faces, and pumpkin stems.
Recipe Tips & Tricks
- Measure the flour by spooning it into the cup. Scooping packs in extra flour and makes the cookies dry instead of soft.
- Do not skip the chill. Warm dough spreads, and a spread ghost is just a puddle with eyes.
- Roll between parchment if the dough sticks. You get an even quarter inch without adding extra flour that toughens the cookie.
- Ice the base color first and let it set. Waiting 30 minutes before the faces and stems keeps every detail crisp.
- Thin the icing with drops, not pours. The line between spreadable and runny is about a teaspoon of milk, add it gradually.
- Bake one test cookie if you are unsure. Ovens vary, and one sacrificial ghost tells you your exact perfect minute.
Serving Ideas and Suggestions
Set the Halloween sugar cookies out on a black platter with my candied grapes and a bowl of candy corn for a party spread that needs zero explanation.
For a spooky movie night, stack them next to mugs of hot chocolate and a plate of my chocolate sugar cookies so there is a team ghost and a team chocolate.
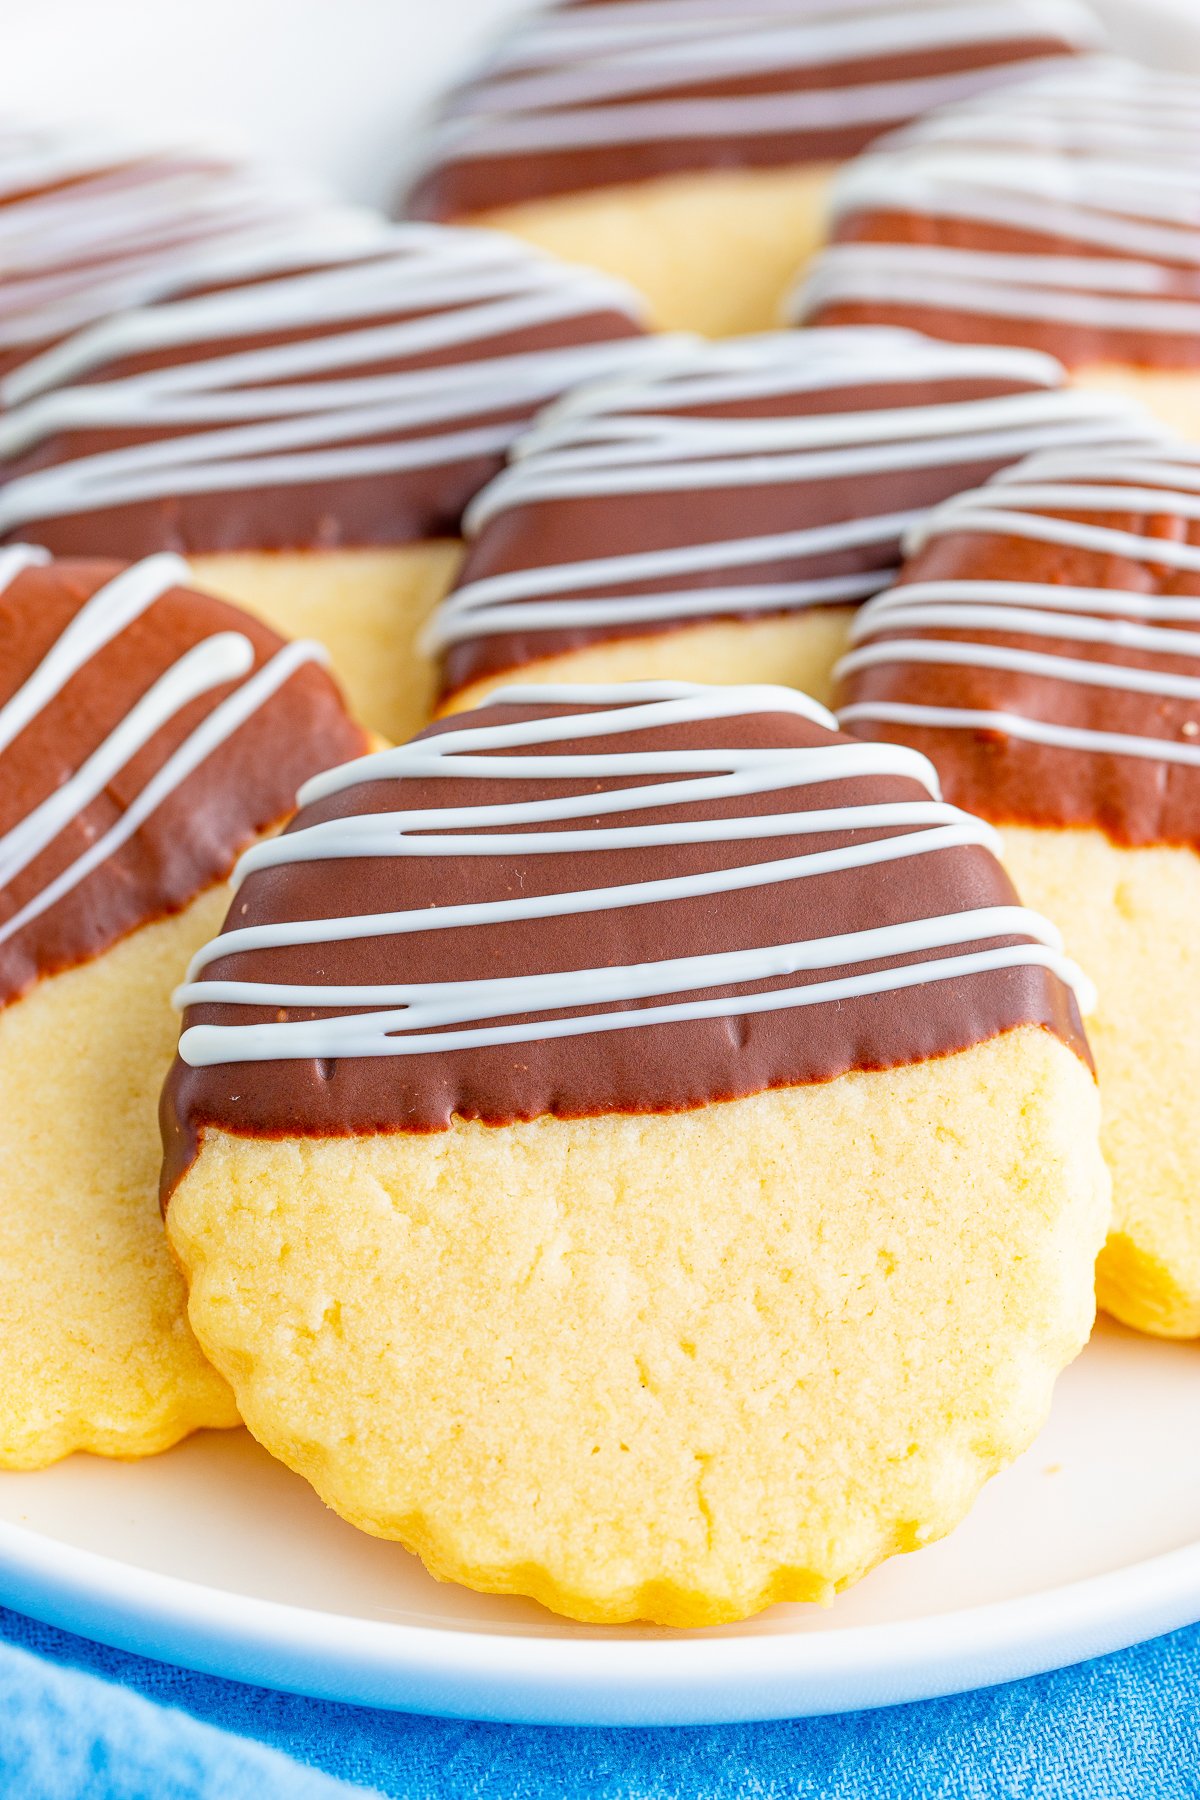
They make a sweet teacher or neighbor gift boxed with a few of my shortbread cookies, the mixed shapes look like a little bakery box.
And if you are hosting, serve them alongside my Christmas sandwich cookies at a holiday cookie exchange, the pumpkins hold their own on any cookie table through Thanksgiving.
Store decorated Halloween sugar cookies in a single layer, or stack them with parchment between layers once the icing is fully set, in an airtight container at room temperature for up to 5 days. Undecorated baked cookies freeze beautifully for up to 2 months, thaw and decorate the day you need them.

Halloween Sugar Cookies FAQs
The dough keeps in the fridge for 2 days or the freezer for 2 months, and baked undecorated cookies freeze for 2 months too. Decorated cookies are best within 5 days stored airtight at room temperature. For a party, bake a day or two ahead and decorate the night before so the icing has time to set firm.
Almost always warm dough or too little flour. Chill the full 30 minutes, work quickly while rolling, and if your kitchen is hot, slide the cut shapes on their baking sheet into the fridge for 10 minutes before baking. Accurately measured flour matters too, spoon it into the cup and level it.
This recipe uses a simple powdered sugar and milk glaze that floods smooth and dries firm enough to stack, no royal icing skills required. Tint it with gel food coloring, orange for pumpkins, and leave it white for ghosts. A black writing icing tube handles the faces and details.
You can in a pinch, but refrigerated dough is soft and spreads more, so the shapes lose definition. If you go that route, work extra flour into the dough, chill the cutouts hard before baking, and expect rounder ghosts. The homemade dough here is genuinely a 15 minute job.
A quarter inch is the sweet spot. Thinner cookies bake crisp and snap when kids bite the ghost heads off, thicker ones stay doughy in the center before the edges brown. If you have rolling pin guide rings, this is their moment.
Set up an assembly line, you flood the base colors since that takes a steady hand, then let the kids place candy eyes and pipe faces once the base sets. Squeeze bottles or zip top bags with a tiny corner snipped are easier for small hands than piping bags, and every wobbly ghost face is a keeper.
Made these Halloween Sugar Cookies? Leave a comment and a star rating below, and tell me whether team ghost or team pumpkin won at your house!
When spring comes back around, my Easter bunny cookies run the same playbook in pastel.

Halloween Sugar Cookies
Equipment
Ingredients
For the cookies-
- ½ cup unsalted butter softened
- 2/3 cup granulated sugar
- 1 large egg
- 1 teaspoon vanilla extract
- 1 & ¾ cups all-purpose flour
- ¼ teaspoon baking powder
- 1 tablespoon cornstarch
- ¼ teaspoon salt
For the icing/decoration-
- 2 & 1/2 cups powdered sugar
- 2-3 tablespoons milk
- Food colorings of your choice I used orange, green and black gel food coloring
- Edible candy eyes optional
Instructions
Make the cookies-
- Add the butter and sugar to a mixing bowl and beat until smooth and creamy.½ cup unsalted butter, 2/3 cup granulated sugar
- Add the egg and vanilla extract and beat until combined.1 large egg, 1 teaspoon vanilla extract
- In a separate bowl, whisk together the flour, baking powder, cornstarch, and salt.1 & ¾ cups all-purpose flour, ¼ teaspoon baking powder, 1 tablespoon cornstarch, ¼ teaspoon salt
- Add the dry ingredients to the wet ingredients and fold together until combined into a smooth dough.
- Shape the dough into a ball with your hands, cover in plastic wrap, and place in the fridge to chill for 1 hour. Do not skip this step!
- Preheat the oven to 350°F and line two baking sheets with parchment paper.
- Roll out the dough to approx. ¼” thickness and cut out shapes using your Halloween cookie cutters.
- Place the cookie shapes on the prepared baking sheets and bake for 10 minutes or until just starting to go golden around the edges.
- Leave on the baking sheets for 10 minutes, then transfer to a wire rack to cool completely. This helps the cookies to continue to cook all the way.
Make the icing-
- Mix together the powdered sugar and milk until you have a smooth icing. It should be thick enough to pipe but still pourable.2 & 1/2 cups powdered sugar, 2-3 tablespoons milk
- To make the different colors, split between a few bowls and mix through a few drops of the food colorings.Food colorings of your choice
- Using a piping bag and narrow nozzle, pipe lines around the edge of each cookie. For the pumpkins, the stem can be outlined in green and the rest of the pumpkin in orange. For the ghosts I went with all white.
- Using a wider nozzle, flood the middle of the lines to fill them in. If you need to make the icing a little runnier, add a few more drops of milk.
- Add the edible eyes to the ghosts if using.Edible candy eyes
- If adding a second layer of icing, allow the cookies to dry for at least 30 minutes first.
- Pipe lines on top of the orange pumpkin icing to represent the ridges of the pumpkin. For the ghosts, you can pipe small black circles underneath the eyes for the mouths.
- Leave the cookies to dry in the open air at room temperature for at least 6 hours or preferably overnight before touching or stacking.
Notes
- Chill the Dough: Always remember to chill the dough; it’s easier to work with and helps the cookies hold their shape.
- Use Parchment Paper: Line your baking sheet with a piece of parchment paper for easy removal.
- Test Your Oven: Ovens can run hot or cold. It might be a good idea to bake one test cookie first.
- Room Temperature Ingredients: Make sure your butter is at room temperature for the best results.
- Use a Metal Spatula: A metal spatula helps to lift cookies off the cookie sheet without breaking them.
- Double the Recipe: If you’re having a big Halloween party, simply double the ingredients for a big batch of cookies.
Nutrition
Love This Recipe?
Follow @ThisSillyGirlsKitchen on Instagram and @danadevolk on Pinterest for more!