This post may contain affiliate links.
Sourdough Starter is the living, bubbly base that turns nothing but flour and water into bakery-worthy bread, and growing your own from scratch is far easier than it looks. I started ours on a quiet winter weekend when Maddie wanted to watch it grow like a little science experiment, and six days later we had a happy, active starter. If you love fresh bread, this is the first step toward our homemade white bread.
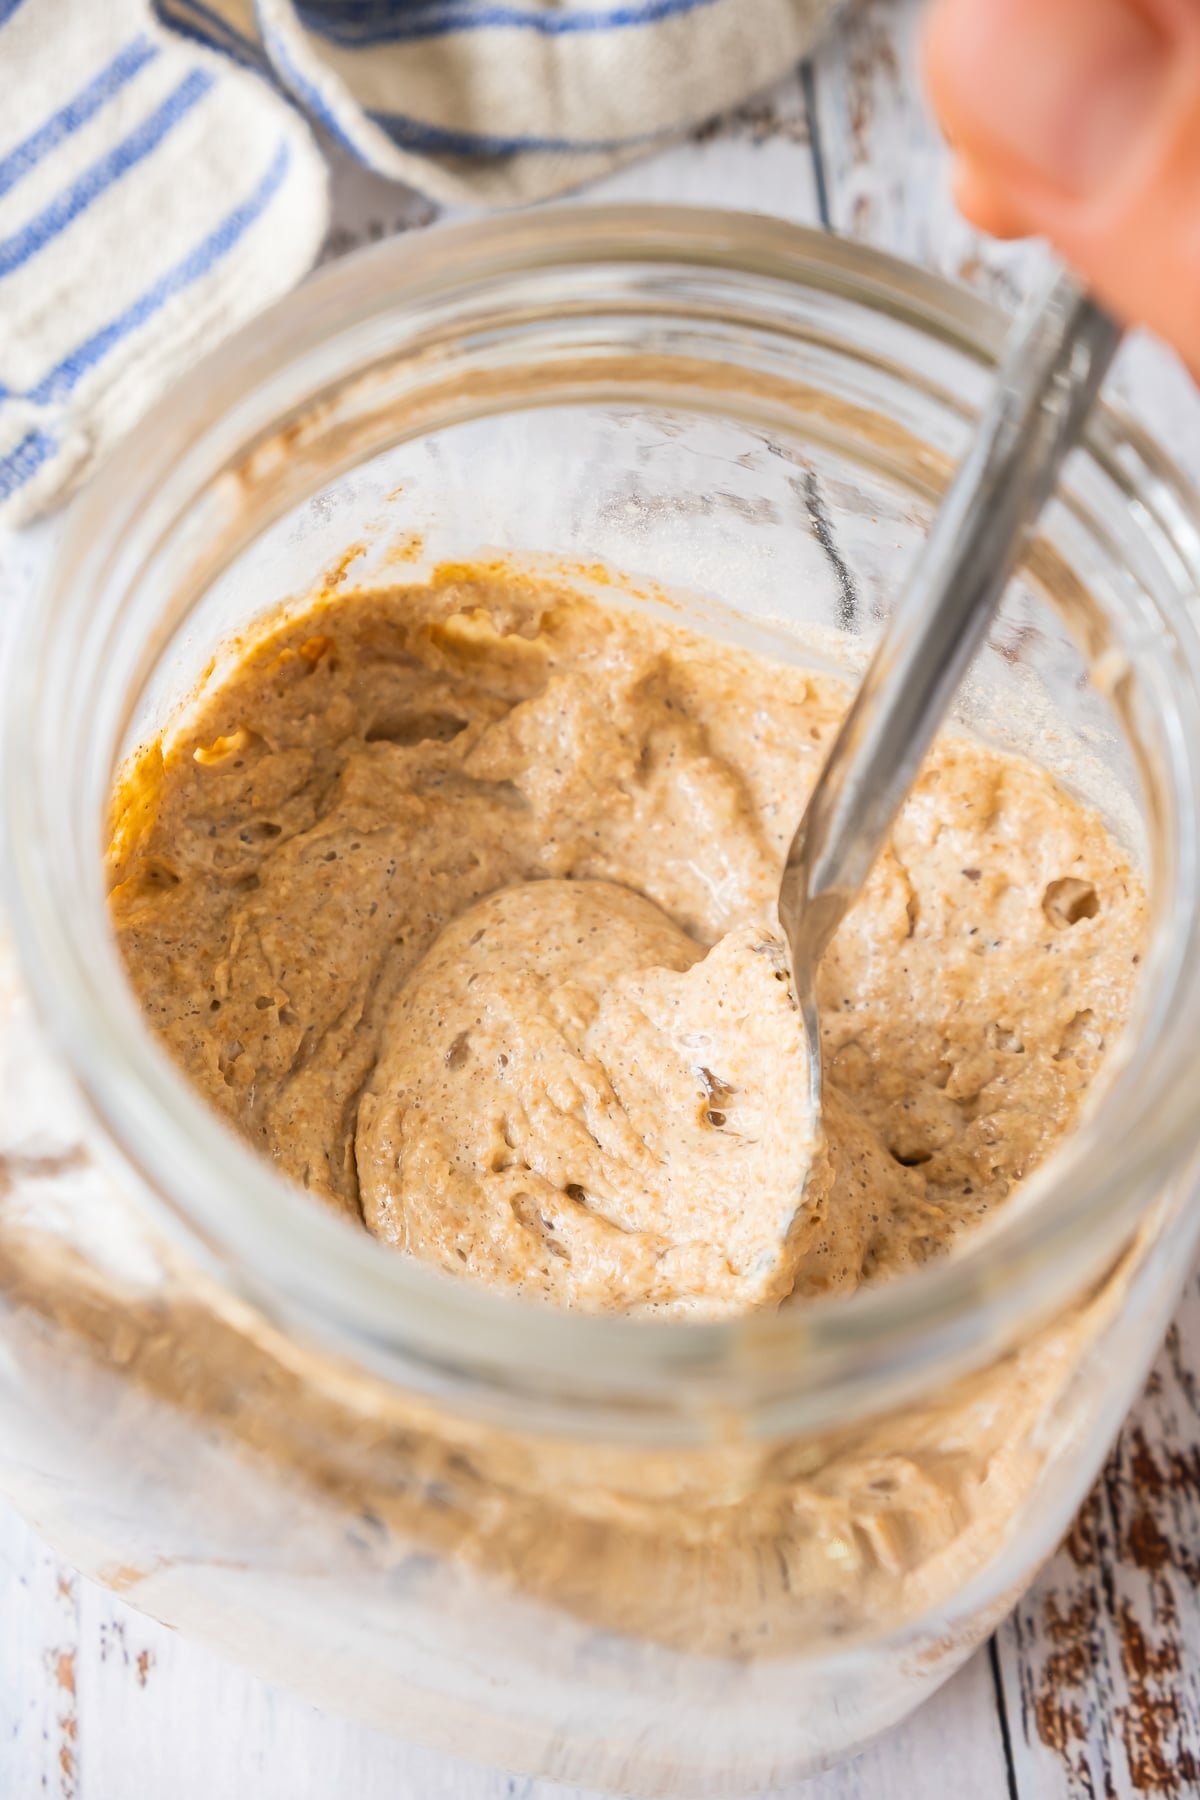
All you need is whole wheat flour, water, and a little patience to grow a bubbly, active sourdough starter right on your counter.
Sourdough Starter Quick Look
- 🕒 Prep Time: 6 days (mostly hands-off)
- 🌡️ Cook Time: 0 minutes
- ⏳ Total Time: 6 days
- 🍽️ Serving: 1 starter
- ⚡ Calories: 71kcal
- 🌶️ Flavor Profile: Tangy, yeasty, and naturally fermented
- ✋ Difficulty: Easy, just patience, simpler than our soft pretzels
Quick Answer
Combine 1 cup of whole wheat flour and 1/2 cup of water in a glass jar, stir into a thick batter, and cover loosely with a cloth. Each day, discard about half and feed it with fresh flour and water. By around day three you will see bubbles, and by day six your sourdough starter will be risen, active, and ready to bake with.
Jump to:
- Sourdough Starter Quick Look
- Quick Answer
- Why This Recipe Works
- Why You’ll Love This Recipe
- Key Ingredients
- Variations and Substitutions
- How to Make Sourdough Starter
- Recipe Tips & Tricks
- Serving Ideas and Suggestions
- Sourdough Starter FAQs
- Other Recommended Homemade Bread Recipes
- Easy Sourdough Starter Recipe (From Scratch)
Why This Recipe Works
Click to see the technique science
- It is just flour and water. Wild yeast living on the grain and in the air does all the work, so no packaged yeast is needed to get it going.
- No commercial yeast required. A true starter ferments naturally, which gives your bread that signature tangy, sourdough flavor you cannot buy in a packet.
- It is fun to watch come alive. Seeing the bubbles form and the starter rise is a little kitchen science experiment the whole family enjoys.
- It lasts for years. Once active, a starter keeps going indefinitely with regular feedings, so you grow it once and bake with it forever.
- It is the base for endless bread. A healthy starter becomes crusty loaves, rolls, pancakes, and more, all from the same bubbly jar.
- It saves money. Flour and water are about as cheap as ingredients get, yet they give you fresh, artisan-style bread at home.
Why You’ll Love This Recipe
- It is alive! Just flour, water, and time grow a bubbly, natural starter with no store-bought yeast at all.
- It is oddly fun to watch grow, which makes it a perfect, low-stakes way to get the kids excited about baking.
- Once it is active, it becomes the base for everything from crusty ciabatta bread to tangy sourdough loaves.
- It has earned a permanent spot in our rotation, right up there with our sourdough bread recipe.
- It has earned a permanent spot in our rotation, right up there with our creamy butternut squash risotto.
- It earns a spot in the rotation right next to our soft oatmeal date cookies.
- It has earned a permanent spot in our rotation, right up there with our mayonnaise.
Key Ingredients
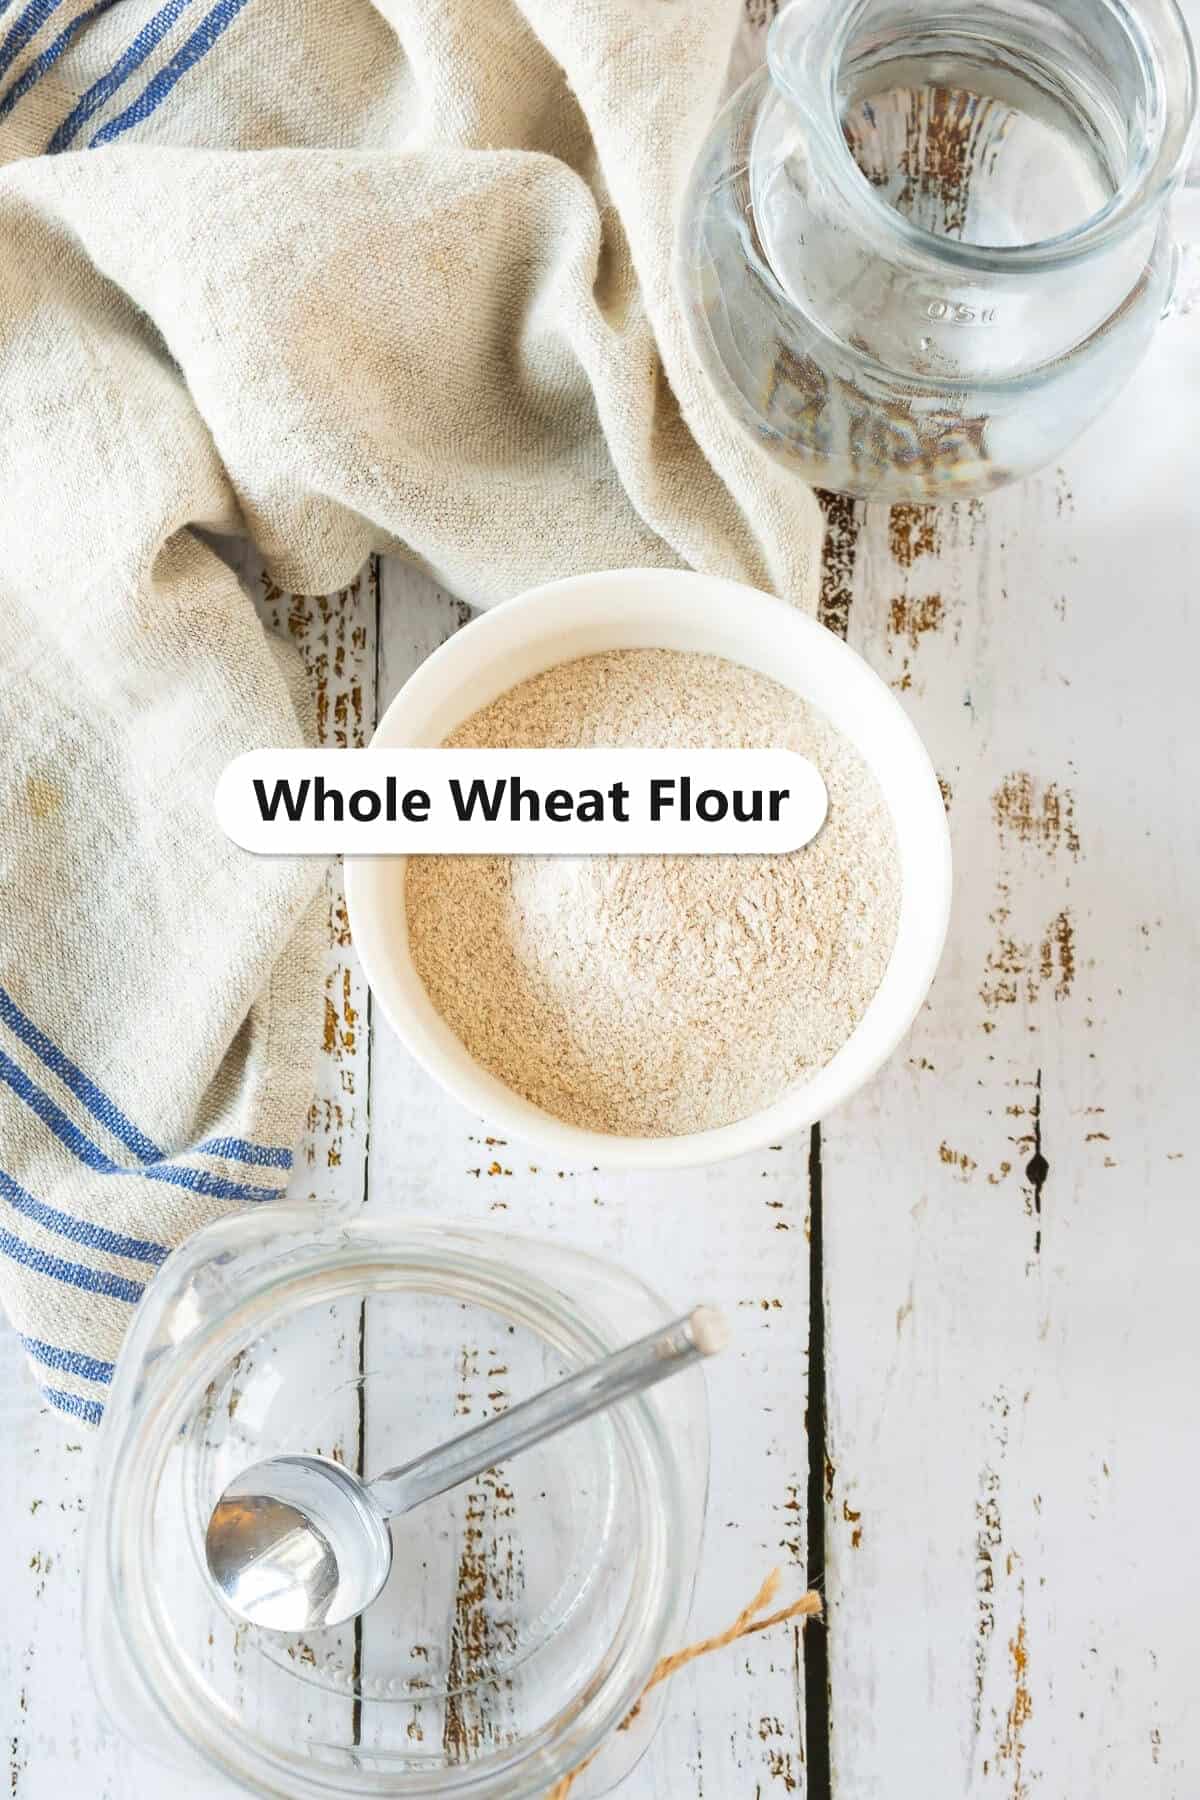
Here is all it takes to grow a sourdough starter at home. Two pantry basics plus a jar and a cloth.
- Whole Wheat Flour: whole wheat carries more wild yeast and minerals than white flour, so it gets your starter bubbling faster. You can switch to all-purpose once it is established.
- Water: use room-temperature, non-chlorinated water, since chlorine can slow the wild yeast. Filtered or bottled water works great.
- A Glass Jar: a wide-mouth glass jar lets you stir easily and watch the bubbles form. Avoid metal, which can react with the acidic starter.
- A Cloth Cover: a breathable cotton cloth or coffee filter lets wild yeast in while keeping dust out, so the starter can breathe as it ferments.
See recipe card for exact quantities.
Variations and Substitutions
A sourdough starter is forgiving and easy to adapt to how you bake.
- Switch to all-purpose flour: once your starter is established and bubbly, feed it with all-purpose or bread flour instead of whole wheat.
- Try rye flour: rye is loaded with wild yeast and gives a tangier, extra-active starter, perfect for a quick boost.
- Make a smaller batch: halve the flour and water if you do not bake often so you waste less discard.
- Save your discard: use the half you would toss for pancakes, crackers, or quick baked treats instead of throwing it out.
- Speed it up in a warm spot: set the jar on top of the fridge or near the oven, since gentle warmth helps the wild yeast grow faster.
- Craving a different flavor next time? Our chopped salad delivers the same easy comfort with its own twist.
- Craving a different flavor next time? Our blackened catfish delivers the same easy comfort with its own twist.
- In the mood for something different? Our edible snickerdoodle cookie dough scratches a similar itch.
- Craving a different flavor next time? Our lemon lime cake delivers the same easy comfort with its own twist.
How to Make Sourdough Starter
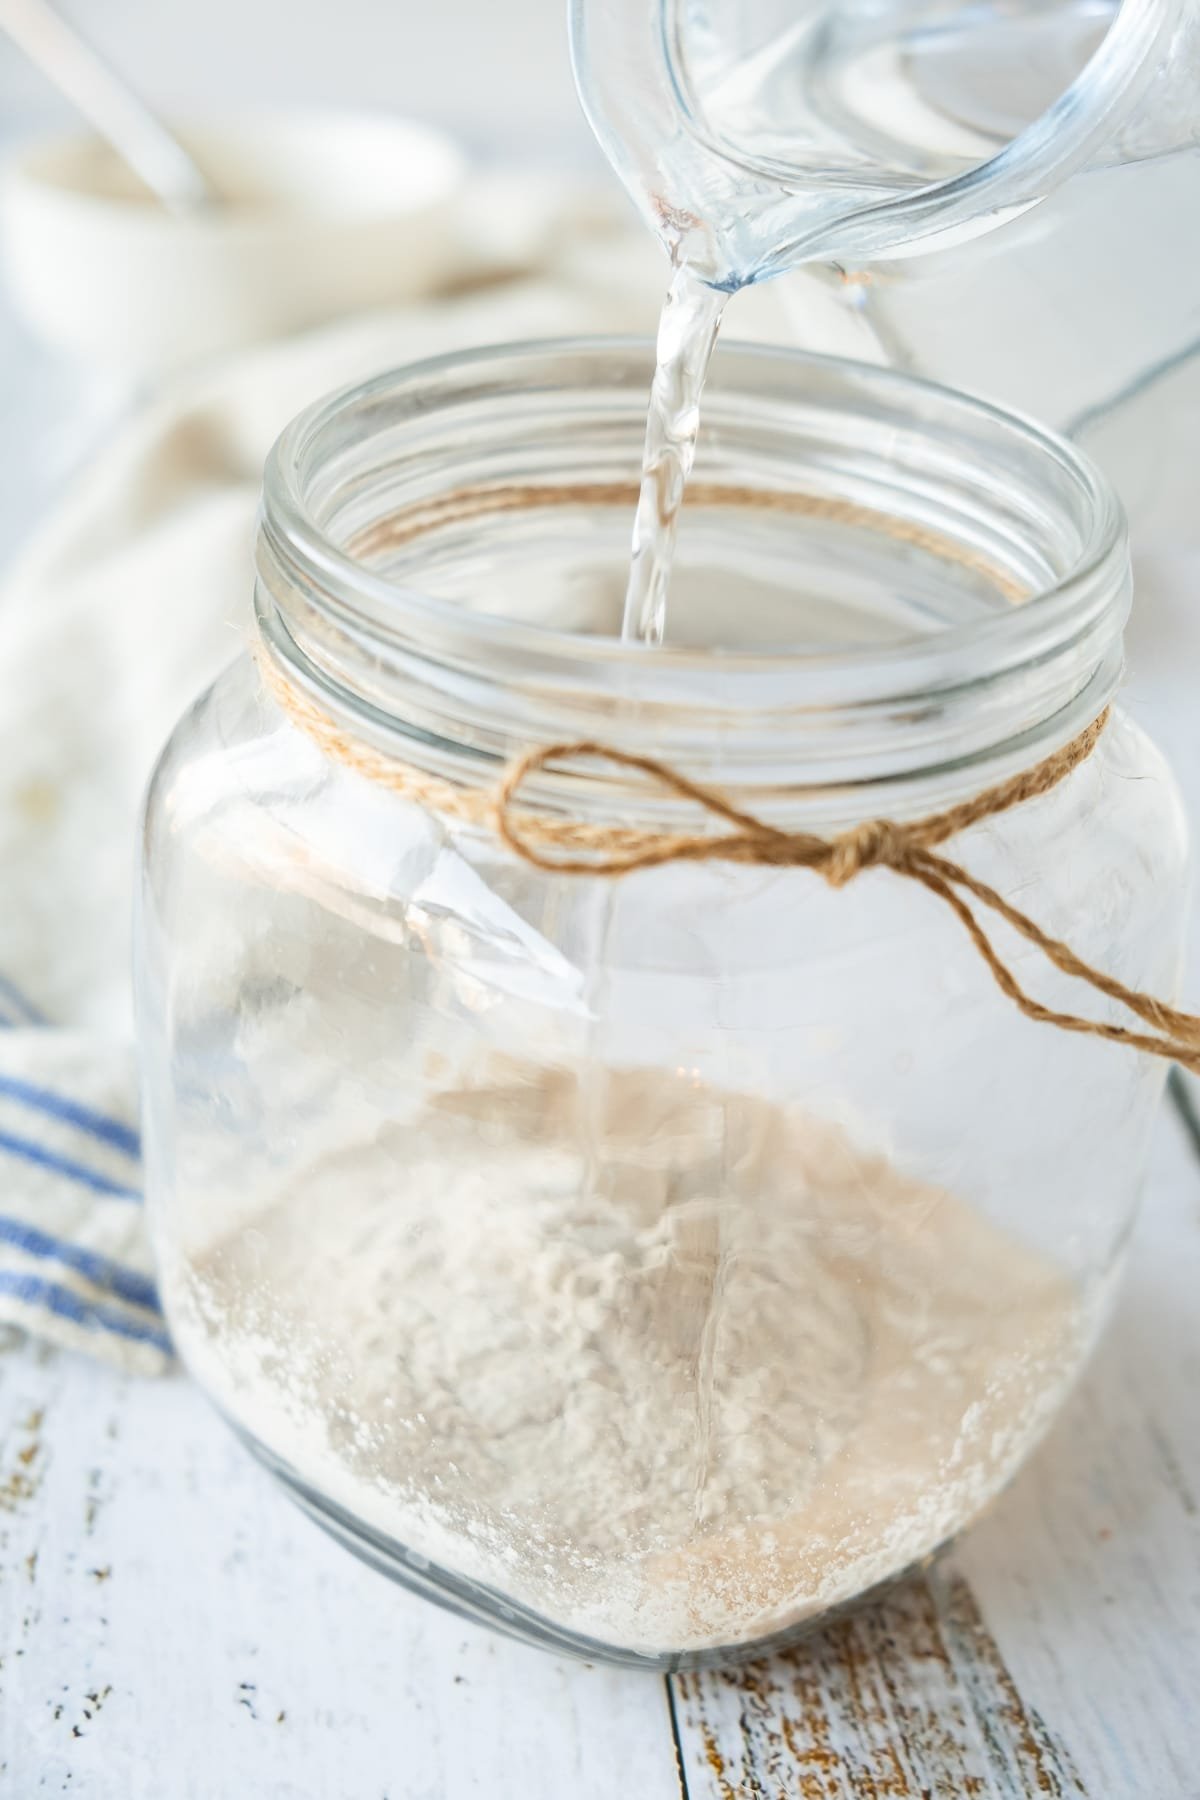
- Day 1: In a glass jar, combine 1 cup of whole wheat flour and 1/2 cup of water. Stir well until it is a little thicker than cake batter, then cover loosely with a cotton cloth and leave it in a dark spot for 24 hours.
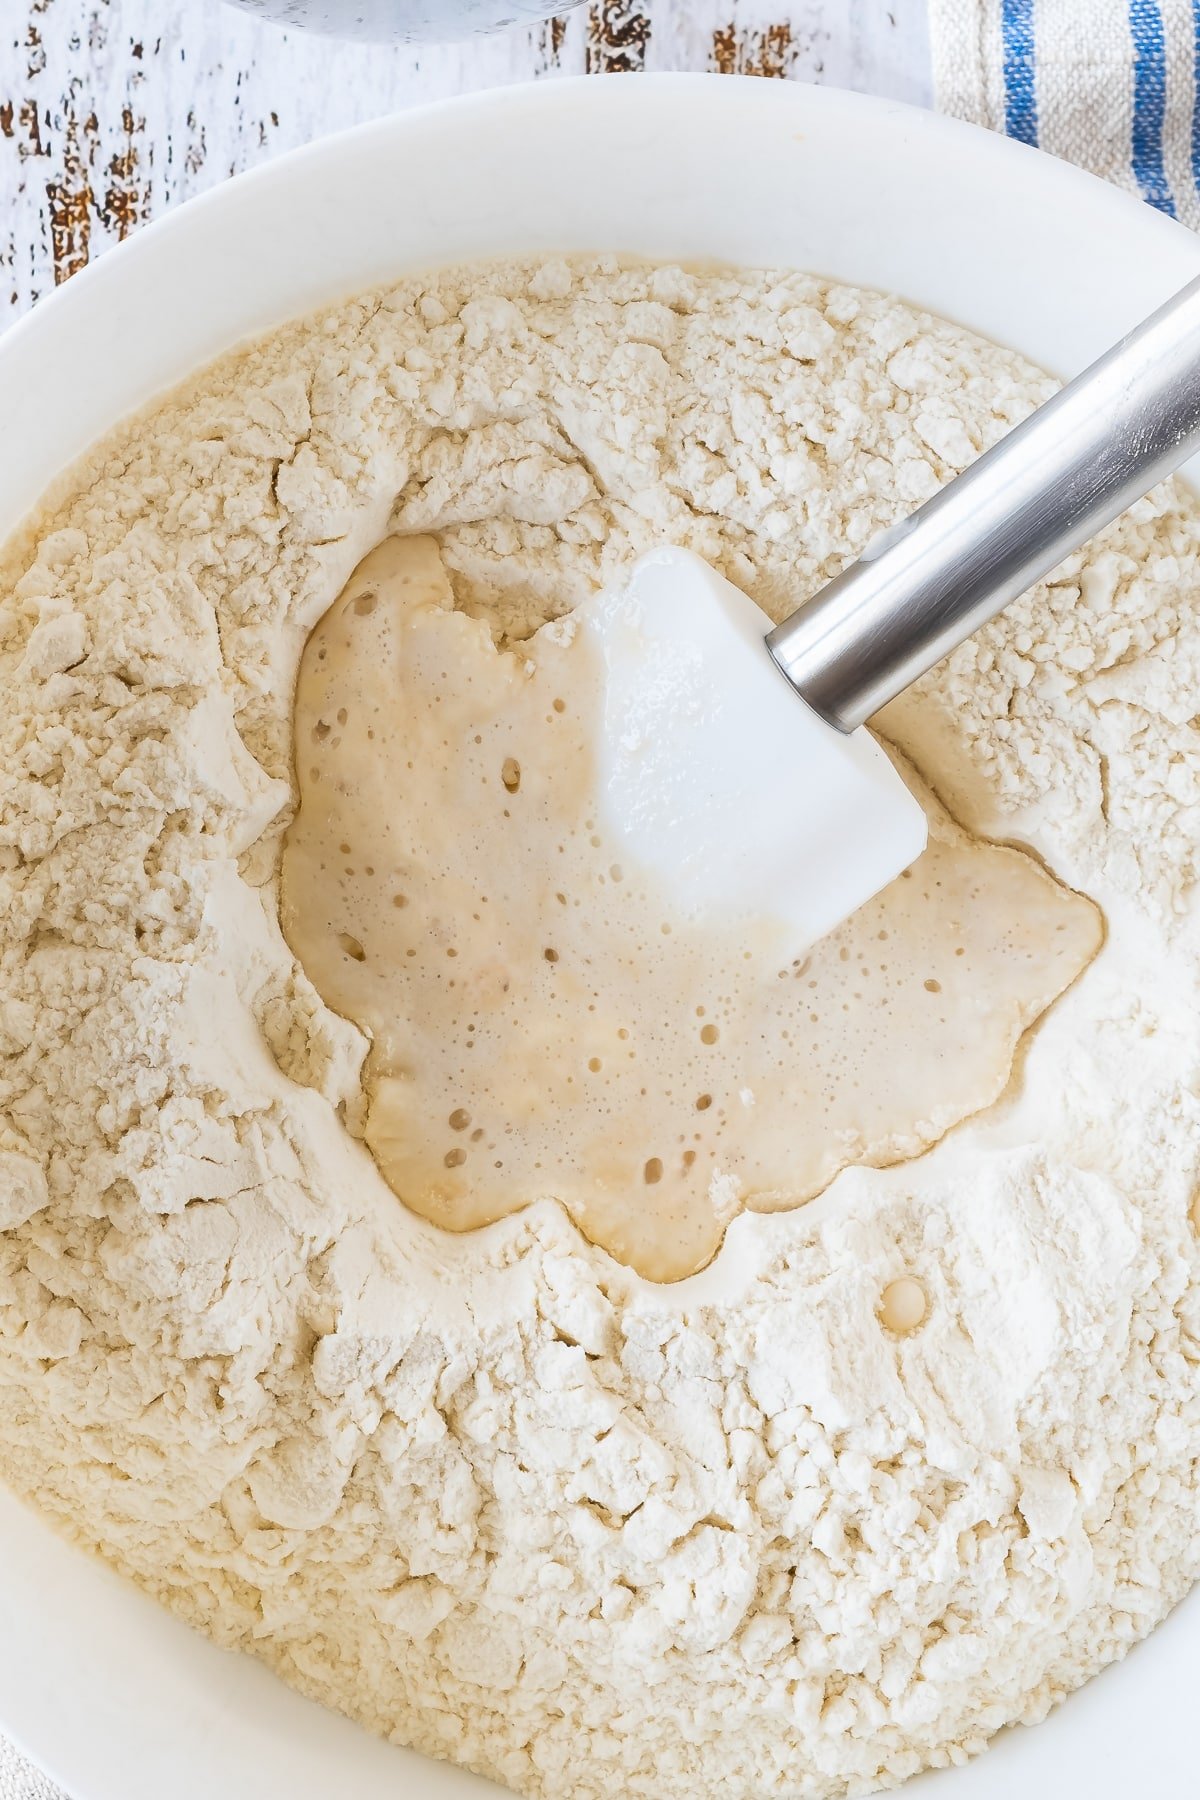
- Day 2: Discard about half of the starter, then feed it with the same 1 cup of flour and 1/2 cup of water. Stir well, cover loosely again, and let it rest another 24 hours.
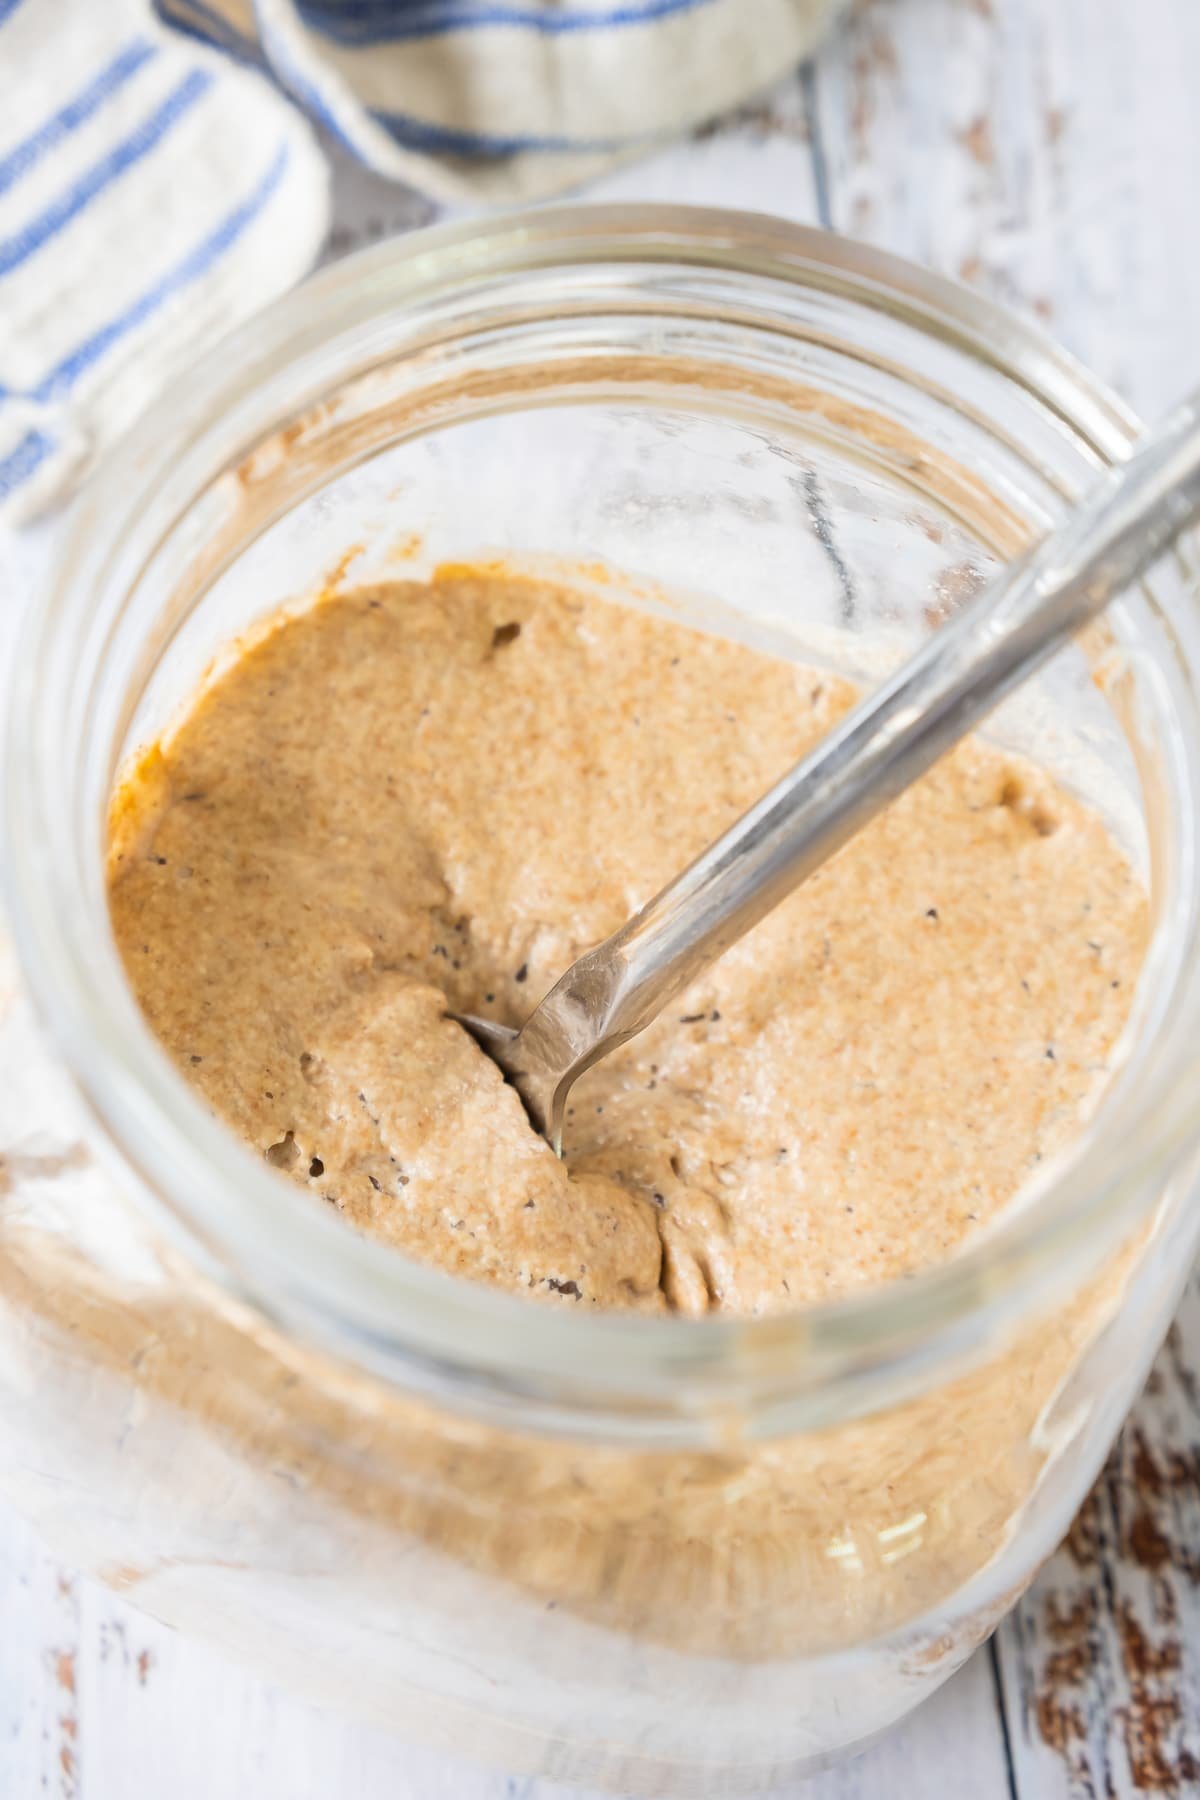
- Day 3: You should start to see bubbles. Now feed twice a day, every 12 hours: discard about half, then stir in 1 cup of flour and 1/2 cup of water each time.
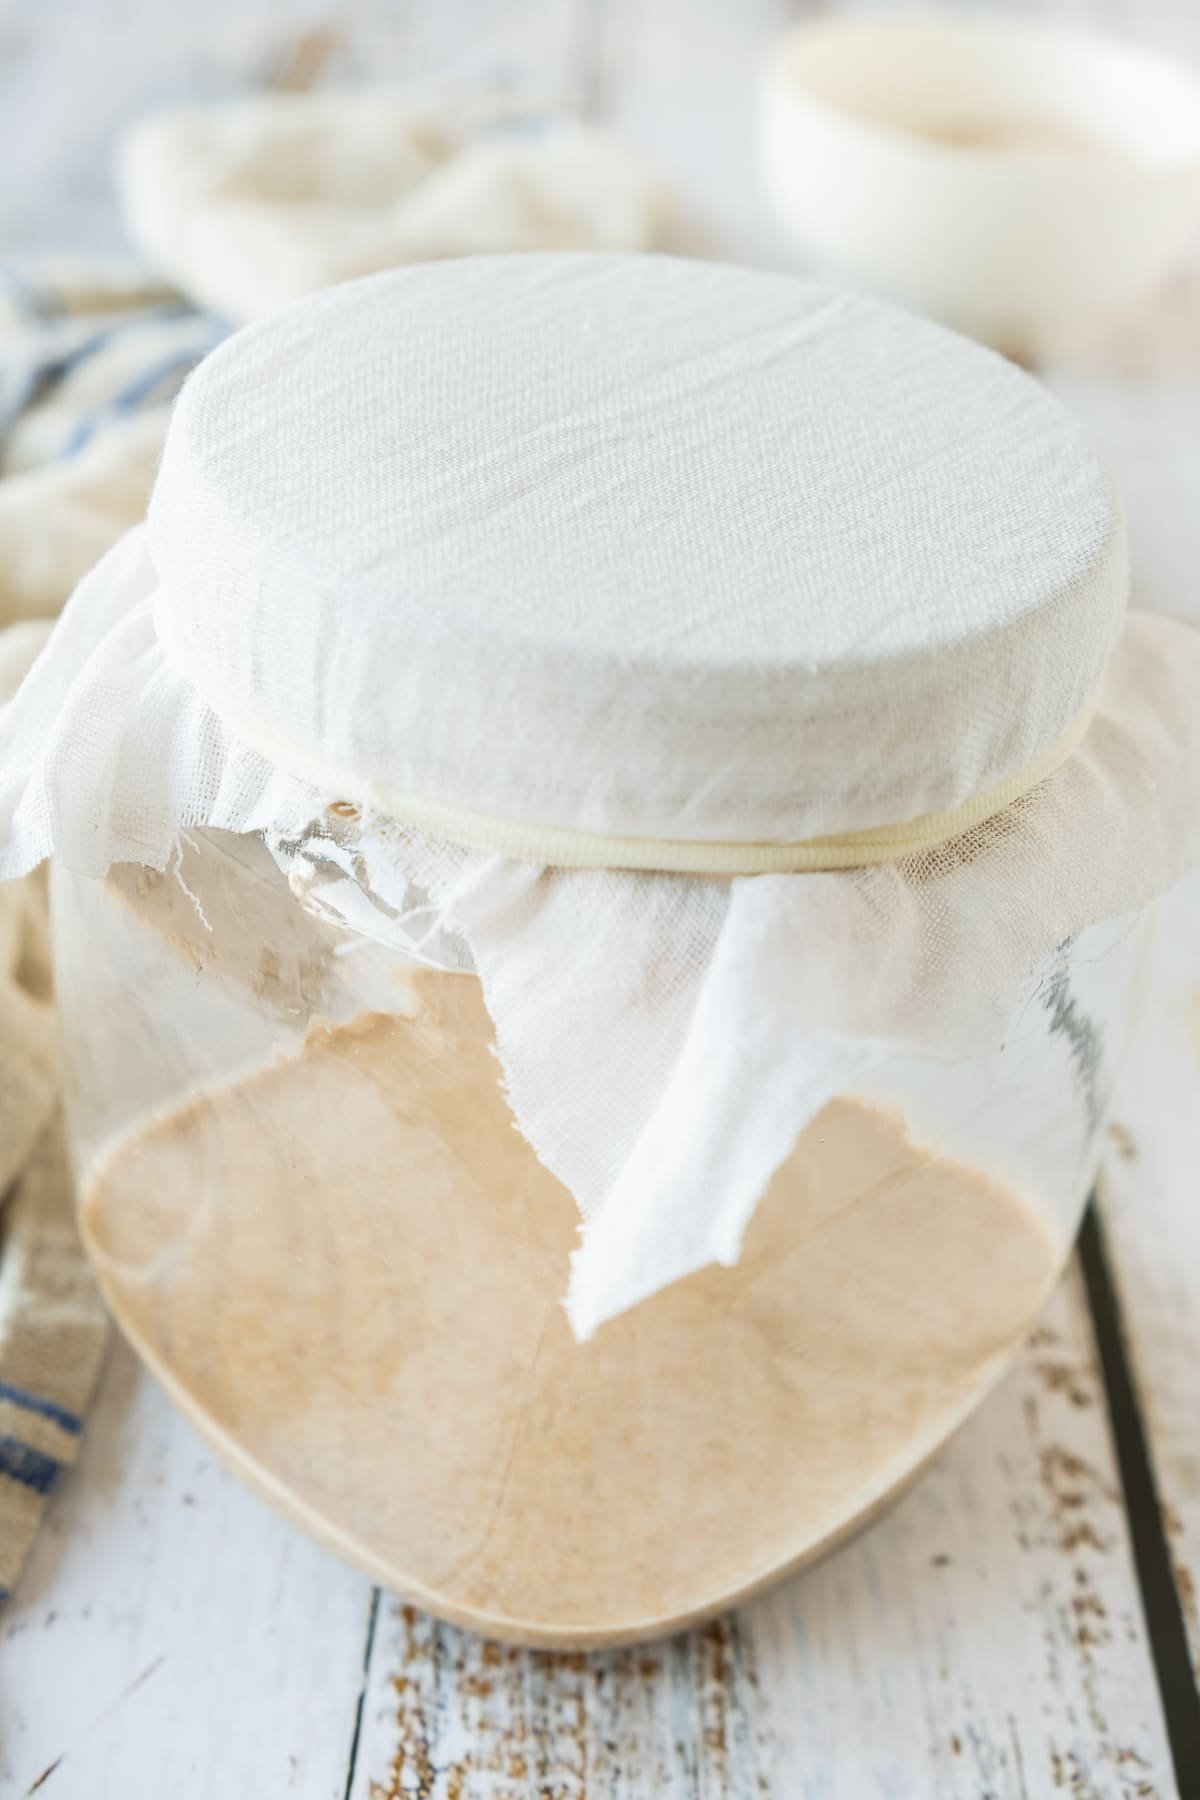
- Day 4: Keep feeding twice a day, discarding half and adding fresh flour and water every 12 hours. The starter should be getting bubblier and smelling pleasantly tangy.
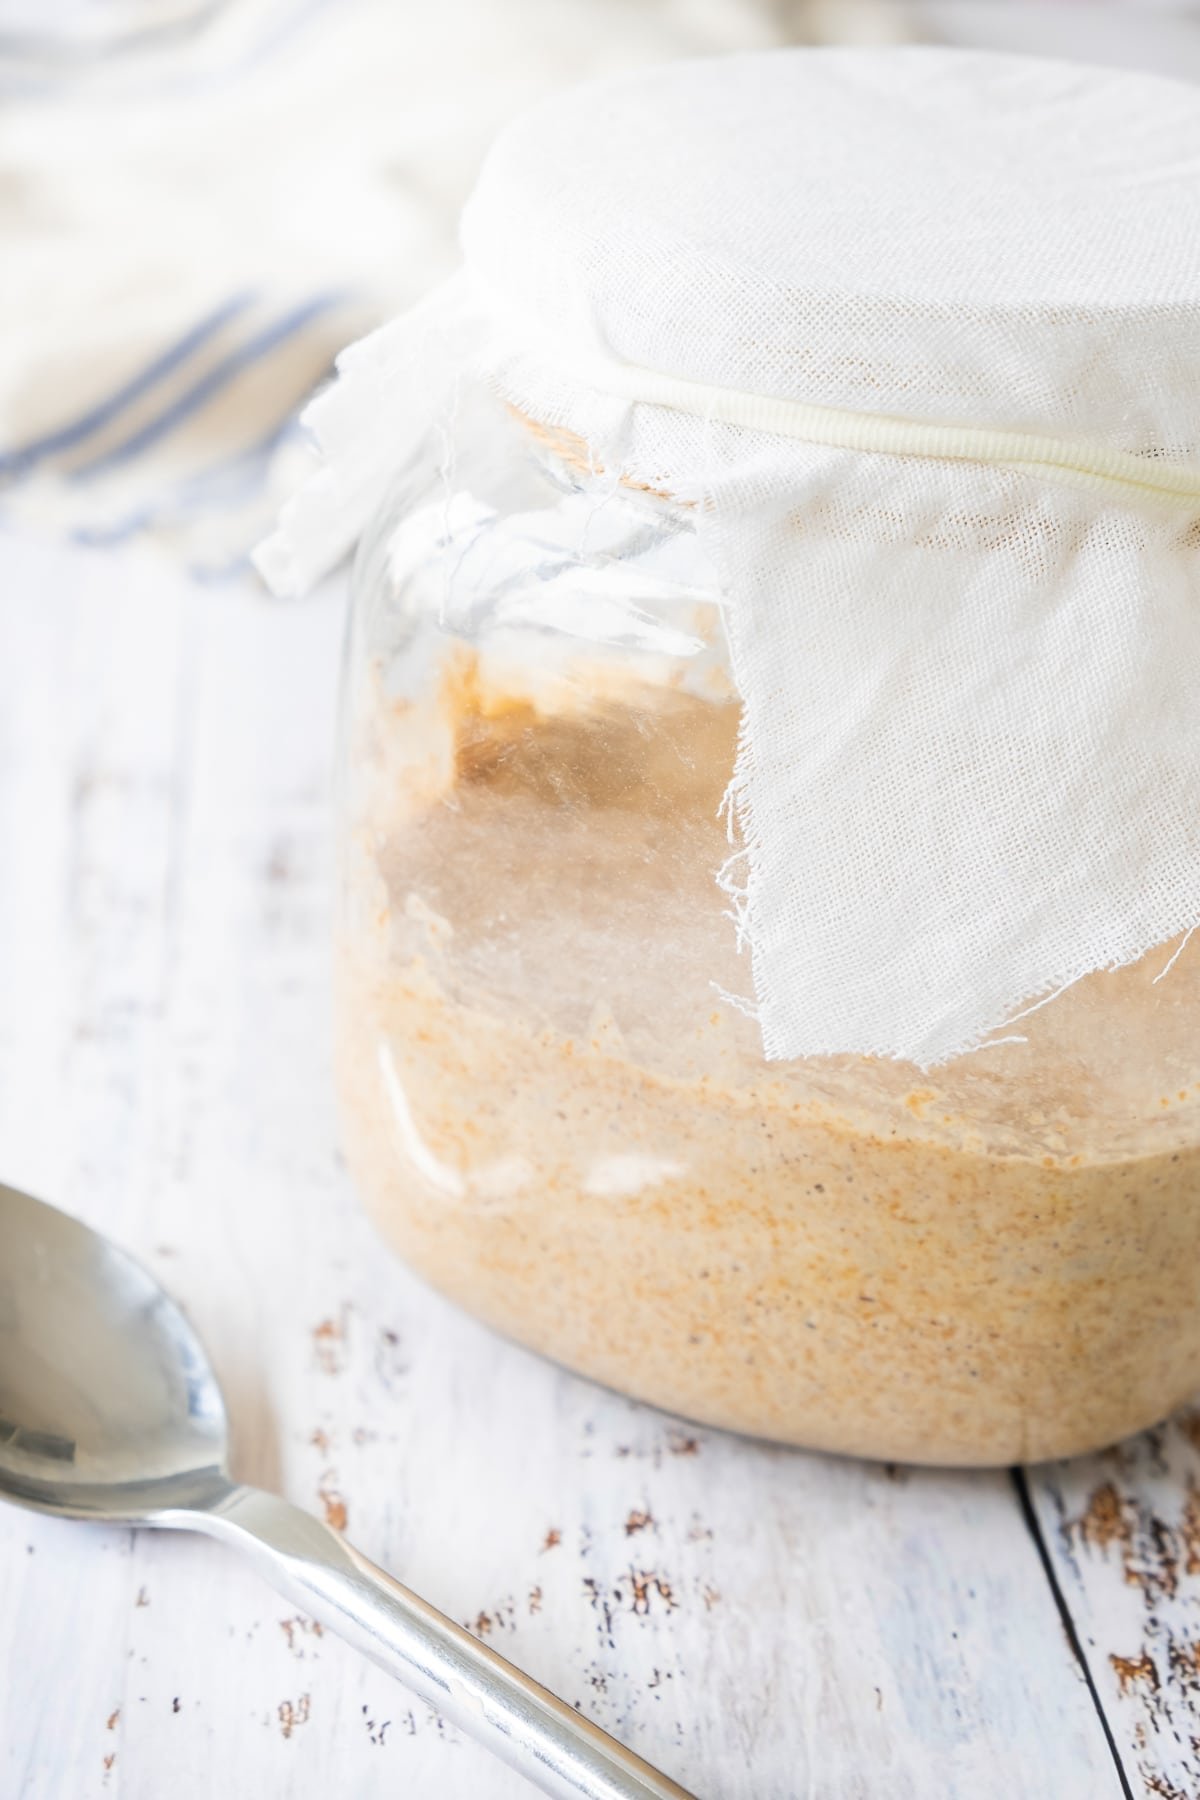
- Day 5: Continue the twice-a-day feedings. By now your starter should rise noticeably after each feeding and fall back down again as it gets hungry.
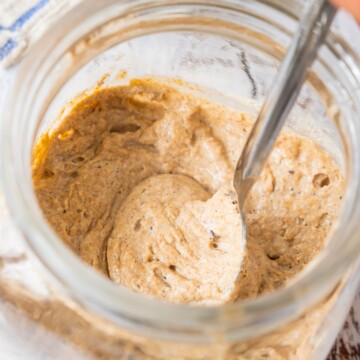
- Day 6: Your starter is ready when it is risen, full of bubbles, and smells pleasantly sour. Now it is active and ready to bake into a beautiful loaf of bread.
Recipe Tips & Tricks
- Use whole wheat flour to start; it has more wild yeast than white flour and gets your starter active faster.
- Skip heavily chlorinated tap water; chlorine can slow the wild yeast, so use filtered or bottled water if your tap is strongly treated.
- Keep it warm, around 70 to 75 degrees. A cozy spot like on top of the fridge helps the starter grow.
- Do not seal the jar tight; a loose cloth lets gases escape and wild yeast in, while a sealed lid can build up pressure.
- Trust your nose; a healthy starter smells tangy and yeasty, a little like beer. Toss it only if it truly smells rotten or grows fuzzy mold.
- Feed before you bake; use your starter when it is bubbly and risen, a few hours after a feeding, for the best rise in your homemade bread.
- Make it a spread. When you are feeding a crowd, round out the table with our baby guinness shot.
- Make it a spread. When you are feeding a crowd, round out the table with our how to make crostini.
- Make it a spread. When you are feeding a crowd, round out the table with our ultra creamy cheesy grits.
Serving Ideas and Suggestions
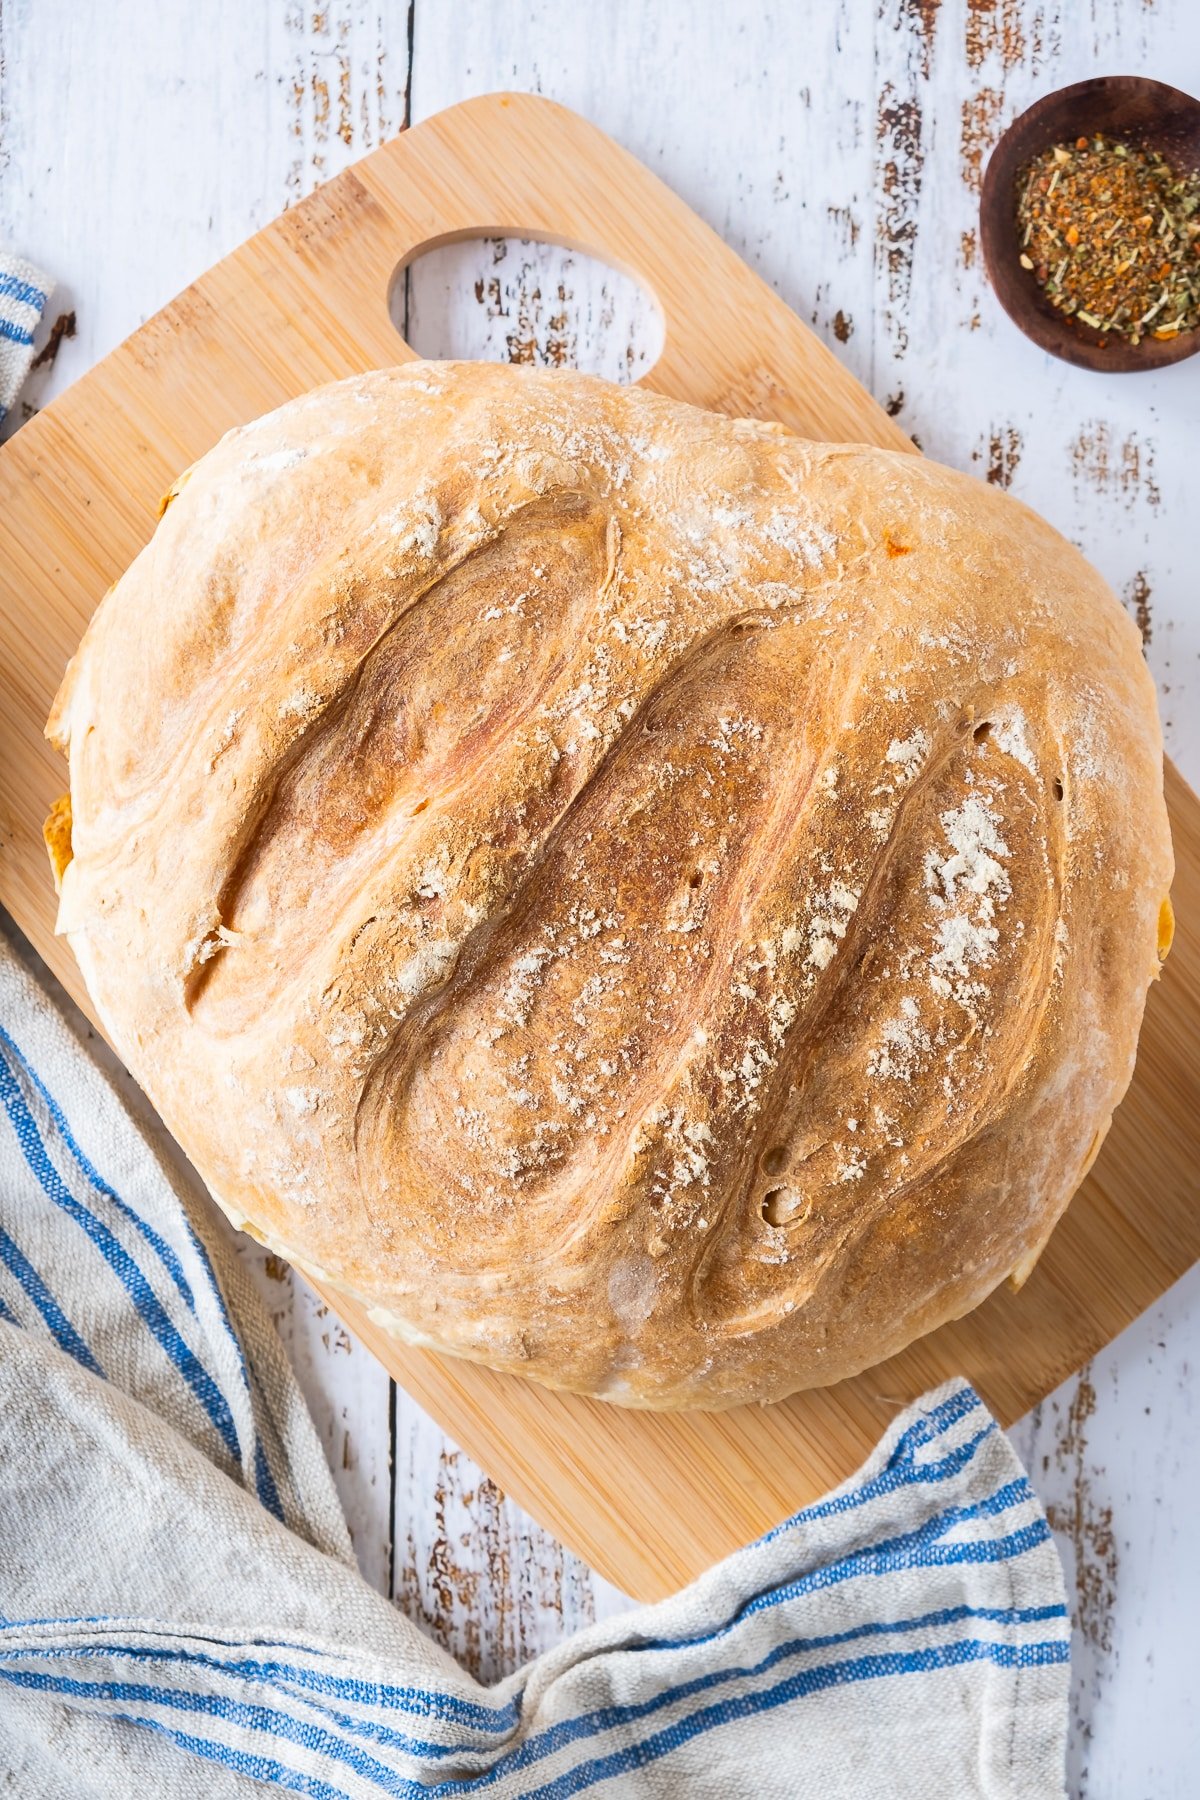
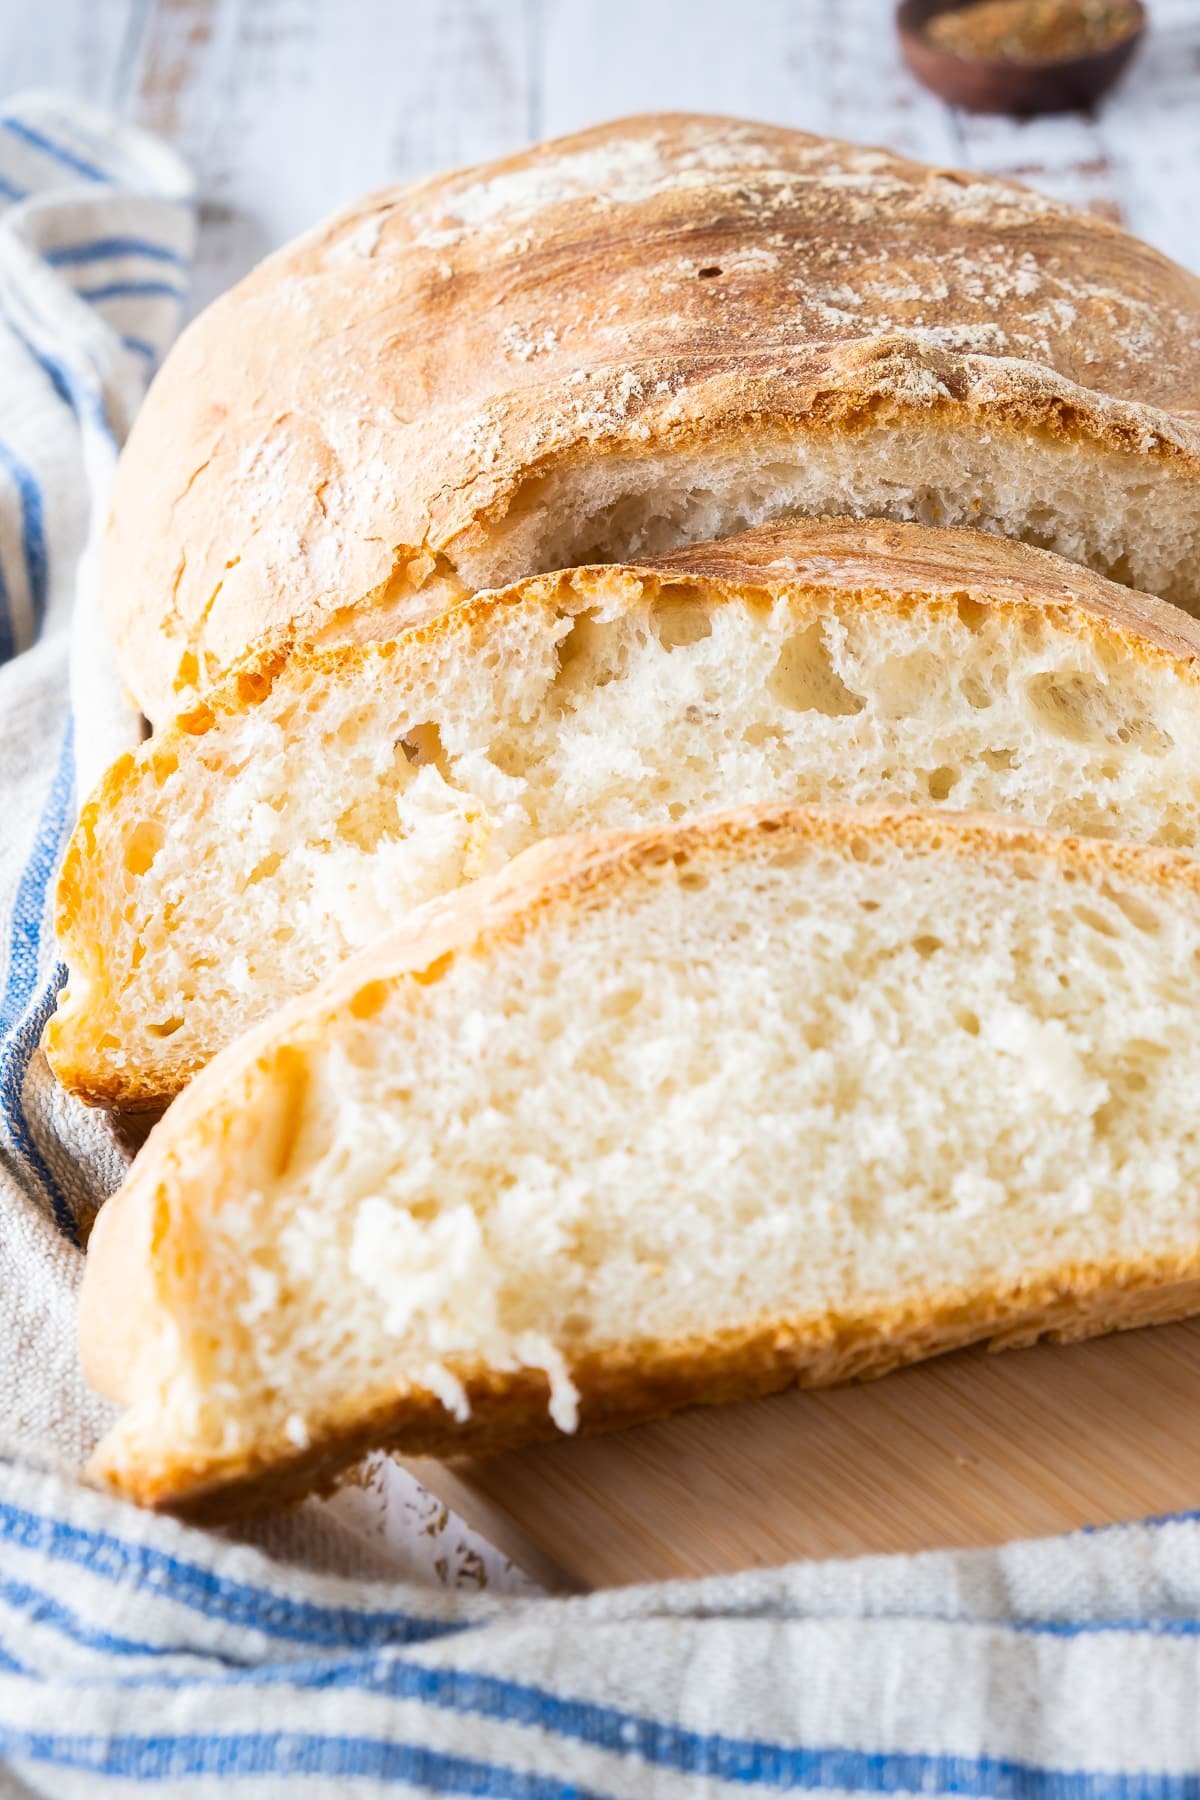
Once your sourdough starter is bubbly and active, it becomes the heart of countless homemade breads. Use it to bake a classic crusty sourdough loaf with that signature tangy flavor and chewy, open crumb.
Sourdough Starter FAQs
From scratch, a sourdough starter usually takes about five to seven days to become active and ready to bake with. You will see the first bubbles around day three, and by day six it should be risen and lively. A cooler kitchen may take an extra day or two.
Discarding keeps the amount manageable and, more importantly, keeps the flour-to-starter ratio right so the wild yeast always has fresh food. Without discarding, the starter turns too acidic and sluggish. Save the discard for pancakes or crackers rather than tossing it.
Whole wheat or rye flour is best for starting one because the whole grain carries more wild yeast and minerals, so it bubbles to life faster. Once your starter is established, you can switch to all-purpose or bread flour for regular feedings.
Your starter is ready when it doubles in size a few hours after feeding, is full of bubbles, and smells pleasantly tangy. A simple test is to drop a spoonful into a glass of water: if it floats, it is active and ready to bake with.
If you bake often, keep it at room temperature and feed it once a day. If you bake less, store it in the fridge and feed it about once a week. Before baking, bring it back to room temperature and feed it a couple of times to wake it up.
Yes, that is the whole point. A true sourdough starter relies only on the wild yeast and bacteria naturally present on the flour and in the air, with no packaged yeast needed. Flour, water, and time are all it takes to grow a living starter.
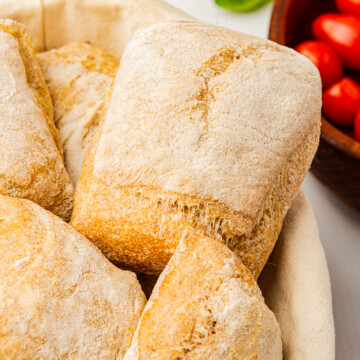



Ready to bake? Put your bubbly starter to work and whip up a batch of our easy homemade ciabatta bread for a beautiful first loaf.
french toast casserole with french bread
french toast casserole with french bread

Easy Sourdough Starter Recipe (From Scratch)
Ingredients
- 1 cup whole wheat flour per day
- 1/2 cup water per day
Instructions
- Day 1: In a glass jar combine 1 cup of whole wheat flour and ½ cup of water. Stir well. The mixture should be slightly thicker than cake batter. Cover the jar loosely with a cotton cloth. Leave it in a dark place for 24 hours. I keep it in the cupboard.1 cup whole wheat flour, 1/2 cup water
- Day 2: The next day, get rid of half of the starter (about ½ cup) and then repeat the steps with the same amount of flour and water (1 cup of whole wheat flour and ½ cup of water). Cover loosely again and leave the jar in a dark place for 24 hours.
- Day 3: You should start to see some bubbling activity. You will now need to “feed” your starter twice a day. Today start with about ½ cup of the starter and discard the rest. Then add 1 cup of flour and ½ cup of water and mix well every 12 hours (twice a day.)
- Day 4: Repeat instructions from day 3, feeding your starter twice (or every 12 hours.)
- Day 5: Repeat instructions from day 3, feeding your starter twice (or every 12 hours.)
- Day 6: On the sixth day, your yeast should be ready. You will see that he has risen and has bubbles.
Notes
- Be patient: It might take time, but a bubbly and active starter is worth the wait.
- Use a clean jar: Ensure your containers are clean to avoid unwanted bacteria.
- Stay consistent: Regular feeding, especially in the early days, is crucial.
- Warm spot: Keep your starter in a warm location to encourage growth.
- Hydration is key: Always maintain equal amounts of flour and water to keep your starter’s hydration levels consistent.
- Trust your senses: If your starter smells off or changes color, it’s best to start fresh.
Nutrition
Love This Recipe?
Follow @ThisSillyGirlsKitchen on Instagram and @ThisSillyGirlsKitchen on Pinterest for more!