This post may contain affiliate links.
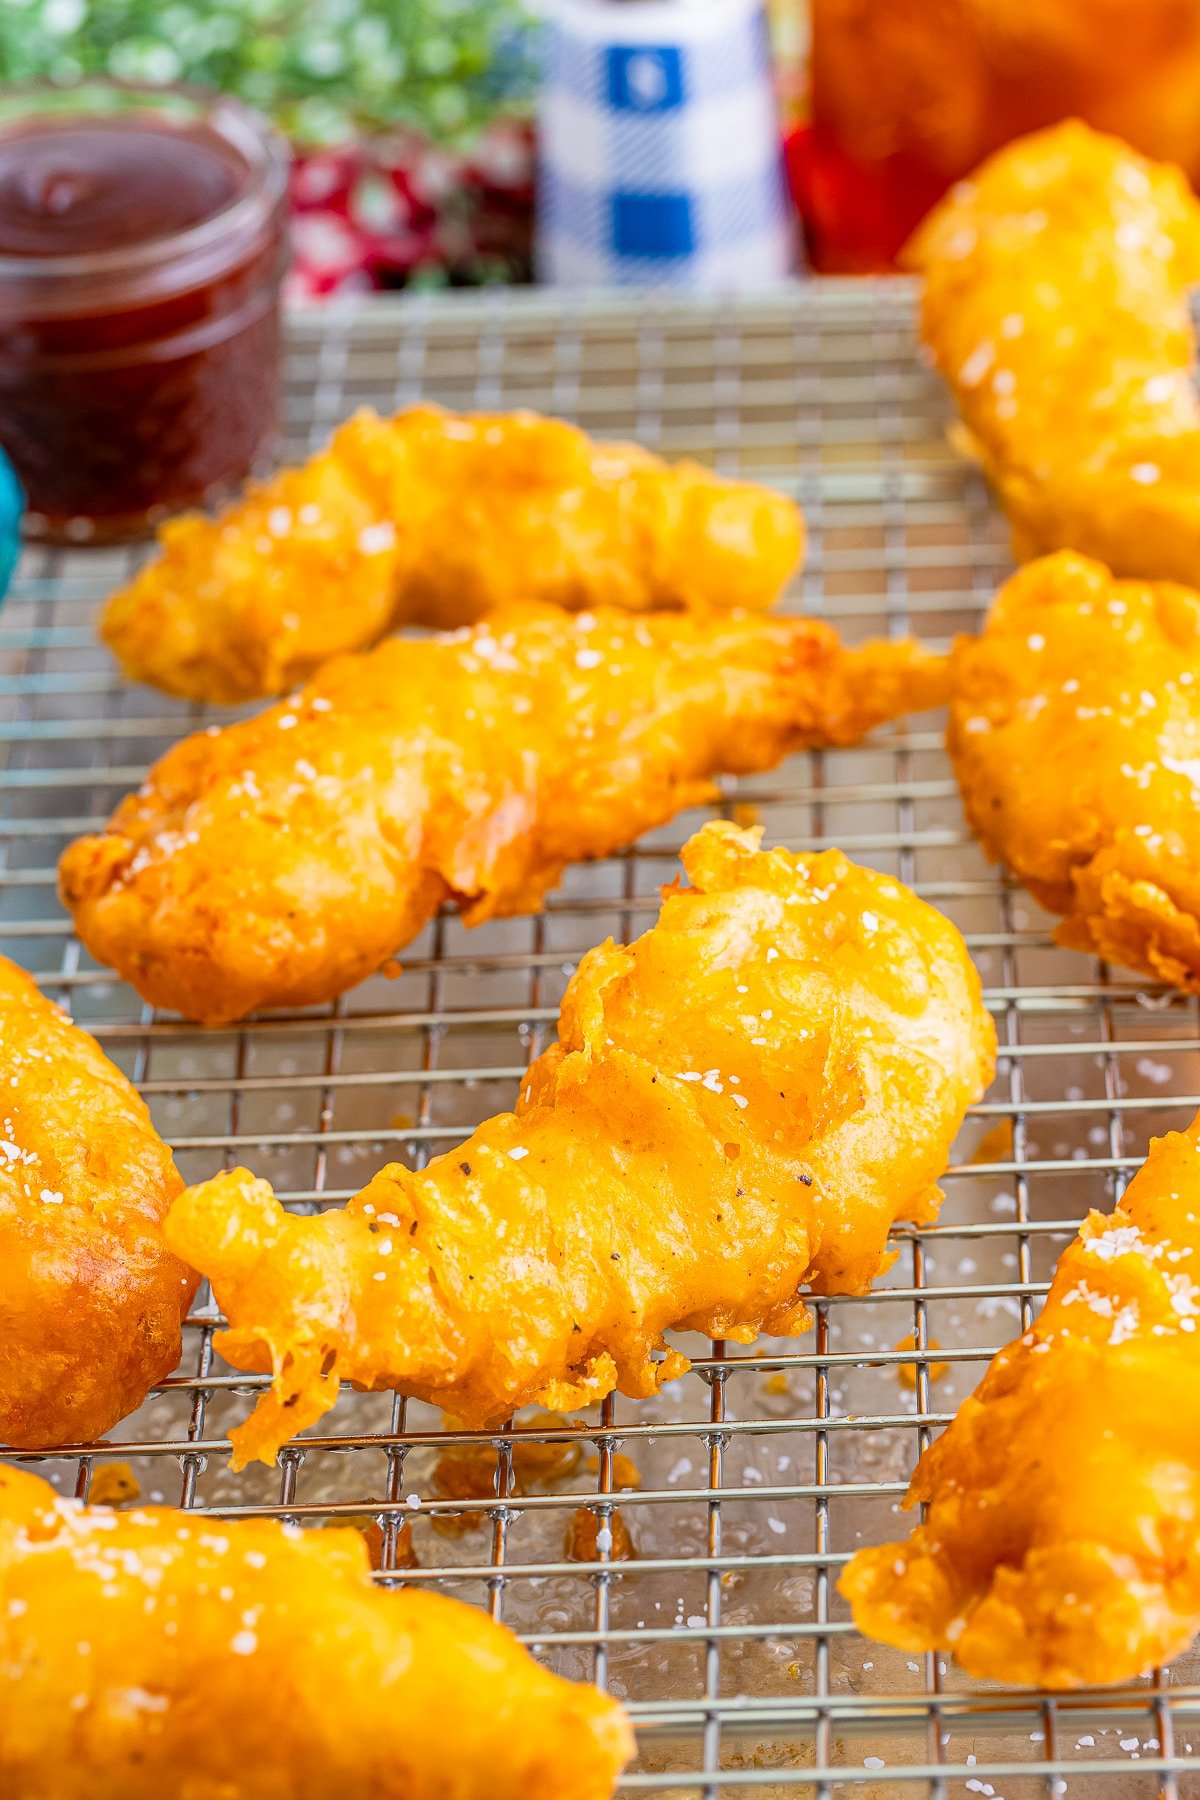
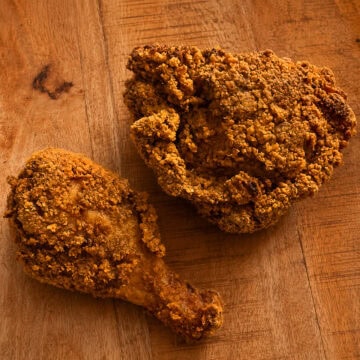
The Best Crispy Fried Battered Chicken Tenders are the wet-batter-dipped, shatteringly golden chicken tenders that taste like a fair food classic, and Maddie races to the kitchen the second the oil starts hissing. A seasoned wet batter (not a dry breading) creates the puffy, craggy crust that makes these chicken tenders impossible to stop eating. If you love a from-scratch crispy chicken project like our Southern Fried Chicken Recipe, this wet batter method is your new go-to.

A seasoned dry dredge, a baking-powder-leavened wet batter, and 350F oil deliver the puffy craggy crust that defines truly crispy fried Battered Chicken Tenders.
Battered Chicken Tenders Quick Look
- 🕐 Prep Time: 15 minutes
- 🍴 Cook Time: 12 minutes
- ⏳ Total Time: 27 minutes
- 🍽 Servings: 4 (about 12 tenders)
- ⚡ Calories: Approximately 340 kcal per serving
- 🌶 Flavor Profile: Shatteringly crispy seasoned batter, juicy chicken, fair-food fried flavor (the wet batter method).
- ✋ Difficulty: Easy, on par with our other Southern fried chicken recipes.
Quick Answer
A simple wet batter for crispy chicken tenders is flour, water, baking powder, baking soda, seasoned salt, garlic powder, onion powder, and paprika whisked into a pancake-batter consistency. The baking powder and baking soda are the key, they create CO2 bubbles during frying that puff the batter into a craggy crispy crust. Pre-dredge the chicken in dry seasoned flour first, then dip in the wet batter, then fry at 350F.
Jump to:
- Battered Chicken Tenders Quick Look
- Quick Answer
- Why This Recipe Works
- Why You’ll Love This Recipe
- Key Ingredients
- Variations and Substitutions
- How to Make Battered Chicken Tenders
- Recipe Tips & Tricks
- Serving Ideas and Suggestions
- Battered Chicken Tenders FAQs
- Other Recommended Copycat Recipes
- The Best Crispy Fried Battered Chicken Tenders Recipe
Why This Recipe Works
Click to see the technique science
- The dry flour coating helps the batter stick. The order of the ingredients matters. The seasoned chicken is coated in the flour, baking powder, and baking soda mixture before the cold water is added. That initial flour coating gives the wet batter something to grab onto, helping it cling to the chicken instead of sliding off when the tenders hit the hot oil.
- Cold water keeps the batter light. Cold water is important when mixing the batter. Keeping the water cold helps limit gluten development in the flour so the coating stays lighter instead of becoming dense or chewy. The finished batter should have a consistency similar to pancake batter. A few lumps are completely fine. If the batter seems too thick, add a little more cold water at a time until you reach the right consistency.
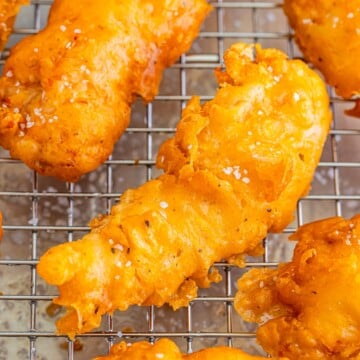
- Wet batter, not dry breading. The hallmark of the fair-food crispy chicken tender. A wet batter creates puffy craggy crust that absolutely shatters on the bite.
- Baking powder + baking soda is the leavener. Using both baking powder and baking soda helps give these chicken tenders their distinctive battered texture. The baking powder helps create a lighter, puffier coating as it fries, while the baking soda encourages better browning and contributes to that deeply golden exterior.
- Dry dredge first, then wet batter. The dry flour layer dries the chicken surface so the wet batter clings. Skipping the dry dredge gives a thin batter that slides off in the fryer.
- 350F oil temperature. Hot enough to flash-set the batter (puffs immediately), low enough that the chicken cooks through without burning the crust.
- Salt the second they leave the oil. Hot grease holds salt instantly. Wait 30 seconds and the salt slides off.
Why You’ll Love This Recipe
- Fair food crispy at home. The wet batter is what makes carnival chicken tenders unlike anything else.
- 27 minutes start to finish. 15 minutes of prep, 12 minutes of fry time.
- Pantry friendly. Flour, baking powder, baking soda, water, seasonings.
- Family approved. Maddie races to the kitchen as soon as the oil starts hissing.
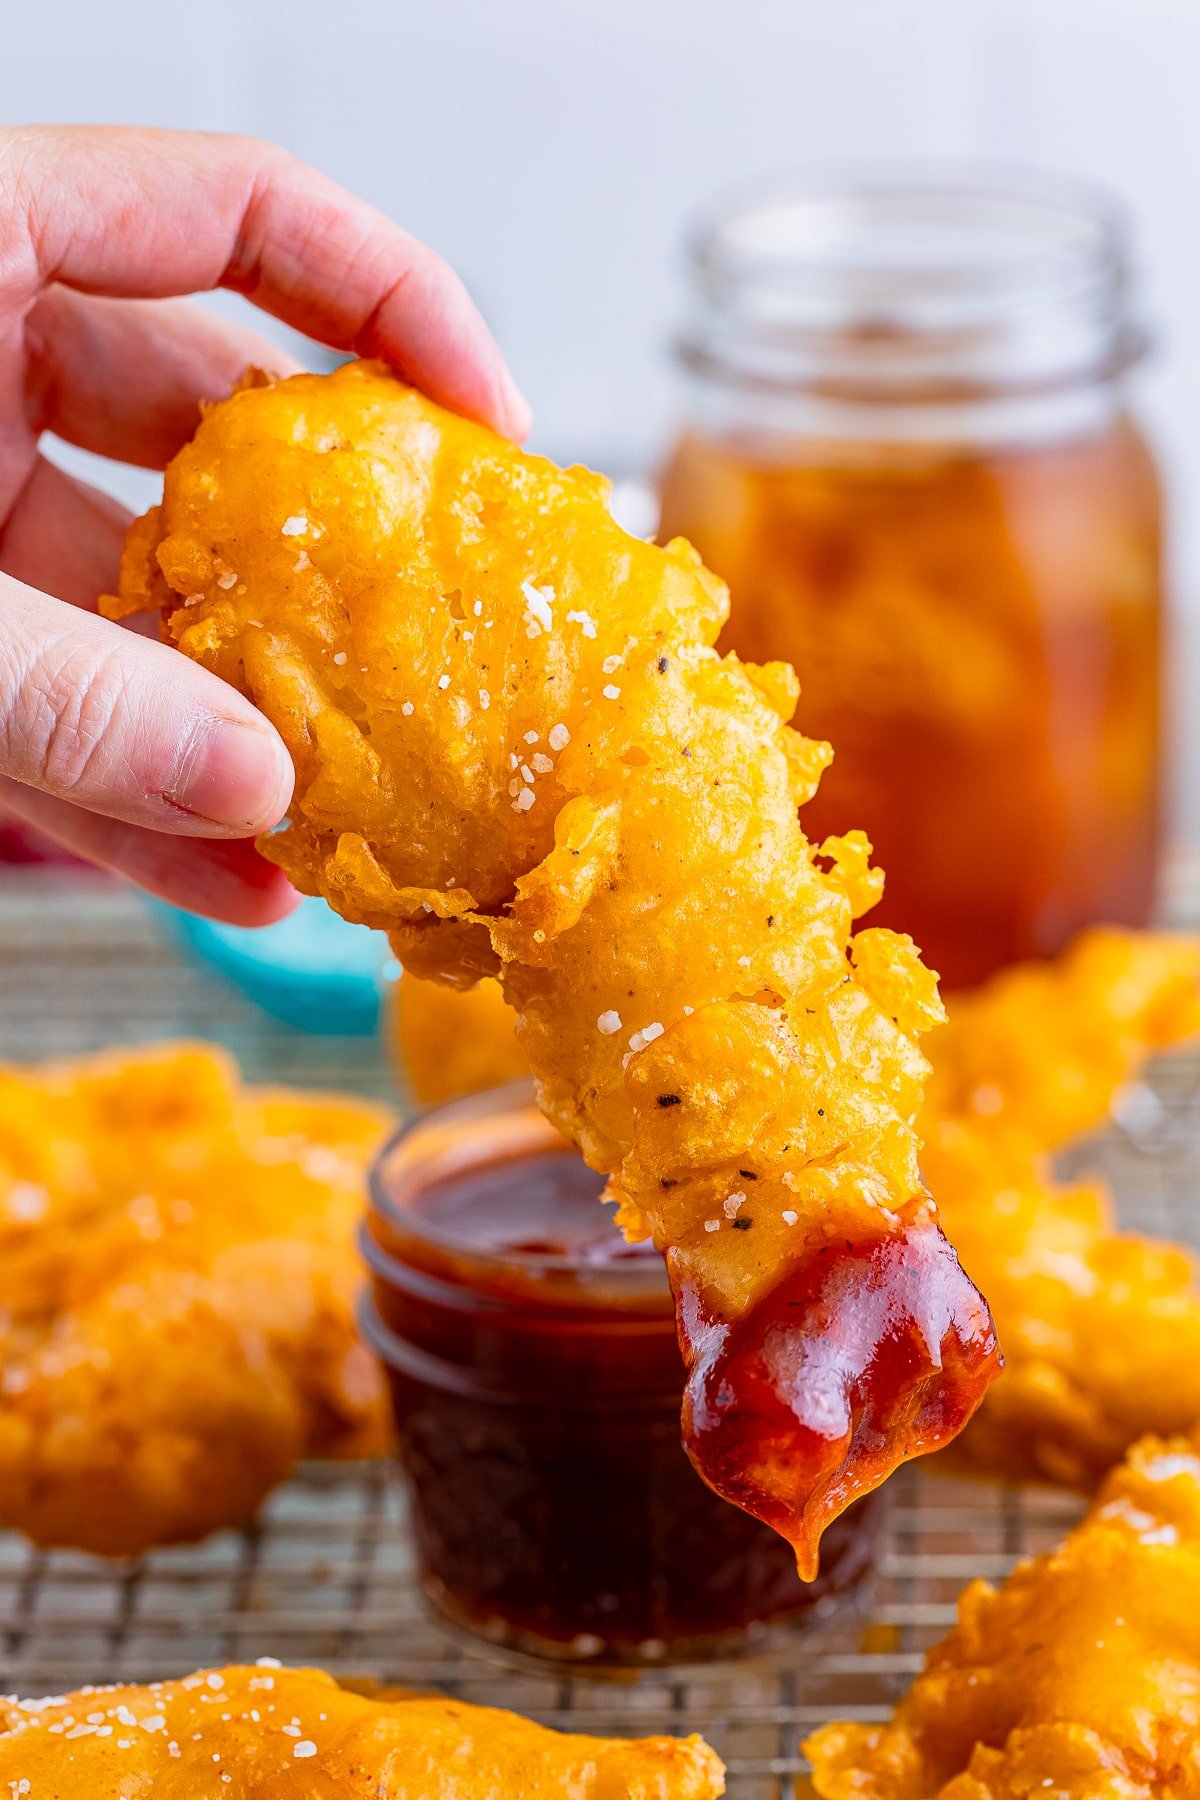
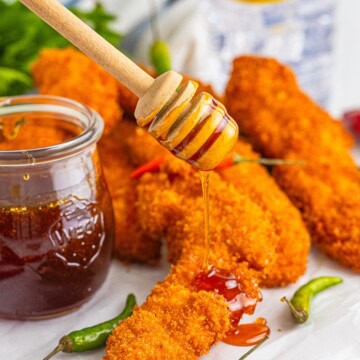
- Versatile dip game. Honey mustard, ranch, BBQ sauce, hot honey, ketchup all pair beautifully.
Key Ingredients
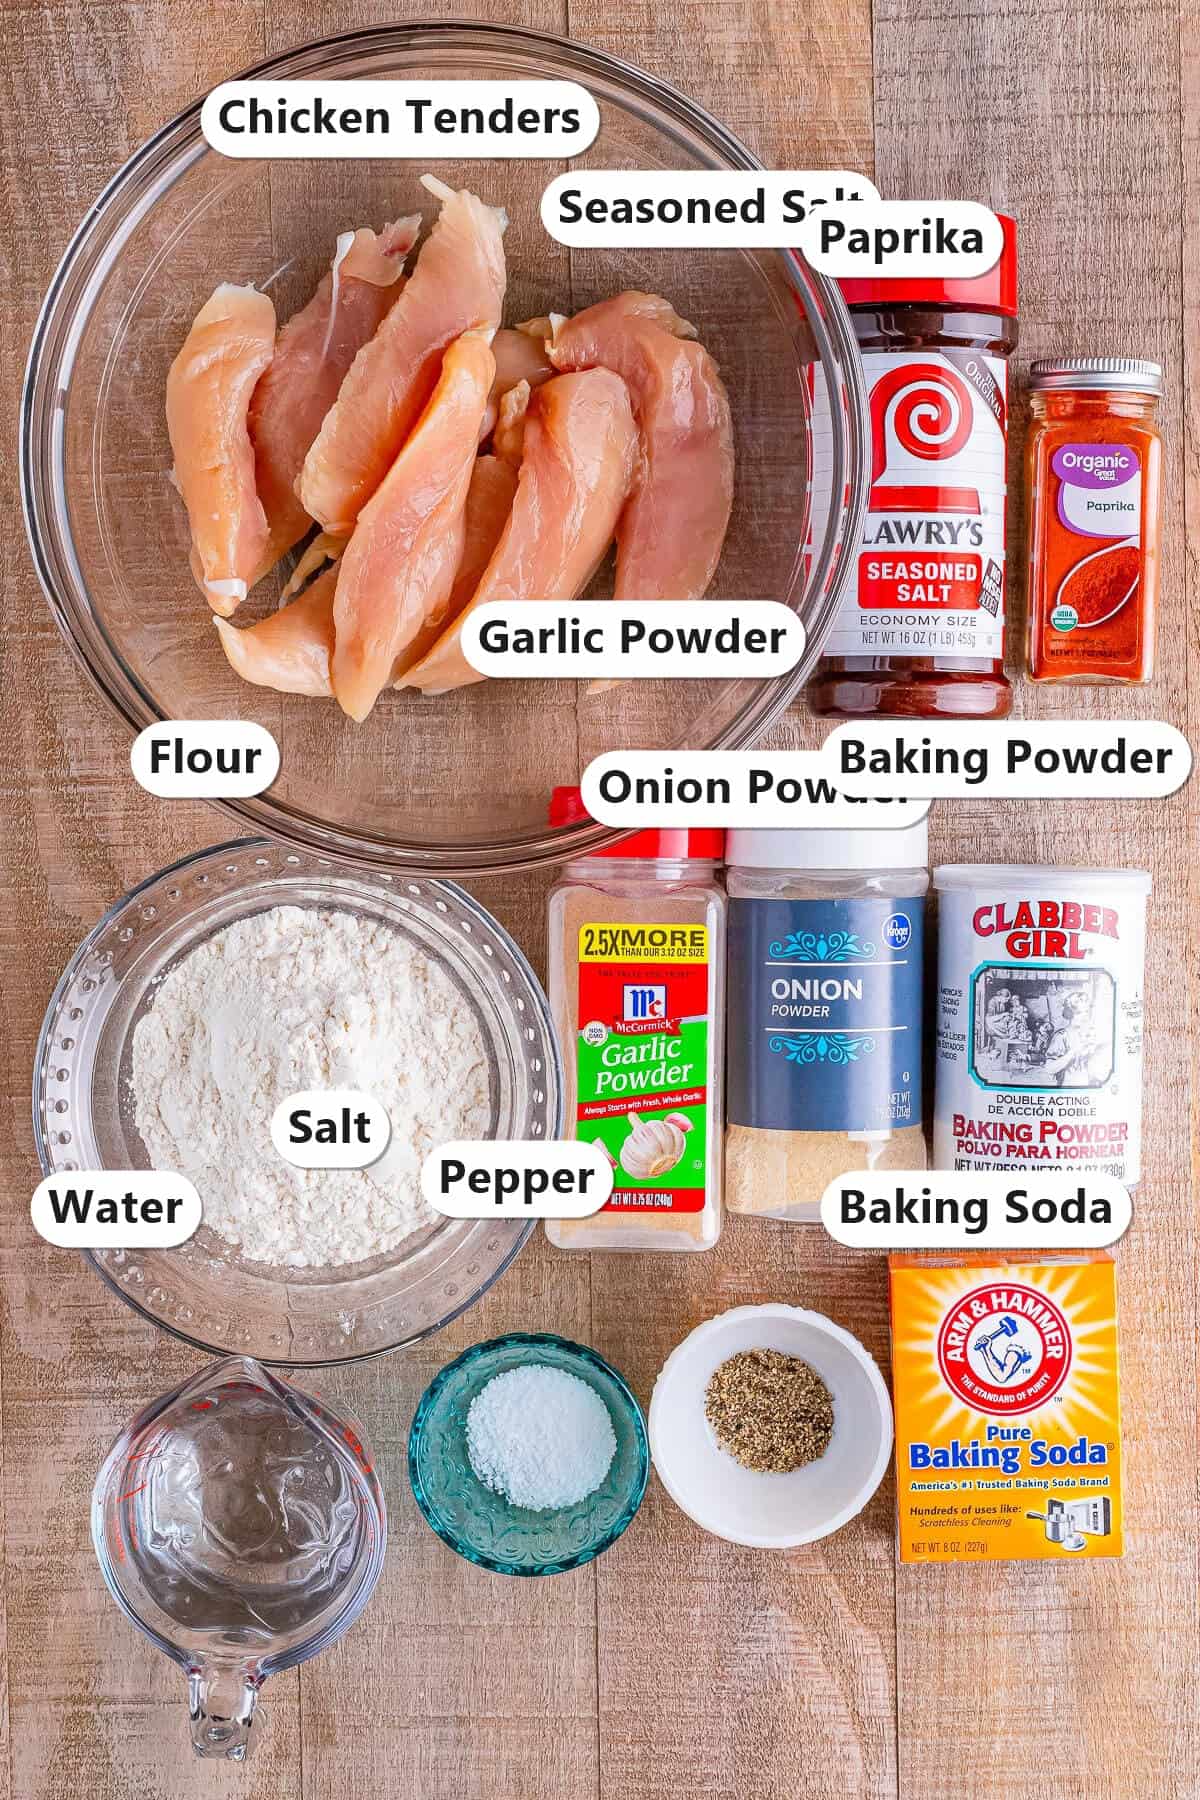
- Chicken tenders: 1.5 pounds boneless skinless. Pre-cut tenders save time. Boneless skinless thighs cut into strips also work.
- All-purpose flour: 2 cups total (1 cup dredge, 1 cup wet batter). The backbone of both coating layers.
- Baking powder + baking soda: 2 teaspoons + 1/2 teaspoon. The leaveners that create the puffy craggy crust.
- Water: 1 cup cold. Cold water keeps the gluten development low so the batter stays light.
- Lawry’s seasoned salt: 2 teaspoons total. The classic Southern fried chicken seasoning.
- Garlic powder, onion powder, paprika, salt, pepper: the seasoning rack. Used in both the dredge and the wet batter for two layers of flavor.
- Neutral oil: 2 inches in a Dutch oven or fryer. Canola, vegetable, or peanut at 350F.
See the recipe card below for exact quantities and the full ingredient list.
Variations and Substitutions
One base recipe, six ways to switch up the heat or the cut.
- Spicy battered tenders: add 1 teaspoon cayenne to the dredge for Nashville-leaning heat.
- Beer batter: swap the cold water for cold beer (any lager). Adds bread-like depth + extra rise.
- Gluten free: swap all-purpose flour 1:1 for a gluten-free baking blend.
- Buffalo finish: toss the cooked tenders in buffalo sauce right out of the oil.
- Honey hot drizzle: drizzle with hot honey while the tenders are still hot, the crust soaks up the glaze beautifully.
- Boneless thigh swap: use thigh strips for juicier tenders, add 2 minutes to the fry time.
How to Make Battered Chicken Tenders
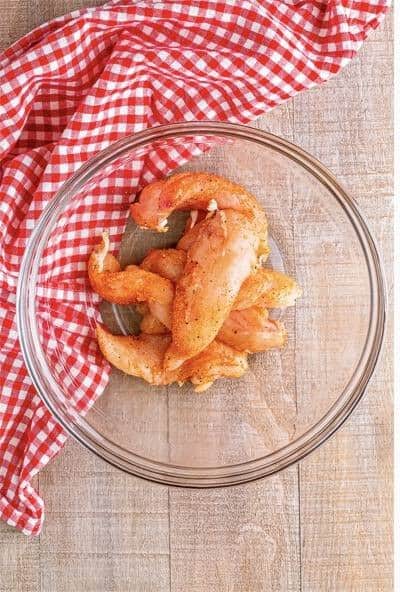
- Season the chicken tenders all over with 1 teaspoon Lawry’s seasoned salt and 1/4 teaspoon paprika. Set aside in a clear bowl.
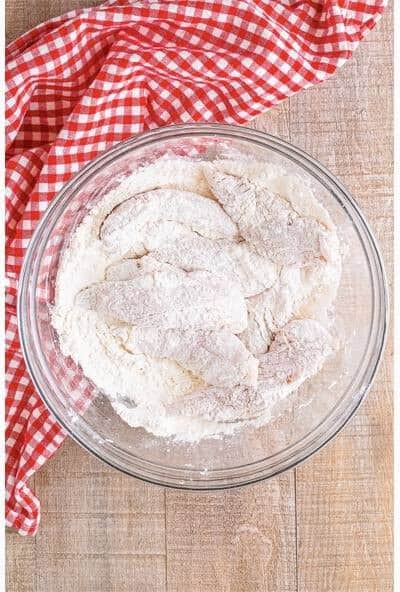
- In a shallow bowl, whisk together 1 cup flour, remaining Lawry’s, garlic powder, onion powder, paprika, salt, and pepper for the dry dredge. Toss seasoned chicken in the dredge to coat.
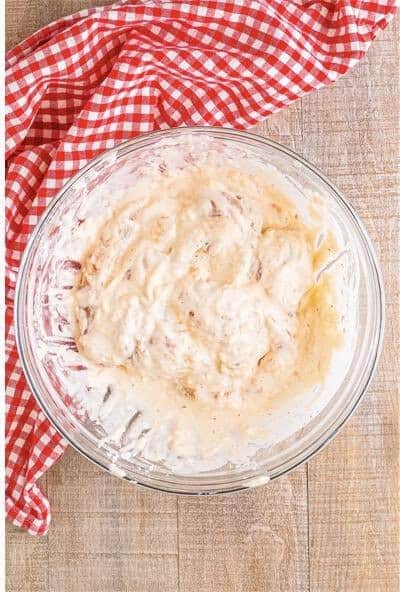
- In another bowl, whisk together 1 cup flour, water, baking powder, baking soda, and a pinch of seasoned salt for the wet batter. Dip floured tenders into the wet batter, letting excess drip back.
- Heat 2 inches of neutral oil in a Dutch oven to 350F. Carefully add tenders to the hot oil (do not crowd, 3 to 4 per batch). Fry 3 to 4 minutes per side until golden.
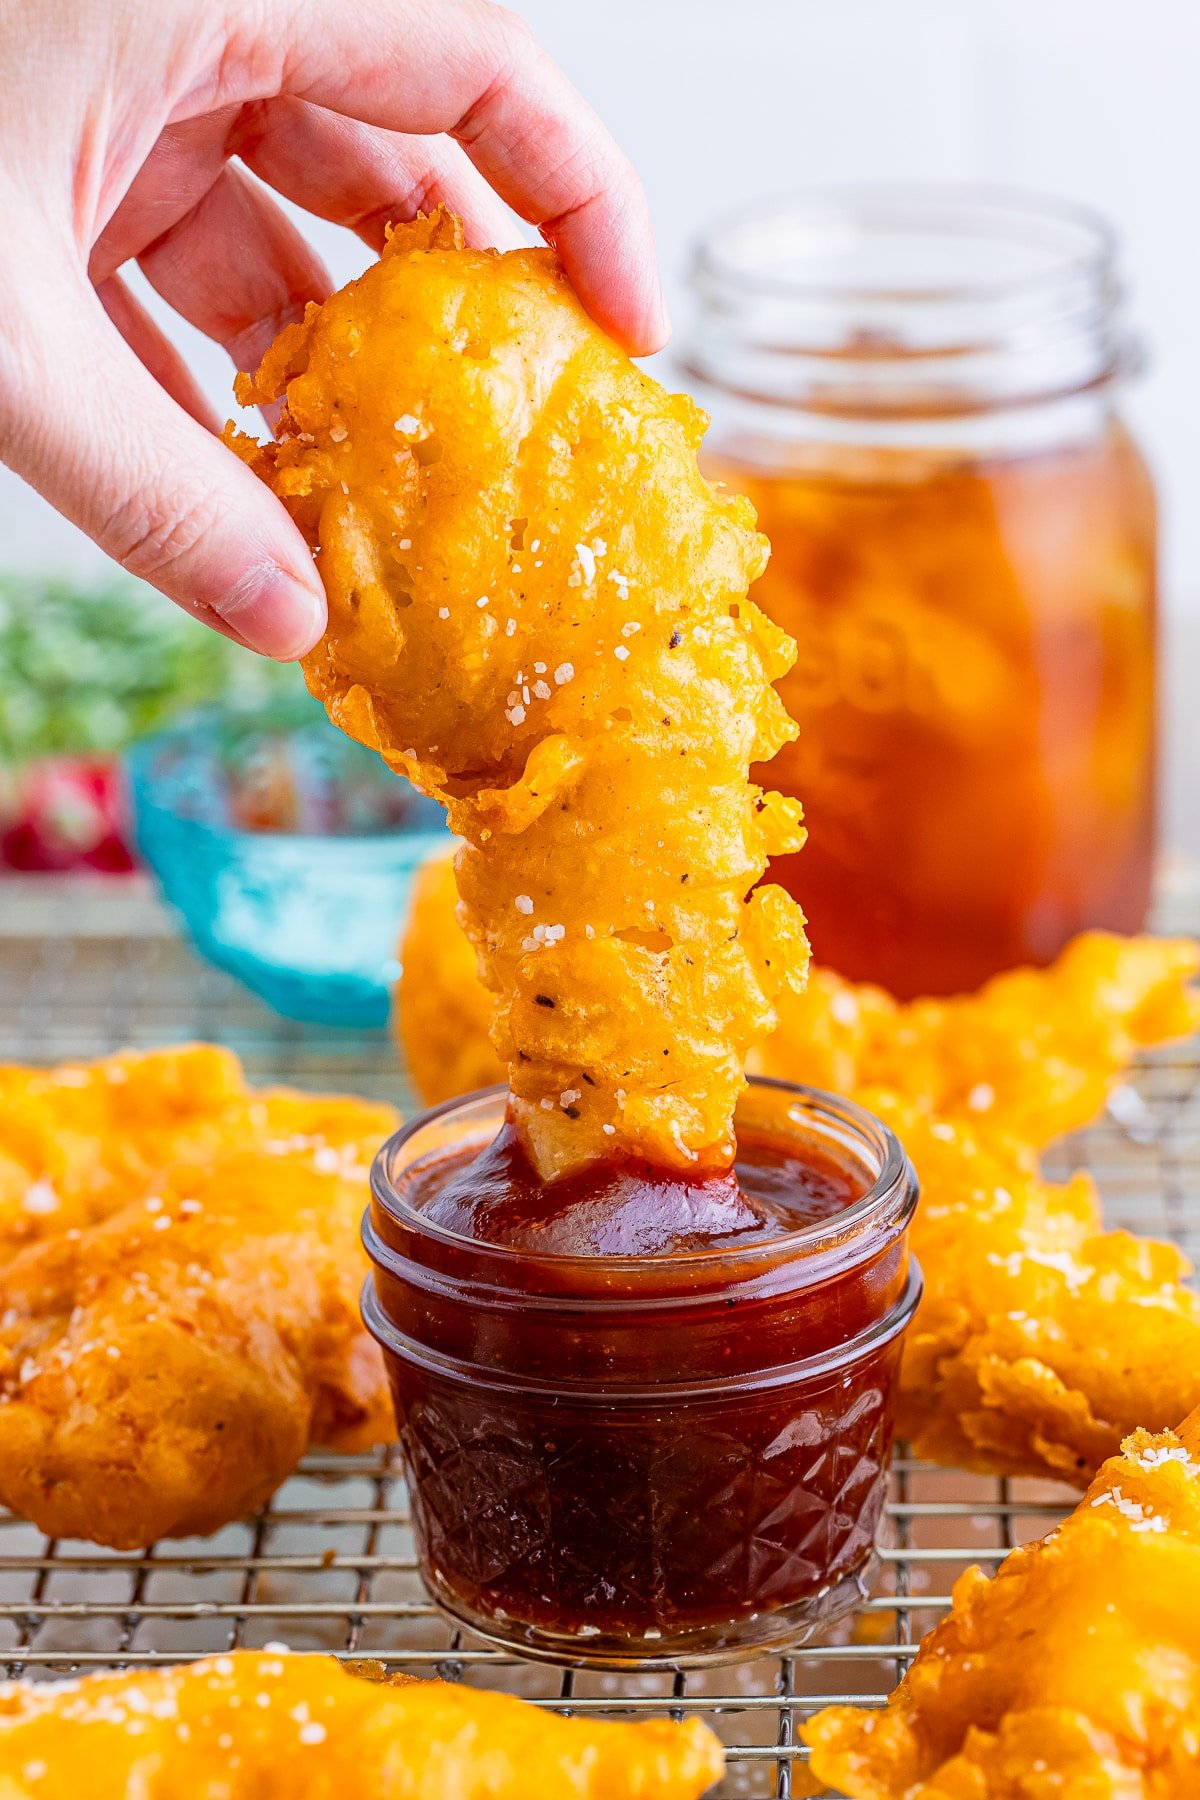
- Transfer the golden tenders to a wire rack set over a sheet pan and sprinkle immediately with seasoned salt. Hot oil holds salt best.
- Serve immediately while crispy with honey mustard, ranch, BBQ sauce, or hot honey for dipping. Best within 5 minutes of frying for peak crunch.
Recipe Tips & Tricks
Six moves that separate shatteringly crispy fair-food battered chicken tenders from soggy ones.
- Both baking powder AND baking soda. Each does a different lift. Skipping either flattens the puff.
- Cold water in the wet batter. Cold keeps gluten low, batter stays light.
- Dry dredge first. The seasoned flour dries the chicken so the wet batter clings.
- Clip-on thermometer. 350F is the puff sweet spot. Below 325F = greasy. Above 375F = burnt crust before chicken cooks.
- Salt fresh out of oil. Hot grease grabs salt. Wait 30 seconds and it slides off.
- Serve in 5 minutes for peak crunch. Wet batter softens fast. Eat hot.
Serving Ideas and Suggestions
- Sunday supper: Serve alongside our Cold Green Bean Salad and our Crispy Baked Potato Recipe.
- Game day spread: Plate alongside our Loaded Potato Skins and our Jalapeno Popper Cream Cheese Pinwheels for the ultimate appetizer board.
- Chicken tender platter: Set out 6 dipping sauces (honey mustard, ranch, BBQ, hot honey, ketchup, blue cheese) and let everyone build their plate.
- Sandwich upgrade: Slide a tender into a soft brioche bun with pickles and ranch for a crispy chicken sandwich.
- Salad topper: Slice cooled tenders over a chopped salad with ranch and shredded cheddar for a chicken salad lunch.
Fry up a batch of these Battered Chicken Tenders this weekend and tell us how the crunch turned out. Tag us on Instagram @ThisSillyGirlsKitchen.
Battered Chicken Tenders FAQs
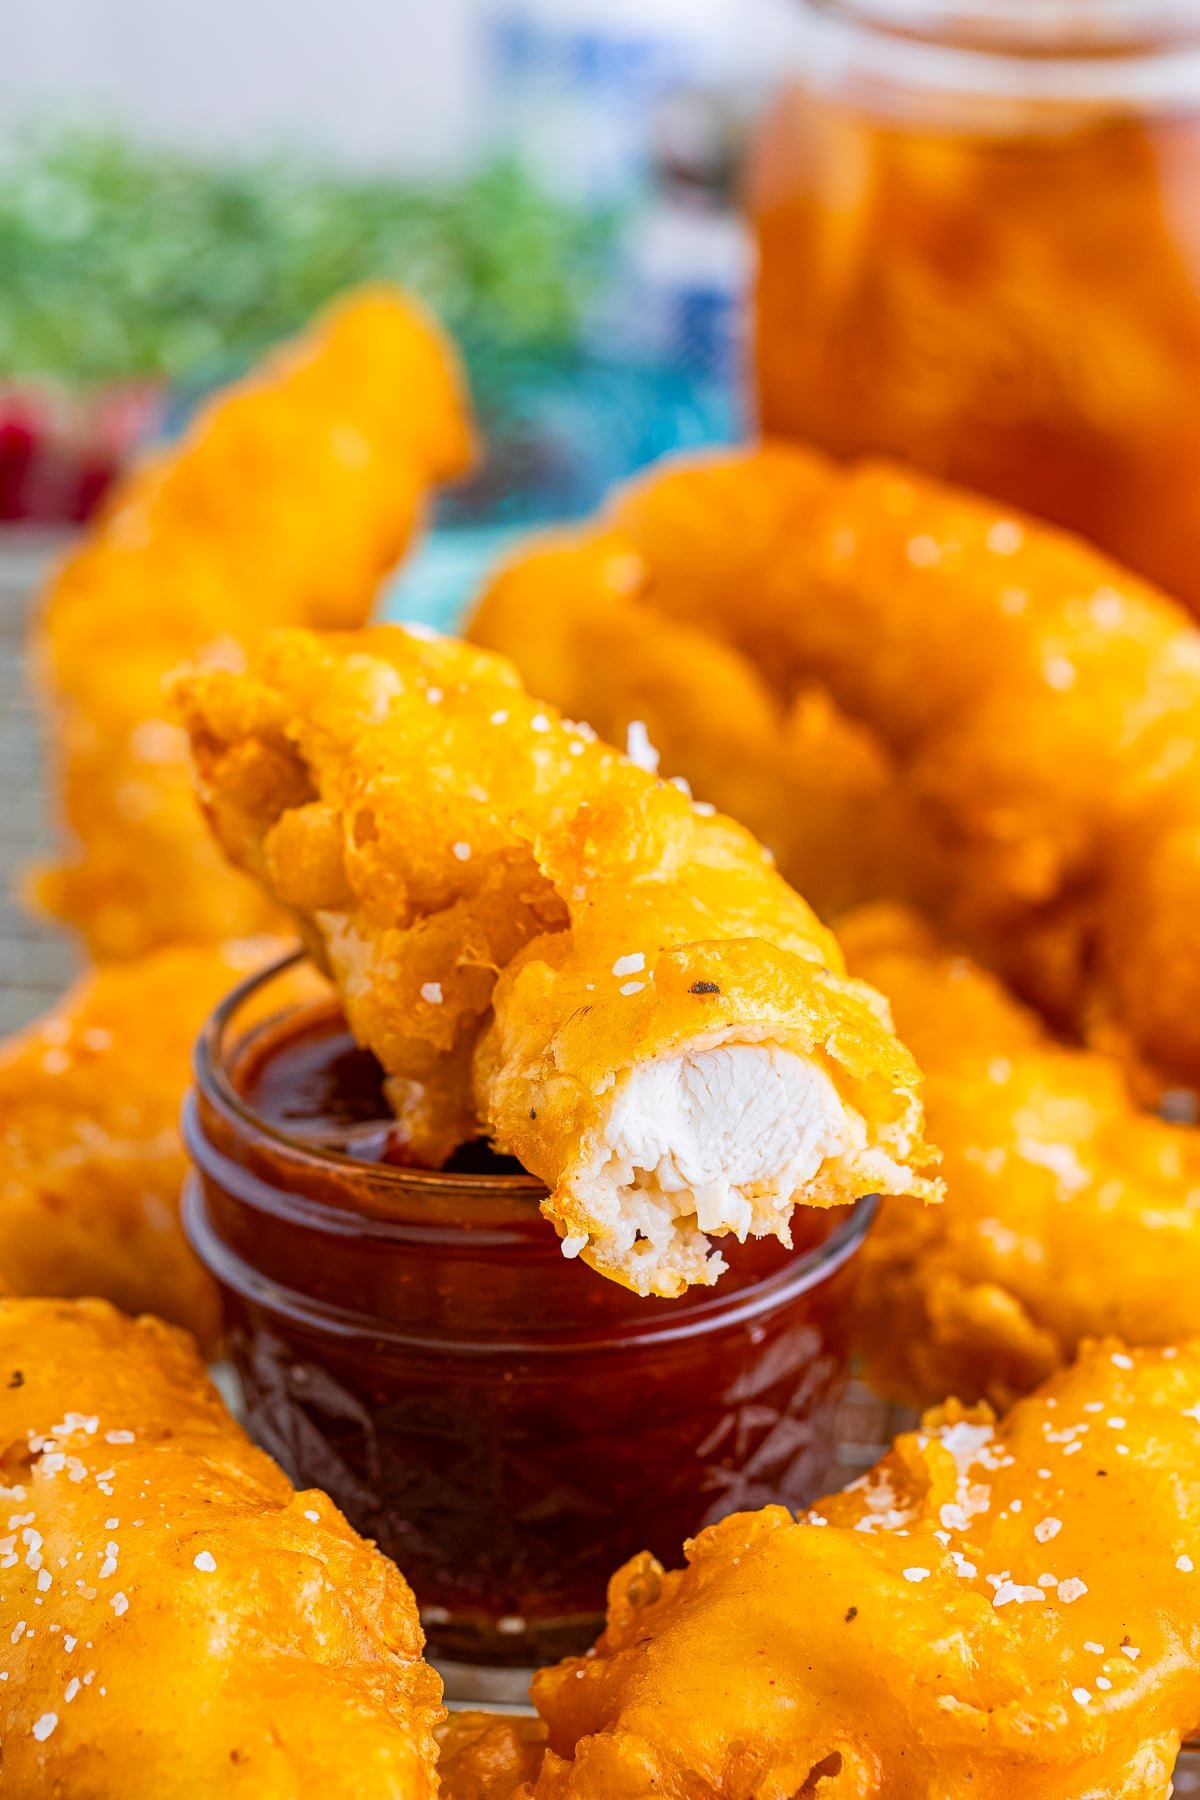
If you love the crispy, puffy chicken tenders you might find at a fair or restaurant, this wet-battered version is a great choice. The chicken is seasoned and coated with a mixture of flour, baking powder, and baking soda before cold water is added to create the batter. Frying the tenders at 350 degrees F gives the batter time to turn golden and crispy while the chicken cooks through to an internal temperature of at least 165 degrees F.
Battered tenders use a wet batter (flour + water + leavener) that puffs in hot oil into a craggy crust. Breaded tenders use a dry coating (panko, breadcrumbs, or seasoned flour) that produces a thinner, crunchier crust. Battered is fair-food carnival style, breaded is restaurant chicken finger style.
Yes. Swap the water 1:1 for cold buttermilk for richer flavor and slight tang. The batter color is slightly darker and the texture stays light because the leaveners do the puff.
Start by patting the chicken dry so excess surface moisture does not interfere with the coating. Follow the recipe order by seasoning the chicken, coating it with the flour mixture, and then adding the cold water to form the batter. The batter should be similar to pancake batter and thick enough to cling to the chicken. Also make sure the oil has reached 350 degrees F before adding the tenders. Avoid overcrowding the pan and handle the chicken as little as possible while the batter is setting in the hot oil.
Neutral high smoke point oil: canola, vegetable, or peanut oil at 350F. Peanut oil is the traditional Southern choice. Avoid olive oil and butter, they burn at frying temperatures.
Drain on a wire rack set over a sheet pan (not paper towels), keep warm in a 200F oven on a wire rack while you fry the next batch, and serve within 5 minutes of frying. Wet batter softens faster than dry breading.
Yes, fully cooked tenders only. Cool, freeze on a sheet pan in single layer, then transfer to a freezer bag. Reheat from frozen at 400F for 8 to 10 minutes in the oven. Do not freeze the wet batter dipped (raw) tenders.
Wet batter does not air fry well, it slides off the chicken before setting. For air fryer, use a dry breading (panko or seasoned flour) instead. Or try our Air Fryer Buffalo Chicken Tenders
Other Recommended Copycat Recipes


If you made these Battered Chicken Tenders, leave a star rating below. Tag us on Instagram @ThisSillyGirlsKitchen.

The Best Crispy Fried Battered Chicken Tenders Recipe
Ingredients
- 1 pound chicken tenderloins
- 1/4 teaspoon garlic powder
- 1/4 teaspoon season salt
- 1/4 teaspoon onion powder
- 1/4 teaspoon paprika
- 1/4 tespoon black pepper
- 1 1/4 Cup all-purpose flour
- 1 teaspoon baking powder
- 1/2 teaspoon baking soda
- 1 Cup cold water
- peanut oil for frying or vegetable oil
- Kosher salt for sprinkling
Instructions
- Place chicken tenders in a large bowl and add the garlic powder, seasoned salt, onion powder, paprika and black pepper. Mix together so all the pieces are coated.1 pound chicken tenderloins, 1/4 teaspoon garlic powder, 1/4 teaspoon season salt, 1/4 teaspoon onion powder, 1/4 teaspoon paprika, 1/4 tespoon black pepper
- Add in the flour, baking powder, and baking soda. Coat the chicken in this mixture.1 1/4 Cup all-purpose flour, 1 teaspoon baking powder, 1/2 teaspoon baking soda
- Add in the cold water and mix, by hand, until a batter forms, if there are some lumps that’s okay. (If you need to add some more water, do so a little at a time. It can depend on the weather if more is needed. It should be like a pancake batter consistency.)1 Cup cold water
- In a heavy bottom skillet with deep sides, add enough oil to go up the side of the pan 2-3 inches—heat oil over medium heat until it reaches 350°F.peanut oil for frying
- Place the chicken strips one by one into the pan, but don’t overcrowd them. They should not be touching.
- Let fry on one side for about 4 minutes and flip over with tongs. Chicken is done when golden brown and has an internal temperature of at least 165°F degrees. About 8-10 minutes total.
- Fry chicken in batches. When the chicken is done frying, place it on a wire rack over a pan so the excess oil can drip off. Immediately sprinkle a little of the kosher salt on the chicken. A little oil still on the outside will ensure it sticks.Kosher salt
- Continue doing this until all the chicken is done. If you have a lot of tenders, you can hold the already fried chicken in an oven set on the lowest setting.
- Serve with your favorite sides and dipping sauces, and enjoy!
Notes
- Use an Instant-Read Thermometer: This tool is your best friend to ensure the chicken is cooked just right.
- Don’t Overcrowd the Pan: Fry in batches to ensure every tender gets crispy.
- Adjust Heat as Needed: If the tenders are browning too fast, reduce the medium heat slightly.
- Dry Chicken First: Before battering, pat the chicken pieces with paper towels. It helps the batter stick better.
- Stay Safe: Always be cautious when working with hot oil. It can splatter!
- Add Seasonings to Taste: Feel free to adjust the seasonings in the batter to suit your preferences.
Nutrition
Love This Recipe?
Follow @ThisSillyGirlsKitchen on Instagram and @danadevolk on Pinterest for more!


This is the best chicken tenders recipe and technique ever tried. Pure genious! My family loved me.
Woot! You have been featured this week at Recipe Sharing Monday! The new link party is up and I’d love to see you back. Have a great week. 🙂
These look delicious, I love these! Thanks for linking up to Sweet and Savoury Sundays, stop by and link up again this weekend.
Wow these look like perfection! I’ve never been super satisfied with my breaded chicken so I am going to make these really soon. Thank you so much for linking this recipe up at Recipe Sharing Monday. I hope to see you back next Monday. Have a good weekend!
You ROCK for linking up this week to Tip Me Tuesday. {high fives}
Just a heads up, Tip Junkie can help you index your blog more effectively if you upload at least 2 images, 2 steps, and blog post URL into your Tip Junkie craft room!
Simply login and click “add a project” on your profile page to get started. {yep I’ve got your back!}
~ Laurie {a.k.a. the Tip Junkie}
Link ~ http://www.tipjunkie.com/how-to-add-a-craft-room-project-on-tip-junkie
So the secret is the baking soda & powder! Very similar to my recipe but, I love how those ingredients change the fried dough texture. These look so yummy my daughter will be excited when I make your recipe. Pinning. Feel free to drop by sometime.
These look delicious! Thanks for sharing them with us at Sewlicious Home Decor! Pinned to the Party board! 🙂
Marti
Wishing I had a fryer! These look divine!
My boys would be all over these! Thanks so much for joining us at Marvelous Mondays Pinned to my Marvelous Mondays board!
I strain the oil and keep it in an air tight container in the fridge. Then when I’m ready to make these babies again I just take it out and heat it up! Once the oil starts to smell you need to replace it. I’m glad you liked this post, yay!