This post may contain affiliate links.
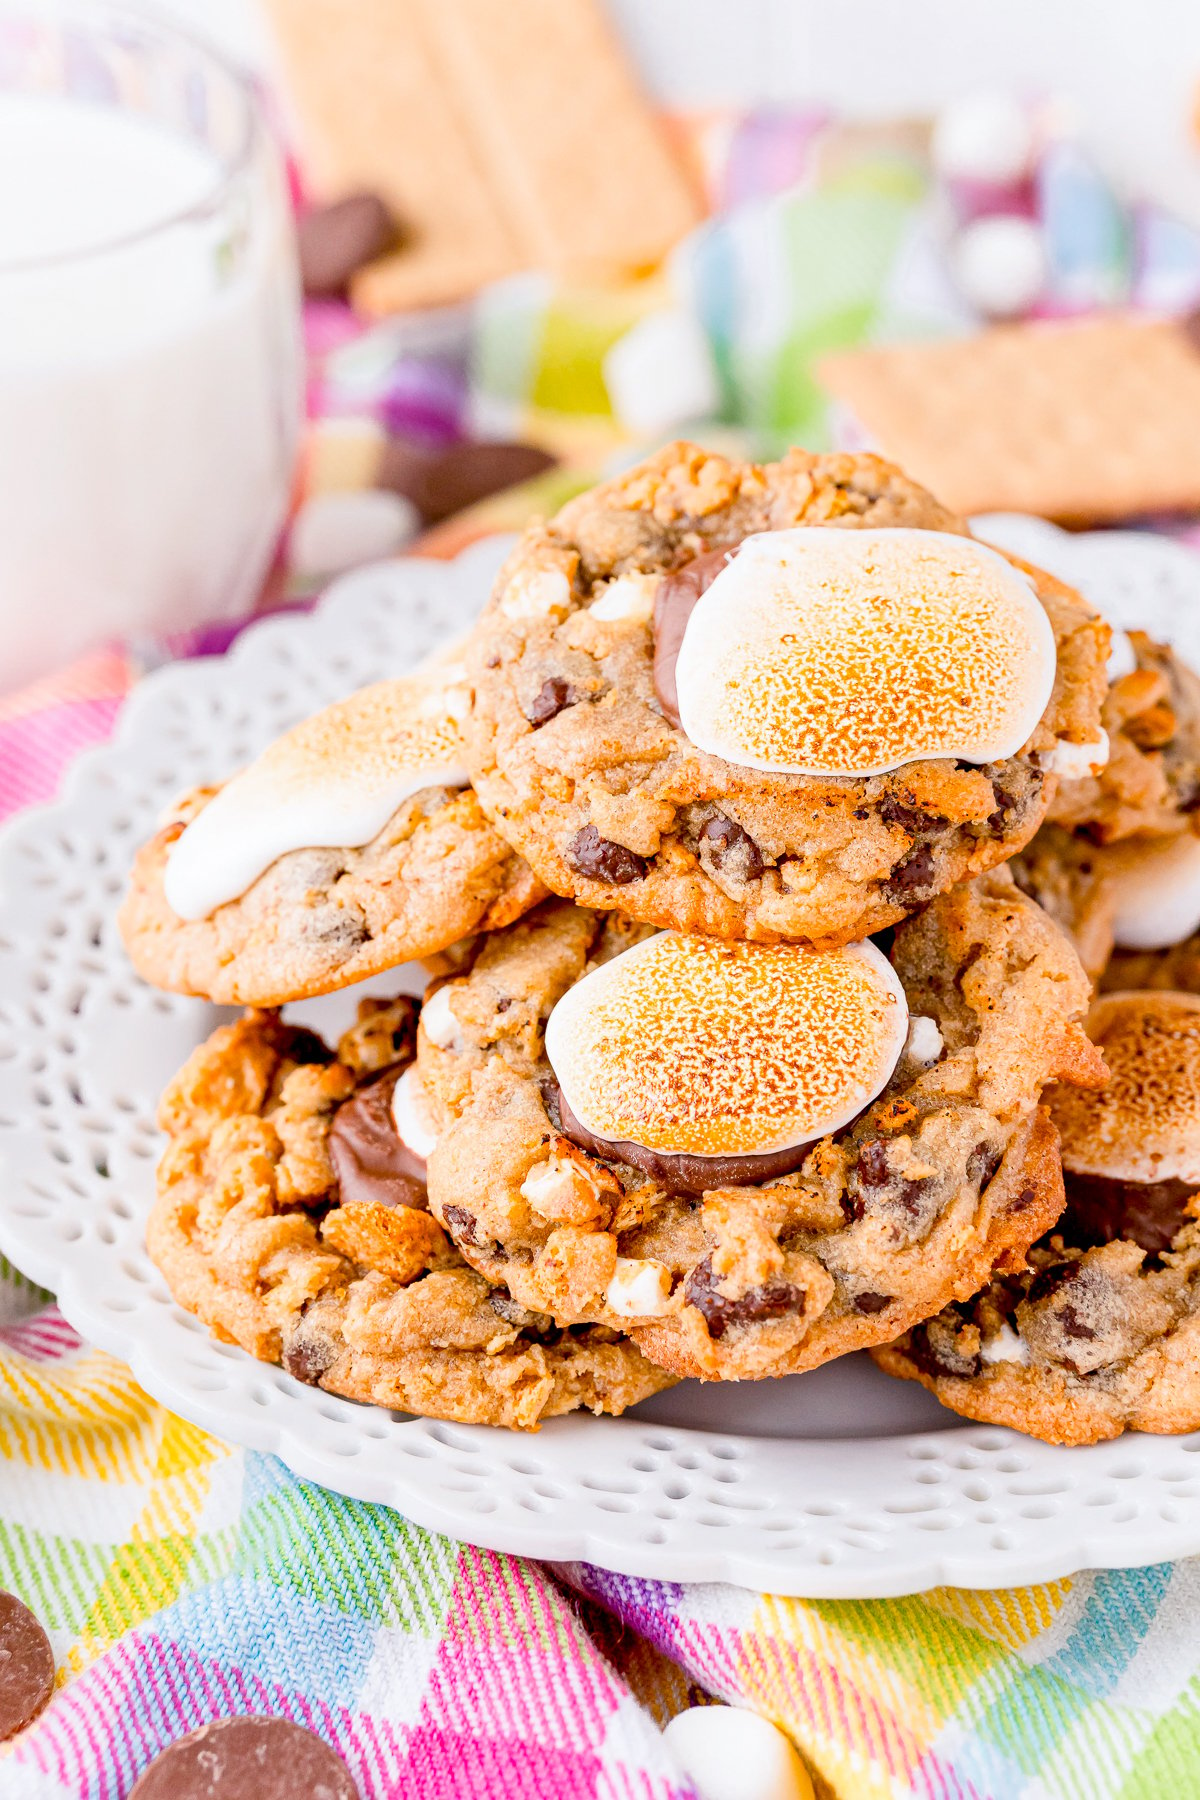
Golden Grahams Smores Bars pack all the gooey, chocolatey magic of a campfire smore into a chewy cereal treat you make in one pot on the stove. I stirred up a batch on a rainy Saturday afternoon when the girls wanted smores and the fire pit had other plans. If your family loves campfire flavor as much as mine, my smores cookies are the chewy oven baked cousin of these bars.
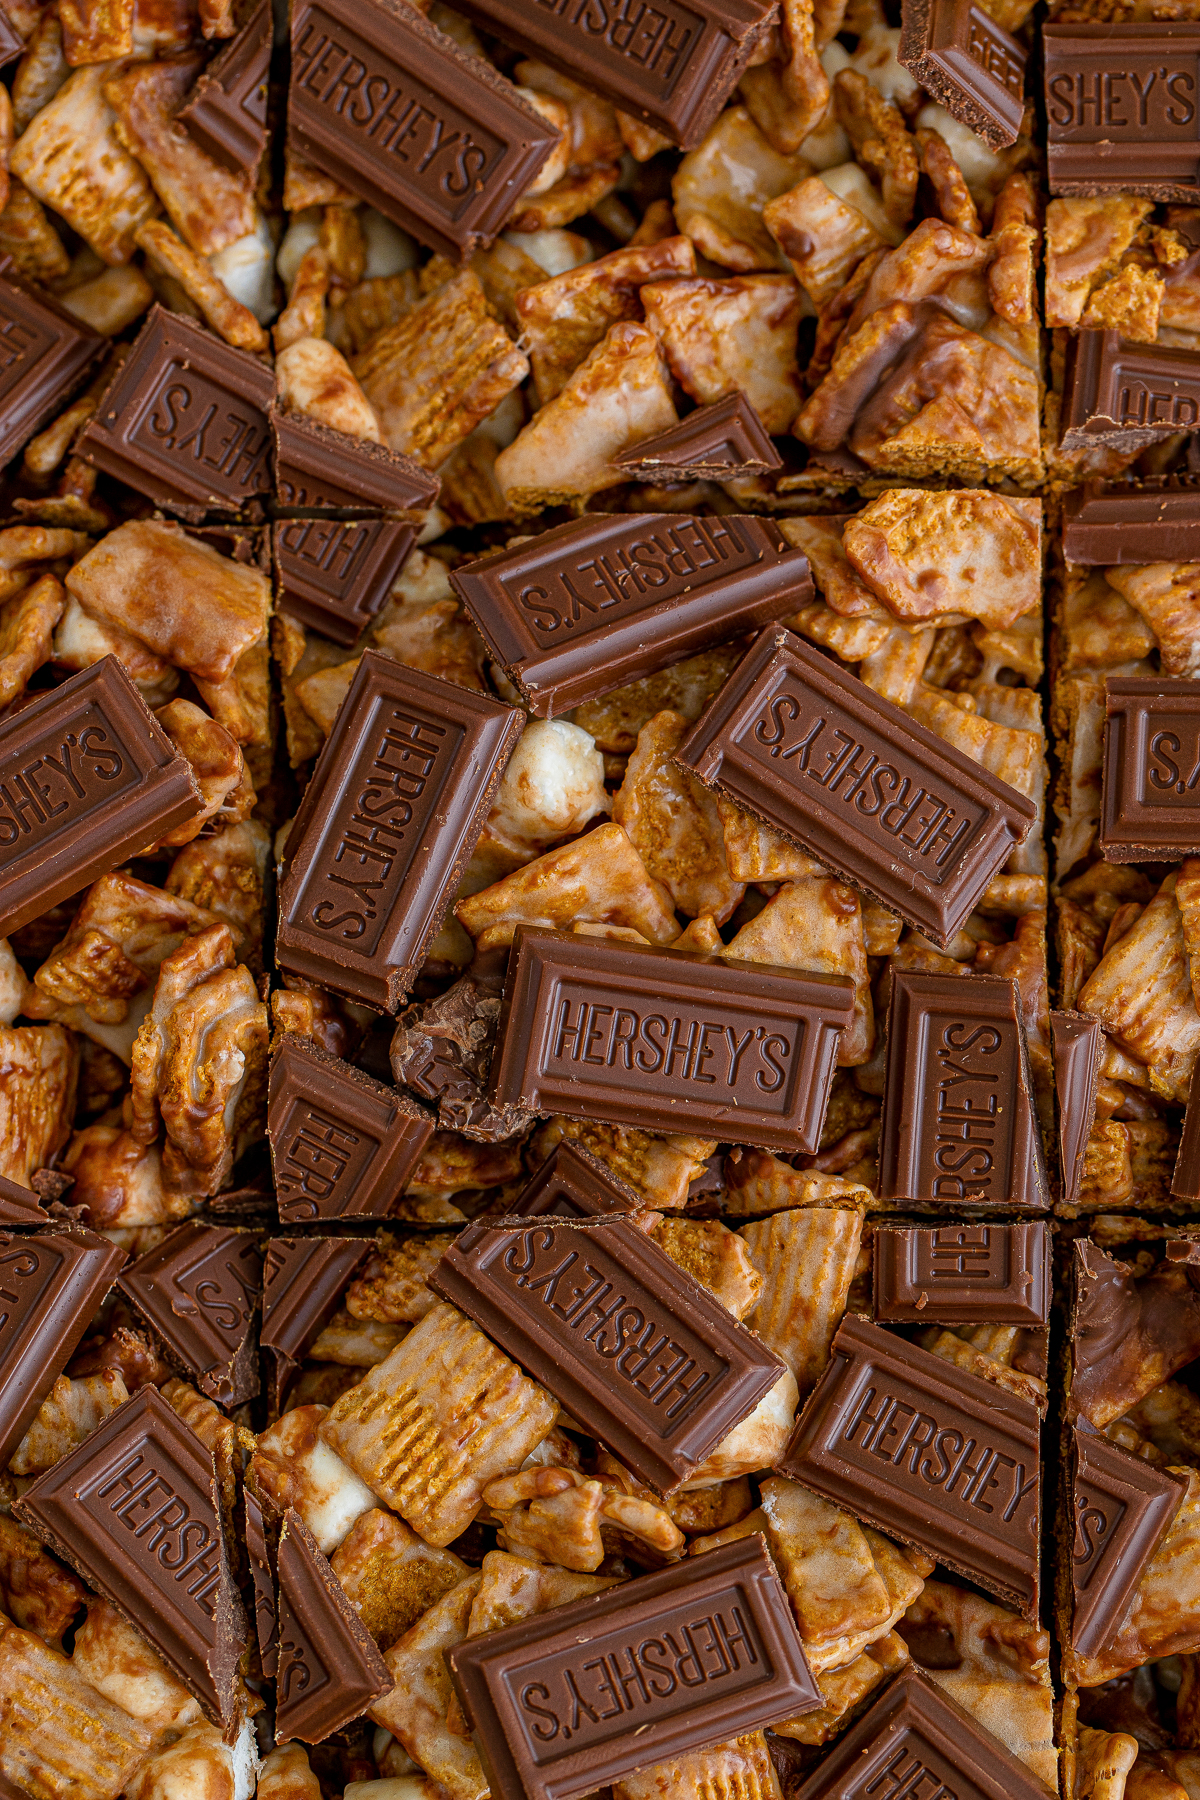
Toasty graham cereal, melty marshmallows, and chunks of real chocolate pressed into the easiest no bake bars ever.
Golden Grahams Smores Bars Quick Look
- 🕒 Prep Time: 5 minutes
- 🌡️ Cook Time: 5 minutes
- ⏳ Total Time: 1 hour 10 minutes
- 🍽️ Serving: 24 bars
- ⚡ Calories: 184kcal
- 🌶️ Flavor Profile: Toasty graham crunch with gooey marshmallow and pockets of melty milk chocolate
- ✋ Difficulty: Very easy, one pot on the stove, simpler than my homemade smores brownies
Quick Answer
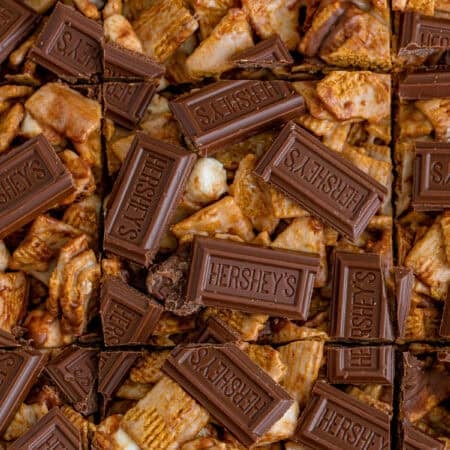
Chop three Hershey’s bars into small pieces and break three more into sections, then chill both plates. Line a 9 by 13 dish with foil and grease it. Melt butter in a large pot over medium low heat, stir in 8 cups of mini marshmallows until melted, and take the pot off the heat. Stir in the vanilla, then the Golden Grahams cereal, and finally the remaining marshmallows and chopped chocolate. Press the mixture into the dish, top with the chocolate sections, and let the golden grahams smores bars set for about an hour before cutting.
Jump to:
- Golden Grahams Smores Bars Quick Look
- Quick Answer
- Why This Recipe Works
- Why You’ll Love This Recipe
- Key Ingredients
- Variations and Substitutions
- How to Make Golden Grahams Smores Bars
- Recipe Tips & Tricks
- Serving Ideas and Suggestions
- Golden Grahams Smores Bars FAQs
- Other Recommended Smores Recipes
- Golden Grahams Smores Bars
Why This Recipe Works
Click to see the technique science
- Chilled chocolate survives the hot mix. Popping the chopped Hershey’s pieces in the fridge first means they soften into melty pockets instead of vanishing completely into the marshmallow.
- Medium low heat keeps marshmallows silky. Marshmallows scorch and turn grainy over high heat, so a gentle melt gives the bars that soft, stretchy chew.
- Off heat mixing saves the texture. Pulling the pot off the burner before adding cereal stops the carryover cooking that turns cereal treats rock hard.
- Reserved marshmallows add gooey pockets. Stirring in the last 2 cups whole at the end gives you visible marshmallow puddles in every bar, the signature smores look.
- A light press beats a hard pack. Pressing the mixture gently into the pan keeps the bars tender, while smashing them down compacts the cereal into a brick.
- Foil with overhang means clean squares. Lifting the whole slab out by the foil lets you cut neat bars on a board instead of digging them out of the pan.
Why You’ll Love This Recipe
- All the campfire smores flavor with no fire, no skewers, and no melted marshmallow on anyone’s sleeve.
- One pot and ten minutes of actual work, then the pan does the rest while it sets.
- They scratch the campfire itch all year, just like a scoop of my smores ice cream.
- It delivers that same everyone asks for seconds energy as our chex marshmallow treats.
- It delivers that same everyone asks for seconds energy as our caramel rice krispie treats.
Key Ingredients
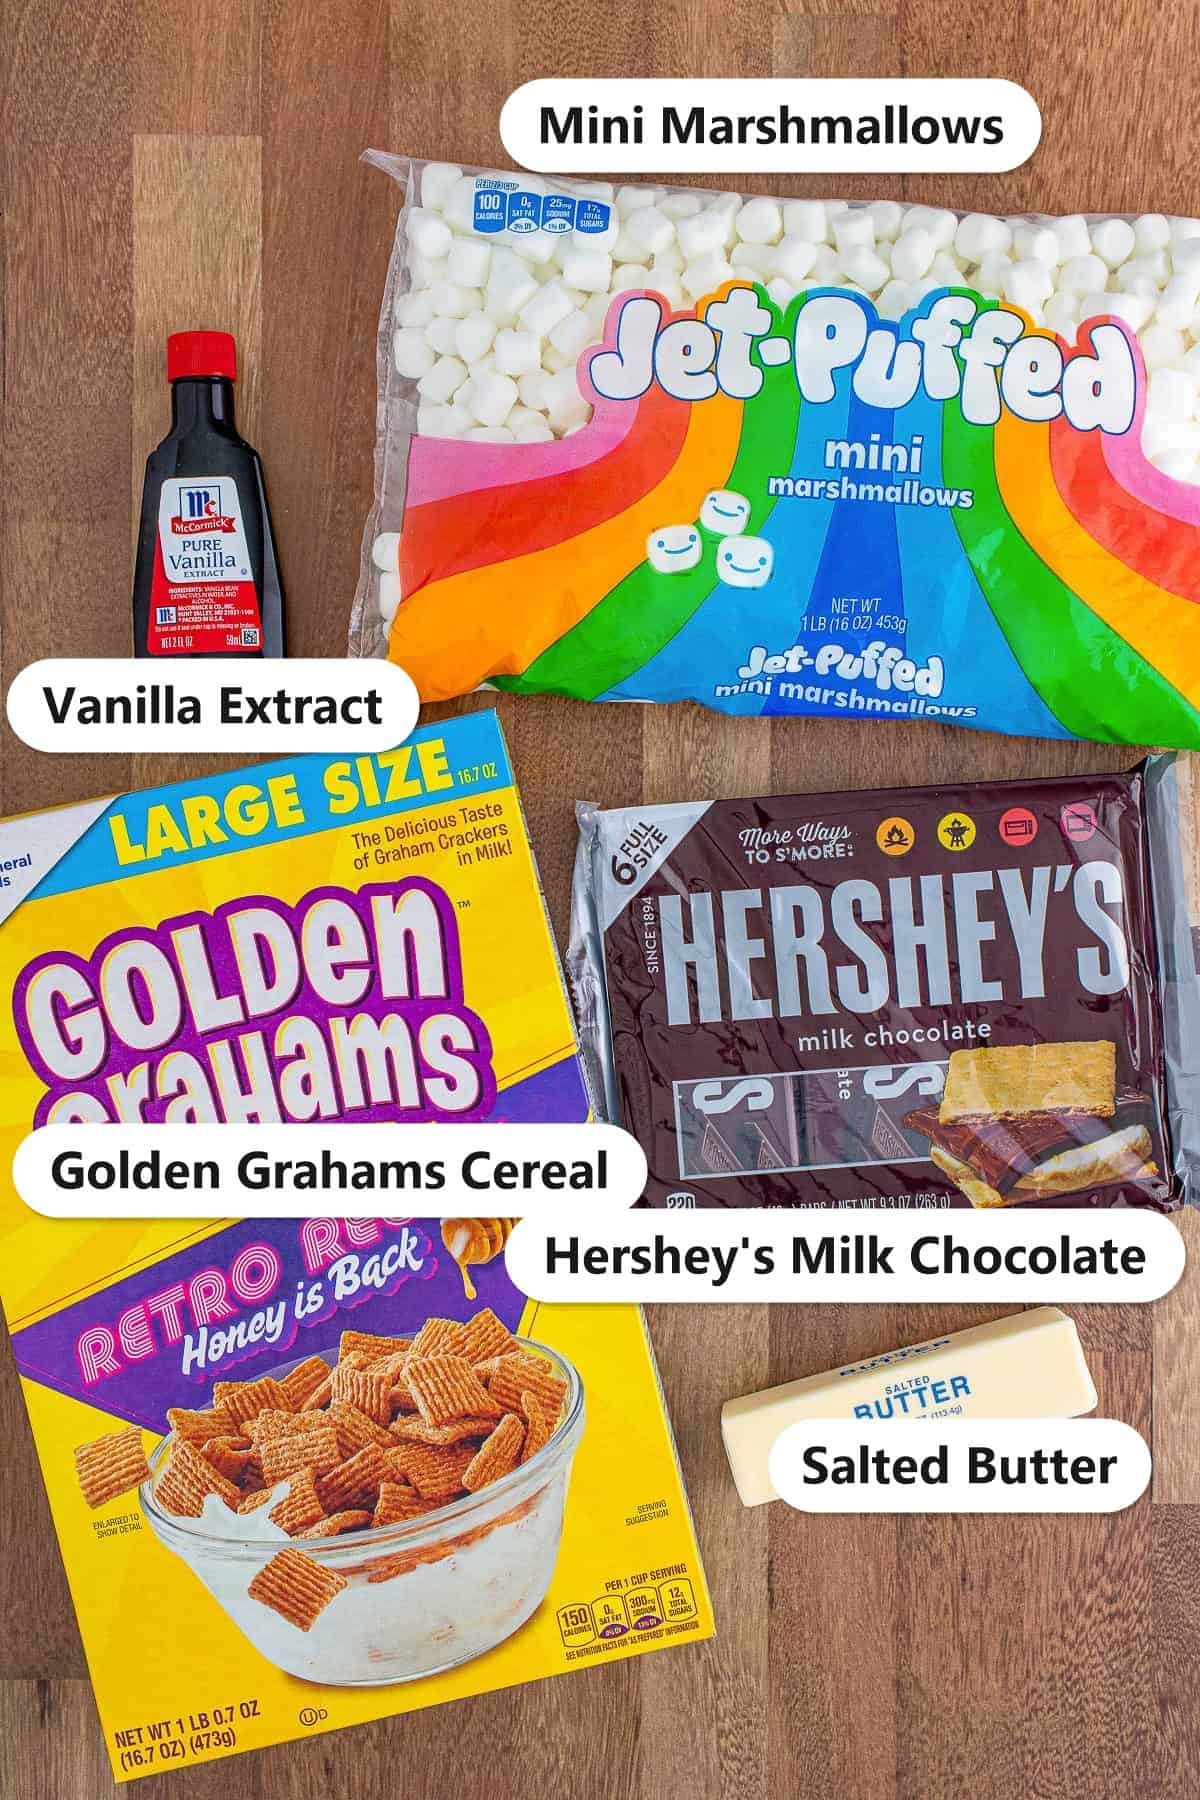
Five simple ingredients build the whole campfire experience.
- Golden Grahams Cereal: The graham cracker stand in. The toasted honey squares bring the signature smores base with built in crunch.
- Mini Marshmallows: The gooey glue. Eight cups melt into the binder and the last two cups stay whole for those classic marshmallow pockets.
- Hershey’s Milk Chocolate: The non negotiable. Real chocolate bars chopped and sectioned give you true smores flavor, half melted inside and half pressed on top.
- Salted Butter: The flavor base. It melts the marshmallows smoothly and the touch of salt balances all that sweetness.
- Vanilla Extract: The finisher. One teaspoon rounds out the marshmallow flavor like a toasted campfire note.
See recipe card for exact quantities.
Variations and Substitutions
These bars take to twists beautifully. A few favorites from our kitchen.
- Peanut butter smores: Stir 2 tablespoons of peanut butter into the melted marshmallows before adding the cereal.
- Dark chocolate version: Swap the milk chocolate bars for dark chocolate if you like a deeper cocoa edge.
- Toasted coconut: Fold in a half cup of toasted coconut with the cereal for a tropical campfire vibe.
- Extra graham crunch: Crush two graham crackers over the top before the bars set.
- Crumble one over a bowl of my smores ice cream for the ultimate double smores dessert.
- If you want to switch things up, our s’mores cake plays on similar flavors in a whole new way.
- If you want to switch things up, our brown butter rice krispie treats plays on similar flavors in a whole new way.
How to Make Golden Grahams Smores Bars
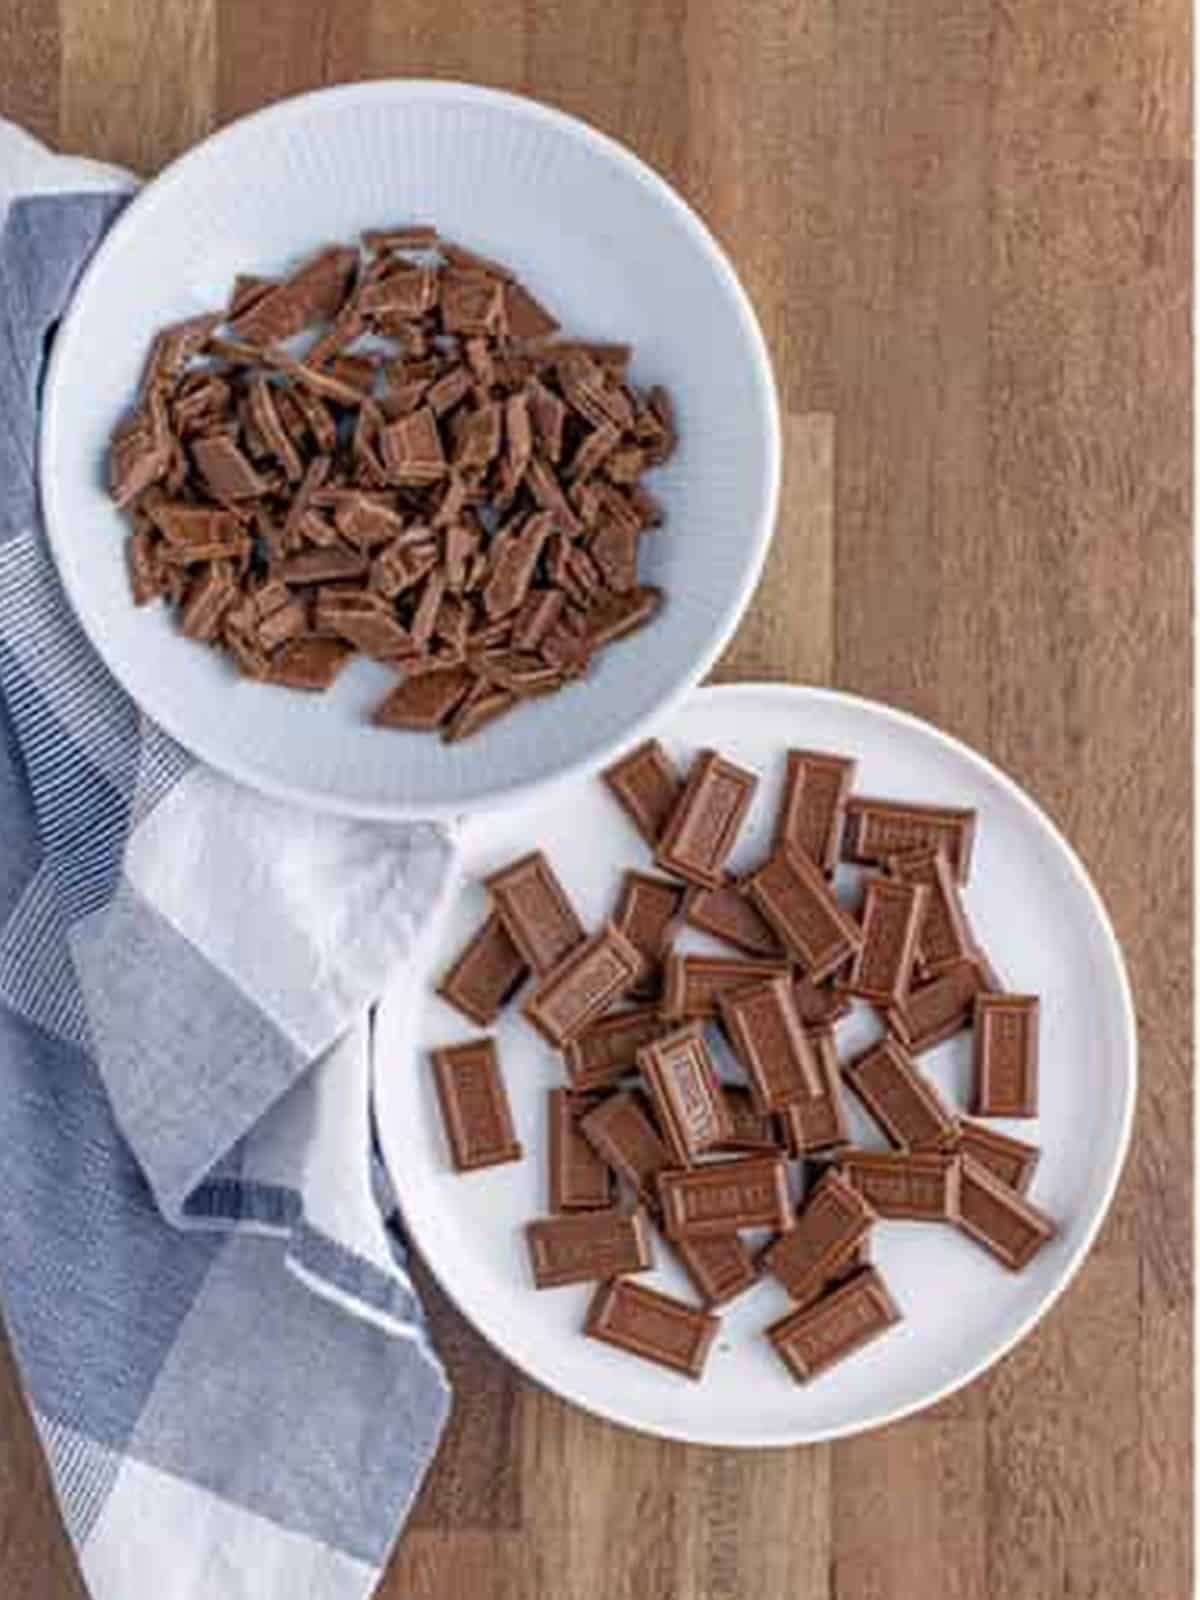
- Chop 3 of the chocolate bars into half inch pieces and break the other 3 into sections. Keep them on separate plates in the fridge until needed. Line a 9 by 13 baking dish with foil, letting it overhang the sides, and grease it well.
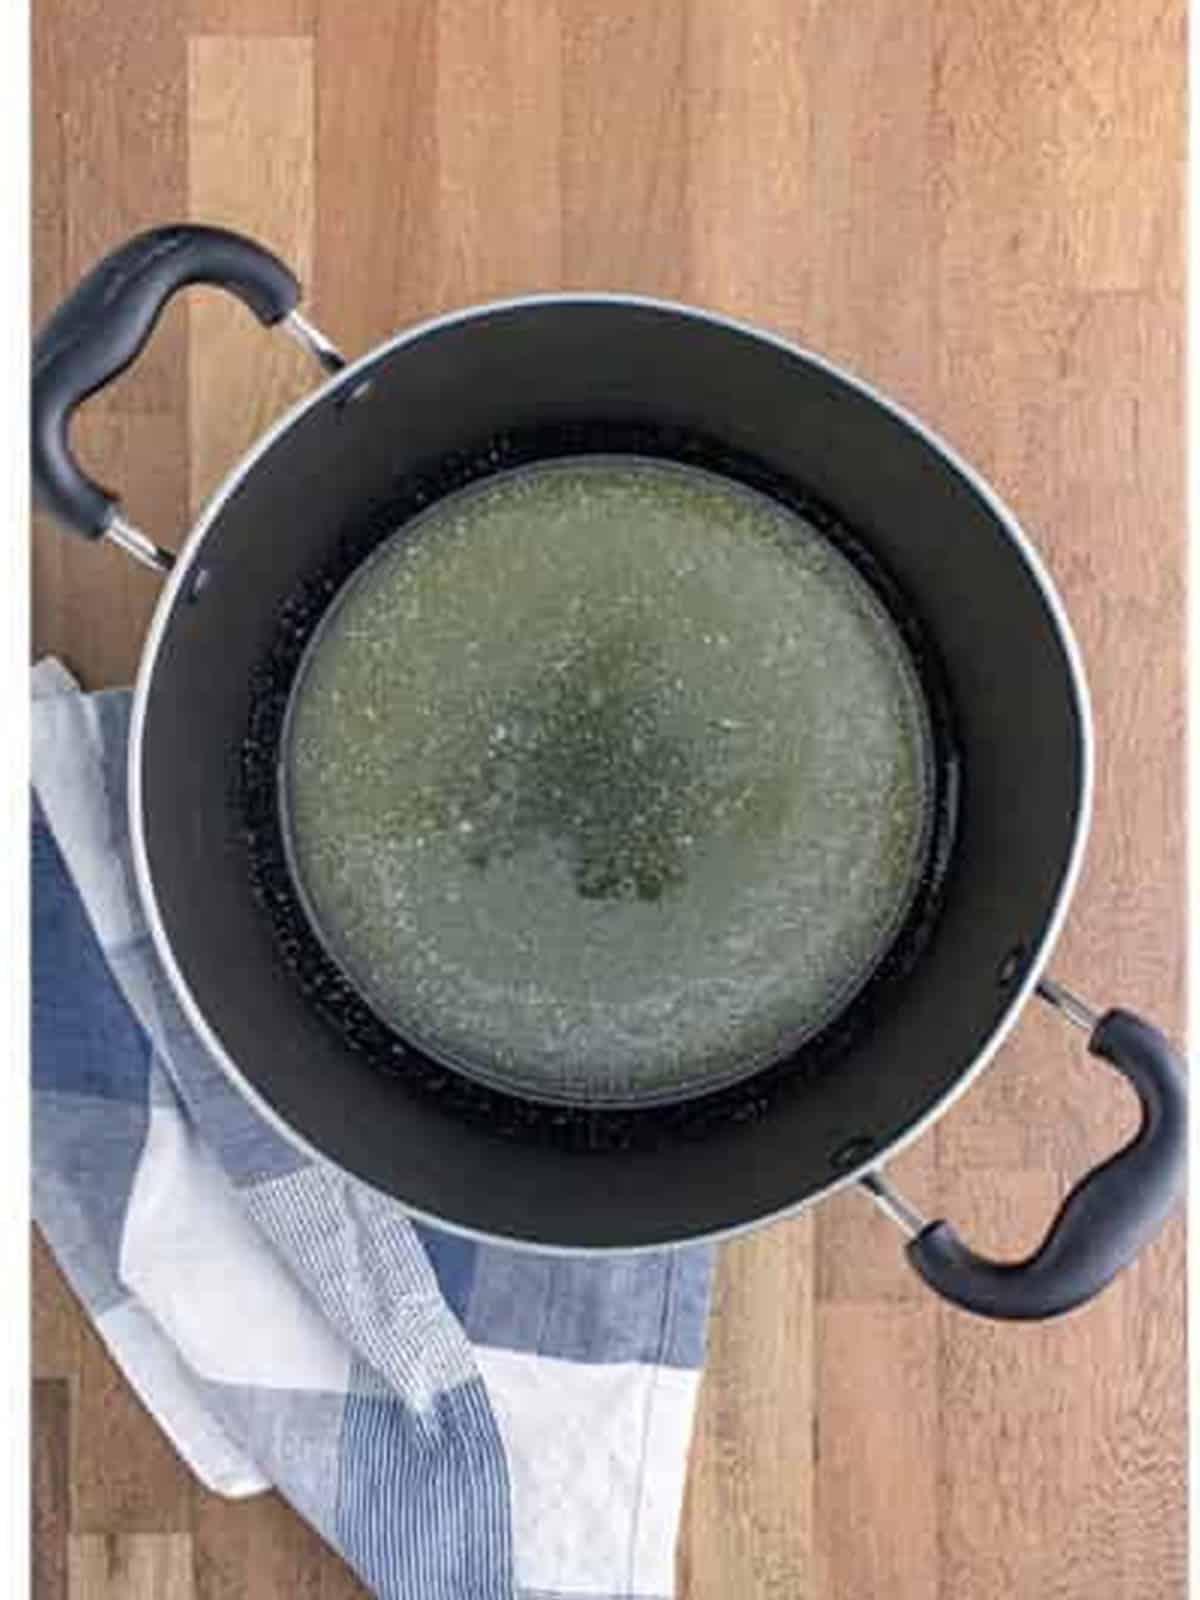
- In a large pot, melt the butter over medium low heat.
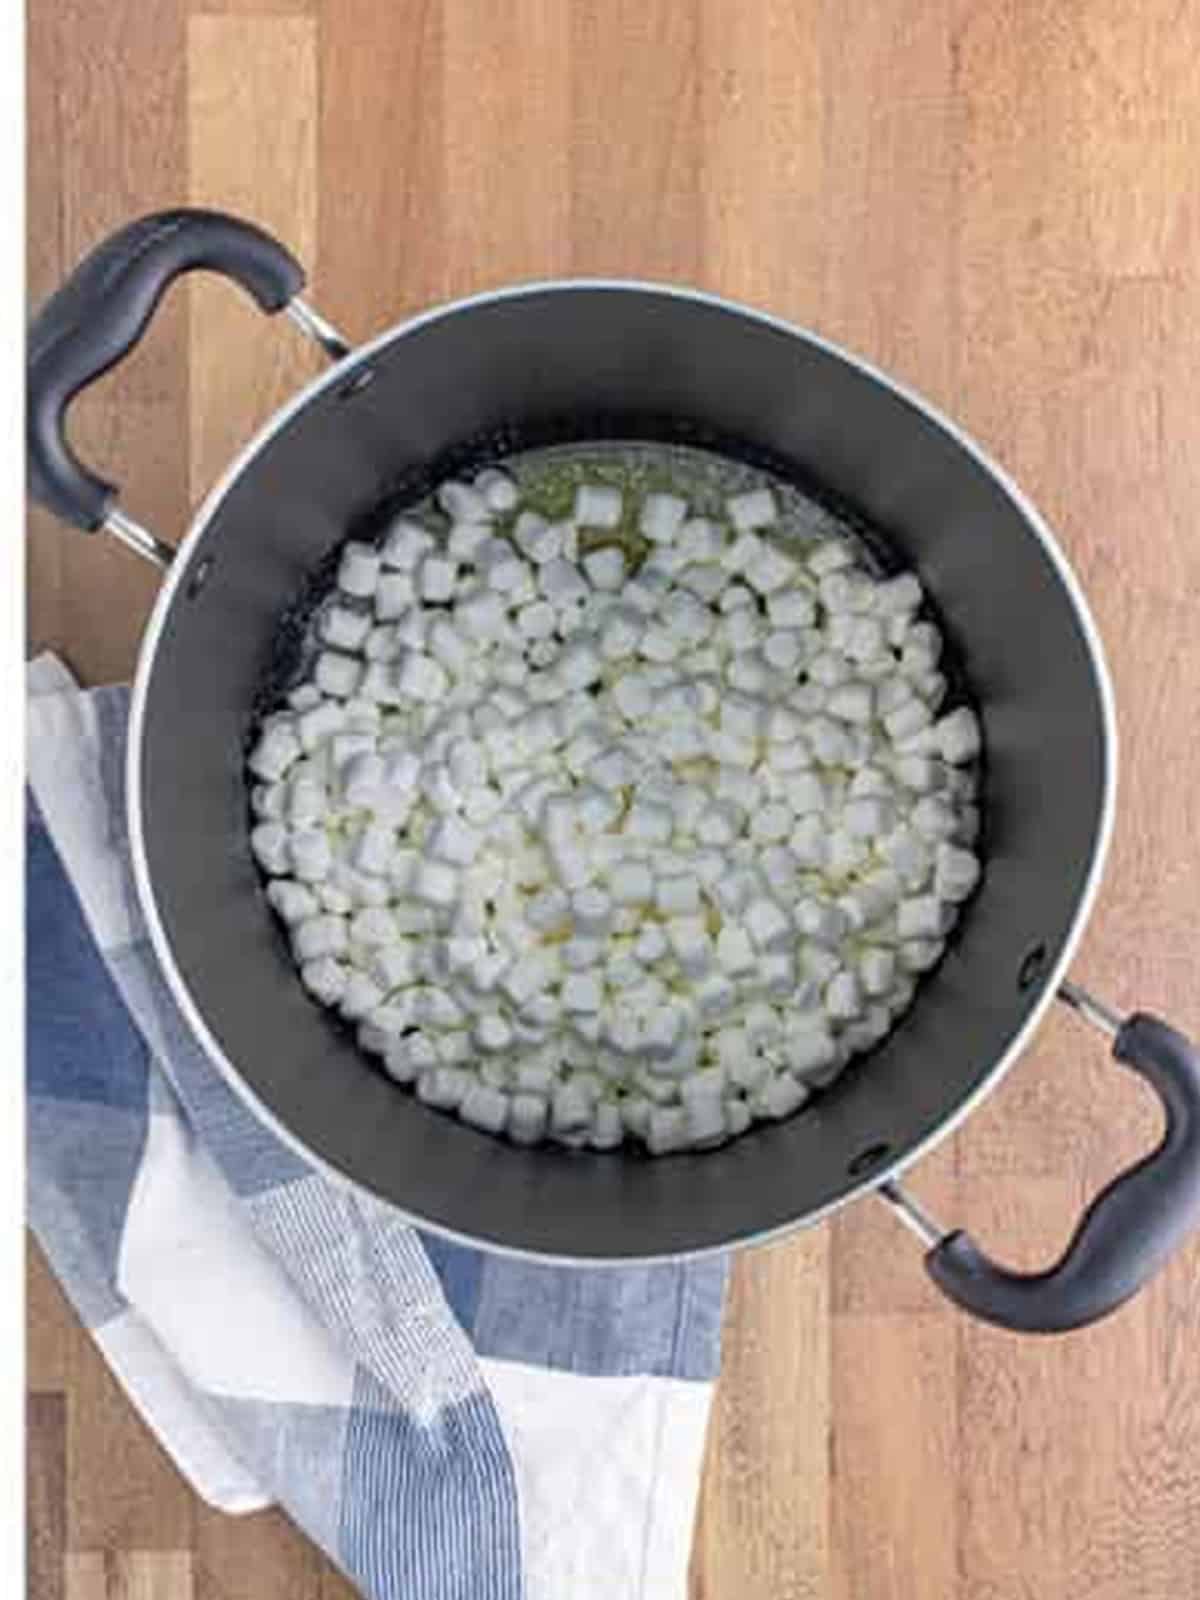
- Add 8 cups of the mini marshmallows and stir constantly with a wooden spoon or silicone spatula until completely melted and smooth. Take the pot off the heat and stir in the vanilla.
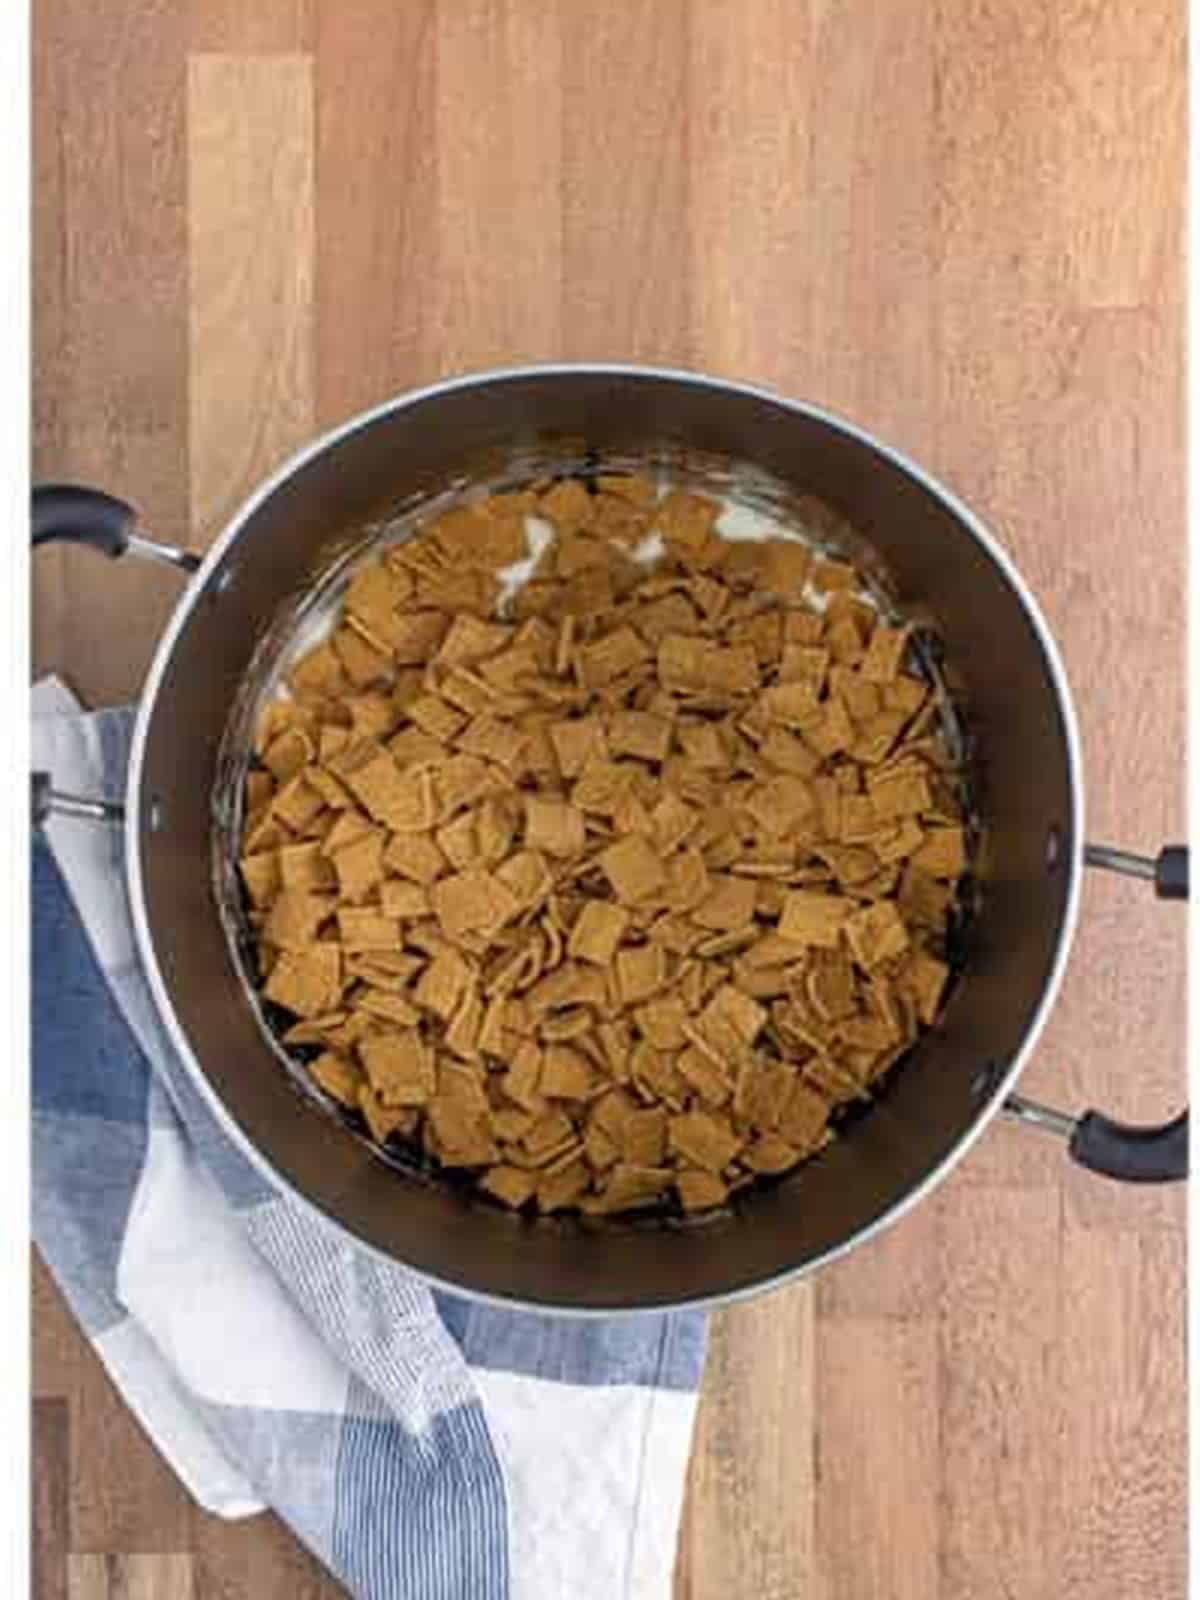
- Add the Golden Grahams and stir until every square is coated in the melted marshmallow.
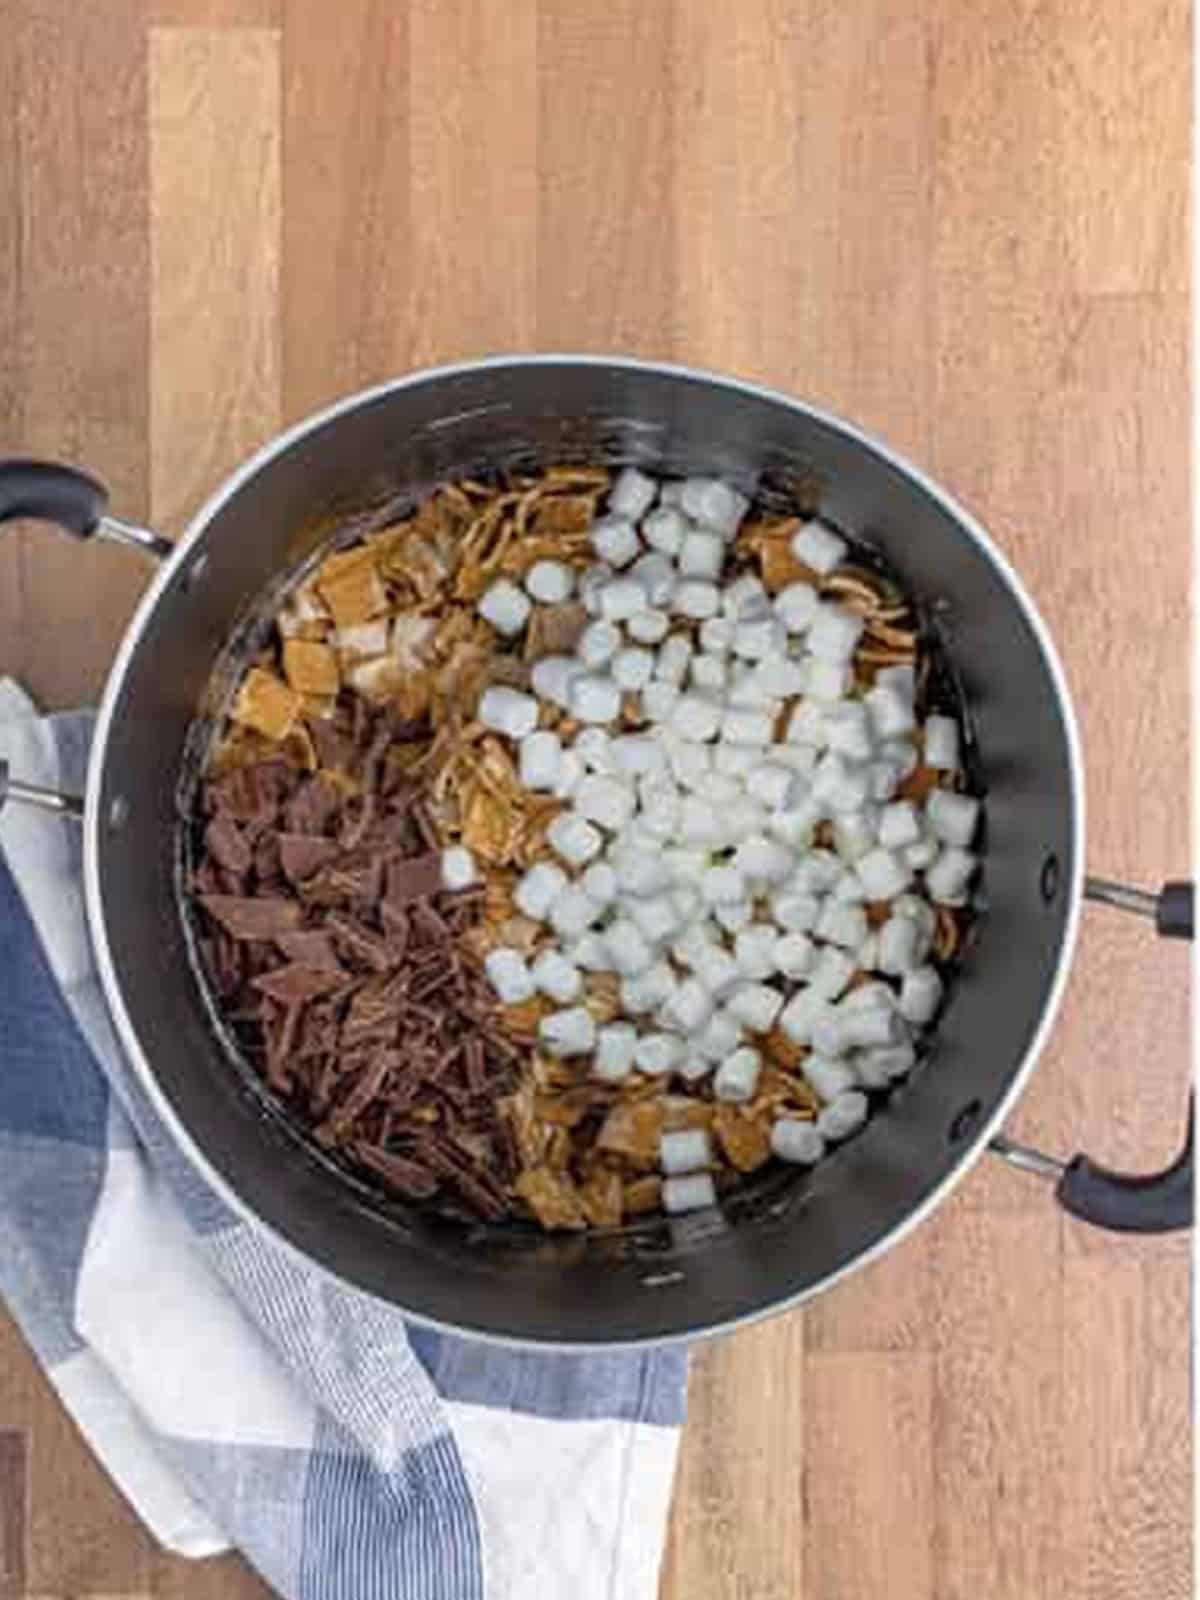
- Add the remaining 2 cups of marshmallows and the chopped chocolate pieces, then stir just until combined so the chocolate stays in melty pockets.
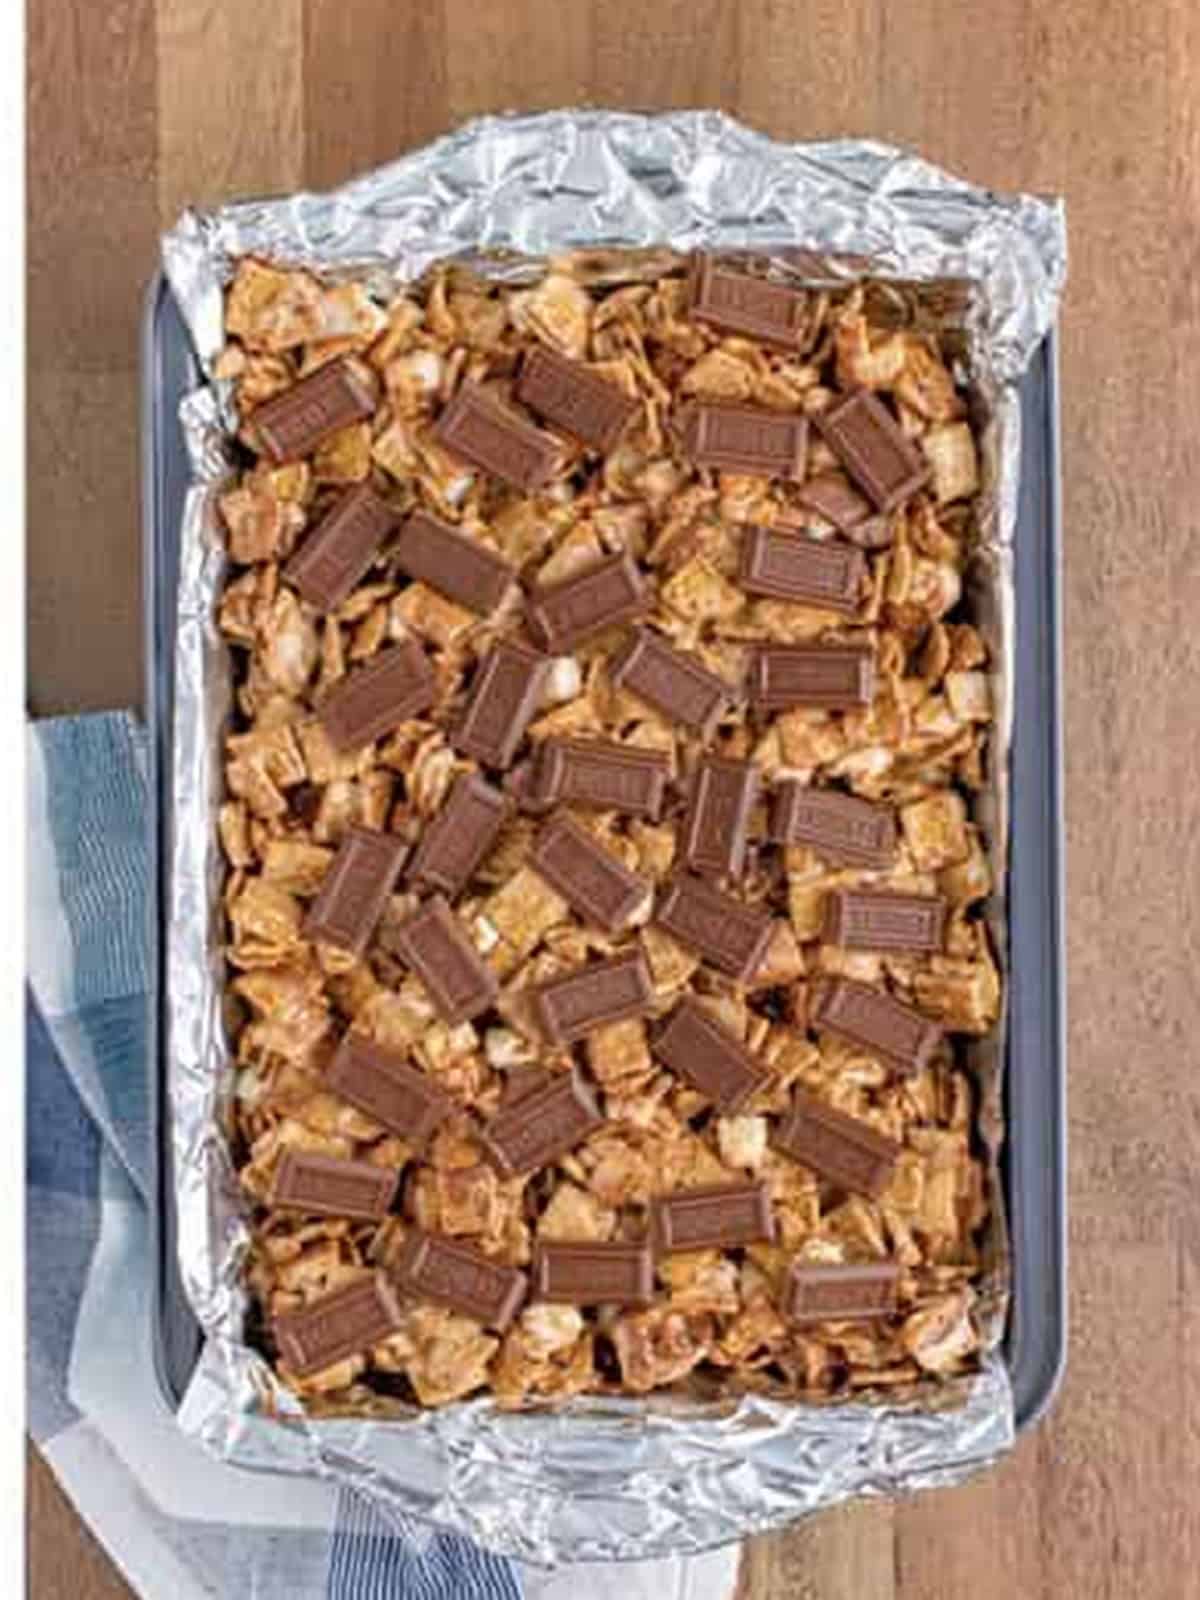
- Pour the mixture into the prepared dish and press it down lightly into an even layer. Gently press the chocolate bar sections over the top. Let the bars set for about an hour, then lift them out by the foil and cut into squares.
Recipe Tips & Tricks
- Chill the chocolate before it goes in. Cold pieces hold their shape in the warm marshmallow instead of disappearing.
- Grease everything, including your hands. A little butter on your fingers makes pressing the sticky mixture painless.
- Do not crank the heat. Marshmallows melted over medium low stay stretchy, and rushed marshmallows turn the bars hard.
- Press lightly, not firmly. A gentle press keeps the bars soft and chewy instead of dense.
- Let them set the full hour. Cutting early smears the chocolate and the bars fall apart, so give the pan its time.
- Use a greased knife for clean cuts. A quick swipe of butter on the blade gives you bakery neat squares.
- Plan the whole menu. This pairs effortlessly with our m&m rice krispie treats with peanut butter frosting when company is coming.
Serving Ideas and Suggestions
These golden grahams smores bars are the treat that fits everywhere, in lunchboxes, at bake sales, on road trips, and stacked high at summer cookouts. Stack them on a platter next to my Amish smores whoopie pies for a full campfire dessert board.
And if you are anything like our family, our marshmallow dip will be on the menu soon after.
For a table that feels like a celebration, add our rice krispies treats to the lineup.
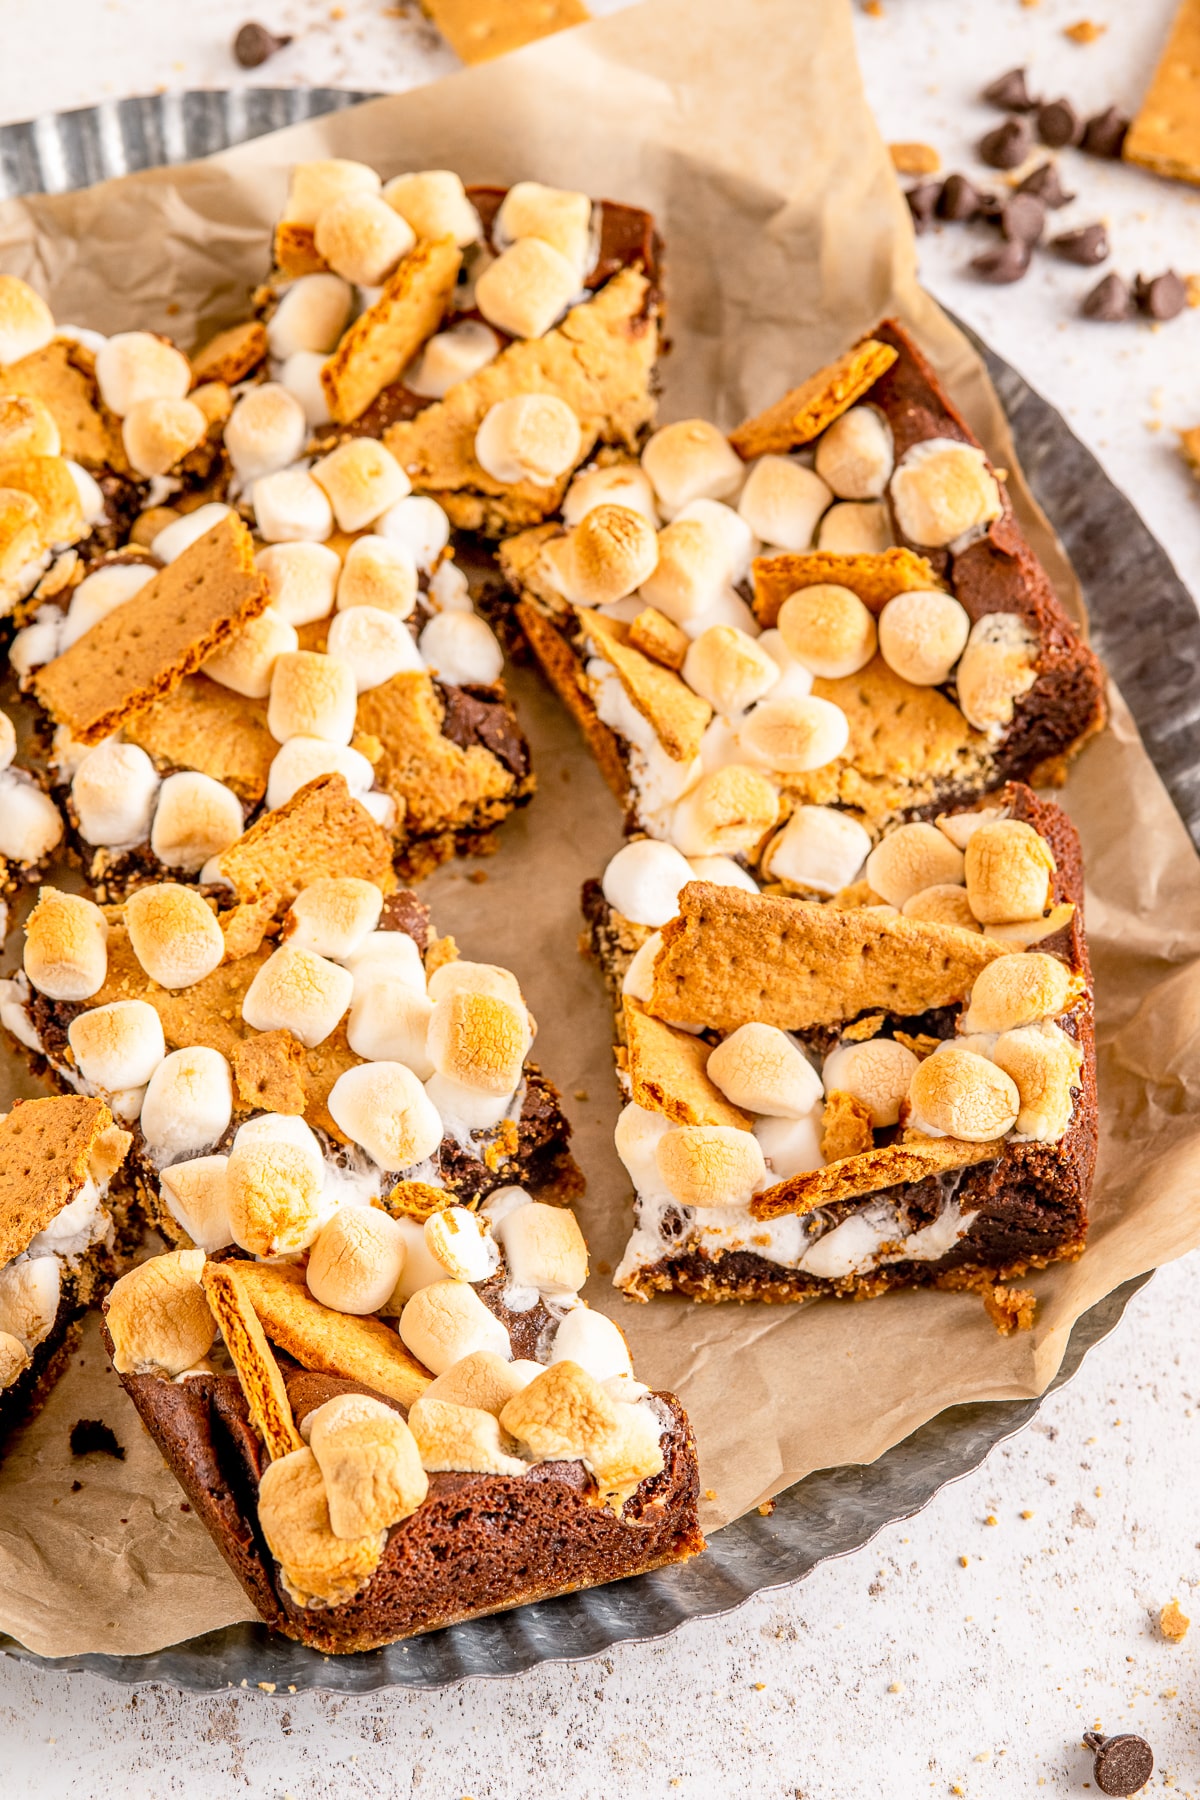
For a dessert spread with range, add something salty and something fudgy. My no bake Reese”s chex cereal bars are the peanut butter partner they deserve. For the chocolate lovers, a pan of my fudgy brownies never sits long beside them.
They keep for days in an airtight container, which makes them the perfect make ahead sweet for busy weeks. And my gingerbread bars with cream cheese frosting keep the soft and chewy theme going in the holiday months.
Golden Grahams Smores Bars FAQs
The secret is gentle heat and a light touch. Melt the marshmallows over medium low heat and pull the pot off the burner as soon as they are smooth, since scorched marshmallow is what turns cereal bars rock hard. Press the mixture into the pan lightly instead of packing it down, and store the finished golden grahams smores bars airtight so they stay soft.
About an hour at room temperature. The marshmallow needs that time to cool and firm up so the bars cut into clean squares instead of smearing. You can speed things up with 20 to 30 minutes in the refrigerator, but let the bars come back to room temperature before serving so they are chewy rather than firm.
Yes, large marshmallows melt just as well, though they take a little longer, so cut them in half to help them along. For the reserved marshmallows that get stirred in whole at the end, minis really are better because full size pieces are too big to distribute through the bars evenly.
Store the bars in an airtight container at room temperature with parchment between the layers so they do not stick together. They stay fresh and chewy for up to 4 days. Skip the refrigerator for everyday storage, since the cold firms up the marshmallow and makes the bars harder to bite.
You can. Wrap individual bars in plastic wrap, tuck them into a freezer bag, and freeze for up to 2 months. Thaw them at room temperature for about 30 minutes before eating. The texture stays surprisingly close to fresh, though the chocolate pieces lose a little of their snap after freezing.
They share the same melted butter and marshmallow method, but the graham cereal completely changes the result. Golden grahams smores bars taste like a campfire smore thanks to the honey graham flavor and the real chocolate bar pieces folded in and pressed on top, while rice krispie treats are lighter and more neutral. If you love smores, these win every time.

Made these golden grahams smores bars? Leave a comment and a star rating below, and tell me if the chocolate pockets made it to the table!
Berry lovers should grab a square of my raspberry brownies too.
For a holiday spin on cereal treats, our Valentine rice krispie treats get dipped in three chocolates.

Golden Grahams Smores Bars
Ingredients
- 6 – 1.55 ounce Hershey’s milk chocolate bars divided
- 1/2 cup salted butter
- 10 cups mini marshmallows divided
- 1 teaspoon vanilla extract
- 9 cups Golden Grahams cereal
Instructions
- Take 3 of the chocolate bars and chop them up into ½ inch pieces, place them on a plate.6 – 1.55 ounce Hershey’s milk chocolate bars
- Break the remaining 3 bars into separate sections and place them on a plate. Put the plates in the fridge until later.
- Line a 9×13 baking dish with foil letting it overlap the sides for easy removal later and spray it with cooking spray or grease it with butter, set aside.
- In a large pot, melt the butter over medium-low heat.1/2 cup salted butter
- Add 8 cups of the marshmallows and stir constantly until they are melted with a wooden spoon or silicone spatula.10 cups mini marshmallows
- Take the pot off the heat and stir in the vanilla.1 teaspoon vanilla extract
- Add Golden Grahams and stir them in until coated in the melted marshmallows.9 cups Golden Grahams cereal
- Add the remaining marshmallows and chopped chocolate, stir until combined.
- Pour the mixture into the prepared baking dish and press it down lightly to form an even top.
- Gently press in the remaining chocolate pieces.
- Let it sit for about an hour to set and cool before taking the bars out by lifting the foil out of the pan. Cut into bars and serve.
Notes
- Use a Large Bowl: If you melt the butter and marshmallows in a medium saucepan, you can then pour them into a large bowl of cereal.
- Press Lightly: When forming an even layer in the square baking pan, press mixture gently so they’re not rock-hard. Over-pressing can make them too dense.
- Nonstick Cooking Spray or Butter: Grease your hands or a spatula with a little oil or butter so the cereal doesn’t stick while you press.
- Try Different Kinds of Cereal: Lucky charms treats, monster cereal, or even a high-protein brand can create a unique spin each time you make these.
- Mind the Heat: Melt your marshmallows and butter on low heat or medium heat to avoid burning the bottoms.
- Plan for Leftovers: Since they stay good at room temperature for a few days, you can pack them in lunches or share with friends.
Nutrition
Love This Recipe?
Follow @ThisSillyGirlsKitchen on Instagram and @ThisSillyGirlsKitchen on Pinterest for more!