This post may contain affiliate links.
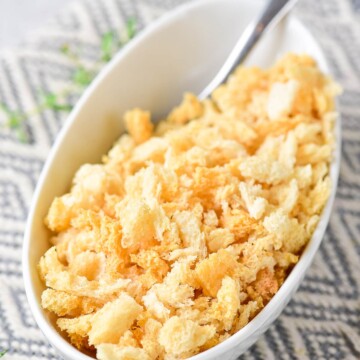
Panko Bread Crumbs are the secret to that light, shatteringly crisp coating on katsu, fried shrimp, and baked casseroles, and making them at home from a few slices of bread could not be easier. I started making my own on a rainy afternoon when I ran out mid recipe, and now Maddie loves helping tear the bread into crumbs. If you love crispy coatings, you will want these on hand for the topping on our Longhorn spinach dip too.
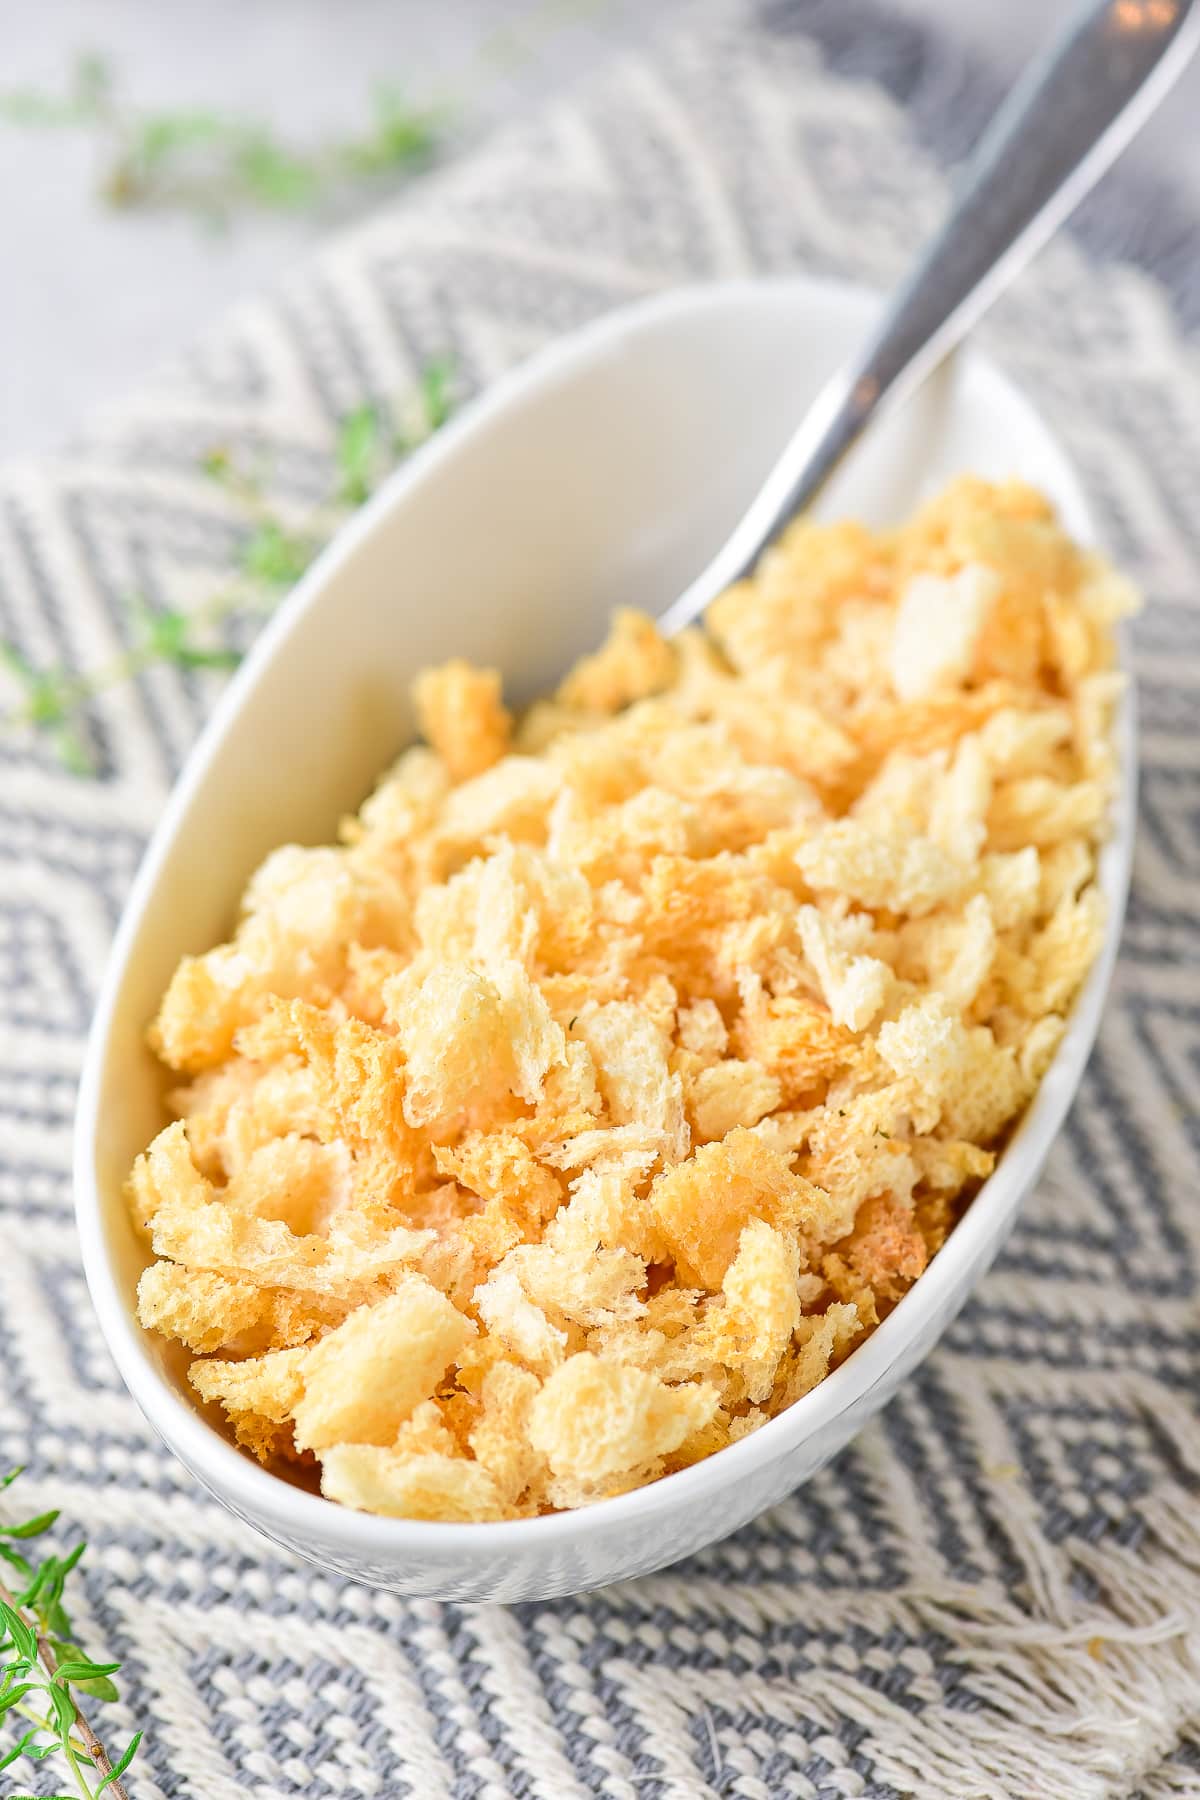
With just bread and a few seasonings, you get fresh, crunchy panko that beats the store bought box, ready in about 15 minutes.
Panko Bread Crumbs Quick Look
- 🕒 Prep Time: 5 minutes
- 🌡️ Cook Time: 10 minutes
- ⏳ Total Time: 15 minutes
- 🍽️ Serving: 4 servings
- ⚡ Calories: 77kcal
- 🌶️ Flavor Profile: Light, crispy, and lightly seasoned
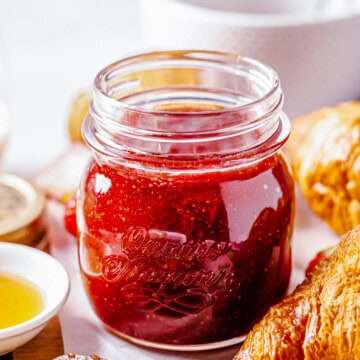
- ✋ Difficulty: Easy, on par with our strawberry butter
Quick Answer
Cut the crusts off white bread, then tear half the slices into small pieces by hand and pulse the rest in a food processor until coarse. Season the crumbs with salt, pepper, and Italian herbs, spread them on parchment lined baking sheets, and toast at 300 degrees F for 4 to 5 minutes until lightly golden. Cool completely and store in an airtight container.
Jump to:
- Panko Bread Crumbs Quick Look
- Quick Answer
- Why This Recipe Works
- Why You’ll Love This Recipe
- Key Ingredients
- Variations and Substitutions
- How to Make Panko Bread Crumbs
- Recipe Tips & Tricks
- Serving Ideas and Suggestions
- Panko Bread Crumbs FAQs
- Other Recommended Kitchen Staples
- Homemade Panko Bread Crumbs Recipe (How to Make Panko)
Why This Recipe Works
Click to see the technique science
- Tearing and grinding gives real texture. Hand torn pieces plus pulsed crumbs create the irregular, flaky shards that make panko so light and crispy.
- Crustless bread stays pale. Removing the crusts keeps the crumbs light colored and delicate, just like store bought panko.
- A low oven dries them out. Toasting at a low 300 degrees F dries the crumbs without browning them, so they crisp up rather than burn.
- Seasoning builds in flavor. A little salt, pepper, and Italian herbs gives the crumbs flavor that plain store bought panko lacks.
- Fresher and cheaper. A few slices of bread make a batch for pennies, with no preservatives and better crunch.
Why You’ll Love This Recipe
- It turns a few slices of bread into light, crispy panko that beats the boxed kind.
- It is ready in about 15 minutes with just a food processor and an oven.
- It is the perfect crunchy coating or topping, great on our Marry Me chicken and casseroles.
Key Ingredients
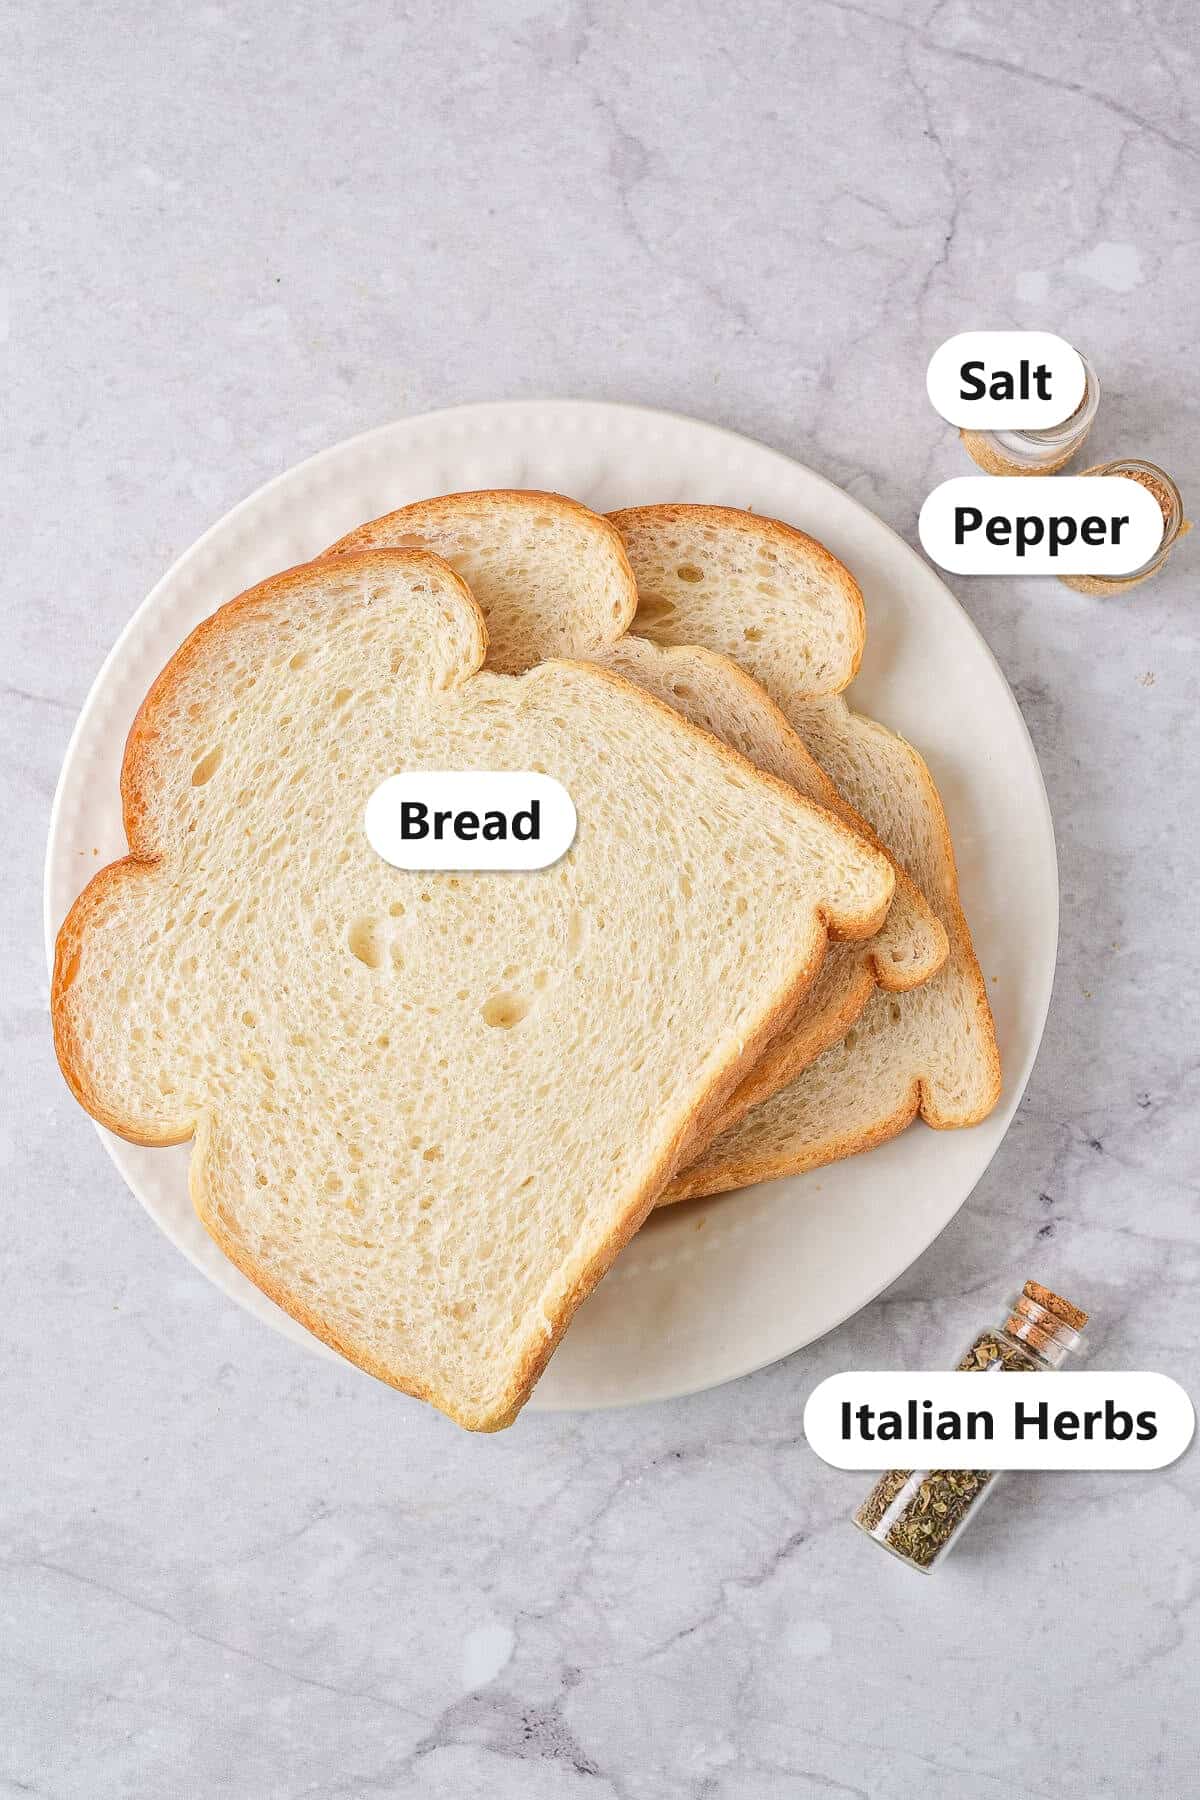
You only need a few pantry basics to make panko at home. Here is what each one does:
- Bread: White or wheat sandwich bread is all you need. Slightly stale bread works great and grinds easily.
- Salt and pepper: Basic seasonings that give the crumbs flavor beyond plain bread.
- Italian herbs: A pinch of dried Italian herbs adds a savory note. Leave it out for plain panko.
- That is it: No oil, eggs, or special ingredients needed, just bread and seasonings.
See recipe card for exact quantities.
Variations and Substitutions
Customize your homemade panko to fit any recipe.
- Make it plain: Skip the seasonings for neutral panko you can use in sweet or savory dishes.
- Go gluten free: Use your favorite gluten free bread for gluten free panko.
- Add parmesan: Toss in grated parmesan for a cheesy crumb topping.
- Try different breads: Sourdough, brioche, or whole grain each add their own flavor.
- Make it garlicky: Add garlic powder or onion powder for extra savory flavor.
How to Make Panko Bread Crumbs
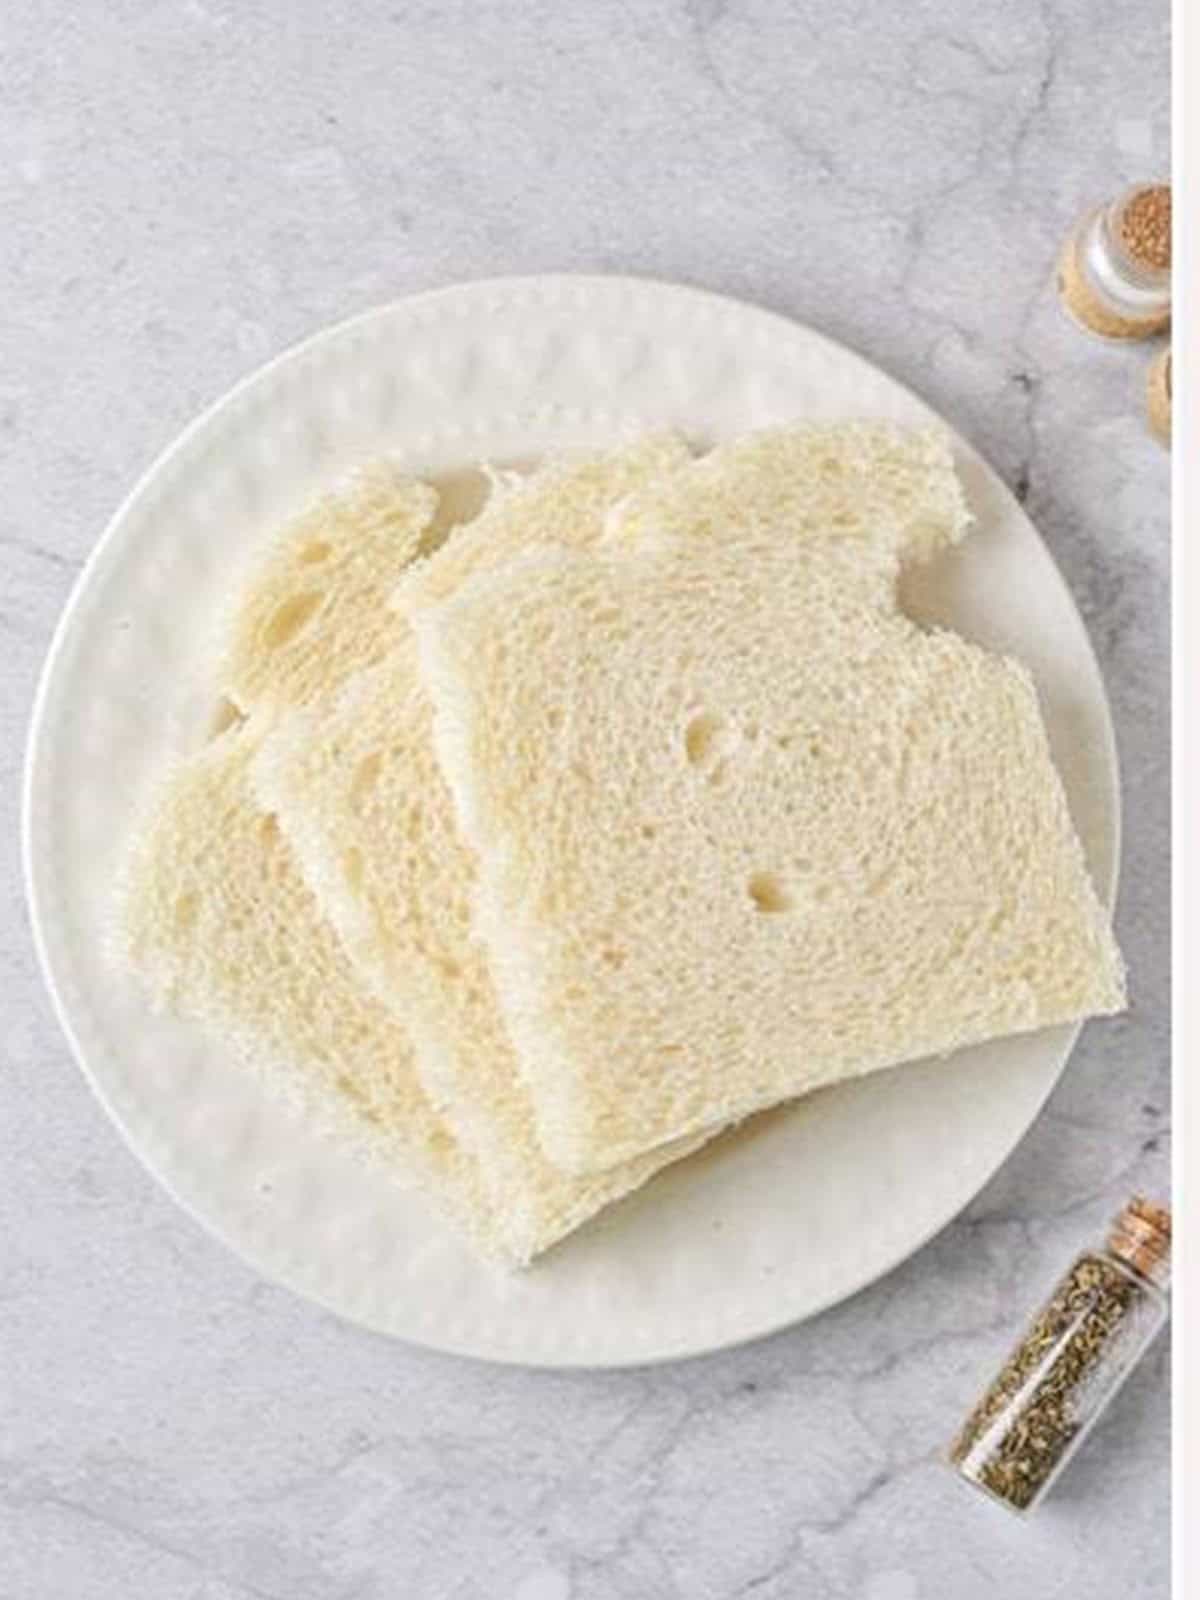
- Preheat the oven to 300 degrees F and line two baking sheets with parchment. Cut the crusts off each slice of bread.
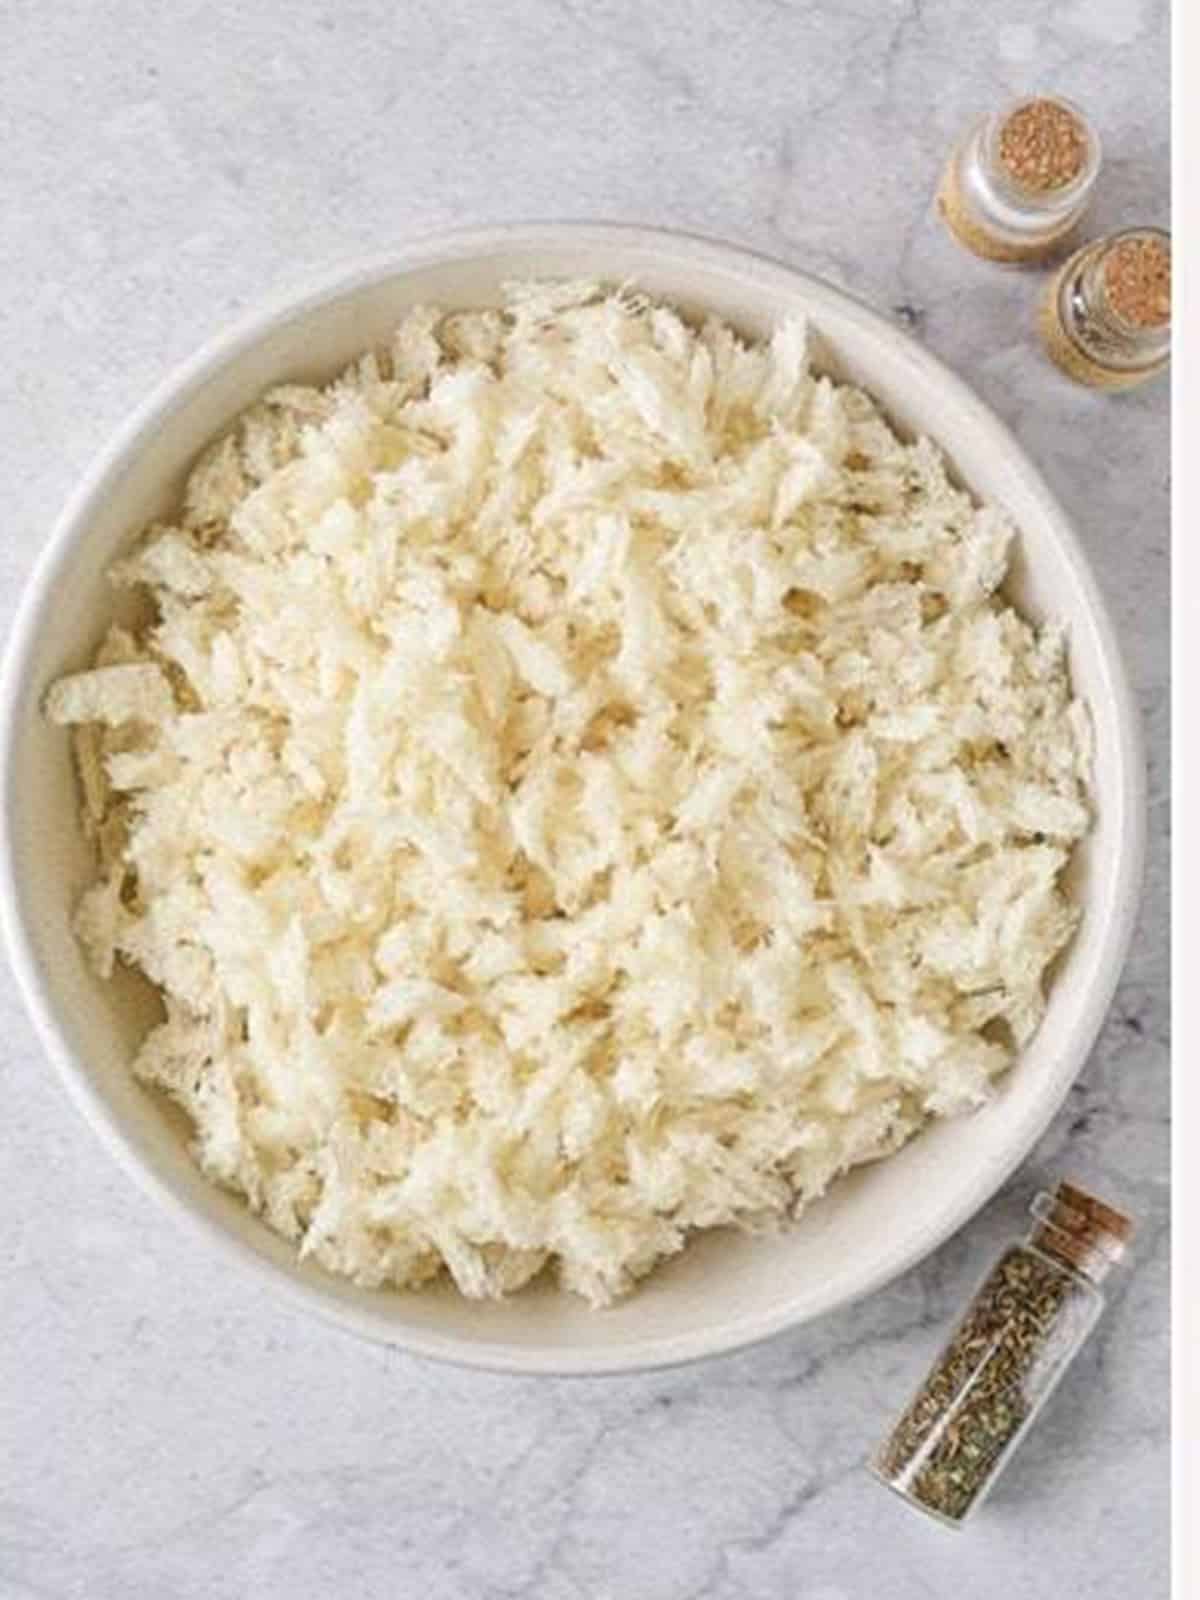
- Tear half the slices into very small pieces by hand into a bowl, then mix in half of the salt, pepper, and Italian herbs.
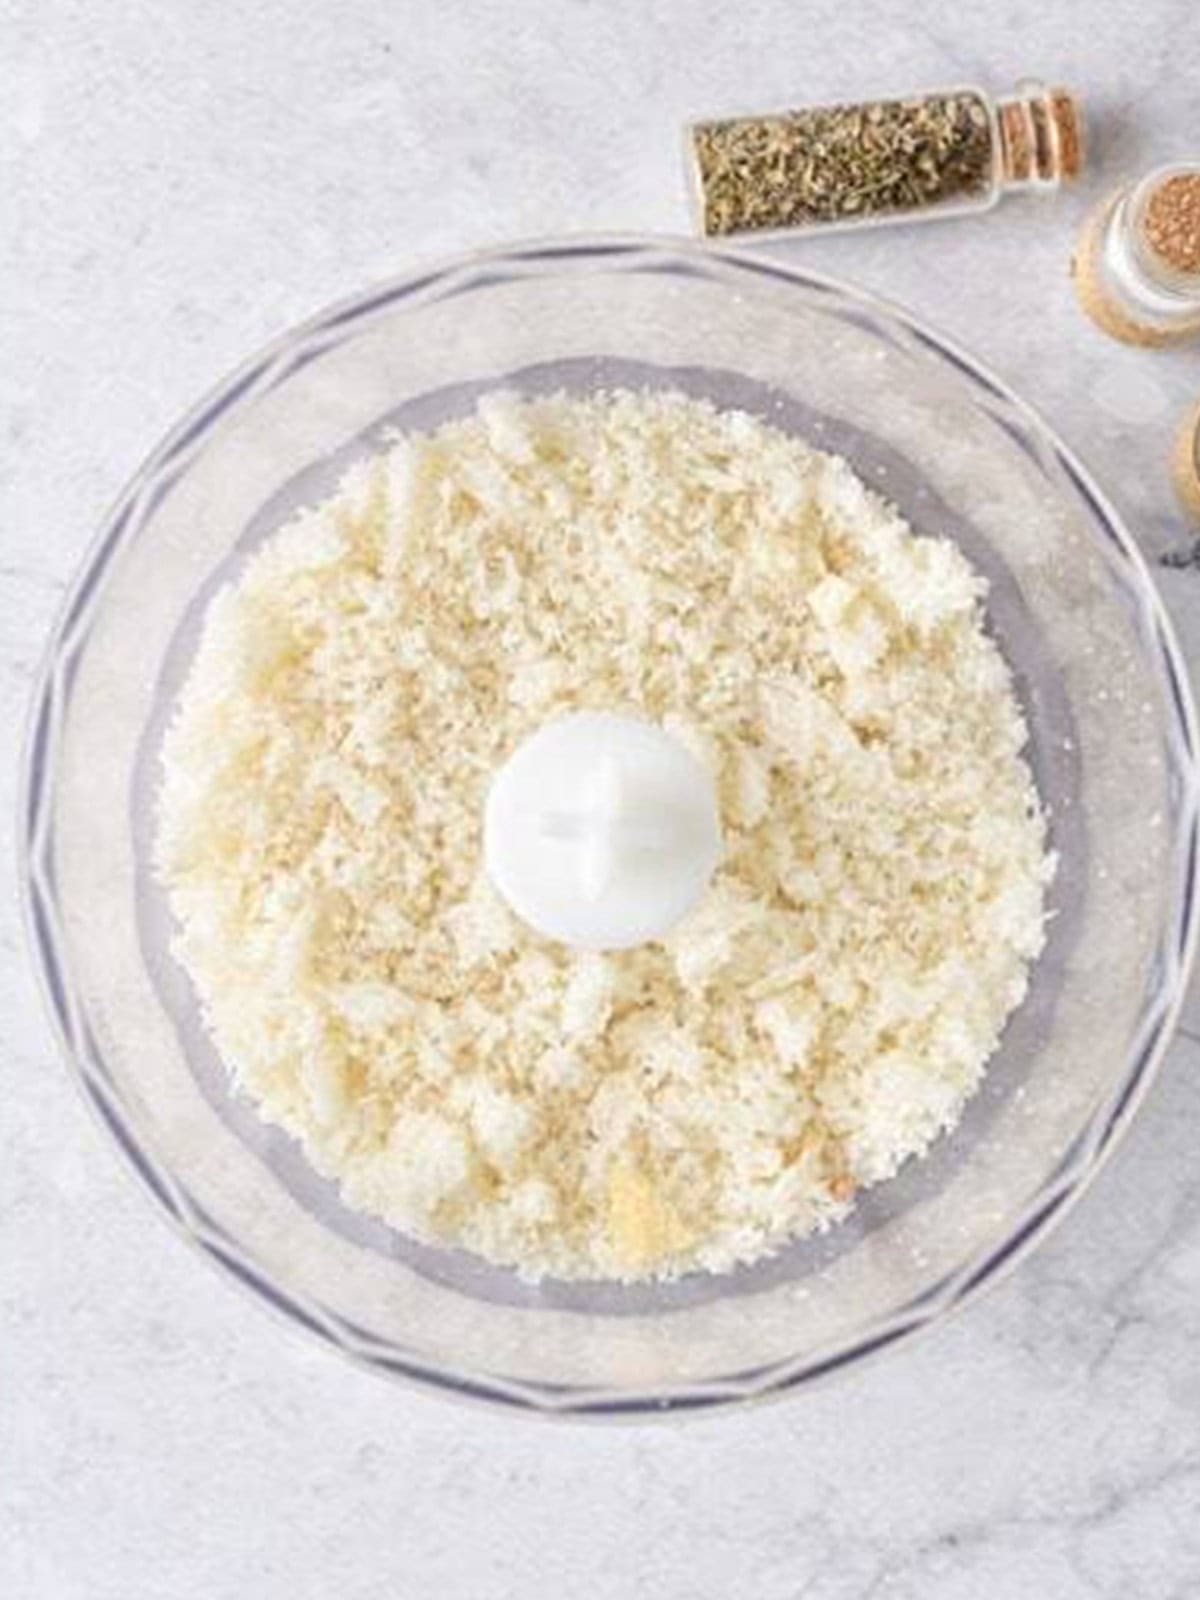
- Break the remaining slices into pieces and pulse in a food processor in 5 to 10 second bursts for about 40 to 50 seconds.
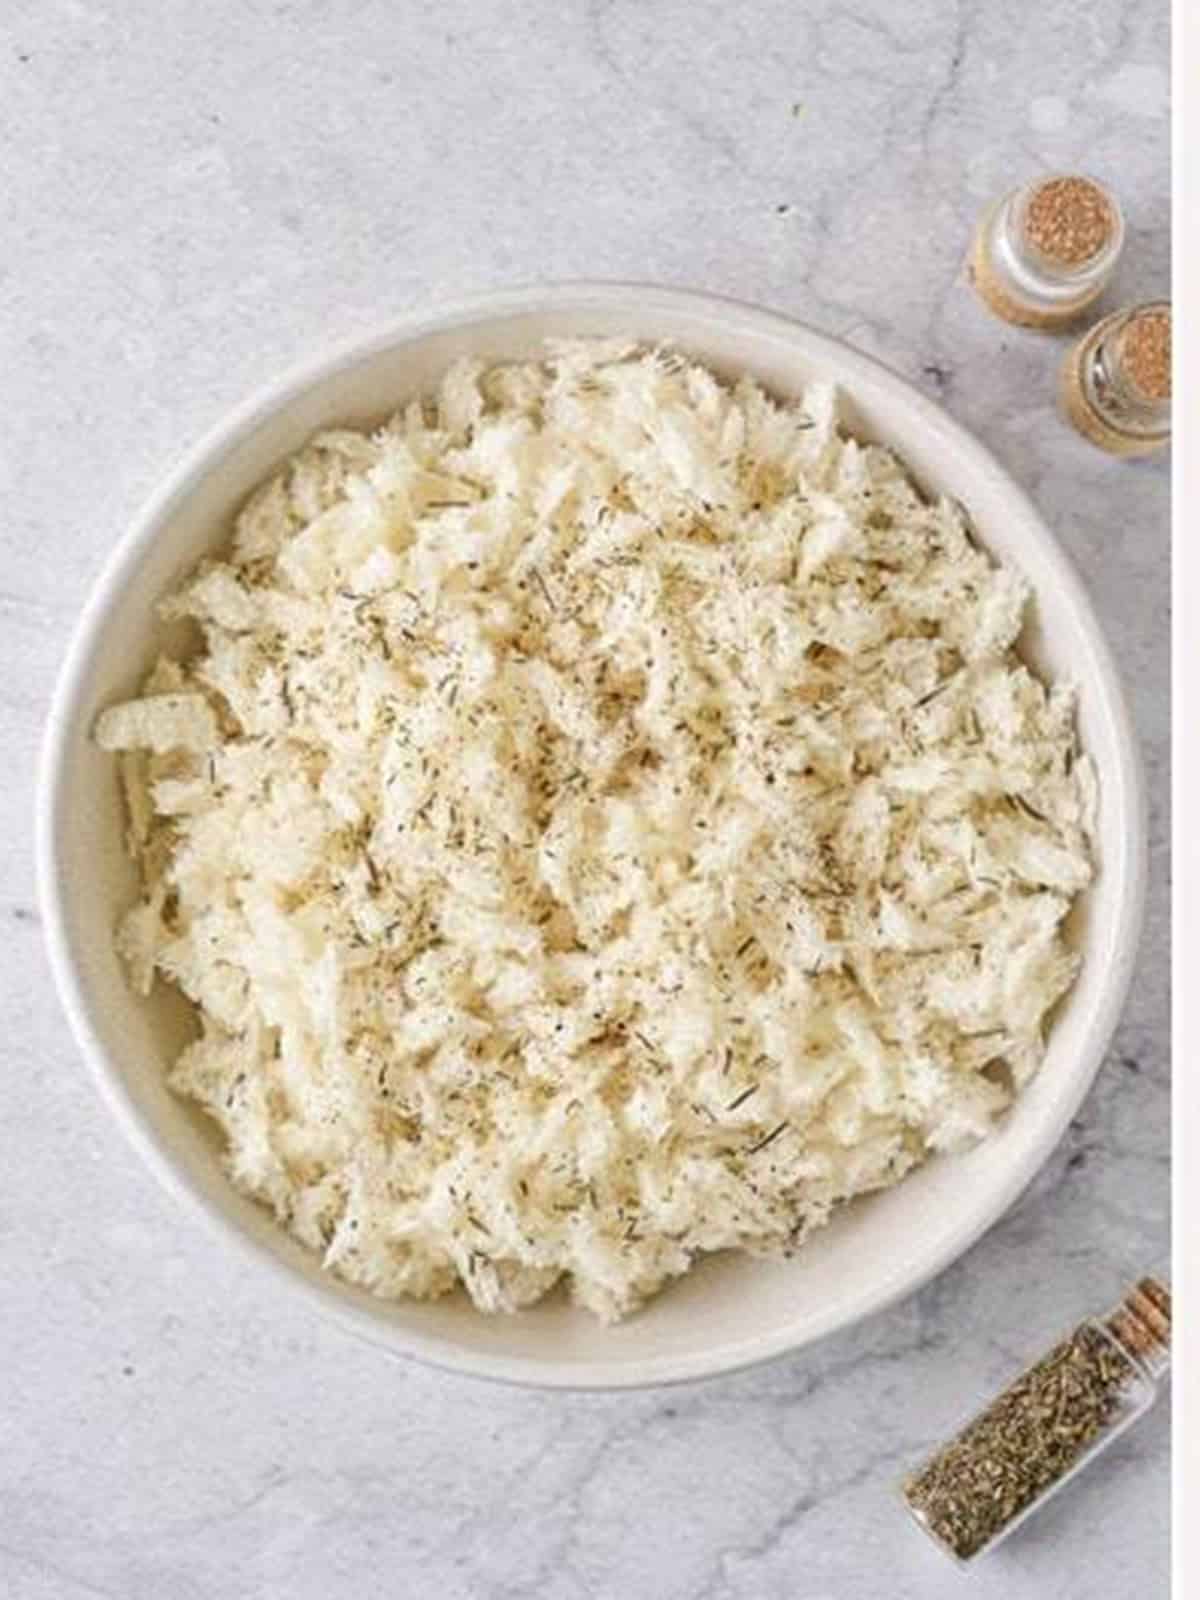
- Season the processed crumbs with the remaining salt, pepper, and herbs.
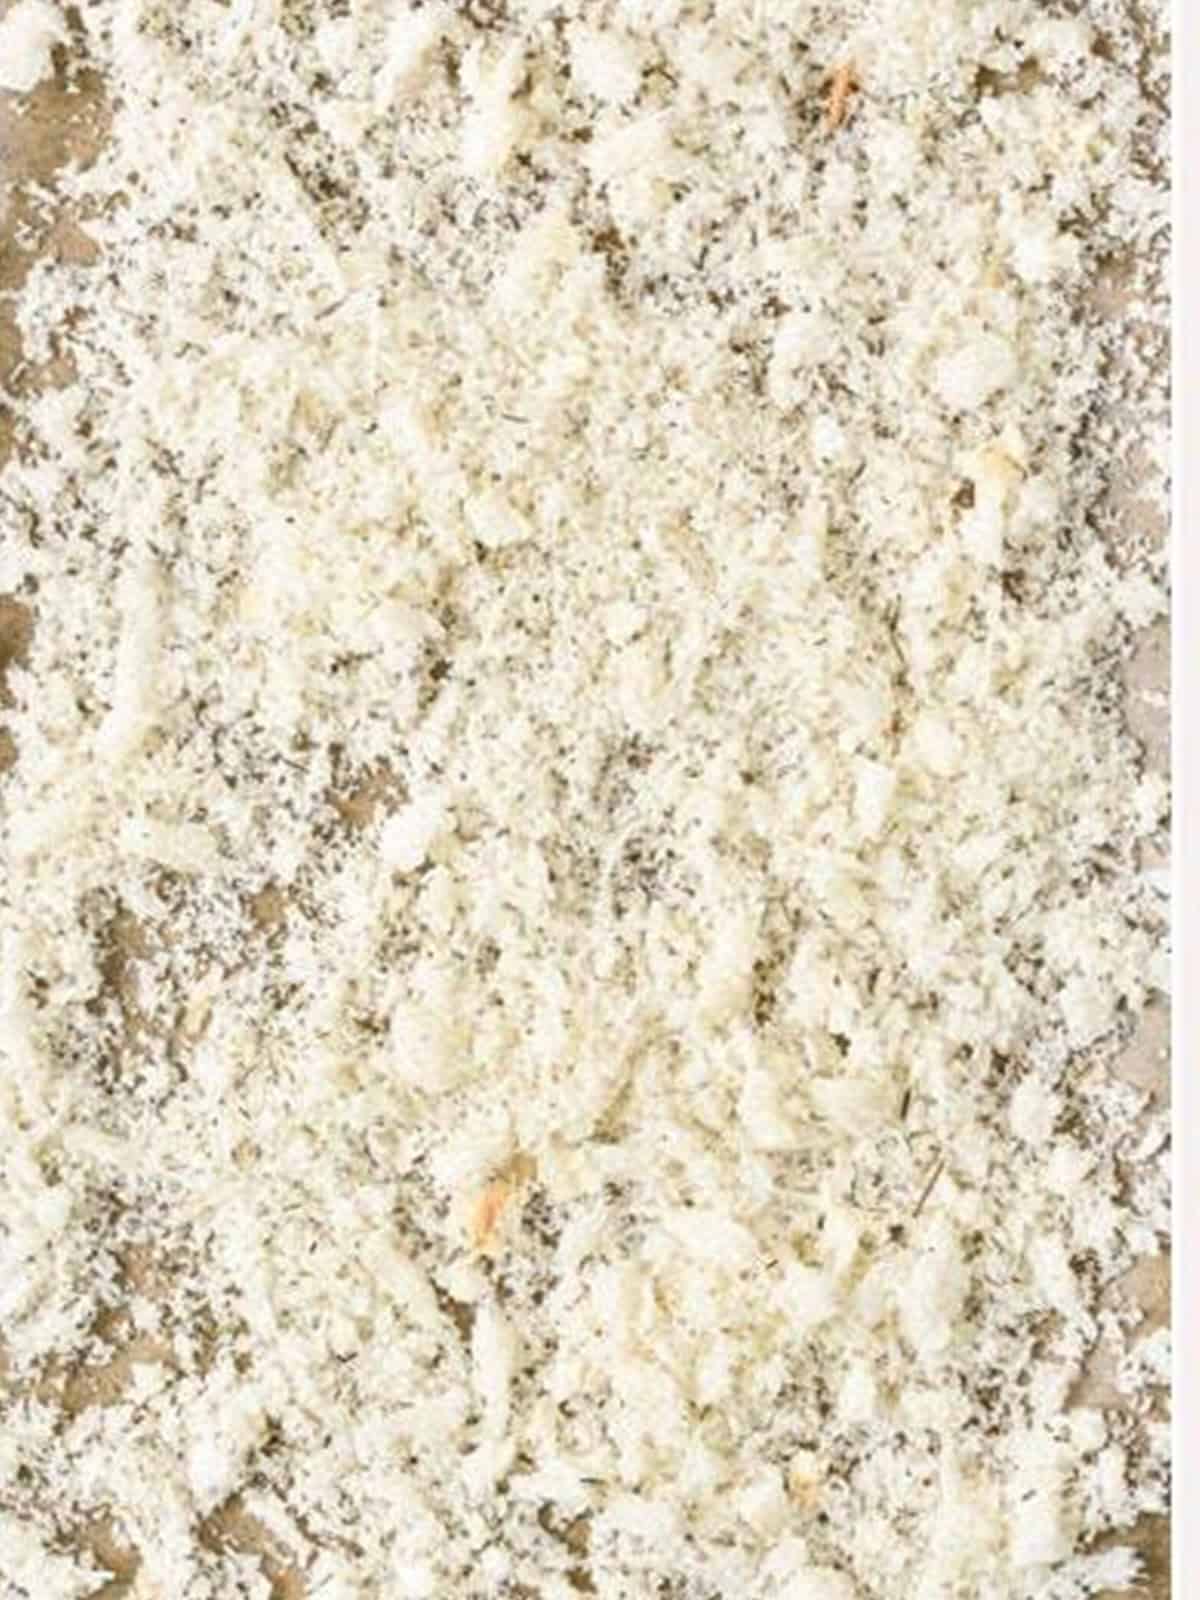
- Spread the crumbs in an even layer on the parchment lined baking sheets.
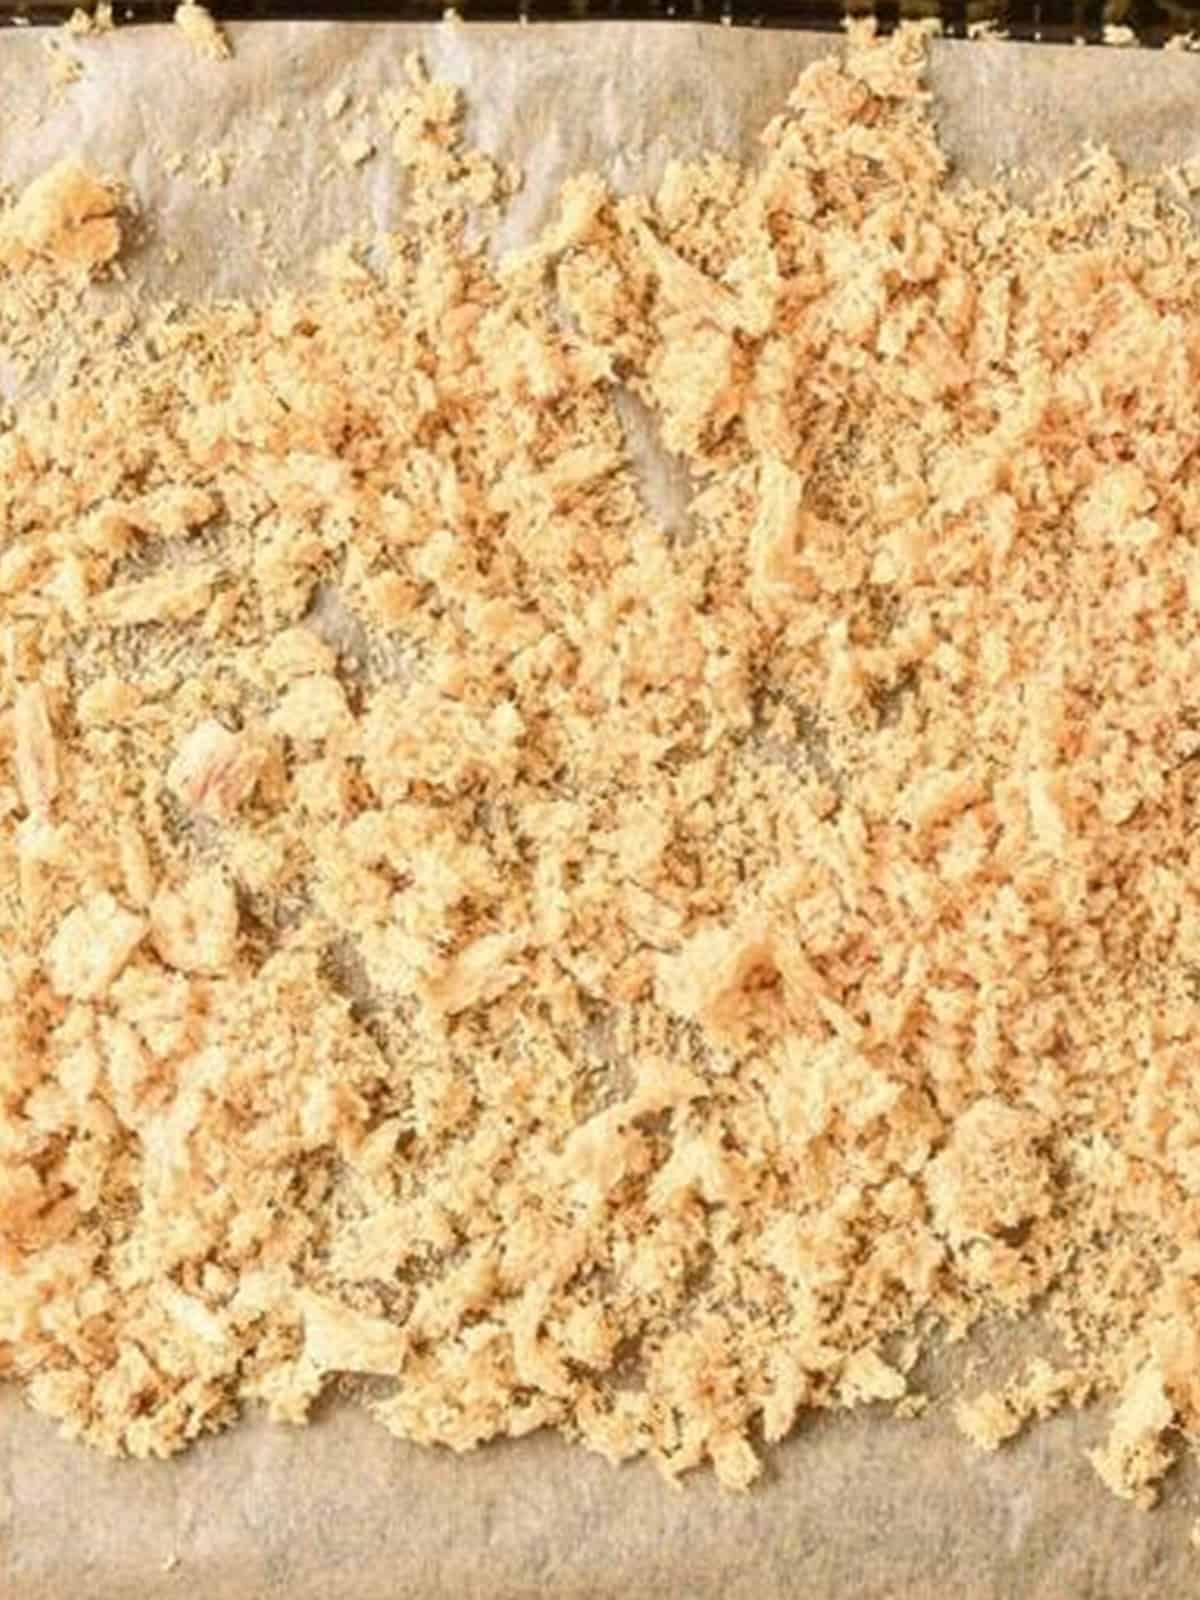
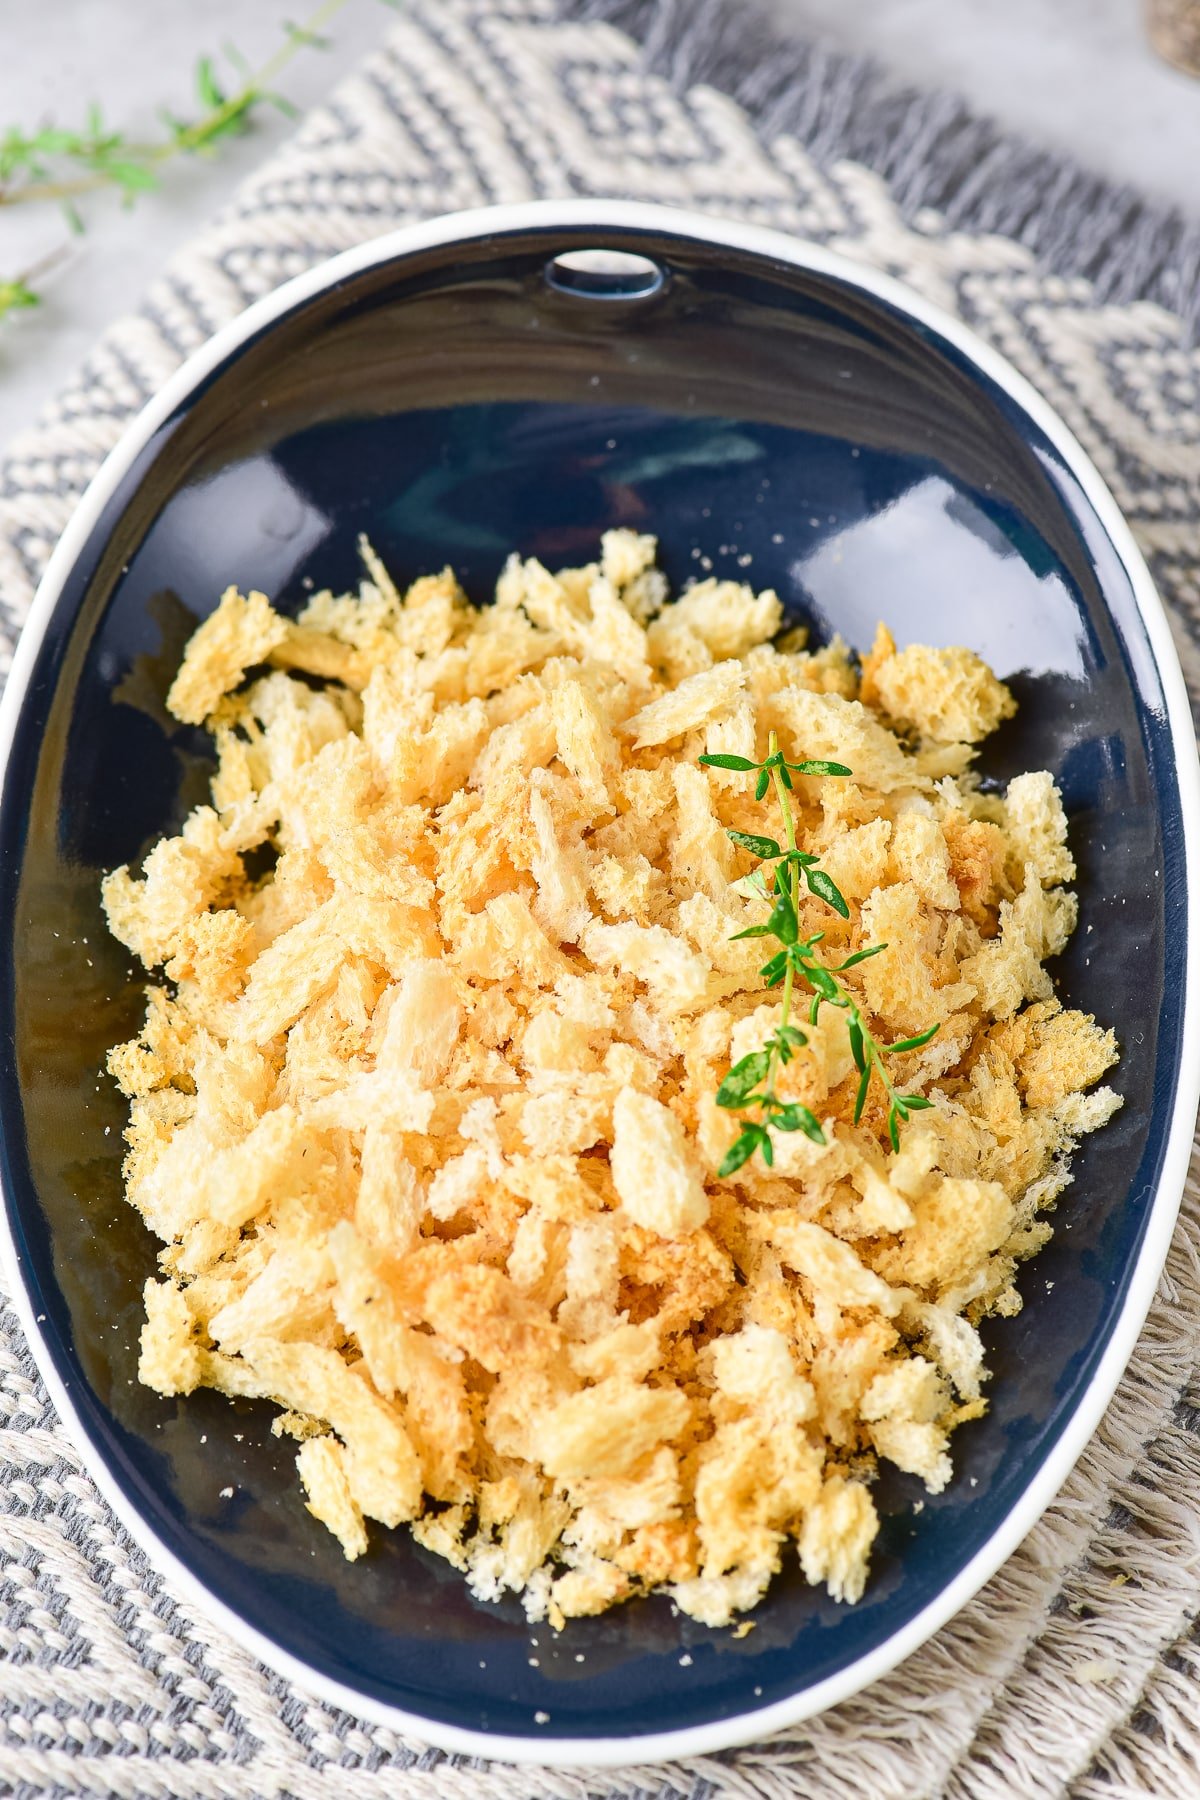
- Toast for 4 to 5 minutes until lightly golden, keeping a close eye on them. Cool completely, then store.
Recipe Tips & Tricks
- Use slightly stale bread. Day old bread grinds into crumbs more easily than fresh, soft slices.
- Pulse, do not run. Short pulses keep the crumbs flaky and irregular instead of grinding them to powder.
- Watch the oven closely. At 300 degrees F the crumbs go from pale to golden fast, so check often.
- Cool completely before storing. Warm crumbs trap steam and turn soggy in the container.
- Keep some larger pieces. Tearing half the bread by hand gives that signature flaky panko texture.
- Store airtight. Keep the cooled panko in a sealed jar in a dry place for up to 2 weeks, or freeze longer.
Serving Ideas and Suggestions
Homemade panko is endlessly useful in the kitchen. Use it for an extra crispy coating on chicken, pork, fish, or shrimp, dredging in flour, egg, then panko before frying or baking.
It also makes a fantastic crunchy topping. Sprinkle it over baked pasta, casseroles, and dips like our Longhorn spinach dip, or use it to bind meatballs and meatloaf.
Try it on weeknight favorites like crispy baked chicken tenders, our Marry Me chicken, or as a golden topping on mac and cheese. Once you make your own, you will always keep a jar on hand.
Panko Bread Crumbs FAQs
Panko bread crumbs are a Japanese style breadcrumb made from crustless bread. They are lighter, flakier, and crispier than regular bread crumbs, which makes them perfect for crunchy coatings.
Panko is made from crustless bread ground into airy, flaky shards, so it stays crispier and absorbs less oil. Regular bread crumbs are finer and denser, giving a more compact coating.
Plain white or wheat sandwich bread works best for that classic light color and texture. Slightly stale bread grinds most easily, but any bread you like will work.
Cool the crumbs completely, then store them in an airtight jar or container in a dry place for up to 2 weeks. For longer storage, freeze them in a sealed bag for up to 3 months.
Yes. Tear or grate the bread by hand for a coarser, flakier crumb, or freeze the slices briefly and grate them on a box grater. The food processor is just faster.
Toasting dries the crumbs so they stay crispy and store well. You can leave them untoasted if you are coating something that will be fried or baked, since they crisp up during cooking.
Stocking your kitchen? Make a batch of our Texas Roadhouse butter next.

Homemade Panko Bread Crumbs Recipe (How to Make Panko)
Equipment
Ingredients
- 4 slices of white wheat bread
- 1/4 teaspoon salt
- 1/4 teaspoon ground pepper
- 1/4 teaspoon dried Italian herbs
Instructions
- Preheat the oven to 300°F. Line two sheet trays with parchment paper and set aside.
- Cut the crusts off each slice of bread.4 slices of white wheat bread
- For larger pieces, separate half the slices of bread with your hands into very small pieces. Put them in a medium bowl.
- Add half of the salt, pepper, and herbs, and mix.1/4 teaspoon salt, 1/4 teaspoon ground pepper, 1/4 teaspoon dried Italian herbs
- Break the remaining slices into smaller pieces and put them in a food processor.
- Cover and grind the bread at medium speed in pulses of 5-10 seconds. After 40-50 seconds, the crumbs will be ready. Season with the remaining spices.
- Transfer the smaller crumbs to a baking sheet lined with parchment. Toast in the oven for 4-5 minutes until lightly golden brown.
- Repeat with the larger pieces, toasting time should be the same. Keep an eye on it!
- Once done, mix the smaller and larger pieces together and allow to cool completely.
- Transfer the panko to a jar or container with a lid and store in a dry place.
Notes
- Pulse the bread in a food processor for even crumbs.
- Season the crumbs before baking for extra flavor.
- Spread the crumbs on a rimmed baking sheet for even toasting.
- Let the crumbs cool completely before storing.
- Experiment with different kinds of bread for unique flavors.
Nutrition
Love This Recipe?
Follow @ThisSillyGirlsKitchen on Instagram and @danadevolk on Pinterest for more!