This post may contain affiliate links.
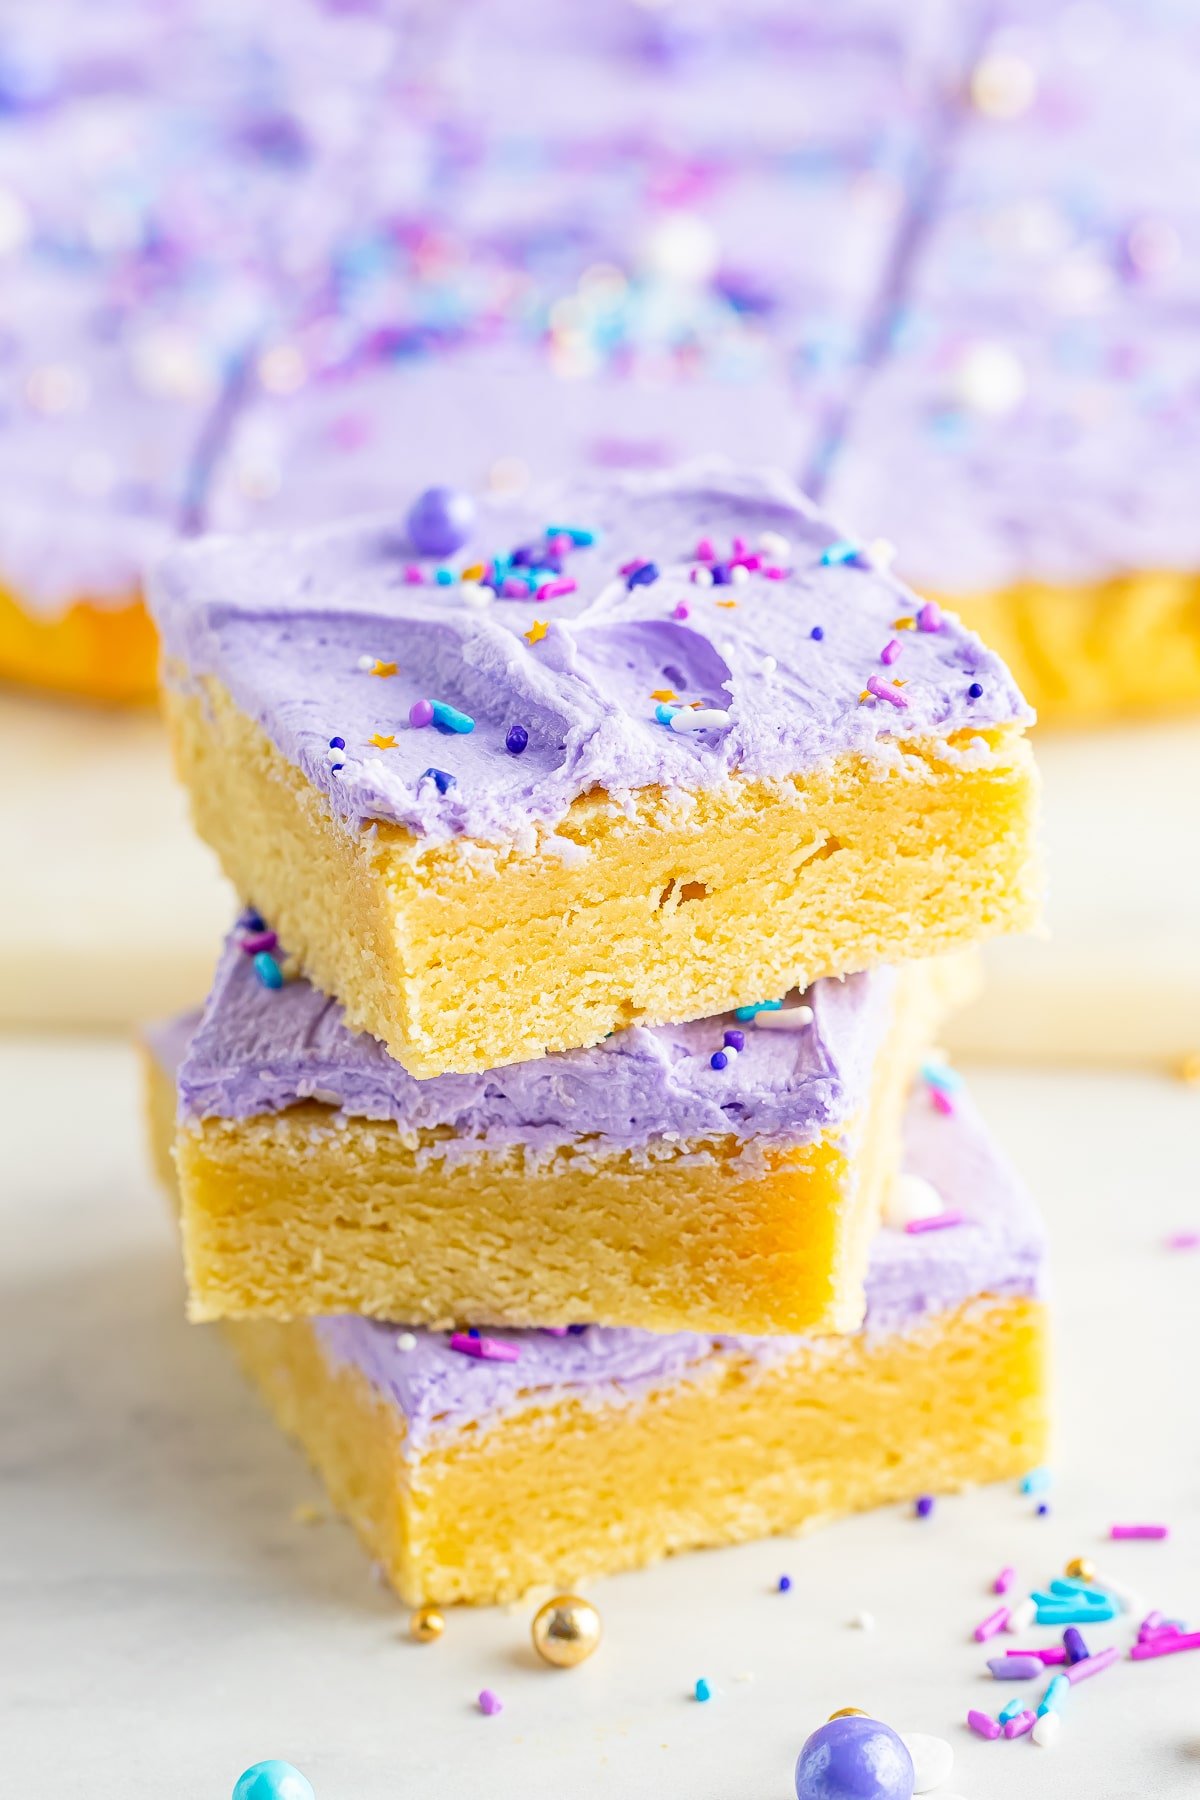
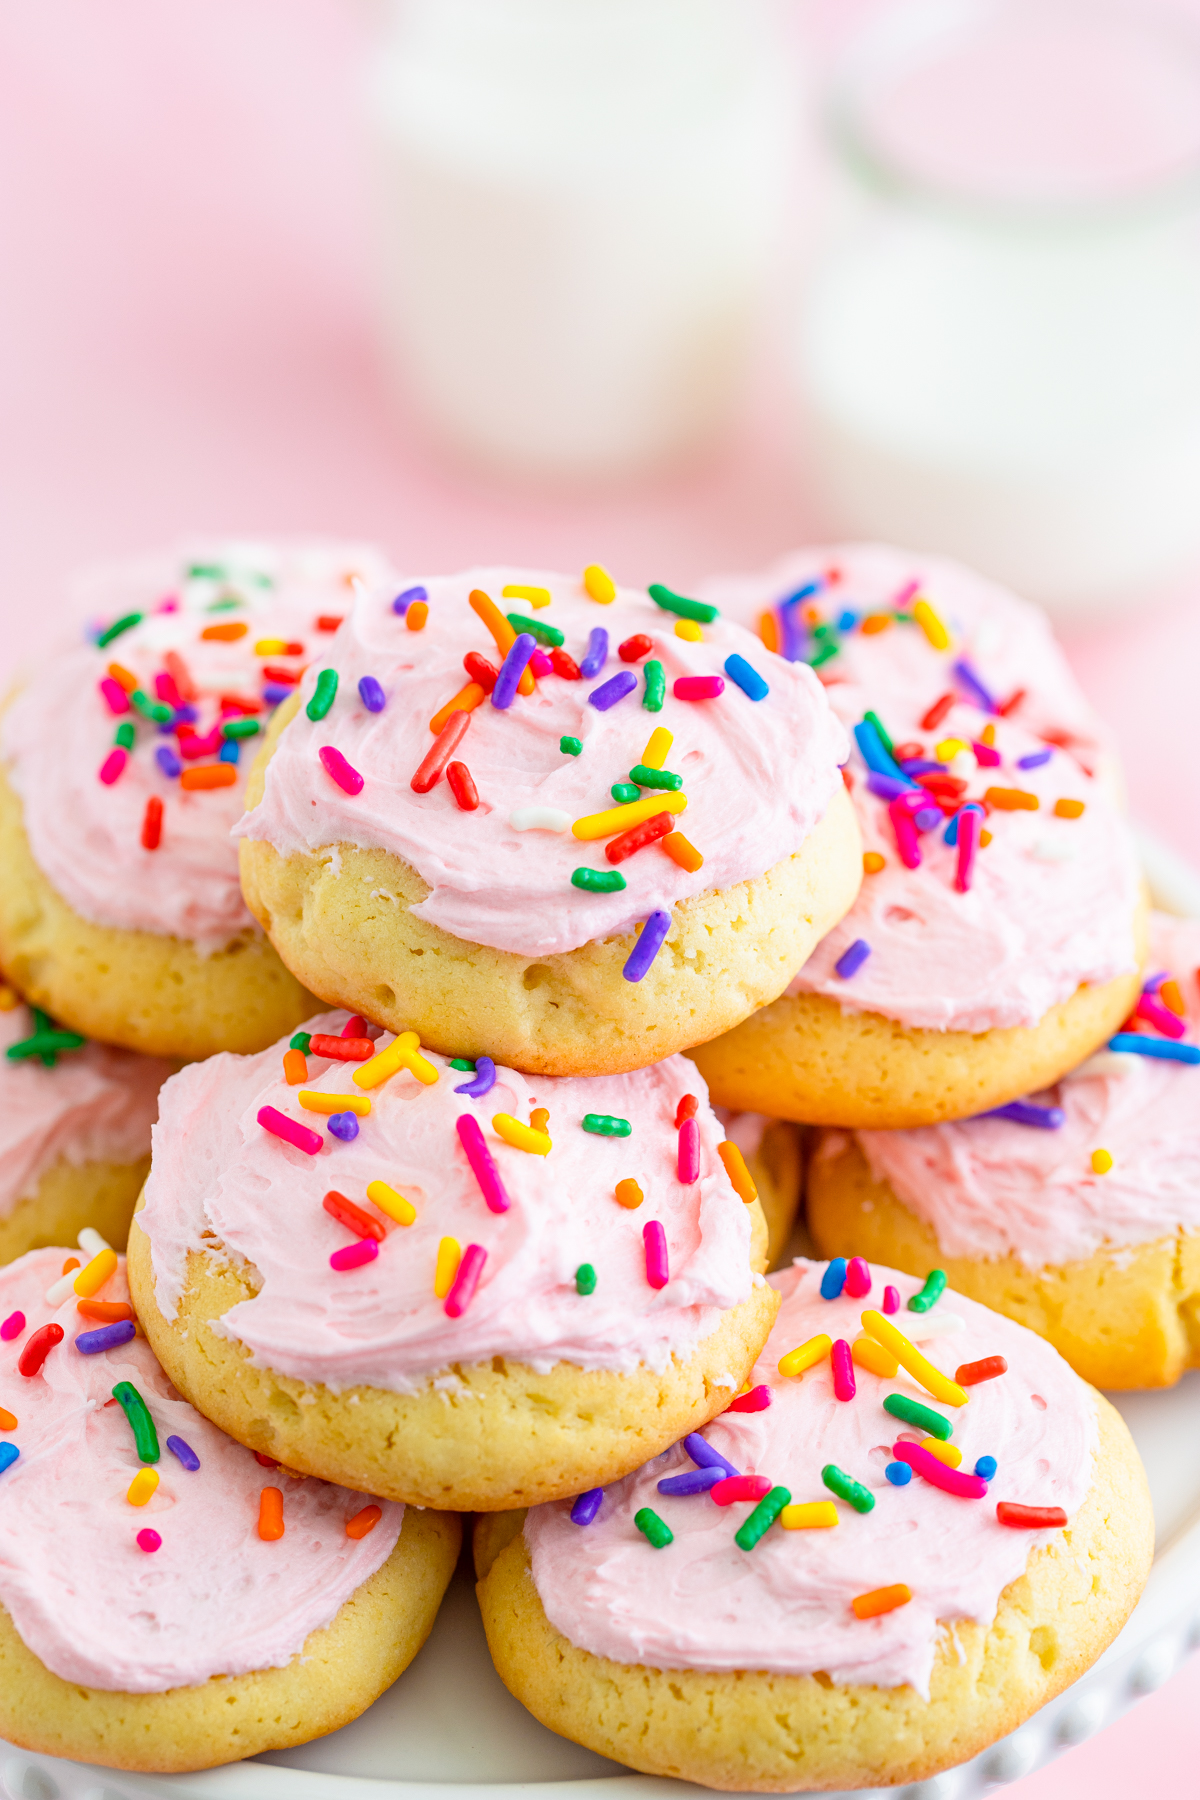
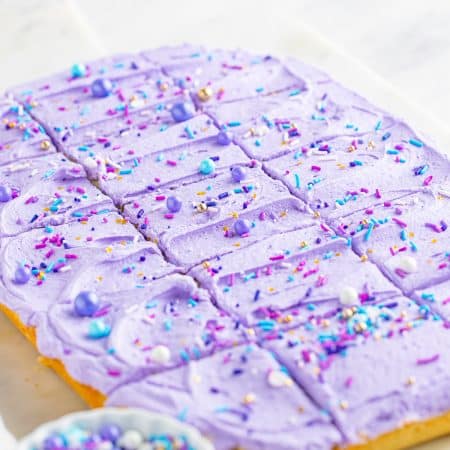
Sugar Cookie Bars give you everything you love about frosted sugar cookies with zero rolling, chilling, or cutting out shapes. The base bakes up soft and chewy in one pan, then gets topped with fluffy buttercream and all the sprinkles. I made my first batch on a rainy afternoon when Maddie wanted to decorate cookies but I did not have the patience for cut outs, and these were the happy compromise. If you love a soft frosted cookie, our frosted Lofthouse cookies are another favorite.
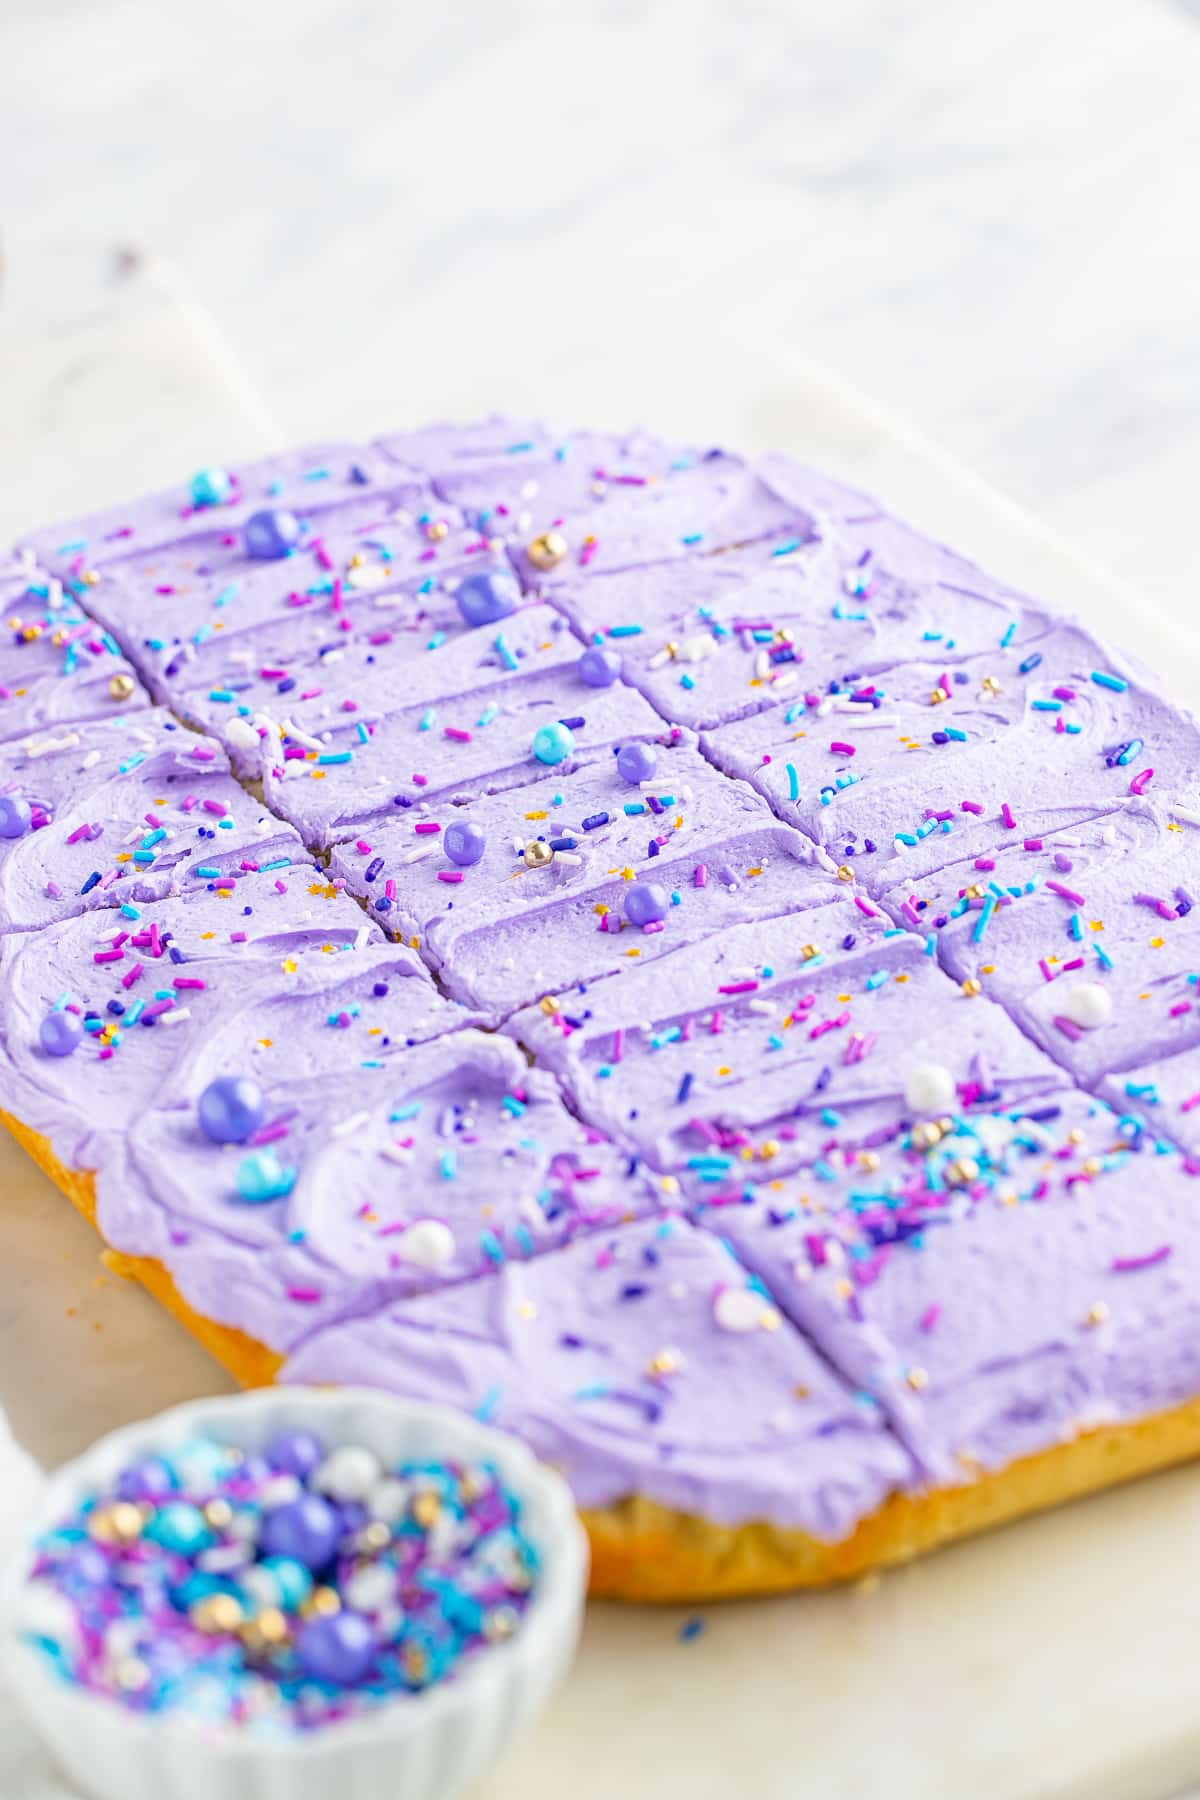
One pan of soft, chewy sugar cookie topped with fluffy buttercream and sprinkles means all the fun of decorated cookies with a fraction of the work.
Sugar Cookie Bars Quick Look
- 🕒 Prep Time: 15 minutes
- 🌡️ Cook Time: 25 minutes
- ⏳ Total Time: 40 minutes
- 🍽️ Serving: 15 servings
- ⚡ Calories: 431kcal
- 🌶️ Flavor Profile: Sweet vanilla sugar cookie with fluffy buttercream
- ✋ Difficulty: Easy, as simple as our gingerbread bars
Quick Answer
Whisk the flour, baking powder, and salt together. Cream the butter and sugar until fluffy, beat in the eggs and vanilla, then mix in the dry ingredients. Press the dough into a lined 9×13 pan and bake at 375 degrees for 20 to 25 minutes. Once fully cooled, top with buttercream frosting and sprinkles, then cut into bars.
Jump to:
- Sugar Cookie Bars Quick Look
- Quick Answer
- Why This Recipe Works
- Why You’ll Love This Recipe
- Key Ingredients
- Variations and Substitutions
- How to Make Sugar Cookie Bars
- Recipe Tips & Tricks
- Serving Ideas and Suggestions
- Sugar Cookie Bars FAQs
- Other Recommended Easy Cookie and Bar Recipes
- Frosted Sugar Cookie Bars
Why This Recipe Works
Click to see the technique science
- No rolling or cutting. The dough is simply pressed into a pan, so you skip the chilling, rolling, and cookie cutters that make sugar cookies a chore.
- Soft and chewy every time. Baking as a bar keeps the centers soft and chewy instead of crisp, just like the best sugar cookies.
- Fluffy homemade buttercream. A quick whipped buttercream frosting goes on thick and fluffy, and you can tint it any color you like.
- Fun to decorate. Kids love picking the frosting color and piling on sprinkles, so these are a great baking project.
- Feeds a crowd. One 9×13 pan makes 15 generous bars, perfect for parties, bake sales, and holidays.
- Easy to theme. Change the frosting color and sprinkles to match any holiday or occasion.
Why You’ll Love This Recipe
- They deliver all the flavor of frosted sugar cookies with none of the rolling or cutting.
- The base stays soft and chewy, and the buttercream goes on thick and fluffy.
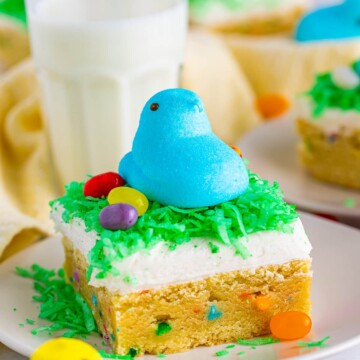
- They are endlessly customizable for any holiday, like our Easter cookie bars.
Key Ingredients
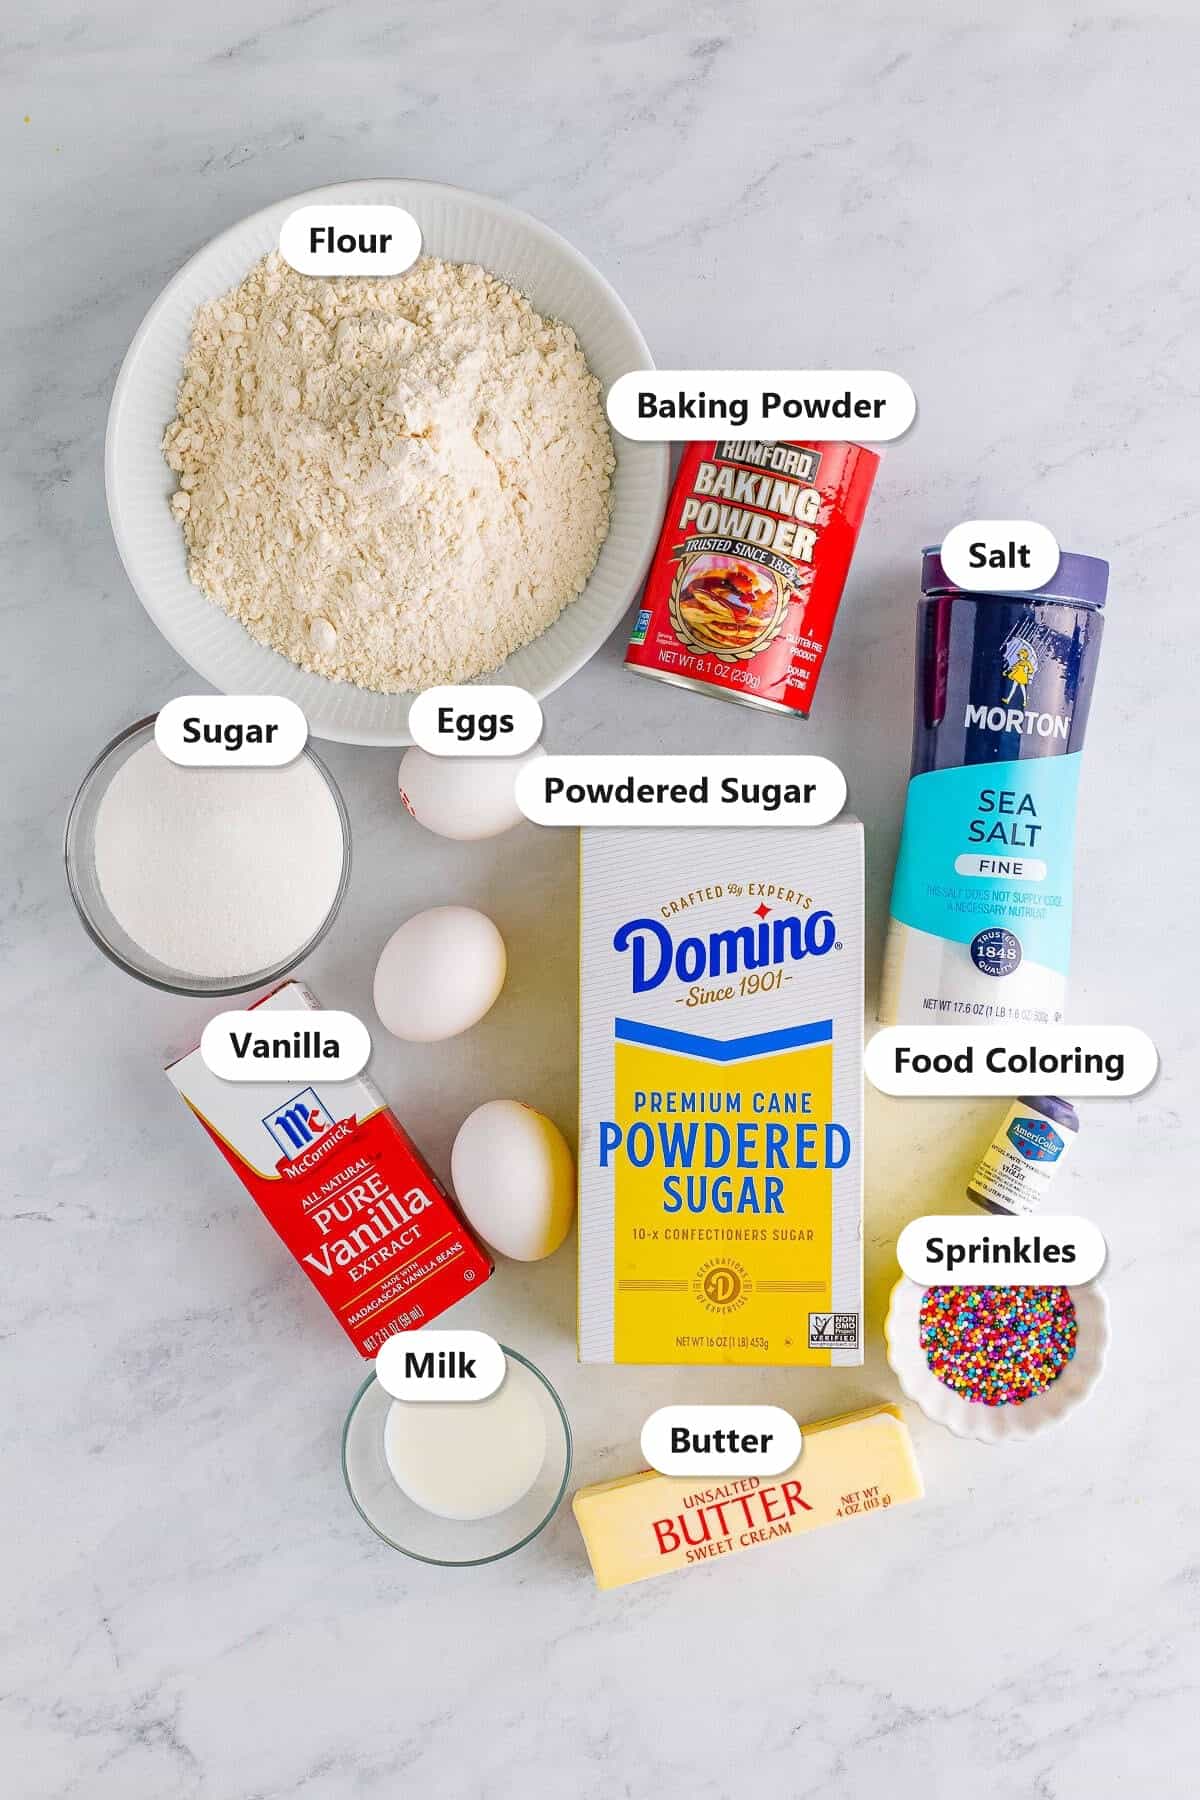
Simple pantry staples make both the cookie base and the buttercream.
- All-purpose flour: The base of the soft, chewy cookie bars. Spoon and level it so the bars do not turn out dry.
- Butter and sugar: Creamed together for a tender bar, and butter again for the fluffy frosting.
- Eggs and vanilla: Bind the dough and give the bars that classic sugar cookie flavor.
- Powdered sugar and milk: Whipped with butter into a smooth, spreadable buttercream.
- Food coloring and sprinkles: Tint the frosting any color and pile on sprinkles to match the occasion, just like decorating our frosted Lofthouse cookies.
See recipe card for exact quantities.
Variations and Substitutions
These sugar cookie bars are easy to make your own.
- Tint the frosting to match any holiday, red and pink for Valentines, pastel for spring, or orange for fall.
- Add a teaspoon of almond extract to the dough or frosting for a bakery style flavor.
- Swap the buttercream for a cream cheese frosting for a tangier topping.
- Use themed sprinkles and cut into shapes for parties, or dress them up like our Easter cookie bars.
How to Make Sugar Cookie Bars
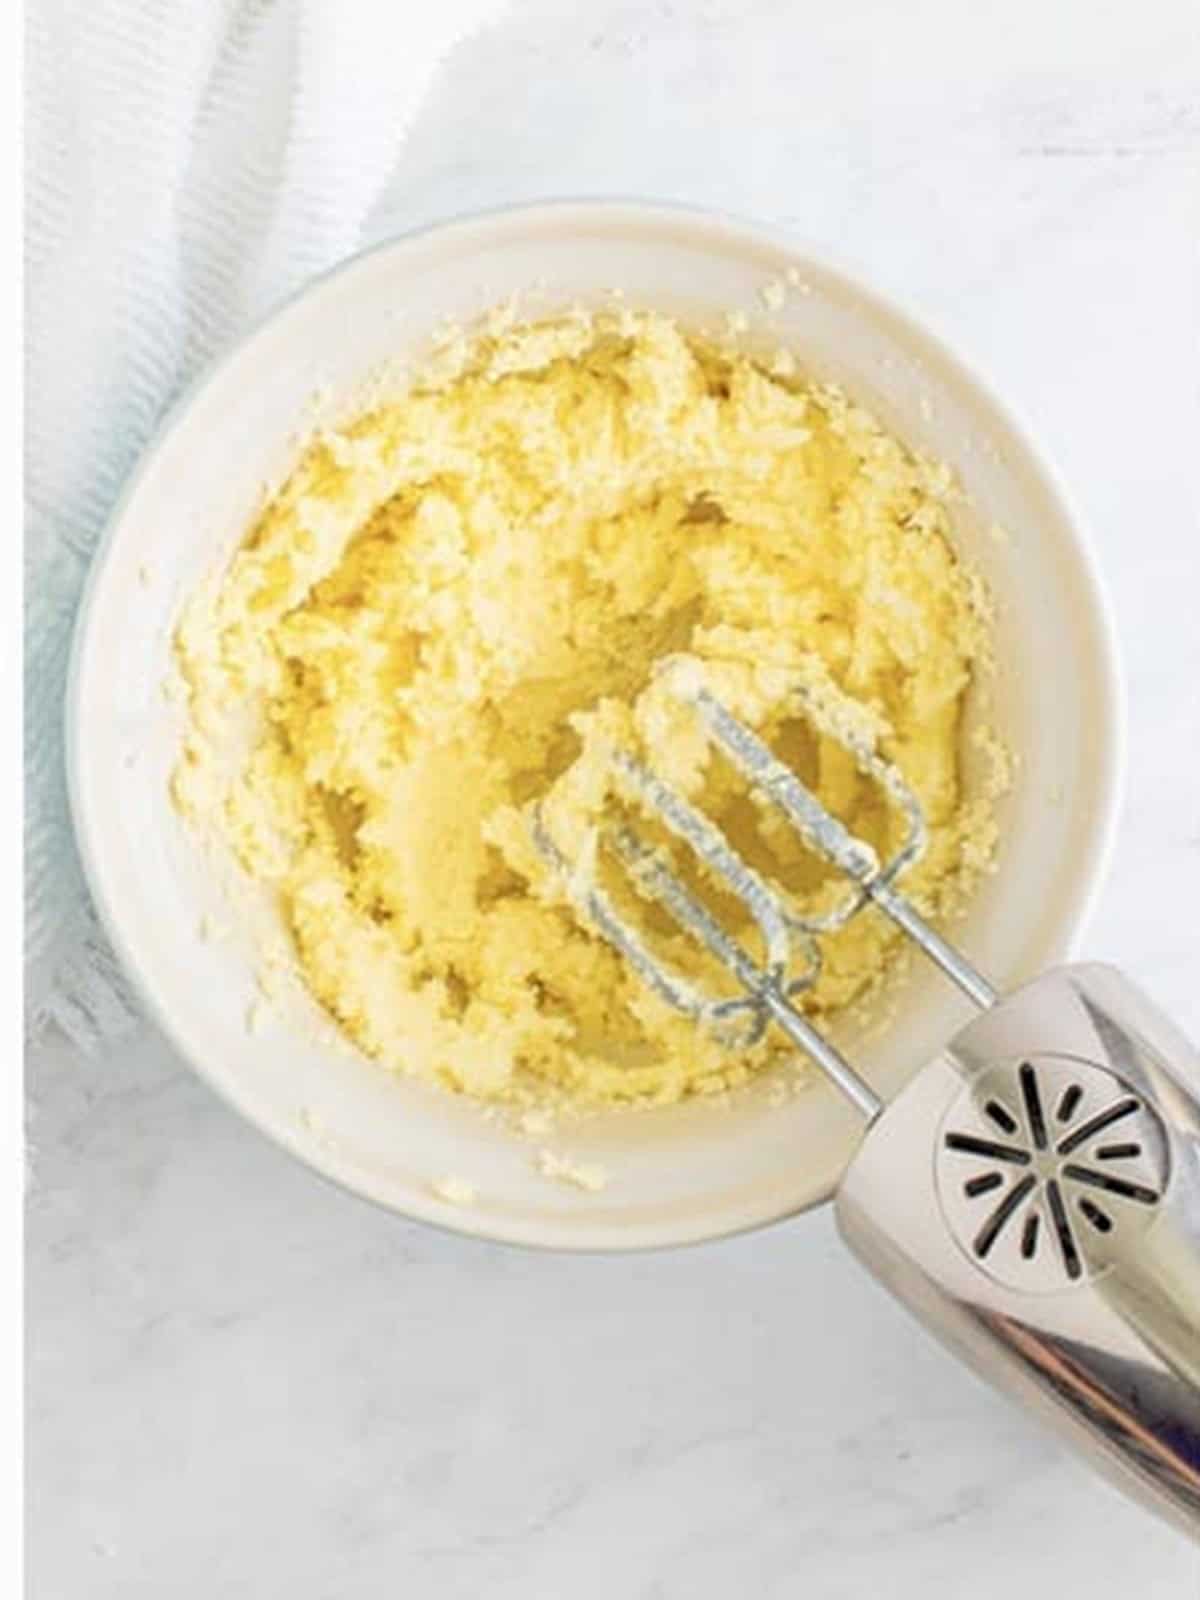
- Preheat the oven to 375 degrees Fahrenheit and line a 9×13 pan with parchment. Whisk the flour, baking powder, and salt in one bowl. In another, cream the room temperature butter and sugar until light and fluffy, about 3 minutes.
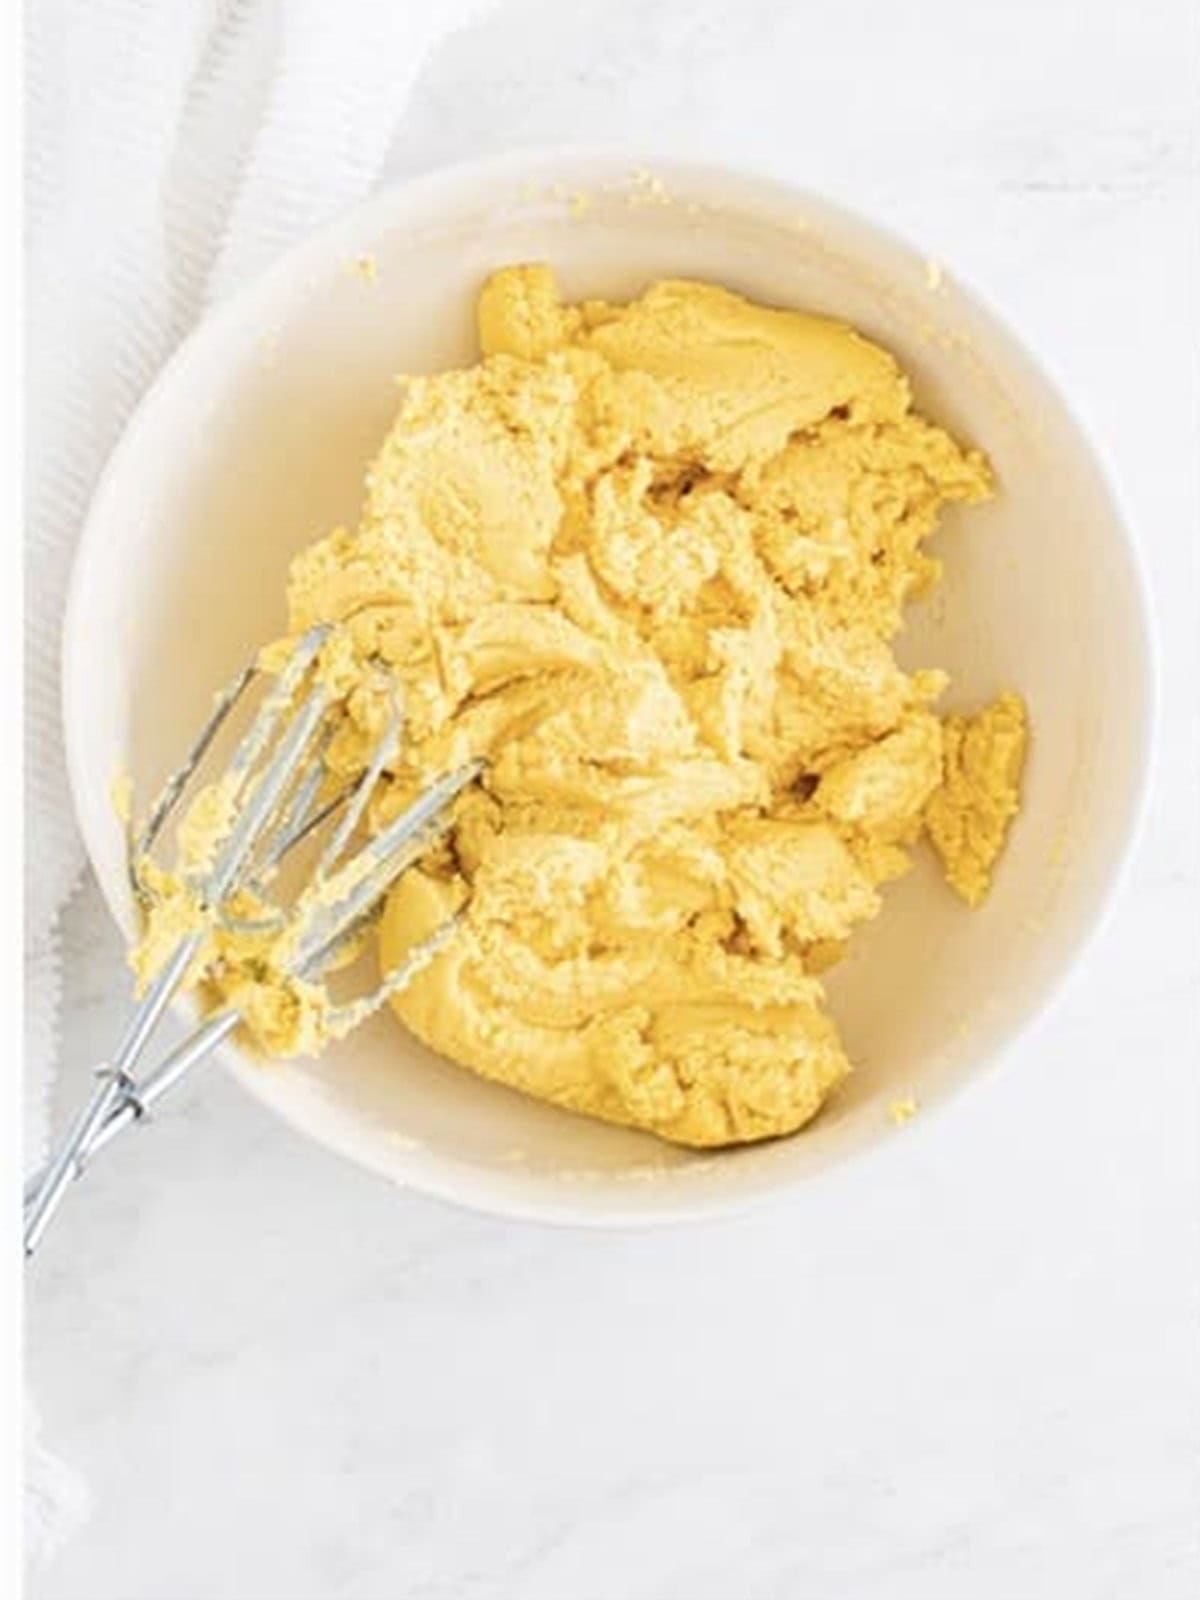
- Beat the eggs into the butter mixture one at a time, then add the vanilla. Add the dry ingredients and mix just until combined with no dry patches, being careful not to overmix.
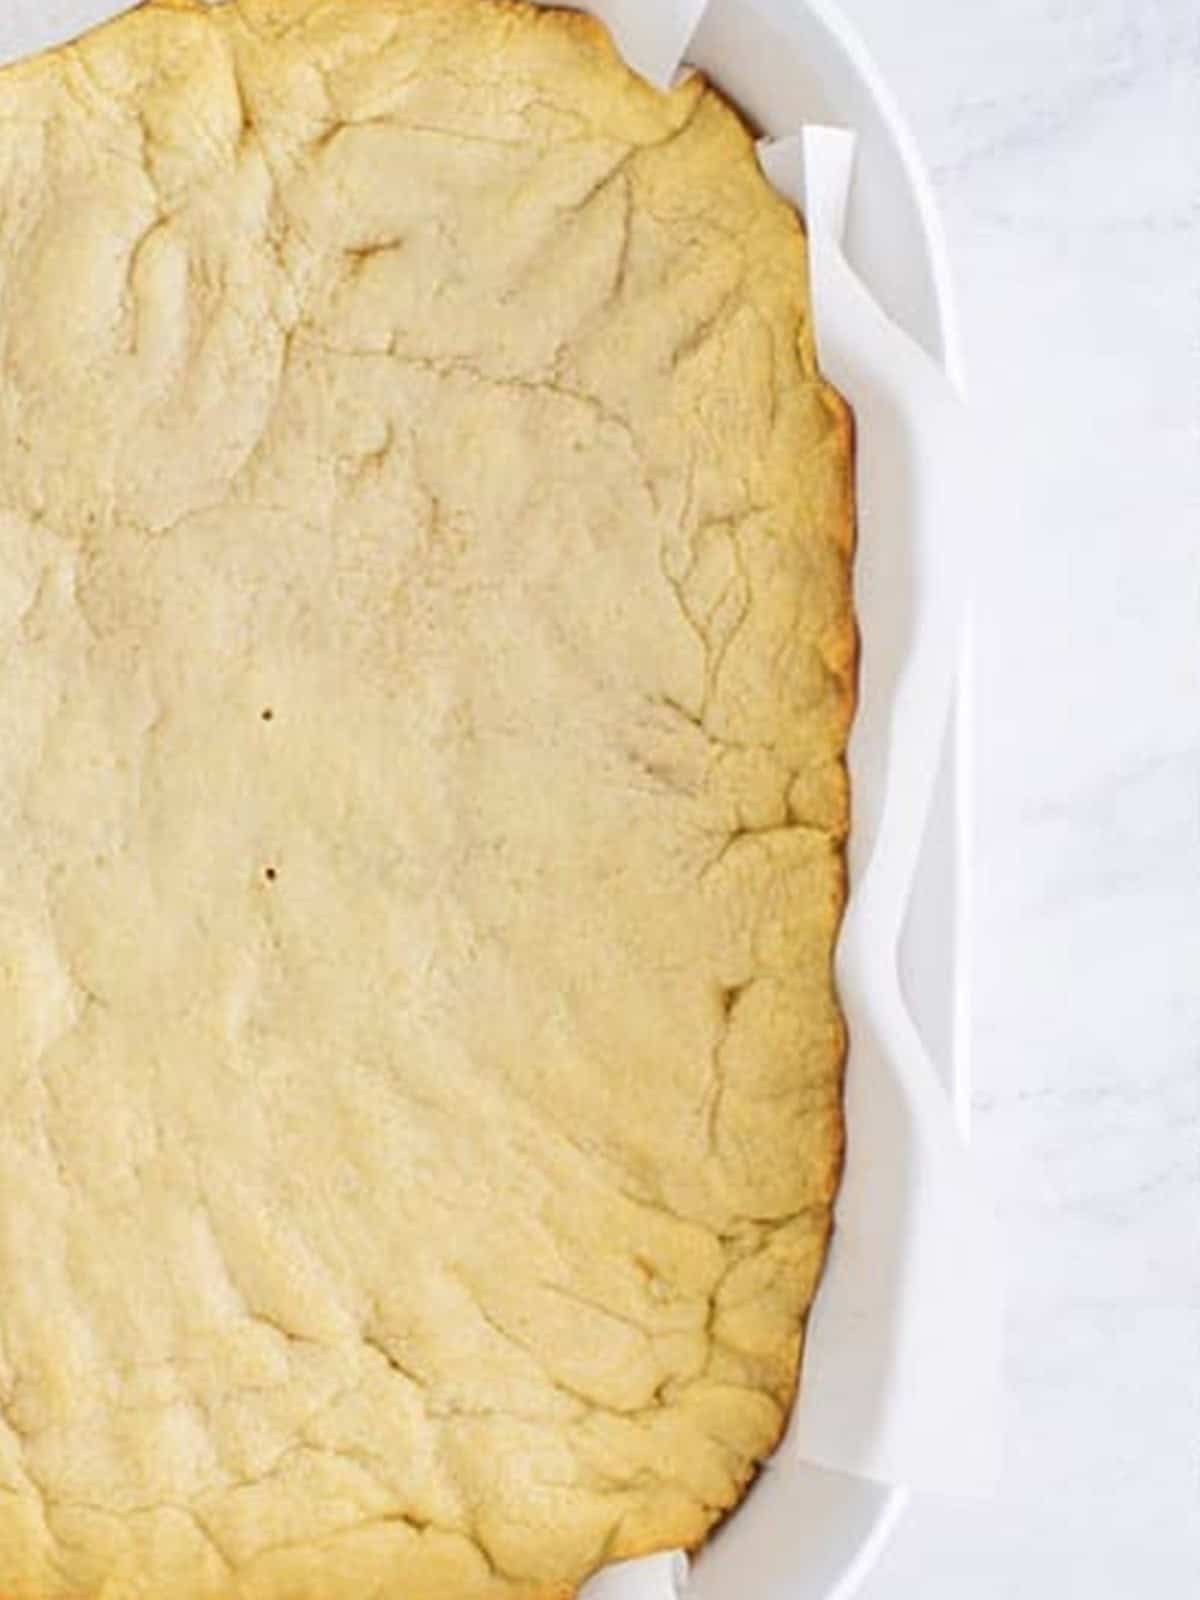
- Press the dough evenly into the bottom of the prepared pan, using your hands. Bake for 20 to 25 minutes, until lightly golden along the edges and a toothpick comes out clean. Cool completely.
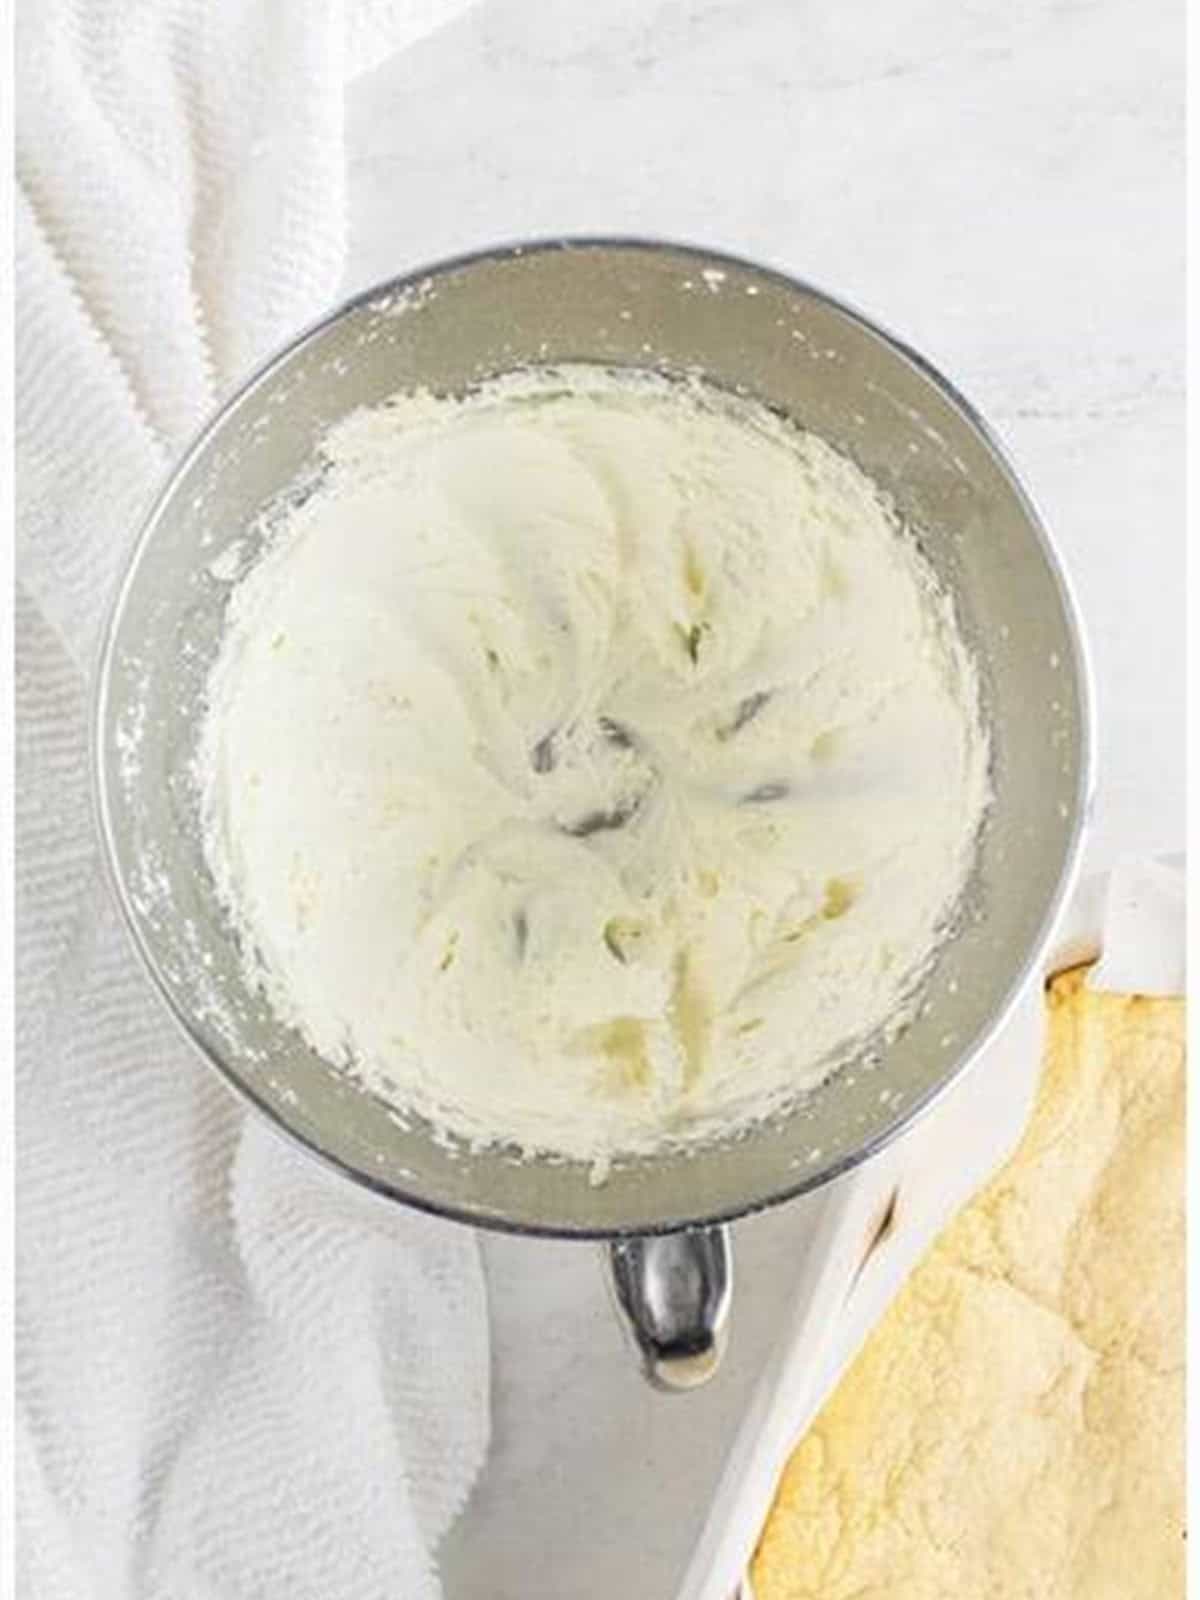
- While the base cools, make the buttercream by whipping the butter until smooth, then mixing in the powdered sugar. Add the salt, vanilla, and milk and whip on medium-high for 3 minutes until fluffy.
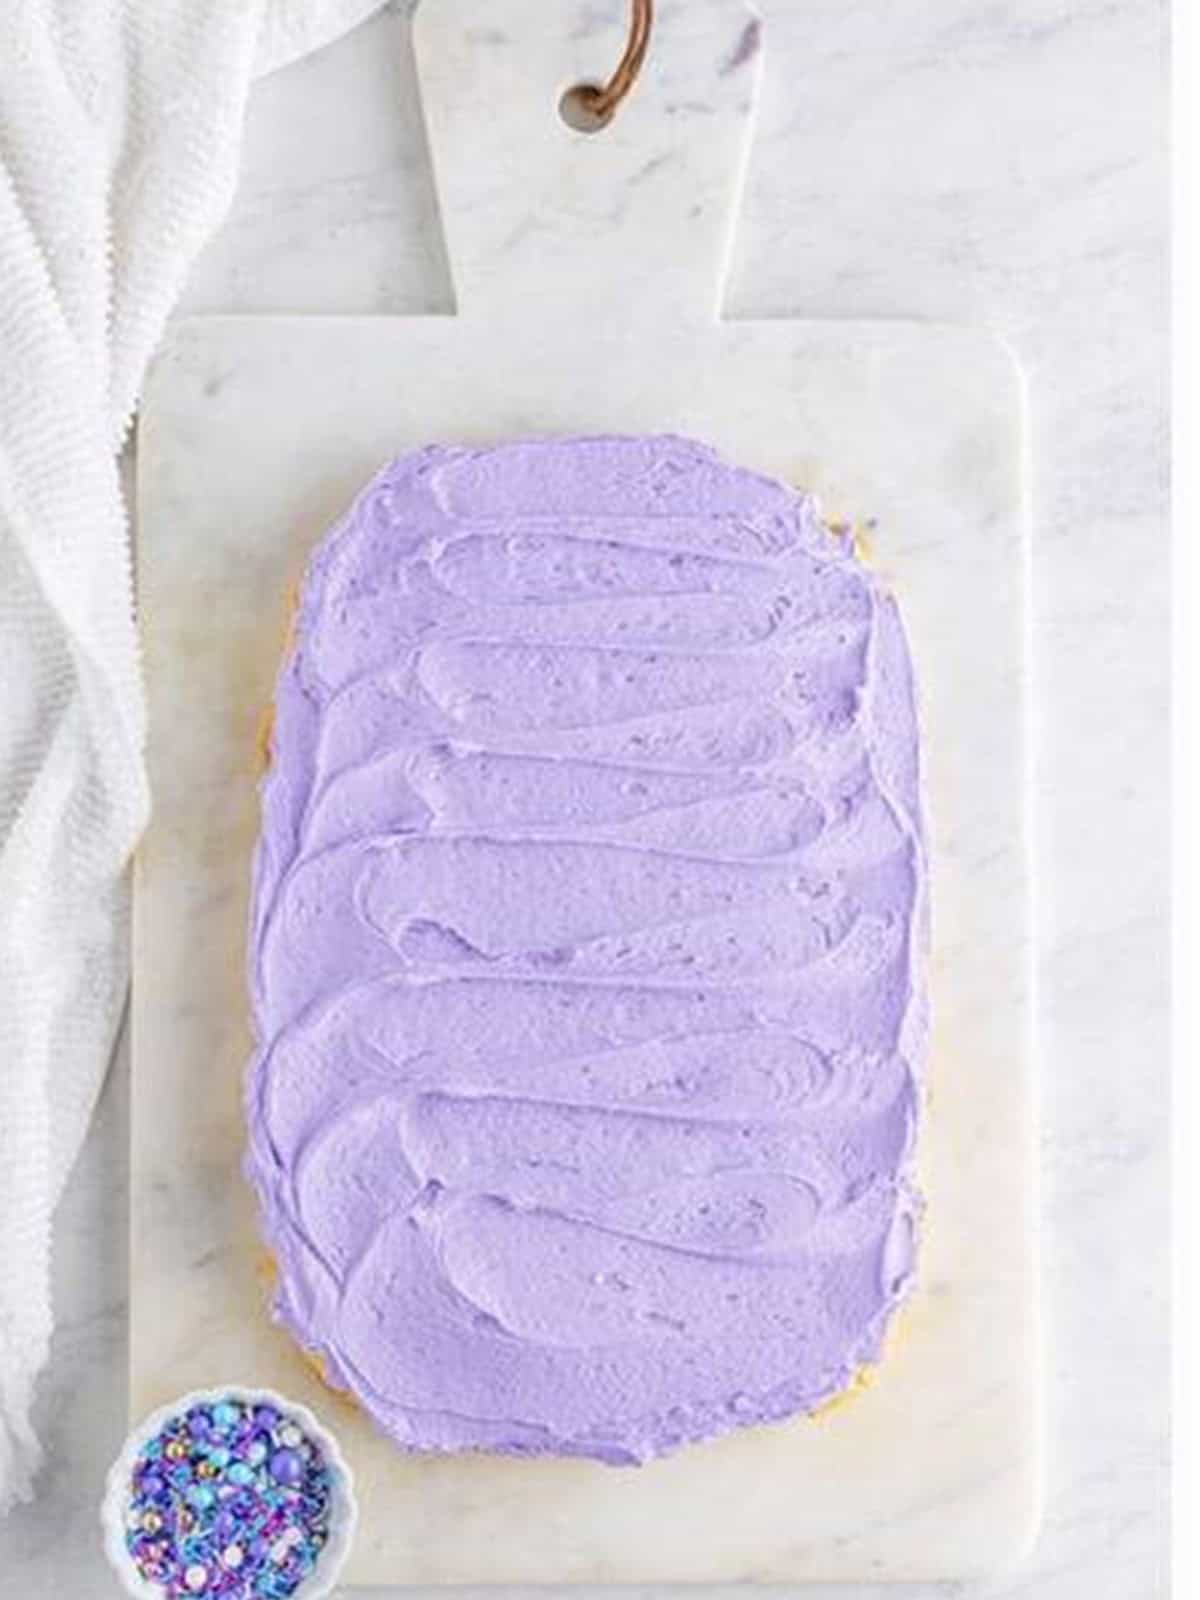
- Mix in food coloring until you reach your desired shade, then spread the buttercream evenly over the fully cooled cookie base.
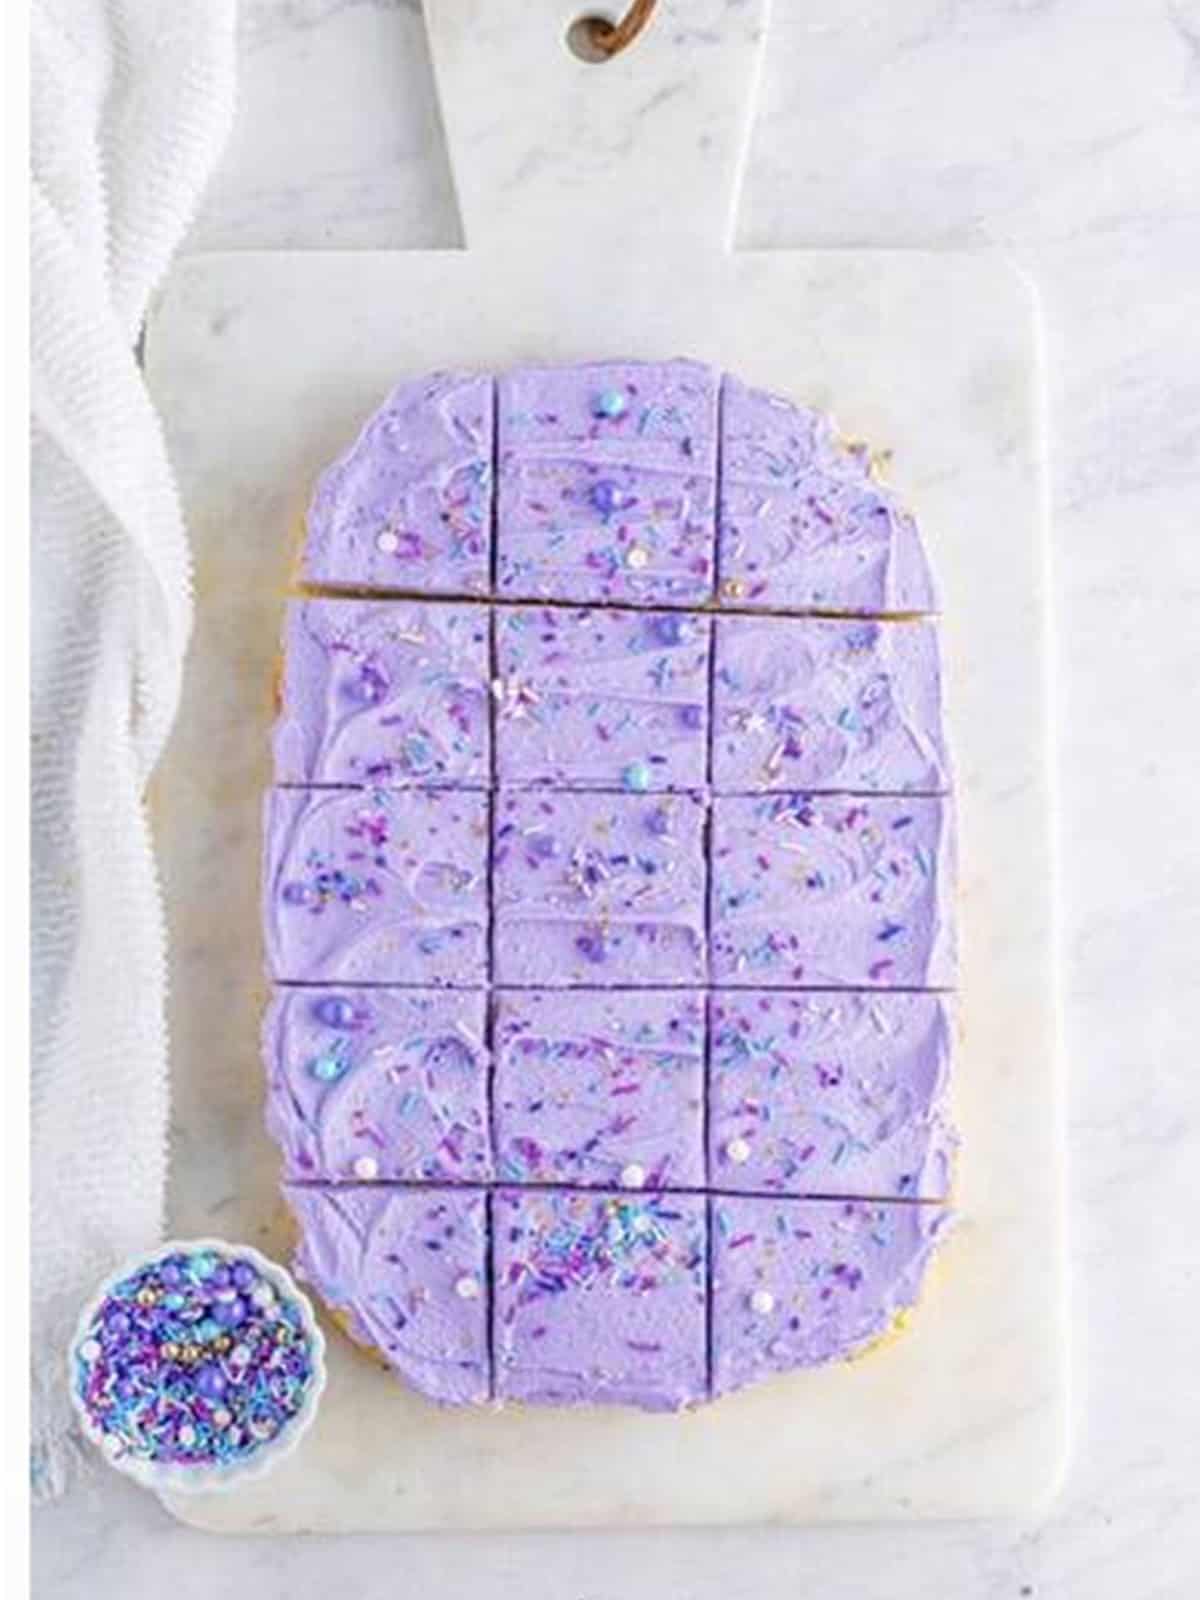
- Top with sprinkles, then cut into 15 bars and serve.
Recipe Tips & Tricks
- Use room temperature butter and eggs so the dough creams smoothly and bakes up evenly.
- Do not overbake, pulling the bars when the edges are just golden keeps the centers soft and chewy.
- Press the dough evenly with your hands or the bottom of a measuring cup so the bars bake to a uniform thickness.
- Cool completely before frosting, since any warmth will melt the buttercream.
- Whip the frosting a full 3 minutes for the fluffiest, most spreadable texture.
- Add sprinkles right after frosting so they stick before the buttercream sets.
Serving Ideas and Suggestions
These frosted sugar cookie bars are a party favorite. Cut them into squares and pile them on a platter for birthdays, holidays, and bake sales, where they always disappear fast.
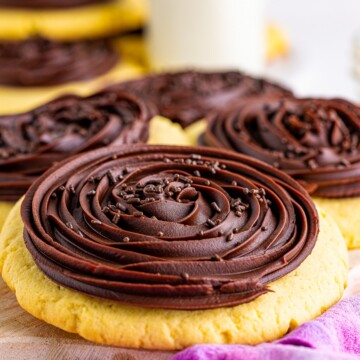
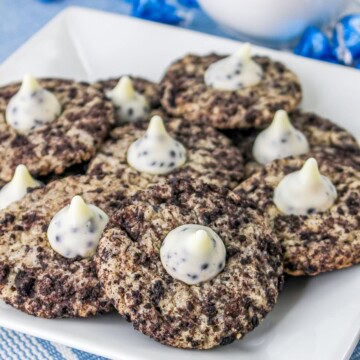
They are made for a dessert table. Set them out next to our frosted Lofthouse cookies and a batch of cookies and cream blossom cookies for a cookie spread everyone will love.
Change the frosting color and sprinkles to match any occasion, then serve alongside our gingerbread bars at a holiday cookie exchange.
Store the bars in an airtight container at room temperature for up to three days, or in the fridge for up to five. You can also freeze them, frosted or unfrosted, for up to two months, thawing at room temperature before serving. Because you skip all the rolling and cutting, these come together fast enough for last minute treats, and they are just as fun to decorate as cut out cookies, right down to the sprinkles, much like our Easter cookie bars.
Sugar Cookie Bars FAQs
Sugar cookie bars use the same kind of dough as classic sugar cookies but are pressed into a pan and baked as one big bar instead of being rolled, chilled, and cut into shapes. The result is a softer, chewier cookie and a lot less work, since you frost and cut the whole pan at once.
The key is not overbaking. Pull the bars when the edges are just lightly golden and a toothpick comes out clean, even if the center looks slightly underdone, as it will set while cooling. Storing them in an airtight container also keeps them soft for days.
Yes. You can bake the base a day ahead and store it covered, then frost the day you plan to serve. Fully frosted bars keep well too, so you can make the whole batch a day or two in advance and store them covered in the fridge.
Absolutely. Freeze them frosted or unfrosted in an airtight container for up to 2 months. If frosted, freeze them on a tray first until solid, then layer with parchment. Thaw at room temperature before serving.
A simple whipped vanilla buttercream is classic and holds sprinkles well. You can tint it any color with gel food coloring. For a tangier option, use cream cheese frosting instead. Either way, make sure the bars are completely cool before frosting.
Let the bars cool and the frosting set, then use a sharp knife and wipe it clean between cuts. Lining the pan with parchment lets you lift the whole slab out onto a cutting board first, which makes it much easier to cut neat, even squares.
Made these frosted sugar cookie bars? I would love to hear how they turned out, leave a comment and a star rating below!

Frosted Sugar Cookie Bars
Ingredients
- 3 & 3/4 cups all-purpose flour
- ¾ teaspoon baking powder
- Pinch of salt
- 1 cup unsalted butter softened
- 1 & ½ cups granulated sugar
- 3 large eggs
- 2 teaspoons vanilla extract
For the frosting:
- ½ cup unsalted butter softened
- 2 cups powdered sugar
- Pinch of salt
- 1 teaspoon vanilla extract
- 1 tablespoon milk
- Food coloring of your choice optional
- Sprinkles optional
Instructions
- Preheat the oven to 375°F. Line a 9×13 baking pan with parchment paper or foil and spray with baking spray, set aside.
- Add the flour, baking powder, and salt to a large bowl and whisk until combined, set aside.
- In the bowl of a stand mixer with the paddle attachment or with an electric mixer and a large bowl, cream the room temperature butter and sugar on medium speed until light and fluffy. It ends up being a pale yellow color, about 3 minutes.
- Add the eggs in one at a time until incorporated. Add in the vanilla and mix until combined.
- Add the dry ingredients to the wet ingredients and mix in until just combined, with no dry patches, but do not overmix.
- Press the sugar cookie dough into the bottom of the baking dish, I like to use my hands for this.
- Bake for 20-25 minutes until lightly golden brown along the edges and a toothpick inserted into the center comes out clean. Let cool completely on a wire rack.
- While the cookie cools, make the frosting recipe by placing the butter in the body of a stand mixer with the paddle attachment or in a large bowl with a hand mixer and whip the butter until smooth.
- Add the powdered sugar and mix until combined.
- Add in the salt, vanilla, and milk, stir in until combined. Scrape the sides as needed.
- Whip on medium-high speed for 3 minutes until fluffy; add in food coloring if using and fully mix it in until you reach your desired frosting color, use a spatula to do one last stir in to make sure there are no streaks of white left.
- Once the cookie is completely cooled, frost it and add sprinkles if using. Cut into 15 bars and serve.
Notes
- This makes a large batch, but you can easily double it to feed more or halve the recipe as needed. Bake in an 8×8 or 9×9 baking dish to make half a recipe, baking times may vary.
- Tons of custom options, see my tips above on that.
- Great for a make-ahead dessert or for bake sales.
- This freezes well, see my tips above on how to store.
- I prefer to use gel food coloring for a more intense color.
Nutrition
Love This Recipe?
Follow @ThisSillyGirlsKitchen on Instagram and @danadevolk on Pinterest for more!